
Articles
How To Line Up Fence Posts
Modified: August 22, 2024
Learn how to line up fence posts effectively with these informative articles. Find step-by-step instructions and expert tips to ensure a straight and sturdy fence installation.
(Many of the links in this article redirect to a specific reviewed product. Your purchase of these products through affiliate links helps to generate commission for Storables.com, at no extra cost. Learn more)
Introduction
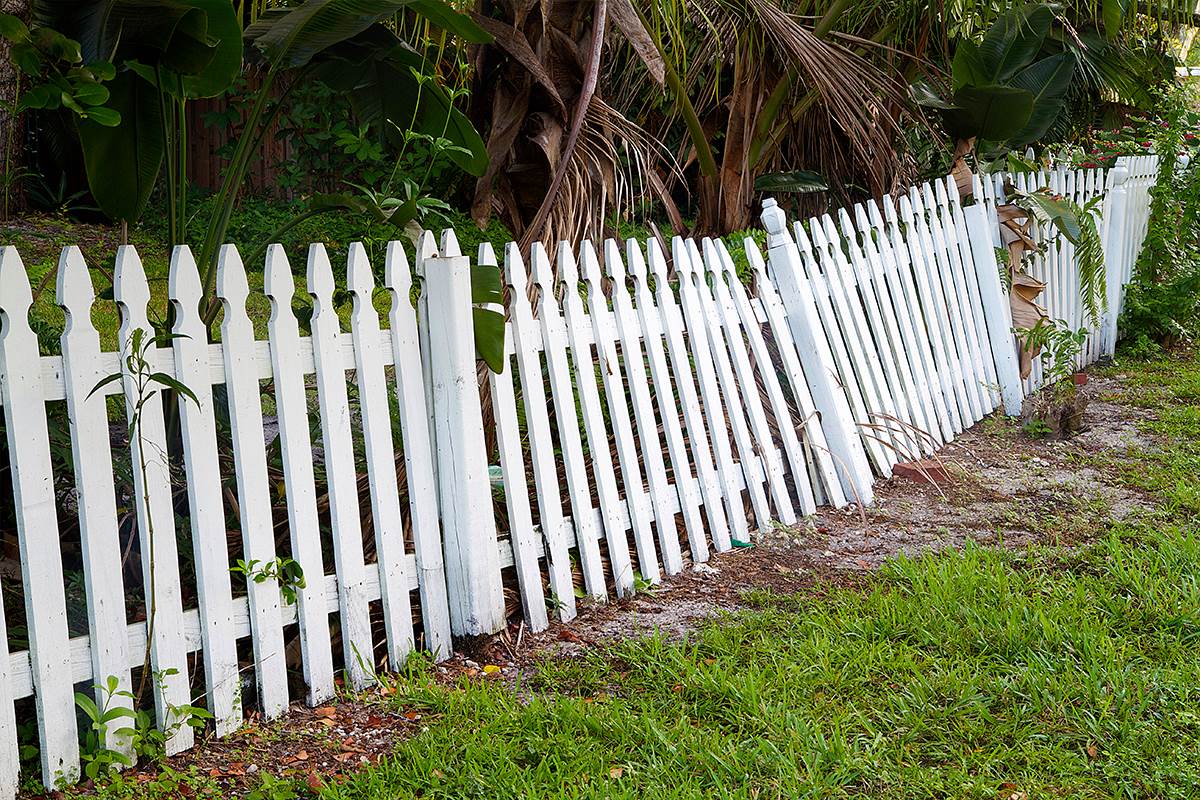
Building a fence is an essential step in ensuring the security and privacy of your property. One crucial aspect of constructing a sturdy and visually appealing fence is properly lining up the fence posts. The alignment of fence posts plays a vital role in the overall stability and aesthetics of the fence.
In this article, we will guide you through the process of lining up fence posts, step by step. We will discuss the materials and tools you will need to gather, how to determine the spacing between the posts, how to mark the fence line accurately, and the steps to dig and prepare the holes for the fence posts. Additionally, we will cover the proper techniques for aligning and setting the posts, as well as backfilling and tamping the holes. Finally, we will delve into the process of attaching the fence rails or panels to complete your fence installation.
Whether you are a seasoned DIY enthusiast or a beginner, this article will provide you with the knowledge and guidance needed to accurately line up fence posts and create a sturdy, attractive fence. So, let’s dive in and get started on this exciting project!
Key Takeaways:
- Properly lining up fence posts is crucial for a sturdy and visually appealing fence. From gathering materials to attaching panels, this guide equips you with the knowledge and skills for a successful installation.
- Understanding post spacing, accurate marking, precise digging, and secure setting are essential for a durable fence. Follow these steps to create a strong and reliable fence that enhances your property’s security and aesthetics.
Read more: How To Secure Fence Post
Gathering Materials and Tools
Before you begin lining up your fence posts, it’s important to gather all the necessary materials and tools to ensure a smooth and efficient process. Here’s a list of the items you will need:
- Fence Posts: Choose sturdy, durable posts that are suitable for your specific fence design. These can be wooden, metal, or vinyl posts.
- Fence Panels or Rails: Depending on your fence design, you will need panels or rails to connect the posts and create the actual barrier.
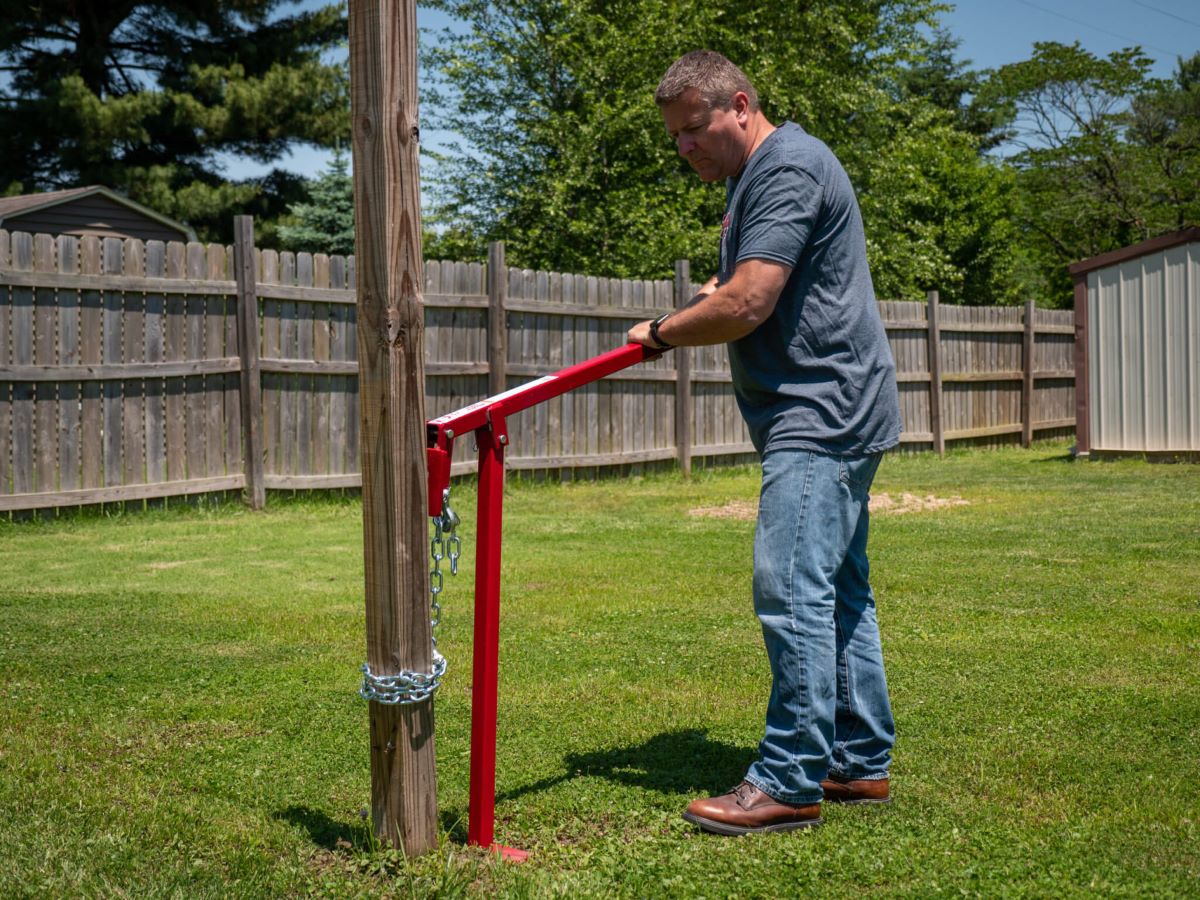
- Post Hole Digger: This tool is essential for digging the holes for your fence posts. Manual or mechanized options are available.
- Tape Measure: Accurate measurements are crucial for proper spacing and alignment of the fence posts.
- Stakes and Mason’s Line: These tools will help you mark the fence line and ensure the posts are aligned correctly.
- Level: A level will help ensure that the posts are straight and upright.
- String and Chalk: These tools are useful for marking the fence line and ensuring it is straight.
- Concrete Mix: This is necessary for securing the fence posts in the holes.
- Shovel: A shovel will be used to remove soil and create the holes for the fence posts.
- Tamping Tool: This tool will be used to compact the soil around the posts after backfilling.
- Fasteners: Select the appropriate screws or nails for attaching the fence panels or rails to the posts.
- Safety Gear: It’s important to protect yourself during the construction process. Wear gloves, safety goggles, and sturdy work boots.
By gathering all of these materials and tools in advance, you’ll save time and ensure a smoother workflow. It’s important to have everything on hand before you begin the process of lining up your fence posts.
Determining Fence Post Spacing
Properly spacing your fence posts is crucial for the structural integrity of your fence. The spacing will depend on various factors, including the type of fence, the desired level of privacy, and the materials you are using. Here are some guidelines to help you determine the ideal spacing for your fence posts:
1. Check Local Building Codes: Before deciding on the spacing, it’s important to consult your local building codes. These codes may have specific requirements for fence post spacing based on the height and purpose of the fence. Adhering to these regulations will ensure that your fence is compliant and meets safety standards.
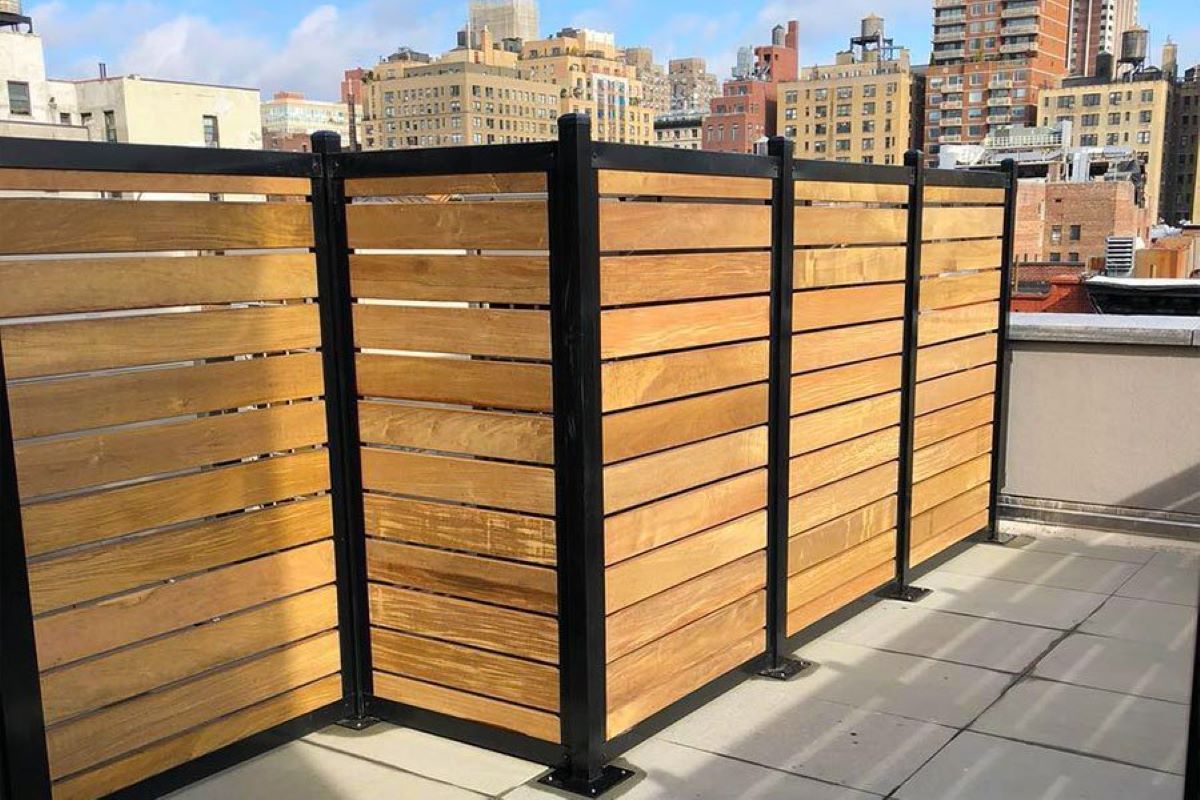
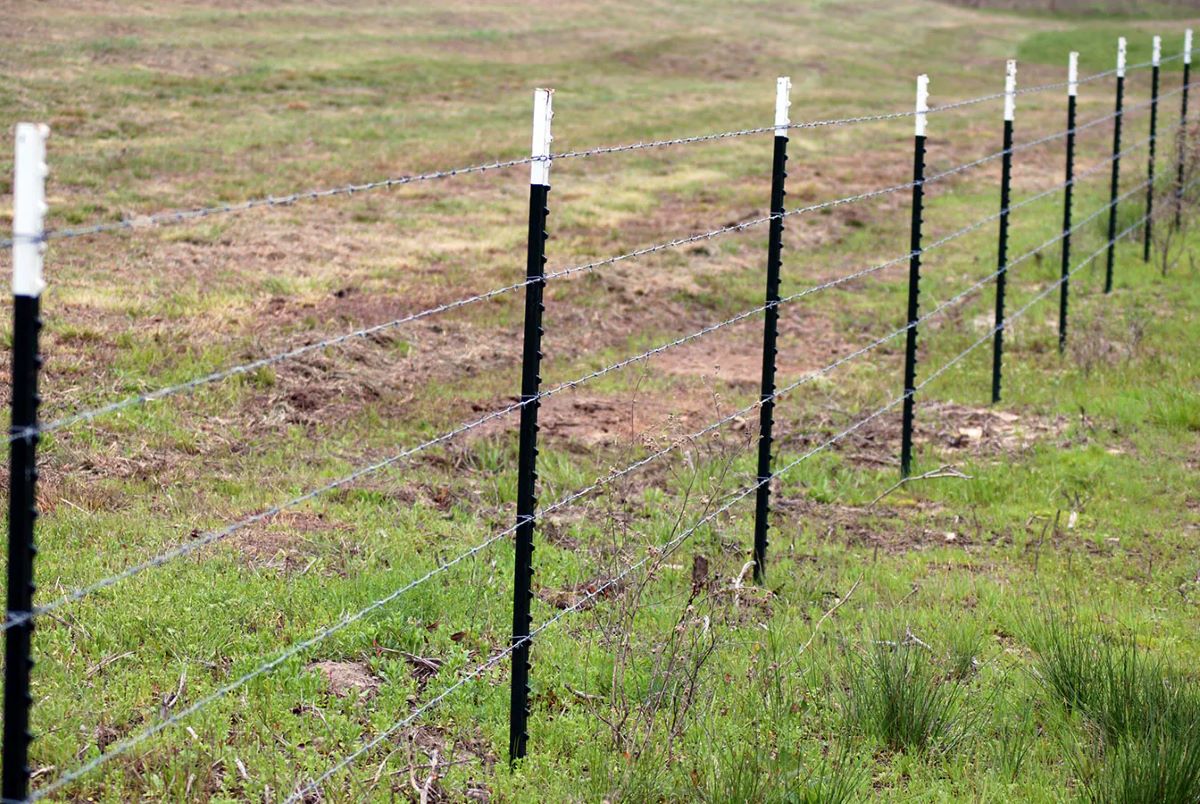
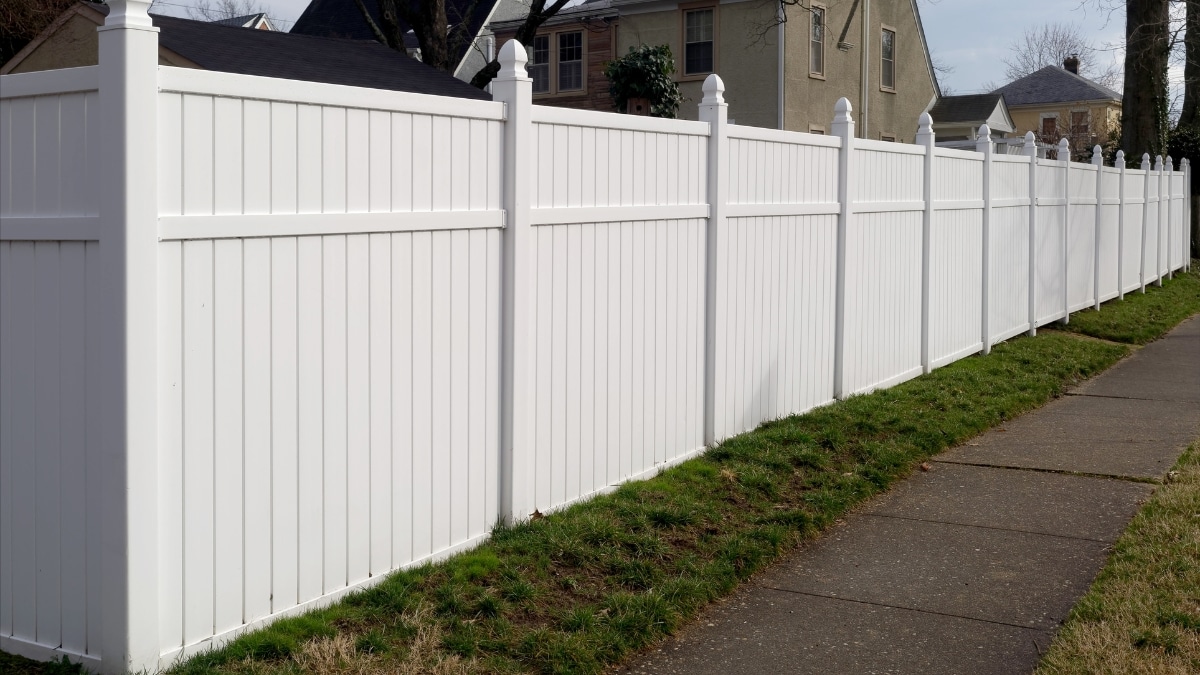
2. Fence Type: The type of fence you are installing will also play a role in determining the spacing between posts. For example, if you are installing a chain-link fence, the recommended spacing is typically between 6 to 10 feet apart. However, if you are building a privacy fence, you may want to place the posts closer together, usually around 6 feet apart, to provide more stability and prevent the panels from sagging.
3. Panel or Rail Length: If you are using fence panels or rails, take into consideration their length when determining post spacing. You will want to ensure that each panel or rail can be securely attached to the posts without any gaps or overhang. Measure the length of the panels or rails and divide that by the desired spacing between the posts to determine the number of panels or rails you will need for your fence.
4. Sloping Ground: If you are working on uneven or sloping ground, you may need to adjust the spacing of the fence posts accordingly. In these situations, it’s essential to maintain a consistent level height between the panels or rails while accommodating the slope of the ground. Consider using longer posts, installing stepped panels, or adding extra support to compensate for the uneven terrain.
Remember, the spacing between your fence posts will directly impact the overall strength and stability of your fence. Taking the time to determine the appropriate spacing based on the factors mentioned above will result in a fence that not only looks great but also withstands the test of time.
Marking the Fence Line
Once you have determined the spacing for your fence posts, the next step is to mark the fence line accurately. Properly marking the fence line will ensure that your fence is straight, visually appealing, and in line with any property boundaries or regulations. Here’s how you can mark the fence line:
1. Gather the Tools: To mark the fence line, you will need stakes, a mason’s line or string, a tape measure, and chalk. You can use wooden stakes or metal rods for this purpose. Make sure you have enough stakes to cover the entire length of the fence line.
2. Locate Property Boundaries: If you are installing the fence along a property boundary, it’s crucial to know the exact location of the boundaries. Use a property survey or consult the land survey record to confirm the boundary lines. This will ensure that your fence is within your property limits.
3. Measure and Mark the Starting Point: Start at one end of the fence line and measure the desired distance from the nearest corner or boundary point. Drive a stake into the ground at this starting point. Make sure the stake is secure and upright.
4. Stretch the Line: Attach one end of the mason’s line or string to the stake at the starting point. Extend the line along the fence line path, pulling it taut. Use the tape measure to ensure the line is straight and at the correct height above the ground. Repeat this process for each stake along the fence line, ensuring an equal distance between them.
5. Mark the Placement of the Fence Posts: With the mason’s line in place, use chalk to mark the spots where the fence posts will be located. Make a small mark on the ground right next to the line at each stake. These markers will serve as a visual guide for digging the post holes.
6. Double-Check the Alignment: Before proceeding to dig the post holes, double-check the alignment of the fence line. Stand back and assess the straightness and symmetry of the line. Adjust the stakes or tighten the line if necessary. It’s crucial to get the line perfectly straight and in the desired position before moving forward.
By following these steps, you will be able to mark the fence line accurately, ensuring that your fence is properly aligned and visually pleasing. Taking the time to do this step correctly will contribute to the overall success of your fence installation project.
Digging Holes for the Fence Posts
Once you have marked the fence line, the next step in lining up your fence posts is to dig the holes. Digging the holes properly is essential for the stability and longevity of your fence. Here’s a step-by-step guide on digging the holes for your fence posts:
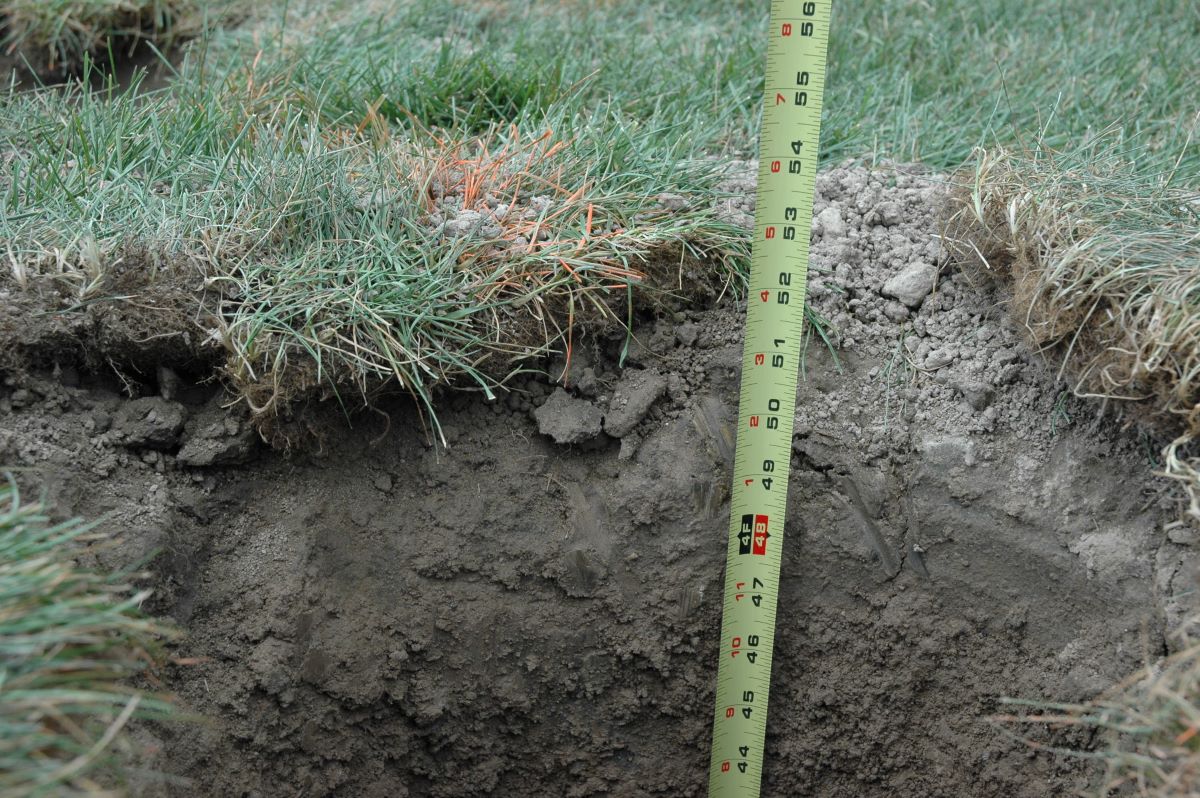
1. Determine Hole Depth: The depth of the holes will depend on various factors, including the height and type of your fence, as well as the soil conditions in your area. In general, a fence post should be buried at least one-third of its length into the ground. For example, if your post is 6 feet long, the hole should be at least 2 feet deep. However, it’s always a good idea to consult local building codes or check with fence installation professionals for specific recommendations.
2. Measure Hole Diameter: The diameter of the holes will typically be determined by the size of your fence posts. Typically, a hole diameter of about 2-3 times the width of the post is recommended. For example, if you have 4×4-inch fence posts, your hole diameter should be around 8-12 inches. Again, consult your specific fence manufacturer’s guidelines for more accurate measurements.
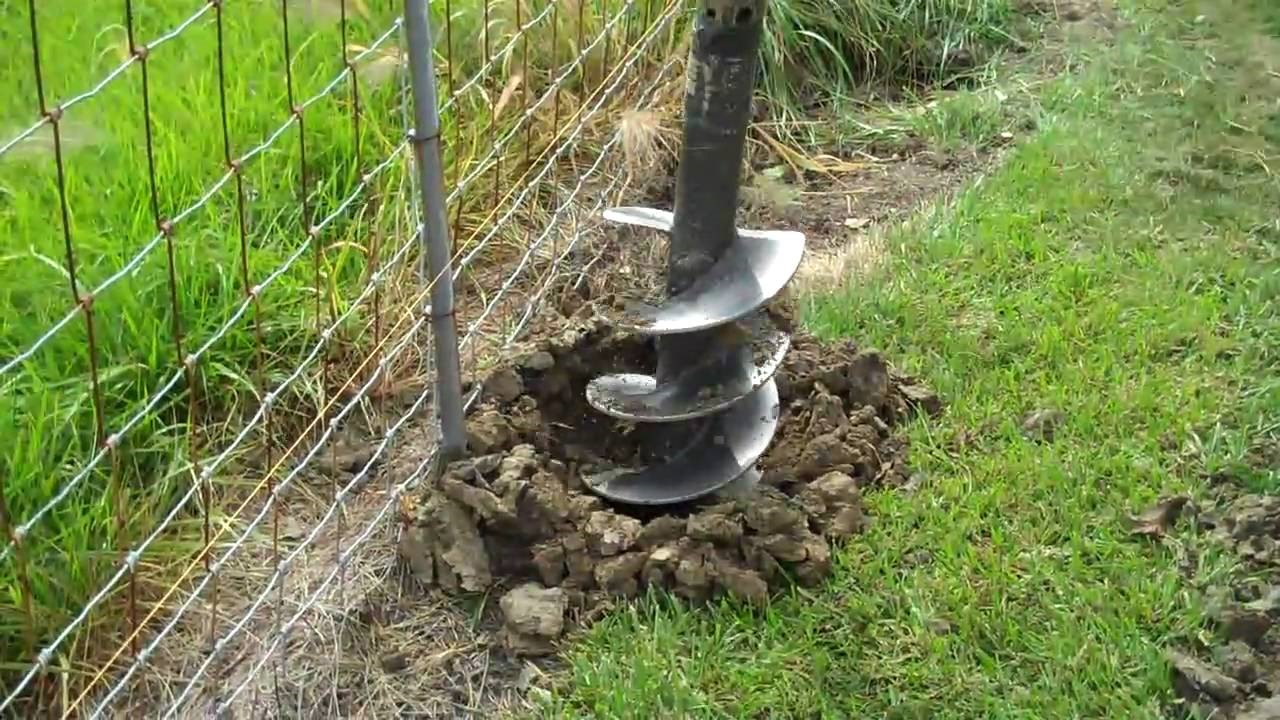
3. Use a Post Hole Digger or Auger: Depending on the size and number of holes needed, you can use a manual post hole digger or a mechanical auger. A post hole digger requires physical effort but is suitable for smaller projects. An auger, on the other hand, is more efficient and can quickly dig larger and deeper holes. Make sure to follow the manufacturer’s instructions for safe and proper use.
4. Start Digging: Begin digging the holes at each marked spot along the fence line. Dig straight down, removing the soil from the hole. Take breaks periodically to check the depth and diameter of the hole using a tape measure or a level. Aim for a consistent depth and diameter throughout the project to ensure a uniform look for your fence posts.
5. Clear the Hole: Once you’ve reached the desired depth and diameter, remove any excess dirt or debris from the hole. This will provide a clean and stable base for the fence post. Use a shovel or a small hand trowel to clear the dirt and create a flat bottom in the hole.
6. Repeat the Process: Continue digging the remaining holes along the fence line, following the same procedure. Make sure to maintain the proper spacing between each hole and keep checking the alignment and depth as you go.
By following these steps, you will be able to efficiently dig the holes for your fence posts. Taking the time to dig the holes properly will ensure a strong foundation for your fence and contribute to its overall stability and durability.
When lining up fence posts, use a string line to ensure they are in a straight line. Set the end posts first, then use the string line to guide the placement of the intermediate posts. This will help create a professional-looking fence.
Read more: How To Extend Fence Posts
Preparing and Setting the First Fence Post
Setting the first fence post properly is crucial for the alignment and stability of your entire fence. This initial post will serve as a reference point for the rest of your fence installation. Here’s a step-by-step guide on preparing and setting the first fence post:
1. Check Alignment and Height: Before setting the post, double-check the alignment and height of the fence line. Ensure that the line is straight and level between the marked spots. Use a level to ensure the line is perfectly horizontal. Adjust the stakes or line if necessary.
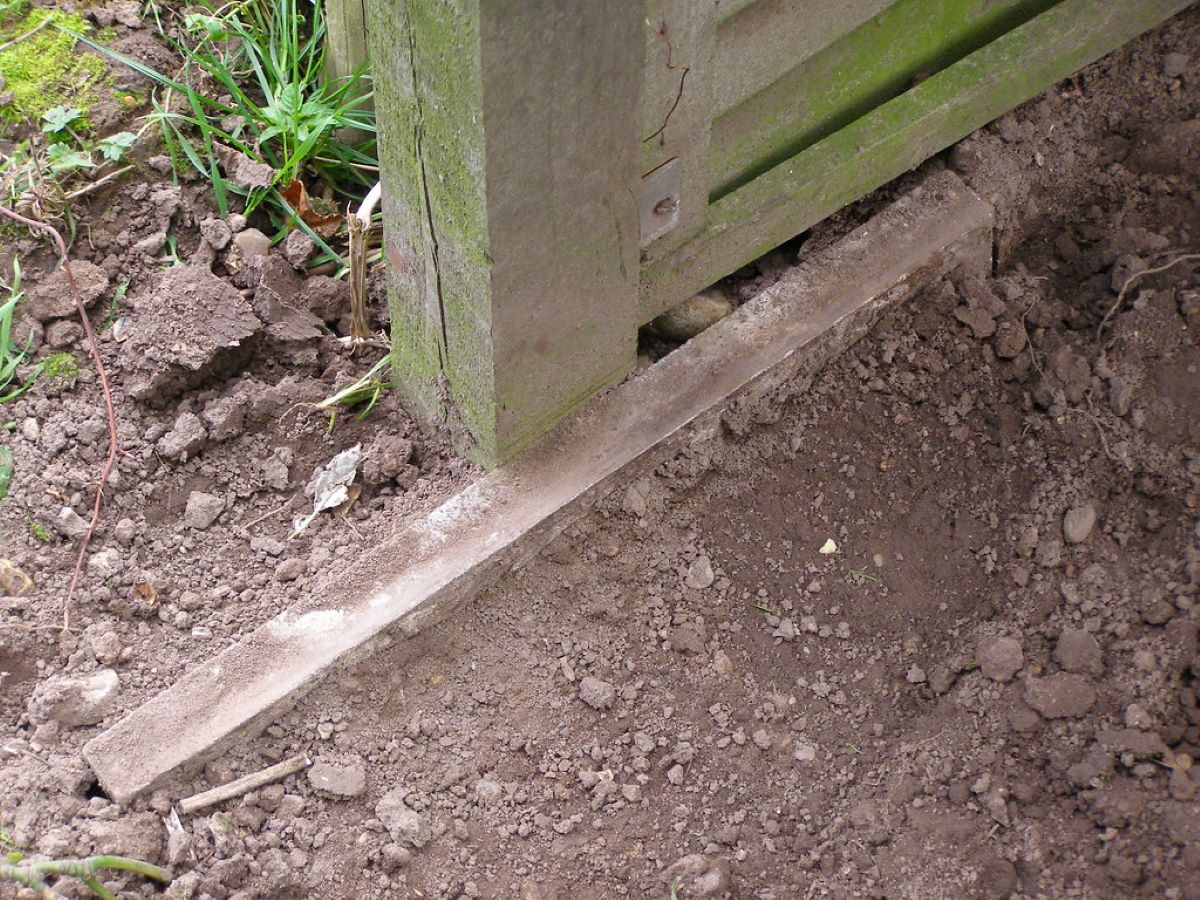
2. Mix Concrete: If you are using concrete to secure your fence posts, now is the time to mix it. Follow the manufacturer’s instructions to create the appropriate concrete mixture. Alternatively, you can use gravel or tamped soil if preferred, although concrete provides the best stability.
3. Dig a Wider Hole: For the first post, dig a slightly wider hole compared to the other fence post holes. This will allow room for additional support material around the base of the post. Aim for a hole diameter that is about twice the width of the fence post.
4. Place Gravel or Tamped Soil: To provide a stable base, place a few inches of gravel or tamped soil at the bottom of the hole. This will help with drainage and prevent the bottom of the post from sitting in water or moisture for an extended period.
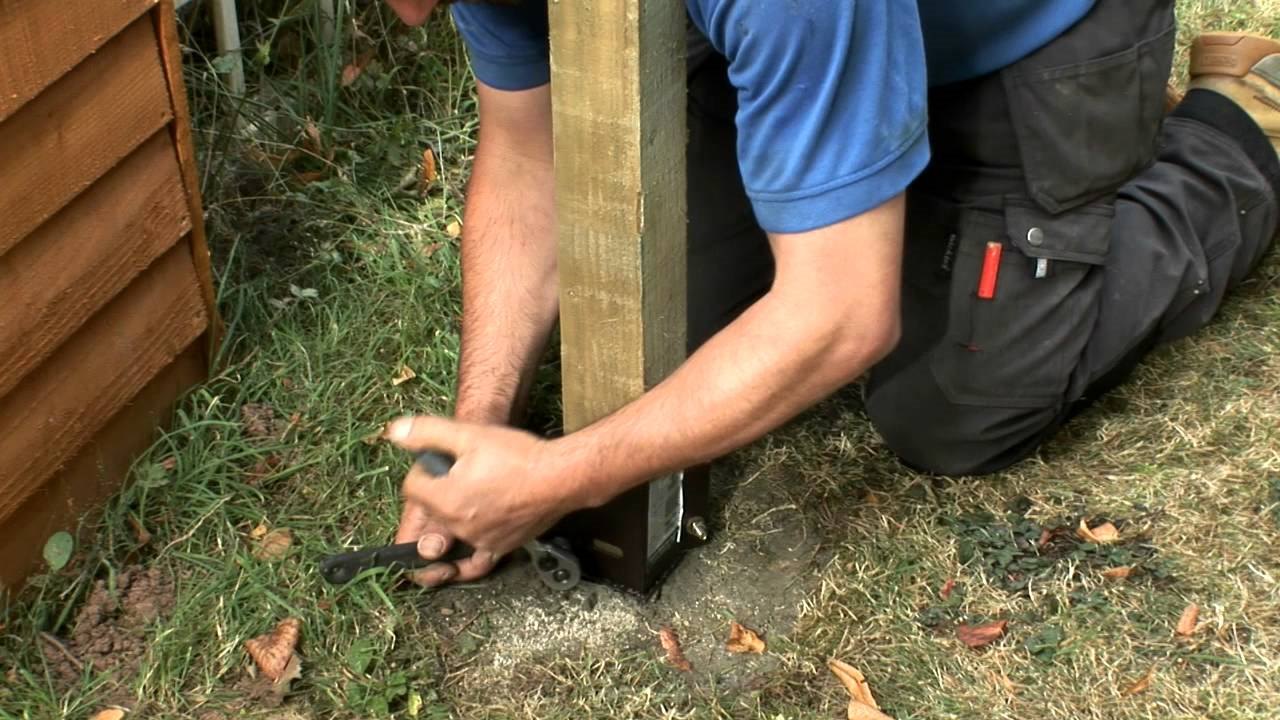
5. Insert the Post: Carefully place the first fence post into the hole, ensuring it is centered and level. Use a level to confirm that the post is perfectly vertical. Adjust as necessary by adding or removing soil or gravel from the hole.
6. Pour Concrete: If using concrete, slowly pour the mixture into the hole around the post, filling it up to a few inches below the ground level. As you pour, periodically tamp the concrete with a rod or shovel handle to remove any air pockets and ensure proper adhesion. Continue this process until the hole is completely filled.
7. Brace the Post: To keep the first post in place while the concrete sets, brace it with stakes or temporary supports. Use a level to ensure the post remains straight during this process. The concrete will need sufficient time to cure, so consult the manufacturer’s instructions for the recommended curing time.
By following these steps, you will be able to properly prepare and set the first fence post. This will provide a solid foundation for your entire fence and ensure that your fence line remains straight and level. Remember to allow adequate time for the concrete to cure before moving on to the next step of aligning and setting the remaining fence posts.
Aligning and Setting the Remaining Fence Posts
Once you have prepared and set the first fence post, it’s time to align and set the remaining posts along the fence line. Proper alignment of the posts is crucial for a straight and evenly spaced fence. Here’s a step-by-step guide on aligning and setting the remaining fence posts:
1. Align the Post: Start at the first post and stretch a string or mason’s line tightly between it and the next post. This line will serve as a guide to align the remaining fence posts. Ensure that the line is level and straight between each post.
2. Position the Post: Stand the next fence post upright and position it at the marked spot along the fence line, using the string as a reference. Adjust the post’s position until it aligns perfectly with the string and is plumb vertically. Use a level to check the alignment in all directions.
3. Brace the Post: Once the post is aligned and in position, brace it temporarily to keep it upright. You can use stakes or temporary supports to secure the post. Ensure that the post remains straight and level throughout this process.
4. Repeat the Process: Move along the fence line, aligning and setting each remaining fence post in the same manner. Use the string as a guide to ensure that the posts are evenly spaced and aligned with one another. Double-check the alignment and plumbness of each post before bracing them.
5. Adjust Height: As you set each post, ensure that the height remains consistent across all posts. Use a tape measure or level to ensure that each post is set at the desired height above the ground. Make any necessary adjustments to keep the height uniform.
6. Secure the Posts: Once all the posts are aligned and set, it’s time to secure them permanently. If you are using concrete, follow the same process as with the first post, pouring the mixture into each hole and tamping it down to remove air pockets. If using alternative methods like gravel or tamped soil, ensure that each hole is properly filled and compacted.
7. Remove Braces: Once the concrete has cured or the alternative method has been adequately set, you can remove the temporary braces or supports from each post. Take care not to disturb or shift the posts during this process.
By following these steps, you will be able to align and set the remaining fence posts accurately. Ensuring that each post is properly aligned, straight, and evenly spaced will contribute to the overall stability and visual appeal of your fence.
Backfilling and Tamping the Holes
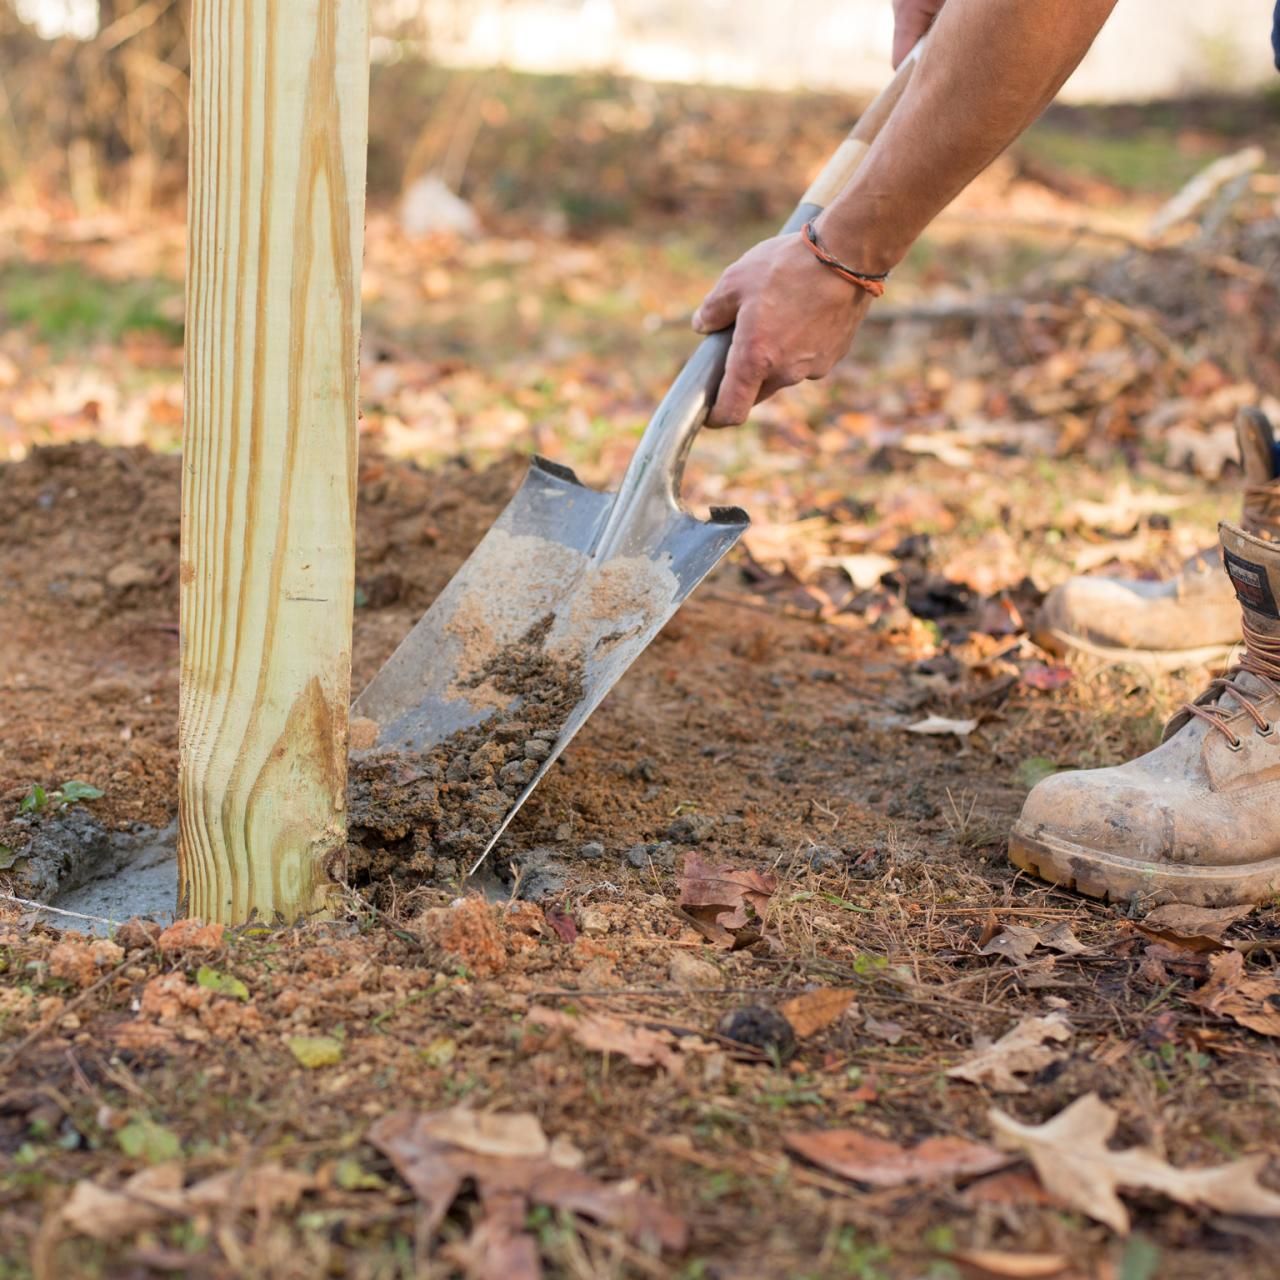
After setting the fence posts, the next step is to backfill the holes and tamp the soil to provide stability and support. Properly backfilling and tamping the holes will help prevent shifting or leaning of the posts over time. Here’s a step-by-step guide on backfilling and tamping the holes:
1. Backfill with Soil: Begin by backfilling the hole with the soil that was initially removed when digging. Fill the hole gradually, ensuring that the soil is evenly distributed around the post. Use a shovel or your hands to firmly pack the soil as you go, eliminating any air pockets.
2. Tamp the Soil: Once the hole is partially filled with soil, use a tamping tool or the back of the shovel to compact the soil around the post. Start from the bottom and work your way up, applying firm pressure with each tamp. This process will help eliminate any remaining air pockets and create a stable foundation for the post.
3. Continue Backfilling and Tamping: Repeat the backfilling and tamping process until the hole is completely filled. Make sure to pack the soil tightly around the entire circumference of the post. Keep adding soil and tamping it down until the hole is flush with the ground level.
4. Maintain Post Alignment: Throughout the backfilling and tamping process, pay attention to the alignment and plumbness of each fence post. Periodically check that the posts remain straight and aligned as you fill and tamp the soil. If any adjustments are needed, make them before adding more soil.
5. Add Water: If the soil is dry or not easily compacted, moisten it slightly with water as you fill the hole. This will help bind the soil particles together and enhance stability. However, be careful not to overwater, as excessive moisture can cause the soil to become loose over time.
6. Level the Soil Surface: Finally, once the hole is completely backfilled and tamped, use a rake or shovel to level the soil surface around the post. Ensure that the ground is smooth and even, blending it with the surrounding area. This will provide a clean and finished appearance to your fence installation.
By following these steps, you will effectively backfill and tamp the holes, providing stability and support for your fence posts. Properly compacted soil will minimize the risk of post movement and ensure the longevity of your fence.
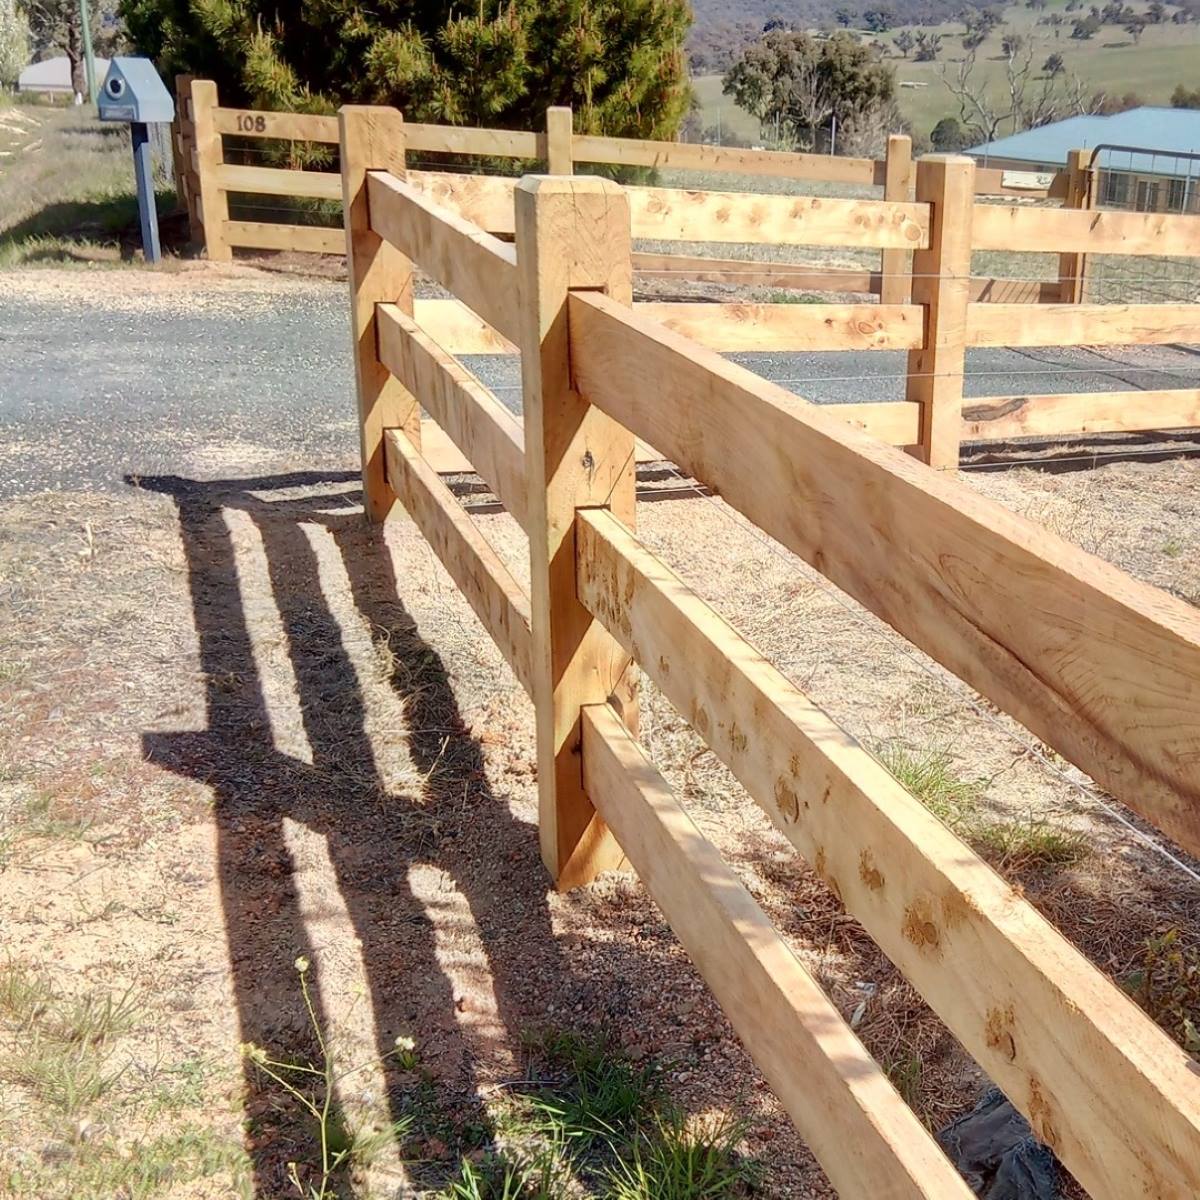
Attaching the Fence Rails or Panels
Once the fence posts are set and the holes are backfilled and tamped, it’s time to attach the fence rails or panels to complete the installation. The method of attachment will depend on the type of fence you are building. Here’s a step-by-step guide on attaching the fence rails or panels:
1. Measure and Cut Rails or Panels: If you are using individual rails, measure the distance between each fence post and cut the rails to fit. Ensure that the rails are level and evenly spaced along the length of the fence. If you are using fence panels, measure the distance between each post to determine the number of panels needed. Trim panels if necessary to create a proper fit.
2. Position First Rail or Panel: Start at one end of the fence and position the first rail or panel. Depending on the type of fence, you may need brackets or connectors to attach the rails or panels to the fence posts. Align the rail or panel with the top and bottom of the posts and make sure it is level.
3. Attach the Rail or Panel: Use appropriate fasteners, such as screws or nails, to attach the rail or panel to the fence posts. Ensure that you are using the correct size and type of fastener for your specific fence material. Avoid over-tightening the fasteners, as this can cause damage or distortion to the rails or panels.
4. Secure Additional Rails or Panels: Proceed to attach the remaining rails or panels in the same manner. Keep them level and properly spaced along the length of the fence. Use a level to ensure that each rail or panel is straight and aligned correctly with the posts.
5. Check for Stability: After the rails or panels are attached, check the stability of the fence. Give it a gentle shake to ensure it is securely fastened to the posts. Make any necessary adjustments or tighten any loose connections to ensure the fence is stable and sturdy.
6. Finishing Touches: Once all the rails or panels are attached and the fence is secure, take a step back and inspect the overall appearance. Trim any excess materials or make any final adjustments to achieve a polished and professional look for your fence.
It’s important to follow the manufacturer’s instructions for your specific fence type and materials when attaching the rails or panels. This will ensure proper installation and longevity of your fence. Keep in mind that the attachment method may differ for different fence styles, such as privacy fences, picket fences, or chain-link fences.
By following these steps, you will successfully attach the fence rails or panels, bringing your fence installation to completion. Take pride in your hard work and enjoy the benefits of a beautiful and functional fence for your property.
Read more: How To Repair A Fence Post
Conclusion
Congratulations! You have successfully learned how to line up fence posts and complete a fence installation. By following the steps outlined in this article, you have gained the knowledge and skills necessary to create a sturdy and visually appealing fence that will enhance the security and privacy of your property.
Throughout the process, we discussed the importance of gathering the necessary materials and tools, determining the appropriate spacing between fence posts, marking the fence line accurately, and digging the holes with precision. We also covered the crucial steps of preparing and setting the first fence post, aligning and setting the remaining fence posts, backfilling and tamping the holes, and finally, attaching the fence rails or panels.
Remember, proper alignment and spacing of fence posts are vital for the structural integrity and aesthetic appeal of your fence. Taking the time and care to complete each step correctly will ensure a strong and reliable fence that will withstand the test of time and provide you with years of security and enjoyment.
As you complete your fence installation, make sure to consult any local building codes or regulations to ensure compliance and obtain any necessary permits. Additionally, always prioritize safety by wearing appropriate protective gear and following any safety guidelines provided by the manufacturer.
Now that you have mastered the art of lining up fence posts, feel confident in applying your new skills to future fencing projects. Whether you are constructing a simple backyard fence or tackling a more complex installation, you now have the foundation to create a fence that will not only serve its purpose but also enhance the beauty and value of your property.
Thank you for joining us on this journey, and we wish you the best of luck as you embark on your fence installation project!
Frequently Asked Questions about How To Line Up Fence Posts
Was this page helpful?
At Storables.com, we guarantee accurate and reliable information. Our content, validated by Expert Board Contributors, is crafted following stringent Editorial Policies. We're committed to providing you with well-researched, expert-backed insights for all your informational needs.


0 thoughts on “How To Line Up Fence Posts”