Articles
How To Make A Fence Straight
Modified: August 17, 2024
Learn how to make your fence perfectly straight with our helpful articles. Get expert tips and tricks for achieving a professional-looking fence installation.
(Many of the links in this article redirect to a specific reviewed product. Your purchase of these products through affiliate links helps to generate commission for Storables.com, at no extra cost. Learn more)
Introduction
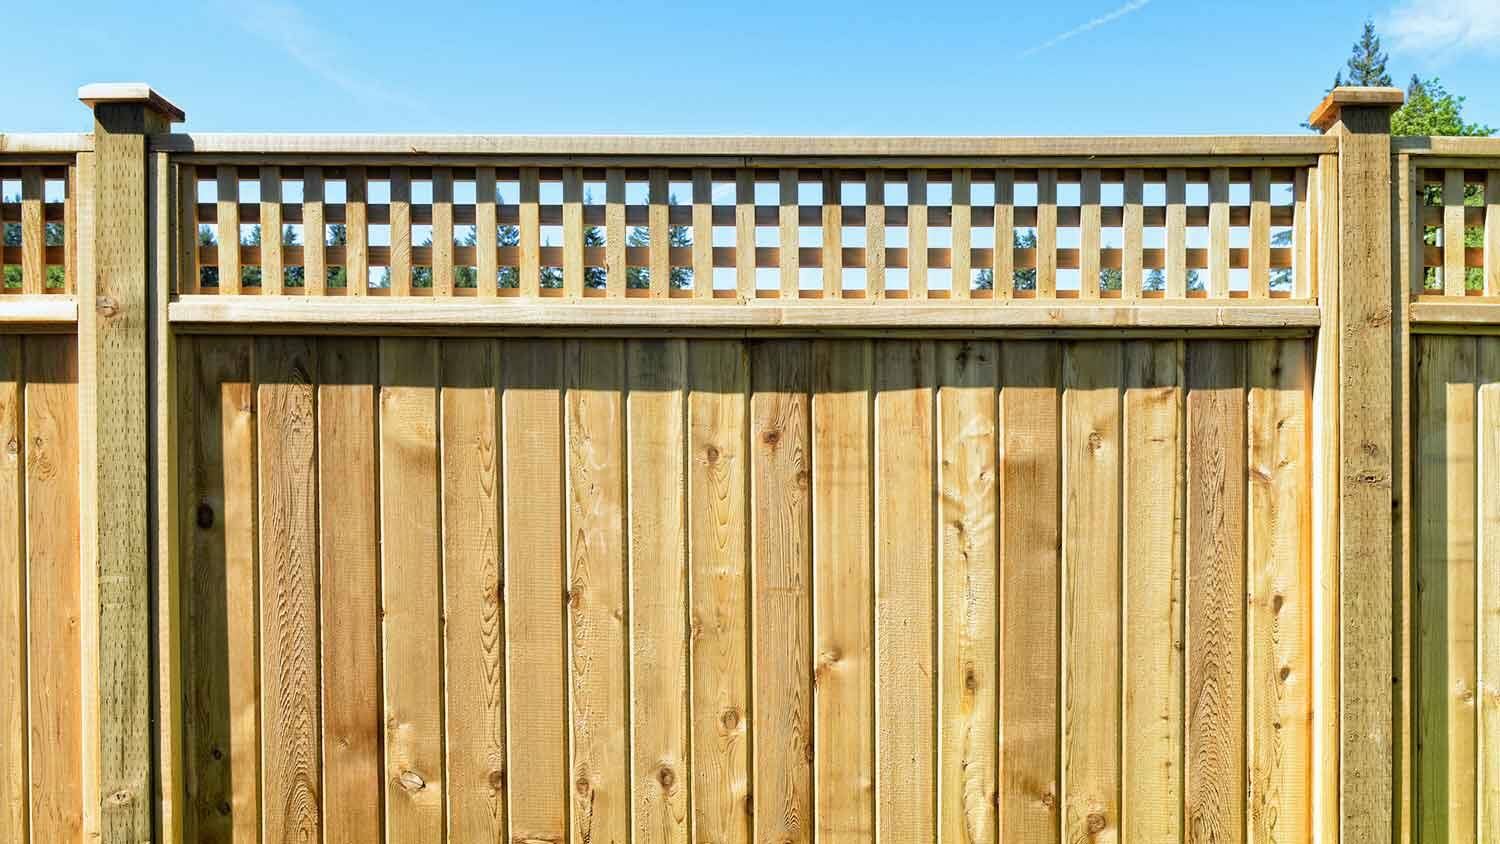
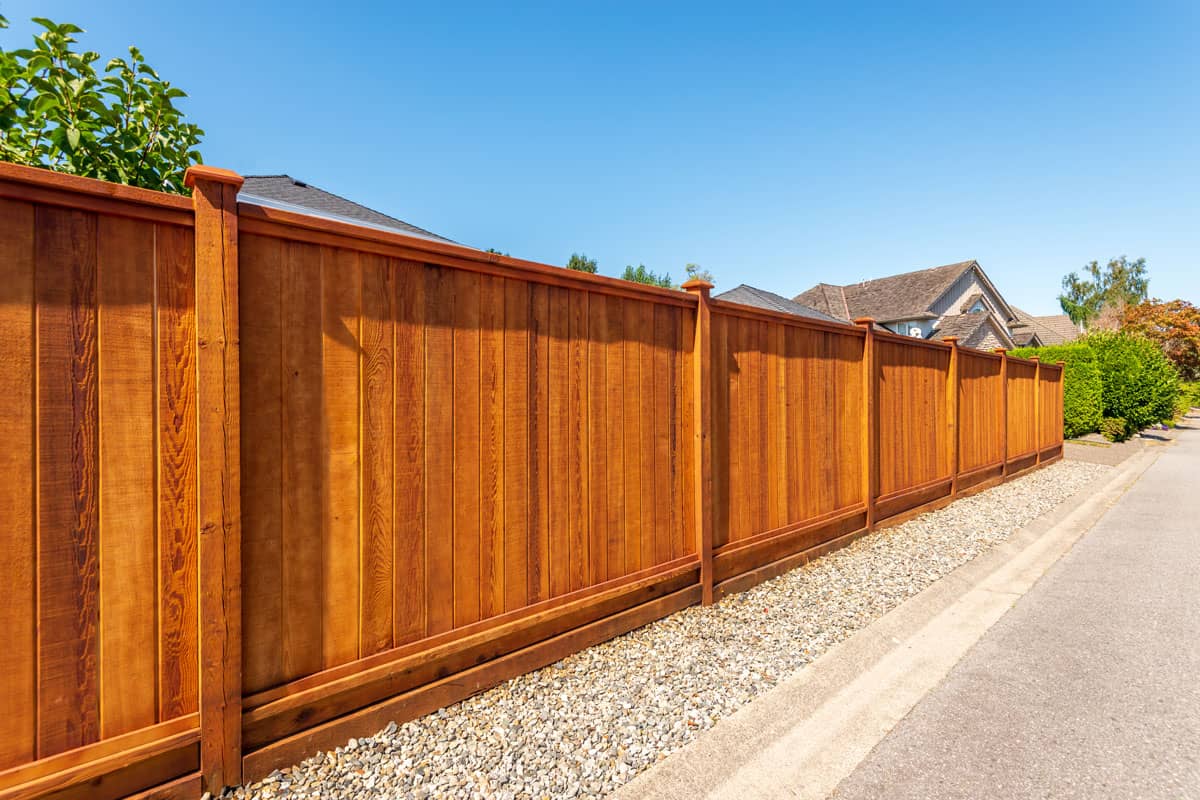
Building a fence is not only about creating a boundary around your property; it is also an opportunity to enhance your home’s curb appeal and provide privacy and security. However, one of the common challenges that people face when building a fence is ensuring that it is straight. A crooked fence not only looks unappealing but also compromises its functionality.
In this article, we will guide you through the step-by-step process of making a fence straight, from gathering the necessary tools and materials to the finishing touches. Whether you are a DIY enthusiast or a homeowner looking to undertake this project for the first time, following these steps will help you achieve a perfectly straight fence.
Before we dive into the specifics, it is important to note that building a fence requires proper planning, precision, and attention to detail. By following these guidelines, you can ensure that your fence not only stands tall and straight but also adds value to your property.
So, let’s get started and learn how to make a fence straight!
Key Takeaways:
- Building a straight fence requires careful planning, precise measurements, and attention to detail. Each step, from setting the corner posts to securing the fence rails, plays a crucial role in achieving a visually appealing and functional fence.
- Regular maintenance, including painting, inspecting for damage, and cleaning, is essential for preserving the longevity and aesthetic appeal of your straight fence. By taking the time to maintain your fence, you can ensure its durability and visual appeal for years to come.
Read more: How To Make A Stucco Fence
Step 1: Gather the necessary tools and materials
Before you begin building your fence, it is crucial to gather all the necessary tools and materials. Having everything on hand will save you time and ensure a smooth construction process. Here is a list of the tools and materials you will need:
- Fence posts
- Fence rails or panels
- Posthole digger or auger
- Level
- Tape measure
- String or chalk line
- Concrete mix
- Shovel
- Hammer
- Drill
- Saw
- Nails or screws
- Wood or metal brackets (if using panels)
- Paint or stain (optional)
Make sure to gather high-quality materials that are suitable for your specific type of fence. Whether you are building a wooden picket fence or a metal chain-link fence, choose materials that are durable and weather-resistant.
Additionally, ensure that your tools are in good condition. Sharp saw blades, sturdy hammers, and functional drills will make the construction process easier and more efficient. If you don’t already own these tools, consider renting them from a local hardware store to save money.
Once you have gathered all the necessary tools and materials, you are ready to move on to the next step: identifying and marking the starting and ending points of your fence.
Step 2: Identify and mark the starting and ending points of your fence
Before you can start building your fence, you need to determine the starting and ending points. This will help you visualize the layout of your fence and ensure that it aligns properly with your property boundaries.
Here are the steps to identify and mark the starting and ending points:
- Consult your property survey: If you have a property survey or plot plan, refer to it to identify the exact property boundaries. This will help you determine where your fence should begin and end.
- Measure and mark the corners: Use a tape measure to measure the distance from the corner of your property to where you want your fence to start. Place a stake or marker at each corner to indicate the starting and ending points.
- Use string or chalk line: Connect the stakes with string or use a chalk line to create a straight line that represents the path of your fence. This line will serve as a guide throughout the construction process.
- Check for obstacles: Before proceeding, check for any underground utilities, such as gas or water lines, that may be in the way. Contact the appropriate utility companies to ensure it is safe to dig in the designated area.
By taking the time to identify and mark the starting and ending points of your fence, you can ensure that it is positioned correctly and aligns with your property boundaries. This will help you avoid any potential disputes with neighbors and maintain a well-organized construction process.
Once you have marked the starting and ending points, you can move on to the next step: setting the corner posts.
Step 3: Set the corner posts
Setting the corner posts is a crucial step in ensuring the stability and straightness of your fence. These posts will act as an anchor for the entire structure. Here’s how to set the corner posts:
- Measure and mark the location: Measure the distance from the starting point to the first corner post location. Use a tape measure and mark the spot with a stake or marker.
- Dig the postholes: Use a posthole digger or auger to dig a hole that is approximately one-third of the total length of the corner post. For example, if your posts are 6 feet tall, dig a hole that is approximately 2 feet deep.
- Check for level: Place the corner post into the hole and use a level to ensure it is perfectly plumb. Adjust the post as necessary by adding or removing soil from the hole.
- Secure the post: Once the post is leveled, fill the hole with concrete mix, following the manufacturer’s instructions. Ensure that the post remains in its upright position while the concrete sets.
- Repeat for the remaining corners: Repeat these steps for the remaining corners. Use a string or chalk line to ensure that the corner posts are in line with each other.
Setting the corner posts properly is vital for the stability and overall straightness of your fence. Take your time to measure accurately and check for level at each corner. Remember to allow the concrete to fully set before proceeding to the next step.
Once the corner posts are securely set, you can move on to the next step: installing the intermediate posts.
Step 4: Install the intermediate posts
After setting the corner posts, it’s time to install the intermediate posts. These posts will provide additional support and stability to your fence. Follow these steps to install the intermediate posts:
- Measure and mark the post locations: Measure the distance between the corner posts and evenly space out the intermediate post locations. This will depend on the length of your fence rails or panels. Typically, posts are spaced 6 to 8 feet apart.
- Dig the postholes: Use a posthole digger or auger to dig holes for the intermediate posts. The holes should be approximately one-third of the length of the posts and deep enough to ensure stability.
- Check for level: Place each post in its respective hole and use a level to ensure it is plumb. Adjust the posts as necessary by adding or removing soil from the holes.
- Secure the posts: Once the posts are leveled, fill the holes with concrete mix, following the manufacturer’s instructions. Allow the concrete to set and secure the posts in place.
Installing the intermediate posts helps maintain the straightness and stability of your fence. Ensure that the posts are evenly spaced and aligned with the corner posts. Use a level and take your time to ensure each post is perfectly plumb before securing it with concrete.
Once all the intermediate posts are installed, you are ready to move on to the next step: securing the fence rails or panels.
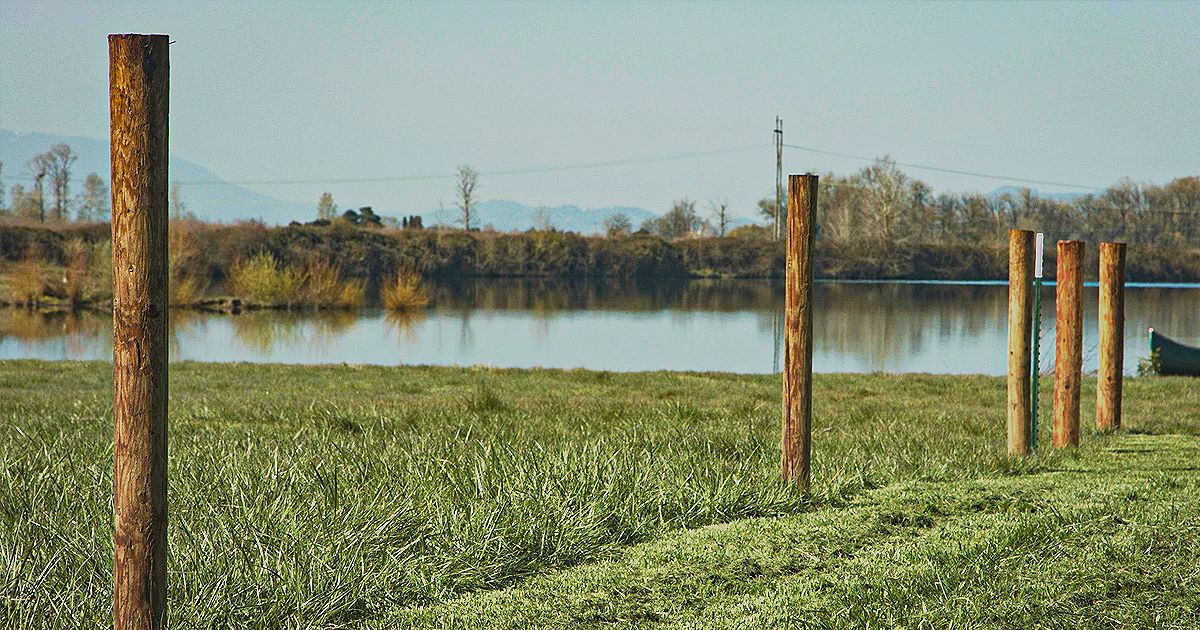
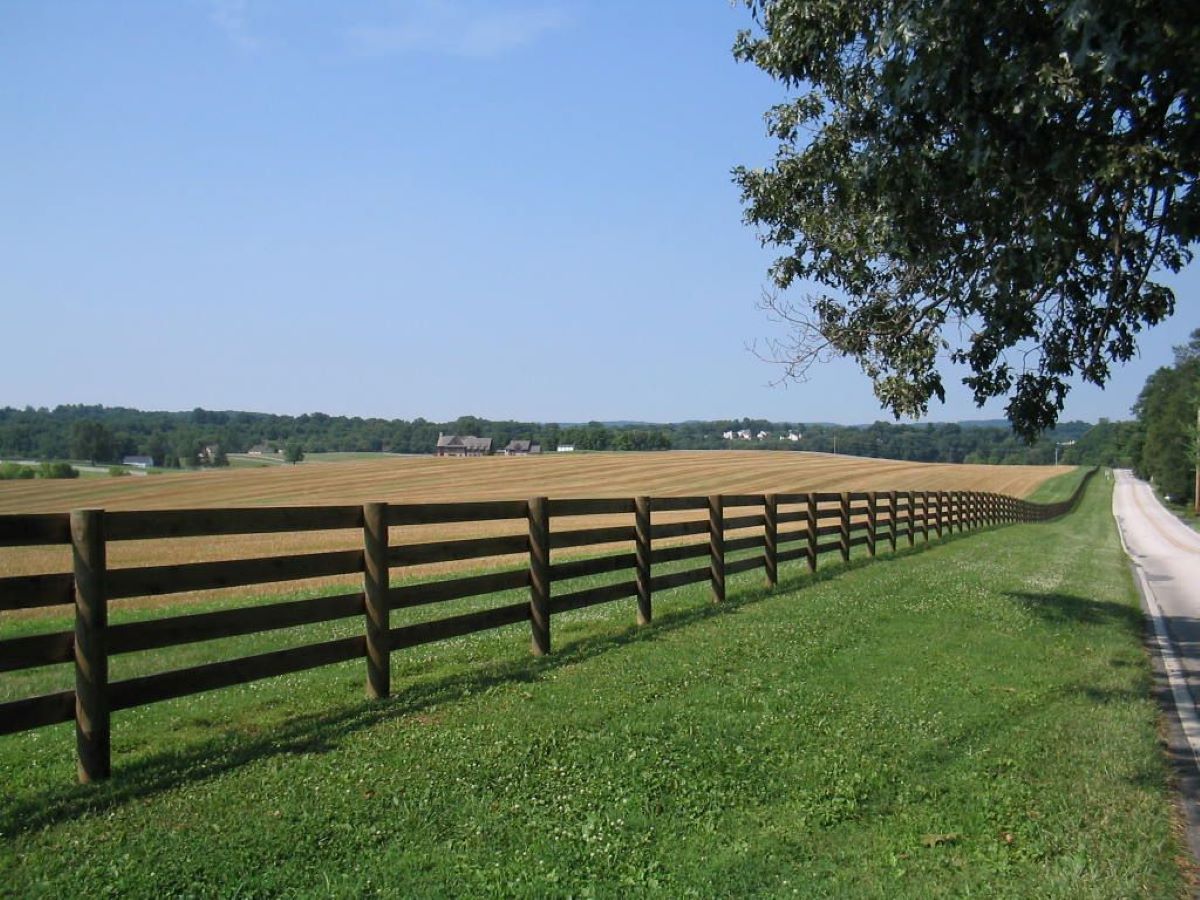
Use a string line to mark the desired fence line, then measure and adjust the distance from the line to the fence posts to ensure they are all in a straight line.
Read more: How To Make A Fence Door
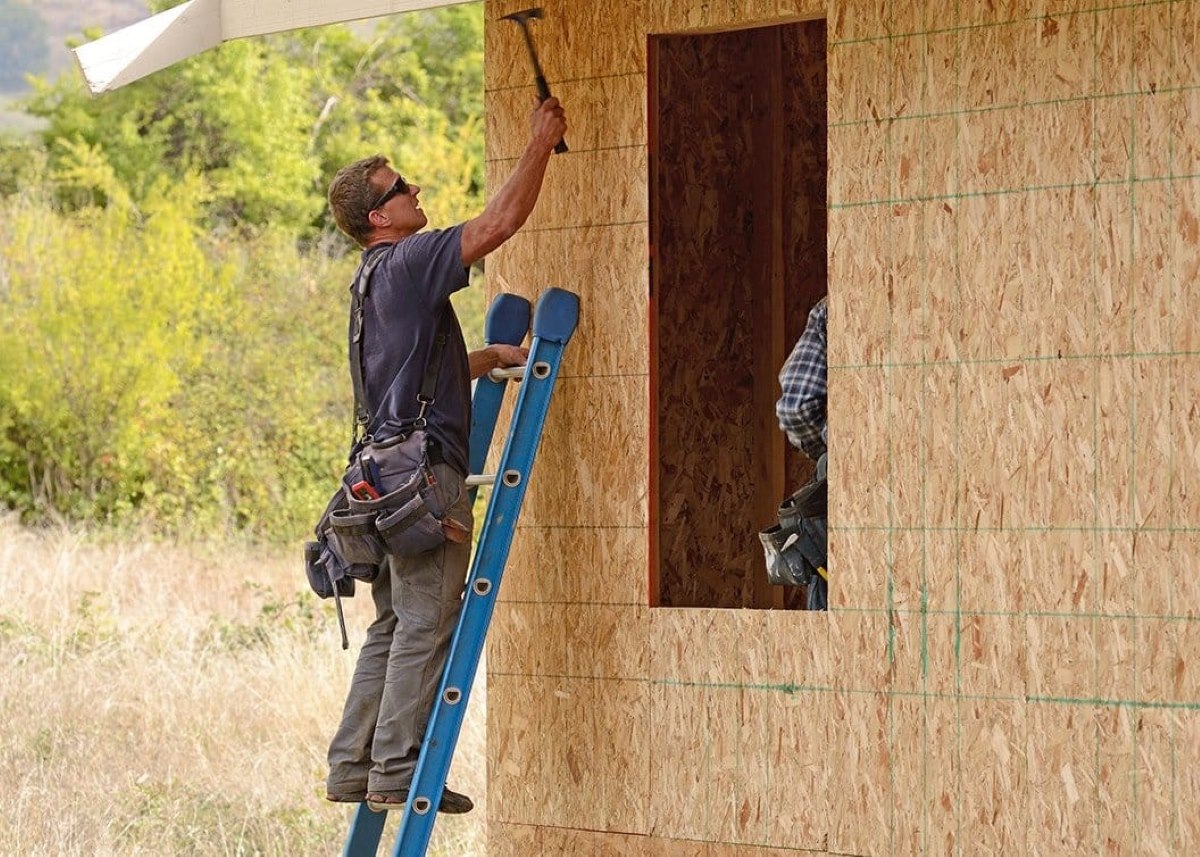
Step 5: Secure the fence rails or panels
Now that you have the posts set, it’s time to secure the fence rails or panels. How you do this will depend on the type of fence you are building. Follow these steps to secure your fence rails or panels:
- Position the rails or panels: Place the rails or panels in between the corner and intermediate posts. Ensure that they are level and aligned with the top and bottom of the posts.
- Attach the rails or panels: If you are using wooden rails, attach them to the posts using nails or screws. If you are using panels, use wood or metal brackets to secure them to the posts.
- Check for level and alignment: Use a level to verify that the rails or panels are straight and level. Make any necessary adjustments before proceeding.
When attaching the rails or panels, ensure that they are securely fastened to the posts. This will ensure the stability and longevity of your fence. Take your time to check for level and alignment, as any discrepancies at this stage can affect the overall appearance and straightness of your fence.
With the fence rails or panels securely attached, let’s move on to the next step: checking for straightness and making necessary adjustments.
Step 6: Check for straightness and make necessary adjustments
After securing the fence rails or panels, it’s important to check for straightness. Ensuring that your fence is straight will not only enhance its visual appeal but also optimize its functionality. Here’s how to check for straightness and make any necessary adjustments:
- Use a string or chalk line: Attach a string or chalk line to the corner posts at the desired height of your fence. Pull it taut along the length of the fence to create a straight reference line.
- Check alignment: Stand back and visually check if the fence rails or panels align with the reference line. Look for any deviations or gaps between the fence and the line.
- Make adjustments if needed: If you notice any areas that are not aligned or straight, make the necessary adjustments. This may involve loosening and repositioning the rails or panels or adding shims for support.
- Recheck for straightness: After making adjustments, recheck for straightness using the reference line. Continue to make any additional adjustments until your fence appears straight and aligned.
It’s important to take the time to check for straightness and make any necessary adjustments. Even minor deviations can impact the overall appearance of your fence. By ensuring that your fence is straight, you’ll achieve a professional and polished result.
Once you are satisfied with the straightness of your fence, it’s time to move on to the next step: securing the fence posts in the ground.
Step 7: Secure the fence posts in the ground
Securing the fence posts in the ground is crucial for the stability and longevity of your fence. Here’s how to secure the posts:
- Prepare the holes: Dig a hole around each fence post, ensuring that it is deep enough to provide adequate support. The depth will depend on the height of your fence and local building codes. Typically, a depth of at least one-third the height of the post is recommended.
- Add gravel or drainage material: Before placing the posts in the holes, add a layer of gravel or drainage material at the bottom. This will help promote proper water drainage and prevent the posts from rotting.
- Place the posts: Insert the fence posts into the prepared holes, making sure they are centered and aligned with the rest of the fence. Use a level to check for plumbness and make any necessary adjustments.
- Backfill and tamp: Fill the holes around the posts with soil, firmly packing it down as you go. Tamp the soil to ensure it is compact and provides stability to the posts.
It’s important to ensure that the fence posts are securely set in the ground. This will provide the necessary support to withstand external forces such as wind or pressure. Taking the time to properly secure the posts will result in a sturdy and long-lasting fence.
Once the fence posts are securely in the ground, you can move on to the final step: adding the finishing touches and performing regular maintenance.
Step 8: Finishing touches and maintenance
With the construction of your straight fence complete, it’s time to add the finishing touches and ensure regular maintenance to keep your fence looking its best. Here’s what you need to do:
- Paint or stain: If desired, apply a coat of paint or stain to your fence to enhance its appearance and provide added protection against the elements. Choose a high-quality product that is suitable for the material of your fence.
- Trim excess materials: Trim any excess materials such as protruding nails or screws to create a clean and polished finish. This will also help prevent any potential hazards.
- Inspect for damage: Regularly inspect your fence for any signs of damage or wear. Replace any broken or damaged boards, panels, or posts to maintain the structural integrity of the fence.
- Clean and maintain: Clean your fence regularly to remove dirt, debris, and mold growth. Depending on the material, you may need to pressure wash, scrub, or use specialized cleaning solutions. Follow the manufacturer’s instructions for proper maintenance.
- Perform routine upkeep: Inspect and tighten any loose screws or fasteners. Additionally, keep vegetation trimmed away from the fence to prevent damage and maintain its aesthetic appeal.
By adding these finishing touches and performing regular maintenance, you can ensure that your straight fence remains visually appealing and functional for years to come. Regular upkeep will extend the lifespan of your fence and help minimize the need for extensive repairs in the future.
With the completion of these steps, you have successfully learned how to make a fence straight and create a beautiful addition to your property. Enjoy the privacy, security, and visual appeal that your straight fence provides!
Remember, if you are unsure of any step or encounter any difficulties during the construction process, it’s always recommended to seek professional assistance or consult with an experienced contractor.
Happy fencing!
Read more: How To Make A Living Fence
Conclusion
Building a straight fence requires careful planning, attention to detail, and a methodical approach. By following the step-by-step process outlined in this article, you can create a fence that not only enhances the aesthetics of your property but also provides privacy and security.
Starting with gathering the necessary tools and materials, marking the starting and ending points, setting the corner and intermediate posts, securing the fence rails or panels, checking for straightness, and securing the fence posts in the ground, each step plays a crucial role in achieving a straight and sturdy fence.
Remember to take your time during each stage of the process, ensuring accurate measurements, level alignment, and making necessary adjustments when needed. This will help you achieve the desired straightness and maintain the integrity of your fence.
Once your fence is complete, don’t forget the finishing touches and regular maintenance. Applying a coat of paint or stain, performing routine inspections, cleaning, and upkeep will keep your fence looking its best and ensure its longevity.
Whether you are a seasoned DIY enthusiast or a homeowner embarking on this project for the first time, building a straight fence is an achievable task with satisfying results. The effort and attention you put into constructing a straight fence will not only enhance your property’s value but also provide a sense of accomplishment.
So, roll up your sleeves, gather your tools, and start building that beautiful, straight fence to add character and functionality to your space!
Frequently Asked Questions about How To Make A Fence Straight
Was this page helpful?
At Storables.com, we guarantee accurate and reliable information. Our content, validated by Expert Board Contributors, is crafted following stringent Editorial Policies. We're committed to providing you with well-researched, expert-backed insights for all your informational needs.


0 thoughts on “How To Make A Fence Straight”