Articles
How To Lubricate Fan Motor
Modified: October 19, 2024
Learn how to properly lubricate and maintain your fan motor with our informative articles. Keep your fan running smoothly and efficiently.
(Many of the links in this article redirect to a specific reviewed product. Your purchase of these products through affiliate links helps to generate commission for Storables.com, at no extra cost. Learn more)
Introduction
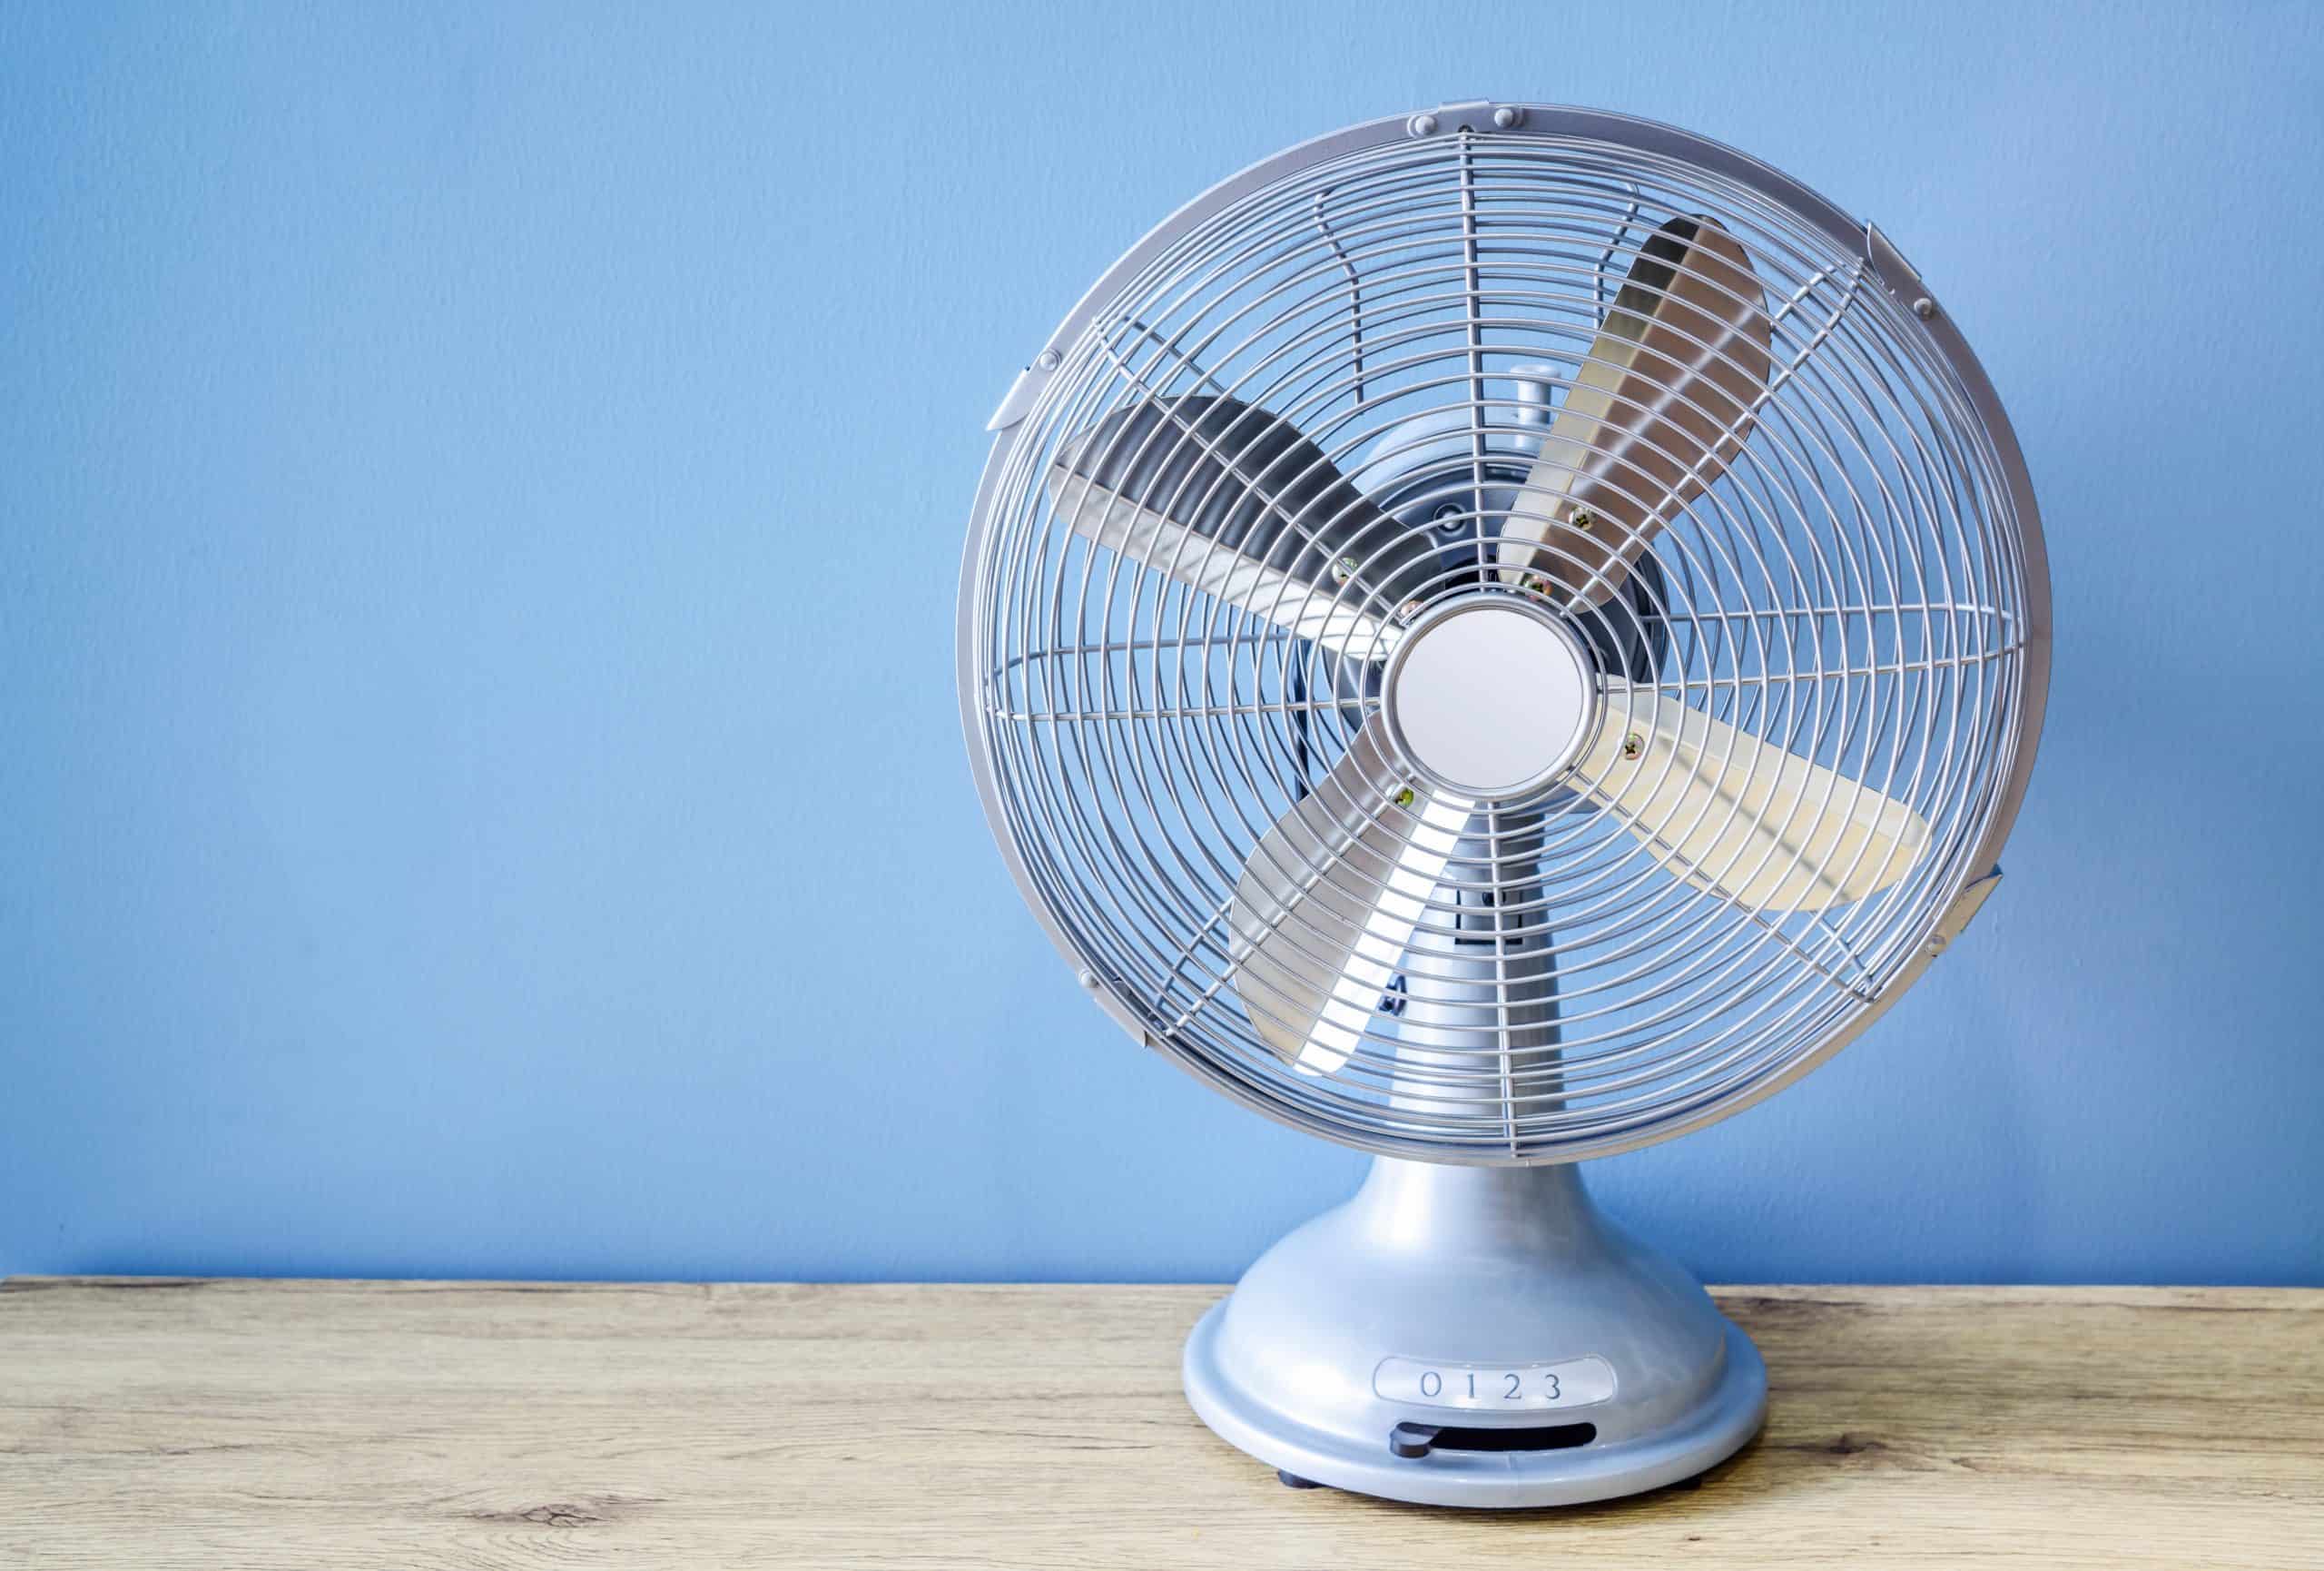
When it comes to keeping your fan running smoothly and efficiently, regular maintenance is key. One important aspect of fan maintenance is lubricating the fan motor. A properly lubricated fan motor can help reduce friction, minimize wear and tear, and prolong the lifespan of your fan.
In this article, we will guide you through the process of lubricating your fan motor, ensuring that your fan continues to operate at peak performance. We will cover the importance of lubrication, the necessary tools and materials, safety precautions, and step-by-step instructions on how to properly lubricate your fan motor.
Whether you have a ceiling fan, pedestal fan, or any other type of fan, this guide will provide you with the knowledge and confidence to effectively maintain and lubricate your fan motor. So, let’s dive in and learn how to keep your fan running smoothly!
Key Takeaways:
- Regular lubrication of your fan motor reduces friction, improves efficiency, extends lifespan, and ensures quieter operation, providing a peaceful and comfortable environment.
- Prioritize safety, gather necessary tools, choose the right lubricant, and follow step-by-step instructions to effectively lubricate and maintain your fan motor for optimal performance.
Read more: How To Lubricate A Ceiling Fan
Why lubricating the fan motor is important
Lubricating the fan motor is an essential maintenance task that should not be overlooked. Here are some key reasons why lubrication is important:
- Reduced friction: The fan motor consists of various moving parts that generate friction during operation. Over time, this friction can lead to increased wear and tear on the motor components. By lubricating the motor, you can reduce friction and minimize the strain on these parts, allowing for smoother and quieter operation.
- Improved efficiency: Friction in the motor can also result in increased energy consumption. When the motor has to work harder to overcome the friction, it requires more electricity to operate. By lubricating the motor, you can ensure that it runs efficiently, reducing energy consumption and ultimately saving you money on your electricity bills.
- Extended lifespan: Regular lubrication helps to prolong the lifespan of your fan motor. By reducing friction and minimizing wear and tear, you can prevent premature breakdowns and extend the overall durability of the motor. A well-maintained motor is less likely to suffer from overheating or mechanical failures, ensuring that your fan lasts for years to come.
- Quieter operation: If your fan is making unusual noises or sounds, it may be an indication that the motor needs lubrication. As the moving parts rub against each other without proper lubrication, they can create irritating squeaks, rattles, or grinding noises. By lubricating the motor, you can restore smooth operation and enjoy a peaceful and quiet environment.
- Prevention of rust and corrosion: Over time, the metal components of the motor can be prone to rust and corrosion. By applying lubrication, you create a protective barrier that prevents moisture from seeping into the motor and causing damage. Lubrication also helps to displace any existing moisture, maintaining the integrity of the motor and preventing rust formation.
By understanding the importance of lubricating your fan motor, you can ensure that your fan runs efficiently, quietly, and reliably. It is recommended to lubricate your fan motor at regular intervals to maintain its optimal performance and prolong its lifespan. Now that you know why it’s important, let’s move on to the tools and materials you will need for the lubrication process.
What you will need
Before you begin the process of lubricating your fan motor, it’s important to gather all the necessary tools and materials. Having everything prepared beforehand will help make the process smoother and more efficient. Here’s a list of what you will need:
- Safety goggles and gloves: It’s crucial to prioritize safety during any maintenance task. Make sure you have a pair of safety goggles to protect your eyes from any debris or splashing lubricant. Additionally, wear gloves to protect your hands from any sharp components or chemicals.
- Screwdriver or wrench: Depending on the type of fan you have, you may need a screwdriver or wrench to remove any screws or bolts that hold the fan housing together. Check the manufacturer’s instructions or the fan’s manual to determine the appropriate tool.
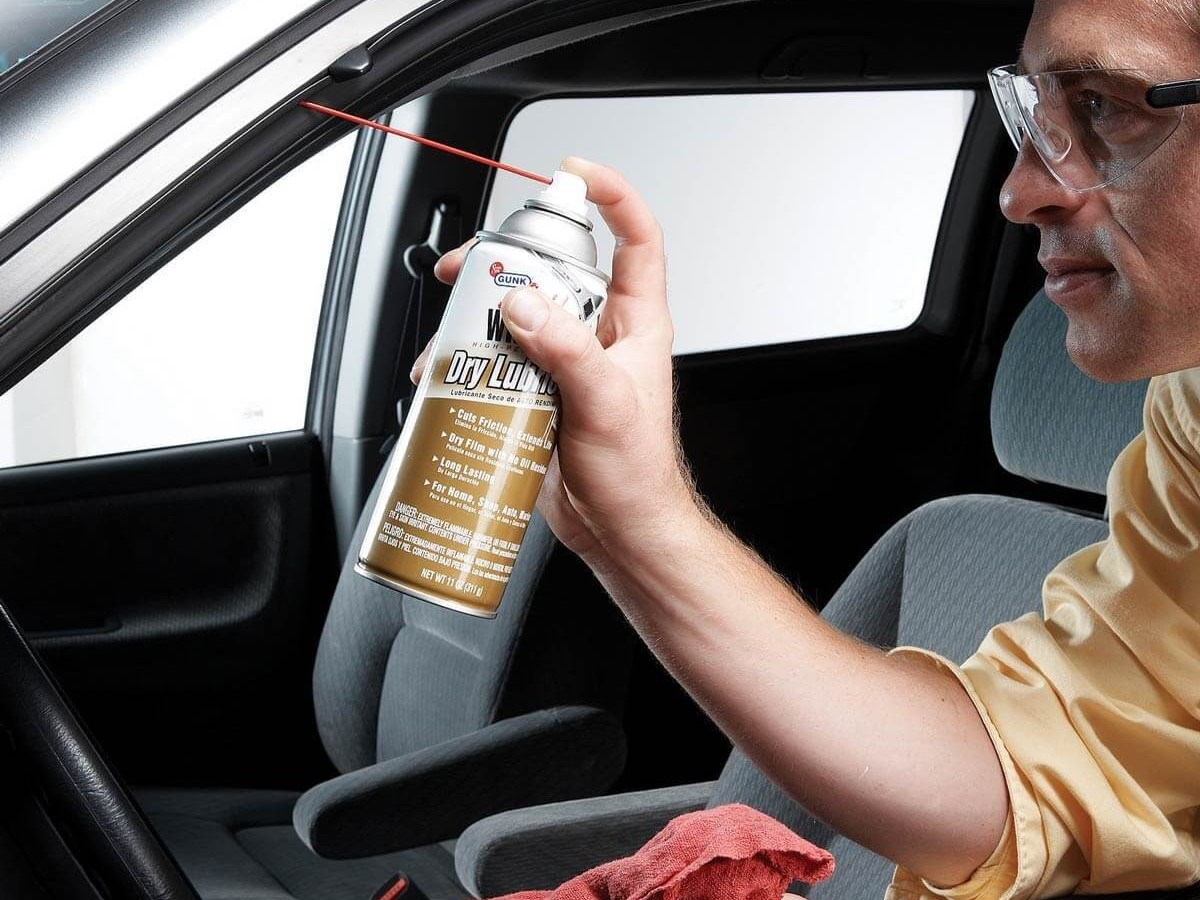
- Lubricating oil: Choosing the right lubricant is vital for the smooth operation of your fan motor. Look for a lightweight, non-detergent oil that is specifically designed for electric motors. Avoid using heavy oils or grease, as they can cause excessive buildup and hinder the motor’s performance.
- Ladder or step stool: If your fan is mounted on the ceiling or placed at a height, you may need a ladder or step stool to access the motor. Ensure that the ladder or stool is sturdy and positioned on a stable surface to prevent accidents.
- Clean cloth or paper towels: Before applying the lubricant, it’s important to clean the motor and remove any dust, debris, or old lubricant. A clean cloth or paper towels will come in handy for this purpose.
- Cleaner/Degreaser: If there is excessive grease or dirt build-up on the motor, you may need a cleaner or degreaser to remove it before lubricating. Choose a non-corrosive cleaner that is safe to use on electrical components. Remember to follow the instructions provided by the manufacturer.
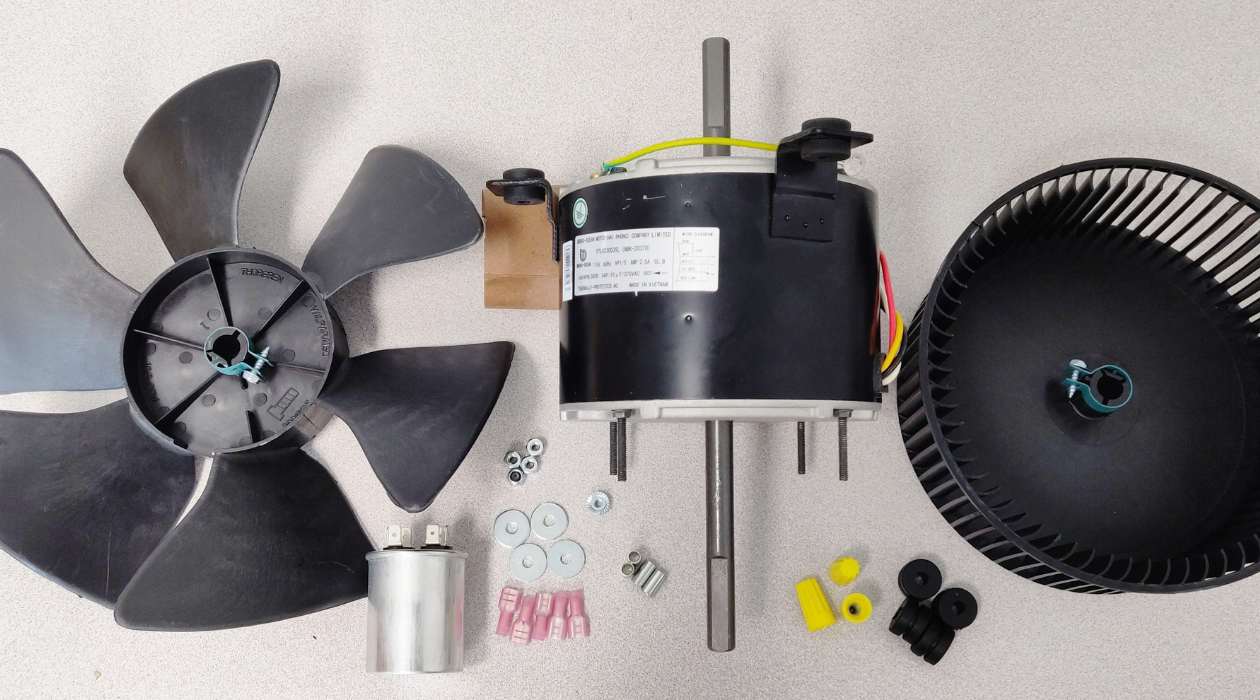
- Optional: Fan maintenance kit: Some manufacturers offer fan maintenance kits that include a lubricating oil, cleaning solution, and other accessories specifically designed for fan maintenance. If available, consider purchasing a fan maintenance kit to ensure that you have all the necessary items in one package.
By gathering these tools and materials before you begin, you’ll be well-prepared to effectively lubricate your fan motor. Now that you have everything you need, it’s time to move on to the necessary safety precautions to ensure a safe lubrication process.
Step 1: Safety precautions
Before you start lubricating your fan motor, it’s important to prioritize your safety. Follow these safety precautions to prevent any accidents or injuries:
- Turn off the power: Ensure that the fan is completely turned off and unplugged from the power source. This will prevent any accidental starts while working on the motor. If your fan is hardwired, turn off the circuit breaker that supplies power to the fan.
- Wear protective gear: Put on safety goggles to protect your eyes from any debris or splashing lubricant. Additionally, wear gloves to protect your hands from sharp components or chemicals.
- Work in a well-ventilated area: It’s important to have proper ventilation while working with lubricants or cleaning solutions. Open windows or doors or use exhaust fans to ensure adequate ventilation in the area where you’re working.
- Secure the fan: If you’re working on a ceiling fan, make sure it is properly secured and won’t fall while you’re working on it. If necessary, use a sturdy ladder or step stool and make sure it is placed on a stable surface.
- Read the manufacturer’s instructions: Familiarize yourself with the manufacturer’s instructions or the user manual for your specific fan model. This will provide you with any specific safety precautions or guidelines that you need to follow.
By following these safety precautions, you can ensure a safe and accident-free lubrication process. Now that you’ve taken the necessary safety measures, you can proceed to the next step: disconnecting the power supply.
Step 2: Disconnecting the power supply
Before you begin working on your fan motor, it’s important to disconnect the power supply to ensure your safety. Follow these steps to disconnect the power supply:
- Turn off the fan: If your fan has a power switch, turn it off. If not, use the wall switch to turn off the fan.
- Unplug the fan: Once the fan is turned off, unplug it from the power outlet. This will prevent any accidental starts while you’re working on the motor.
- Turn off the circuit breaker: If your fan is hardwired and doesn’t have a power switch or plug, locate and turn off the circuit breaker that supplies power to the fan. This step is crucial to prevent electric shock while working on the motor.
- Test the power supply: Ensure that the power supply is disconnected by turning on the fan or using a voltage tester. If the fan does not turn on and the voltage tester does not detect any current, you can proceed safely to the next step.
It’s important to double-check that the power supply is completely disconnected before moving on to the next steps. This will ensure your safety while working on the fan motor. Now that you have disconnected the power supply, let’s move on to accessing the fan motor.
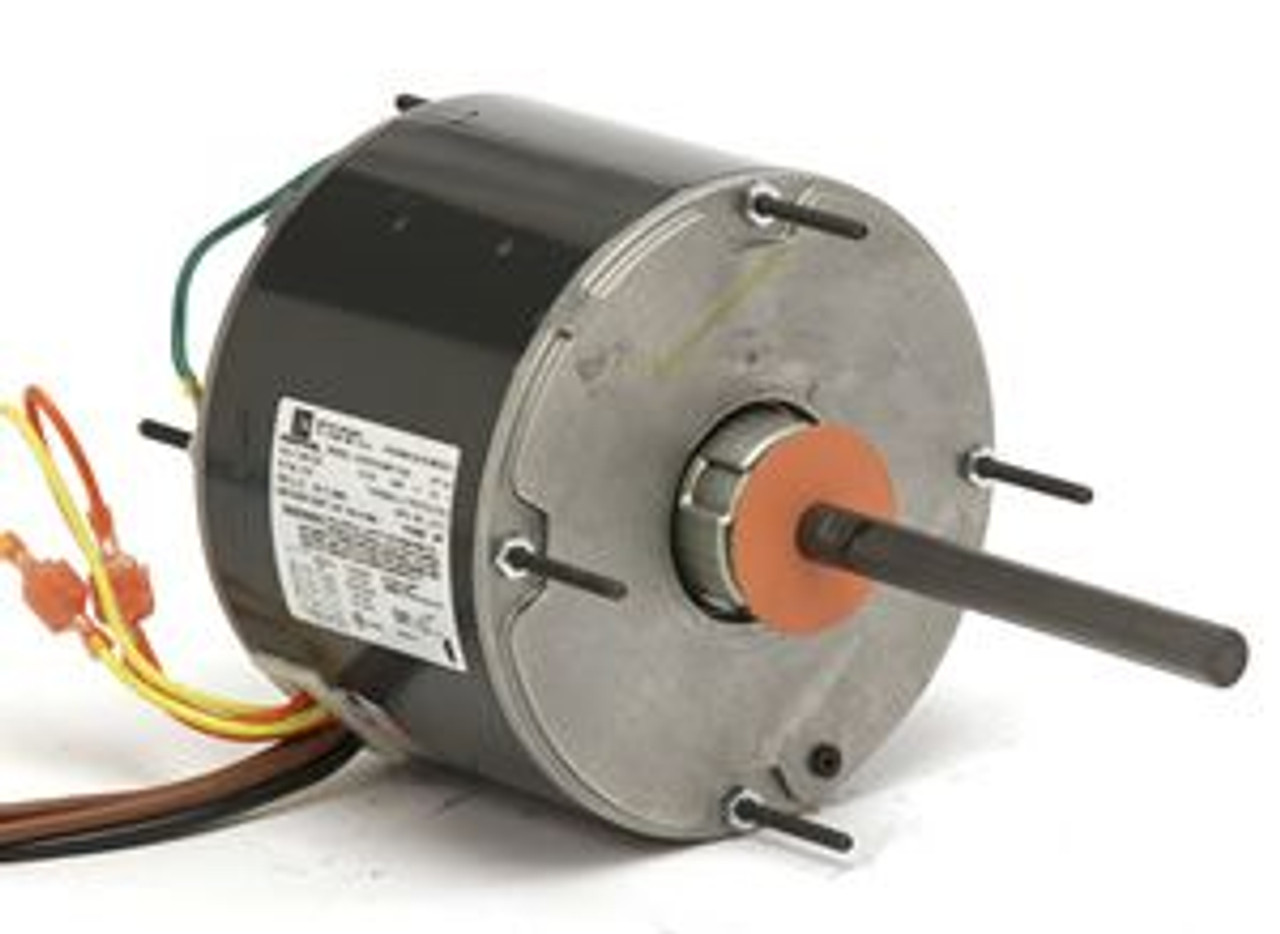
Read also: 9 Best Electric Motor Lubricant for 2025
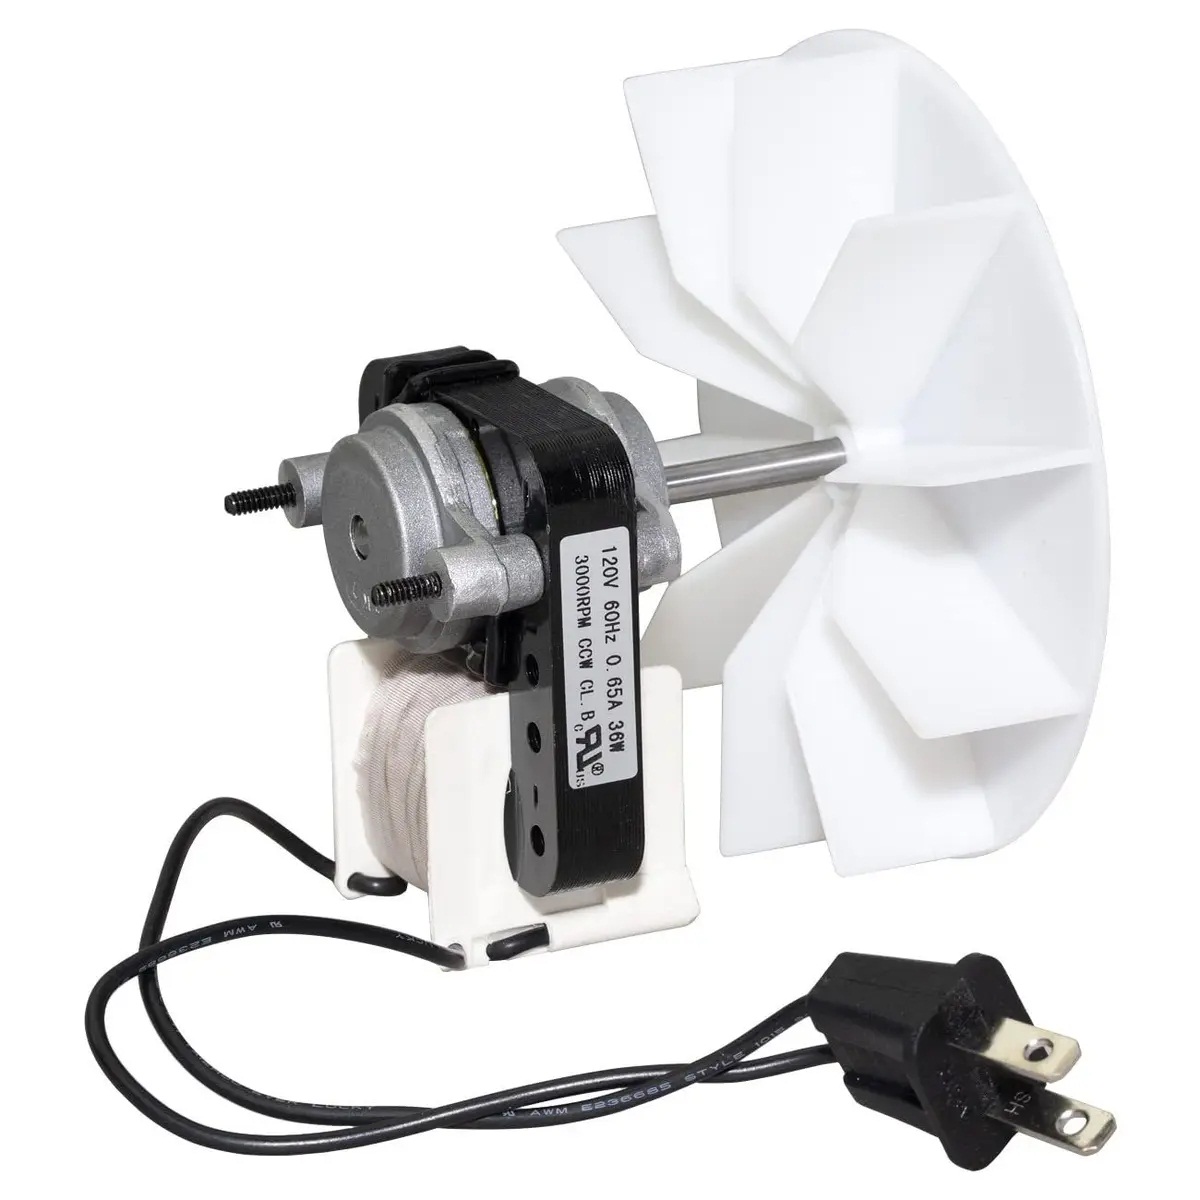
Step 3: Accessing the fan motor
Now that you have disconnected the power supply, it’s time to access the fan motor. Follow these steps to gain access to the motor:
- Remove the fan housing: Depending on the type of fan you have, you may need to remove the fan housing to access the motor. Use a screwdriver or wrench to carefully remove any screws or bolts that hold the housing in place. Keep track of these screws as you will need them later to reassemble the fan.
- Set aside the fan blades: If your fan has removable blades, carefully remove them and set them aside in a safe place. This will allow you better access to the motor and prevent any damage to the blades while working.
- Inspect the motor: Once the housing and blades are removed, take a moment to inspect the motor for any visible signs of damage, dirt, or debris. If you notice any damage or excessive buildup, you may need to address these issues before proceeding with the lubrication process.
- Position yourself comfortably: Depending on the location and size of your fan motor, it may be necessary to position yourself in a way that provides optimal access and visibility. Use a ladder or step stool if needed to ensure you are comfortable and have a clear line of sight to the motor.
By following these steps, you will be able to access the fan motor easily and prepare it for the lubrication process. Take your time and ensure that all necessary precautions are taken to prevent any damage to the fan or yourself. Now that you have accessed the motor, you can move on to the next step: identifying the lubrication points.
Regularly lubricate the fan motor with a few drops of lightweight machine oil to ensure smooth and efficient operation. Be sure to follow the manufacturer’s guidelines for the specific type of oil to use.
Step 4: Identifying the lubrication points
Before you can lubricate the fan motor, it’s important to identify the specific lubrication points. Different fans may have different lubrication requirements, so it’s essential to locate the correct areas that require lubrication. Follow these steps to identify the lubrication points:
- Refer to the manufacturer’s instructions: Consult the fan’s manual or any accompanying documentation provided by the manufacturer. They often include specific details on where to apply lubrication and the recommended lubricant type.
- Search for oiling holes: Inspect the motor housing for any small holes or ports labeled as oiling holes. These are often located near bearings, shafts, or other moving parts of the motor. The manufacturer may have indicated these specific points for lubrication.
- Look for oil reservoirs: Some fan motors have designated oil reservoirs that are meant to be filled with lubricant. These reservoirs can usually be found on the motor housing and may have a cap or opening for easy access.
- Examine moving parts: Take a close look at the various moving parts of the fan motor, such as bearings, bushings, or any other components that require lubrication. Look for any signs of wear or friction, as they may indicate areas that need lubrication.
- Consult professionals or online resources: If you’re unsure about the specific lubrication points or have a unique fan design, consider seeking advice from professionals or referring to reliable online resources for guidance.
By identifying the correct lubrication points, you can ensure that you apply the lubricant to the right areas, maximizing the benefits of lubrication. Take your time and be thorough in your inspection to avoid any potential mistakes. Once you have identified the lubrication points, you can move on to selecting the right lubricant in the next step.
Step 5: Choosing the right lubricant
Choosing the right lubricant is crucial for the proper functioning of your fan motor. Using the wrong type of lubricant can lead to inefficiency, excessive wear, and potential damage to the motor. Follow these steps to choose the right lubricant:
- Refer to the manufacturer’s recommendations: Check the fan’s manual or any accompanying documentation for specific recommendations on the type of lubricant to use. The manufacturer may provide guidelines on the ideal lubricant viscosity and any specific brand recommendations.
- Consider the motor type: Different types of motors may require specific lubricants. For example, some motors may be designed to work with oil-based lubricants, while others may require grease-based lubricants. Understanding the motor type will help you select the appropriate lubricant.
- Choose a lightweight, non-detergent oil: In general, it is best to use a lightweight, non-detergent oil specifically formulated for electric motors. These oils are designed to provide optimal lubrication without leaving residue or causing excessive buildup in the motor.
- Avoid using heavy oils or grease: Heavy oils or greases can cause drag and hinder the rotation of the motor, leading to reduced efficiency. They may also attract more dust and debris, resulting in clogs and potential motor damage.
- Consider the temperature range: Take into account the operating environment of your fan motor. If the temperature can fluctuate significantly, choose a lubricant that can withstand a wide temperature range to ensure consistent performance.
- Check for compatibility: Ensure that the lubricant you choose is compatible with the materials used in your fan motor. Some lubricants can cause damage or degradation if used with certain plastics or rubbers. Consult the lubricant manufacturer’s specifications to confirm compatibility.
By following these steps, you can select the right lubricant that meets the requirements of your fan motor. Remember to always follow the manufacturer’s recommendations and adhere to any specific guidelines provided. With the appropriate lubricant in hand, you can proceed to the next step: applying the lubricant to the motor.
Step 6: Applying the lubricant
Now that you have chosen the right lubricant for your fan motor, it’s time to apply it to the appropriate lubrication points. Follow these steps to properly apply the lubricant:
- Clean the motor: Before applying the lubricant, use a clean cloth or paper towels to wipe away any dirt, dust, or old lubricant residue from the motor. Ensure that the motor is dry and free from any debris that may affect the lubrication process.
- Use the correct amount of lubricant: Refer to the manufacturer’s recommendations or instructions for the recommended amount of lubricant to use. Applying too little may not provide adequate lubrication, while using too much can lead to excessive buildup and hinder motor performance.
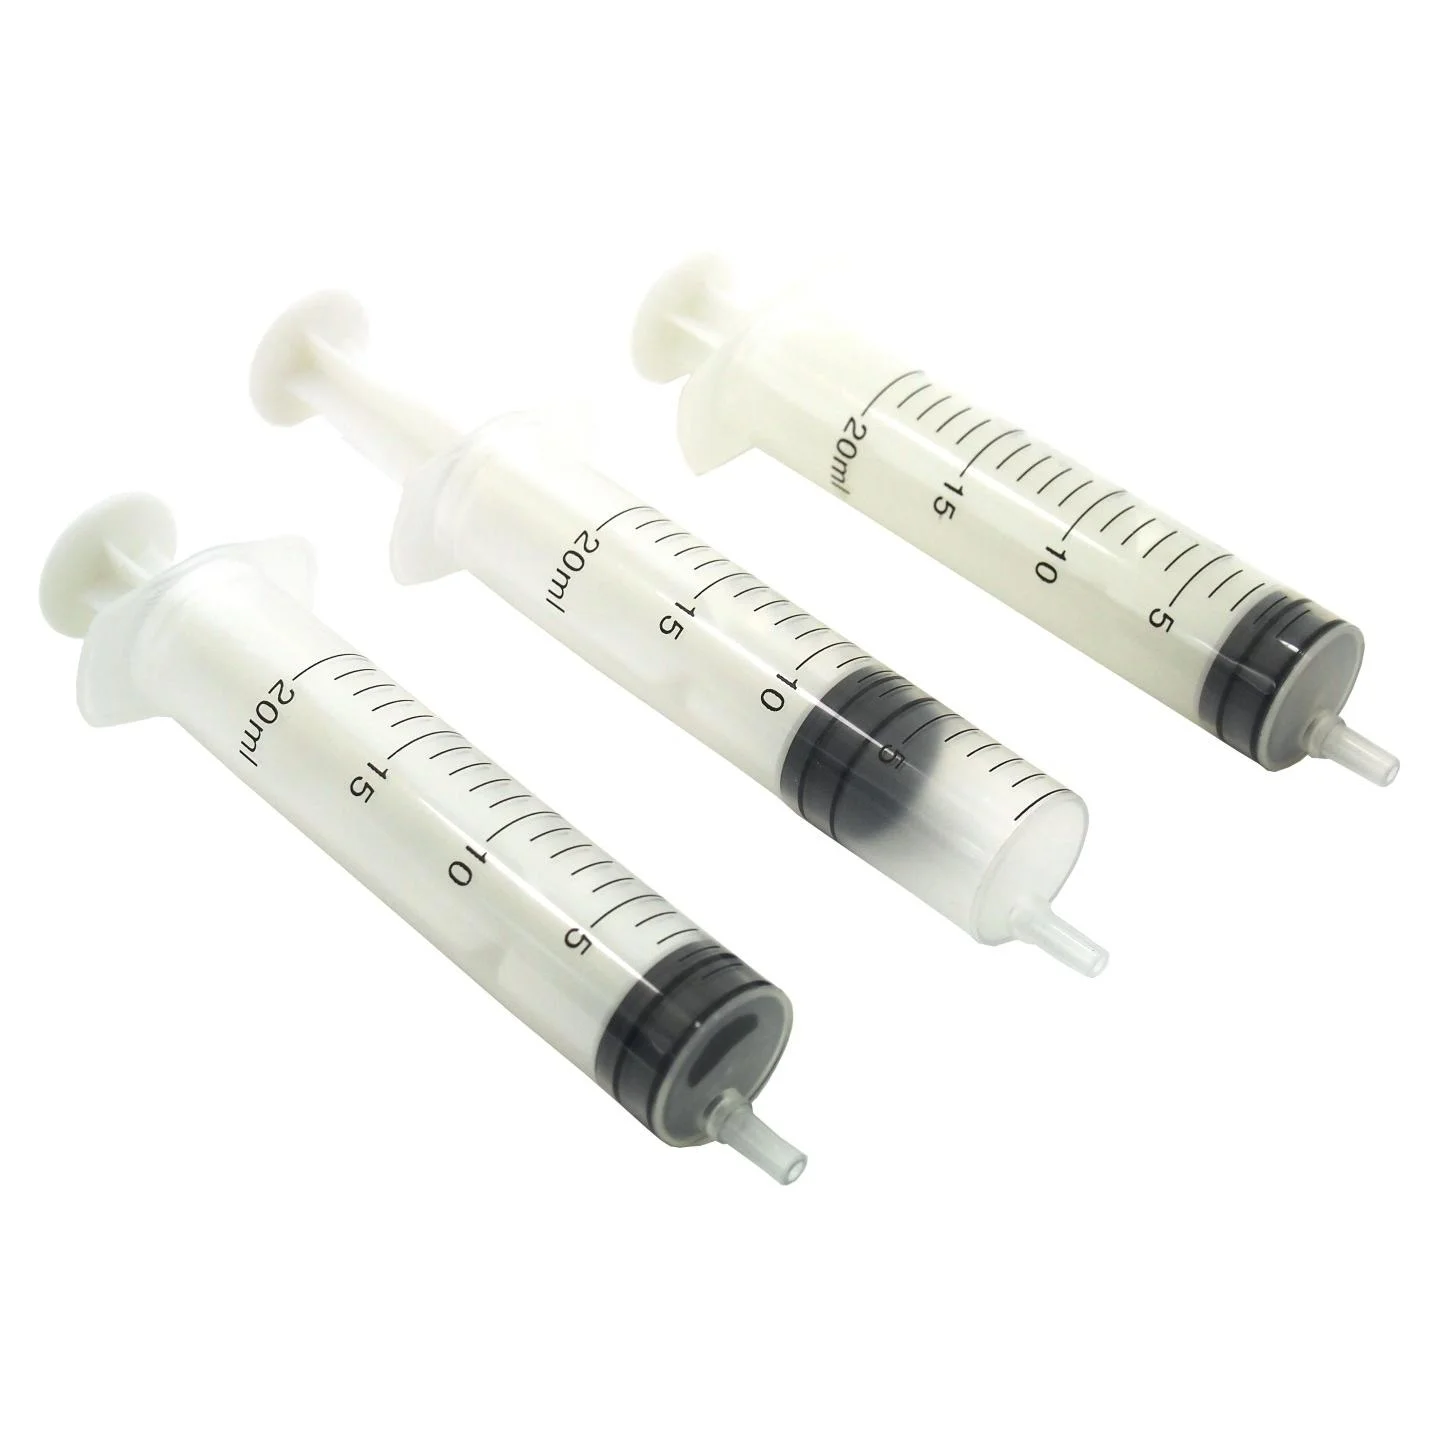
- Apply the lubricant: Using a small, precise applicator (such as a dropper or syringe), carefully apply the lubricant to the identified lubrication points. Apply the lubricant directly to the bearings, bushings, or any other components that require lubrication. Be cautious not to overfill or spill the lubricant onto other parts of the motor.
- Rotate the motor: After applying the lubricant, gently rotate the motor by hand to help distribute the lubricant evenly. This will ensure that the lubricant reaches all the necessary components and provides adequate lubrication throughout the motor.
- Follow any additional instructions: Some fan motors may have specific instructions for properly distributing the lubricant or priming the motor after applying the lubricant. Refer to the manufacturer’s guidelines or consult the fan’s manual for any additional steps or recommendations.
Take your time during this step to ensure that the lubricant is properly applied and distributed within the motor. It’s important to be precise and avoid using excess lubricant that can lead to accumulation or dripping. Once the lubricant has been applied, you’re ready to move on to the next step: testing the fan motor.
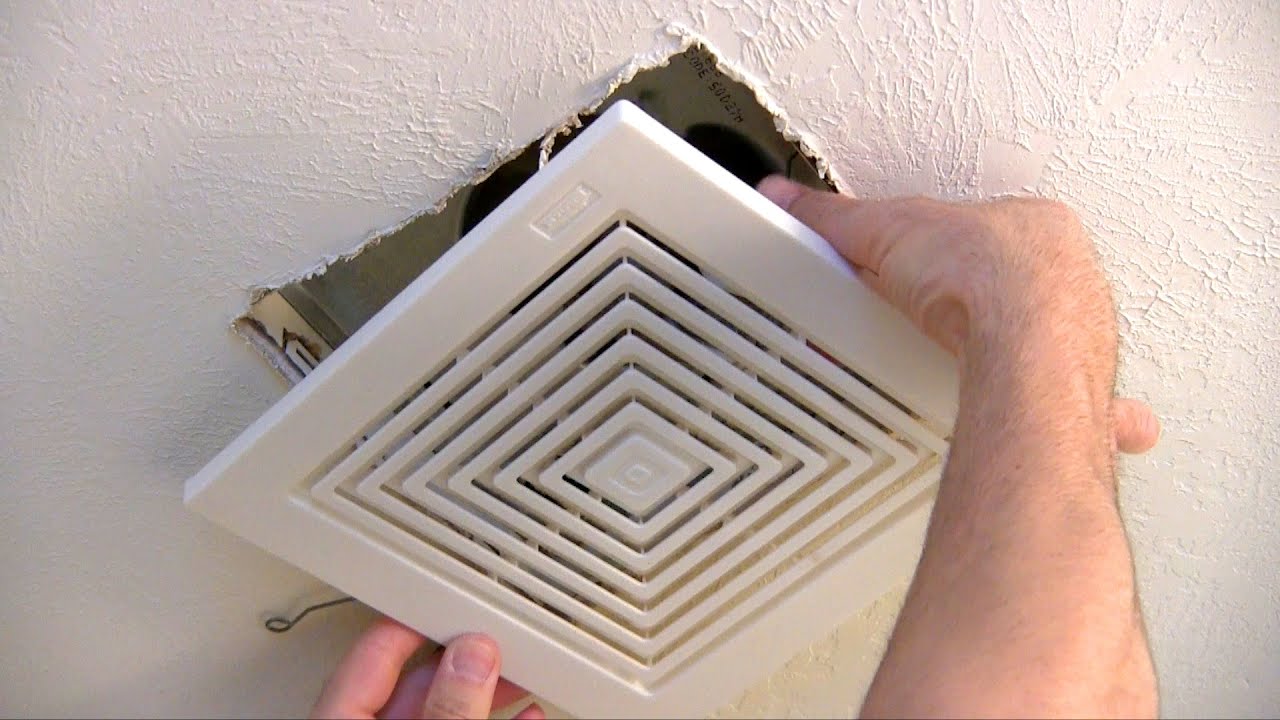
Read more: How To Lubricate A Bathroom Exhaust Fan
Step 7: Testing the fan motor
After applying the lubricant to the fan motor, it’s important to test its functionality to ensure that the lubrication process was successful. Follow these steps to test the motor:
- Reassemble the fan: If you had to remove any parts or housing to access the motor, carefully reassemble the fan. Make sure all screws or bolts are securely tightened and the fan blades are properly attached.
- Reconnect the power supply: Plug the fan back into the power outlet or turn on the circuit breaker that supplies power to the fan. Ensure that the power supply is stable and securely connected.
- Turn on the fan: Use the fan’s power switch or the wall switch to turn the fan on. Observe the motor’s operation and listen for any unusual noises or vibrations.
- Check for smooth operation: The lubrication should result in smoother and quieter operation of the fan motor. Pay attention to any improvements in performance and noise reduction. If you notice any issues, such as grinding sounds or rough operation, it may indicate a problem that needs further attention.
- Monitor for a cooling breeze: Feel the airflow produced by the fan. The lubricated motor should generate a steady and cooling breeze, indicating that it’s operating efficiently.
By testing the fan motor, you can verify that the lubrication process was effective and that the motor is operating optimally. If you notice any concerns or issues during the testing, it may be necessary to reevaluate the lubrication or seek professional assistance. Once you are satisfied with the motor’s performance, you can proceed to the final step: reconnecting the power supply.
Step 8: Reconnecting the power supply
After testing the fan motor and ensuring that it is running smoothly, it’s time to reconnect the power supply. Follow these steps to safely reconnect the power supply:
- Turn off the fan: Before reconnecting the power supply, make sure the fan is turned off. Use the fan’s power switch or the wall switch to turn it off.
- Unplug the fan (if applicable): If your fan has a plug, ensure that it is unplugged from the power outlet. This will prevent any accidental starts while you’re reconnecting the power supply.
- Turn on the circuit breaker (if applicable): If your fan is hardwired and doesn’t have a power plug, locate and turn on the circuit breaker that supplies power to the fan. This will restore power to the fan and allow it to function.
- Confirm the fan’s operation: Once the power supply is reconnected, turn on the fan and observe its operation. Ensure that it starts smoothly and functions as expected.
- Test all fan settings (if applicable): If your fan has multiple speed settings, oscillation mode, or other features, test each setting to ensure that they are functioning properly.
- Monitor the fan motor: Pay attention to the motor’s performance, noise level, and airflow. If you notice any unusual or concerning behavior, it may require further investigation or professional assistance.
By following these steps, you can safely reconnect the power supply to your fan, allowing it to operate as intended. Take your time to ensure that all connections are secure and that the fan is functioning properly. With the power supply reconnected, the lubrication process is complete, and your fan is ready to provide cooling comfort once again.
It’s worth noting that regular fan maintenance and lubrication is recommended to keep the fan motor in optimal condition. It’s a good practice to schedule routine maintenance sessions to inspect and lubricate the motor, ensuring its longevity and efficient performance.
With the power supply reconnected, the lubrication process complete, and your fan ready to provide cooling comfort once again, you can enjoy the benefits of a well-maintained and properly lubricated fan motor. Congratulations on successfully lubricating your fan motor!
Conclusion
Maintaining and lubricating your fan motor is essential for its optimal performance and longevity. By following the steps outlined in this guide, you can effectively lubricate your fan motor and ensure smooth, quiet operation. Regular lubrication helps reduce friction, minimize wear and tear, and extend the lifespan of your fan.
We began by understanding the importance of lubricating the fan motor, including how it reduces friction, improves efficiency, and extends the motor’s lifespan. We then discussed the tools and materials you will need for the lubrication process, as well as the necessary safety precautions to follow.
Next, we covered the steps to disconnect the power supply, access the fan motor, identify the lubrication points, and select the appropriate lubricant. We then moved on to applying the lubricant to the motor, testing its functionality, and reconnecting the power supply. Each step was designed to ensure a thorough and safe lubrication process.
Remember, it’s important to consult the manufacturer’s recommendations and guidelines for specific instructions on your fan model. Adhering to these instructions will help you achieve the best results. If you encounter any issues during the lubrication process or are unsure about any steps, it’s always wise to seek professional assistance.
By taking the time to properly lubricate your fan motor, you’re investing in its longevity and ensuring continued efficient operation. Regular maintenance, including lubrication, will enhance your fan’s performance, reduce energy consumption, and provide you with a quiet and comfortable environment.
So, don’t neglect the maintenance of your fan motor. Follow the steps outlined in this guide, create a schedule for regular lubrication, and enjoy the benefits of a well-maintained fan for years to come.
Frequently Asked Questions about How To Lubricate Fan Motor
Was this page helpful?
At Storables.com, we guarantee accurate and reliable information. Our content, validated by Expert Board Contributors, is crafted following stringent Editorial Policies. We're committed to providing you with well-researched, expert-backed insights for all your informational needs.
0 thoughts on “How To Lubricate Fan Motor”