Articles
How To Test Fan Motor
Modified: January 6, 2024
Learn how to test a fan motor with these informative articles. Discover tips and techniques for troubleshooting and diagnosing fan motor issues.
(Many of the links in this article redirect to a specific reviewed product. Your purchase of these products through affiliate links helps to generate commission for Storables.com, at no extra cost. Learn more)
Introduction
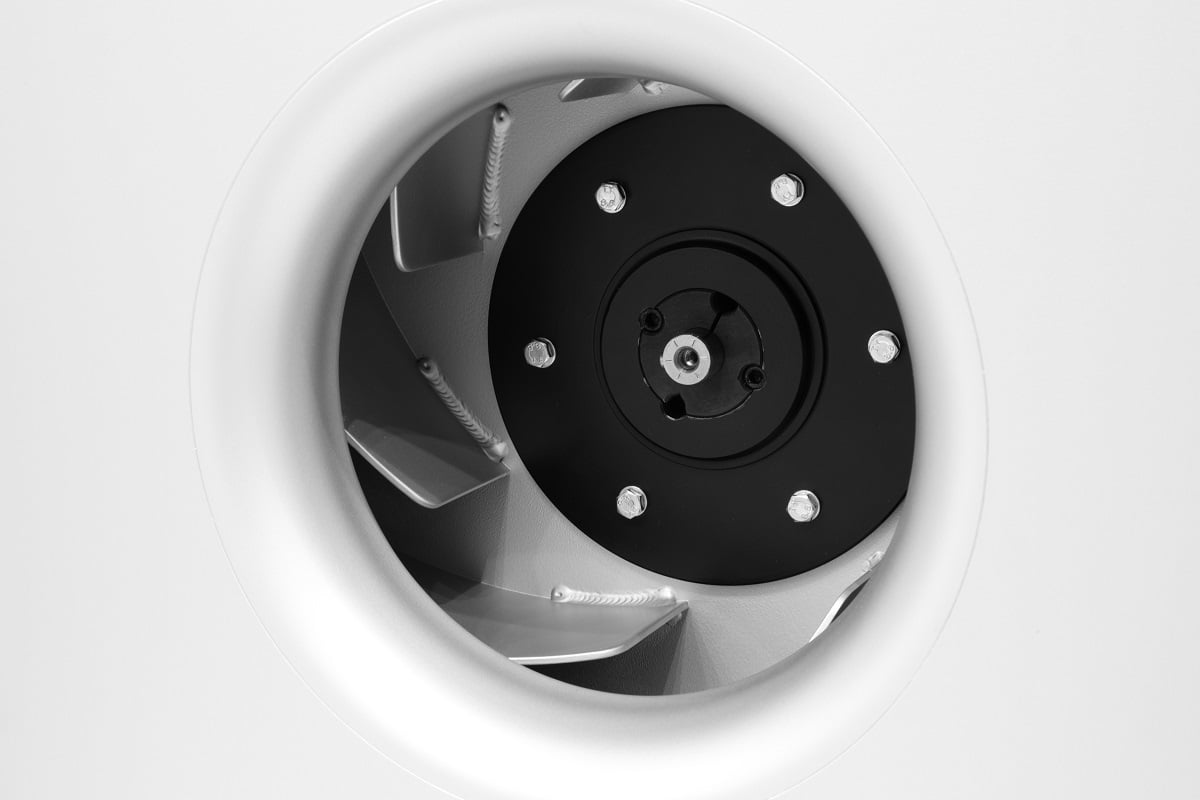
When it comes to maintaining the functionality of appliances, one essential component that often requires attention is the fan motor. Whether it’s for a cooling fan, exhaust fan, or any other type of fan, the motor plays a crucial role in ensuring proper airflow and ventilation. Over time, fan motors can experience wear and tear, which can lead to reduced performance or even complete failure.
Testing the fan motor is a vital step in diagnosing any issues and determining whether it needs to be repaired or replaced. By following a systematic testing process, you can identify the root cause of any problems and implement the necessary solutions.
In this article, we will guide you through the step-by-step process of testing a fan motor. We’ll discuss the importance of testing, the tools and equipment you’ll need, and the specific steps involved in the testing procedure. So, if you’re ready to learn how to test your fan motor like a pro, let’s dive in!
Key Takeaways:
- Regularly testing fan motors can prevent breakdowns, extend appliance lifespan, and ensure energy efficiency, providing peace of mind and cost savings in the long run.
- Properly testing and maintaining fan motors involves disconnecting power, inspecting wiring, checking continuity, testing capacitors, and assessing bearings, ensuring optimal performance and longevity.
Read more: How To Test Condenser Fan Motor
Importance of Testing Fan Motor
Testing the fan motor is an essential maintenance task that can help prevent costly breakdowns and ensure the efficient operation of your appliances. Here are a few reasons why testing the fan motor is of utmost importance:
- Identify Potential Issues: Testing the fan motor allows you to identify any potential issues before they escalate into major problems. By conducting regular tests, you can catch small malfunctions, such as loose wiring or worn-out bearings, and address them promptly. This proactive approach can save you both time and money in the long run.
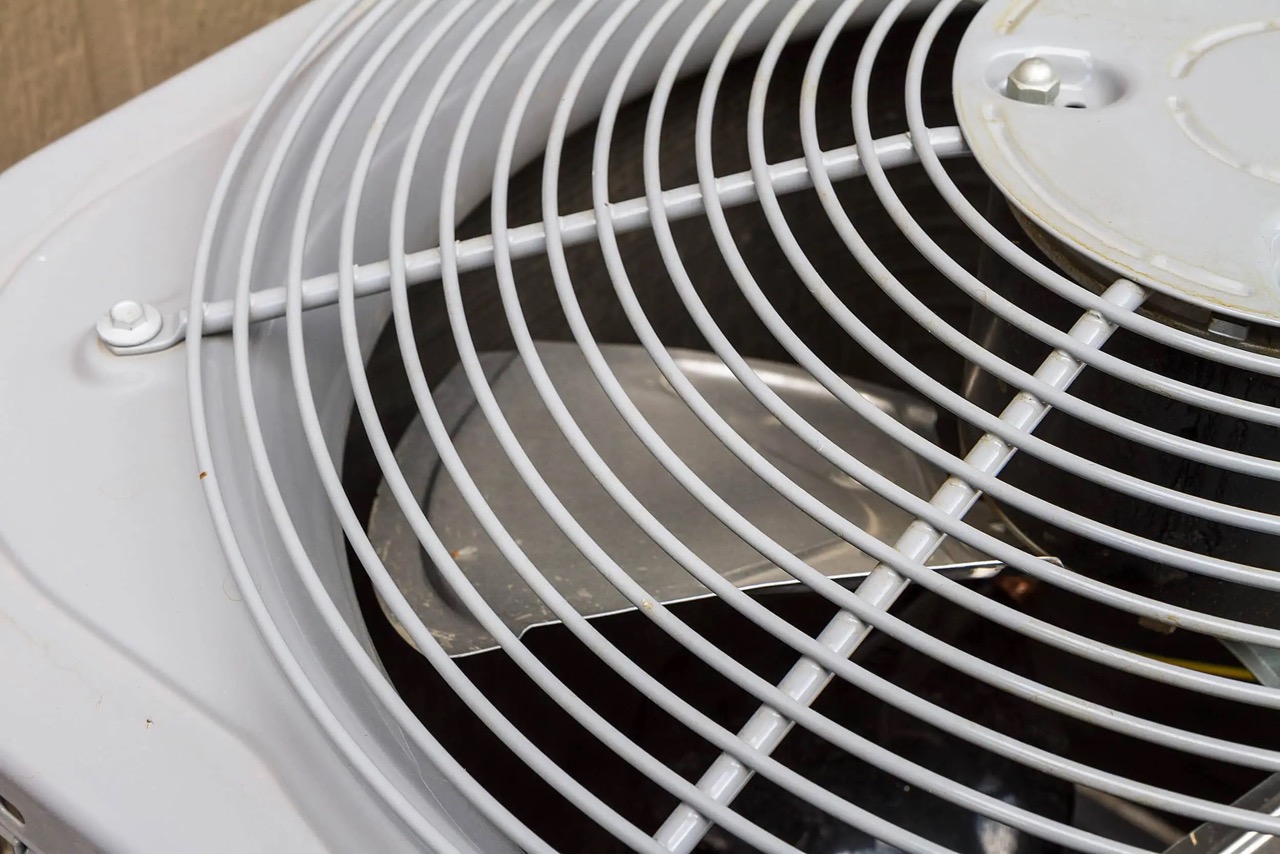
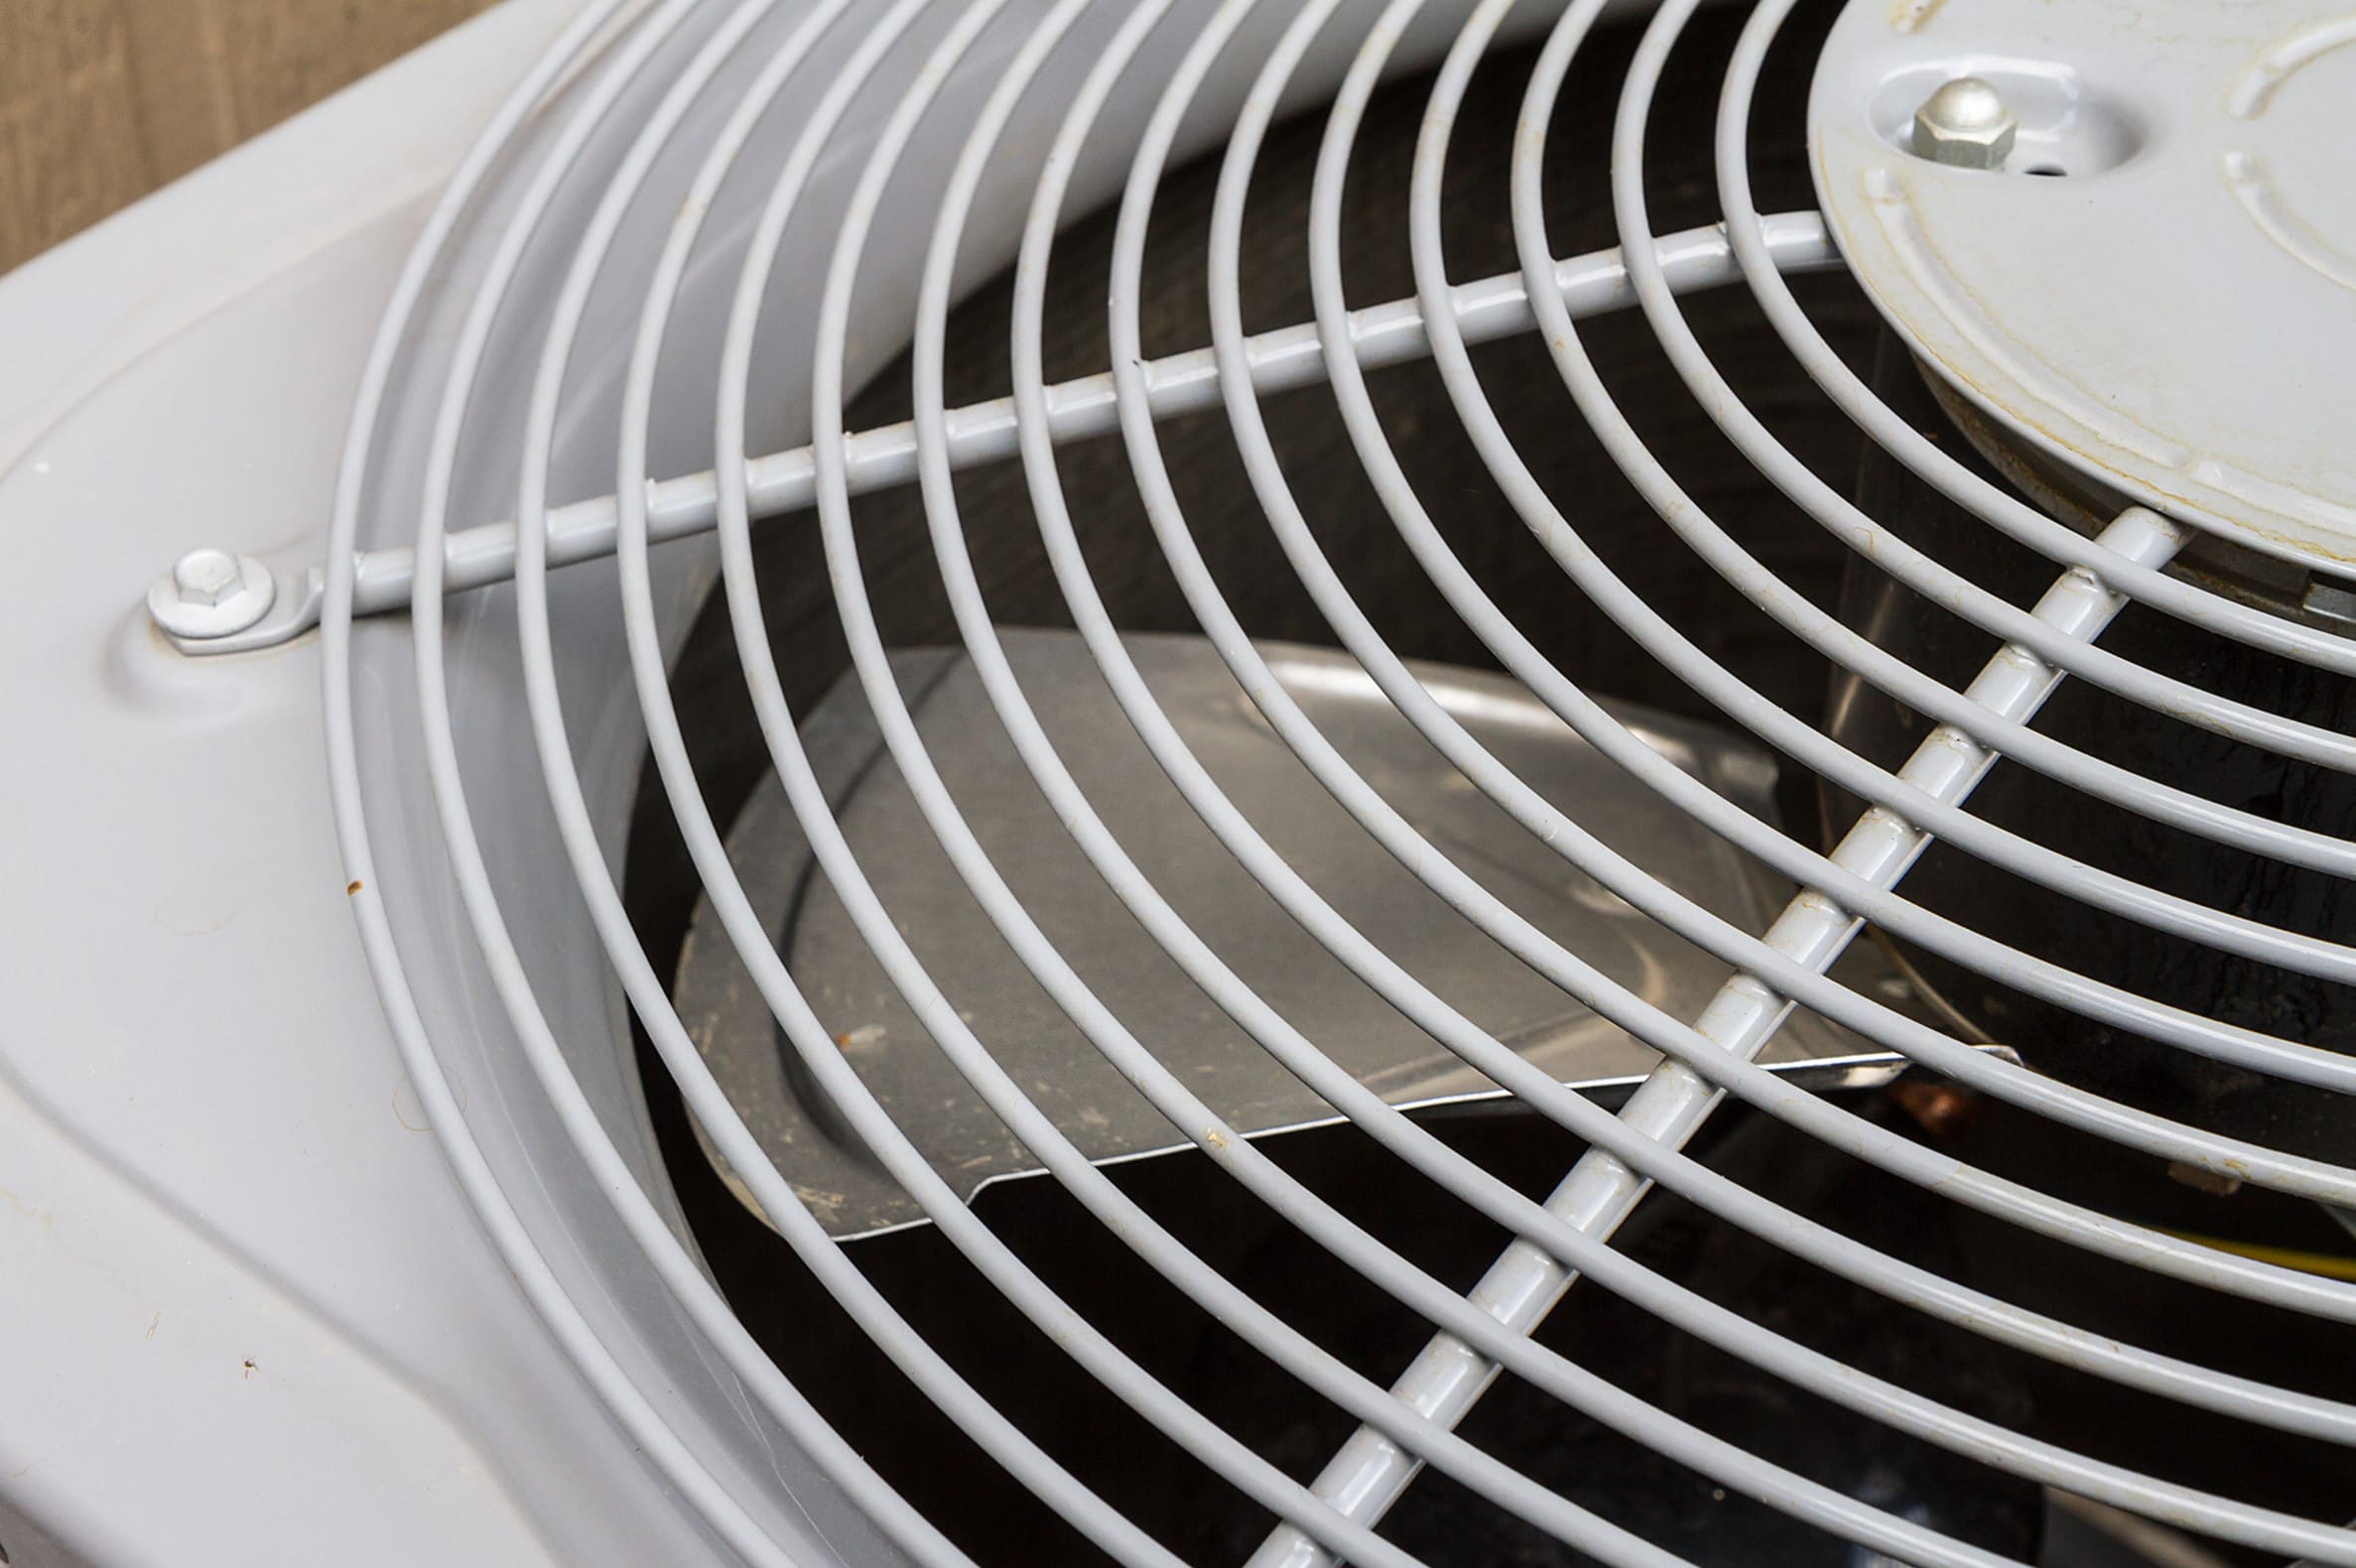
- Ensure Proper Ventilation and Airflow: The fan motor plays a crucial role in ensuring proper ventilation and airflow in appliances such as air conditioners, HVAC systems, and exhaust fans. A faulty motor can result in decreased airflow, leading to inadequate cooling or ventilation. By testing the fan motor, you can ensure that it is functioning optimally and maintaining the desired airflow.
- Prolong the Lifespan of the Appliance: Regularly testing the fan motor can help extend the lifespan of the appliance. By addressing any issues promptly, you can prevent further damage to the motor or other components. This not only saves you money on repair or replacement costs but also allows you to enjoy the appliance for a longer period.
- Enhance Energy Efficiency: A malfunctioning fan motor can lead to increased energy consumption. For instance, if the motor is struggling to spin the fan blades due to worn-out bearings, it will require more energy to produce the desired airflow. By testing the fan motor and ensuring its smooth operation, you can promote energy efficiency and reduce your electricity bills.
- Peace of Mind: Testing the fan motor provides peace of mind, knowing that your appliances are in good working condition. It allows you to identify any potential issues early on and take the necessary action, preventing unexpected breakdowns and ensuring that the appliance performs optimally when you need it the most.
Now that we understand the significance of testing the fan motor let’s move on to the tools and equipment needed to carry out the testing process effectively.
Tools and Equipment Needed
Before diving into testing the fan motor, it’s important to gather the necessary tools and equipment. Having the right tools at hand will make the testing process smoother and more efficient. Here are the essential tools and equipment you’ll need:
- Screwdriver: A screwdriver, preferably a multi-bit screwdriver, is crucial for removing the fan motor cover and accessing the internal components of the motor.
- Insulation-Piercing Test Probes: These probes are used to check the continuity in the motor windings and test the electrical connections securely. Insulation-piercing test probes allow you to measure the electrical signals without damaging the insulation of wires.
- Multi-meter: A multi-meter is a versatile tool that is indispensable for testing electrical components. It can measure voltage, resistance, and continuity. Use the multi-meter to check the electrical connections, measure the resistance of the motor windings, and test the capacitor.
- Capacitor Tester: A capacitor tester is specifically designed to measure the capacitance of capacitors. This tool will help determine if the capacitor is within the acceptable range and functioning properly.
- Lubricating Oil or Grease: Lubricating oil or grease is essential for maintaining the motor bearings. Ensure that you have the appropriate type of lubricant recommended for your specific fan motor.
- Cleaning Brush: A small cleaning brush, like a toothbrush or a soft-bristle brush, is useful for removing dust and dirt from the motor components during the inspection process.
- Safety Equipment: It’s crucial to prioritize safety when working with electrical components. Wear safety gloves and safety glasses to protect yourself from any potential hazards.
By having these tools and equipment ready, you’ll be well-prepared to carry out the fan motor testing process efficiently and effectively. In the next section, we’ll delve into the step-by-step procedure for testing the fan motor.
Step 1: Disconnecting the Power Supply
Before starting any work on the fan motor, it’s crucial to prioritize safety by disconnecting the power supply. This step will ensure that there is no electricity flowing to the motor, reducing the risk of electrical shock or other accidents. Here’s how to safely disconnect the power supply:
- Turn Off the Appliance: Begin by turning off the appliance or system that the fan motor is a part of. This may involve flipping a switch or pressing a button to power down the device.
- Unplug the Appliance: After turning off the appliance, unplug it from the electrical outlet. This step is essential to guarantee that there is no power source connected to the motor.
- Switch Off the Circuit Breaker: If the fan motor is hardwired into the electrical system, locate the corresponding circuit breaker at the main electrical panel. Flip the circuit breaker switch to the “Off” position that controls the power supply to the fan motor.
By following these steps and disconnecting the power supply, you can ensure a safe working environment and minimize the risk of electrical accidents. It’s crucial to double-check that the power is truly disconnected before proceeding with any further testing or maintenance tasks on the fan motor.
In the next step, we will guide you through the process of removing the fan motor cover to access the internal components and conduct a thorough inspection.
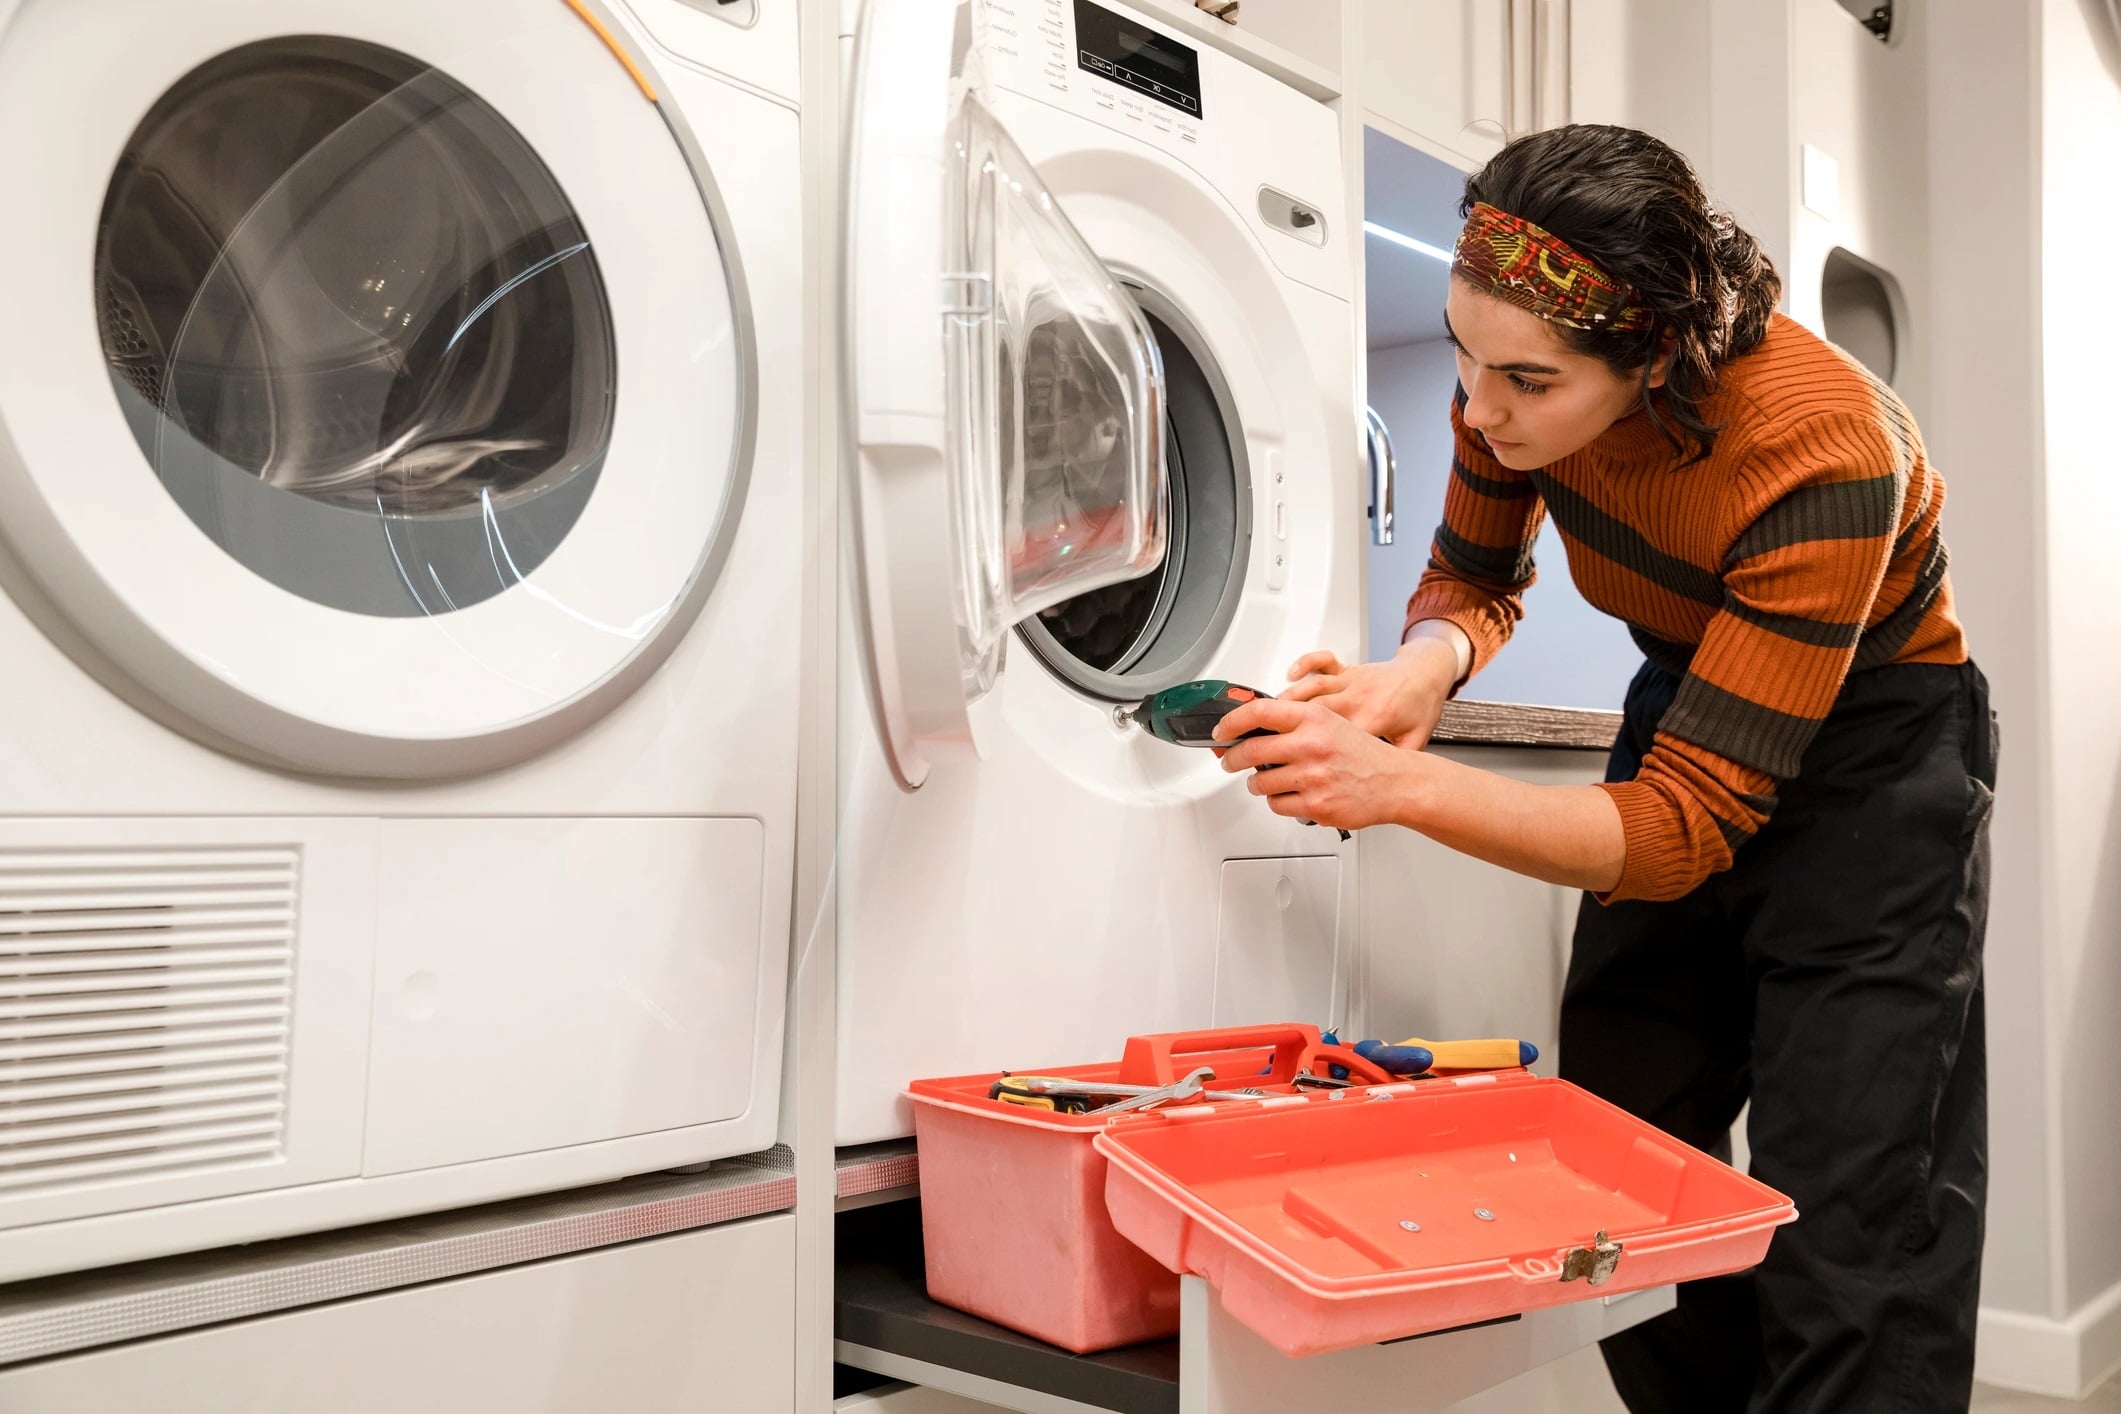
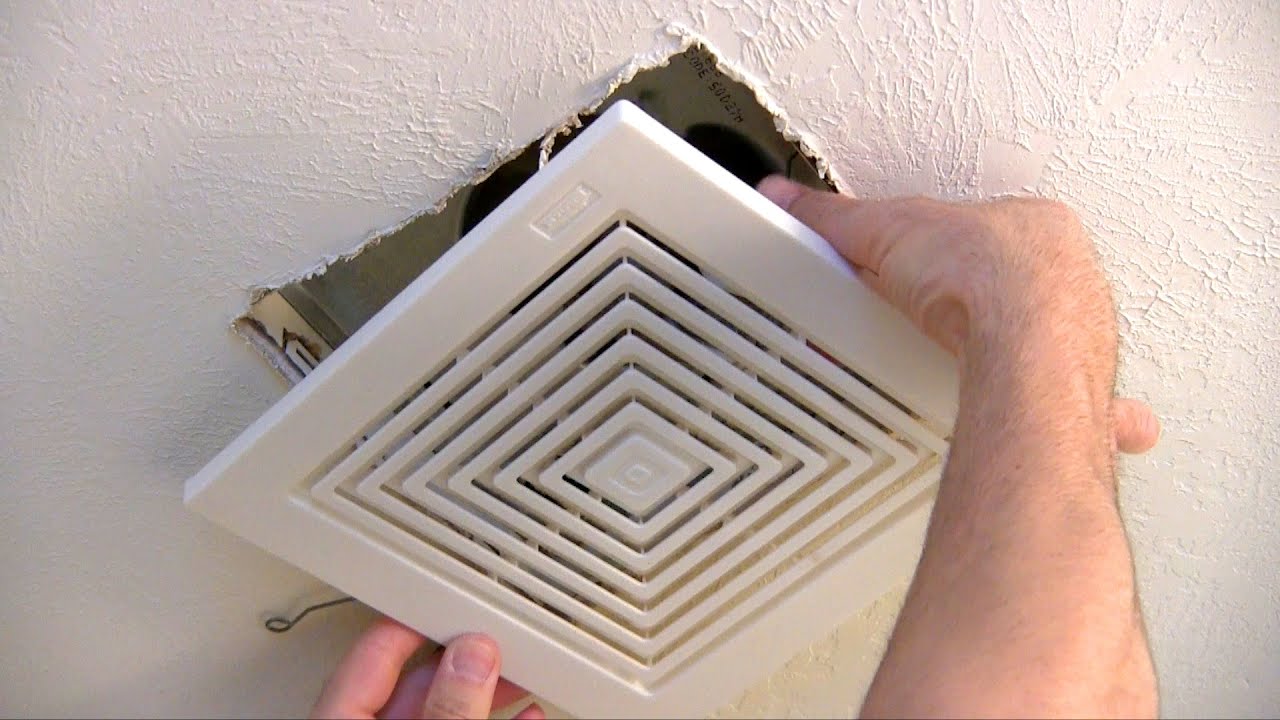
Step 2: Removing the Fan Motor Cover
Once the power supply is safely disconnected, you can proceed to remove the fan motor cover. Removing the cover will give you access to the internal components of the motor for inspection and testing. Here are the steps to follow:
- Locate the Fan Motor Cover: The fan motor cover is typically located on the outer housing of the appliance. It may be secured with screws or clips. Identify the position and the method of fastening for the cover.
- Use the Proper Screwdriver: Based on the fastening method, select the appropriate screwdriver to remove the screws or release the clips. Make sure to use a screwdriver that fits the screw heads properly to avoid damaging them.
- Set Aside the Screws and Clips: As you remove the screws or release the clips, set them aside in a safe place. You don’t want to misplace them as you will need them later during the reassembly process.
- Gently Remove the Fan Motor Cover: Once all the screws or clips are removed, carefully lift the fan motor cover away from the appliance. Be mindful of any wires or cables that may be connected to the cover. If necessary, gently detach them from their connectors or terminals.
At this point, you should have successfully removed the fan motor cover, allowing you to visualize the internal components of the motor. Take a moment to inspect the wiring connections before proceeding to the next step.
In the following step, we will guide you through the process of inspecting the wiring connections to ensure they are secure and properly connected.
Read more: How To Test A Electric Motor
Step 3: Inspecting the Wiring Connections
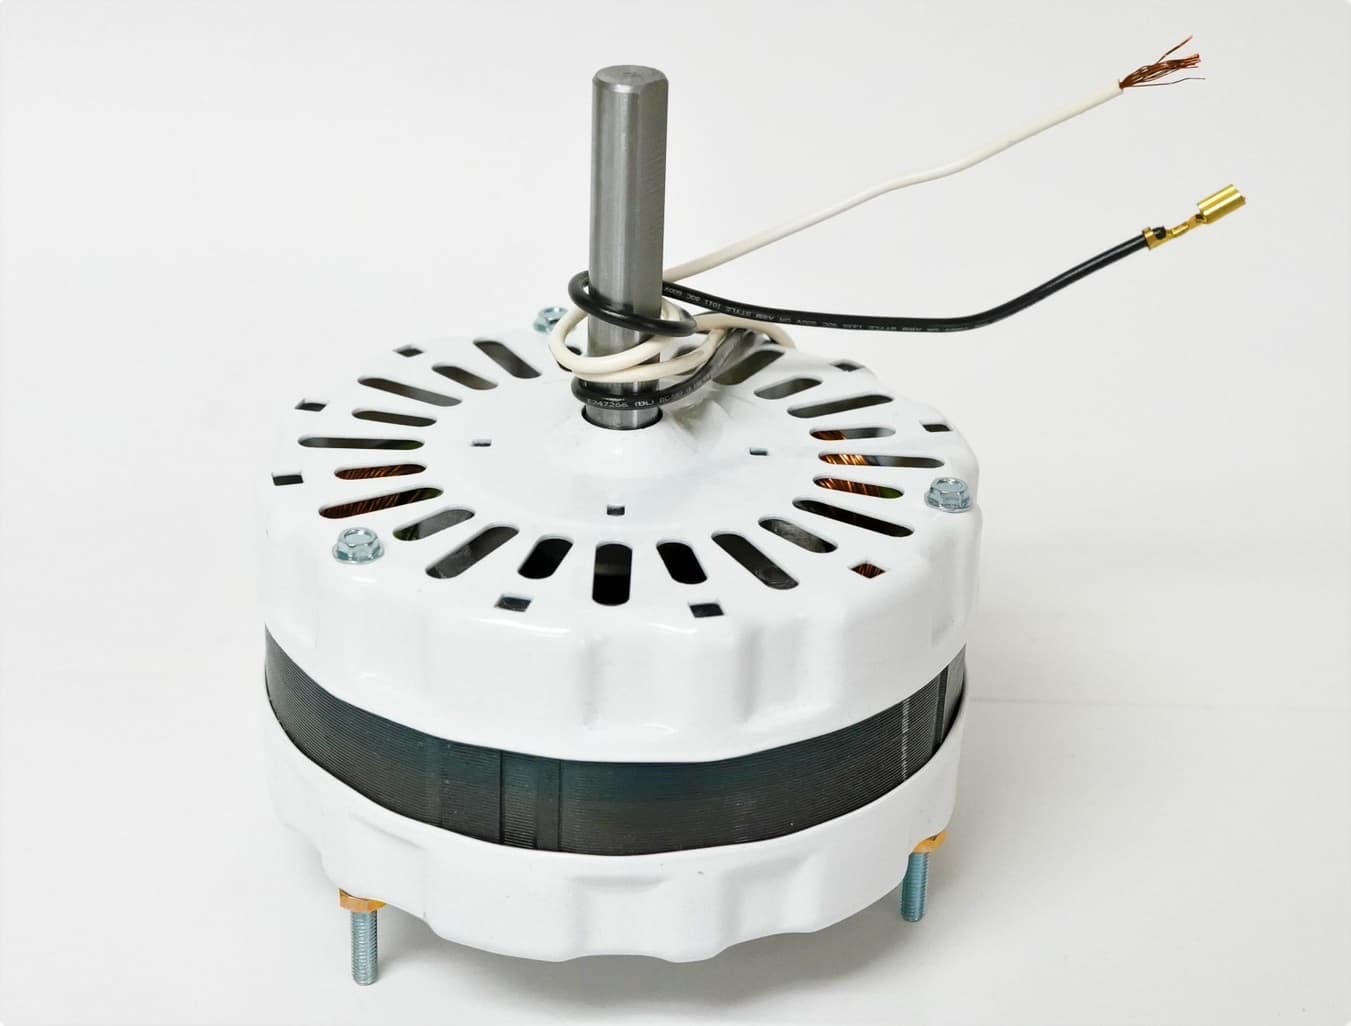
After removing the fan motor cover, it’s important to inspect the wiring connections to ensure they are secure and properly connected. Over time, vibrations or movements can cause wires to become loose or disconnected, leading to electrical issues. Here’s how to inspect the wiring connections:
- Visually Examine the Wires: Start by visually examining the wires connected to the fan motor. Look for any signs of fraying, damage, or loose connections. Pay close attention to the wire terminals, where the wires are attached to the motor or other components.
- Tighten Loose Connections: If any connections are found to be loose, use a screwdriver or an appropriate tool to tighten them. Ensure that the terminals are secure and firmly fastened to prevent any electrical problems.
- Check for Corrosion: Inspect the terminals and wire connectors for signs of corrosion or rust. Corrosion can cause poor electrical conductivity and affect the performance of the fan motor. If corrosion is present, use a wire brush or sandpaper to clean the affected areas and then re-connect the wires securely.
- Inspect the Insulation: Verify that the insulation on the wires is intact and free from any damage or wear. Damaged insulation can lead to electrical shorts or other safety hazards. If you notice any exposed wires, it’s important to address the issue immediately by repairing or replacing the affected wires.
By thoroughly inspecting the wiring connections, you can identify any potential issues and address them before proceeding with further testing. Once you have ensured that the wiring connections are in good condition, you can move on to the next step, which involves checking the continuity of the motor windings.
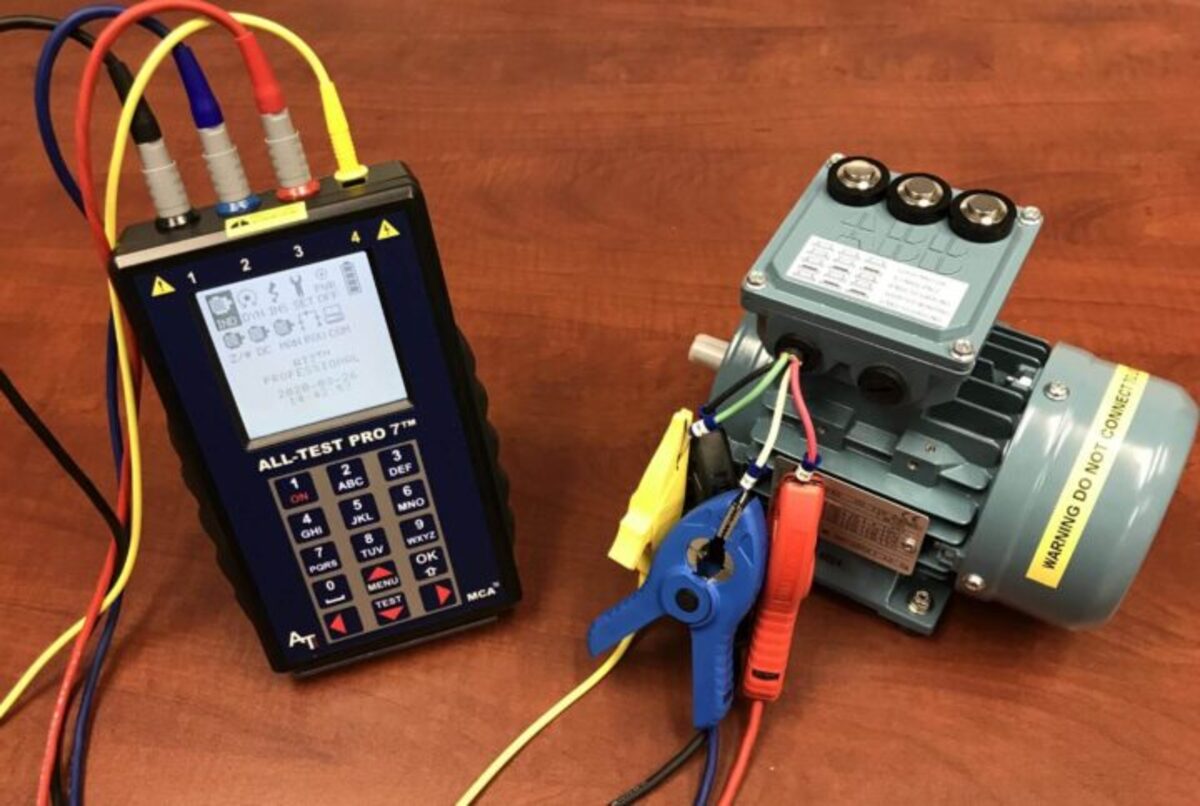
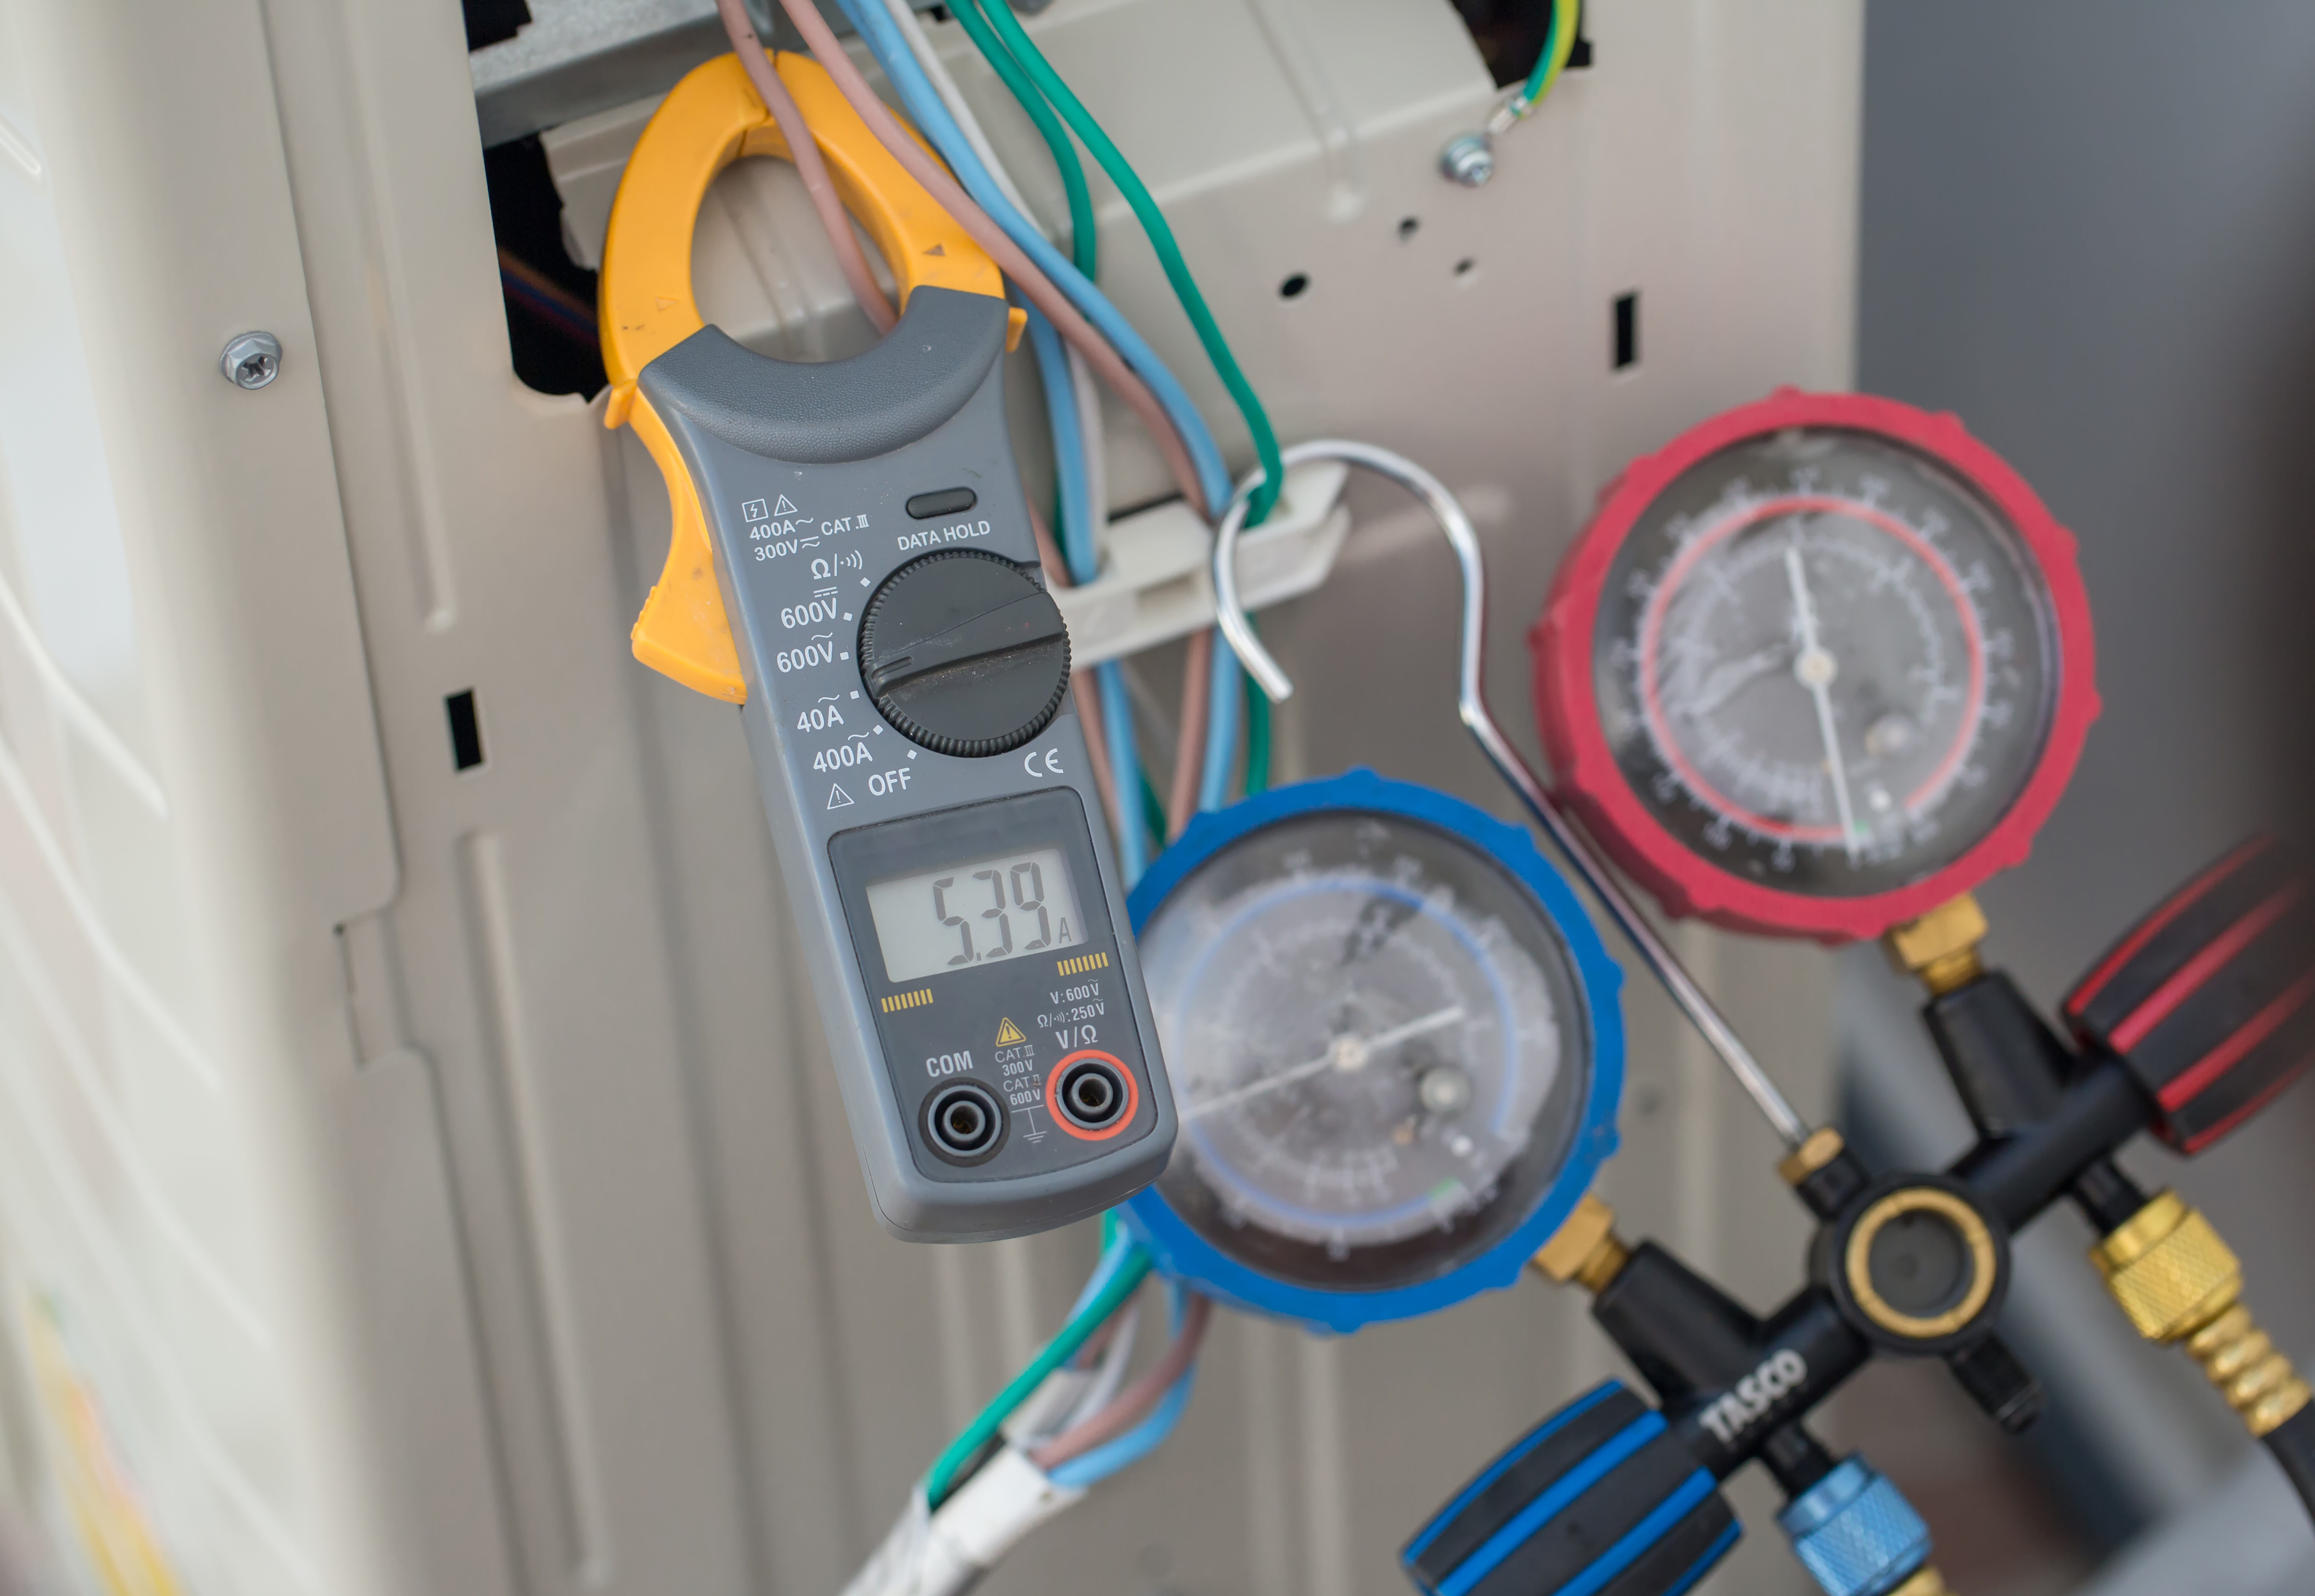
When testing a fan motor, use a multimeter to check for continuity in the motor windings. If there is no continuity, the motor may be faulty and in need of replacement.
Step 4: Checking the Continuity of the Motor Windings
Continuity testing is an important step in assessing the health of the fan motor’s windings. Checking continuity helps determine if there are any breaks or shorts in the motor windings, which can affect the motor’s performance. Here’s how to check the continuity of the motor windings:
- Select the Continuity Testing Mode: Set your multi-meter to the continuity testing mode. This mode allows the multi-meter to emit a small electrical signal and detect if there is a continuous path for the current to flow.
- Identify the Motor Winding Terminals: Locate the motor winding terminals on the fan motor. These terminals are usually labeled with letters such as “C” for the common terminal, “S” for the start winding, and “R” for the run winding. Refer to the motor’s documentation or manual if needed.
- Probe the Winding Terminals: With the multi-meter in continuity testing mode, touch one probe to one of the terminals and the other probe to the remaining terminals, one at a time. Record the readings on the multi-meter display as you test each combination of terminals.
- Interpret the Readings: The multi-meter should display a low resistance reading or emit a beep sound if there is continuity between the windings. If the readings show infinite resistance or no continuity, it indicates a break or short in the windings.
- Compare with Manufacturer’s Specifications: Check the manufacturer’s specifications for the acceptable ranges of resistance or continuity readings for your particular fan motor. Compare your readings to these specifications to determine if the motor windings are within the proper range.
If the continuity test reveals any issues with the motor windings, such as open or shorted windings, it may indicate a problem with the motor that requires further investigation or repair. In the next step, we will guide you through the process of testing the capacitor, another vital component of the fan motor.
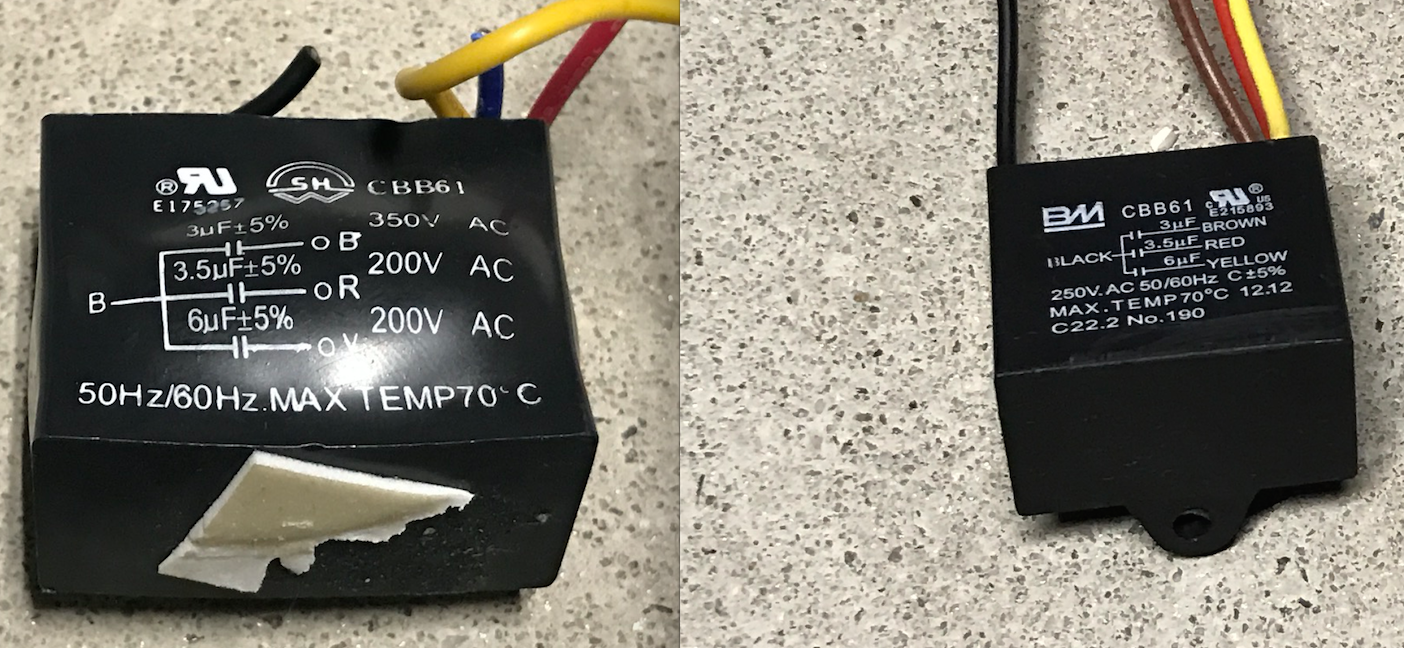
Step 5: Testing the Capacitor
The capacitor is an important component of the fan motor that stores electrical energy and helps start and run the motor. Testing the capacitor is crucial to ensure its proper functioning and to rule out any capacitor-related issues. Here’s how to test the capacitor:
- Discharge the Capacitor: Before testing the capacitor, it’s important to discharge any stored electrical energy to avoid electrical shock. Use an insulated screwdriver to short the capacitor terminals together.
- Select the Capacitance Testing Mode: Set your capacitance tester or multi-meter to the capacitance testing mode. This mode allows you to measure the capacitance of the capacitor.
- Connect the Test Leads: Connect the test leads, one to each terminal of the capacitor. Ensure that the positive and negative leads are correctly aligned with the corresponding capacitor terminals.
- Read the Capacitance Value: Once the leads are securely connected, the capacitance tester or multi-meter will display a reading indicating the capacitance value of the capacitor. Compare this reading to the manufacturer’s specified range to determine if the capacitor is within the acceptable limits.
- Interpret the Capacitor Reading: If the capacitance reading is significantly lower or higher than the specified range, it may indicate a faulty capacitor that needs to be replaced. A malfunctioning capacitor can result in motor starting issues or irregular motor speed.
It’s important to note that some capacitors may have multiple terminals and require specific testing procedures. Refer to the manufacturer’s documentation or manual for accurate instructions on testing capacitors specific to your fan motor.
If the capacitor test reveals a faulty capacitor, it should be replaced to ensure the optimal performance of the fan motor. In the next step, we will guide you through the process of assessing the motor bearings to ensure smooth and efficient operation.
Step 6: Assessing the Motor Bearings
The motor bearings play a crucial role in the smooth and efficient operation of the fan motor. Over time, bearings can become worn out or develop friction, leading to increased noise, decreased performance, or even motor failure. Here’s how to assess the motor bearings:
- Locate the Motor Bearings: Identify the location of the motor bearings. They are typically located at either end of the motor shaft. Depending on the motor design, you may need to remove additional components, such as fan blades or pulleys, to access the bearings.
- Inspect for Wear and Damage: Carefully examine the motor bearings for any signs of wear, such as discoloration, pitting, or rough surfaces. Pay attention to any debris or excessive grease buildup, as these can indicate issues with the bearings.
- Check for Smooth Rotation: Gently rotate the motor shaft by hand. The rotation should be smooth and effortless. If you encounter any resistance, grinding, or excessive noise, it may indicate that the bearings have become compromised.
- Add Lubrication (if applicable): Some fan motors have bearings that require lubrication. If this is the case for your motor, consult the manufacturer’s instructions to determine the recommended lubricant and procedure for lubricating the bearings.
- Replace Worn Out Bearings (if necessary): If the motor bearings show significant wear, damage, or are causing performance issues, they should be replaced. Consult a professional or refer to the manufacturer’s instructions for guidance on proper bearing replacement.
Assessing and maintaining the motor bearings is crucial for ensuring the longevity and optimal performance of the fan motor. Regular inspection and maintenance can help prevent costly repairs or motor failure in the future.
Once you have completed the assessment of the motor bearings, it’s time to reassemble the fan motor and prepare it for operation. We will cover the reassembly process in the next step.
Read more: How To Test A Small Electric Motor
Step 7: Reassembling the Fan Motor
After completing the necessary tests and inspections on the fan motor, it’s time to reassemble it for operation. Proper reassembly ensures that the motor components are securely in place and that the motor can function optimally. Follow these steps to reassemble the fan motor:
- Retrieve the Fan Motor Cover: Locate the fan motor cover that was set aside during the earlier steps. Ensure that all necessary screws or clips are available for reattachment.
- Position the Fan Motor Cover: Place the fan motor cover back onto the appliance, aligning it correctly with the motor housing. Make sure that the wires and cables are properly arranged and free from any obstructions.
- Secure the Fan Motor Cover: Using the appropriate screwdriver, reattach the screws or clips to secure the fan motor cover. Ensure that they are properly tightened, but be cautious not to over-tighten them, as it can cause damage to the cover or motor housing.
- Reconnect any Disconnected Wires: If any wires or cables were disconnected during the disassembly process, ensure that they are reconnected to their respective terminals or connectors securely. Double-check that the connections are tight and reliable.
- Perform a Final Check: Before restoring power to the appliance, perform a final check to ensure that all components are properly aligned and secured. Verify that there are no loose screws, misplaced wires, or other potential hazards.
- Restore Power and Test Motor Operation: Once you are confident that the fan motor has been reassembled correctly, restore the power supply to the appliance. Plug it back into the electrical outlet or turn the corresponding circuit breaker back on. Test the motor’s operation to ensure that it starts, runs smoothly, and provides the desired airflow.
By following these steps and properly reassembling the fan motor, you can ensure that it is ready to operate efficiently and provide the necessary airflow and ventilation. Regularly monitoring the motor’s performance and conducting maintenance tasks as needed will help prolong its lifespan and prevent any unexpected issues in the future.
Congratulations! You have successfully tested and reassembled your fan motor. Enjoy the improved performance and functionality of your appliance!
Remember, if you encounter any difficulties or if the fan motor continues to exhibit problems, it’s always recommended to consult a professional technician or contact the manufacturer for further assistance.
Thank you for following our step-by-step guide on how to test and assess a fan motor. We hope this information has been helpful in your maintenance endeavors!
Conclusion
Testing the fan motor is an essential part of appliance maintenance that helps ensure optimal performance and prevent potential issues. By following the step-by-step process outlined in this guide, you can effectively test and diagnose the condition of your fan motor.
We began by emphasizing the importance of testing fan motors and understanding the significance of each step in the process. We discussed the tools and equipment needed, including screwdrivers, test probes, a multi-meter, capacitor tester, lubricating oil or grease, cleaning brush, and safety equipment.
The step-by-step process included disconnecting the power supply, removing the fan motor cover, inspecting the wiring connections, checking the continuity of the motor windings, testing the capacitor, assessing the motor bearings, and finally, reassembling the fan motor.
Throughout the testing process, it’s crucial to prioritize safety and to follow manufacturer instructions specifically tailored to your fan motor. If you’re unsure or encounter complex issues, it’s always advisable to seek professional assistance.
Regular testing and maintenance of fan motors help identify problems early on, prevent breakdowns, and extend the lifespan of the appliance. It also ensures proper ventilation, airflow, and energy efficiency.
We hope this comprehensive guide has equipped you with the knowledge and confidence to effectively test your fan motor. By incorporating routine testing and maintenance into your appliance care routine, you can keep your fan motor functioning optimally and enjoy a comfortable and well-ventilated space for years to come.
Remember, maintenance is key to keeping your appliances running smoothly, and testing the fan motor is an essential part of that maintenance. So, take the time to test your fan motor and reap the benefits of a well-functioning appliance. Happy testing!
Frequently Asked Questions about How To Test Fan Motor
Was this page helpful?
At Storables.com, we guarantee accurate and reliable information. Our content, validated by Expert Board Contributors, is crafted following stringent Editorial Policies. We're committed to providing you with well-researched, expert-backed insights for all your informational needs.

0 thoughts on “How To Test Fan Motor”