Home>Furniture & Design>Bathroom Accessories>How To Replace A Bathroom Exhaust Fan Motor
Bathroom Accessories
How To Replace A Bathroom Exhaust Fan Motor
Modified: March 22, 2024
Learn how to easily replace a bathroom exhaust fan motor with our step-by-step guide. Keep your bathroom accessories in top condition with this simple DIY fix.
(Many of the links in this article redirect to a specific reviewed product. Your purchase of these products through affiliate links helps to generate commission for Storables.com, at no extra cost. Learn more)
Introduction
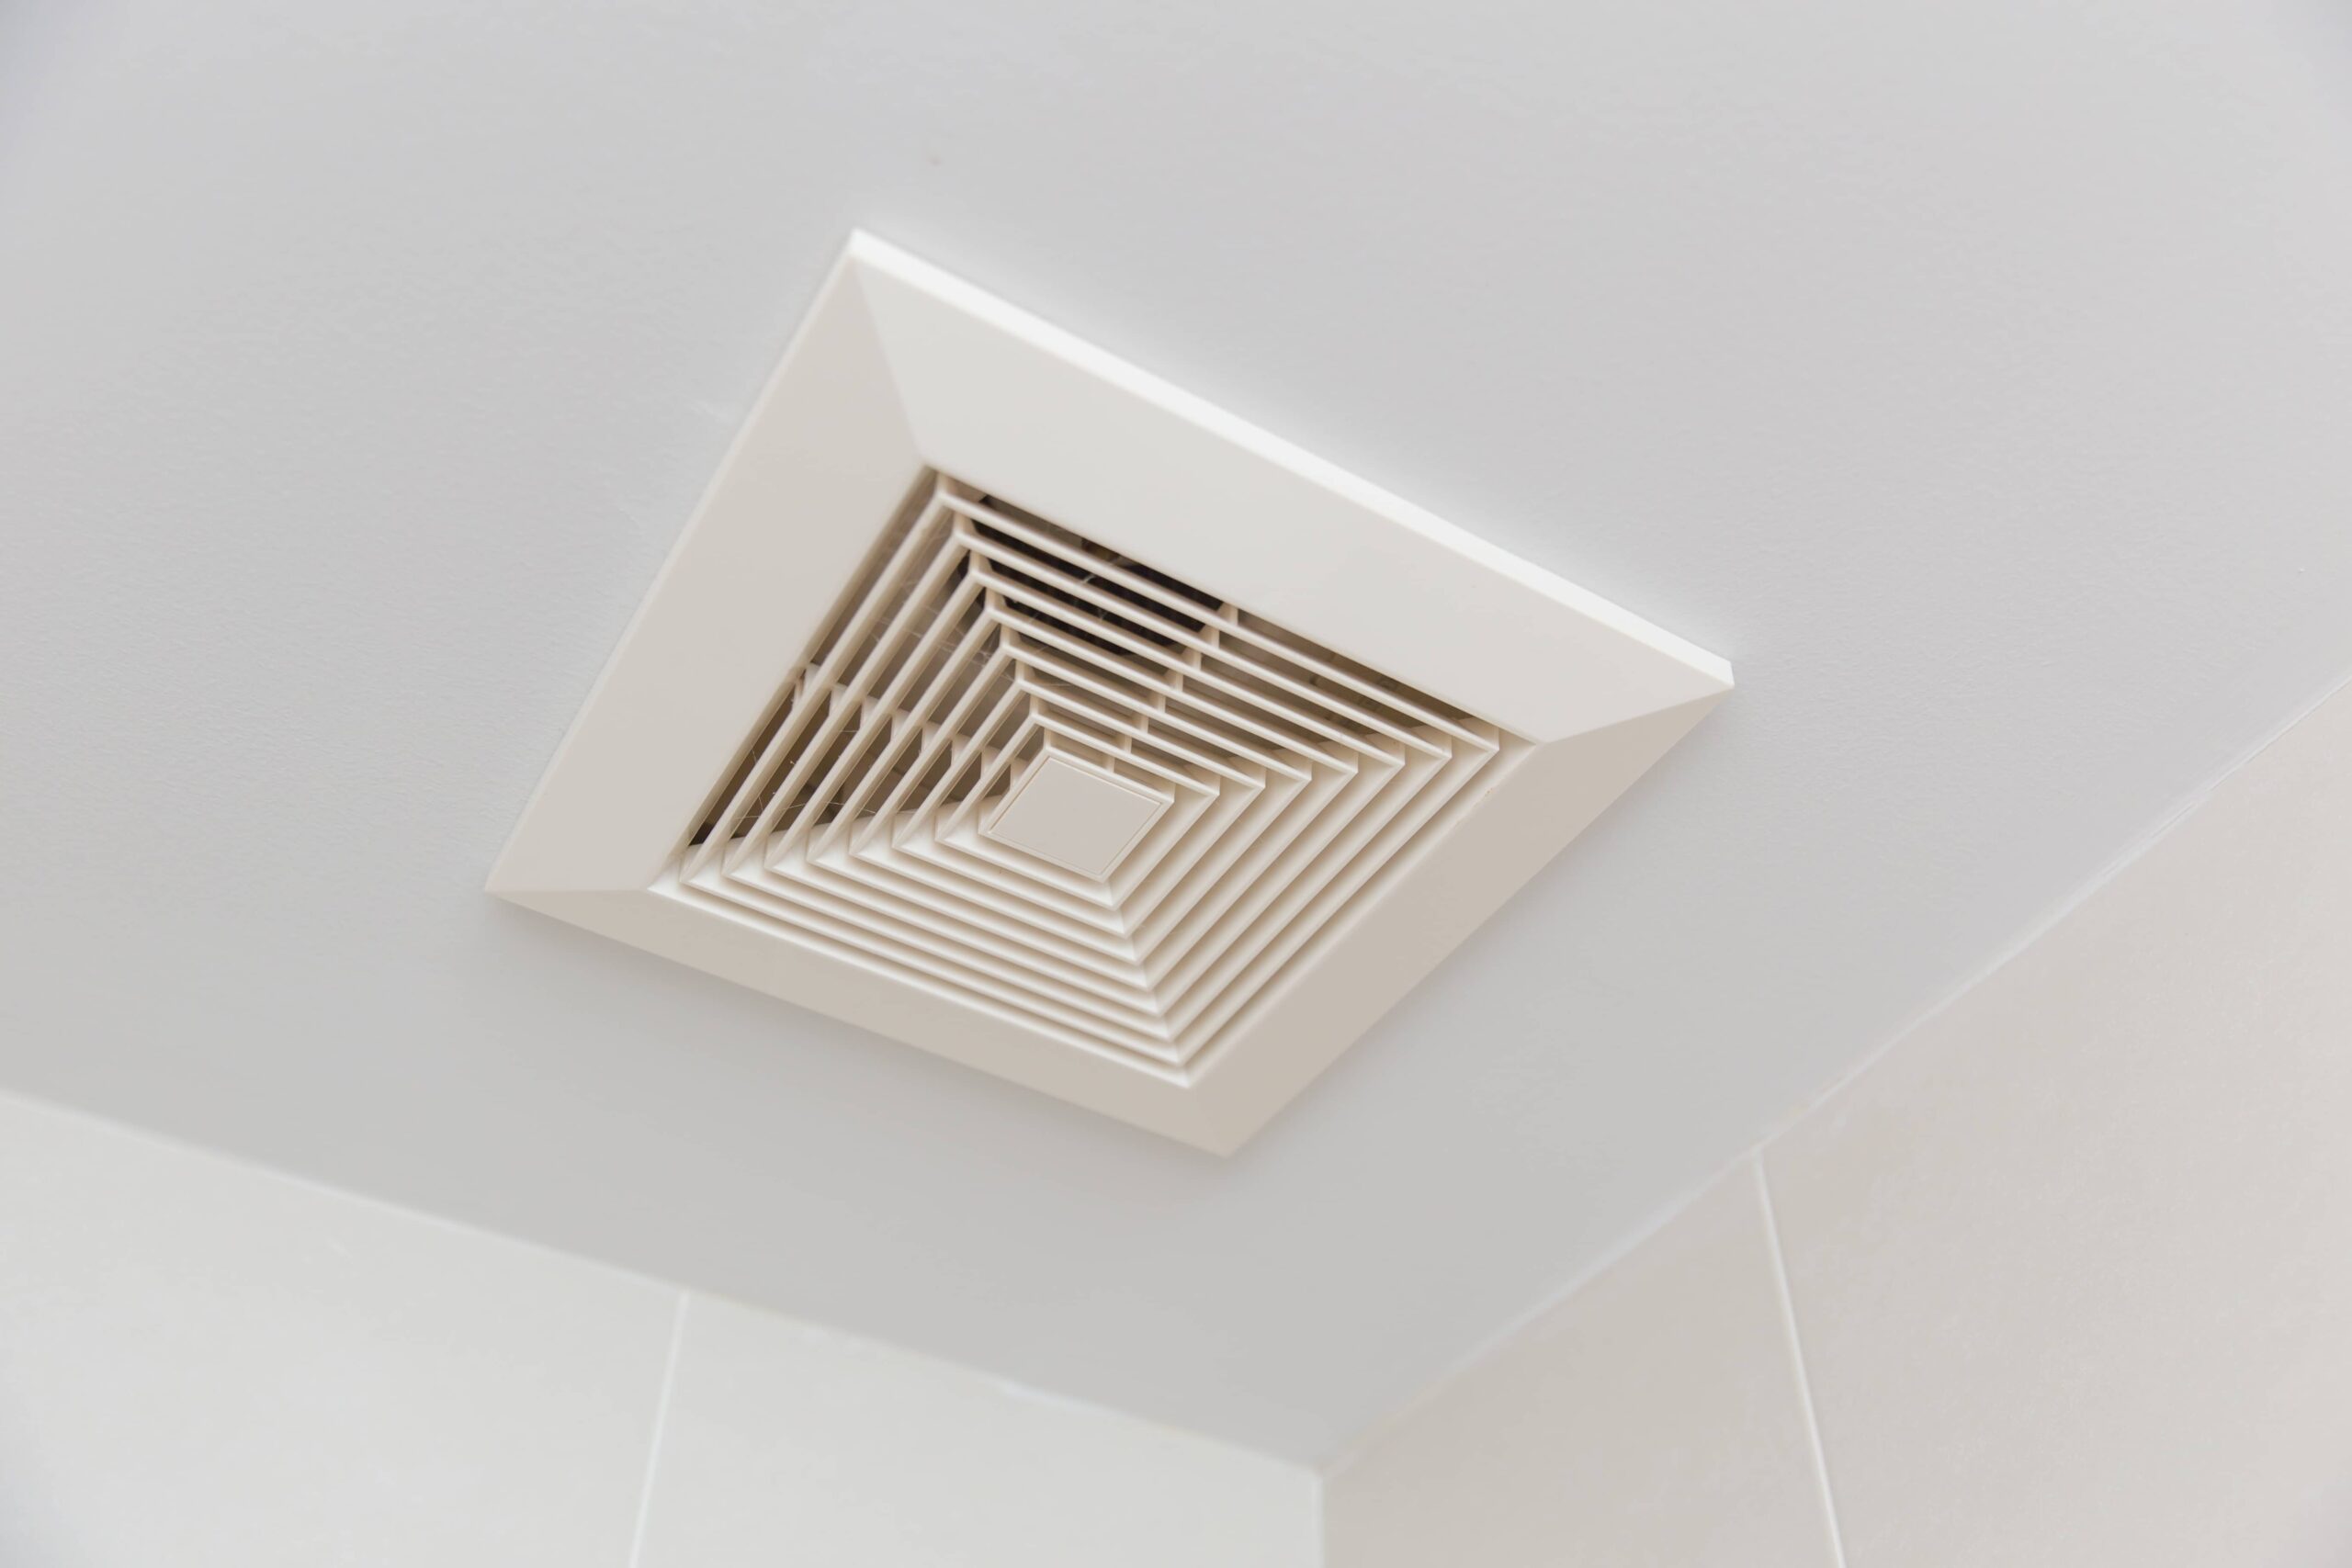
When it comes to maintaining a comfortable and healthy bathroom environment, a properly functioning exhaust fan is essential. The exhaust fan helps to remove excess moisture, unpleasant odors, and airborne impurities, thereby preventing mold and mildew growth while promoting good indoor air quality. Over time, the motor of the exhaust fan may wear out, leading to decreased efficiency or complete failure. In such cases, it becomes necessary to replace the exhaust fan motor to restore optimal functionality.
In this comprehensive guide, we will walk you through the step-by-step process of replacing a bathroom exhaust fan motor. Whether you are a seasoned DIY enthusiast or a novice homeowner looking to tackle a home improvement project, this guide will equip you with the knowledge and confidence to successfully complete the task. By following these instructions and safety precautions, you can ensure a smooth and effective replacement process, ultimately enhancing the ventilation and comfort of your bathroom space.
Now, let's delve into the detailed steps involved in replacing a bathroom exhaust fan motor, from safely turning off the power to testing the newly installed motor. With the right tools, a methodical approach, and a commitment to safety, you can breathe new life into your bathroom's ventilation system and enjoy a fresh, clean atmosphere with every use.
Key Takeaways:
- Keep your bathroom fresh and healthy by replacing the exhaust fan motor. Prioritize safety by turning off the power, then follow step-by-step instructions to remove, install, and test the new motor for optimal ventilation.
- Replacing a bathroom exhaust fan motor is a rewarding DIY project that enhances air quality and comfort. With careful steps to disconnect, remove, install, and test the new motor, you can enjoy a cleaner and more inviting bathroom space.
Read more: How To Fix Bathroom Exhaust Fan
Step 1: Turn off the Power
Before embarking on the task of replacing a bathroom exhaust fan motor, it is crucial to prioritize safety by ensuring that the power supply to the fan is completely shut off. This step is paramount to prevent the risk of electrical shock or injury during the replacement process. Here's a detailed guide on how to safely turn off the power to the bathroom exhaust fan:
-
Locate the Circuit Breaker Panel: Begin by identifying the circuit breaker panel in your home. This panel contains the circuit breakers or fuses that control the flow of electricity to various areas and appliances within the house.
-
Identify the Correct Circuit: Once at the circuit breaker panel, locate the circuit that supplies power to the bathroom exhaust fan. The circuits are typically labeled to indicate their corresponding areas of the house or specific appliances.
-
Switch Off the Circuit: Carefully switch off the circuit that powers the bathroom exhaust fan. This action effectively cuts off the electricity supply to the fan, ensuring that it is safe to proceed with the motor replacement.
-
Verify Power Disconnection: After turning off the circuit, it is essential to double-check that the power to the bathroom exhaust fan has been successfully disconnected. You can do this by attempting to turn on the fan switch or using a non-contact voltage tester to confirm the absence of electrical current at the fan's wiring and motor.
By diligently following these steps to turn off the power, you can create a secure working environment for the subsequent stages of the motor replacement process. Always exercise caution and attentiveness when dealing with electrical systems, and never proceed with the replacement until you are certain that the power to the bathroom exhaust fan has been safely deactivated.
Remember, safety should always be the top priority when undertaking any home improvement project, and turning off the power is a fundamental precautionary measure that cannot be overlooked. With the power safely turned off, you are now ready to proceed to the next steps of replacing the bathroom exhaust fan motor.
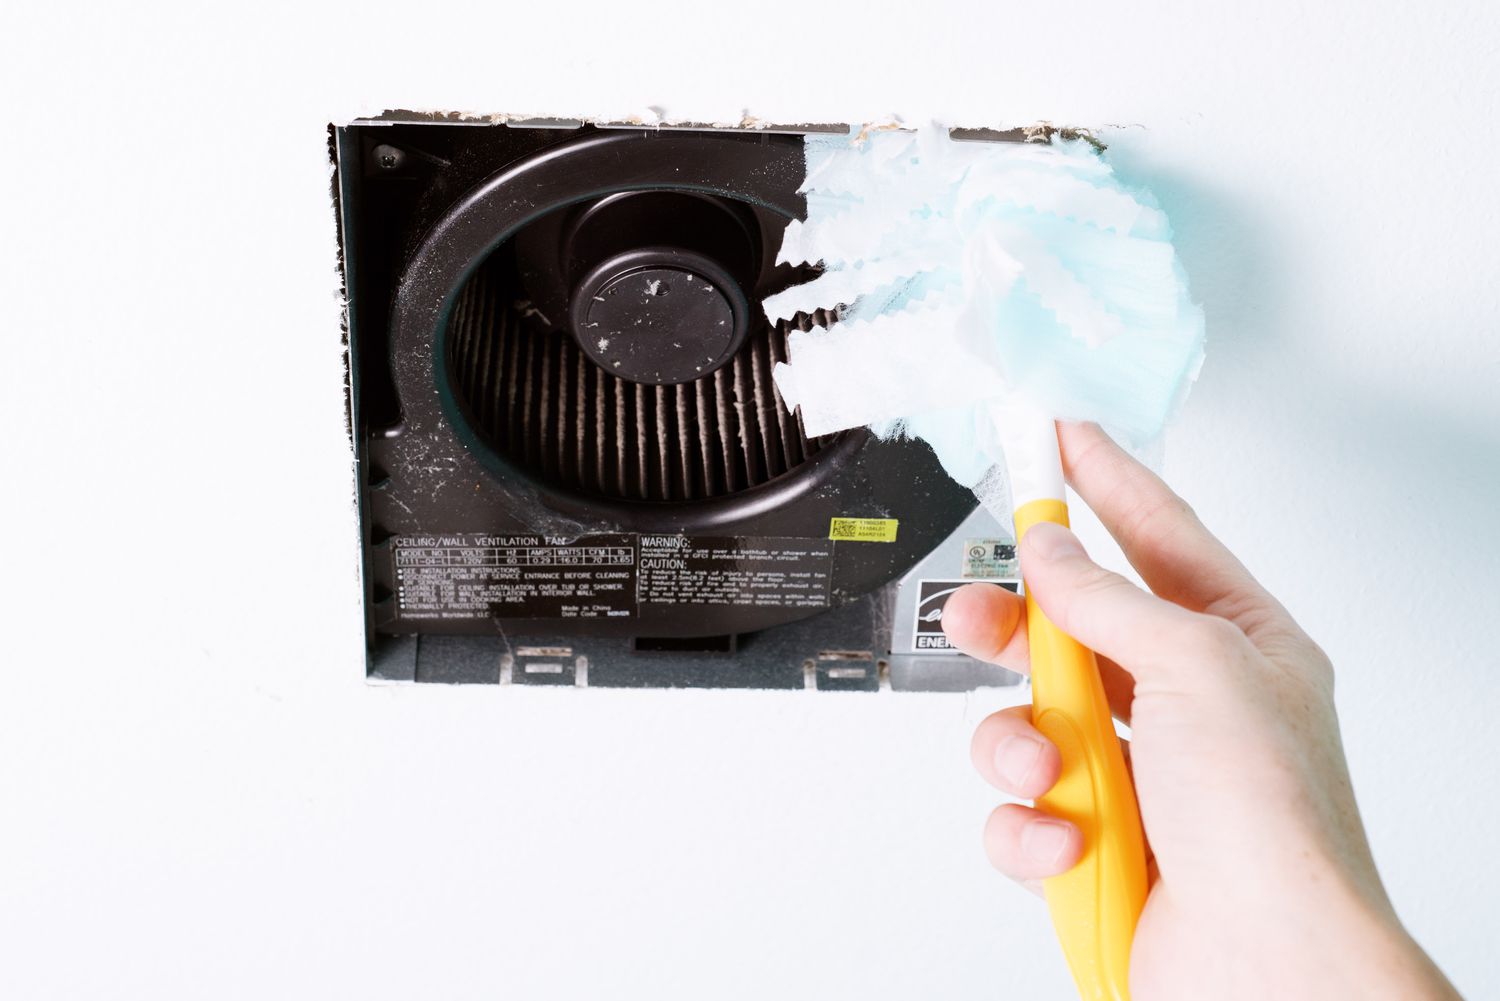
Step 2: Remove the Old Motor
With the power safely turned off, the next crucial step in replacing a bathroom exhaust fan motor is to remove the old, malfunctioning motor. This process requires careful attention to detail and a methodical approach to disassembling the fan unit. Here's a comprehensive guide on how to effectively remove the old motor from your bathroom exhaust fan:
-
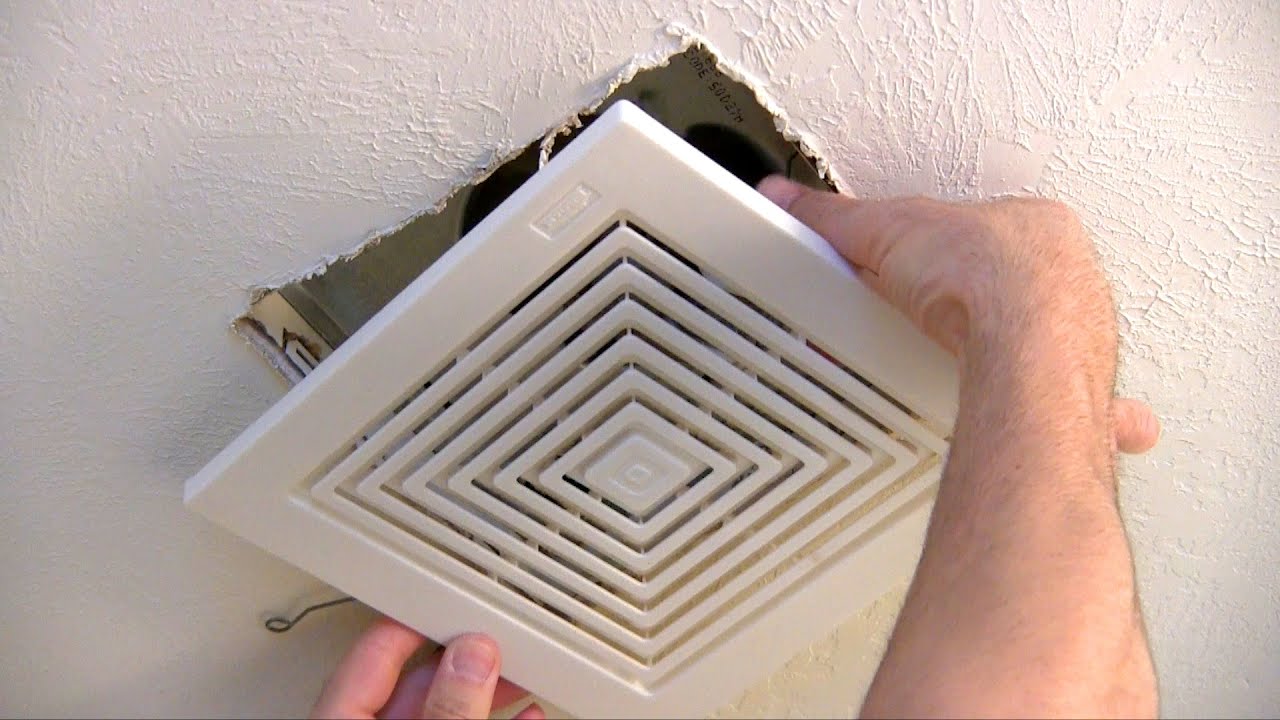
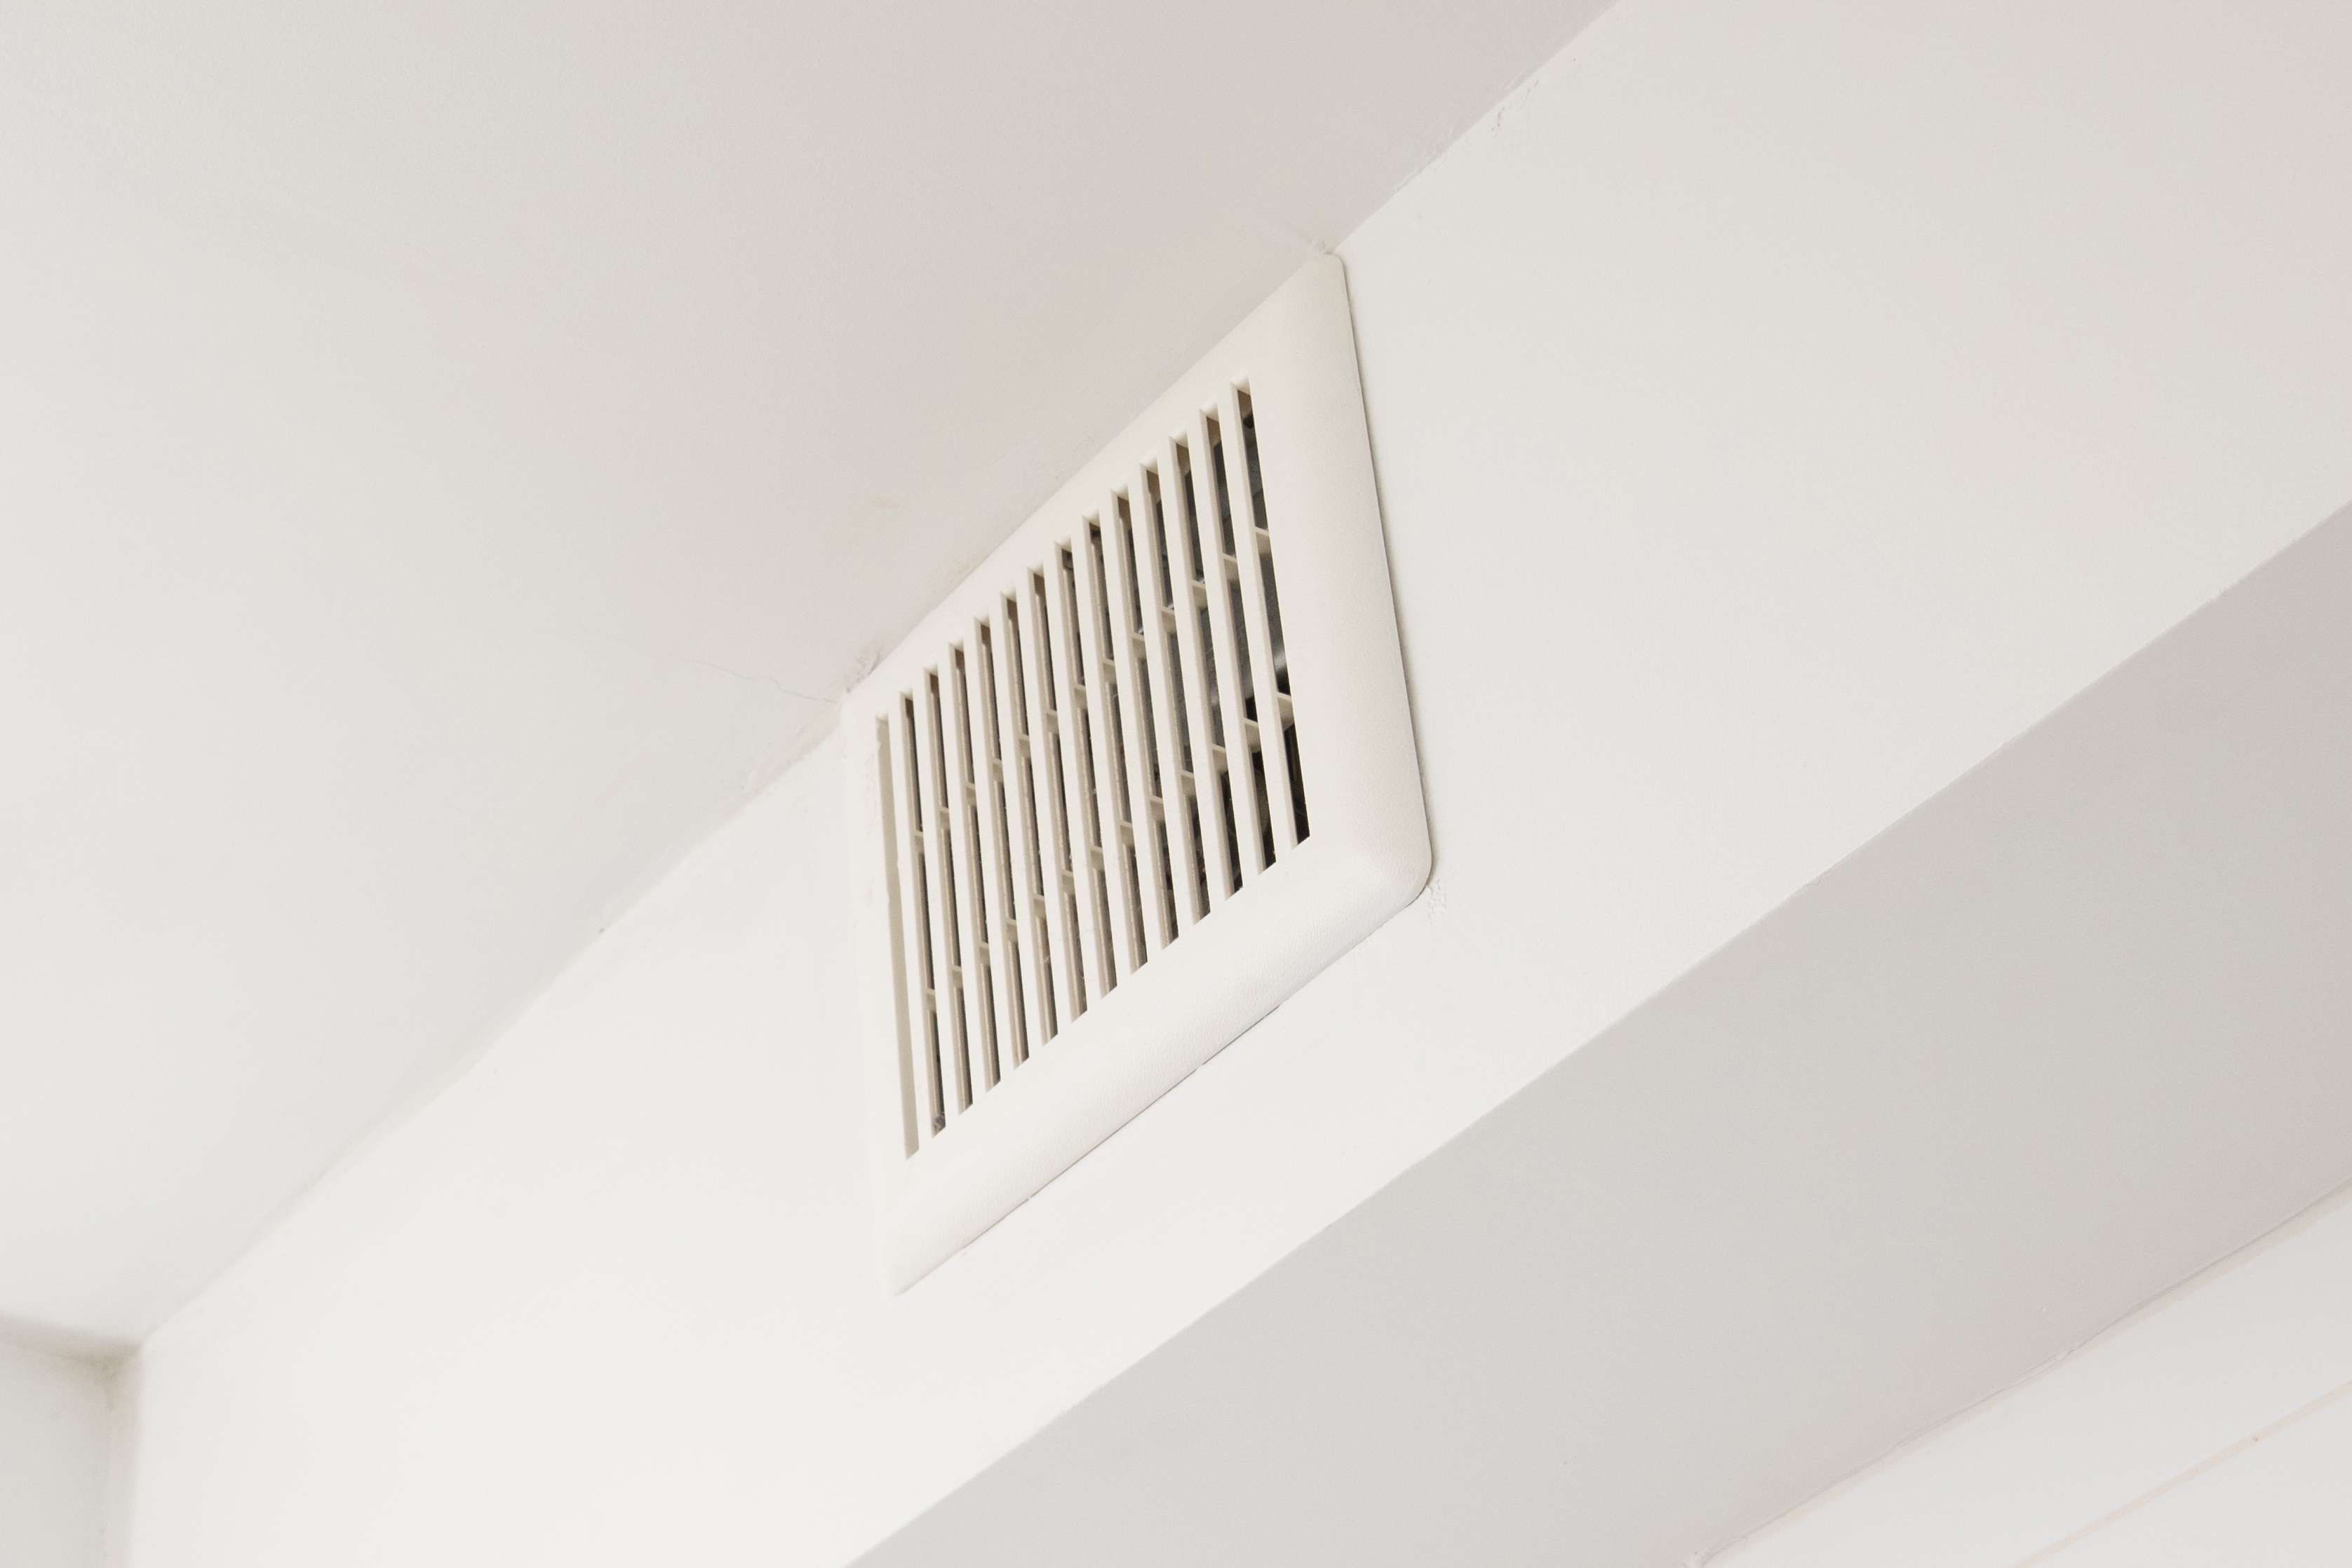
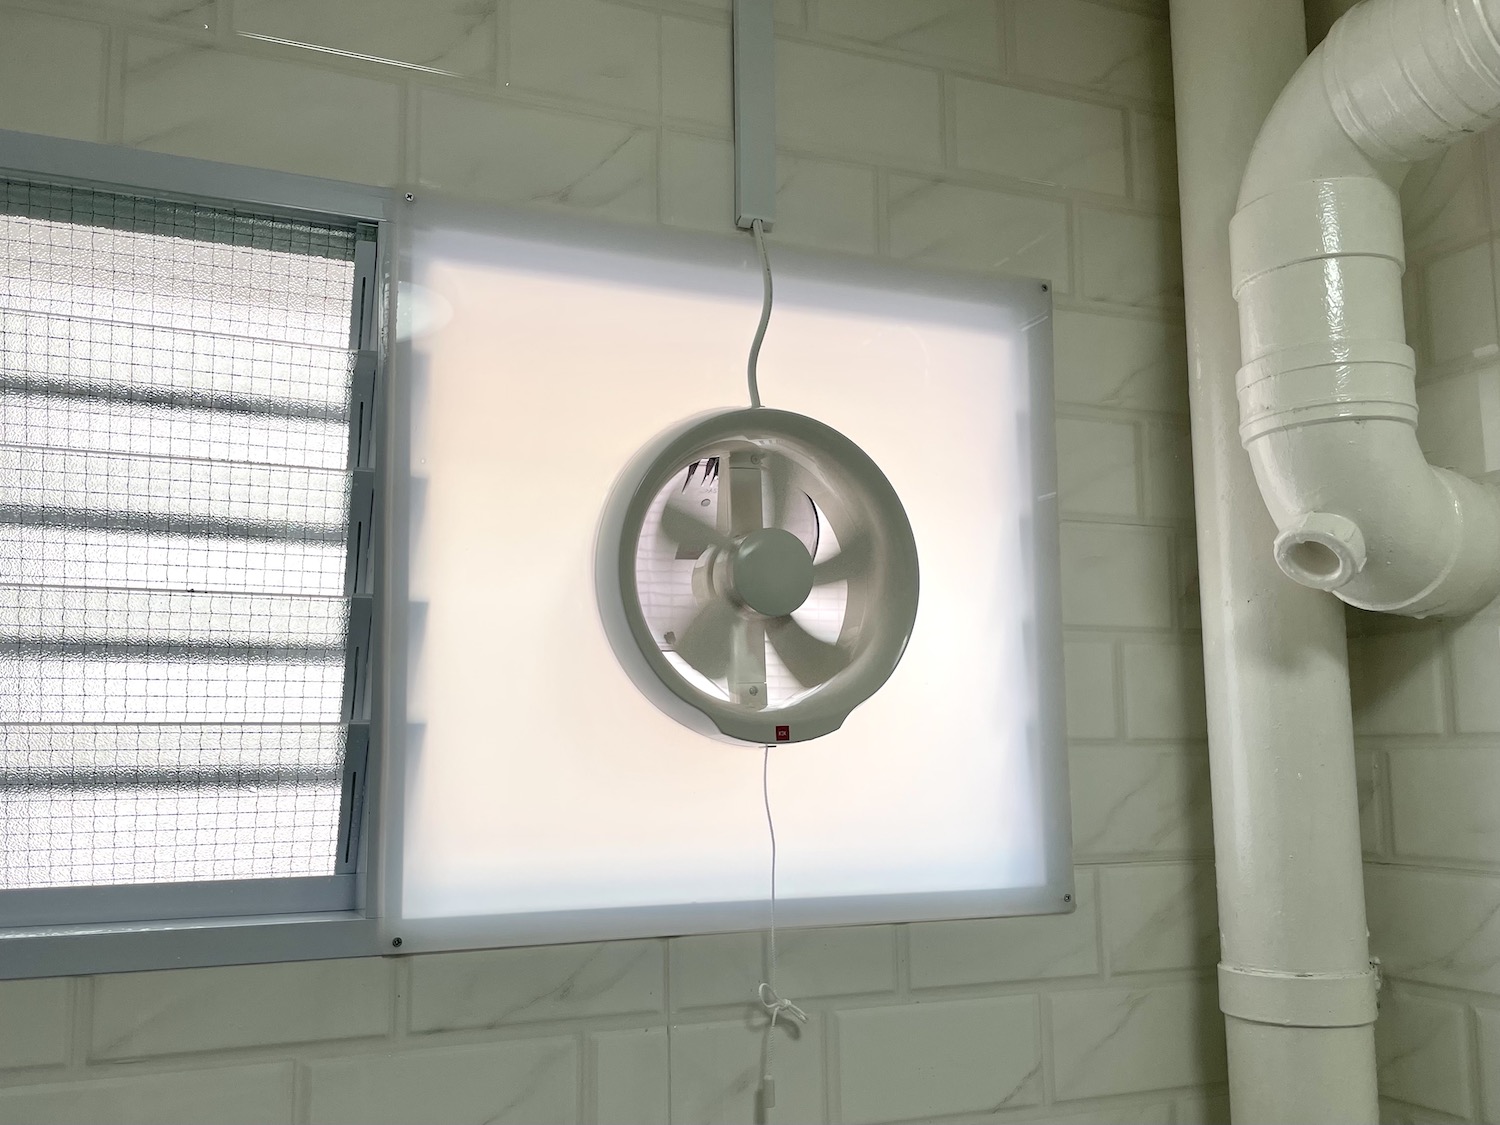
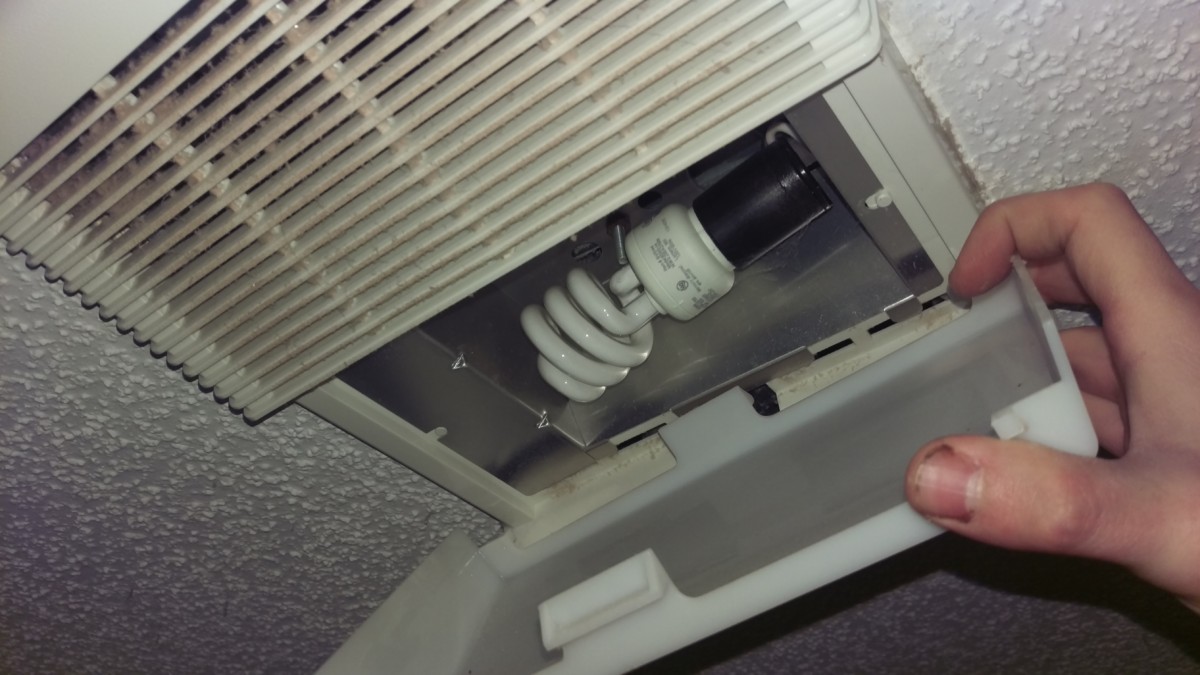
Access the Fan Housing: Begin by accessing the fan housing, which is typically located in the ceiling or wall of the bathroom. Use a stepladder if necessary to reach the fan unit. Depending on the design of the fan, you may need to remove a cover or grille to gain access to the internal components.
-
Disconnect the Wiring: Before proceeding with motor removal, it is essential to disconnect the electrical wiring that powers the old motor. Identify the wiring connections and carefully detach them, ensuring that the wires are free from any obstructions or entanglements.
-
Remove Mounting Screws or Brackets: Most bathroom exhaust fan motors are secured in place by mounting screws or brackets. Use a suitable screwdriver or wrench to loosen and remove these fasteners, taking care to support the motor as you work to prevent it from falling.
-
Extract the Old Motor: Once the mounting screws or brackets have been removed, gently extract the old motor from the fan housing. Pay attention to any additional components or attachments that may be connected to the motor and detach them as necessary.
-
Inspect for Debris and Damage: With the old motor removed, take a moment to inspect the interior of the fan housing for any accumulated debris, dust, or signs of damage. Clear away any obstructions and clean the area as needed to prepare for the installation of the new motor.
By meticulously following these steps, you can effectively remove the old motor from your bathroom exhaust fan, paving the way for the subsequent installation of the new motor. Remember to handle the old motor with care and dispose of it responsibly according to local regulations. With the old motor successfully removed, you are now ready to proceed to the next stage of the replacement process: installing the new motor.
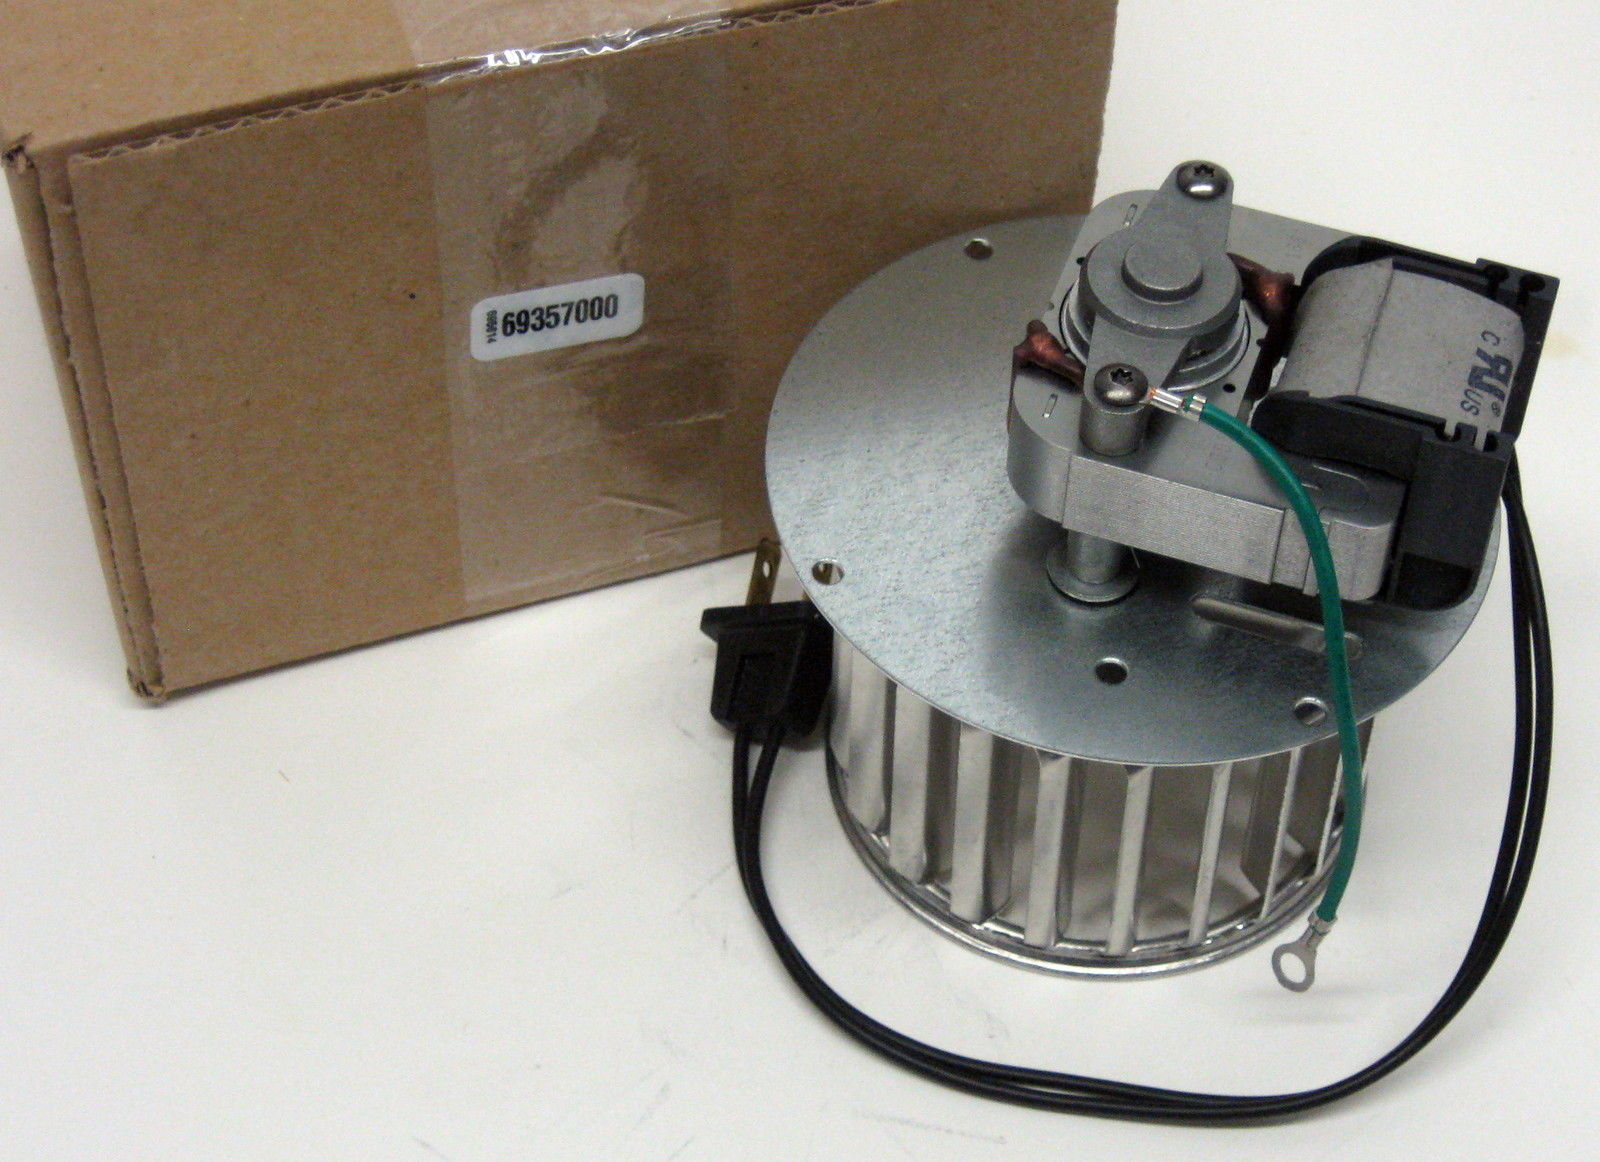
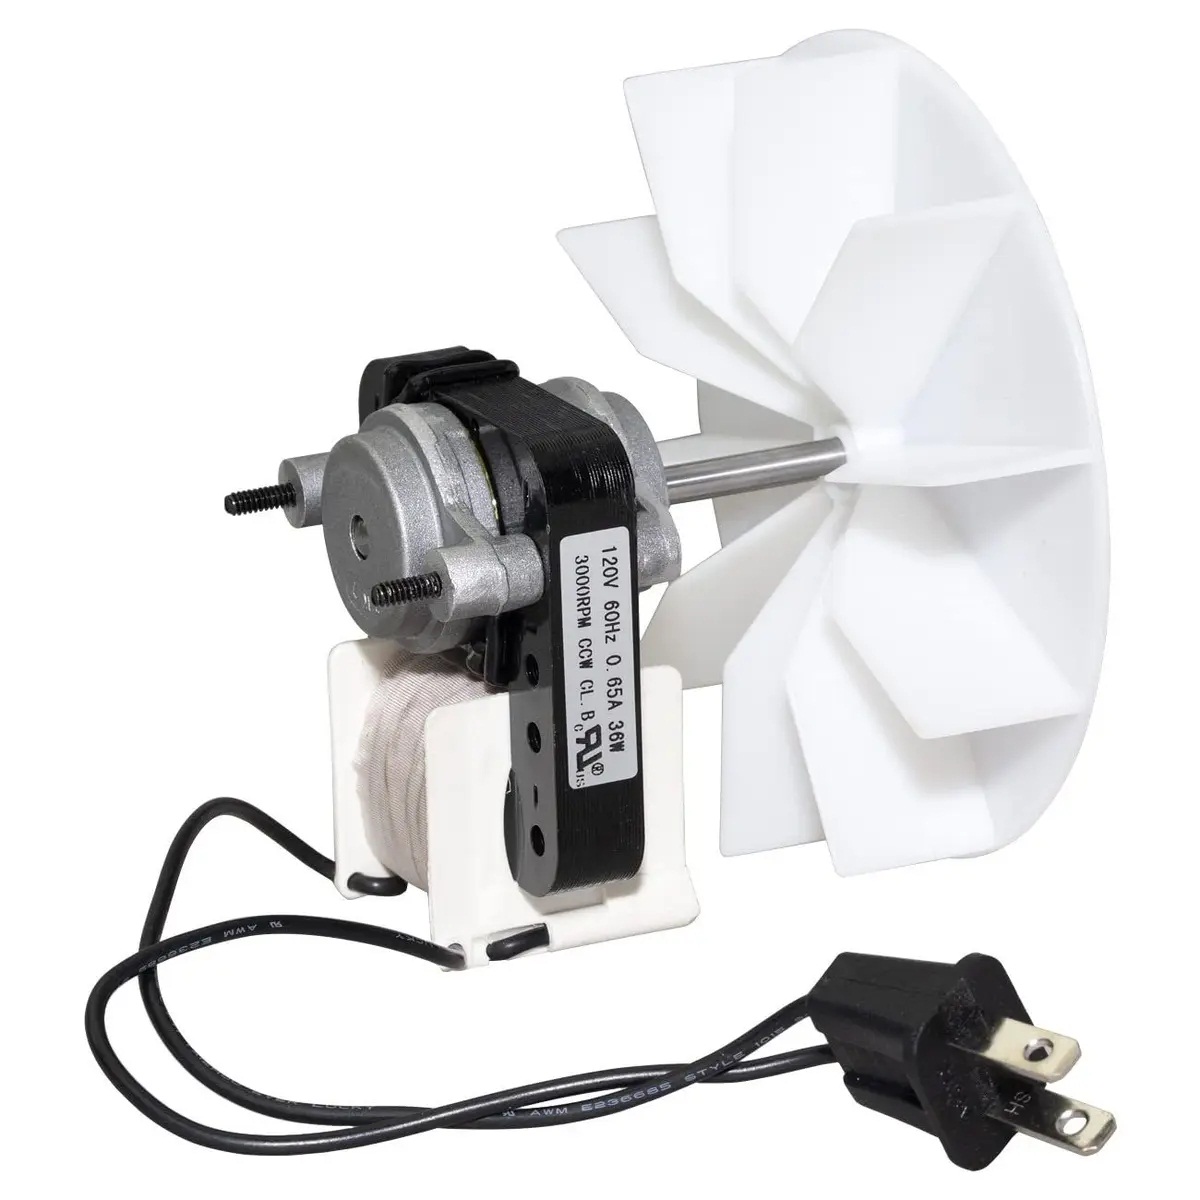
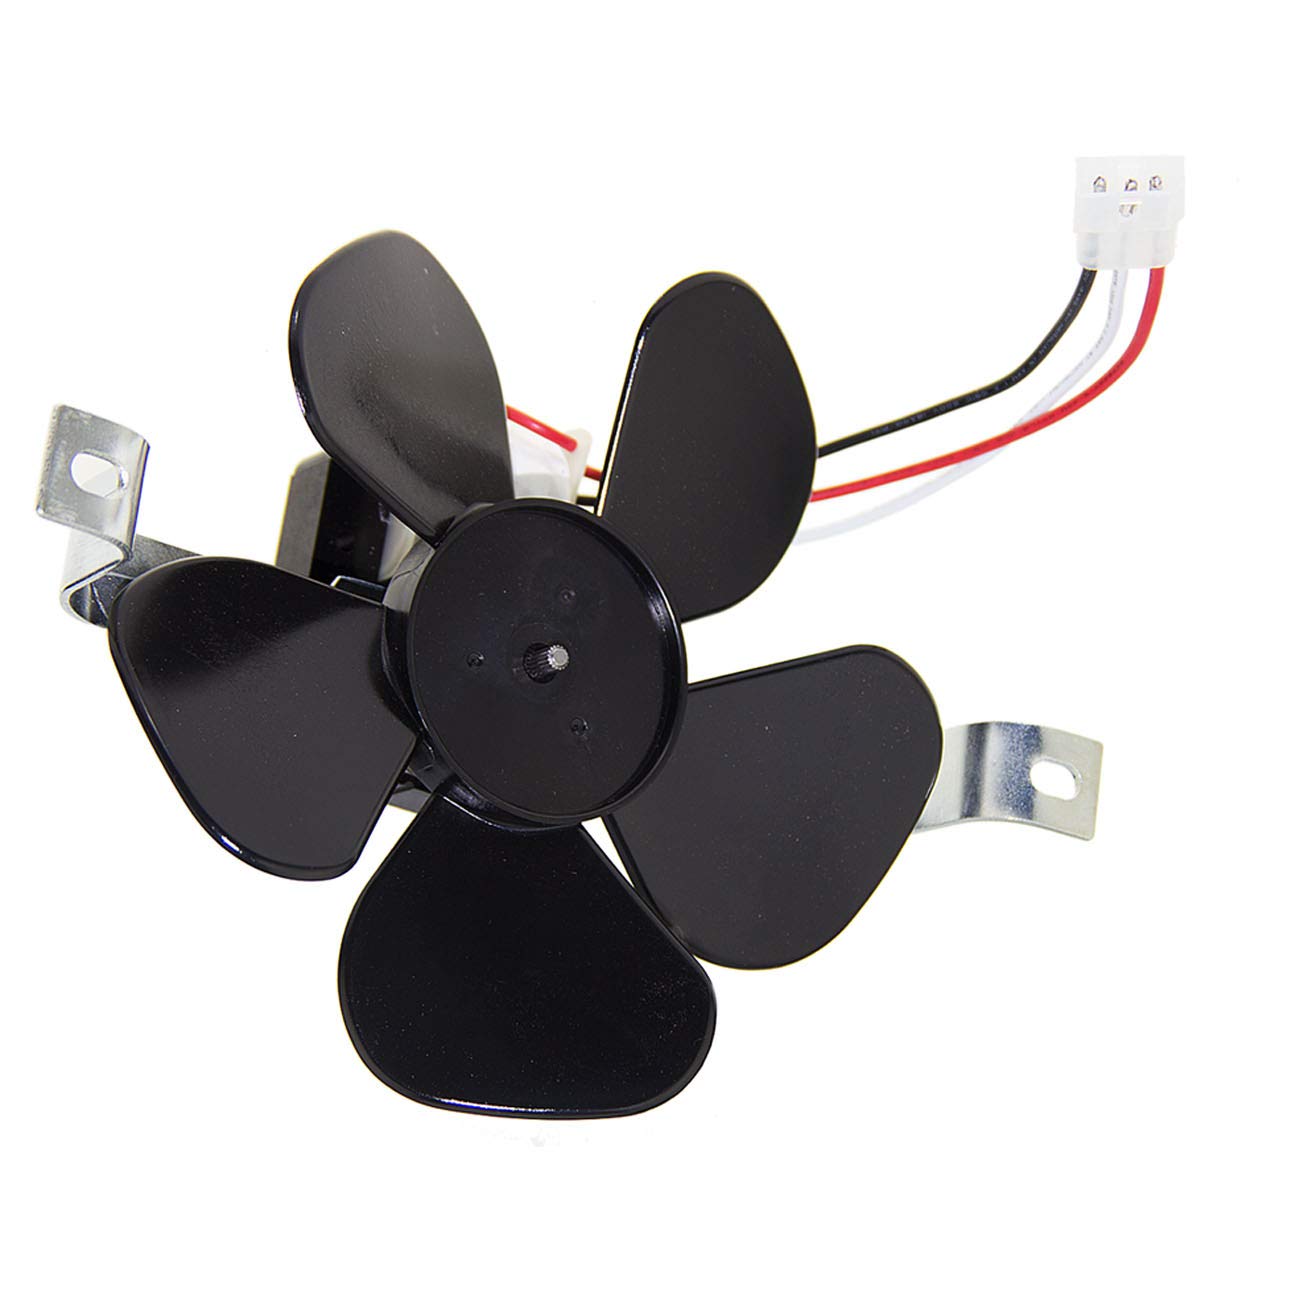
Step 3: Install the New Motor
With the old motor successfully removed from the bathroom exhaust fan, the next pivotal phase of the replacement process involves installing the new motor. This step demands precision, attention to detail, and a methodical approach to ensure the seamless integration of the new motor into the fan unit. Here's a comprehensive guide on how to effectively install the new motor in your bathroom exhaust fan:
-
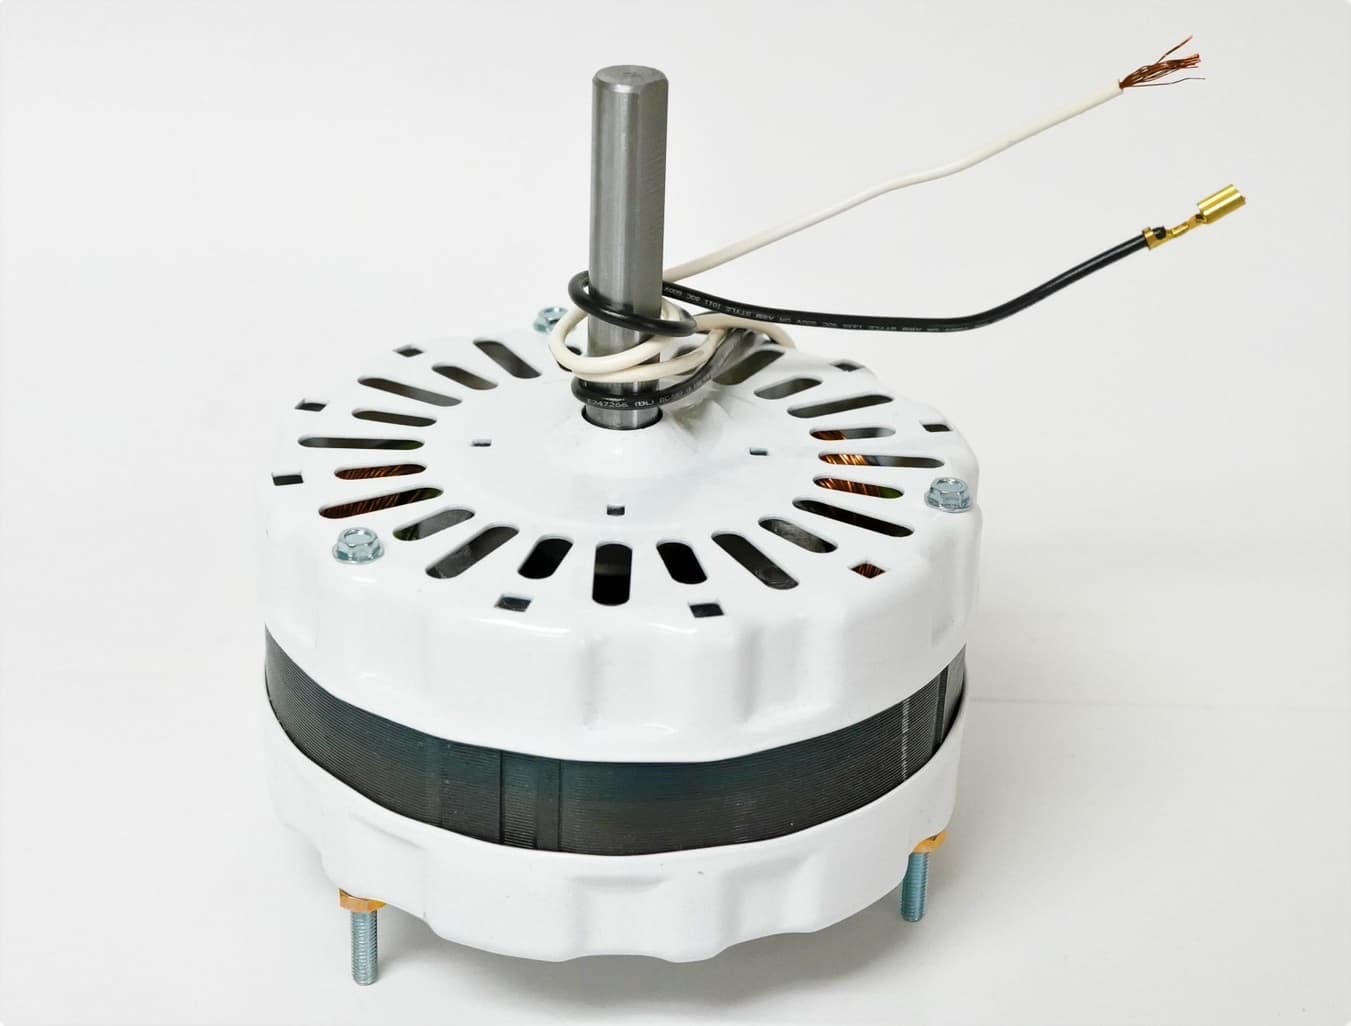
Select the Correct Replacement Motor: Before proceeding with the installation, ensure that the replacement motor is compatible with your specific bathroom exhaust fan model. Verify that the new motor matches the voltage, power rating, and physical dimensions required for a proper fit within the fan housing.
-
Position the New Motor: Carefully position the new motor in the designated space within the fan housing, aligning it with the mounting brackets or slots. Take note of any orientation or alignment indicators on the motor to ensure that it is inserted correctly.
-
Secure the Motor in Place: Once the new motor is properly positioned, use the appropriate mounting screws or brackets to secure it within the fan housing. Ensure that the motor is firmly and evenly fastened to prevent any unnecessary movement or vibration during operation.
-
Reattach Additional Components: If the new motor requires the attachment of additional components, such as a fan blade or pulley, carefully follow the manufacturer's instructions to securely affix these elements to the motor shaft. Pay close attention to alignment and fastening to maintain optimal balance and performance.
-
Reinstall the Fan Cover or Grille: After the new motor is securely in place, reattach the fan cover or grille to the fan housing. Ensure that the cover is properly aligned and fastened to provide adequate protection and aesthetic appeal.
-
Double-Check the Installation: Before proceeding to the next step, double-check the installation of the new motor to confirm that all components are securely fastened and aligned. Verify that the motor is positioned correctly and that there are no loose or protruding elements that could impede its operation.
By meticulously following these steps, you can effectively install the new motor in your bathroom exhaust fan, setting the stage for the final phase of the replacement process: reconnecting the wiring. With the new motor securely integrated into the fan unit, you are one step closer to revitalizing the ventilation system of your bathroom and enjoying improved air circulation and moisture control.
When replacing a bathroom exhaust fan motor, make sure to turn off the power to the fan at the circuit breaker before starting. This will prevent any accidents or electrical shocks while working on the motor.
Step 4: Reconnect the Wiring
With the new motor securely installed in the bathroom exhaust fan, the next critical step in the replacement process is to reconnect the electrical wiring to power the new motor. Properly reestablishing the electrical connections is essential to ensure the safe and efficient operation of the fan. Here's a detailed guide on how to effectively reconnect the wiring for the newly installed motor:
-
Identify the Wiring Connections: Begin by identifying the electrical wiring that powers the bathroom exhaust fan motor. The wiring typically consists of insulated conductors, including the hot (black), neutral (white), and ground (green or bare copper) wires. Carefully locate these wires within the fan housing, ensuring that they are free from damage or wear.
-
Prepare the Wiring Ends: If the wiring ends are not already prepared, carefully strip off a small portion of the insulation from the ends of the black, white, and ground wires using wire strippers. Take care to expose just enough bare wire to facilitate secure connections without leaving excessive exposed conductors.
-
Match the Wiring: Match the corresponding wires from the new motor to the existing house wiring based on their color coding. Connect the black wire from the motor to the hot (black) house wire, the white wire from the motor to the neutral (white) house wire, and the green or bare copper wire from the motor to the ground (green or bare copper) house wire.
-
Secure the Connections: Once the wires are properly matched, use wire connectors (wire nuts) to securely join the motor wires with the house wiring. Twist the exposed ends of the corresponding wires together in a clockwise direction, then cover the twisted connections with the appropriate-sized wire nuts. Ensure that the wire nuts are tightened firmly to create stable and insulated connections.
-
Tuck and Secure the Wiring: After the connections are made, carefully tuck the connected wires into the designated wiring compartment or junction box within the fan housing. Use cable clamps or fasteners to secure the wiring in place, preventing any strain or movement that could compromise the integrity of the connections.
-
Verify the Wiring Configuration: Double-check the wiring configuration to confirm that the connections are secure, properly insulated, and free from any exposed conductors. Ensure that the wiring is neatly arranged and does not obstruct the movement of the fan blades or impede the functionality of the motor.
By meticulously following these steps to reconnect the wiring for the newly installed motor, you can ensure a safe and reliable electrical connection, setting the stage for the final phase of the replacement process: testing the fan. With the wiring securely reconnected, the bathroom exhaust fan is poised to resume its vital role in maintaining a fresh, comfortable, and well-ventilated bathroom environment.
Read more: What Is An Exhaust Fan
Step 5: Test the Fan
With the new motor installed and the wiring securely reconnected, the final and pivotal step in the replacement process is to test the functionality of the bathroom exhaust fan. This critical phase allows you to verify that the new motor operates as intended, effectively expelling moisture, odors, and impurities from the bathroom while promoting optimal air circulation. Here's a detailed guide on how to effectively test the fan and ensure its reliable performance:
-
Restore Power: Begin by restoring the power supply to the bathroom exhaust fan by switching on the circuit breaker or fuse that controls the fan's electrical connection. Exercise caution and attentiveness when reactivating the power, and be prepared to promptly turn it off if any issues or abnormalities are observed during the testing process.
-
Activate the Fan: Once the power is restored, activate the bathroom exhaust fan by turning on the fan switch or operating the fan control mechanism. Observe the fan blades and listen for the sound of the motor as it begins to rotate. Pay attention to any unusual noises, vibrations, or irregular movements that may indicate potential issues with the new motor or its integration into the fan unit.
-
Assess Airflow: Stand near the fan outlet or grille and assess the airflow generated by the newly installed motor. Feel for the presence of air movement and observe the expulsion of air from the bathroom space. A properly functioning fan should exhibit a noticeable airflow, effectively drawing out moist or stale air and replacing it with fresh, ventilated air.
-
Monitor Operation: Observe the fan's operation for a few minutes to ensure consistent and stable performance. Pay attention to any fluctuations in speed, unusual odors, or erratic behavior that may signal underlying problems with the motor or the fan assembly. Additionally, visually inspect the fan unit to confirm that all components, including the motor, fan blades, and grille, are functioning harmoniously.
-
Check for Proper Shutdown: After testing the fan, turn off the fan switch or control mechanism and observe the gradual cessation of the fan's operation. Ensure that the fan comes to a complete stop without any lingering noises or irregularities. This step confirms that the motor responds appropriately to the shutdown command and does not exhibit prolonged or delayed operation.
By meticulously following these steps to test the functionality of the bathroom exhaust fan, you can confidently assess the performance of the newly installed motor and ensure that it fulfills its essential role in maintaining a well-ventilated and comfortable bathroom environment. If any issues or concerns arise during the testing process, promptly deactivate the power supply and seek professional assistance to address the underlying issues. With the fan successfully tested and verified, you can take pride in completing the replacement of the bathroom exhaust fan motor, thereby enhancing the overall functionality and comfort of your bathroom space.
Conclusion
In conclusion, the successful replacement of a bathroom exhaust fan motor is a rewarding endeavor that not only revitalizes the ventilation system of your bathroom but also contributes to a healthier and more comfortable living environment. By following the step-by-step guide outlined in this comprehensive resource, you have gained the knowledge and confidence to undertake this essential home improvement project with precision and safety in mind.
Throughout the replacement process, you have prioritized safety by diligently turning off the power supply, carefully removing the old motor, installing the new motor, reconnecting the wiring, and thoroughly testing the fan's functionality. These meticulous steps have not only enhanced the efficiency and reliability of your bathroom exhaust fan but have also empowered you to take proactive measures in maintaining the overall well-being of your home.
As you reflect on the completion of this project, take pride in the fact that you have contributed to a cleaner, fresher, and more inviting bathroom space. The newly installed motor ensures that excess moisture, odors, and impurities are effectively expelled, promoting optimal air quality and mitigating the risk of mold and mildew growth. With improved ventilation, you can enjoy a more pleasant and rejuvenating bathroom experience, whether it's a quick morning routine or a relaxing evening soak.
Furthermore, the successful replacement of the bathroom exhaust fan motor serves as a testament to your ability to tackle essential home maintenance tasks and enhance the functionality of key household systems. Your proactive approach to addressing the maintenance needs of your home not only fosters a sense of accomplishment but also contributes to the long-term preservation and value of your property.
As you bask in the satisfaction of a job well done, remember that regular maintenance and periodic inspections are essential for preserving the optimal performance of your bathroom exhaust fan and other vital home systems. By staying attentive to the condition of your home's ventilation and air quality systems, you can proactively address issues and ensure a comfortable and healthy living environment for you and your family.
In essence, the successful replacement of the bathroom exhaust fan motor exemplifies your commitment to maintaining a safe, functional, and inviting home. With this project behind you, you can look forward to enjoying the benefits of improved ventilation and air quality, knowing that your proactive efforts have made a tangible difference in the comfort and well-being of your living space.
Frequently Asked Questions about How To Replace A Bathroom Exhaust Fan Motor
Was this page helpful?
At Storables.com, we guarantee accurate and reliable information. Our content, validated by Expert Board Contributors, is crafted following stringent Editorial Policies. We're committed to providing you with well-researched, expert-backed insights for all your informational needs.


0 thoughts on “How To Replace A Bathroom Exhaust Fan Motor”