Articles
How To Replace Bathroom Fan Motor
Modified: August 31, 2024
Learn how to replace the bathroom fan motor with this helpful article. Find step-by-step instructions and expert tips for a smooth DIY project.
(Many of the links in this article redirect to a specific reviewed product. Your purchase of these products through affiliate links helps to generate commission for Storables.com, at no extra cost. Learn more)
Introduction
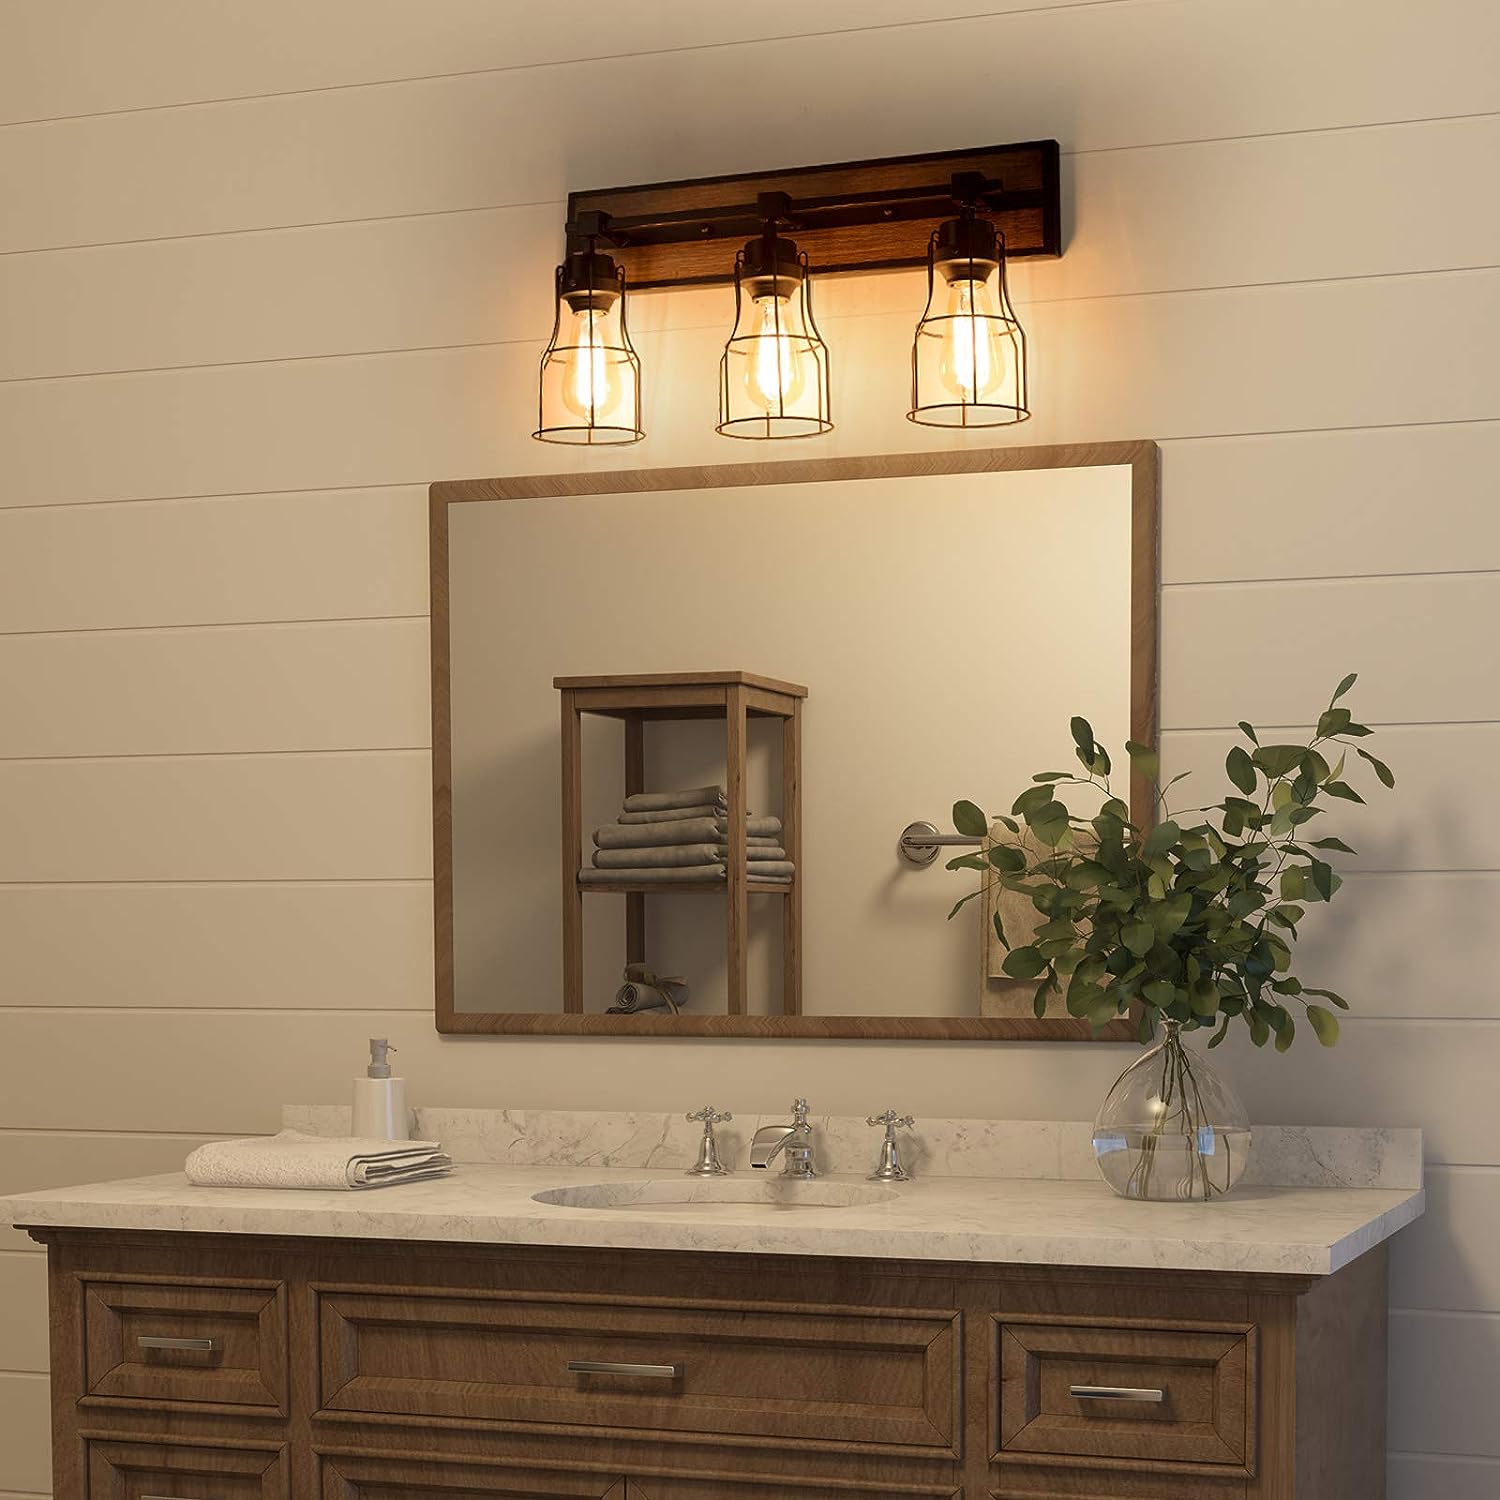
A bathroom fan is an essential component of any bathroom ventilation system. It helps to remove excess humidity, odors, and airborne pollutants, creating a healthier and more comfortable environment. Over time, the fan motor may wear out or become inefficient, requiring replacement. In this article, we will guide you through the process of replacing a bathroom fan motor, providing you with the necessary steps to complete the task safely and efficiently.
Before we begin, it’s important to note that electrical work can be hazardous. If you are uncomfortable working with electricity or are unsure of the procedures, it is always best to consult a professional electrician. Follow all safety precautions, turn off the power supply, and use appropriate tools and protective gear.
Now, let’s go through the step-by-step process of replacing a bathroom fan motor.
Key Takeaways:
- Replacing a bathroom fan motor is a DIY project that can enhance your bathroom’s air quality. Prioritize safety, gather tools, and follow the step-by-step process for a successful and refreshing outcome.
- After replacing the fan motor, enjoy improved air circulation and a more comfortable bathroom environment. Remember to test the fan and consult a professional if needed for a smooth and revitalizing experience.
Read more: How To Replace An Attic Fan Motor
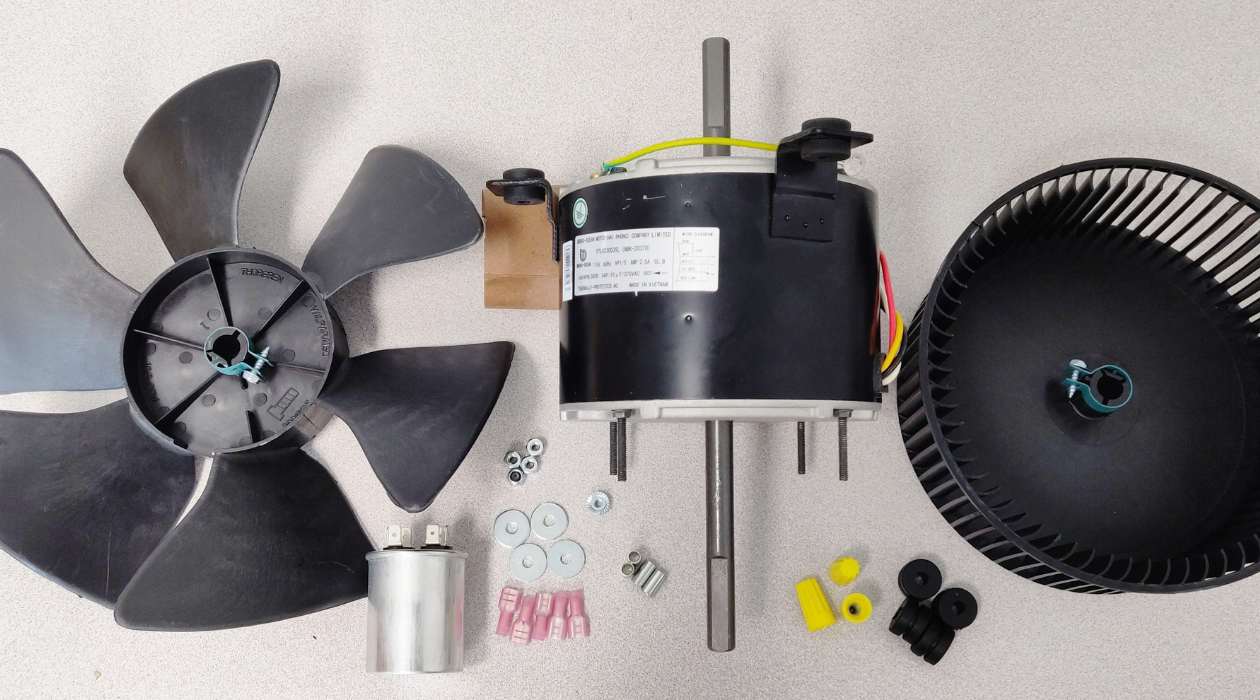
Step 1: Gather necessary tools and materials
Before you start replacing the bathroom fan motor, gather all the necessary tools and materials to ensure a smooth and efficient process. Here are the items you will need:
- Screwdriver (Phillips and flathead)
- Multimeter or voltage tester
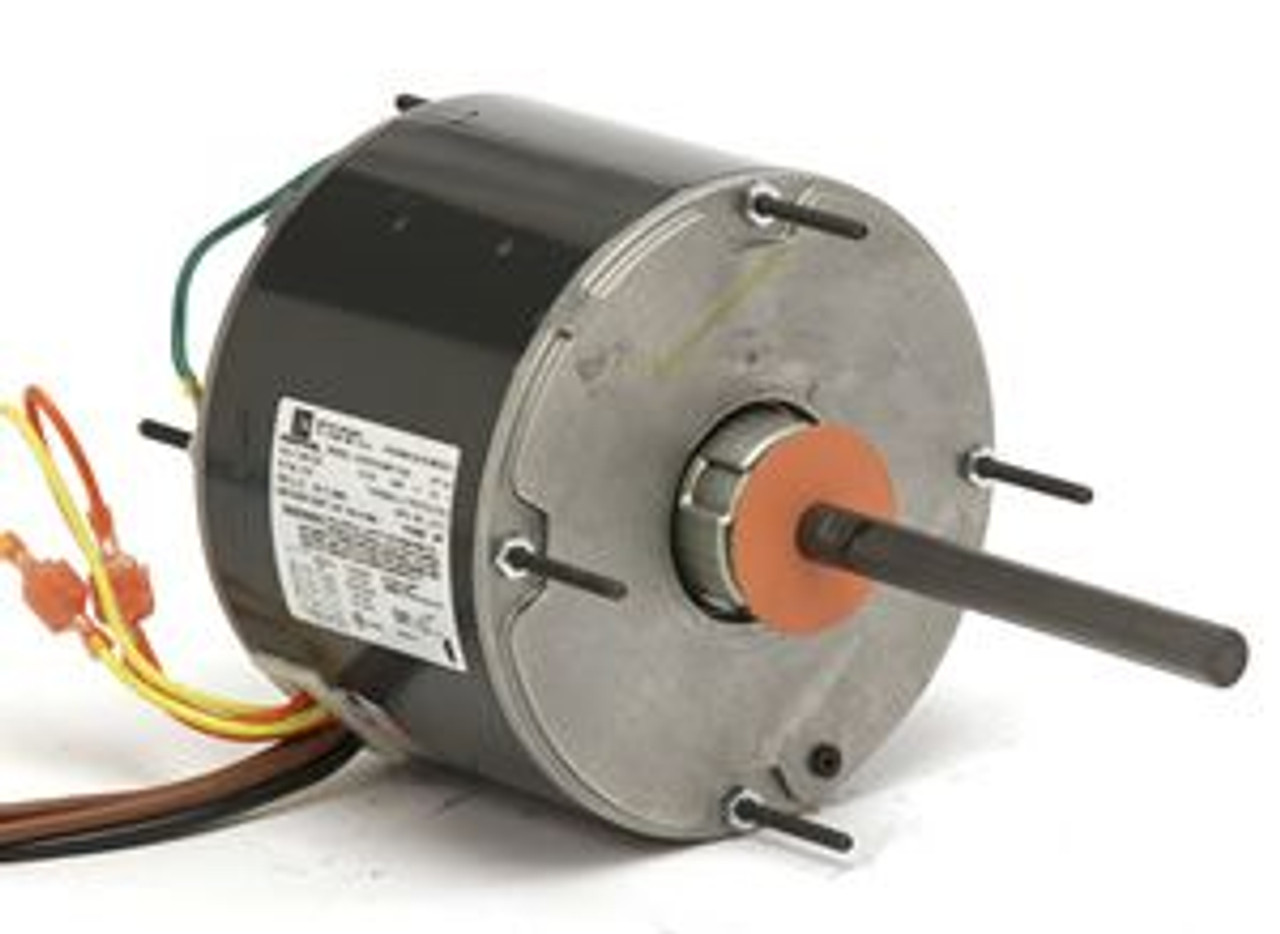
- New fan motor (make sure it is compatible with your existing fan model)
- Wire cutter/stripper
- Electrical tape
- Wire connectors
- Step ladder
- Flashlight
Having these tools and materials ready beforehand will save you time and ensure that you have everything you need to complete the job.
Step 2: Turn off the power supply
Before you begin working on the bathroom fan motor, it is crucial to turn off the power supply to the fan. This will ensure your safety and prevent any electrical accidents. Follow these steps to turn off the power:
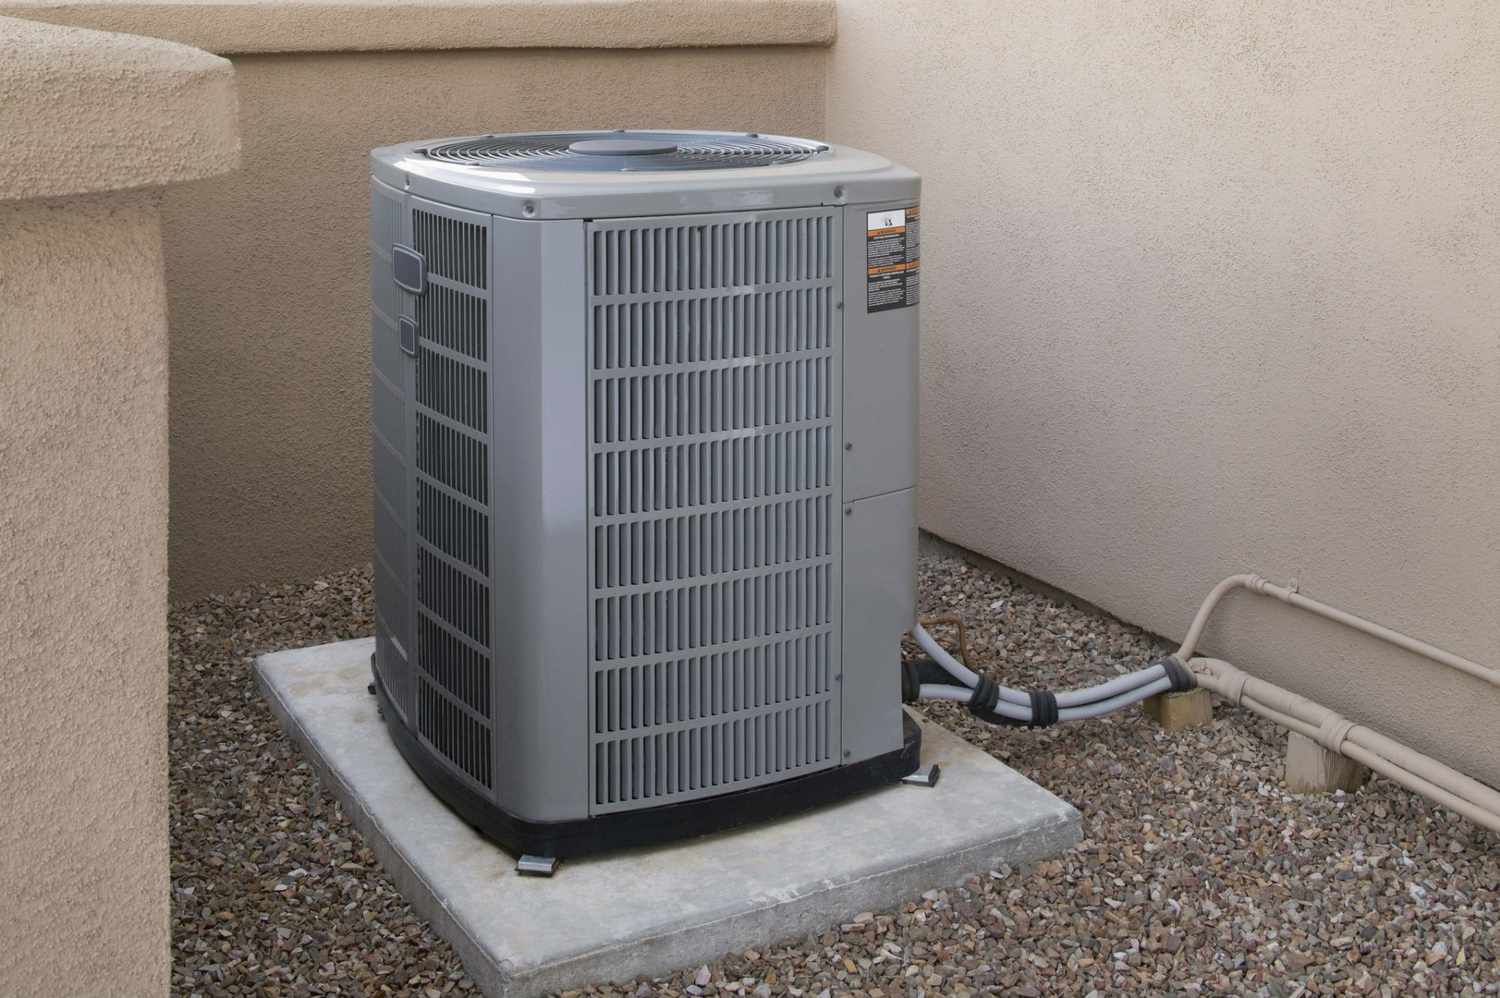
- Locate the circuit breaker panel in your home. It is usually found in the basement, garage, or utility room.
- Open the circuit breaker panel door and locate the breaker that controls the power supply to the bathroom fan. It may be labeled “Bathroom Fan” or something similar.
- Flip the switch associated with the fan to the “Off” position. You should hear a click, indicating that the power has been turned off.
- For extra safety, use a multimeter or a voltage tester to verify that there is no electrical current running to the fan. Follow the manufacturer’s instructions for proper usage of the device.
Once you have confirmed that the power supply is turned off, you can proceed with confidence knowing that you are working in a safe environment.
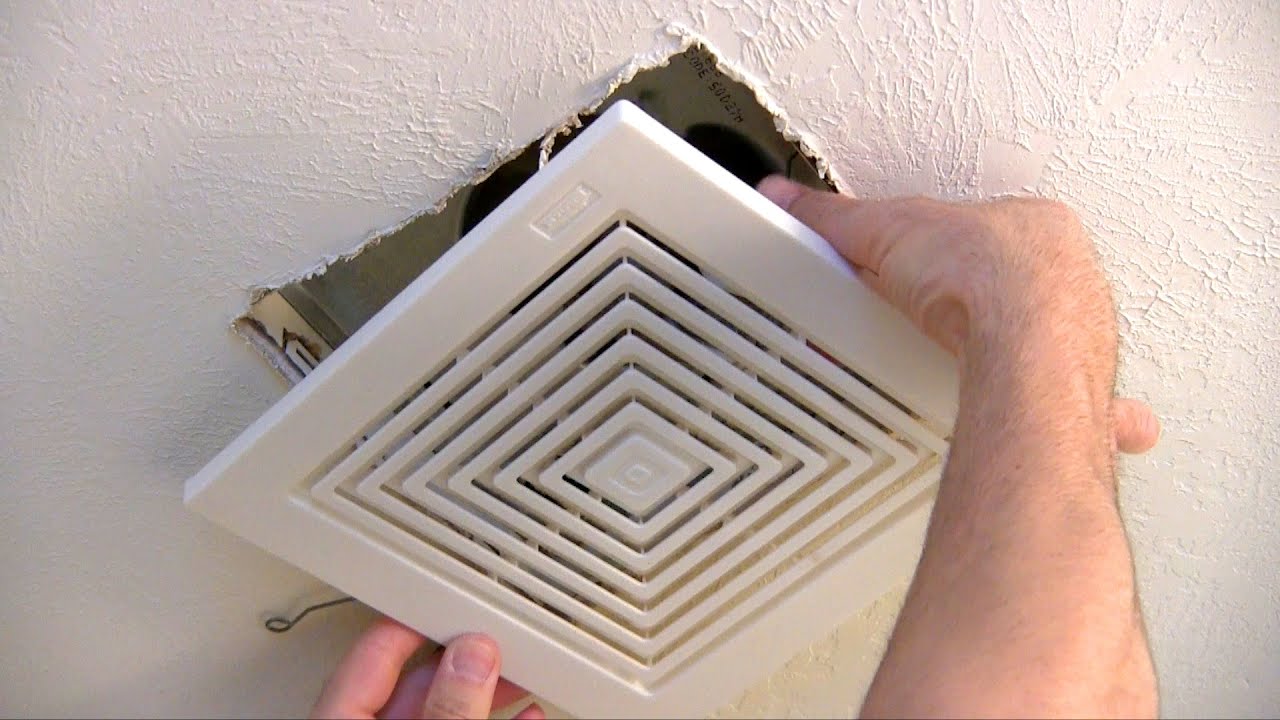
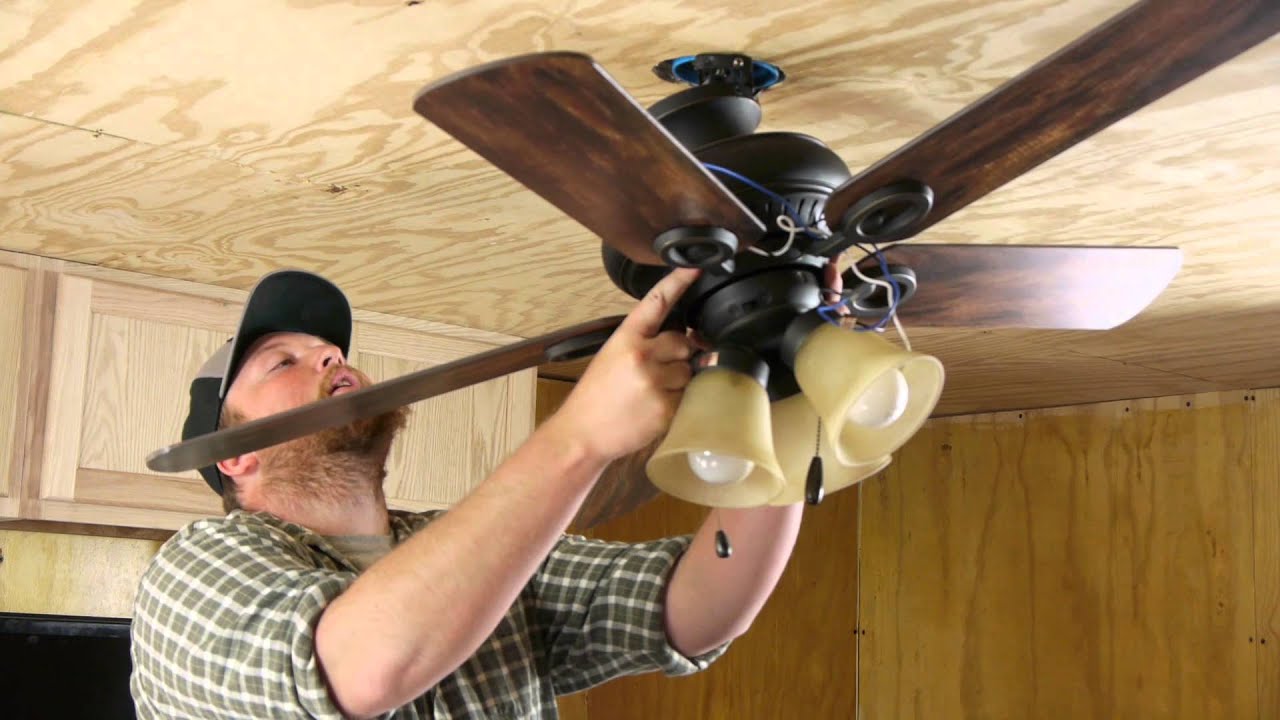
Step 3: Remove the fan cover and disconnect the wiring
Now that you have turned off the power supply, it’s time to remove the fan cover and disconnect the wiring. Follow these steps:
- Using a screwdriver, remove the screws that secure the fan cover in place. Set the screws aside in a safe place, as you will need them later.
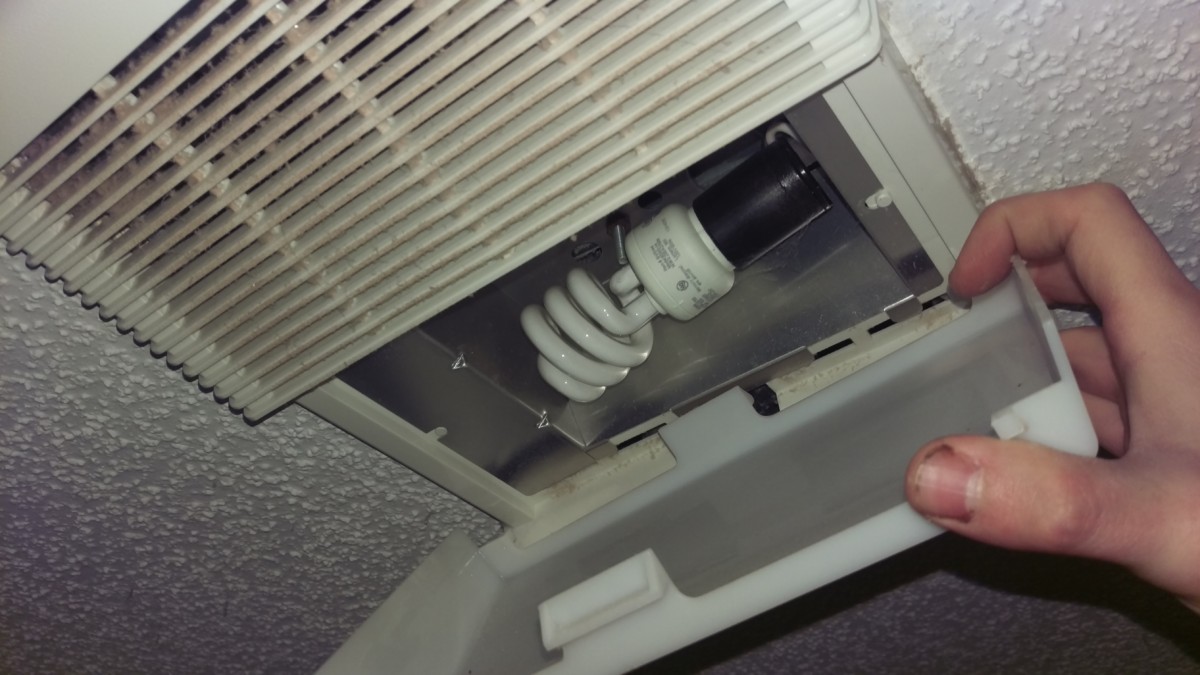
- Gently lift the fan cover off the fan housing, exposing the inner components.
- Locate the wiring that connects the fan motor to the electrical supply. The wiring is typically connected by a series of wire nuts or connectors.
- Using wire cutters or strippers, carefully remove the wire nuts or connectors to disconnect the wiring.
- Once the wiring is disconnected, label the wires or take a picture to ensure proper reconnection later.
Remember to handle the components with care and avoid pulling or twisting the wires too forcefully to prevent damage. By removing the fan cover and disconnecting the wiring, you have now progressed towards the next steps of the replacement process.
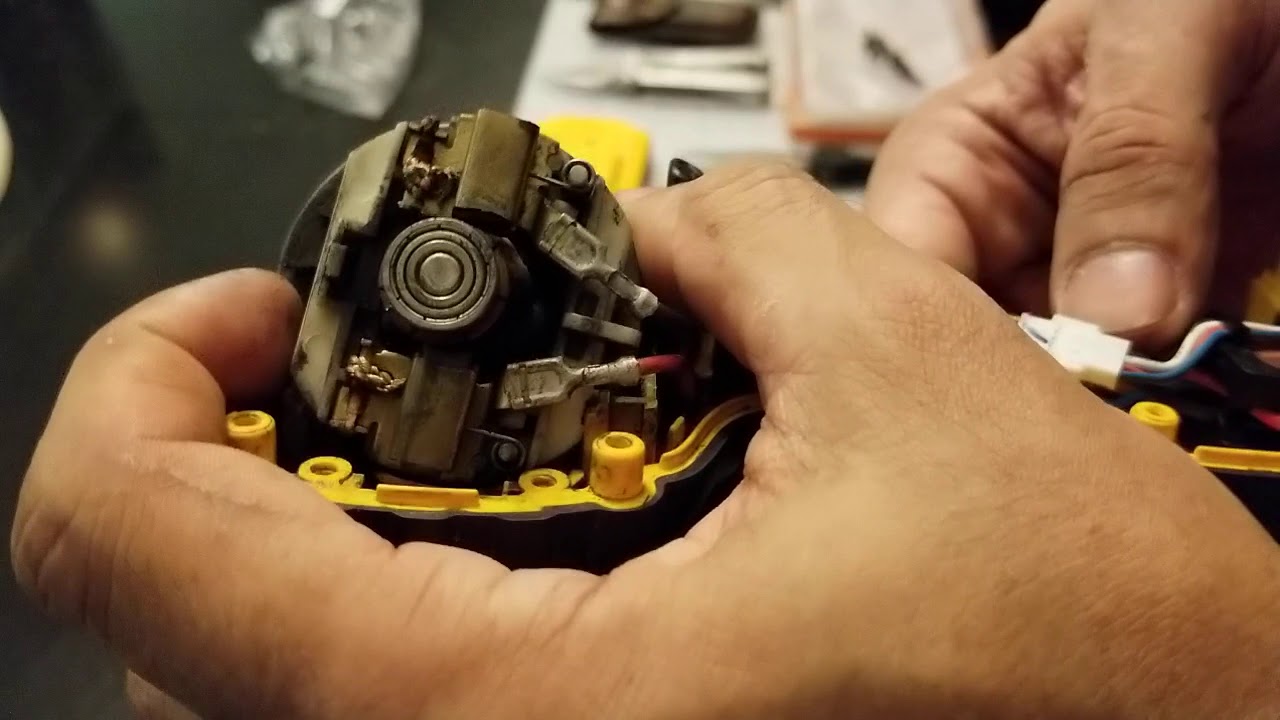
Step 4: Remove the old fan motor
With the fan cover and wiring disconnected, it’s time to remove the old fan motor. Follow these steps to complete this task:
- Locate the mounting bracket that holds the fan motor in place. It is typically secured with screws or clips.
- Using a screwdriver, remove the screws or unclip the mounting bracket to release the old fan motor.
- Once the mounting bracket is removed, carefully detach the old fan motor from the fan housing.
- Inspect the fan blades and any other components connected to the old motor. If they show signs of wear or damage, it may be a good idea to replace them as well.
Removing the old fan motor requires attention to detail and caution. Be mindful of any fragile components and handle them gently to avoid causing further damage. With the old fan motor removed, you are now ready to install the new one in the next step.
When replacing a bathroom fan motor, make sure to turn off the power to the fan at the circuit breaker before starting. This will ensure your safety while working on the electrical components.
Read more: How To Replace A Range Hood Fan Motor
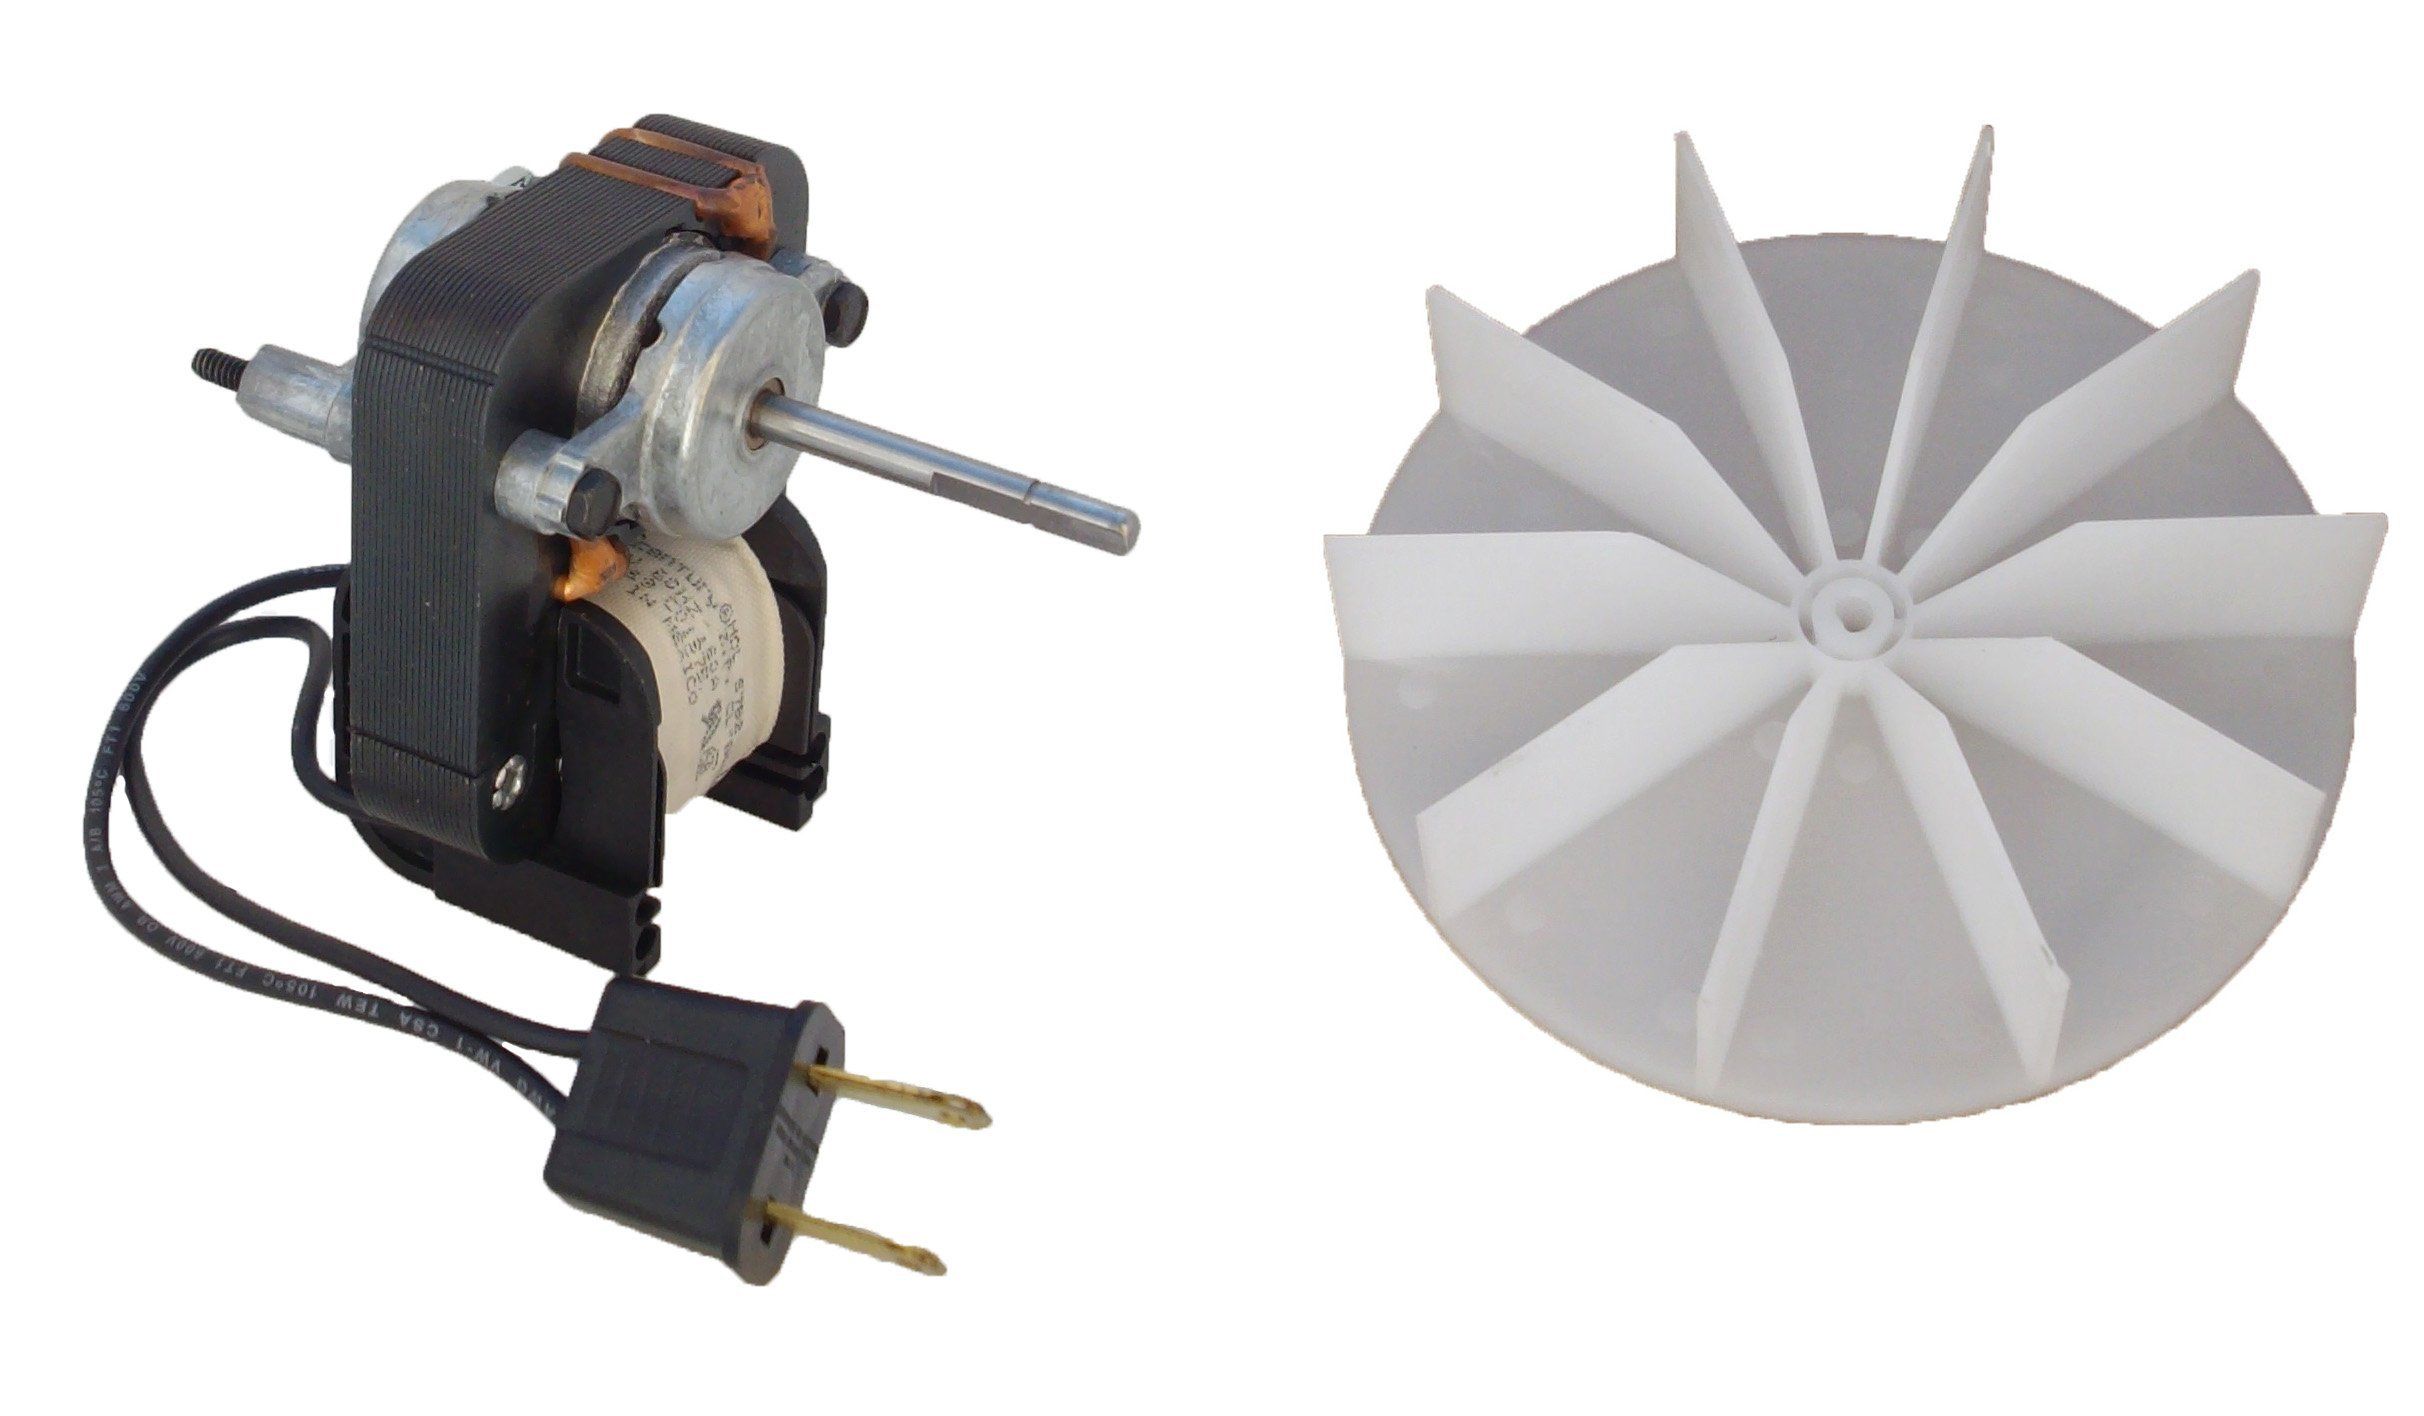
Step 5: Install the new fan motor
Now that you have removed the old fan motor, it’s time to install the new one in its place. Follow these steps to ensure a successful installation:
- Take the new fan motor and position it in the fan housing, aligning it with the mounting bracket.
- Secure the new fan motor to the fan housing using the screws or clips provided. Make sure it is securely attached and properly aligned to prevent any vibrations or noise.
- Check the fan blades and other components connected to the new motor. Ensure they are clean and free from any debris or obstruction.
- If necessary, replace any damaged or worn components such as fan blades or motor mounts with new ones.
Installing the new fan motor requires accuracy and attention to detail. Take your time to ensure that all components are properly positioned and secured. Once the new fan motor is installed, you are ready to move on to the next step of the process.
Step 6: Reconnect the wiring and secure the fan cover
Now that the new fan motor is installed, it’s time to reconnect the wiring and secure the fan cover. Follow these steps to complete this task:
- Refer to the labels or pictures you took earlier to properly reconnect the wiring. Match the corresponding wires and use wire connectors or wire nuts to secure the connections.
- Make sure the wiring is tightly connected and there are no exposed wires or loose connections.
- Use electrical tape to wrap around the wire connectors or wire nuts to provide additional insulation and ensure a secure connection.
- Once the wiring is connected and properly insulated, position the fan cover back onto the fan housing.
- Align the screw holes on the fan cover with the corresponding holes on the fan housing.
- Insert and tighten the screws previously removed to secure the fan cover in place.
When reconnecting the wiring, double-check that everything is properly connected and there are no loose or exposed wires. This will help prevent any electrical issues or malfunctions. By securely fastening the fan cover, you ensure that the fan motor is protected and the ventilation system operates efficiently.
Step 7: Turn on the power supply and test the new fan motor
With the wiring securely connected and the fan cover in place, it’s time to turn on the power supply and test the new fan motor. Follow these steps to complete this final step:
- Return to the circuit breaker panel and locate the breaker that controls the power supply to the bathroom fan.
- Flip the switch associated with the fan to the “On” position. You should hear a click, indicating that the power has been restored.
- Stand back from the fan and listen for the sound of the motor running. If you can hear the fan operating smoothly and quietly, then the installation was successful.
- If the fan motor does not turn on or if there are any unusual noises, turn off the power supply immediately and double-check the wiring connections and the installation of the motor.
- If you encounter any issues or concerns during the testing process, it is recommended to consult a professional electrician for further assistance.
By turning on the power supply and testing the new fan motor, you ensure that it is functioning correctly and efficiently. If the fan is operating smoothly and quietly, then congratulations – you have successfully replaced the bathroom fan motor!
Conclusion
Replacing a bathroom fan motor is a straightforward process that can greatly improve the ventilation and air quality in your bathroom. By following the steps outlined in this guide, you can successfully replace the fan motor and ensure that your bathroom remains fresh, clean, and comfortable.
Remember to always prioritize safety when working with electrical components. Turn off the power supply and take necessary precautions to avoid any electrical accidents. If you are unsure or uncomfortable with the process, it is always best to seek the assistance of a professional electrician.
Gathering the necessary tools and materials, turning off the power supply, removing the fan cover, disconnecting the wiring, removing the old fan motor, installing the new motor, reconnecting the wiring, and securing the fan cover are all crucial steps in the replacement process. Take your time, follow the instructions carefully, and double-check your work to ensure a successful result.
Once the new fan motor is installed and the power supply is turned back on, test the fan to ensure it is running smoothly and quietly. If any issues arise, consult a professional for further assistance.
With a new fan motor in place, you can enjoy improved air circulation, reduced humidity, and a more pleasant bathroom environment. So go ahead, replace that old fan motor, and breathe easy in your fresh and revitalized bathroom.
Frequently Asked Questions about How To Replace Bathroom Fan Motor
Was this page helpful?
At Storables.com, we guarantee accurate and reliable information. Our content, validated by Expert Board Contributors, is crafted following stringent Editorial Policies. We're committed to providing you with well-researched, expert-backed insights for all your informational needs.

0 thoughts on “How To Replace Bathroom Fan Motor”