Articles
How To Build Picket Fence
Modified: February 23, 2024
Learn how to build a timeless picket fence with our comprehensive articles. Find step-by-step instructions, helpful tips, and expert advice. Start your DIY project today!
(Many of the links in this article redirect to a specific reviewed product. Your purchase of these products through affiliate links helps to generate commission for Storables.com, at no extra cost. Learn more)
Introduction
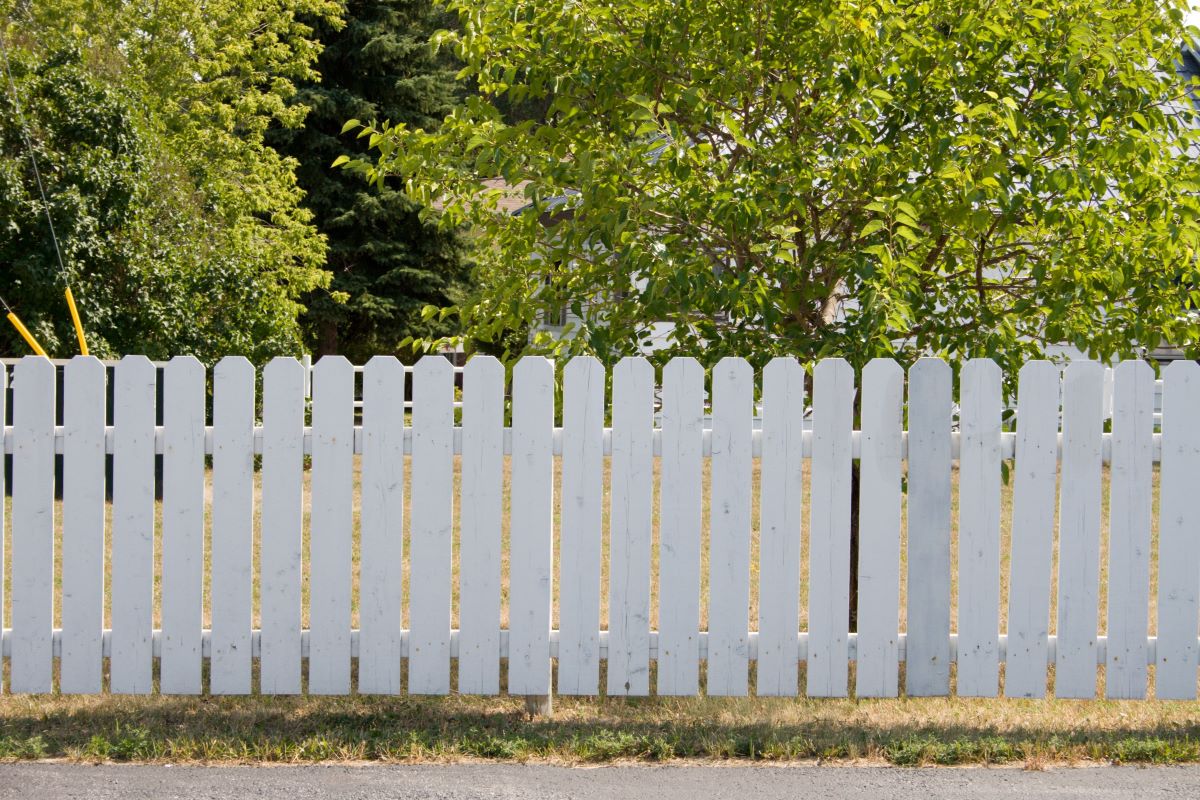
Building a picket fence can be a great addition to your property, adding charm and character to your landscape. Whether you’re looking to enclose your backyard or create a boundary around your garden, a picket fence is a classic and versatile choice. With its iconic white posts and evenly spaced vertical pickets, this type of fence offers both functionality and aesthetic appeal.
Not only does a picket fence add a touch of curb appeal to your home, but it also provides a sense of security and privacy. It can keep unwanted animals out of your yard, provide a safe play area for children or pets, and define your property boundaries. Plus, it’s relatively easy to build, making it a popular option for DIY enthusiasts.
In this article, we will guide you through the step-by-step process of building your own picket fence. From gathering the necessary materials to applying the finishing touches, we’ll cover everything you need to know to create a beautiful and functional fence that will stand the test of time.
Before we dive into the construction process, it’s important to note that building codes and regulations may vary depending on your location. It’s always a good idea to check with your local authorities or homeowner’s association to ensure compliance with any necessary permits or restrictions. Additionally, make sure to measure your property boundaries accurately, and consider any underground utilities or cables that may be present.
Now, let’s gather our tools and materials, and get started on building your very own picket fence!
Key Takeaways:
- Building a picket fence is a fulfilling DIY project that enhances your property’s charm and functionality. From measuring and marking to attaching pickets, each step contributes to creating a durable and visually appealing fence.
- Adding a gate and applying a protective finish are optional but valuable steps in the picket fence construction process. These additions provide convenience, security, and enhanced durability, ensuring your fence stands the test of time.
Read more: What Is A Fence Picket
Step 1: Gather Materials
Before beginning any construction project, it’s important to gather all the necessary materials to ensure a smooth and efficient building process. Here is a list of the materials you will need to build your picket fence:
- Pressure-treated lumber or cedar posts – These will serve as the vertical supports for your fence.
- Picket boards – These are the horizontal boards that will be attached to the fence posts.
- 2×4 or 2×6 boards for rails – These will be used to create the framework for the fence.
- Nails or screws – Depending on your preference, choose the appropriate fasteners to secure the boards.
- Post hole digger – This tool will make it easier to create holes for the fence posts.
- Level – A level will ensure that your fence is straight and level throughout the construction process.
- Tape measure – Measure twice to cut once, as they say! A tape measure will help you accurately determine the lengths of the components.
- String or chalk line – These tools are handy for marking the fence line and ensuring a straight layout.
- Saw – You’ll need a saw to cut the lumber to the desired lengths.
- Hammer or drill – Choose the appropriate tool for driving nails or screws into the wood.
- Safety gear – Don’t forget to prioritize safety. Wear gloves, safety glasses, and ear protection as needed.
Now that you have all the necessary materials at hand, it’s time to move on to the next step: measuring and marking your fence layout.
Step 2: Measure and Mark
Before you start digging any holes or placing any posts, it’s crucial to accurately measure and mark the layout for your picket fence. This will ensure that your fence is straight and properly aligned. Follow these steps to measure and mark your fence:
- Start by identifying the boundaries of your property where you want to install the fence. Use a tape measure to determine the length of each side and mark the corners with stakes or flags.
- Next, stretch a string or use a chalk line between the corner markers to create a straight line. This will serve as your guide for laying out the fence posts.
- Measure the distance between each fence post and mark the locations along the line. Make sure the spacing is even, typically between 6 to 8 feet apart, depending on your preference.
- Once you have marked the locations for the fence posts, it’s time to mark the holes. Using the post hole digger, carefully dig holes that are approximately one-third of the total post length and a few inches wider than the diameter of the posts.
- Ensure that all the holes are dug to the same depth to maintain a consistent height for your fence. Use a level to check the depths of the holes.
- Double-check your measurements and adjust as necessary before moving on to the next step.
By taking the time to measure and mark accurately, you’ll save yourself from potential headaches and ensure that your fence is installed correctly. Now that your fence layout is marked, it’s time to move on to step 3: digging the fence post holes.
Step 3: Dig Fence Post Holes
With your fence layout marked, it’s time to start digging the fence post holes. This step is crucial as it will determine the stability and durability of your picket fence. Follow these steps to dig the fence post holes:
- Using a post hole digger, begin digging the first hole at one of the marked locations. Start by removing any surface debris or vegetation.
- Insert the post hole digger into the ground and start digging, making sure to maintain a consistent diameter and depth.
- Continue digging until you reach the desired depth, which is typically around one-third of the total post length. Use a measuring tape to ensure accuracy.
- As you dig, periodically check the hole’s depth with a level to ensure that it is consistent with the other holes.
- Repeat the process for each marked location, ensuring that the holes are evenly spaced and aligned with the string or chalk line.
- Once all the holes are dug, remove any excess soil from the holes and create a small mound of dirt at the base to provide drainage.
Remember to take breaks as needed and stay hydrated during this physically demanding step. Also, be cautious of any underground utilities or cables that may be present. If you’re unsure, contact your local utility company to mark any potential lines before digging.
With all the fence post holes dug, you’ve completed a major milestone in building your picket fence. In the next step, we will discuss how to properly set the fence posts.
Step 4: Set Fence Posts
Now that you have dug the fence post holes, it’s time to set the fence posts. Setting the posts properly is crucial for the structural integrity and longevity of your picket fence. Follow these steps to set the fence posts in place:
- Start by placing a fence post in the first hole you dug. Ensure that the post is centered and level, using a level to check both vertically and horizontally.
- Fill the hole with concrete mix, following the manufacturer’s instructions for the correct water-to-mix ratio. Pour the concrete mixture into the hole, leaving a few inches of space at the top for soil.
- Use a shovel or a trowel to mix the concrete and ensure that it is evenly distributed around the post. This will help secure the post in place and prevent any shifting.
- Check the post’s level and adjust as necessary before the concrete sets. Ensure that the post is plumb and straight in all directions.
- Repeat the process for the remaining fence posts, setting each post in its designated hole and filling it with concrete.
- Allow the concrete to cure and set according to the manufacturer’s instructions. This usually takes about 24 to 48 hours.
Setting the fence posts properly is essential for the stability and longevity of your picket fence. It’s important to ensure that the posts are level and plumb to maintain a straight and sturdy fence line. Take your time during this step to achieve accurate results.
With all the fence posts properly set and cured, you’re ready to move on to the next step: installing the rails.
When building a picket fence, make sure to measure and mark the placement of each picket before securing them to the rails. This will ensure a straight and evenly spaced fence.
Read more: How Much Space Between Fence Pickets
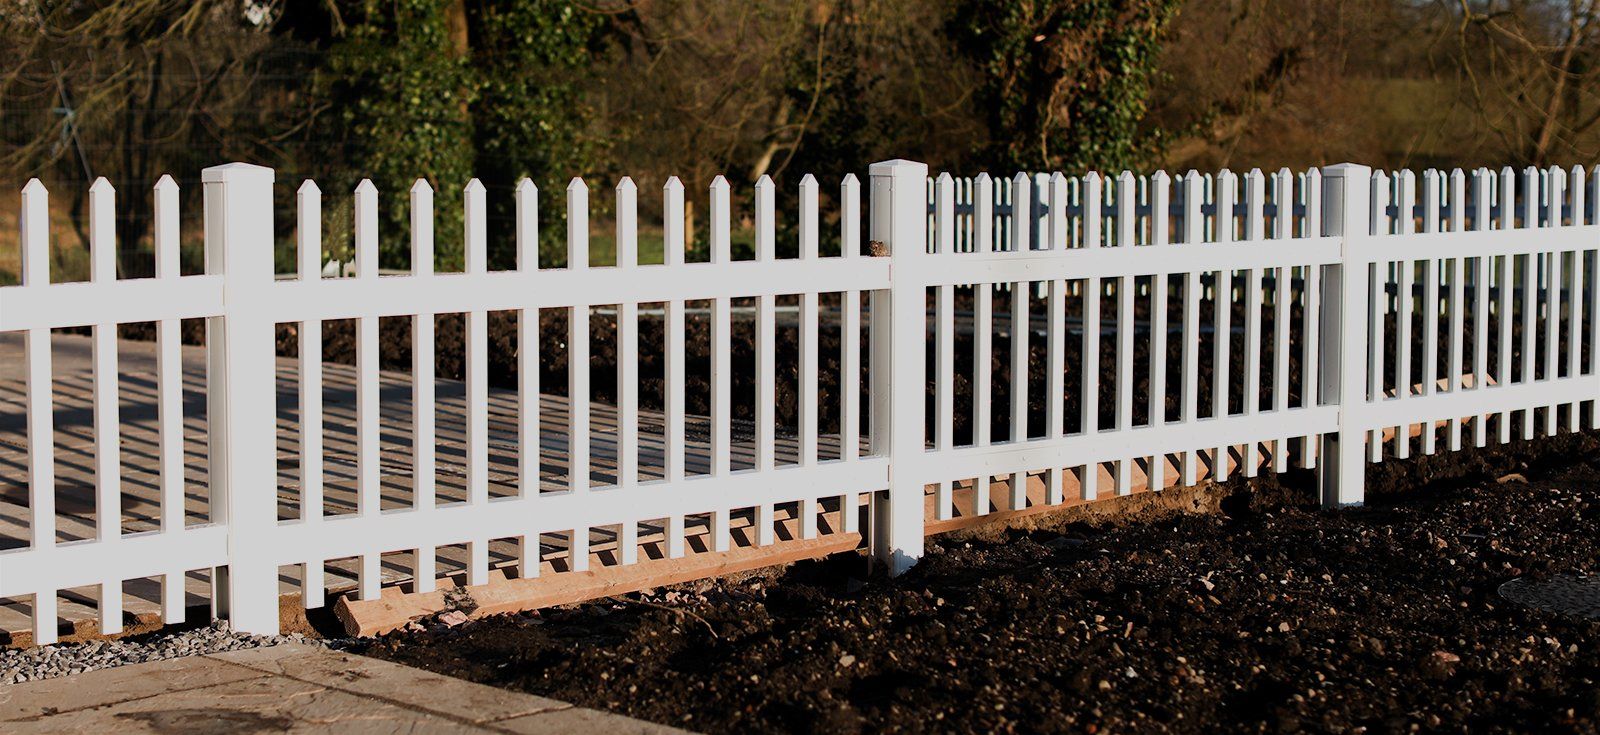
Step 5: Install Rails
With the fence posts set and ready, it’s time to install the rails of your picket fence. The rails are horizontal boards that will provide the framework and support for the picket boards. Follow these steps to install the rails:
- Start by measuring the distance between the fence posts, ensuring that it is consistent and equal for each rail. This will help maintain a level and uniform fence.
- Cut the 2×4 or 2×6 boards to the appropriate length for each rail, using a saw or a suitable cutting tool.
- Place the first rail at the desired height, typically a few inches above the ground, and position it between two fence posts. Use a level to ensure that the rail is straight and horizontal.
- Secure the rail to the fence posts using nails or screws. This can be done by driving the fasteners at an angle through the rail and into the posts.
- Repeat the process for the remaining rails, ensuring that they are evenly spaced and aligned with each other.
- Double-check the levelness and alignment of the rails before moving on to the next step.
By properly installing the rails, you will create a solid and sturdy foundation for your picket fence. This will also ensure that the picket boards are securely attached and properly aligned. Take your time during this step to achieve accurate and consistent results.
With the rails installed, you’re ready to move on to the next step: attaching the pickets to complete the look of your picket fence.
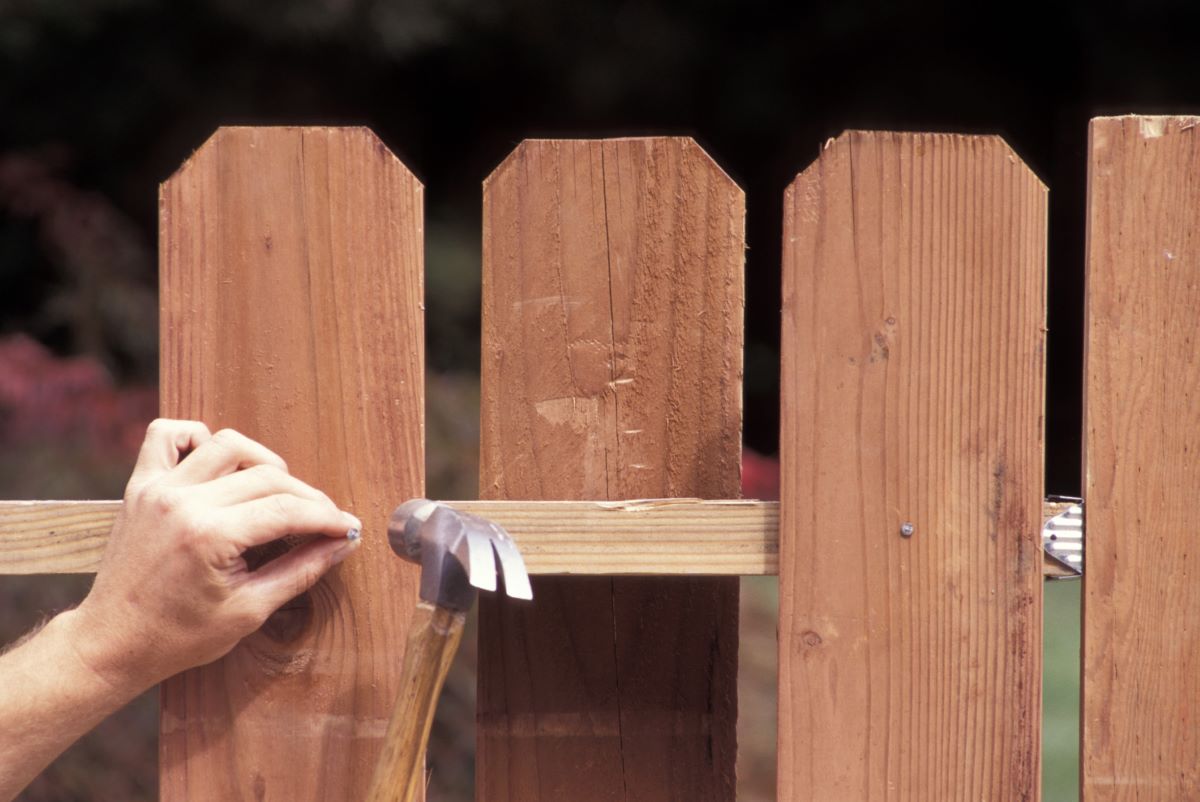
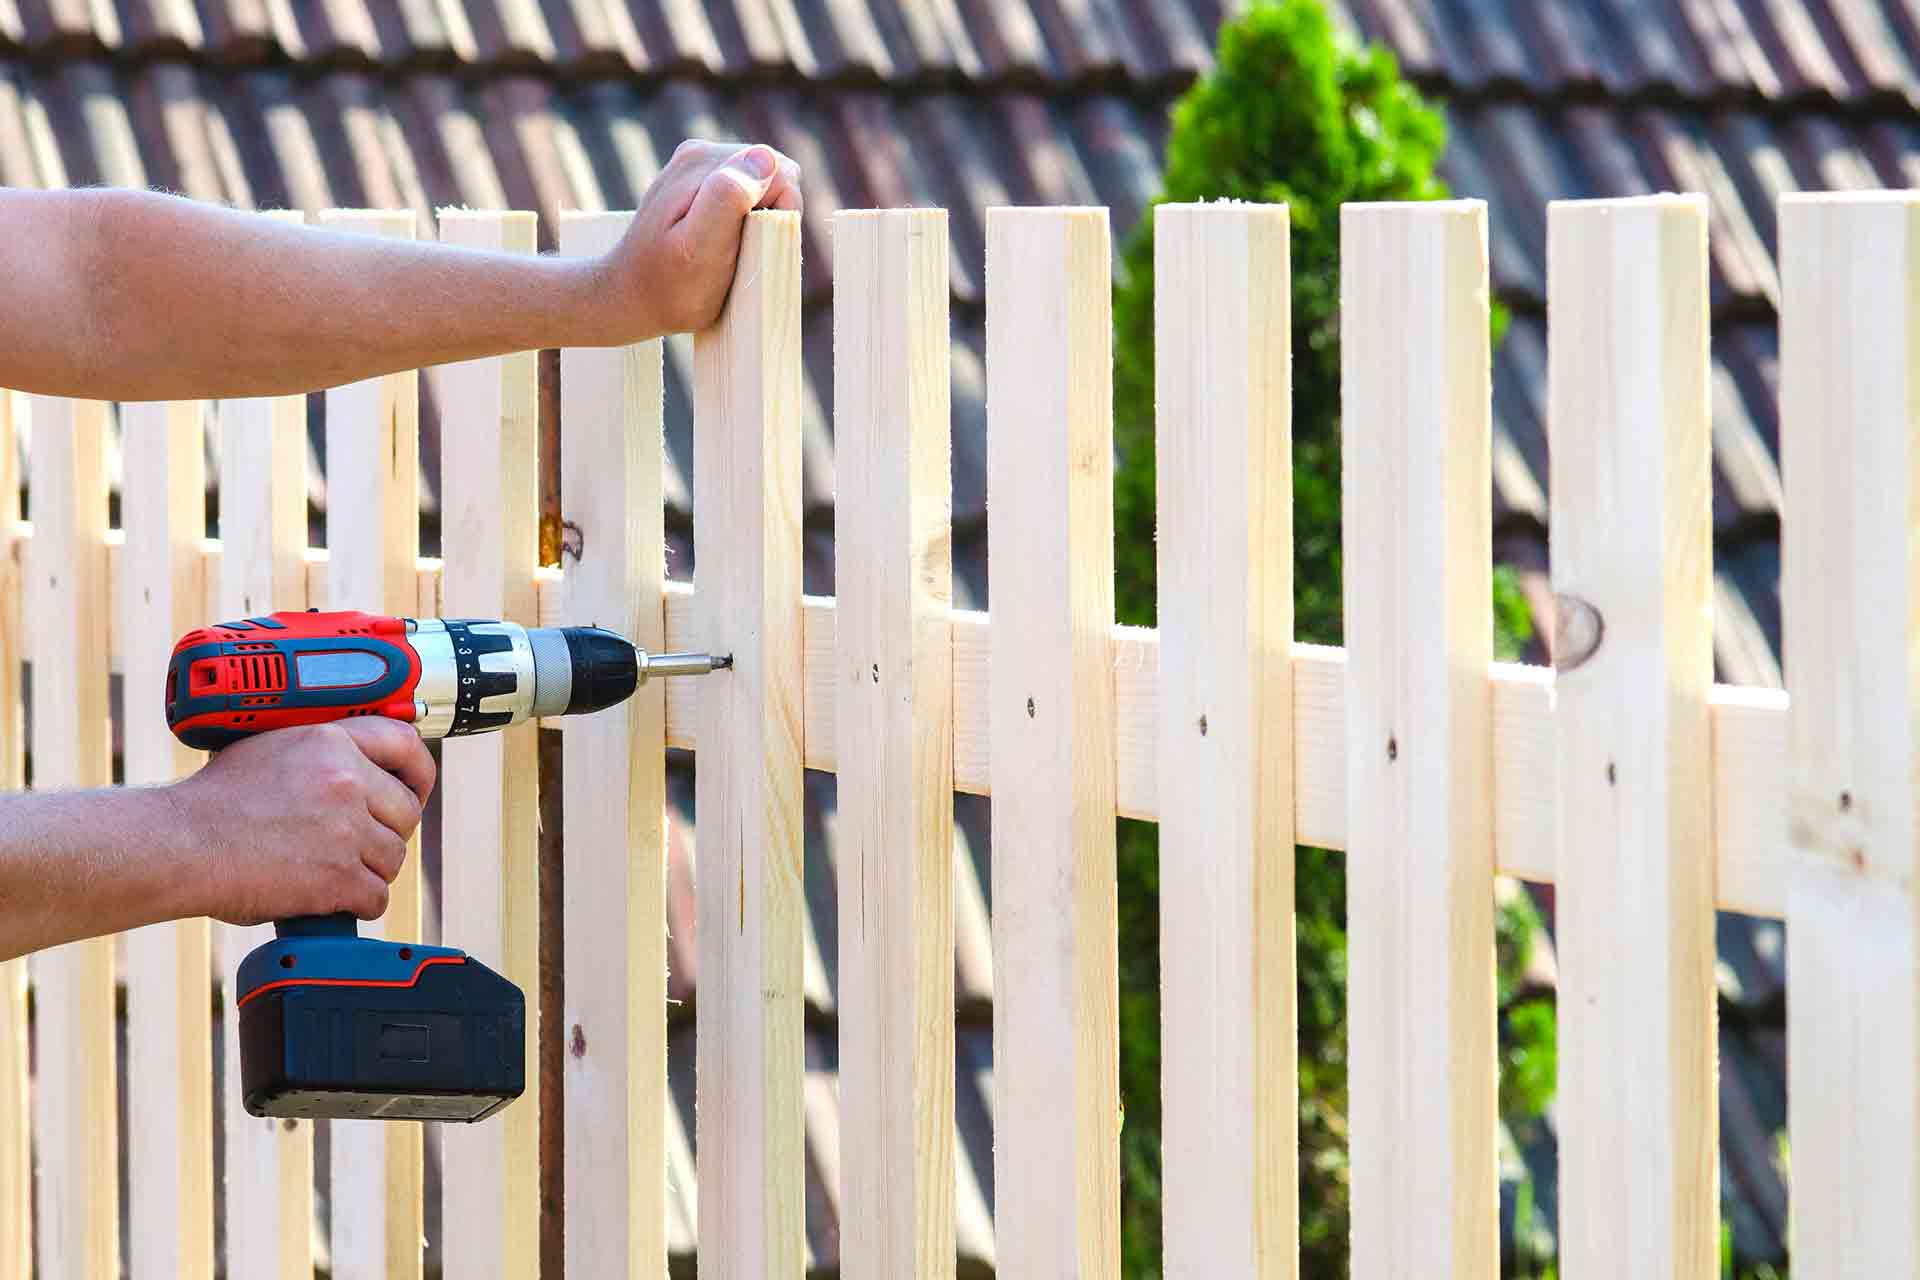
Step 6: Attach Pickets
Now that the rails are in place, it’s time to attach the pickets to complete the look of your picket fence. The pickets are the vertical boards that will create the iconic look of a picket fence. Follow these steps to attach the pickets:
- Start by measuring the desired distance between each picket. This spacing will depend on your personal preference, but a common range is around 2 to 4 inches.
- Cut the picket boards to the appropriate length, ensuring that they are long enough to reach from the top rail to the bottom rail.
- Place the first picket board at one end of the fence, ensuring that it is plumb and straight. You can use a level or a straightedge to guide you.
- Attach the picket board to the rails using nails or screws, securing it at the top and bottom rails. Make sure to drive the fasteners at an angle to prevent splitting.
- Continue attaching the remaining pickets, ensuring that they are evenly spaced and aligned with each other. You can use a spacer or a piece of scrap wood to maintain consistent spacing.
- Periodically check that the pickets are plumb and straight as you work your way along the fence.
- Once all the pickets are attached, double-check the levelness and alignment of the picket fence. Make any necessary adjustments if needed.
Attaching the pickets is the final step in creating the classic look of a picket fence. Take your time during this step to ensure that the pickets are evenly spaced and securely attached. This will enhance the visual appeal and functionality of your fence.
With the pickets in place, you’re almost done! The next step is optional but can add convenience and accessibility to your fence—a gate. Let’s move on to step 7 for instructions on how to add a gate to your picket fence.
Step 7: Add Gate (Optional)
Adding a gate to your picket fence can provide convenience and accessibility to your outdoor space. Whether you want a small gate for foot traffic or a larger gate for vehicles, follow these steps to add a gate to your picket fence:
- Measure the opening where you want to install the gate, ensuring that it is wide enough to accommodate the desired size of the gate.
- Mark the placement of the gate posts on the fence rails. Generally, you’ll want to position the gate posts approximately the same distance apart as the fence posts.
- Dig two additional fence post holes at the marked locations for the gate posts. Ensure that the holes are deep and wide enough to accommodate the posts and provide stability.
- Set the gate posts in the holes and securely anchor them with concrete, following the same process as mentioned in step 4.
- Attach hinges to one side of the gate posts, ensuring that they are level and properly aligned. The hinges will be responsible for allowing the gate to swing open and closed.
- Hang the gate on the hinges and check that it swings smoothly and securely.
- If desired, install a latch or lock mechanism on the gate to ensure privacy and security.
Adding a gate to your picket fence can provide a welcoming entrance or an enclosed area for privacy and security. Consider the size and purpose of your gate when choosing materials and hardware, ensuring they are sturdy and functional.
With the gate installed, you’ve completed a significant step in creating your picket fence. The final step, step 8, is optional but can enhance the longevity and visual appeal of your fence—a finish or protective coat. Let’s move on to the last step to learn more about applying a finish to your picket fence.
Step 8: Apply Finish (Optional)
Applying a finish or protective coat to your picket fence can enhance its durability and appearance. Although optional, this step can help protect the wood from weathering, moisture, and UV rays, extending the lifespan of your fence. Follow these steps to apply a finish to your picket fence:
- Clean the fence thoroughly to remove any dirt, debris, or loose paint. You can use a pressure washer or a scrub brush and mild detergent.
- Allow the fence to dry completely before applying any finish. This may take a few days, depending on the weather conditions.
- If desired, lightly sand the fence to smooth out any rough areas and create a better surface for the finish to adhere to.
- Choose a suitable finish or protective coating for your fence. Options include paint, stain, or a clear sealant.
- Apply the finish evenly using a brush, roller, or sprayer, following the manufacturer’s instructions for proper application and drying times.
- Allow the finish to dry completely before touching or exposing the fence to any moisture or heavy use.
- Apply additional coats if desired, following the same process of allowing each coat to dry before applying the next.
Applying a finish to your picket fence not only provides protection but also allows you to customize the appearance. You can choose a color that complements your home’s exterior or opt for a clear coat to preserve the natural beauty of the wood.
Remember to regularly inspect your fence for any signs of wear or damage and reapply the finish as needed to maintain its longevity and appeal.
Congratulations! By completing these eight steps, you have successfully built your own picket fence. Enjoy the charm and functionality it brings to your property, and revel in the satisfaction of a job well done.
Remember to reference local building codes and regulations and seek professional advice if needed. Safety should always be a priority throughout the construction process.
Happy fencing!
Conclusion
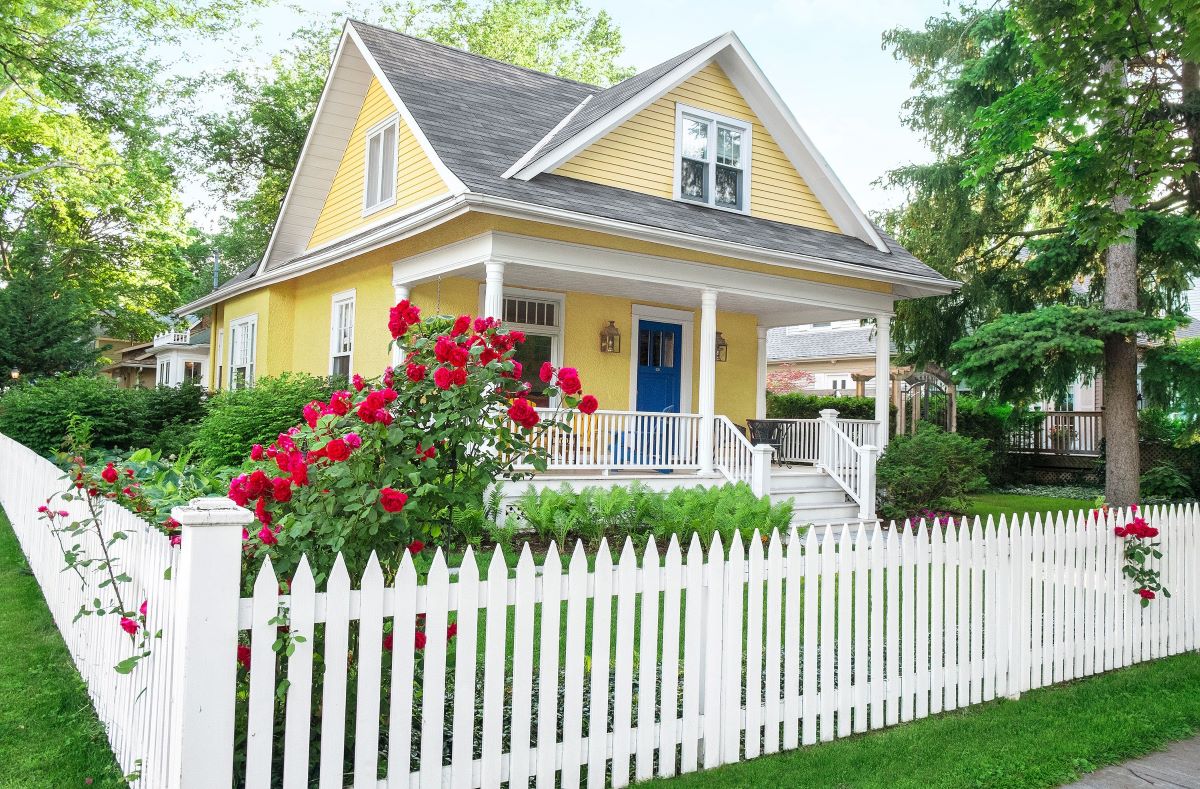
Building a picket fence can be a fulfilling and rewarding DIY project that adds beauty, charm, and functionality to your property. Throughout the step-by-step process, you have learned how to gather materials, measure and mark, dig fence post holes, set fence posts, install rails, attach pickets, add a gate (optional), and apply a finish (optional).
By following these steps and taking your time to ensure accuracy and attention to detail, you have created a durable and visually appealing picket fence. This classic type of fence not only enhances the curb appeal of your home but also provides security, privacy, and a defined boundary for your property.
Remember to consult local building codes and regulations, obtain any necessary permits, and consider any underground utilities or cables when planning and constructing your picket fence. Safety should always be a priority, so don’t forget to wear appropriate protective gear and use the correct tools for each step.
Now that your picket fence is complete, enjoy the fruits of your labor. Take pride in your craftsmanship and the enhancement you have brought to your outdoor space. Your picket fence will serve as a welcoming feature, adding character and charm to your home for years to come.
Whether you create a little garden oasis, enclose a play area for children or pets, or simply define your property boundaries, your picket fence will be a functional and beautiful addition to your property.
Congratulations on building your own picket fence and transforming your outdoor space into a place of beauty and tranquility!
Frequently Asked Questions about How To Build Picket Fence
Was this page helpful?
At Storables.com, we guarantee accurate and reliable information. Our content, validated by Expert Board Contributors, is crafted following stringent Editorial Policies. We're committed to providing you with well-researched, expert-backed insights for all your informational needs.


0 thoughts on “How To Build Picket Fence”