Articles
How To Restain Fence
Modified: February 23, 2024
Learn how to restain your fence with our informative articles. Expert tips and step-by-step guides to help you achieve a beautiful and long-lasting finish.
(Many of the links in this article redirect to a specific reviewed product. Your purchase of these products through affiliate links helps to generate commission for Storables.com, at no extra cost. Learn more)
Introduction
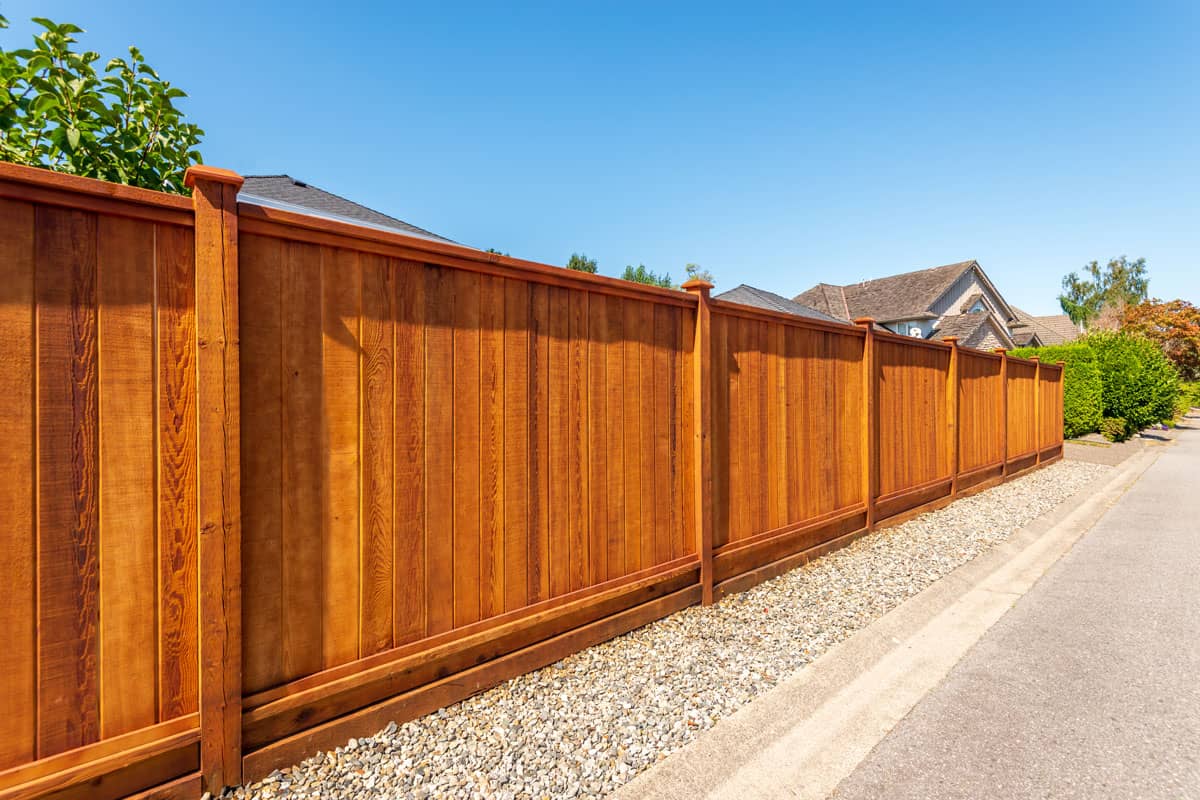
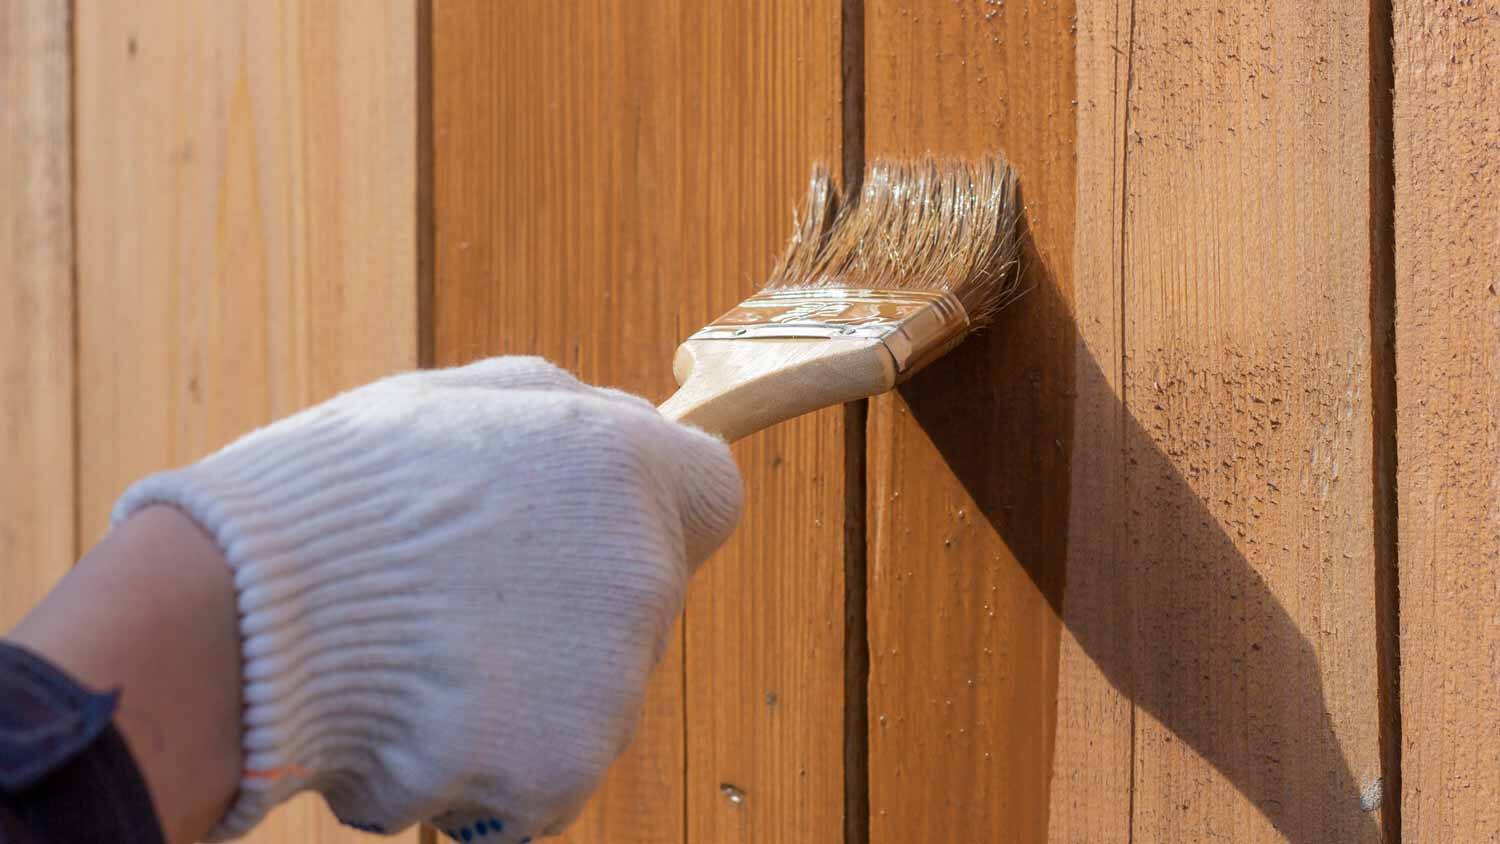
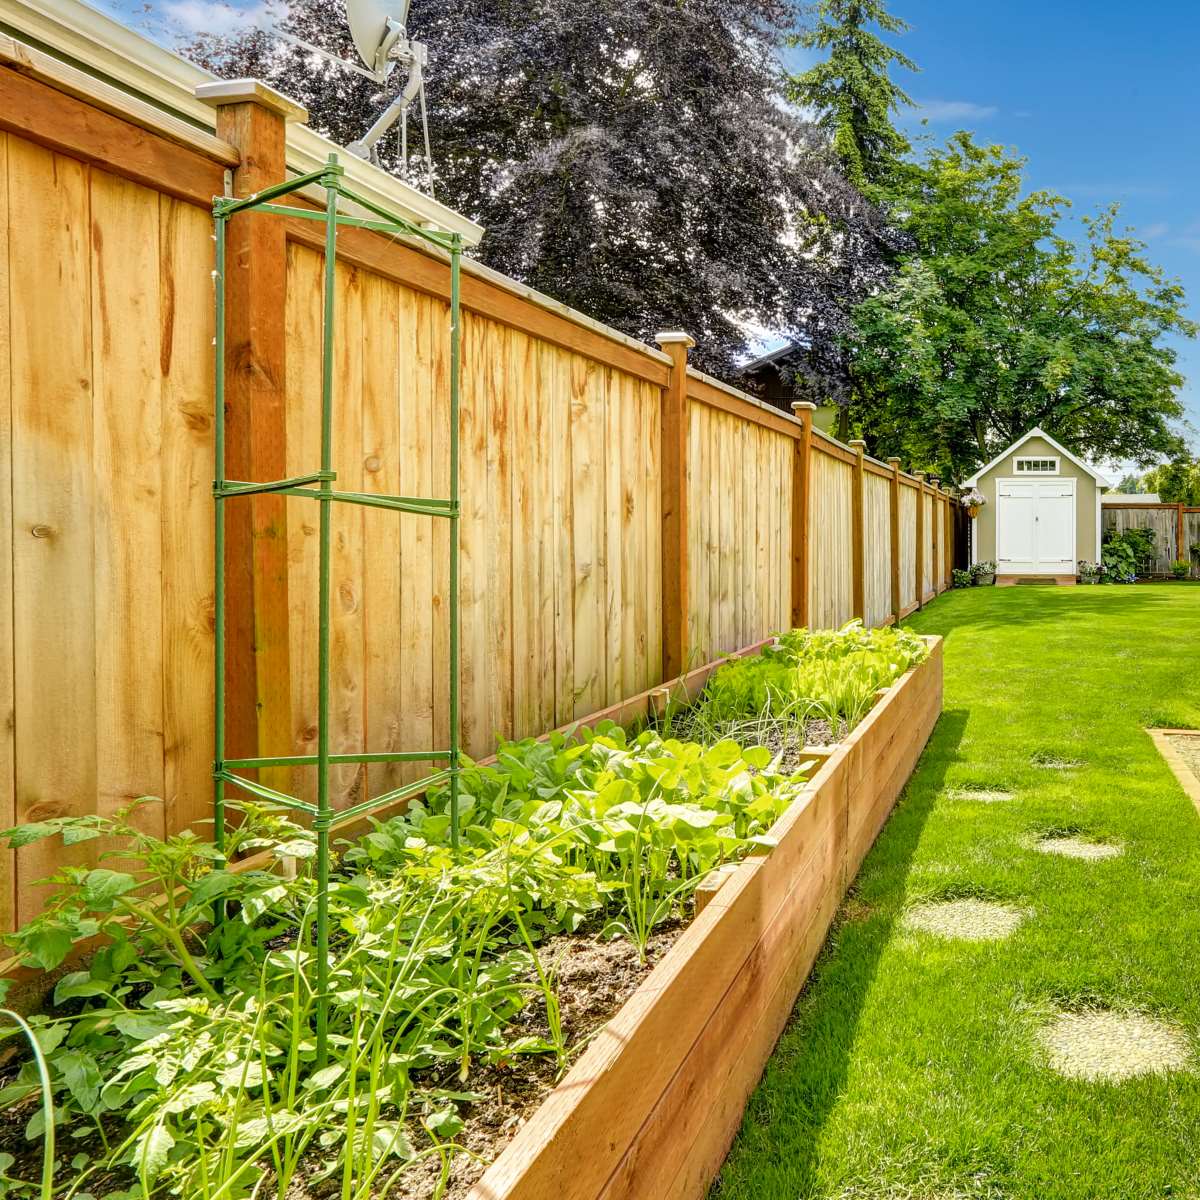
Restaining a fence is an excellent way to improve the appearance and prolong the lifespan of your outdoor fence. Over time, exposure to the elements can cause the stain on a fence to fade, peel, or crack, making it necessary to restain it to protect the wood and restore its beauty. Whether you have a wooden privacy fence, a picket fence, or a deck fence, restaining it can give your outdoor space a fresh and revived look.
In this comprehensive guide, we will walk you through the step-by-step process of how to restain a fence. We will cover the necessary tools and materials you will need, as well as provide tips on preparing the fence, removing the old stain, sanding, cleaning, and applying the new stain. By following the instructions in this article, you will be able to transform your weather-worn fence into a stunning feature of your outdoor landscape.
Before we dive into the specifics of restaining your fence, it’s important to note that the choice of stain is crucial. There are various types of stains available in the market, such as oil-based stains, water-based stains, and even solid color stains. Depending on the look you want to achieve and the level of maintenance you prefer, choose a stain that suits your needs. Additionally, make sure to select a stain that is designed for exterior wood surfaces and provides protection against UV rays, mold, and mildew.
Now, let’s gather the necessary tools and materials before we begin the restaining process.
Key Takeaways:
- Transform your weather-worn fence into a stunning outdoor feature by following the step-by-step process of restaining. Choose the right stain, prepare the fence, and apply the new stain for professional-looking results.
- Preserve the beauty and longevity of your restained fence with regular maintenance and touch-ups. Inspect for damage, apply protective sealant, and perform regular cleaning to enjoy a well-maintained outdoor space.
Read more: How To Restain A Cabinet
Necessary Tools and Materials
Before you start restaining your fence, it’s important to gather all the necessary tools and materials. Having everything prepared in advance will make the process smoother and more efficient. Here’s a list of what you’ll need:
- Stain – Choose a high-quality exterior wood stain that suits your preference and offers the desired level of protection.
- Brush or Roller – A paintbrush or roller will help you apply the stain evenly on the fence. You can use a larger brush for broad areas and a smaller brush for corners and edges.
- Dropcloth or Tarp – Lay down a dropcloth or tarp to protect the surrounding area from any potential stains or drips.
- Sandpaper or Power Sander – Depending on the condition of your fence, you may need sandpaper or a power sander to smooth out any rough or uneven surfaces.
- Cleaner – Use a wood cleaner or a mixture of soap and water to clean the fence before restaining. This will remove any dirt, grime, or mildew that may be present.
- Power Washer (optional) – If your fence is heavily soiled or has built-up dirt, a power washer can be useful for deep cleaning.
- Gloves – Protect your hands by wearing gloves to prevent any direct contact with the staining materials.
- Eye Protection – Safety glasses or goggles should be worn to shield your eyes from any potential splatters or drips.
- Mask or Respirator – Especially if you are using an oil-based stain, it is recommended to wear a mask or respirator to protect yourself from fumes.
- Old Clothes – Wear old, comfortable clothes that you don’t mind getting stained.
- Stir Stick – A stir stick or mixing tool will help you thoroughly mix the stain before application.
- Protective Sealant (optional) – If you want to enhance the durability of the stain, you can consider applying a protective sealant after the staining process is complete.
Make sure you have all the necessary tools and materials ready before proceeding to the next steps. Now, let’s move on to preparing the fence for restaining.
Preparing the Fence
Before you can start restaining your fence, it’s important to properly prepare the surface for the new stain. This involves inspecting the fence for any damage, cleaning it thoroughly, and ensuring that it is dry and free of debris. Follow these steps to prepare your fence for restaining:
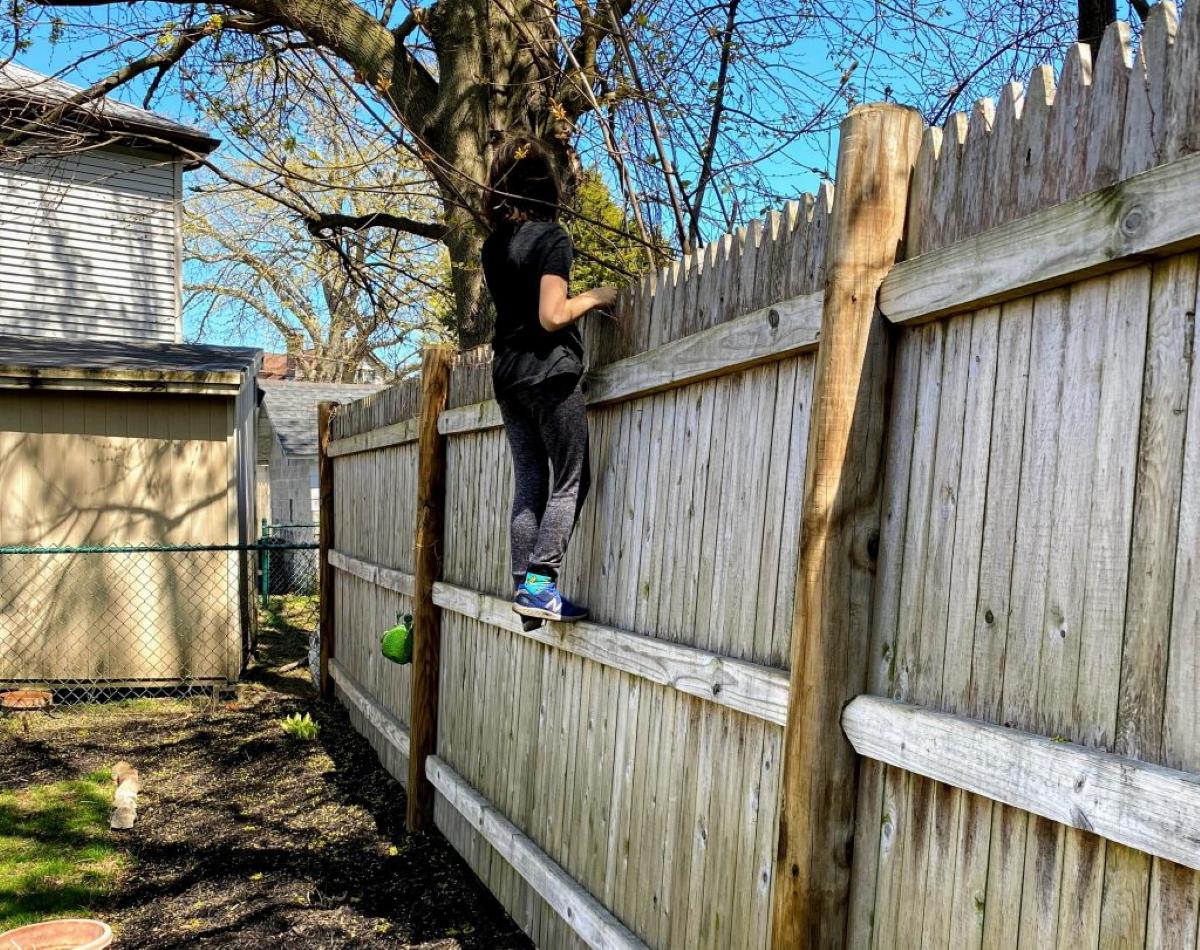
- Inspect for Damage: Begin by examining your fence for any signs of damage such as loose boards, splinters, or rotting wood. If you come across any areas that need repair, make sure to address them before applying the new stain. Replace any damaged boards and fix any structural issues to ensure the longevity of your fence.
- Clean the Fence: Next, thoroughly clean the entire surface of the fence. Use a wood cleaner specifically designed for exterior applications, or create your own mixture by combining mild soap and warm water. Scrub the fence with a brush or sponge to remove dirt, grime, and any mold or mildew that may have accumulated over time. For more stubborn stains, you may need to use a power washer on a low setting, keeping the nozzle at least 12 inches away from the surface to avoid damaging the wood.
- Allow the Fence to Dry: After cleaning, allow the fence to dry completely before moving on to the next steps. This may take a day or two, depending on the weather conditions. It’s important to ensure that the wood is dry to the touch, as applying stain to a damp surface can prevent proper adhesion and lead to unsatisfactory results.
- Protect Surrounding Areas: Before you start applying the new stain, take the time to protect any nearby plants, furniture, or other surfaces that you don’t want to be accidentally stained. Place a dropcloth or tarp on the ground below the fence to catch any drips or spills. Cover any plants or shrubs adjacent to the fence with plastic sheeting to shield them from potential staining.
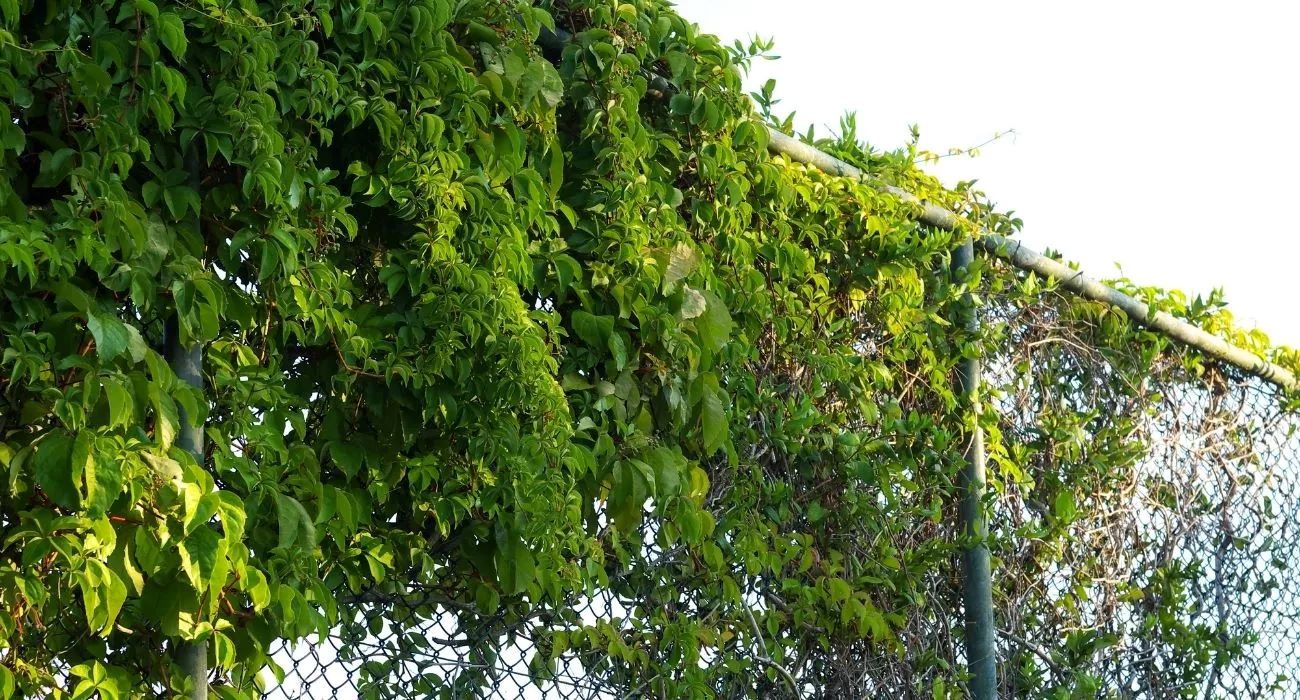
- Trim Plants and Grass: Trim any plants, bushes, or grass that are in close proximity to the fence. This will make it easier to access all areas of the fence during the restaining process and help prevent any unwanted contact between the stain and vegetation.
By following these steps, you’ll ensure that your fence is properly prepared for restaining. Once the fence is clean, dry, and protected, you can move on to the next step of removing the old stain.
Removing the Old Stain
Before applying a new coat of stain, it is important to remove the old stain to ensure proper adhesion and a smooth finish. Here are some methods you can use to remove the old stain from your fence:
- Sanding: Sanding is an effective method for removing the top layer of the old stain. Start by using medium-grit sandpaper and sand the entire surface of the fence. Make sure to sand in the direction of the wood grain to avoid damaging the wood. If you have a large fence, consider using a power sander for faster and more efficient results. After sanding, wipe away the sanding dust with a clean cloth.
- Chemical Stripper: Another method to remove the old stain is by using a chemical stripper. Apply the stripper to the fence according to the manufacturer’s instructions. Allow it to sit for the recommended amount of time, typically around 15-20 minutes. Then, use a scraper or a stiff brush to gently remove the softened stain, working in small sections at a time. Make sure to wear gloves and eye protection when working with chemical strippers and work in a well-ventilated area.
- Pressure Washing: If you have access to a pressure washer, it can be a great tool for removing the old stain. Adjust the pressure to a low setting and, using a wide-angle spray tip, wash the fence from top to bottom. Keep the nozzle at least 12 inches away from the surface to avoid damaging the wood. This method is particularly effective for fences with thick layers of old stain or difficult-to-reach areas.
- Combination Method: For stubborn or multiple layers of old stain, you may need to use a combination of sanding, chemical stripper, and pressure washing. Start by sanding the fence to remove the top layer, then apply a chemical stripper to loosen the remaining stain. After the recommended wait time, use a pressure washer to wash away the loosened stain. This method may require more effort and time but can yield excellent results.
Once you have successfully removed the old stain, make sure to clean the fence again to remove any residue left behind by the removal process. Use a wood cleaner or a mixture of soap and water to scrub the fence, then rinse thoroughly and allow it to dry completely before moving on to the next step.
With the old stain removed, the next step is to sand the fence to create a smooth surface. We will cover this in the following section.
Sanding the Fence
Sanding the fence is an essential step in the restaining process as it helps to create a smooth and even surface for the new stain to adhere to. Sanding also helps to remove any remaining old stain, rough patches, or imperfections on the wood. Here’s a step-by-step guide on how to sand your fence:
- Choose the Right Sandpaper: Select the appropriate grit sandpaper for your fence. If you’re starting with a rough or weathered surface, you may want to begin with a coarser grit (such as 80 or 100) to remove any remaining stain or rough spots. Then, switch to a finer grit (such as 120 or 150) to achieve a smoother finish.
- Sand the Fence: Start by sanding the entire surface of the fence in the direction of the wood grain. Use a sanding block or a power sander with a sanding attachment for larger surfaces. Be thorough and take your time to ensure you cover all areas evenly. Pay extra attention to corners, edges, and any areas where the old stain may be more stubborn to remove. Remember to keep the pressure consistent and avoid applying too much force to prevent damaging the wood.
- Smooth out Rough Areas: Sanding can help smooth out rough areas or splinters on the fence. Pay close attention to any areas that feel rough or uneven and focus on sanding those spots down until they are smooth to the touch.
- Clean and Inspect: After sanding, clean the fence thoroughly to remove any dust or debris. Use a brush or a cloth to wipe away the sanding residue. Take this opportunity to inspect the fence for any remaining old stain, rough spots, or damaged areas. If necessary, repeat the sanding process in those specific areas until you achieve a smooth and consistent surface.
Once you have sanded the fence to your satisfaction, it’s time to clean it again to remove any remaining dust and prepare it for the application of the new stain. In the next section, we will cover the process of cleaning the fence.
Before restaining a fence, make sure to clean and sand the surface to remove any old stain or debris. This will help the new stain adhere better and result in a more even finish.
Read more: How To Restain Wood Furniture
Cleaning the Fence
Before applying the new stain, it’s crucial to thoroughly clean the fence to ensure proper adhesion and a long-lasting finish. Cleaning not only removes any remaining dust and debris from sanding but also eliminates any dirt, grime, or mildew that may have accumulated on the surface. Here’s how to clean your fence effectively:
- Prepare a Cleaning Solution: Mix a wood cleaner specifically designed for exterior use with water according to the manufacturer’s instructions. Alternatively, you can create your own cleaning solution by combining a mild detergent or dish soap with warm water.
- Apply the Cleaning Solution: Use a sponge, brush, or sprayer to evenly apply the cleaning solution to the entire surface of the fence. Work in small sections at a time, ensuring full coverage. Pay close attention to any areas that appear particularly dirty or stained.
- Scrub the Fence: Use a scrub brush or a soft-bristle brush to gently scrub the fence, working in the direction of the wood grain. Focus on areas with stubborn stains or dirt buildup. Take care not to apply excessive force to avoid damaging the wood. If using a power washer, adjust the pressure to a low setting and maintain a safe distance to prevent any potential damage.
- Rinse the Fence: After scrubbing, rinse the fence thoroughly with clean water. Use a hose or a pressure washer on a low setting to remove the cleaning solution, dirt, and debris. Start at the top and work your way down to ensure complete rinsing.
- Allow the Fence to Dry: After rinsing, allow the fence to dry completely before applying the new stain. Ideally, let it air dry naturally. This may take a day or two, depending on the weather conditions. Make sure the wood is dry to the touch before moving on to the next step to ensure optimal stain penetration and adhesion.
Once the fence is clean and dry, you are now ready to apply the new stain. In the next section, we will guide you through the process of applying the stain to achieve a beautiful and long-lasting finish.
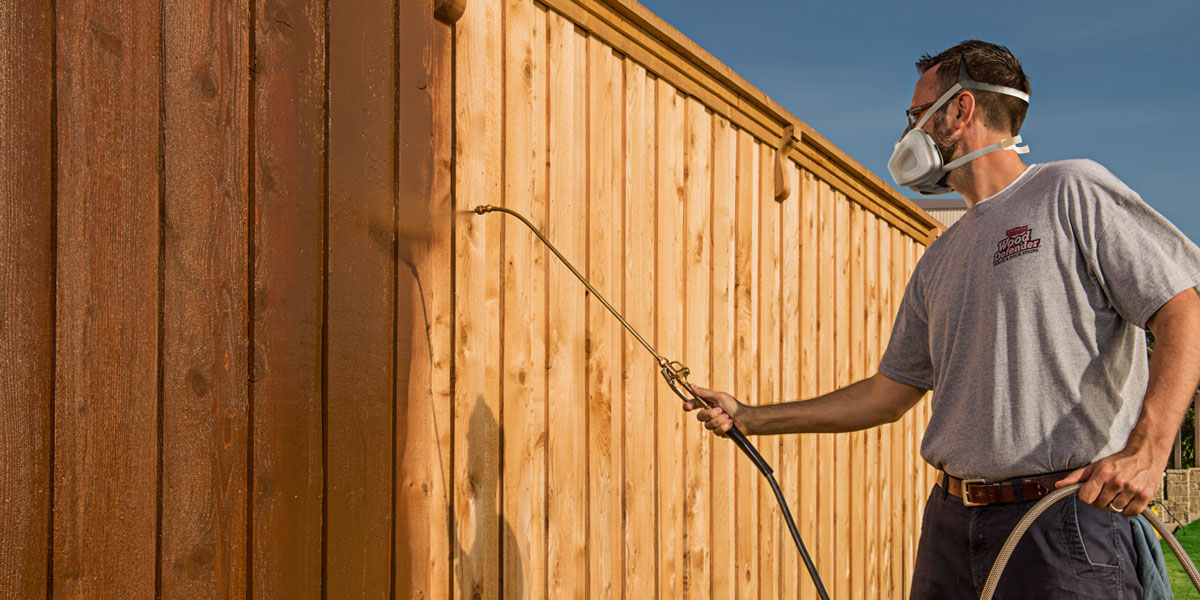
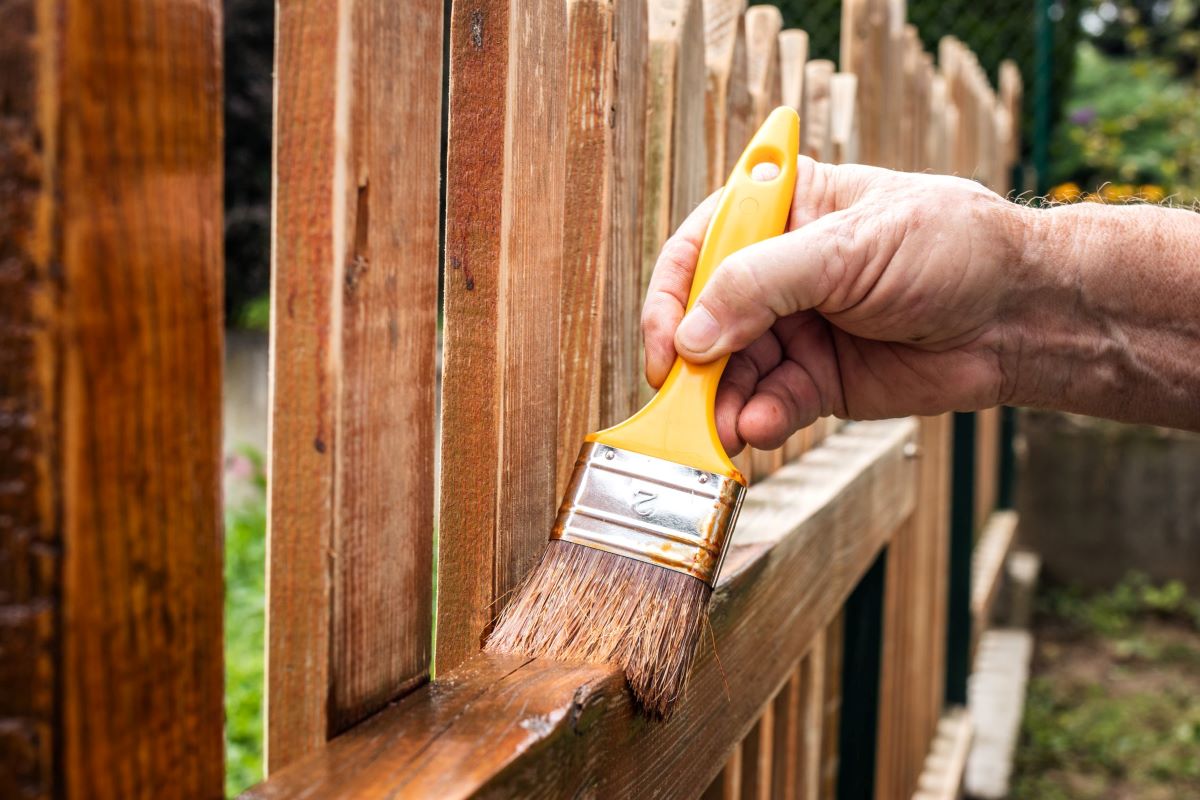
Applying the New Stain
Applying a fresh coat of stain is the final step in restaining your fence and will give it a renewed and enhanced appearance while providing protection against the elements. Here’s a step-by-step guide on how to apply the new stain:
- Choose the Right Time: Pick a day with mild weather conditions for the best results. Avoid staining during extreme heat, direct sunlight, or high humidity, as these conditions can impact the drying time and the overall finish of the stain.
- Stir the Stain: Before applying the stain, thoroughly stir it with a stir stick or mixing tool to ensure an even consistency. This will help to distribute the color pigments and any protective additives that may have settled at the bottom of the can.
- Start from the Top: Begin applying the stain at the top of the fence and work your way down. This will prevent any drips or streaks from landing on already stained sections and ensure a smooth, consistent finish. Use a brush or roller to apply the stain, depending on the size and texture of your fence. A brush is ideal for more intricate areas, while a roller can cover larger surfaces more quickly.
- Apply in Sections: Work in manageable sections to prevent the stain from drying too quickly. Apply the stain evenly, following the wood grain, and ensure complete coverage. Pay attention to any cracks, crevices, or hard-to-reach areas, as they can be more prone to moisture penetration and require an extra coat of stain.
- Blend Wet Edges: As you apply the stain, make sure to feather the edges between sections to create a seamless blend. This will help to avoid visible lines or overlaps in the finish. Work efficiently and avoid stopping in the middle of a section to prevent uneven drying or lap marks.
- Allow for Drying Time: After applying the initial coat of stain, allow it to dry according to the manufacturer’s instructions. This typically takes 24 to 48 hours, but can vary depending on the type of stain and weather conditions. Avoid touching or placing any objects against the fence during this time to prevent smudging or damage to the finish.
- Apply Additional Coats (if necessary): Once the first coat is dry, assess the coverage and color. If a deeper color or additional protection is desired, you can apply another coat of stain following the same process as before. Ensure each coat is dry before applying the next to avoid tackiness or uneven results.
- Clean Up: Clean your brushes, rollers, and any other tools used for staining with the appropriate cleaning agent as recommended by the stain manufacturer. Dispose of any used materials and leftover stain responsibly according to local regulations.
Remember to follow the specific instructions provided by the stain manufacturer for the best results. Once the stain has dried completely, you can enjoy the renewed look of your fence. However, for long-lasting results, it’s important to perform regular maintenance and touch-ups as needed.
In the next section, we will provide some finishing touches and maintenance tips to ensure the longevity and beauty of your newly restained fence.
Finishing Touches and Maintenance Tips
After restaining your fence, there are a few finishing touches and maintenance tips you can follow to preserve the beauty and extend the lifespan of the stain. Here are some important steps and maintenance tips to consider:
- Remove Drop Cloths and Clean the Surrounding Area: Remove any drop cloths or tarps that were used to protect the surrounding area during the restaining process. Clean the area thoroughly to ensure no stain residue or debris remains.
- Inspect for Touch-Ups: Take a close look at your newly restained fence and inspect for any missed spots or areas that may need touch-ups. Use a small brush or roller to carefully apply stain to these areas to achieve a consistent appearance.
- Apply a Protective Sealant (Optional): To further enhance the durability and longevity of your fence, consider applying a protective sealant after the stain has fully dried. Sealants can provide an extra layer of protection against moisture, UV rays, and general wear and tear. Follow the manufacturer’s instructions for applying the sealant and allow it to dry completely before subjecting the fence to regular use.
- Regular Cleaning: To maintain the beauty of your restained fence, it’s important to perform regular cleaning. Use a gentle cleaner and a soft brush to remove any dirt or grime that may accumulate over time. Avoid using abrasive scrubbing pads or harsh chemicals that can damage the stain or wood.
- Inspect and Repair: Periodically inspect your fence for any signs of damage, such as rotting wood, loose boards, or fading stain. Address these issues promptly to prevent further damage and ensure the fence’s structural integrity.
- Re-Staining: Over time, the stain on your fence may begin to fade or wear off. When this happens, consider restaining the fence to maintain its appearance and protection. The frequency of restaining will depend on factors such as the type of stain used, weather conditions, and the amount of sun exposure the fence receives. Follow the same process outlined in this guide to restain your fence when necessary.
By following these finishing touches and maintenance tips, you can enjoy a beautiful, well-maintained fence for years to come. Regular upkeep and care will help preserve the integrity of the stain and extend the lifespan of your fence.
Congratulations on successfully restaining your fence! With the right materials, tools, and proper techniques, you have breathed new life into your outdoor space. Sit back, relax, and enjoy the refreshed look and enhanced protection of your restained fence.
Remember, if you ever need to restain your fence again, you can always refer back to this guide as a reference. Happy restaining!
Conclusion
Restaining your fence is a rewarding and worthwhile project that can transform the appearance of your outdoor space while providing protection against the elements. By following the step-by-step process outlined in this comprehensive guide, you have learned how to restain your fence effectively and achieve professional-looking results.
From gathering the necessary tools and materials to preparing the fence, removing the old stain, sanding, cleaning, and applying the new stain, you now have a clear understanding of each stage involved in the restaining process. By carefully following these steps, you have revitalized your fence and improved its lifespan.
Remember, choosing the right stain and properly preparing the fence are crucial steps in achieving a long-lasting and beautiful finish. Regular maintenance, including cleaning and inspections, will help preserve the integrity of the stain and ensure the ongoing beauty of your fence.
Now that you have successfully restained your fence, take a moment to admire your hard work. Your renewed fence will enhance the overall aesthetic of your outdoor space and provide a durable barrier for years to come.
Thank you for following this comprehensive guide on how to restain a fence. We hope the information provided has been helpful and that you feel confident in your ability to undertake future restaining projects. With the knowledge and skills gained, you can now enjoy your outdoor space with pride, knowing that your fence is well-maintained and visually appealing.
Remember, if you ever need a refresher or guidance in the future, you can always refer back to this guide. Best of luck with your restaining endeavors!
Frequently Asked Questions about How To Restain Fence
Was this page helpful?
At Storables.com, we guarantee accurate and reliable information. Our content, validated by Expert Board Contributors, is crafted following stringent Editorial Policies. We're committed to providing you with well-researched, expert-backed insights for all your informational needs.


0 thoughts on “How To Restain Fence”