Articles
How To Remove Fence
Modified: February 23, 2024
Looking for articles on how to remove a fence? Learn the step-by-step process and helpful tips to safely and efficiently take down your fence.
(Many of the links in this article redirect to a specific reviewed product. Your purchase of these products through affiliate links helps to generate commission for Storables.com, at no extra cost. Learn more)
Introduction
Removing an old or damaged fence can be a daunting task, but with the right tools and techniques, it can be a manageable DIY project. Whether you’re looking to replace the fence or simply clearing the space, this article will guide you through the step-by-step process of removing a fence.
Before you get started, it’s important to gather the necessary tools and materials. This will ensure that you have everything you need at hand and make the job easier. Additionally, assessing the condition of the fence and planning the removal process will help you avoid any unexpected challenges.
So, let’s dive in and learn how to remove a fence like a pro!
Key Takeaways:
- Proper preparation and assessment are crucial for successful fence removal. Gather the right tools, assess the fence condition, and prioritize safety to ensure a smooth and efficient removal process.
- From removing fasteners to disposing of materials, each step in the fence removal process contributes to creating a clean, open space. Follow the steps diligently and enjoy the satisfaction of a job well done!
Read more: How To Remove Fence Post
Tools and Materials Needed
Before you begin removing the fence, it’s essential to gather the appropriate tools and materials. Having these items on hand will streamline the process and make the task more efficient. Here are the essential tools and materials you’ll need:
- Work gloves: Protect your hands from splinters, sharp edges, and rusty nails.
- Safety goggles: Shield your eyes from debris or flying particles.
- Flat-headed shovel: Use this to dig around the fence posts and loosen the soil.
- Pry bar: Great for removing nails or screws that hold the fence panels in place.
- Hammer: Handy for pounding in stakes or removing stubborn nails.
- Wire cutters: Use to cut any wires or fencing materials.
- Saw: If your fence has wooden posts, a saw will come in handy for cutting through them.
- Ladder: Depending on the height of your fence, a ladder may be necessary to access certain areas.
- Power drill: Useful for removing screws or drilling into stubborn areas.
- Trash bags or a dumpster: To dispose of the old fence materials.
With these tools and materials at your disposal, you’ll be well-equipped to tackle the fence removal process with ease and efficiency.
Step 1: Gather the Necessary Equipment
Before you begin removing your fence, it’s important to gather all the necessary equipment and tools. By having everything prepared, you’ll save time and ensure a smooth removal process. Here’s what you’ll need:
- Work gloves: Protect your hands from splinters, sharp edges, and potential hazards.
- Safety goggles: Shield your eyes from debris or flying particles while removing the fence.
- Pry bar: Used to pry off fence panels and loosen any attached nails or screws.
- Hammer: Handy for pounding in stakes or removing stubborn nails and screws.
- Wire cutters: Required if your fence has any wires or mesh panels that need to be cut.
- Screwdriver or power drill: Necessary for removing screws that hold the fence panels in place.
- Ladder: If your fence is tall, a ladder will help you reach higher sections safely.
- Trash bags or a dumpster: To dispose of the removed fence panels and any other debris.
- Reciprocating saw or circular saw: If you have wooden fence posts, a saw will be needed to cut through them.
Once you have gathered all the necessary equipment, check that everything is in good working condition and easily accessible. This will ensure a smoother and more efficient fence removal process.
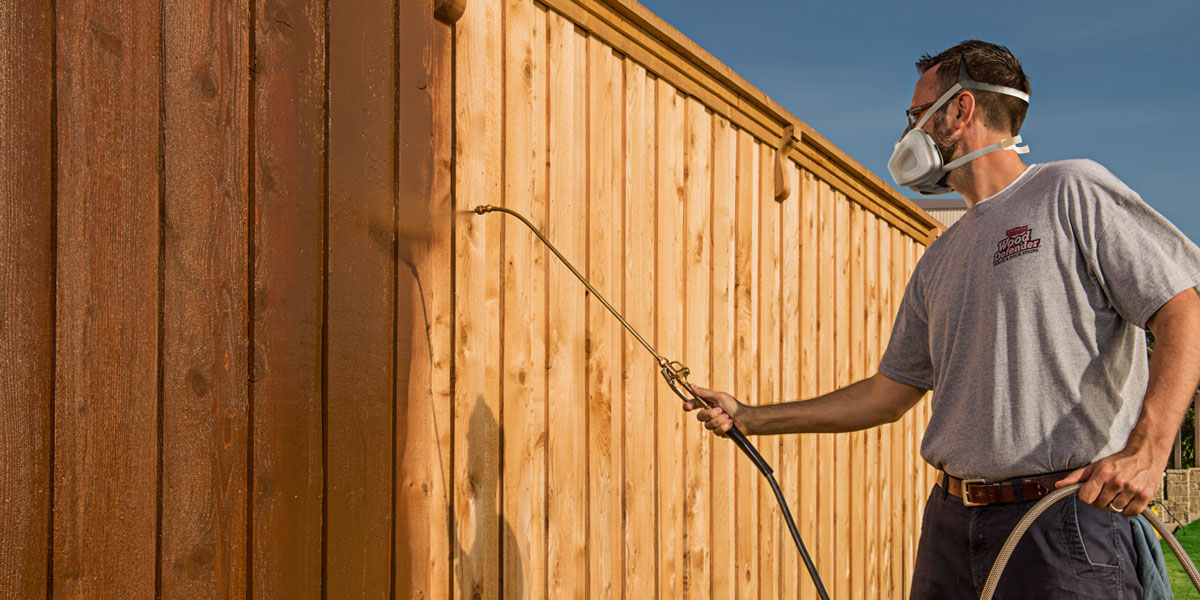
Remember to prioritize safety throughout the process. Wear appropriate protective gear, including work gloves and safety goggles, to prevent injuries during the removal. Additionally, be cautious when using tools such as hammers or saws, and make sure to secure the ladder properly before climbing it.
Now that you have gathered your equipment, you are ready to move on to the next step: assessing the fence.
Step 2: Assess the Fence
Before diving into the fence removal process, take some time to assess the condition and structure of the fence. This step will help you plan the removal process more effectively and anticipate any potential challenges. Here’s what you should consider during the assessment:
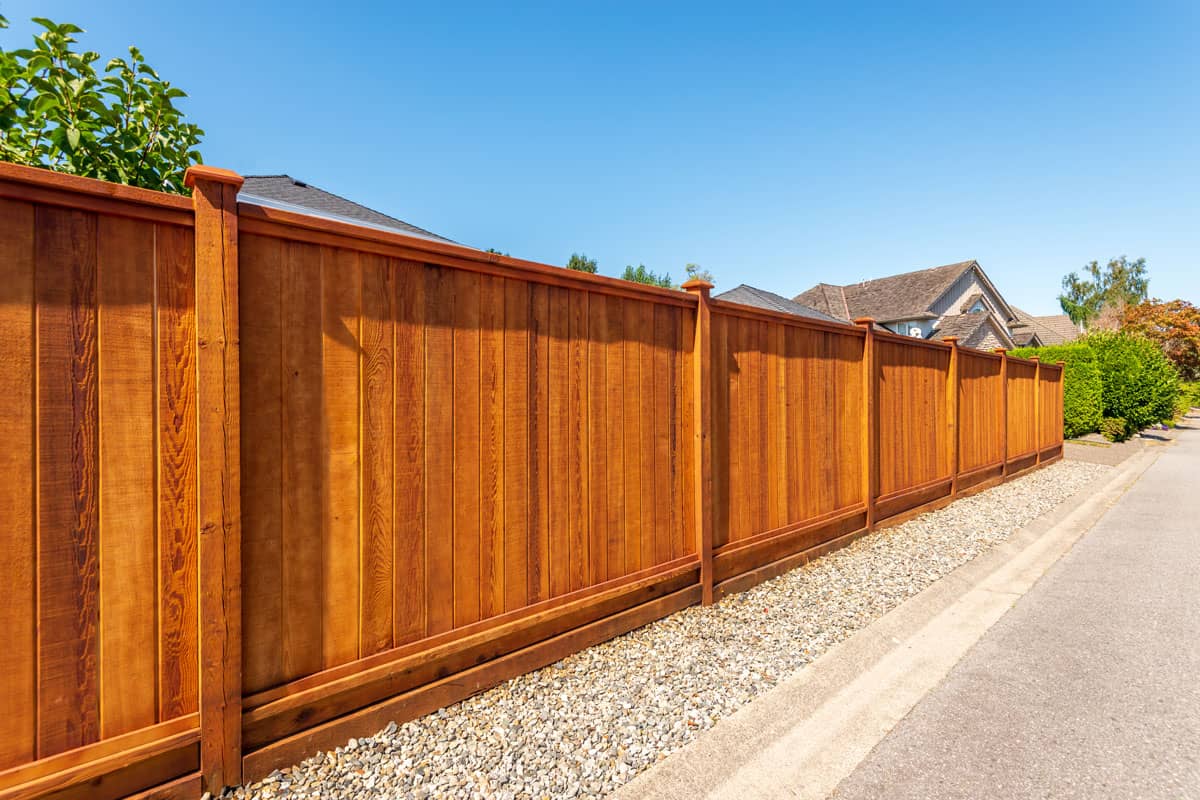
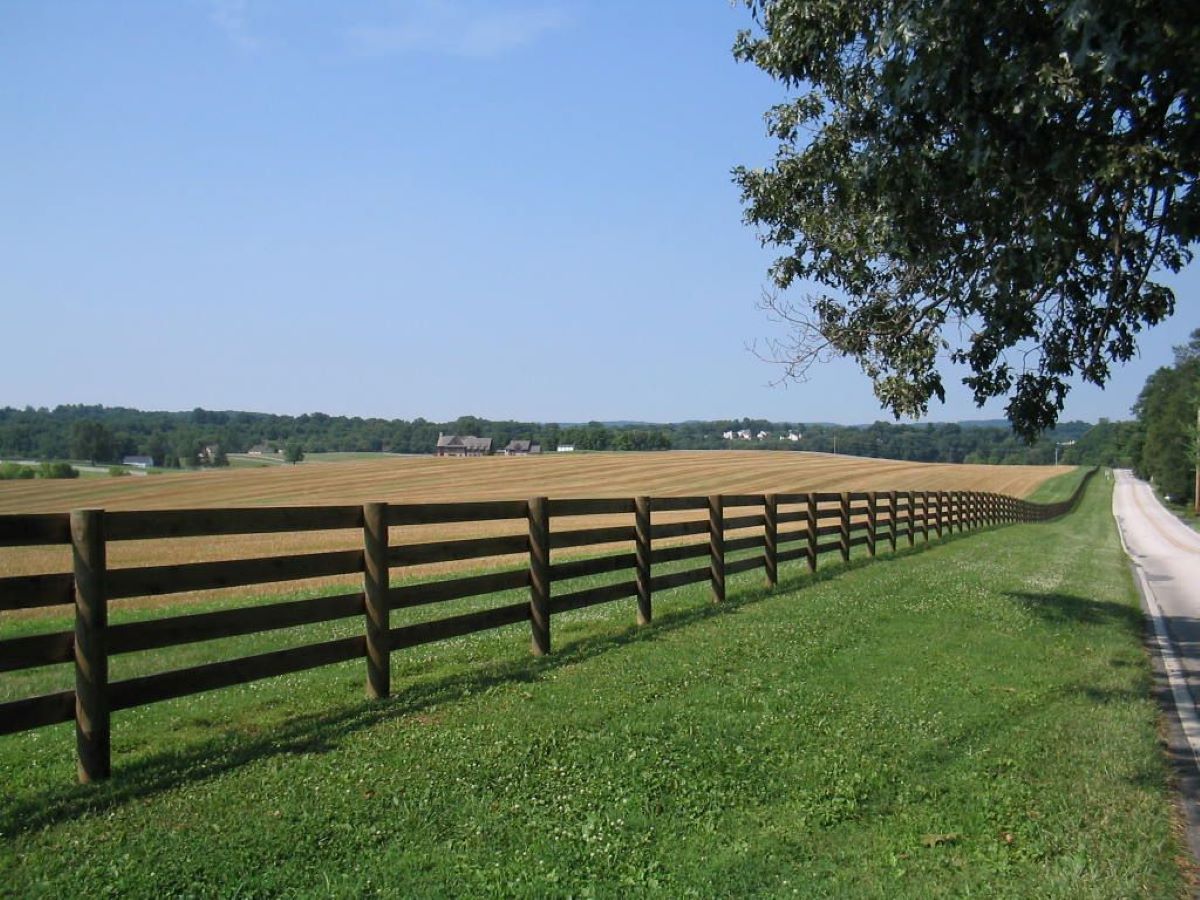
- Material and type of fence: Determine the material your fence is made of, whether it’s wood, vinyl, metal, or another material. Each type of fence may require different techniques and tools for removal.
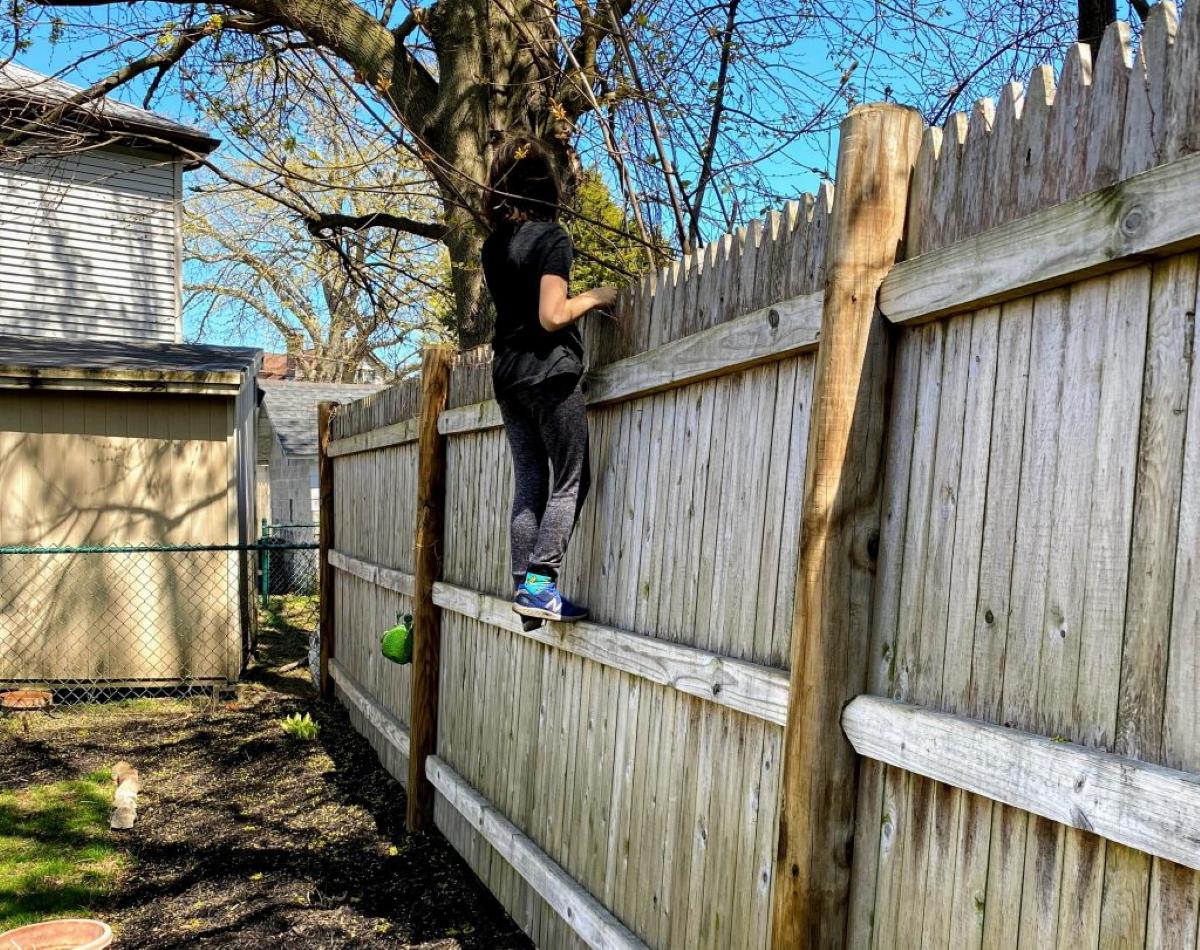
- Age and condition: Assess the overall condition of the fence. Look for signs of rot, damage, or decay that may affect the ease of removal. Older fences may be more fragile, while newer ones may have more secure fasteners.
- Connection method: Observe how the fence panels are connected to the posts. They may be attached with nails, screws, or brackets. Knowing the connection method will help you plan the removal strategy.
- Sprinkler or utility lines: Check if there are any underground sprinkler systems or utility lines near the fence. It’s crucial to be aware of these to avoid damaging them during the removal process.
By assessing the fence beforehand, you can determine the best approach for removal. For example, if the fence is in good condition and securely attached, you may need to spend more time on removing fasteners. If the fence is old and unstable, you may need to take extra care to avoid accidents during removal.
If you have any doubts or concerns about the removal process, it’s recommended to consult with a professional or seek guidance from experienced individuals. They can offer valuable advice and ensure that you approach the removal process safely and efficiently.
Once you have assessed the fence, you’re ready to move on to the next step: removing any nails or screws from the fence panels.
Step 3: Remove Any Nails or Screws
Now that you have assessed the fence, it’s time to remove any nails or screws that are securing the fence panels. This step is crucial as it will make it easier to detach the panels from the posts. Follow these steps to remove the fasteners:
- Put on your work gloves and safety goggles for protection.
- Inspect the fence panels and locate the nails or screws holding them in place.
- Use a pry bar or a hammer and a screwdriver to remove the fasteners. If you encounter rusted or stubborn nails, you may need to apply steady pressure or use a pair of pliers for extra grip.
- Work your way along the fence, removing one fastener at a time until all the panels are loose.
- Once all the fasteners are removed, carefully detach the panels from the posts. If the panels are attached with brackets, use a screwdriver or power drill to unscrew them.
As you remove the fasteners, be cautious of loose nails or screws that may be scattered around. Dispose of them safely to avoid any accidents or injuries. It’s a good practice to collect them in a container or a magnetized tray for easy disposal.
If you encounter any difficulties, such as rusty or damaged fasteners, you can use penetrating oil or a lubricant to loosen them. Allow the oil to soak in for a few minutes before attempting to remove the fasteners again.
Remember to take your time and work systematically to ensure a smooth removal process. By removing the fasteners, you’re one step closer to removing the fence panels entirely.
Next, we’ll move on to step 4: loosening the fence panels.
Use a pry bar to loosen the fence posts from the ground, then carefully lift and remove them. Use a shovel to dig out any remaining concrete or anchors.
Read more: How To Remove Stain From Fence
Step 4: Loosen the Fence Panels
With the nails or screws removed, it’s time to loosen the fence panels from the posts. This step involves gently detaching the panels to prepare them for removal. Follow these steps to loosen the fence panels:
- Start at one end of the fence and locate the first panel that you want to remove.
- Grasp the panel firmly and gently pull it away from the posts. Apply steady pressure, but be careful not to exert too much force to avoid damaging the panel or the posts.
- If the panel doesn’t easily detach, use a pry bar or a hammer to carefully wedge it away from the posts. Insert the pry bar between the panel and the post, then gently apply pressure to create a gap.
- Once the panel is slightly separated from the post, wiggle it back and forth to further loosen it. Continue until the panel is completely free from the posts.
- Repeat the process for each fence panel, working your way along the fence until all panels are loosened and detached.
It’s important to take precautions while loosening the fence panels. Be patient and gentle to avoid causing any damage. If the panels are particularly stubborn or tightly attached, you may need to repeat the steps or use additional tools such as a pry bar or a rubber mallet to aid in loosening them.
Throughout the process, be aware of any potential hazards, such as loose nails or screws, splintered wood, or sharp edges. Wear your work gloves to protect your hands and dispose of any debris safely.
Once you have successfully loosened all the fence panels, you’re ready to move on to the next step: removing the fence posts.
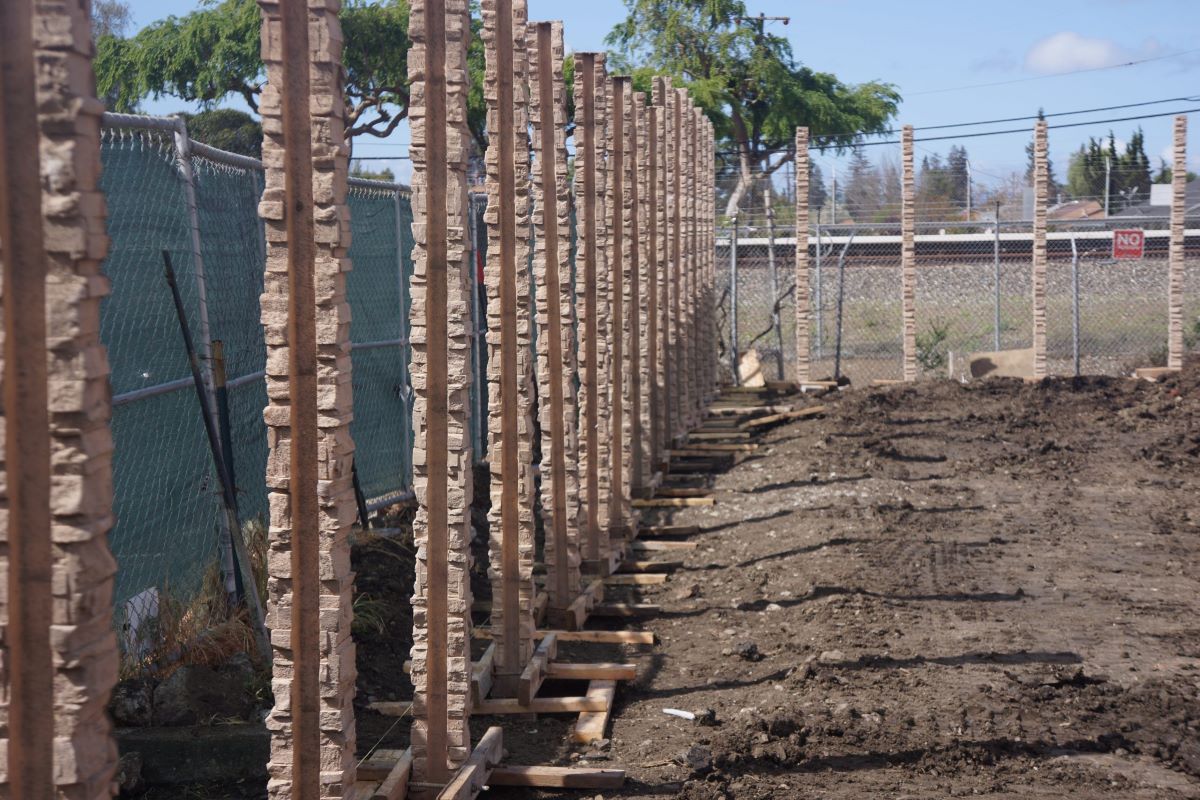
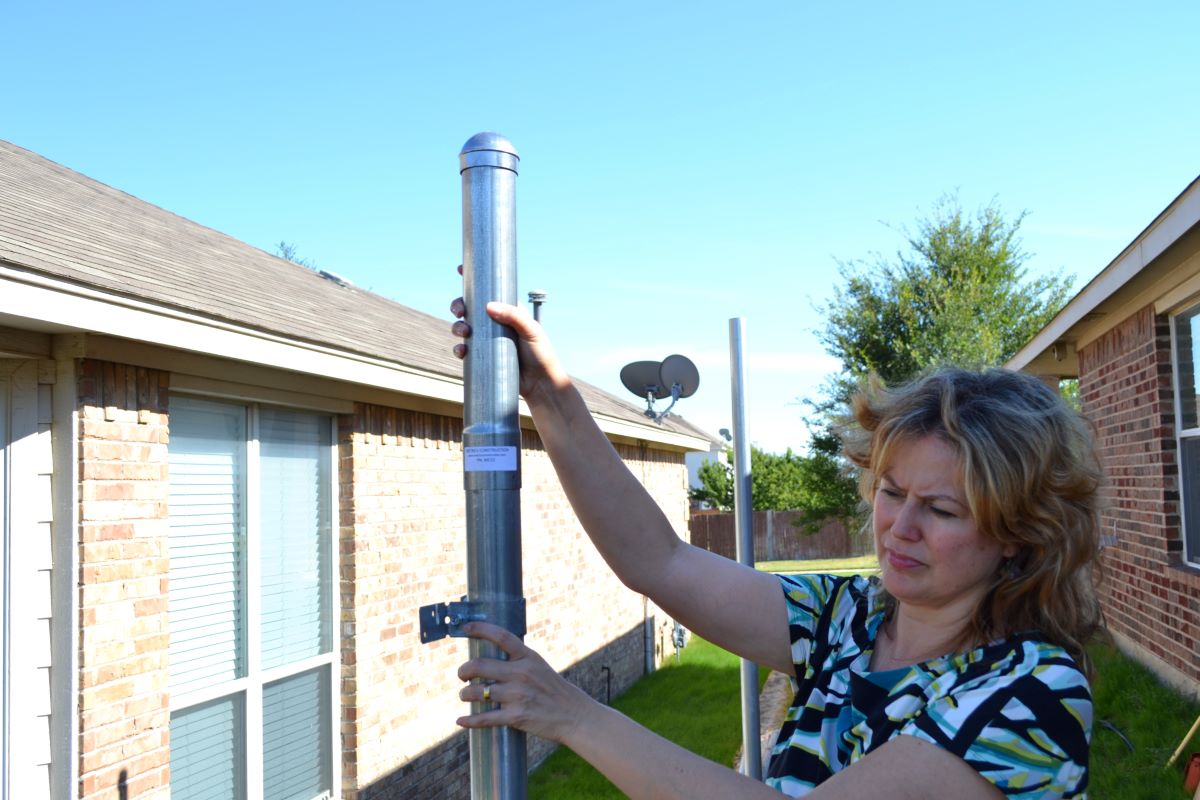
Step 5: Remove the Fence Posts
With the fence panels removed, it’s time to tackle the fence posts. Depending on the type of fence and how they are installed, removing the posts can vary in difficulty. Follow these steps to remove the fence posts:
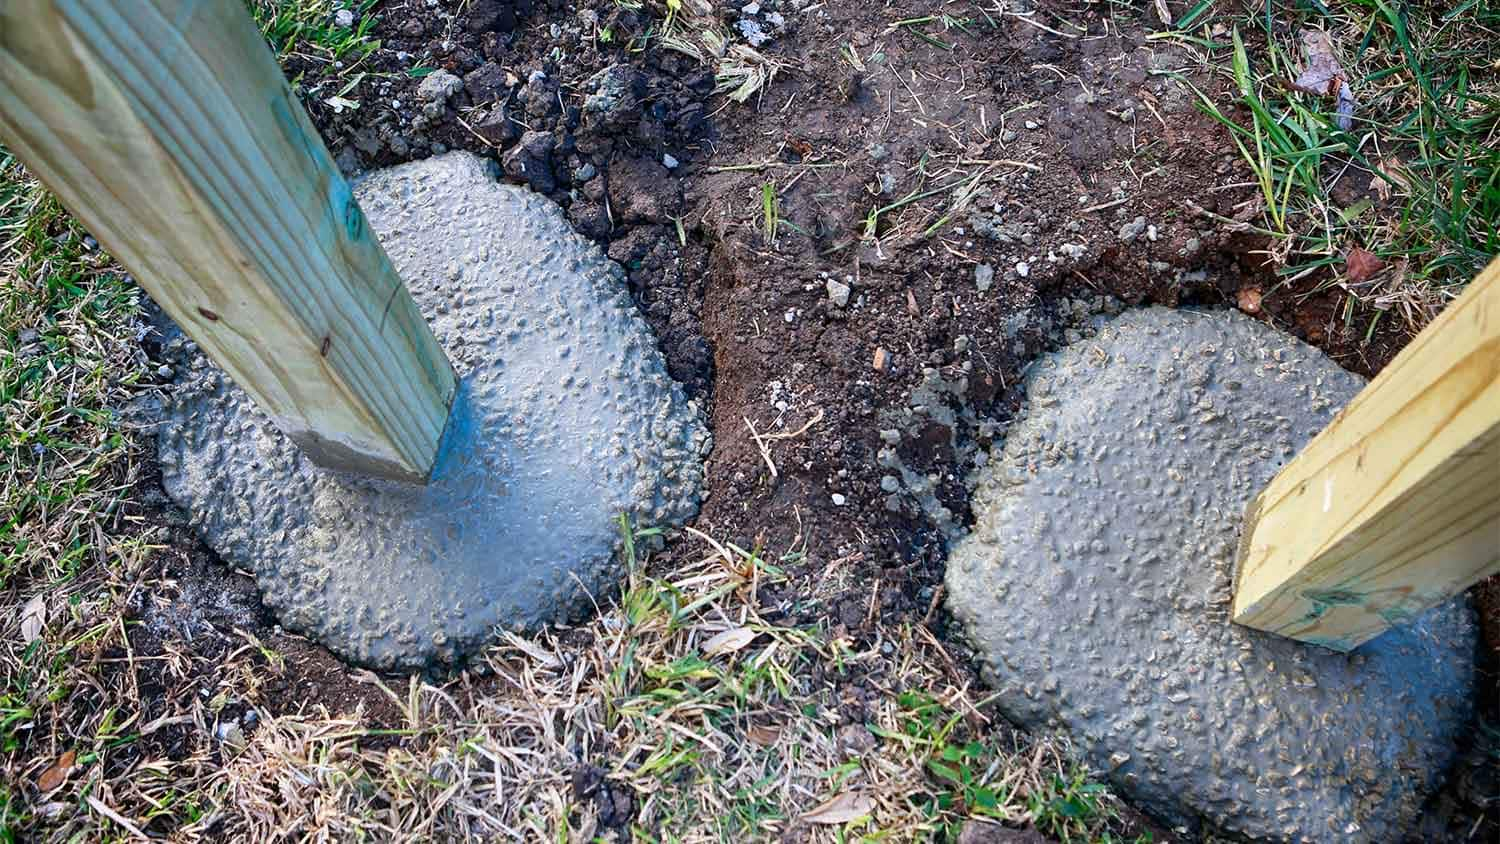
- Begin by inspecting the posts to determine how they are anchored in the ground. Common methods include being set in concrete or secured with brackets.
- If the posts are set in concrete, use a shovel or a post hole digger to excavate the soil around the base of each post. Dig down at least 6 to 8 inches to expose the concrete footing.
- Once the concrete footing is exposed, use a pry bar or a post puller to apply upward pressure on the post. Wiggle it back and forth, gradually loosening it from the ground.
- If the posts are secured with brackets, remove any screws or bolts holding them in place. Then, use a hammer or a rubber mallet to gently tap the posts away from the brackets and loosen them.
- Continue to remove each post, working your way along the fence line until all posts are free.
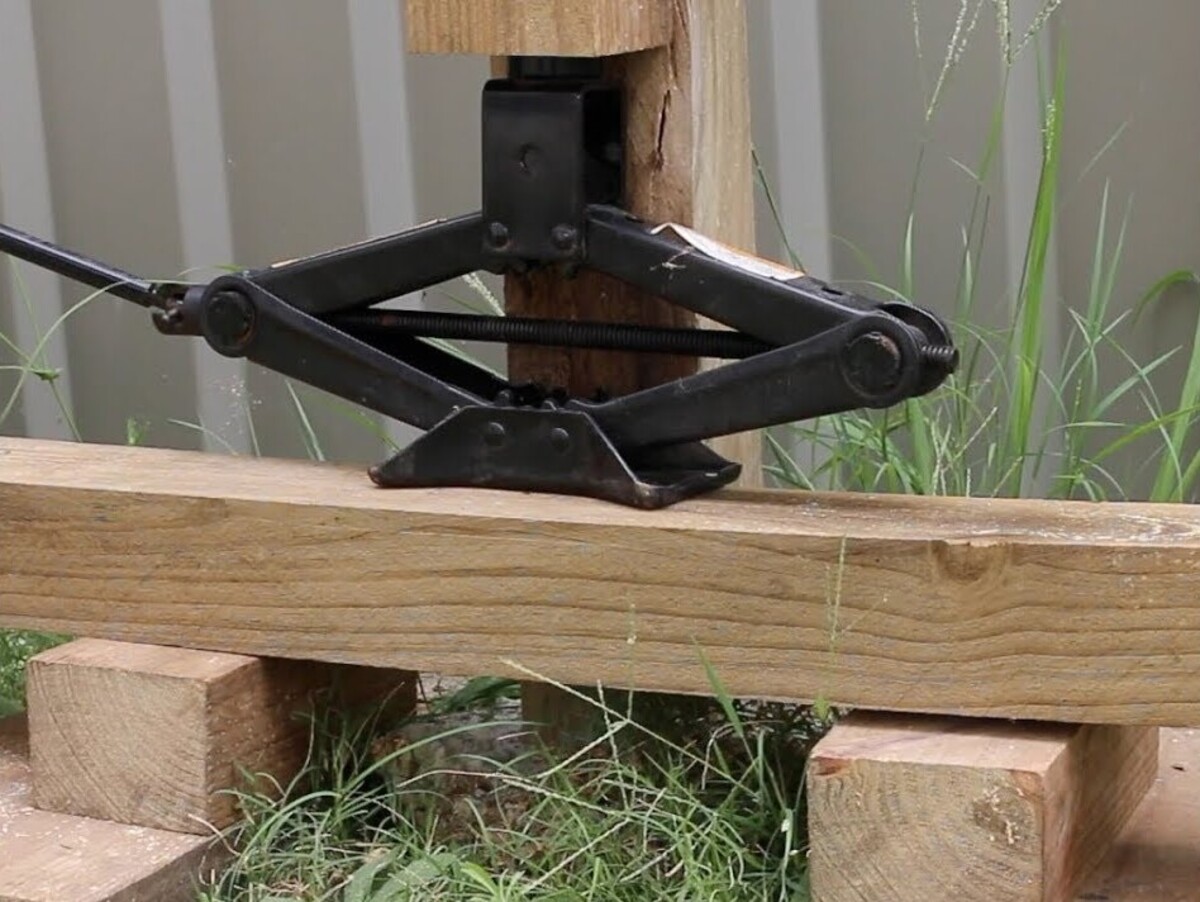
If the posts are particularly stubborn or difficult to remove, you can try using a jack or a come-along to provide additional leverage. Attach the jack or come-along to the post and gradually apply pressure until the post is lifted out of the ground.
Once the fence posts are removed, fill in any holes or remaining gaps in the ground. This will help to ensure a safe and clean area after the fence removal process is complete.
Dispose of the removed fence posts properly based on your local regulations. If the posts are made of treated wood, they may need to be disposed of as hazardous waste. Contact your local waste management facility for guidance.
Now that the fence posts are removed, you’re almost done. The next step is to dispose of the fence materials.
Step 6: Dispose of the Fence Materials
After removing the fence panels and posts, it’s important to properly dispose of the fence materials. Responsible disposal not only helps maintain a clean and safe environment but also ensures compliance with local waste management regulations. Follow these steps to dispose of the fence materials:
- Sort the fence materials into different categories, such as wood, metal, or vinyl. This will make it easier to recycle or dispose of each material appropriately.
- Check with your local waste management facility or recycling center to determine the specific guidelines for disposing of each material. They will provide instructions on where and how to recycle or dispose of the materials properly.
- If the fence materials can be recycled, consider taking them to a nearby recycling center. Many centers accept wood, metal, and vinyl for recycling, which helps reduce waste and conserve resources.
- If the fence materials cannot be recycled, contact a local waste disposal facility or hire a waste removal service to properly dispose of them. They will have the necessary equipment and knowledge to handle the materials safely and responsibly.
It’s important to note that some materials, such as treated wood, may require special handling due to their potentially hazardous nature. Contact your local waste management facility for guidance on proper disposal methods for treated wood or any other potentially harmful materials.
By disposing of the fence materials correctly, you contribute to environmental sustainability and help create a cleaner and healthier community.
With the fence materials properly disposed of, you’re almost finished. The final step is to clean up the area to leave it neat and tidy.
Step 7: Clean up the Area
Now that the fence materials have been removed and properly disposed of, it’s time to clean up the area and restore it to its original condition. This step ensures that your property looks neat and tidy after the fence removal process. Follow these steps to clean up the area:
- Remove any remaining debris, such as loose nails, screws, or small pieces of wood. Use a magnetized tray or a large magnet to collect any stray metal fasteners.
- Rake the area to remove leaves, dirt, or other debris that may have accumulated during the fence removal process.
- If the fence posts were set in concrete, fill in the holes with soil or gravel and compact it down to create a level surface.
- If there are any damaged areas of the lawn or landscaping due to the fence removal, repair or restore them by adding topsoil, reseeding, or replanting as needed.
- Sweep or hose down any nearby surfaces, such as walkways or patios, to remove dust or dirt that may have accumulated during the fence removal.
- Inspect the surrounding area for any signs of damage or wear caused by the fence, such as scratches on siding or furniture. Address any necessary repairs or touch-ups to restore the area’s appearance.
By cleaning up the area, you not only improve the overall aesthetics but also create a safe and pleasant space. This step is particularly important if you plan to install a new fence or utilize the area for other purposes.
With the area cleaned up and restored, you have successfully completed the fence removal process. Congratulations!
Remember to take care of any tools or equipment used during the removal process. Clean and store them properly for future use to ensure their longevity and functionality.
Removing a fence can be a challenging task, but by following these step-by-step instructions, you’ve accomplished it like a pro. Whether you’re preparing for a new fence installation or clearing up the space, the fence removal process can be accomplished with the right tools, preparation, and a bit of patience.
Now, sit back, enjoy your accomplishment, and relish in the newfound open space!
Read more: How To Remove A Chain Link Fence Post
Conclusion
Removing a fence may seem like a daunting task, but with the right tools, preparation, and guidance, it can be a manageable and satisfying DIY project. By following the step-by-step process outlined in this guide, you can successfully remove an old or damaged fence and create a clean and open space.
Throughout the fence removal process, remember to prioritize safety by wearing appropriate protective gear and exercising caution when using tools. Take your time and work systematically to ensure a smooth and efficient removal.
From gathering the necessary equipment to assessing the fence, removing nails, loosening fence panels, and extracting posts, each step plays a crucial role in the overall process. By properly disposing of the fence materials and cleaning up the area, you can leave your property looking neat and well-maintained.
Whether you’re replacing the fence or repurposing the space, removing the existing fence can pave the way for new possibilities. Remember to consult with professionals or experienced individuals if you have any questions or concerns during the fence removal process.
Now that you have completed the fence removal process, take a moment to appreciate your accomplishment. Enjoy the newfound space and the potential it holds.
With the right tools and a bit of perseverance, you’ve successfully removed a fence like a pro. Congratulations on completing this DIY project!
Frequently Asked Questions about How To Remove Fence
Was this page helpful?
At Storables.com, we guarantee accurate and reliable information. Our content, validated by Expert Board Contributors, is crafted following stringent Editorial Policies. We're committed to providing you with well-researched, expert-backed insights for all your informational needs.


0 thoughts on “How To Remove Fence”