Home>Gardening & Outdoor>Landscaping Ideas>How To Make A Self-Watering Raised Garden Bed
Landscaping Ideas
How To Make A Self-Watering Raised Garden Bed
Published: February 1, 2024
Learn how to create a self-watering raised garden bed with our expert landscaping ideas. Save time and effort with this efficient gardening solution.
(Many of the links in this article redirect to a specific reviewed product. Your purchase of these products through affiliate links helps to generate commission for Storables.com, at no extra cost. Learn more)
Introduction
Creating a self-watering raised garden bed is a fantastic way to cultivate a thriving garden while minimizing the time and effort required for maintenance. This innovative gardening approach combines the benefits of raised bed gardening with a self-watering system, resulting in healthier plants and more efficient water usage. Whether you're a seasoned gardener or a novice enthusiast, this project offers a practical and rewarding way to elevate your gardening experience.
By constructing a self-watering raised garden bed, you can overcome common gardening challenges such as inconsistent watering, soil compaction, and weed infestation. The raised design not only provides better drainage and aeration for the soil but also reduces the strain on your back and knees during planting and harvesting. Additionally, the self-watering system ensures that your plants receive a consistent water supply, promoting optimal growth and minimizing the risk of under or overwatering.
This project is not only beneficial for the health and vitality of your plants but also for your convenience. With a self-watering raised garden bed, you can spend less time watering and more time enjoying the beauty and bounty of your garden. Whether you have limited time for gardening or simply want to streamline your gardening routine, this system offers a practical solution that aligns with modern lifestyles.
In the following sections, we will explore the step-by-step process of building and installing a self-watering system for your raised garden bed. From gathering the necessary materials to adding soil and plants, this guide will equip you with the knowledge and inspiration to embark on this enriching gardening endeavor. Additionally, we will provide valuable maintenance tips to ensure the long-term success of your self-watering raised garden bed. Let's dive into the exciting world of self-sustaining gardening and discover how you can create a flourishing oasis right in your backyard.
Key Takeaways:
- Creating a self-watering raised garden bed combines innovation with gardening, making it easier to grow healthy plants with less effort. It’s like having a magical garden that waters itself!
- By using a self-watering system and following maintenance tips, you can enjoy a thriving garden with less work. It’s like having a secret to making your garden grow beautifully without all the hard work!
Read more: How To Make A Raised Garden Bed Cheap
Materials Needed
To embark on the journey of creating a self-watering raised garden bed, you will need a selection of materials that are essential for constructing the bed and installing the self-watering system. By gathering these items, you can ensure a smooth and efficient process, setting the stage for a successful and sustainable garden. Here's a comprehensive list of the materials you will need:
For Building the Raised Garden Bed:
- Lumber: Select high-quality, untreated lumber to construct the frame of the raised garden bed. Cedar or redwood are excellent choices due to their natural resistance to rot and insects.
- Screws or Nails: Choose corrosion-resistant screws or nails to assemble the lumber securely. These fasteners will ensure the stability and durability of the raised bed.
- Landscape Fabric: This will be used to line the interior of the bed, preventing soil from escaping while allowing for proper drainage.
For Installing the Self-Watering System:
- Large Plastic Containers: These will serve as the reservoir for the self-watering system. Look for containers with a capacity suitable for the size of your garden bed.
- PVC Pipe or Tubing: You will need this to create the wicking mechanism that delivers water from the reservoir to the soil.
- PVC Elbows and Tees: These fittings will be used to configure the watering system, allowing for efficient water distribution within the bed.
- Landscaping Fabric or Screen: This material will be used to separate the soil from the water reservoir, preventing soil from clogging the watering system.
- Watering Tube: A tube or pipe will be required to fill the water reservoir without disturbing the soil or plants.
Additional Materials:
- Drill and Drill Bits: These tools are essential for creating drainage holes and assembling the components of the self-watering system.
- Soil: Choose a high-quality, well-draining soil mix suitable for the plants you intend to grow in the raised bed.
- Plants or Seeds: Select the plants or seeds that align with your gardening goals and preferences, ensuring a diverse and vibrant garden.
By acquiring these materials, you will be well-prepared to embark on the exciting process of building and installing a self-watering raised garden bed. With careful planning and attention to detail, you can set the stage for a thriving garden that harmonizes with nature and simplifies your gardening routine.
Read more: How To Make A Raised Garden Bed With Pallets
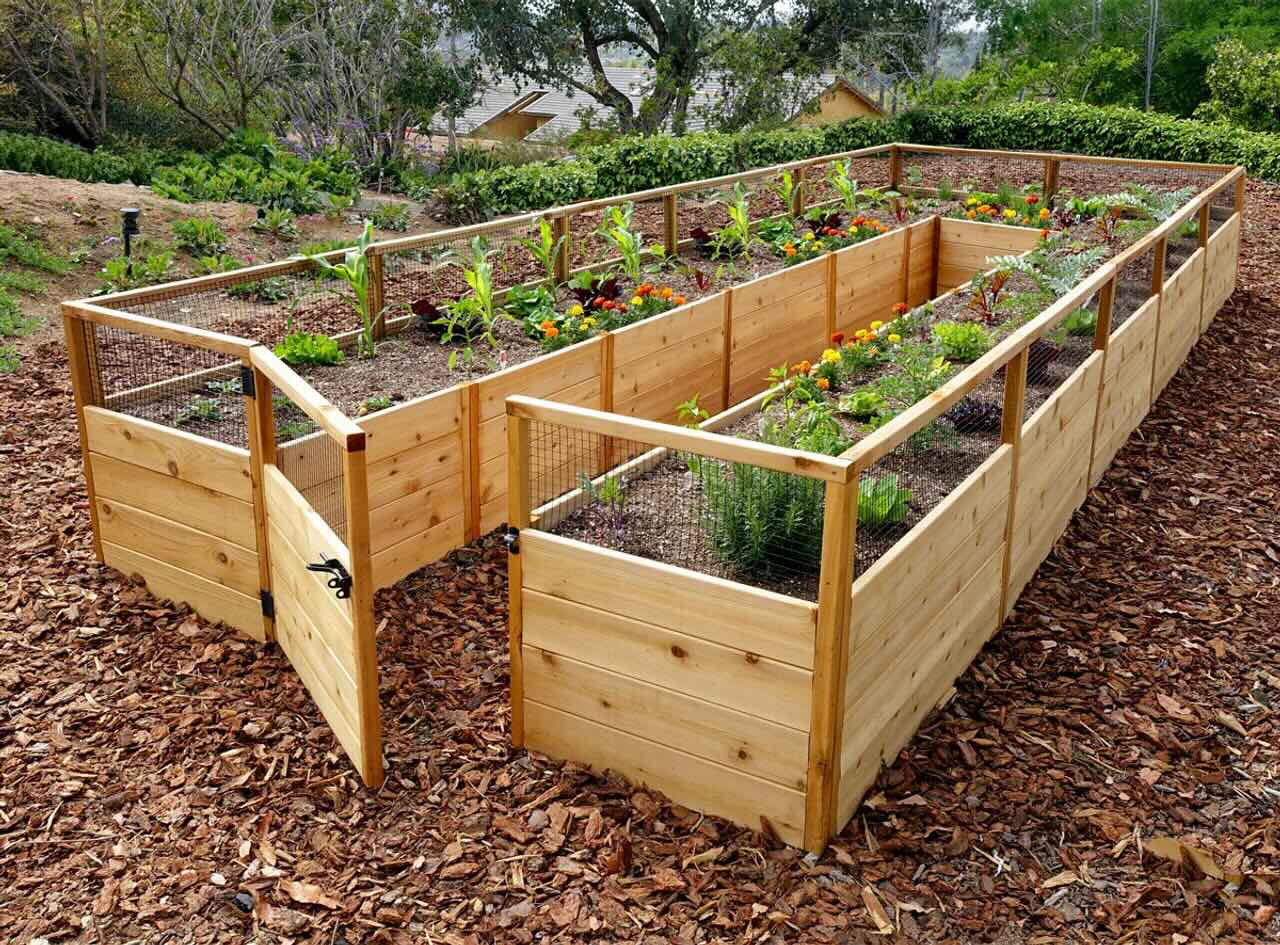
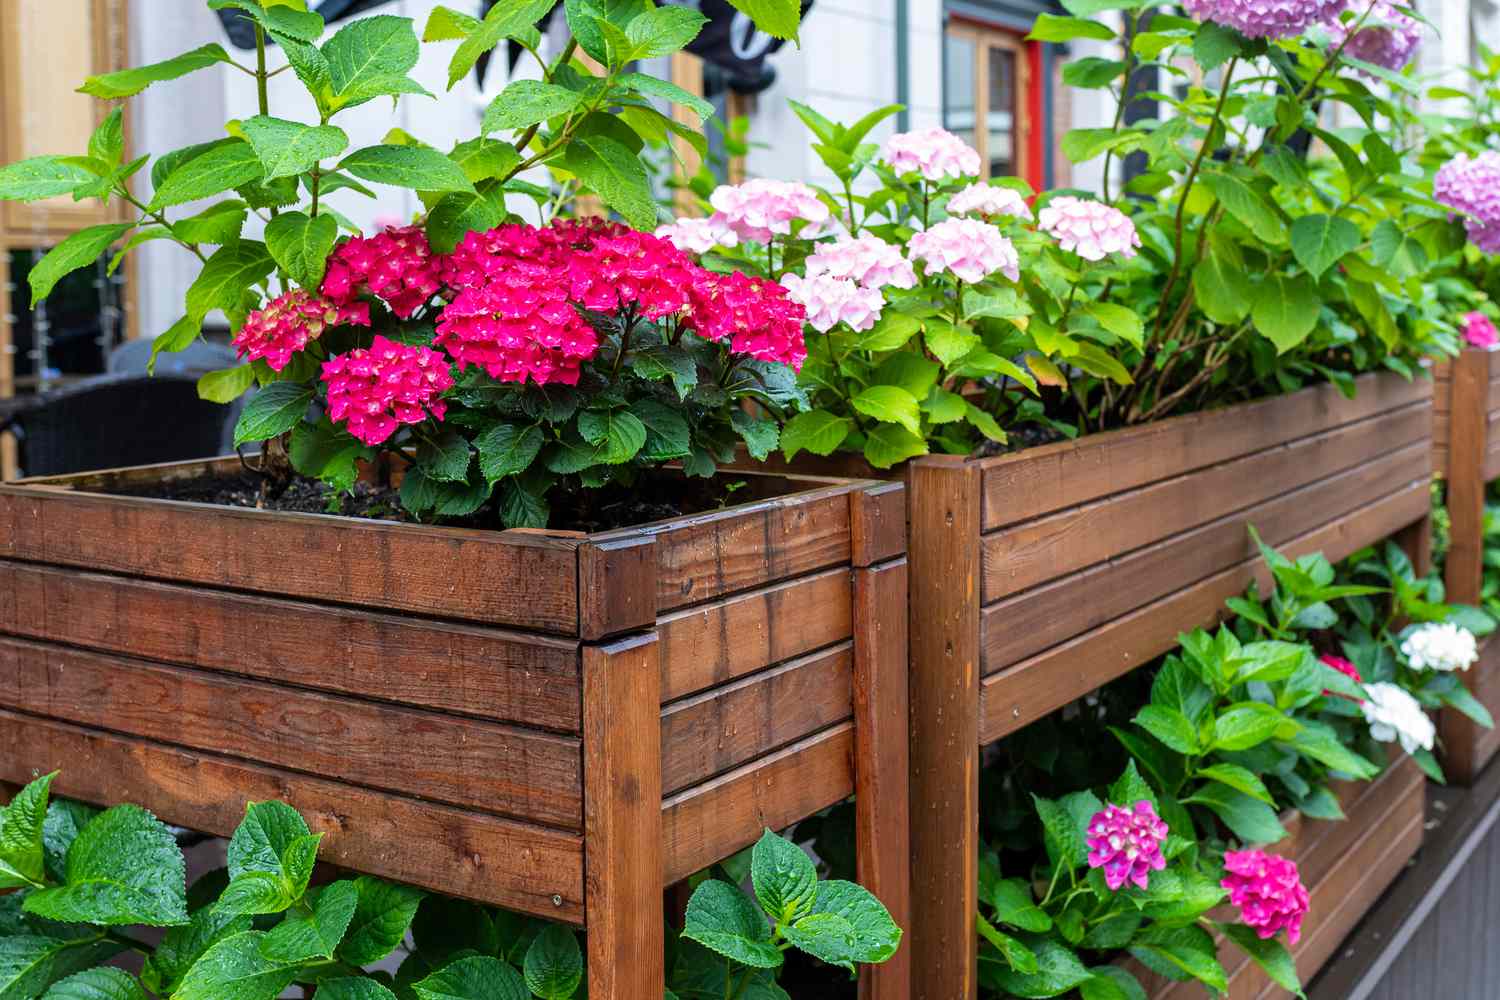
Step 1: Building the Raised Garden Bed
The first step in creating a self-watering raised garden bed is to construct the physical framework that will support the soil and plants. Building a raised garden bed offers numerous advantages, including improved drainage, better soil aeration, and reduced strain on the gardener's back and knees. To begin this transformative project, follow these essential steps:
1. Selecting the Location
Choose a suitable location for your raised garden bed, ensuring that it receives an adequate amount of sunlight based on the sunlight requirements of the plants you intend to grow. Additionally, consider factors such as accessibility, proximity to a water source, and the overall aesthetic appeal of the chosen spot.
2. Assembling the Frame
Using high-quality, untreated lumber, assemble the frame of the raised garden bed to the desired dimensions. Cedar or redwood are popular choices due to their natural resistance to rot and insects. Secure the corners of the frame with corrosion-resistant screws or nails to ensure stability and durability.
3. Lining the Interior
Line the interior of the bed with landscape fabric, which will prevent the soil from escaping while allowing for proper drainage. This step is crucial for maintaining the integrity of the raised bed and ensuring that the soil remains contained within the designated area.
Read more: How To Make A Small Raised Garden Bed
4. Adding the Soil
Once the frame is assembled and lined, fill the raised bed with a high-quality, well-draining soil mix suitable for the plants you plan to grow. The elevated nature of the bed allows for better control over the soil composition, promoting optimal growing conditions for your plants.
By following these steps, you can successfully build the foundation of your self-watering raised garden bed. The raised design not only provides a conducive environment for plant growth but also sets the stage for the installation of the self-watering system, which will be covered in the next section. With the physical structure in place, you are one step closer to cultivating a flourishing garden that embodies the perfect synergy of nature and innovation.
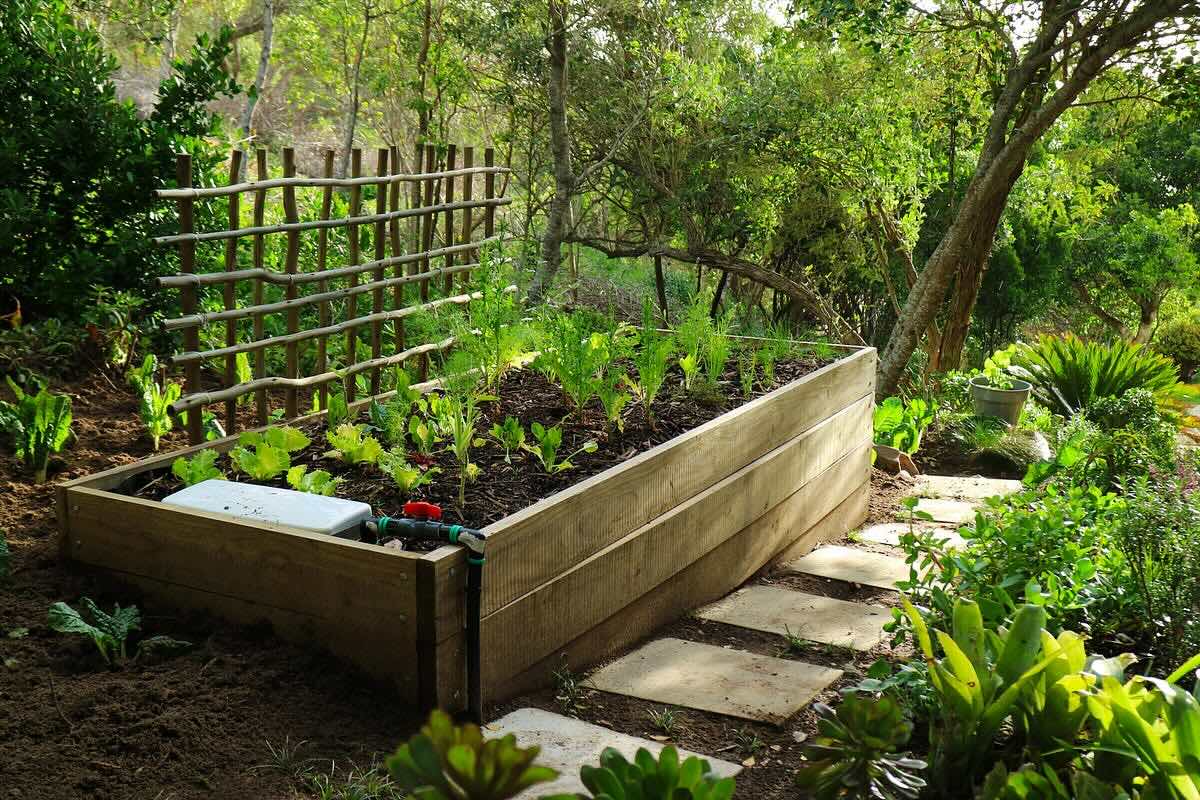
Step 2: Installing the Self-Watering System
With the raised garden bed framework in place, the next pivotal step is to install the self-watering system, which will ensure consistent moisture levels for your plants while minimizing the need for frequent manual watering. This innovative system operates on the principle of capillary action, drawing water from a reservoir and delivering it to the soil as needed. By following these essential steps, you can seamlessly integrate the self-watering system into your raised garden bed:
1. Creating the Water Reservoir
Begin by selecting a large plastic container that will serve as the reservoir for the self-watering system. The size of the container should be proportionate to the dimensions of your raised bed, ensuring an ample water supply for your plants. Position the container at one end of the raised bed, allowing sufficient space for the soil and plants.
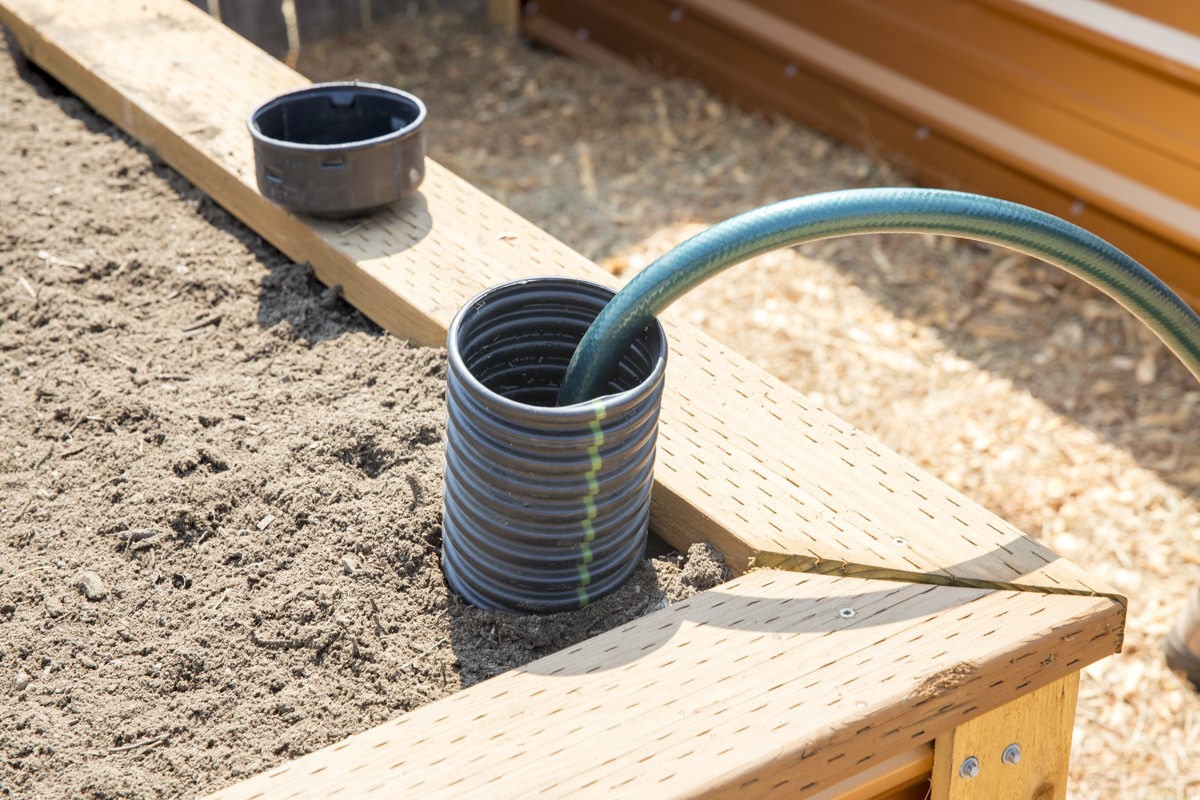
2. Installing the Wicking Mechanism
To facilitate the transfer of water from the reservoir to the soil, cut a length of PVC pipe or tubing and place it vertically within the container. This wicking mechanism will draw water upward through capillary action, ensuring that the soil remains consistently moist without becoming waterlogged.
Read more: How To Make A Raised Garden Bed With Bricks
3. Configuring the Watering System
Using PVC elbows and tees, create a network of watering tubes that will distribute the water evenly throughout the raised bed. Position the tubes strategically to cover the entire surface area of the bed, ensuring that each plant receives its share of moisture.
4. Preventing Soil Contamination
To prevent soil from clogging the watering system, place a layer of landscaping fabric or screen over the opening of the reservoir. This barrier will allow water to pass through while keeping the soil particles contained, maintaining the integrity and functionality of the self-watering system.
5. Filling the Reservoir
Once the components of the self-watering system are in place, use a watering tube or pipe to fill the reservoir with water. This process allows the water to reach the roots of the plants directly, promoting efficient water usage and minimizing evaporation.
By meticulously following these steps, you can successfully install a self-watering system in your raised garden bed, revolutionizing the way you nurture your plants. This innovative approach not only conserves water but also ensures that your plants receive the optimal moisture levels for robust growth. With the self-watering system seamlessly integrated, your raised garden bed is poised to become a thriving oasis of natural beauty and abundance.
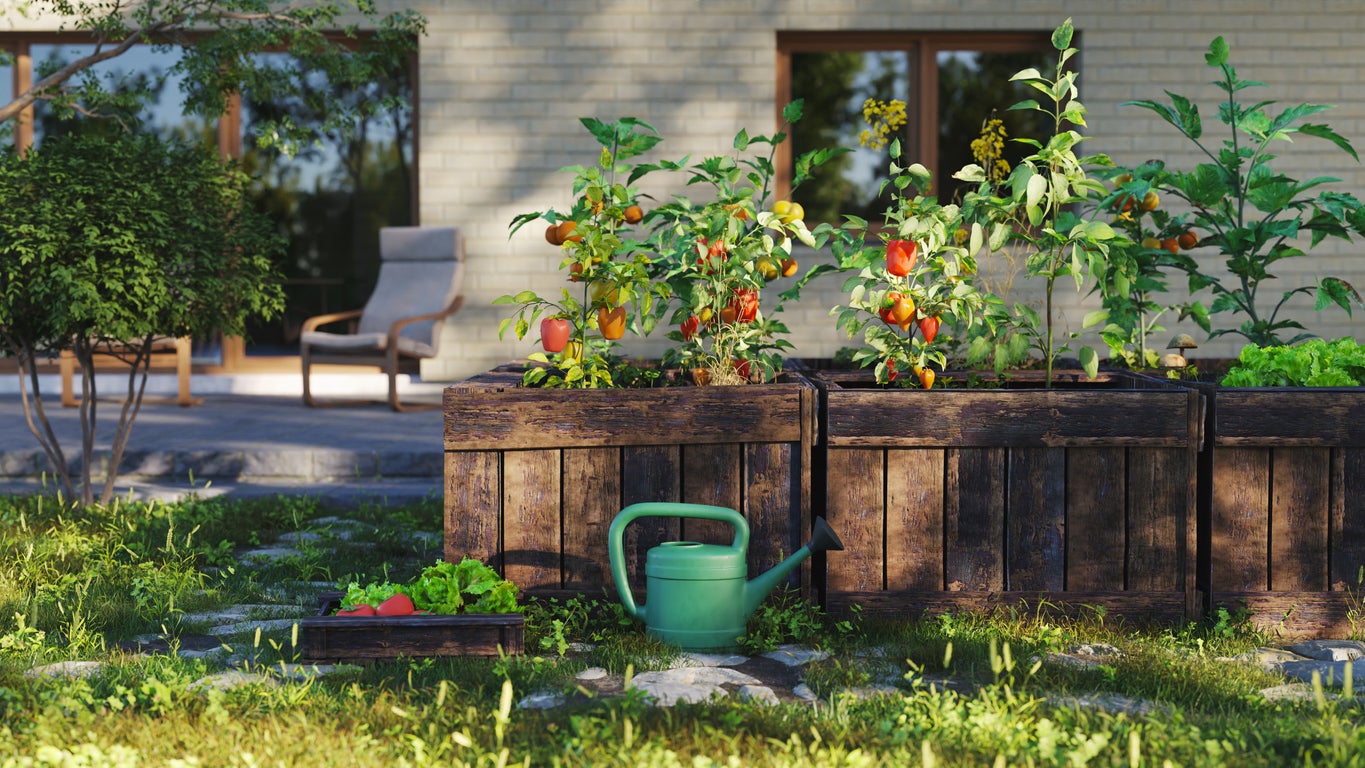
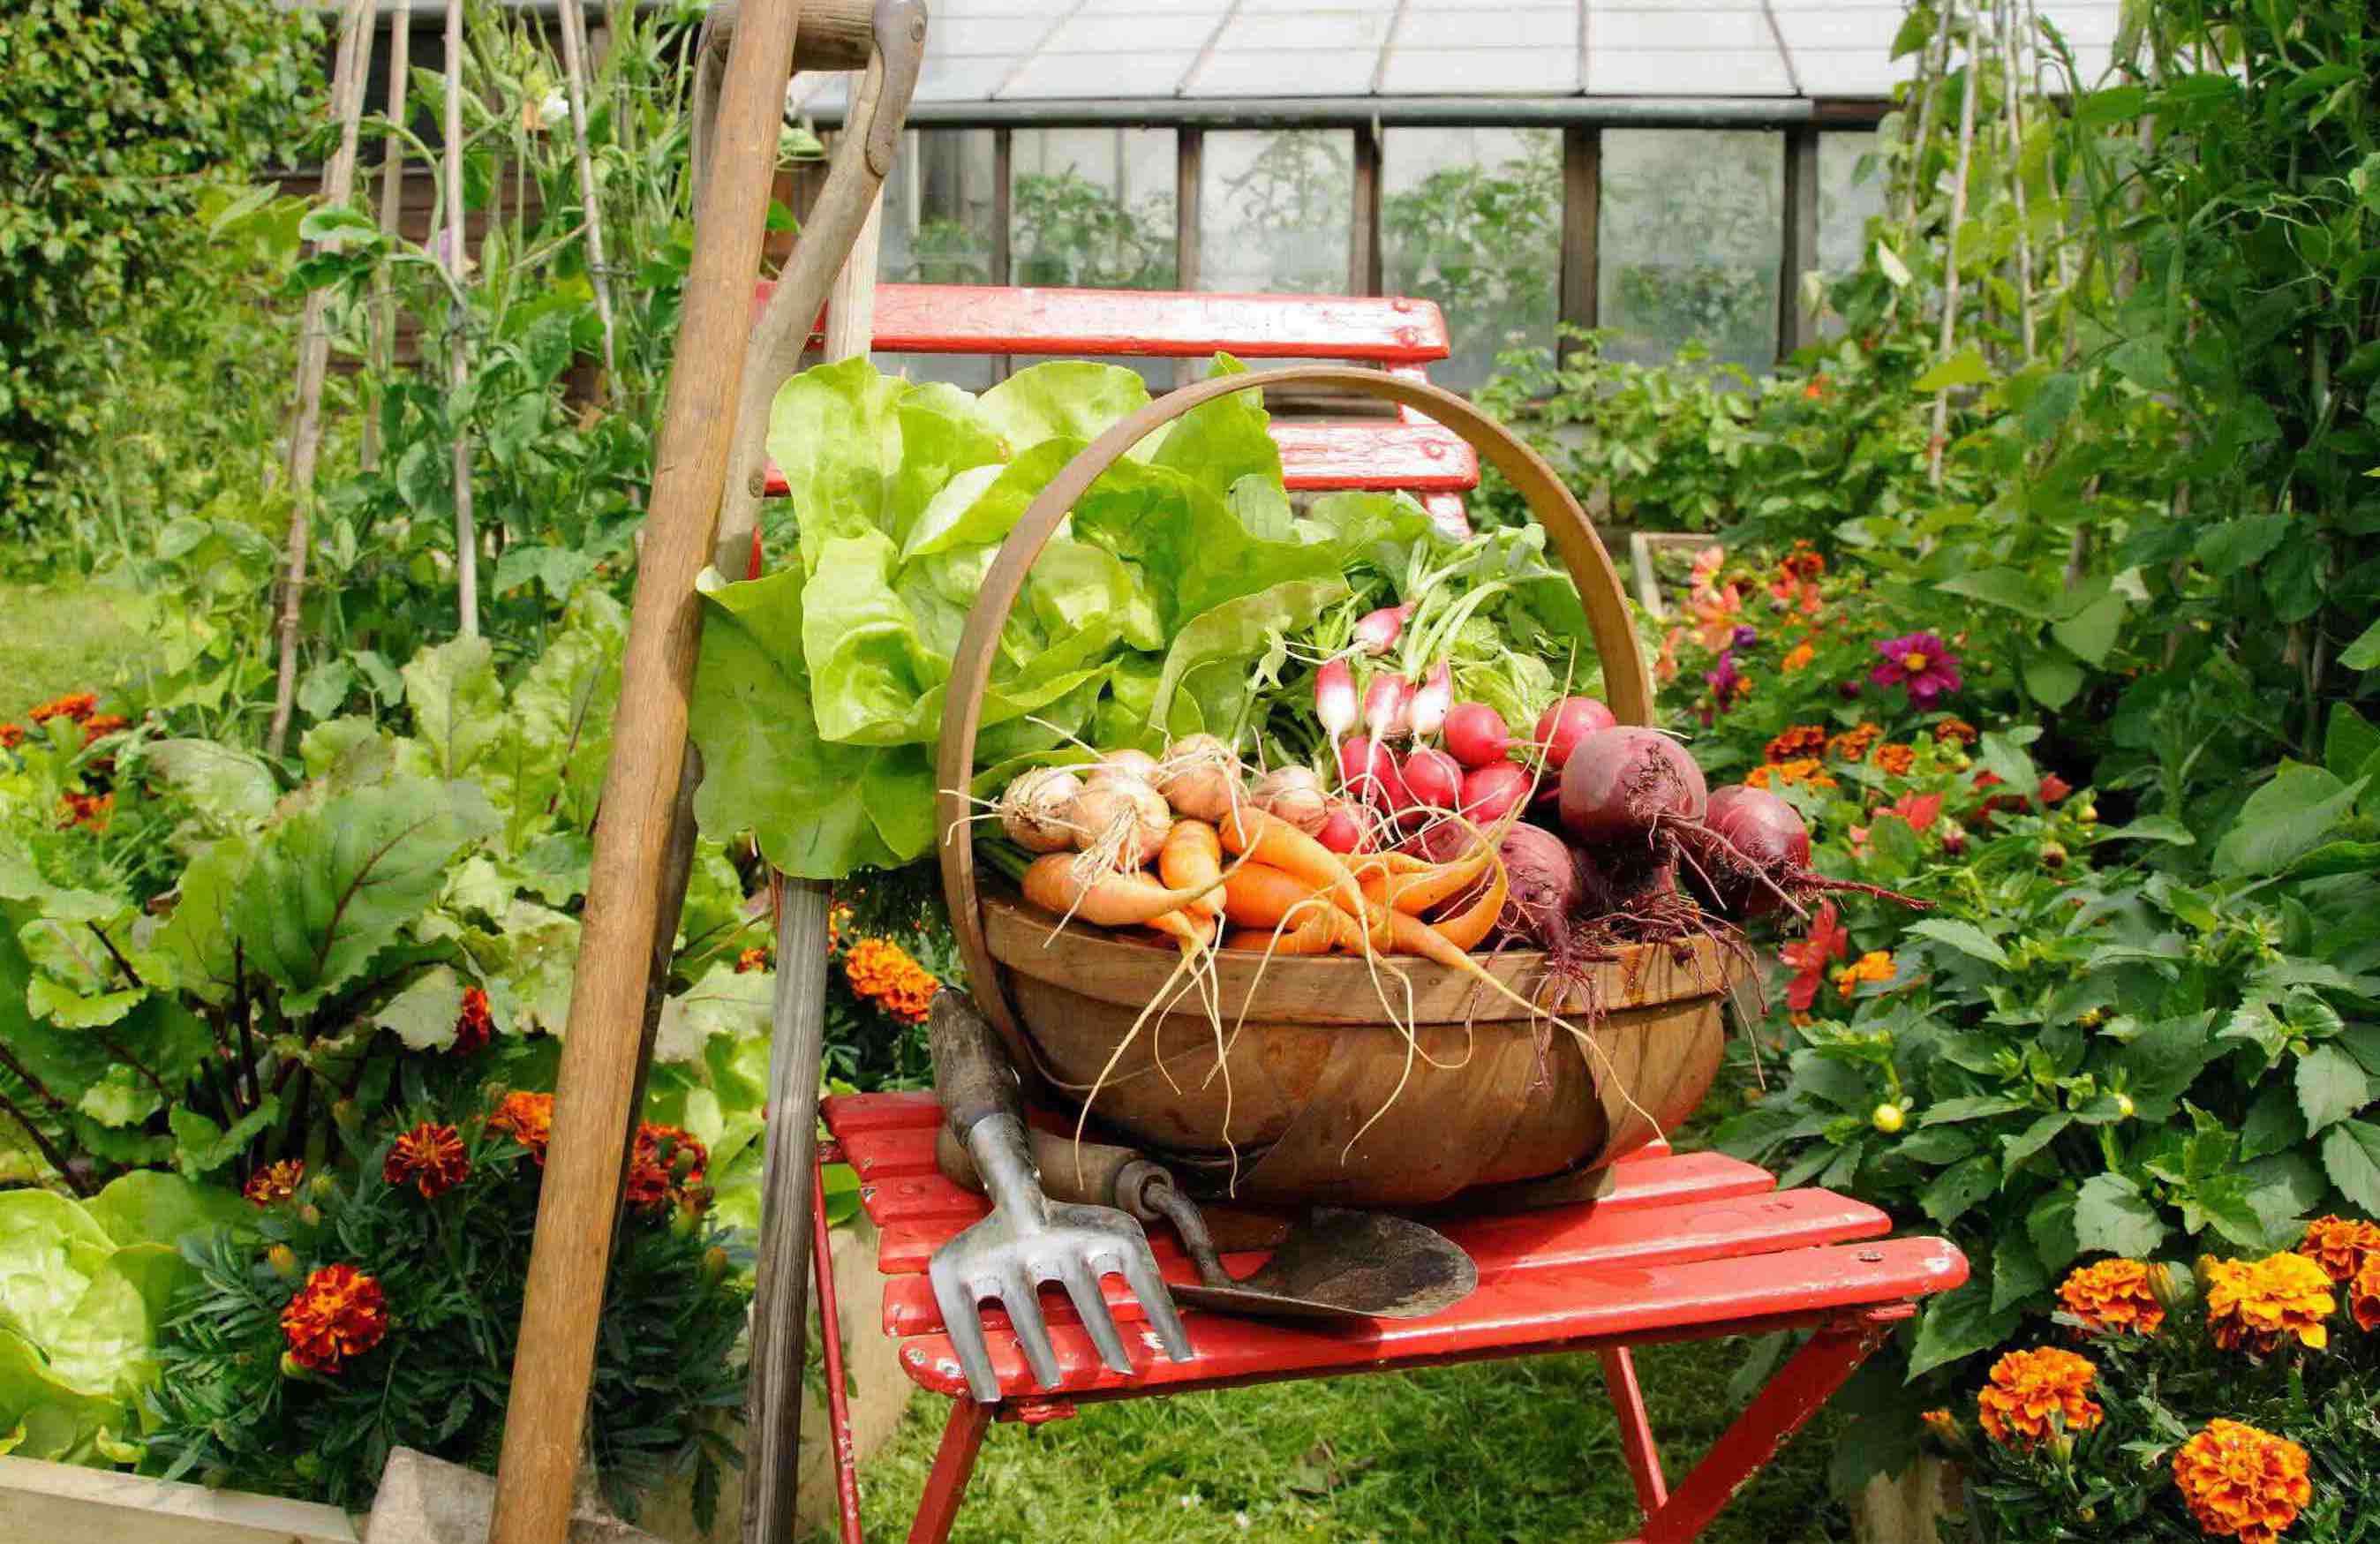
Step 3: Adding Soil and Plants
With the raised garden bed constructed and the self-watering system seamlessly integrated, the stage is set for the transformative process of adding soil and plants to bring your garden to life. This crucial step involves carefully selecting the right soil and choosing an array of plants that align with your gardening goals and preferences. By following these essential guidelines, you can ensure that your self-watering raised garden bed becomes a vibrant and flourishing haven for plant life.
Read more: How Do You Make A Raised Garden Bed
Selecting the Soil
The foundation of a successful garden lies in the quality of the soil. When adding soil to your raised bed, opt for a high-quality, well-draining soil mix that is rich in organic matter. This type of soil provides an ideal growing environment for a diverse range of plants, promoting healthy root development and robust growth. Consider the specific requirements of the plants you intend to cultivate and choose a soil mix that aligns with their needs, whether it's enhanced drainage for succulents or nutrient-rich soil for vegetables and herbs.
Filling the Raised Bed
Carefully fill the raised bed with the selected soil, ensuring that it is evenly distributed and level throughout the entire surface. The elevated nature of the bed allows for better control over the soil composition, creating an optimal growing environment for your plants. As you add the soil, take the time to assess the depth and make any necessary adjustments to accommodate the root systems of the plants you plan to introduce.
Choosing and Planting
When it comes to selecting plants for your self-watering raised garden bed, consider a diverse array of options to create a visually appealing and ecologically balanced garden. Whether you're drawn to vibrant flowers, aromatic herbs, or bountiful vegetables, choose plants that complement each other in terms of growth habits, sunlight requirements, and water needs. This thoughtful selection process sets the stage for a harmonious and thriving garden ecosystem.
Once you've chosen your plants, carefully plant them in the prepared soil, ensuring that they are positioned at the appropriate depth and spacing. Take into account the individual requirements of each plant, including sunlight exposure and watering frequency, to optimize their growth and overall well-being.
By adding soil and plants to your self-watering raised garden bed with precision and care, you are nurturing the potential for a flourishing and sustainable garden. This transformative process not only brings your garden to life but also sets the stage for a rewarding and enriching journey of tending to your plants and witnessing the beauty of nature's growth and renewal.
Maintenance Tips
Maintaining a self-watering raised garden bed is essential to ensure the long-term health and vitality of your plants while maximizing the efficiency of the self-watering system. By implementing regular maintenance practices, you can create an environment that fosters optimal growth and minimizes the risk of potential issues. Here are valuable maintenance tips to guide you in caring for your self-watering raised garden bed:
1. Monitoring Moisture Levels
Regularly monitor the moisture levels in the soil to ensure that the self-watering system is functioning effectively. While the system is designed to provide consistent moisture, it's important to check the soil periodically, especially during hot and dry periods. Adjust the watering frequency based on the specific needs of your plants, ensuring that they receive the appropriate amount of moisture for healthy growth.
2. Inspecting the Water Reservoir
Periodically inspect the water reservoir to ensure that it is clean and free from debris or algae buildup. Maintaining a clean reservoir is crucial for preventing clogs and ensuring the efficient flow of water to the soil. If necessary, clean the reservoir and replace the water to maintain optimal conditions for your plants.
3. Pruning and Harvesting
Regularly prune your plants to remove dead or diseased foliage and encourage healthy growth. Additionally, harvest ripe fruits, vegetables, and herbs in a timely manner to promote continuous production and prevent overcrowding. Pruning and harvesting not only maintain the overall health of your plants but also contribute to the aesthetic appeal of your garden.
4. Weed Control
Keep an eye out for weeds and promptly remove them to prevent competition for nutrients and water. The raised design of the garden bed makes it easier to spot and remove weeds, contributing to the overall health and appearance of your garden.
Read more: Why A Raised Garden Bed
5. Soil Maintenance
Periodically replenish the soil with organic matter such as compost to enrich its nutrient content and promote a fertile growing environment. Additionally, monitor the soil for compaction and aerate it as needed to ensure optimal root development and water absorption.
6. Seasonal Adjustments
Adjust the self-watering system and plant selection based on seasonal changes. During hot summer months, consider adding heat-tolerant plants and increasing the watering frequency. In cooler seasons, adjust the system to accommodate the changing water needs of your plants.
By incorporating these maintenance tips into your gardening routine, you can cultivate a thriving and sustainable garden within your self-watering raised bed. Regular attention and care will not only benefit the health of your plants but also enhance your overall gardening experience, allowing you to enjoy the beauty and abundance of your flourishing oasis.
Conclusion
In conclusion, the journey of creating a self-watering raised garden bed is a transformative and rewarding endeavor that harmonizes innovation with the timeless art of gardening. By following the step-by-step process of building the raised bed, installing the self-watering system, and adding soil and plants, you have embarked on a journey that promises a flourishing oasis of natural beauty and abundance right in your backyard.
The self-watering raised garden bed represents a harmonious union of sustainable gardening practices and modern convenience. The raised design not only provides optimal drainage and aeration for the soil but also reduces the physical strain on the gardener, making it an accessible and enjoyable gardening solution for individuals of all ages and abilities. The integration of a self-watering system ensures that your plants receive consistent moisture, promoting robust growth and minimizing water wastage.
As you nurture your garden within the self-watering raised bed, the maintenance tips provided will guide you in fostering a thriving and sustainable ecosystem. From monitoring moisture levels to seasonal adjustments, these practices will empower you to create an environment where your plants can thrive and flourish.
Ultimately, the self-watering raised garden bed transcends the traditional boundaries of gardening, offering a holistic approach that aligns with modern lifestyles and environmental consciousness. Whether you're cultivating vibrant flowers, aromatic herbs, or bountiful vegetables, this innovative gardening solution empowers you to create a diverse and sustainable garden that reflects your unique vision and preferences.
As you witness the beauty of nature's growth and renewal within your self-watering raised garden bed, may it serve as a source of inspiration and joy, connecting you with the profound and timeless wonders of the natural world. Embrace the journey of tending to your garden, and may it bring you closer to the rhythms of nature while enriching your life with its beauty and abundance.
Frequently Asked Questions about How To Make A Self-Watering Raised Garden Bed
Was this page helpful?
At Storables.com, we guarantee accurate and reliable information. Our content, validated by Expert Board Contributors, is crafted following stringent Editorial Policies. We're committed to providing you with well-researched, expert-backed insights for all your informational needs.


0 thoughts on “How To Make A Self-Watering Raised Garden Bed”