Home>Gardening & Outdoor>Landscaping Ideas>How To Make A Garden Bed From Lawn
Landscaping Ideas
How To Make A Garden Bed From Lawn
Modified: August 30, 2024
Learn how to transform your lawn into a beautiful garden bed with our expert landscaping ideas. Create a stunning outdoor space with our step-by-step guide.
(Many of the links in this article redirect to a specific reviewed product. Your purchase of these products through affiliate links helps to generate commission for Storables.com, at no extra cost. Learn more)
Introduction
Creating a garden bed from your lawn is a fantastic way to transform a plain yard into a vibrant and flourishing oasis. Whether you're a seasoned gardener or a novice enthusiast, this project offers a wonderful opportunity to exercise your creativity and cultivate a beautiful outdoor space. By repurposing a section of your lawn, you can design a personalized garden bed that complements your home and reflects your unique style.
In this comprehensive guide, we will walk you through the step-by-step process of making a garden bed from your lawn. From measuring and marking the area to planting your favorite flowers, vegetables, or herbs, you'll gain valuable insights and practical tips to bring your garden bed vision to life. With a little effort and a touch of inspiration, you can create a captivating garden bed that adds charm and character to your outdoor environment.
So, roll up your sleeves, grab your gardening tools, and let's embark on this exciting journey to transform your lawn into a stunning garden bed. Whether you're seeking a serene retreat for relaxation or a bountiful space for growing fresh produce, this project promises to elevate your outdoor living experience and infuse your surroundings with natural beauty. Get ready to unleash your inner gardener and embark on a fulfilling endeavor that will yield delightful results for years to come.
Key Takeaways:
- Transform your lawn into a vibrant garden bed by measuring, marking, removing grass, preparing soil, building the bed, and planting your favorite plants. Enjoy the fulfilling journey of creating a personalized outdoor oasis!
- Create a captivating garden bed that reflects your unique style and brings natural beauty to your outdoor space. From careful planning to nurturing plant life, embark on a transformative gardening adventure with joy and dedication.
Read more: How To Make A Rock Garden Bed
Step 1: Measure and mark the area
Before embarking on the transformation of your lawn into a garden bed, it's essential to start with careful planning and precise measurements. This initial step sets the foundation for the entire project and ensures that your garden bed will seamlessly integrate with the existing landscape. Here's how to effectively measure and mark the area for your new garden bed:
-
Assess the Space: Begin by surveying your lawn and identifying the area where you envision the garden bed. Consider factors such as sunlight exposure, soil quality, and proximity to water sources. These elements will influence the types of plants that thrive in the designated space.
-
Determine the Size: Decide on the dimensions of your garden bed, taking into account the available space and your gardening aspirations. Whether you prefer a compact flower bed or a sprawling vegetable garden, defining the size is crucial for planning the layout and selecting suitable plant varieties.
-
Use Marking Tools: Once you've determined the boundaries of the garden bed, use marking tools such as stakes, twine, or spray paint to outline the perimeter. This visual demarcation will guide the subsequent steps and prevent any encroachment into the designated area.
-
Consider Accessibility: When marking the area, consider accessibility for maintenance and care. Leave adequate space around the garden bed for maneuvering gardening tools and accessing plants without trampling on delicate foliage.
-
Account for Pathways: If you envision pathways or walkways within or around the garden bed, incorporate these into your measurements and markings. Pathways not only enhance the aesthetic appeal but also provide functional access to different sections of the garden bed.
By meticulously measuring and marking the area, you lay the groundwork for a successful garden bed project. This thoughtful approach ensures that your garden bed harmonizes with the surrounding landscape and sets the stage for the subsequent steps of transforming your lawn into a flourishing and inviting outdoor haven.
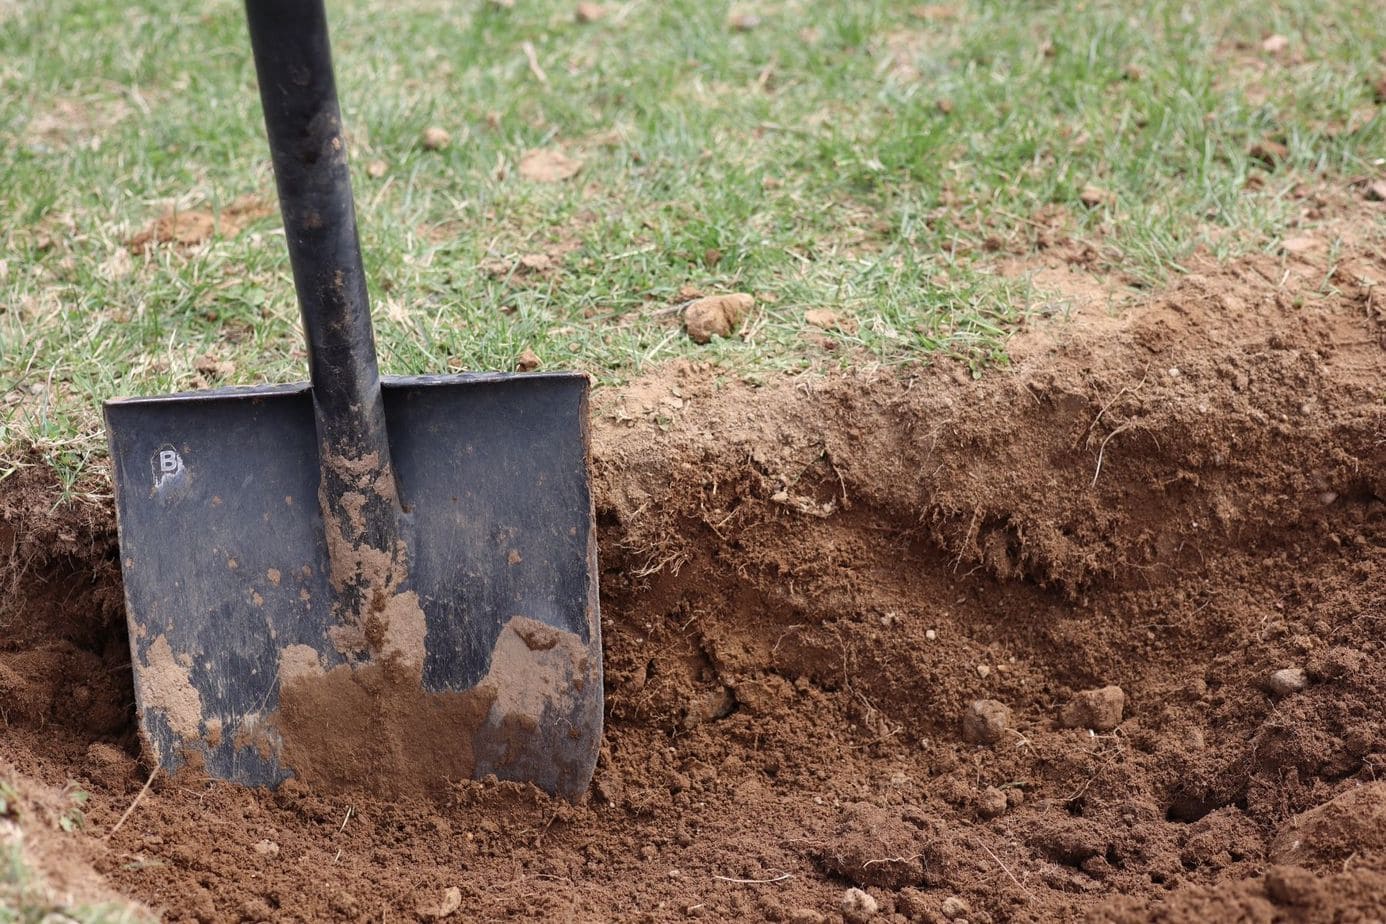
Step 2: Remove the grass
Once you have meticulously measured and marked the area for your garden bed, the next crucial step is to prepare the ground by removing the existing grass. This process is essential for creating a suitable foundation for your garden bed and allowing the new plants to thrive. Here's a detailed guide on how to effectively remove the grass and prepare the ground for your garden bed:
-
Choose the Method: There are several methods to remove grass, each with its own advantages. You can opt for manual removal using a shovel or a sod cutter, which is ideal for smaller areas and provides a good workout. Alternatively, consider smothering the grass by covering the designated area with a thick layer of cardboard or newspaper, followed by mulch. This method is environmentally friendly and gradually decomposes the grass, enriching the soil in the process.
-
Manual Removal: If you choose to manually remove the grass, start by using a sharp shovel to cut the grass into manageable sections. Then, carefully lift the sections of grass, ensuring that you remove both the grass and the underlying roots. This method requires physical effort but allows for precise control over the removal process.
-
Sod Cutter: For larger areas, a sod cutter can expedite the grass removal process. This specialized tool cleanly cuts through the grass and roots, enabling you to roll up the sod for disposal or repurposing elsewhere in your yard. Sod cutters are available for rent at many garden and equipment rental stores, offering a convenient solution for tackling extensive lawn areas.
-
Smothering Technique: To smother the grass, lay down a thick layer of cardboard or several sheets of newspaper over the designated area. Ensure that the entire surface is covered, and then apply a generous layer of organic mulch on top. This method effectively blocks sunlight and oxygen from reaching the grass, gradually decomposing it while creating a nutrient-rich base for your garden bed.
-
Dispose of the Grass: Properly dispose of the removed grass to prevent it from reestablishing in the garden bed area. You can compost the grass if it's free from pesticides and herbicides, or arrange for green waste collection in your community. Avoid incorporating the grass into your regular compost if it contains persistent weeds or invasive plants.
By diligently removing the grass and preparing the ground, you set the stage for the subsequent steps of building and planting your garden bed. This essential groundwork ensures that your garden bed starts on a clean slate, ready to nurture and showcase the vibrant array of plants that will soon adorn your outdoor sanctuary.
Step 3: Prepare the soil
Preparing the soil is a pivotal step in the process of transforming your lawn into a thriving garden bed. By cultivating nutrient-rich and well-aerated soil, you create an optimal environment for the healthy growth of plants, ensuring that your garden bed flourishes with vitality and abundance. Here's a comprehensive guide on how to effectively prepare the soil for your garden bed:
Assess the Soil Quality
Begin by assessing the existing soil in the designated garden bed area. Take note of its texture, drainage capacity, and nutrient content. Soil testing kits are readily available at garden centers and provide valuable insights into the pH levels and nutrient composition of the soil. Understanding the soil's characteristics allows you to make informed decisions regarding soil amendments and enhancements.
Read more: How To Make A Small Raised Garden Bed
Amend the Soil
Based on the results of your soil assessment, amend the soil as needed to optimize its quality for plant growth. Incorporate organic matter such as compost, well-rotted manure, or peat moss to improve soil structure and fertility. These organic amendments enhance the soil's ability to retain moisture, promote beneficial microbial activity, and provide essential nutrients for plant uptake.
Loosen and Till the Soil
Using a garden fork or a tiller, loosen the soil to a depth of at least 6 to 8 inches. This process breaks up compacted soil, improves aeration, and facilitates root penetration for the plants. Remove any rocks, debris, or persistent weed roots during the tilling process to create a clean and receptive foundation for your garden bed.
Address Drainage Considerations
Evaluate the drainage patterns in the designated area and make adjustments to ensure proper water movement within the soil. If the soil tends to retain excess moisture, consider incorporating coarse sand or perlite to enhance drainage. Conversely, if the soil drains too quickly, adding organic matter can improve water retention and prevent rapid drying of the soil.
Consider Soil Composition for Specific Plants
If you have specific plants in mind for your garden bed, research their soil preferences and tailor the soil preparation accordingly. Some plants thrive in well-draining sandy soil, while others prefer the moisture-retentive qualities of loamy soil. Adapting the soil composition to suit the needs of your chosen plants sets the stage for their successful establishment and growth.
Read more: How To Make A Raised Garden Bed With Bricks
Final Soil Preparation
Before proceeding to the next phase of building the garden bed, take a final moment to thoroughly mix the amendments into the soil, ensuring even distribution and integration. Smooth the soil surface with a rake, removing any remaining clumps or uneven areas to create a uniform and receptive bed for planting.
By meticulously preparing the soil, you establish a nurturing foundation that fosters the health and vitality of the plants in your garden bed. This essential step sets the stage for the subsequent phases of building and planting, ensuring that your garden bed thrives with lush greenery and vibrant blooms, creating a captivating outdoor sanctuary for you to enjoy.
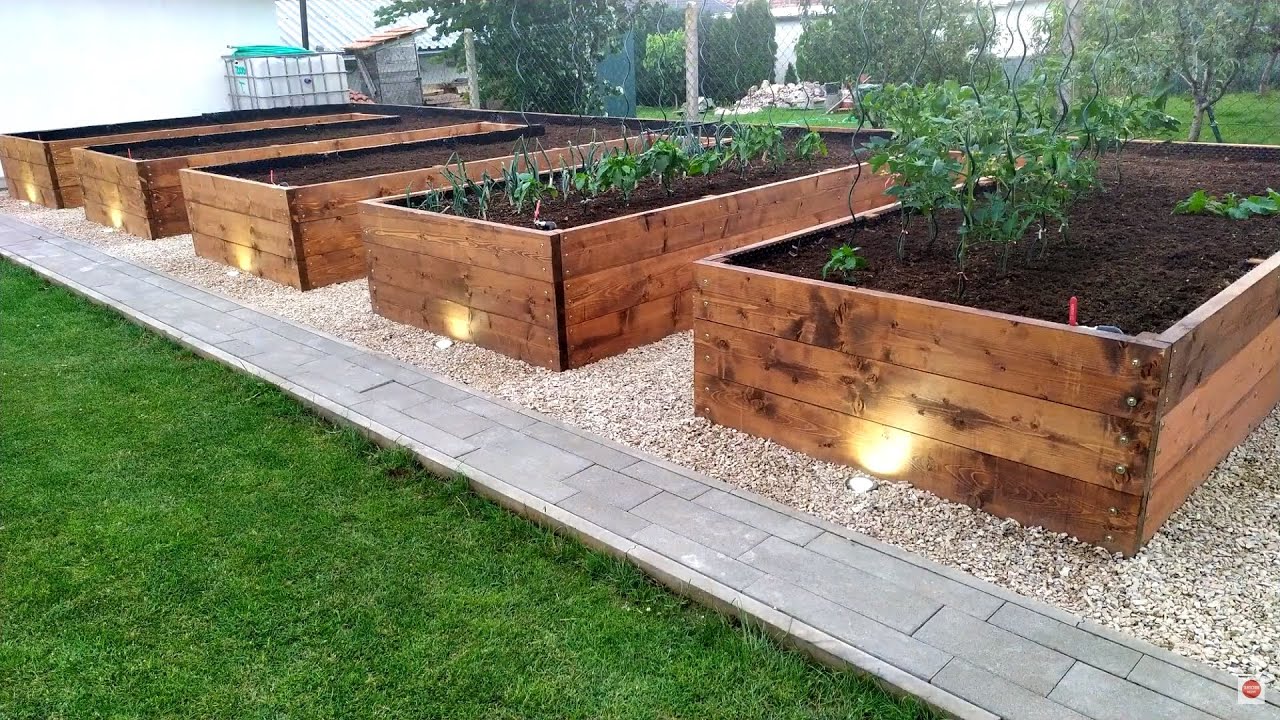
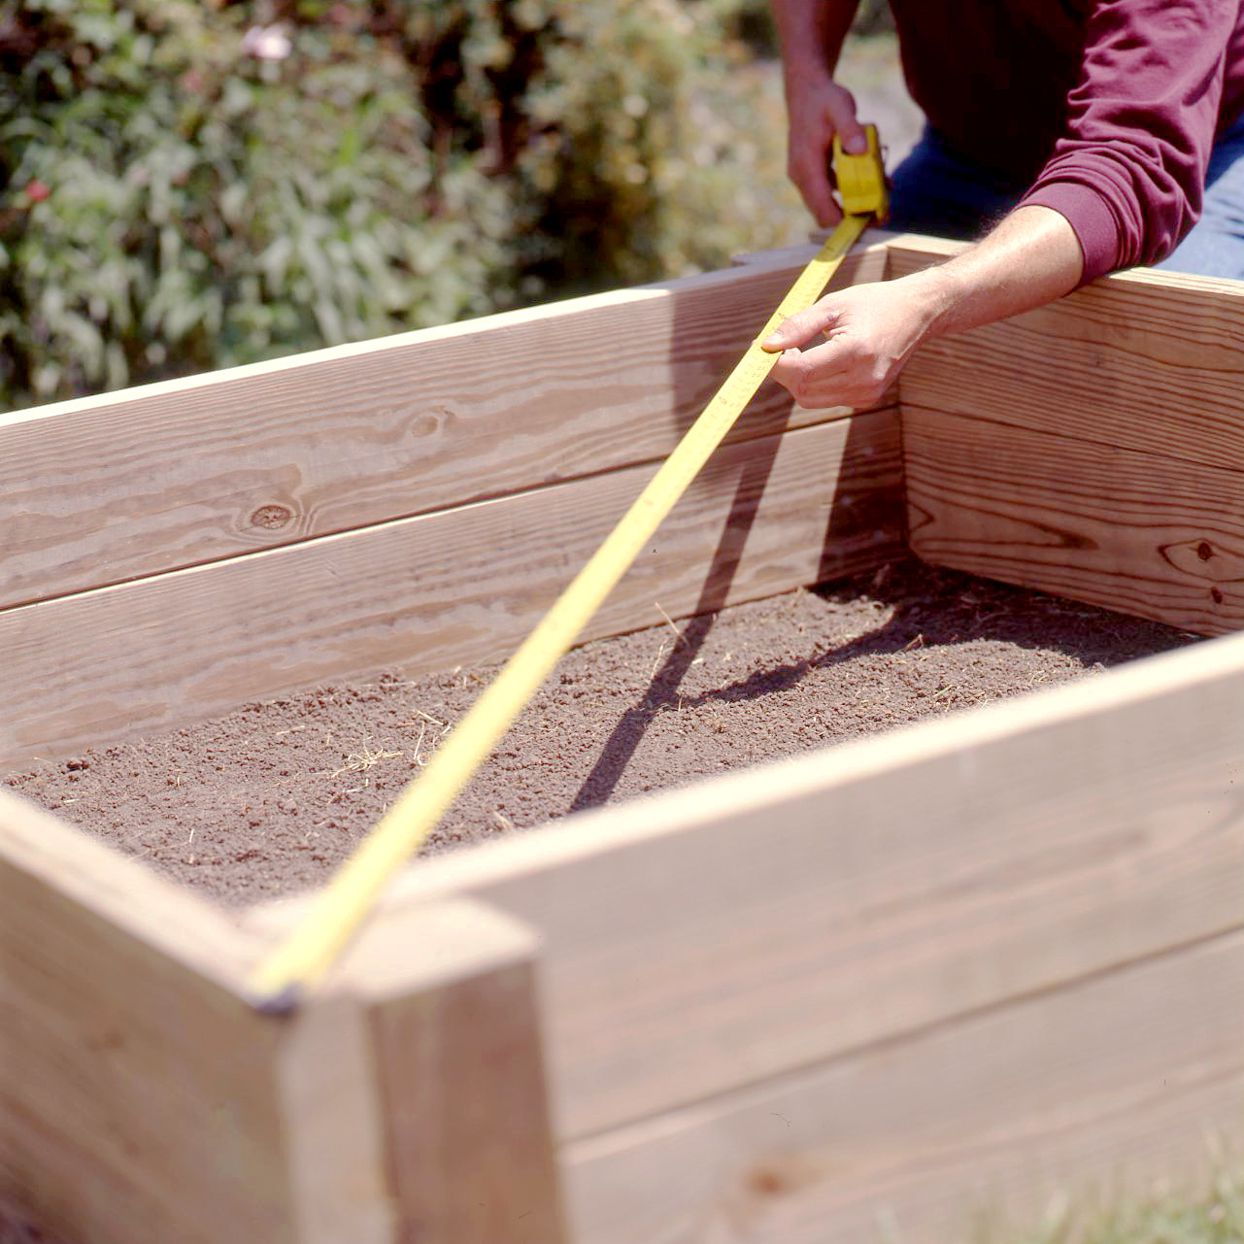
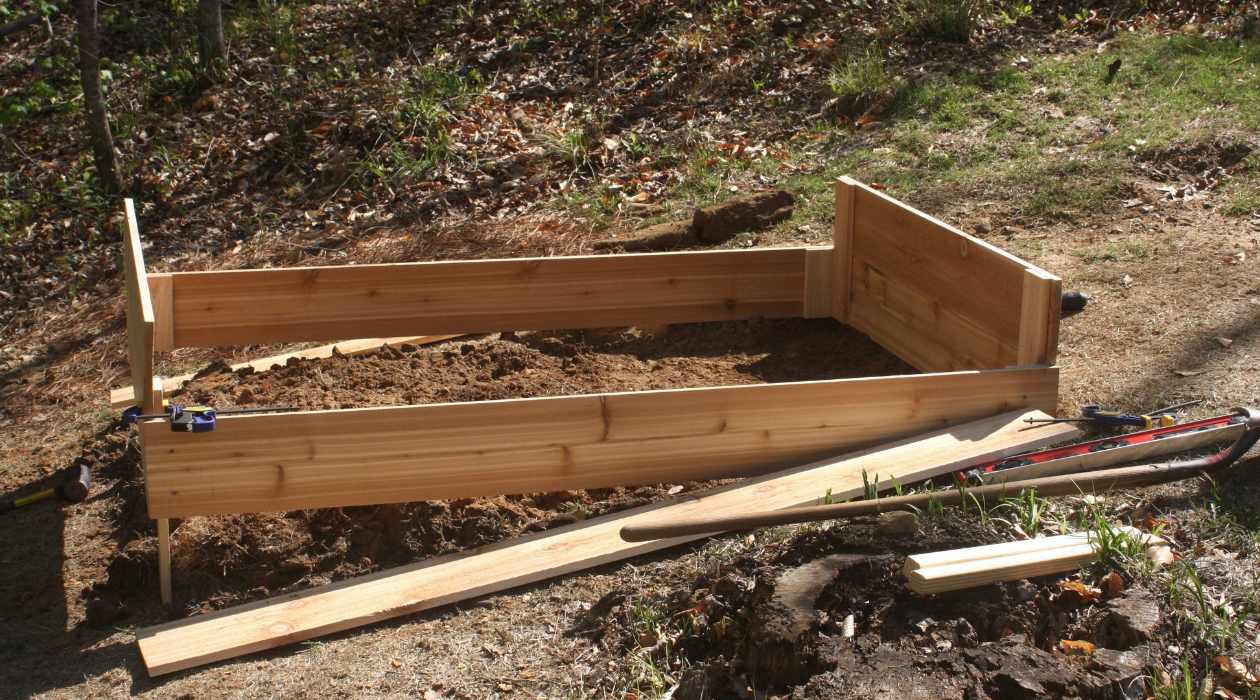
Step 4: Build the garden bed
With the groundwork of measuring, marking, removing grass, and preparing the soil completed, it's time to transition to the exciting phase of building the garden bed. This pivotal step involves constructing the physical structure that will contain and showcase the array of plants, flowers, or vegetables that you envision for your outdoor oasis. Here's a detailed guide on how to effectively build the garden bed and bring your vision to fruition:
Select the Materials
Begin by selecting the materials for constructing the garden bed. Common options include wood, stone, brick, or composite materials. Each material offers unique aesthetic and functional qualities, allowing you to tailor the appearance and durability of the garden bed to your preferences. Consider factors such as longevity, weather resistance, and visual appeal when choosing the materials.
Determine the Design and Height
Decide on the design and height of the garden bed, taking into account the types of plants you intend to cultivate and the overall aesthetic you wish to achieve. Raised garden beds are popular for their accessibility and ability to provide well-drained, nutrient-rich soil for plants. Additionally, the design can range from simple rectangular beds to more intricate shapes and configurations, allowing for creative expression in your outdoor space.
Read more: How To Make A Raised Garden Bed Cheap
Construct the Frame
If using wood or composite materials, construct the frame of the garden bed by assembling the selected materials into the desired shape and dimensions. Secure the corners with galvanized screws or brackets to ensure stability and longevity. For stone or brick beds, carefully lay the materials in place, ensuring a level and secure foundation for the garden bed.
Line the Bed (Optional)
Consider lining the interior of the garden bed with landscape fabric to prevent soil erosion and weed growth. This step is particularly beneficial for long-term maintenance and can contribute to the overall health and appearance of the garden bed.
Fill the Bed with Soil
Once the frame is constructed and lined, fill the garden bed with the prepared soil, ensuring even distribution and level placement. Take care to avoid compacting the soil excessively, as loose, well-aerated soil promotes healthy root development and plant growth.
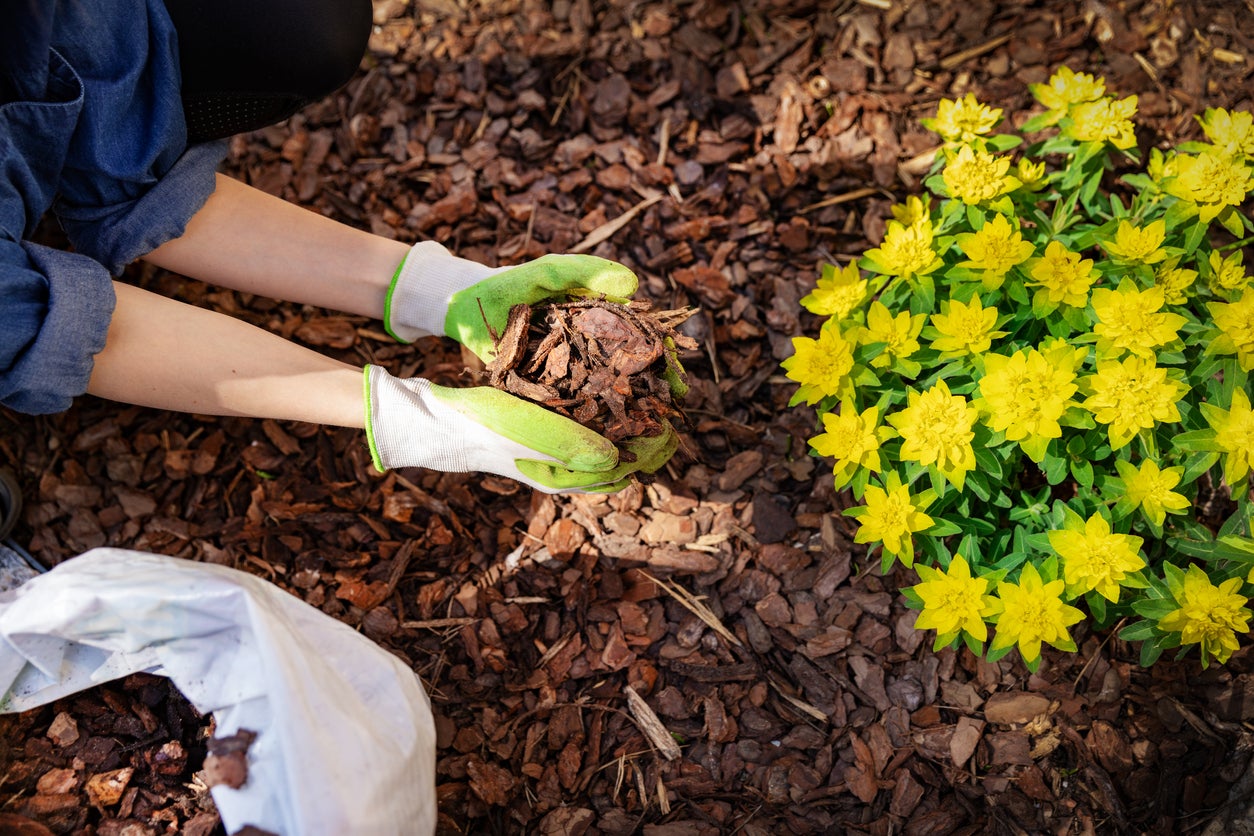
Add Finishing Touches
With the garden bed structure in place and filled with soil, take a moment to add any finishing touches, such as decorative edging, mulch, or personalized accents that enhance the visual appeal of the garden bed. These details contribute to the overall charm and character of the outdoor space, creating a welcoming and inviting atmosphere.
By meticulously following these steps to build the garden bed, you establish a solid foundation for the flourishing garden that will soon grace your outdoor environment. This phase marks a significant milestone in the transformation of your lawn into a vibrant and captivating garden bed, setting the stage for the final step of planting and nurturing the array of plants that will bring your outdoor sanctuary to life.
Read more: How To Make A Raised Garden Bed With Pallets
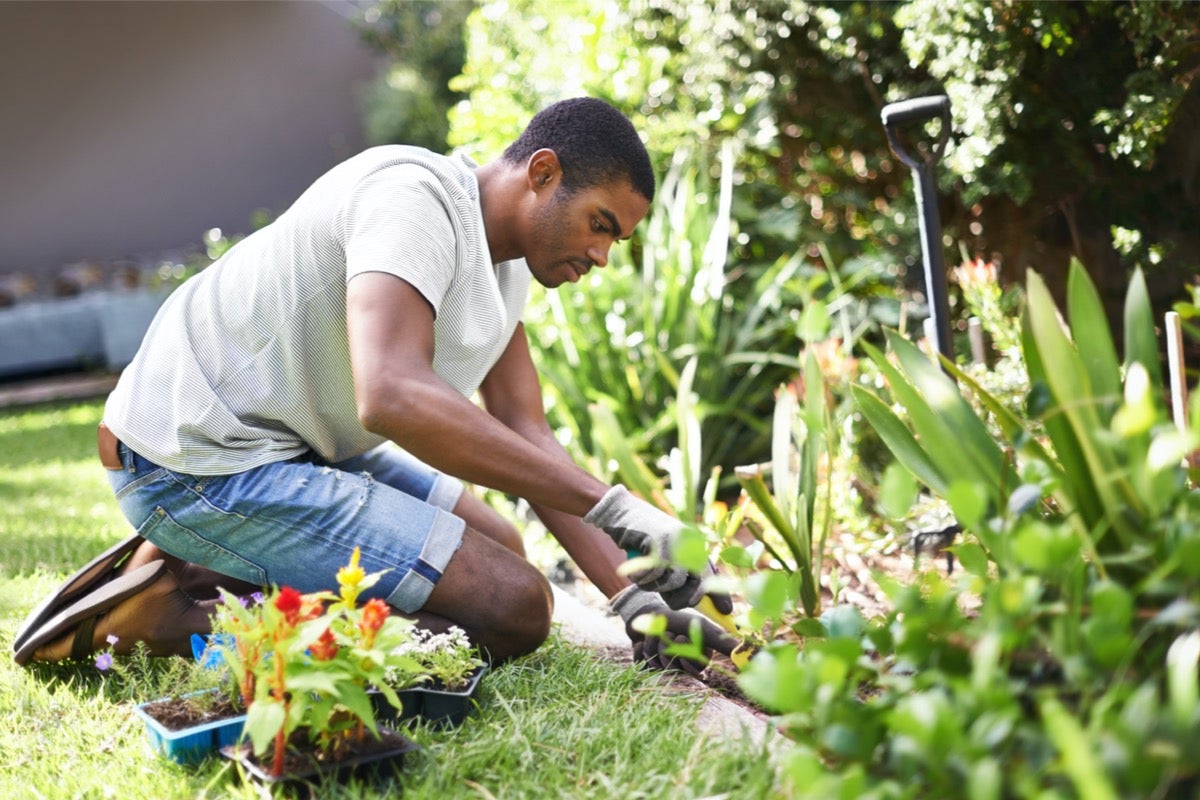
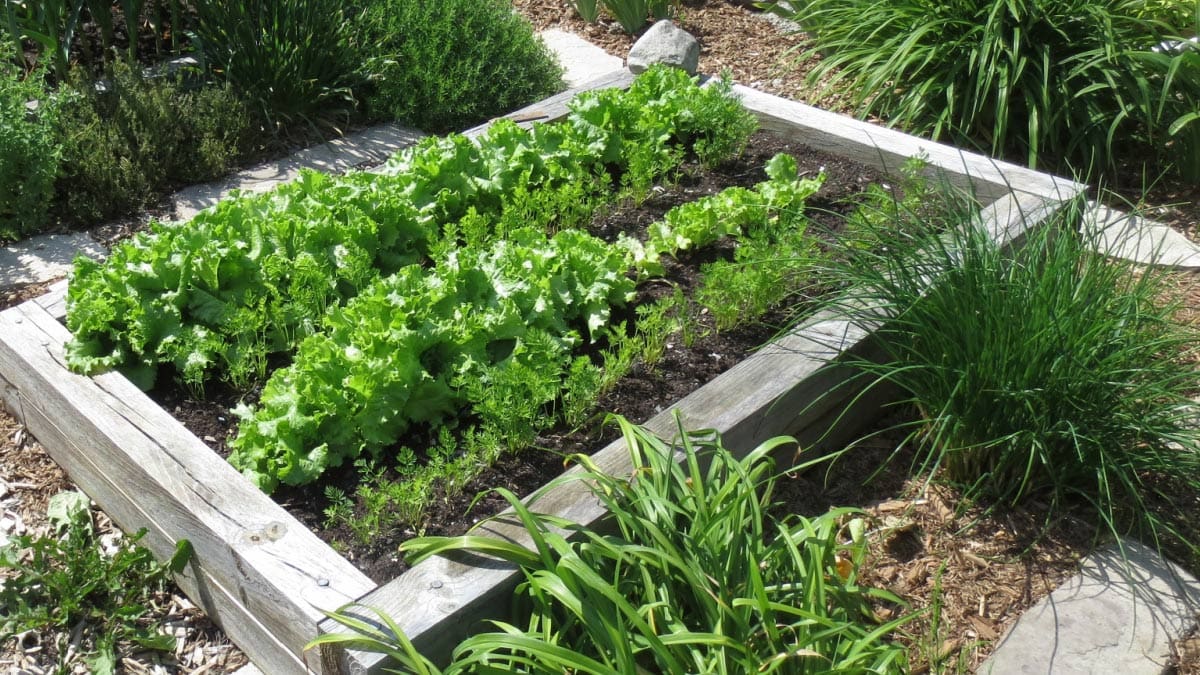
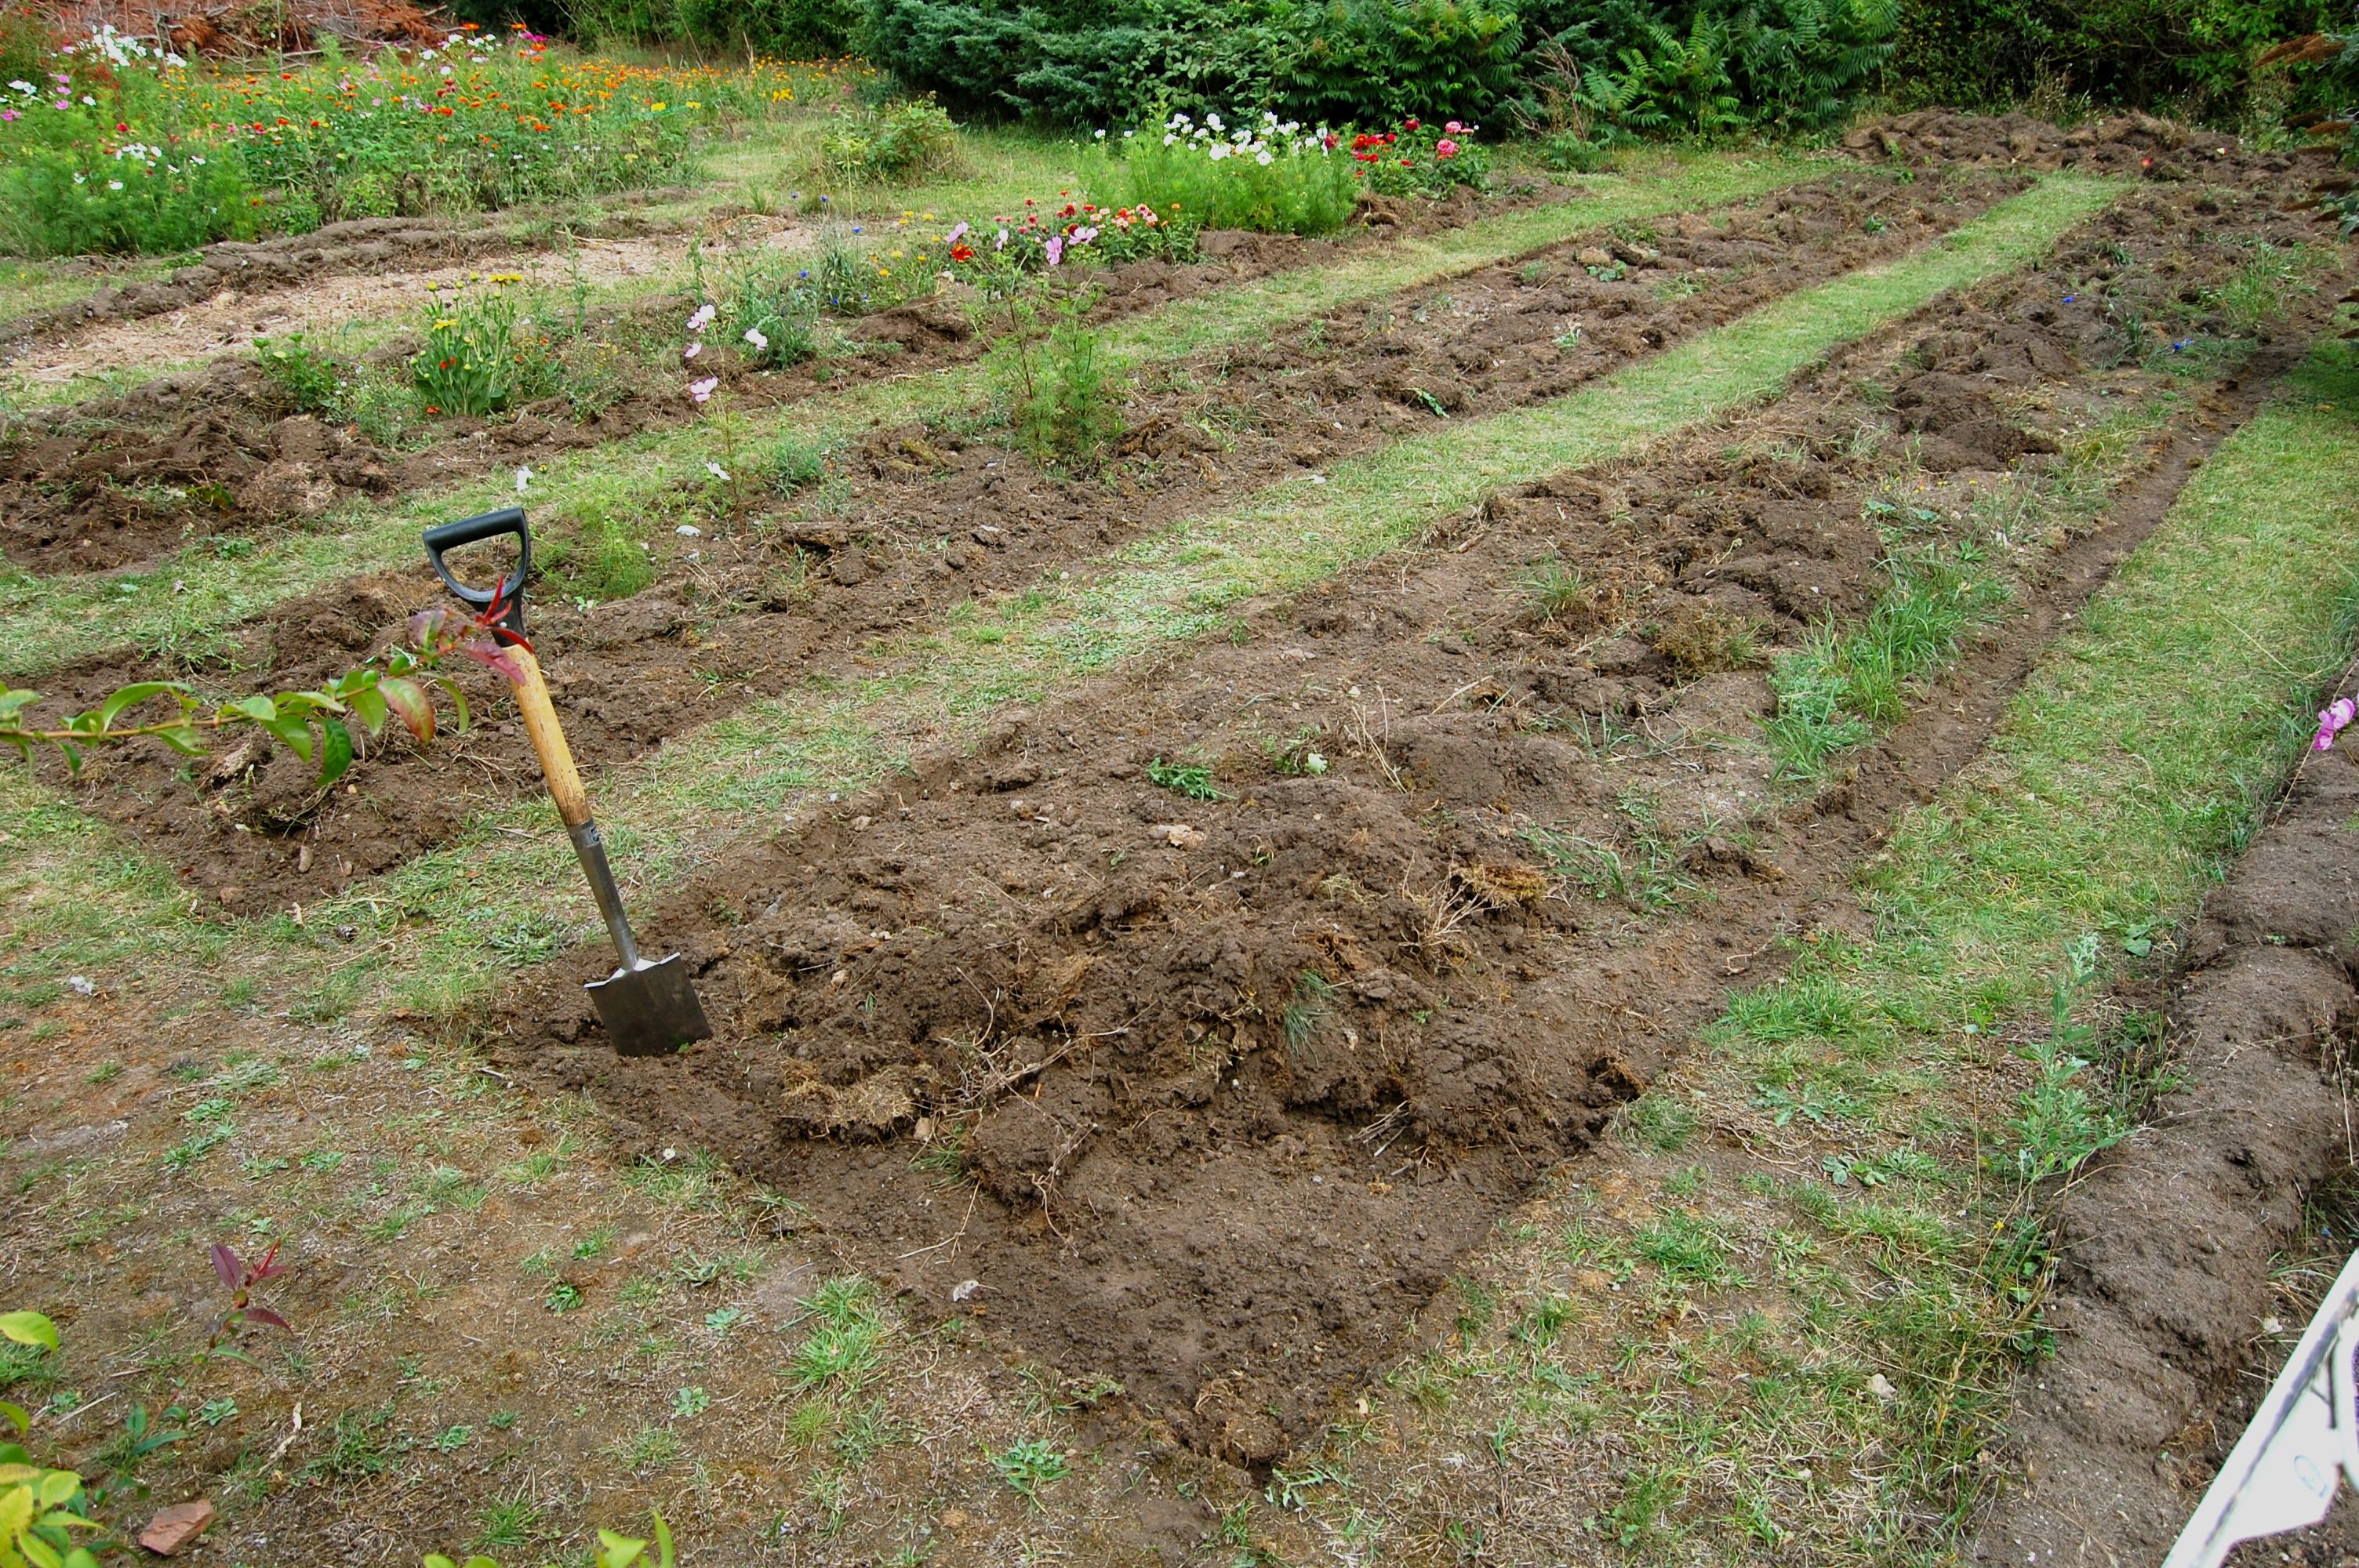
Step 5: Plant your garden bed
With the garden bed meticulously built and the soil carefully prepared, the time has come to embark on the fulfilling and transformative process of planting your garden bed. This step represents the culmination of your efforts, as you breathe life into the space and infuse it with the vibrant colors, textures, and fragrances of your chosen plants. Here's a detailed guide on how to effectively plant your garden bed and bring your vision of a flourishing outdoor sanctuary to fruition:
Select Your Plants
Begin by selecting the plants that will adorn your garden bed, taking into consideration factors such as sunlight requirements, soil preferences, and aesthetic appeal. Whether you envision a symphony of blooming flowers, a bountiful array of vegetables and herbs, or a harmonious blend of both, the selection process allows you to curate a personalized tapestry of plant life that reflects your gardening aspirations.
Plan the Layout
Before planting, carefully plan the layout of the garden bed to optimize visual impact and plant compatibility. Consider the mature size of the plants, their growth habits, and potential interactions with neighboring species. Arranging the plants thoughtfully ensures that each variety has ample space to thrive and contributes to the overall harmony of the garden bed.
Dig Planting Holes
With the layout planned, proceed to dig planting holes for each selected plant. Ensure that the holes are deep and wide enough to accommodate the root systems, allowing for proper establishment and growth. As you dig, take note of the spacing recommendations for each plant species, maintaining adequate distances to facilitate healthy development.
Read more: How To Make A Garden Bed Over Grass
Plant with Care
Gently remove the plants from their containers, taking care to loosen the roots and remove any encircling roots that may hinder growth. Place each plant in its designated hole, ensuring that the top of the root ball aligns with the soil surface. Backfill the holes with soil, gently firming the surface around the plants to provide stability and eliminate air pockets.
Water and Mulch
Following the planting process, thoroughly water the garden bed to settle the soil around the newly planted specimens. Apply a layer of organic mulch, such as wood chips or straw, to conserve moisture, suppress weed growth, and insulate the soil. Mulching also contributes to the overall aesthetics of the garden bed, creating a polished and cohesive appearance.
Care and Maintenance
As your garden bed begins to flourish, provide diligent care and maintenance to nurture the plants and ensure their continued health and vitality. Regular watering, monitoring for pests and diseases, and periodic fertilization are essential aspects of maintaining a thriving garden bed. Embrace the joy of tending to your plants, observing their growth, and reveling in the beauty they bring to your outdoor space.
By following these steps to plant your garden bed, you breathe life into the carefully crafted space, ushering in a new chapter of natural beauty and tranquility. This transformative process marks the realization of your vision, as the garden bed evolves into a captivating tapestry of plant life, enriching your outdoor environment and providing a sanctuary for relaxation, inspiration, and connection with nature.
Conclusion
As you stand back and admire the newly created garden bed, a sense of fulfillment and anticipation fills the air. The journey from a simple lawn to a vibrant and flourishing outdoor sanctuary has been a testament to your creativity, dedication, and love for gardening. The transformation of the once-unassuming space into a captivating garden bed represents not only a physical change but also a profound connection to nature and the joy of nurturing life.
The process of making a garden bed from your lawn has been a labor of love, encompassing meticulous planning, thoughtful preparation, and the joyous act of planting. Each step, from measuring and marking the area to carefully selecting and arranging the plants, has contributed to the creation of a harmonious and inviting outdoor haven. The garden bed now stands as a testament to your vision and a reflection of your unique style, ready to evolve and flourish with each passing season.
As you look ahead, envision the garden bed as a dynamic canvas that will continuously evolve and delight your senses. The vibrant blooms, lush foliage, and bountiful harvests that await are a testament to the transformative power of gardening. The garden bed is not merely a collection of plants; it is a living tapestry that will inspire and rejuvenate you, providing a tranquil retreat and a source of natural beauty in your outdoor space.
With the garden bed in place, you have created more than just a decorative feature; you have established a living, breathing ecosystem that will attract pollinators, support beneficial insects, and contribute to the overall biodiversity of your surroundings. The garden bed is a testament to your commitment to sustainability and environmental stewardship, as it fosters a thriving microcosm within your own backyard.
As you embark on this new chapter of gardening, remember that the garden bed is a reflection of your passion and a canvas for your creativity. Embrace the joy of tending to the plants, observing their growth, and reveling in the beauty they bring to your outdoor space. Whether you find solace in the tranquility of the garden bed, delight in the harvest of homegrown produce, or simply bask in the allure of nature's wonders, the garden bed stands as a testament to the transformative power of gardening.
In the end, the garden bed is more than just a patch of land; it is a living testament to the beauty, resilience, and abundance of the natural world. It is a celebration of life, growth, and the enduring connection between humans and the earth. As you continue to nurture and cherish the garden bed, may it serve as a constant source of inspiration, joy, and renewal, enriching your life and the lives of those who encounter its captivating beauty.
Frequently Asked Questions about How To Make A Garden Bed From Lawn
Was this page helpful?
At Storables.com, we guarantee accurate and reliable information. Our content, validated by Expert Board Contributors, is crafted following stringent Editorial Policies. We're committed to providing you with well-researched, expert-backed insights for all your informational needs.


0 thoughts on “How To Make A Garden Bed From Lawn”