
Articles
How To Make A Gravel Driveway Look Nice
Modified: March 1, 2024
Learn helpful articles to make your gravel driveway look nice. Discover expert tips and tricks to improve the appearance and functionality of your driveway.
(Many of the links in this article redirect to a specific reviewed product. Your purchase of these products through affiliate links helps to generate commission for Storables.com, at no extra cost. Learn more)
Introduction
A gravel driveway is not only a functional addition to your home but can also significantly enhance its curb appeal when done right. While gravel driveways are durable and low-maintenance, they may lack aesthetic appeal if not properly designed and maintained. Fortunately, there are several steps you can take to make your gravel driveway look nice and inviting.
In this article, we will guide you through the process of transforming your gravel driveway into a visually appealing feature of your home. From clearing the driveway to adding finishing touches, we will cover all the necessary steps and provide helpful tips along the way.
Keep in mind that the specific details of each step may vary depending on the size and condition of your driveway, as well as your personal preferences. So without further ado, let’s dive into the process of making your gravel driveway look nice.
Key Takeaways:
- Transforming a gravel driveway into an attractive feature involves clearing debris, adding edging, grading, installing a weed barrier, choosing the right gravel, compacting, and adding finishing touches. Regular maintenance is crucial for preserving its appeal and functionality.
- The key to a visually appealing gravel driveway lies in proper preparation, thoughtful design choices, and ongoing maintenance. By following the outlined steps and maintenance tips, you can create a durable and beautiful entrance to your home that enhances its overall curb appeal.
Read more: How To Make A Gravel Driveway
Clearing the Driveway
The first step in transforming your gravel driveway is to clear any debris, vegetation, or other obstacles that may be present. This will not only ensure a clean surface but also help in achieving a smooth and even look for your driveway.
Start by removing any large rocks, branches, or debris from the surface of the driveway using a rake or a shovel. Be thorough in this process to ensure that there are no obstructions that could affect the overall appearance of the driveway.
If there are any weeds or grass growing in the driveway, it is important to eliminate them before proceeding. Use a weed trimmer or a weed killer to get rid of any unwanted vegetation. Make sure to follow the instructions provided with the weed killer and take necessary precautions to protect yourself and the surrounding plants.
For larger plants or bushes that are growing in or near the driveway, consider using a garden pruner or shears to trim them back. This will not only prevent them from obstructing the driveway but also improve the overall aesthetics of your outdoor space.
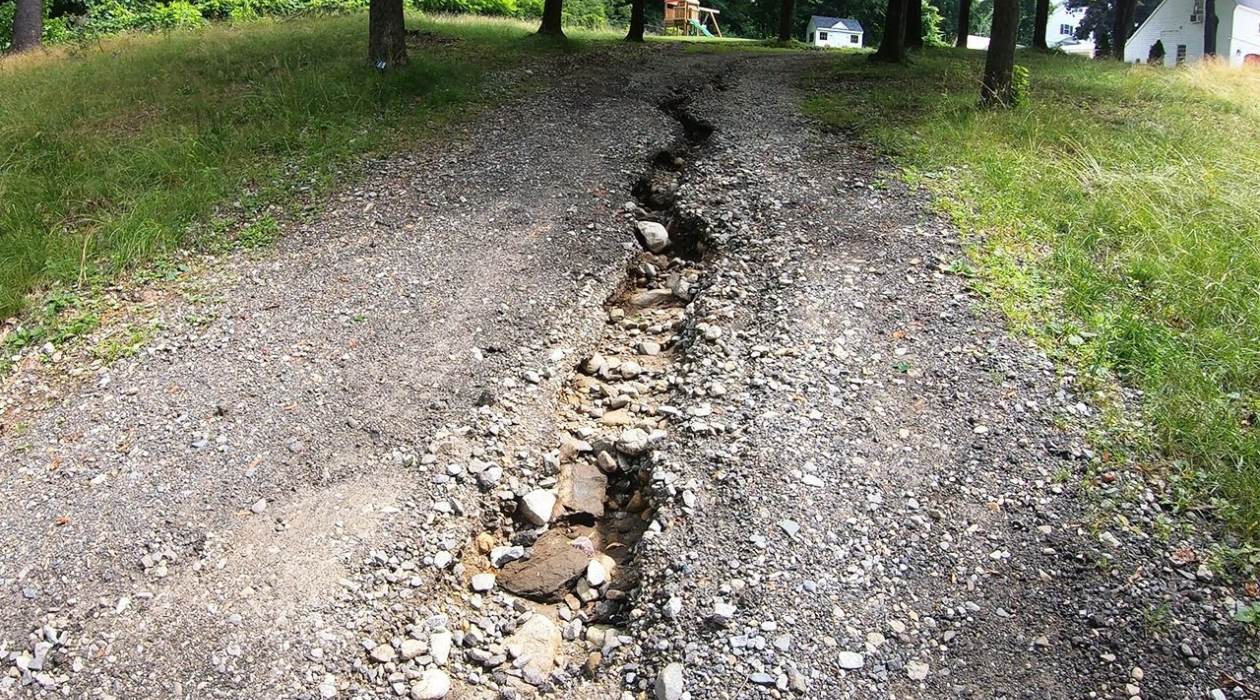
Once you have cleared the driveway of debris and vegetation, take the time to examine its surface for any uneven areas or potholes. If you notice any significant issues, such as large potholes or severe erosion, you may need to address them before proceeding. Depending on the extent of the damage, you may need to consult with a professional or consider resurfacing the driveway.
By clearing the driveway of debris and vegetation and addressing any significant issues, you are laying the foundation for a clean and visually appealing gravel driveway. The next step is to add edging to give your driveway a defined and polished look.
Adding Edging
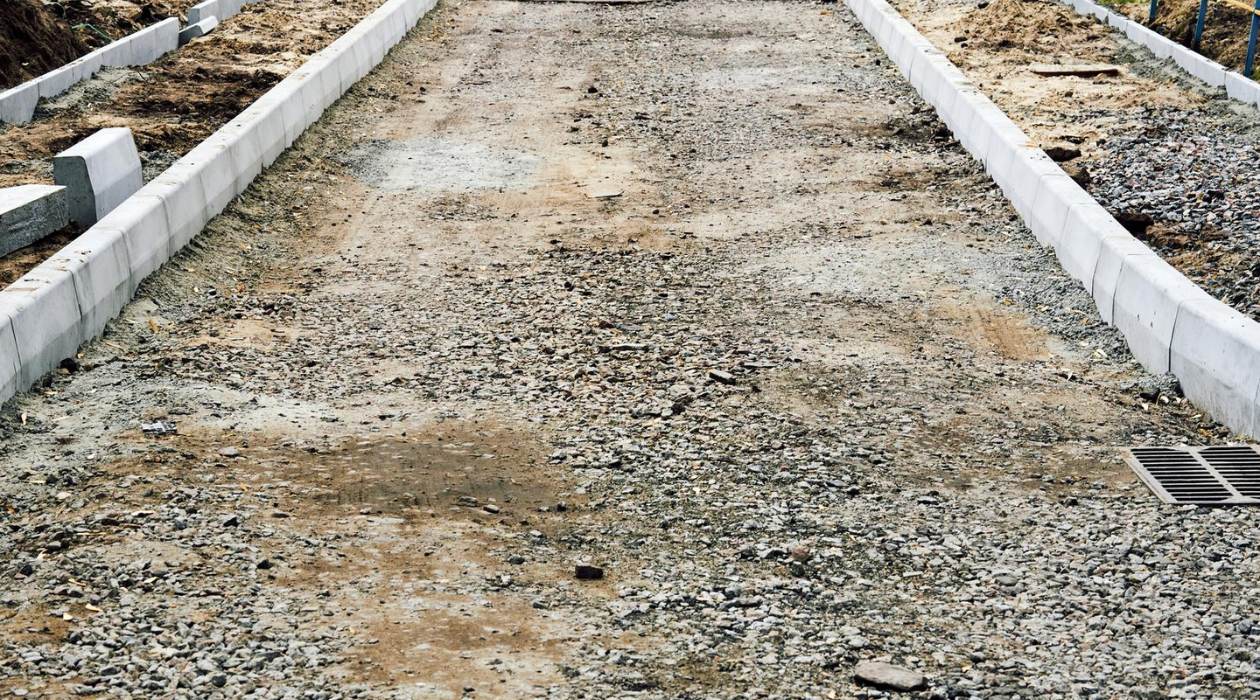
Adding edging to your gravel driveway not only provides a clear boundary between the driveway and surrounding areas but also enhances its overall appearance. Edging helps to contain the gravel in place, preventing it from scattering and creating a neat and tidy finish.
There are various options for edging materials that you can choose from, depending on your personal preference and the style of your home. Some popular choices include bricks, pavers, landscape timbers, or even metal or plastic edging. Consider the overall aesthetic you want to achieve and select a material that complements your driveway and the surrounding landscape.
To install the edging, first, mark out the desired boundary using stakes and string. This will give you a clear guideline to work with. Then, dig a trench along the marked boundary, ensuring that it is deep enough to accommodate the edging material. Use a shovel or a garden spade to create a straight and even trench.
Next, lay the edging material along the trench, making sure it is level and secure. Depending on the type of material you are using, you may need to cut or shape it to fit the curves or corners of your driveway. Use a mallet or rubber mallet to gently tap the edges into place, ensuring they are firmly anchored in the ground.
Once you have installed the edging along the entire perimeter of your driveway, backfill the trench with soil, compacting it firmly to stabilize the edging. You can also add a layer of gravel along the edge to further secure the edging and create a seamless transition between the driveway and the surrounding landscape.
Adding edging provides a polished and professional look to your gravel driveway, giving it a defined boundary and preventing the gravel from spreading. With the edging in place, you are now ready to move on to the next step: grading the driveway.
Grading the Driveway
Grading your gravel driveway is an important step to ensure proper drainage and a smooth surface. By properly grading the driveway, you can prevent water from puddling and causing erosion, which can negatively impact the appearance and functionality of your driveway.
To begin, you will need a long piece of lumber, such as a 2×4 or a 2×6 board, and a level. Start by placing the board on the driveway, perpendicular to the direction of the slope. Use the level to determine if the driveway is perfectly level, or if it is sloping in one direction.
If you find that the driveway is sloping, you will need to adjust the gravel accordingly. Begin by adding or removing gravel in the lower areas to bring them up to the desired level. Use a rake or a shovel to distribute the gravel evenly and create a smooth surface.
Continue checking the level and adjusting the gravel until you achieve a consistent slope across the entire driveway. A slope of 1-2% is generally recommended for proper drainage. This means that for every foot of length, the driveway should slope down by 1-2 inches.
While grading the driveway, pay attention to any low spots or depressions that may collect water. These areas should be filled with additional gravel to maintain a consistent surface. Be sure to distribute the gravel evenly and compact it firmly to prevent future sinking or erosion.
During the grading process, it is also important to consider the placement of any existing drainage systems, such as culverts or French drains. Ensure that the gravel is sloped away from these structures to facilitate proper water flow and prevent any blockages or flooding.
By properly grading your gravel driveway, you can ensure effective drainage and a smooth and visually pleasing surface. With the grading complete, you can now move on to the next step: installing a weed barrier.
Installing Weed Barrier
Installing a weed barrier is an essential step in maintaining a visually appealing gravel driveway. A weed barrier not only helps to prevent the growth of unwanted vegetation but also helps to maintain the stability and longevity of the gravel surface.
Before installing the weed barrier, make sure the driveway is clean and free of any debris. Smooth out the surface with a rake or shovel to create an even base for the weed barrier.
There are different types of weed barriers available, such as landscape fabric or geotextile cloth. Choose a weed barrier that is specifically designed for gravel driveways and is permeable enough to allow for proper drainage.
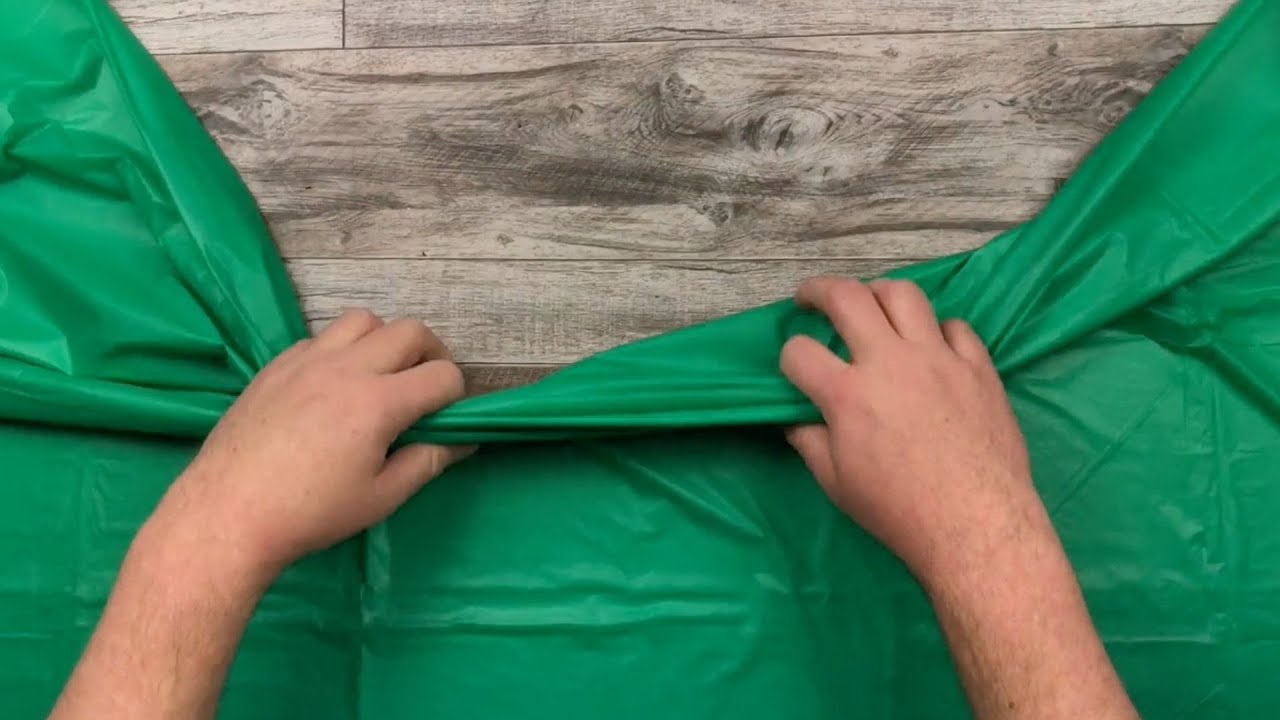
To install the weed barrier, start by rolling it out along the length of the driveway, overlapping the edges by a few inches. Secure the edges of the weed barrier with landscape staples or metal pins, ensuring that it is firmly anchored to the ground.
As you lay down the weed barrier, ensure that it covers the entire surface area of the driveway. Trim any excess material using scissors or a utility knife, making sure to leave a few inches of overlap along the edges.
Once the weed barrier is in place, use a rake or a shovel to spread a layer of gravel over it. The thickness of the gravel layer will depend on your preference, but a depth of 2-3 inches is generally recommended for optimal stability and weed prevention.
Make sure to distribute the gravel evenly and smooth out any bumps or uneven areas with a rake or a shovel. Take your time to ensure that the gravel is level and compacted, as this will help to maintain the overall appearance and functionality of your driveway.
With the weed barrier installed, you have taken an important step in preventing weed growth and preserving the quality of your gravel driveway. The next step is to spread the gravel itself, but before that, we will discuss choosing the right gravel type.
Read more: How To Make Blackout Curtains Look Nice
Spreading Gravel
Spreading gravel is a crucial step in creating a visually appealing and functional gravel driveway. The type of gravel you choose will depend on your personal preference, the overall aesthetic you want to achieve, and the climate in your area.
Before spreading the gravel, make sure the driveway is clean and free of any debris. Rake or shovel the surface to create an even base for the gravel.
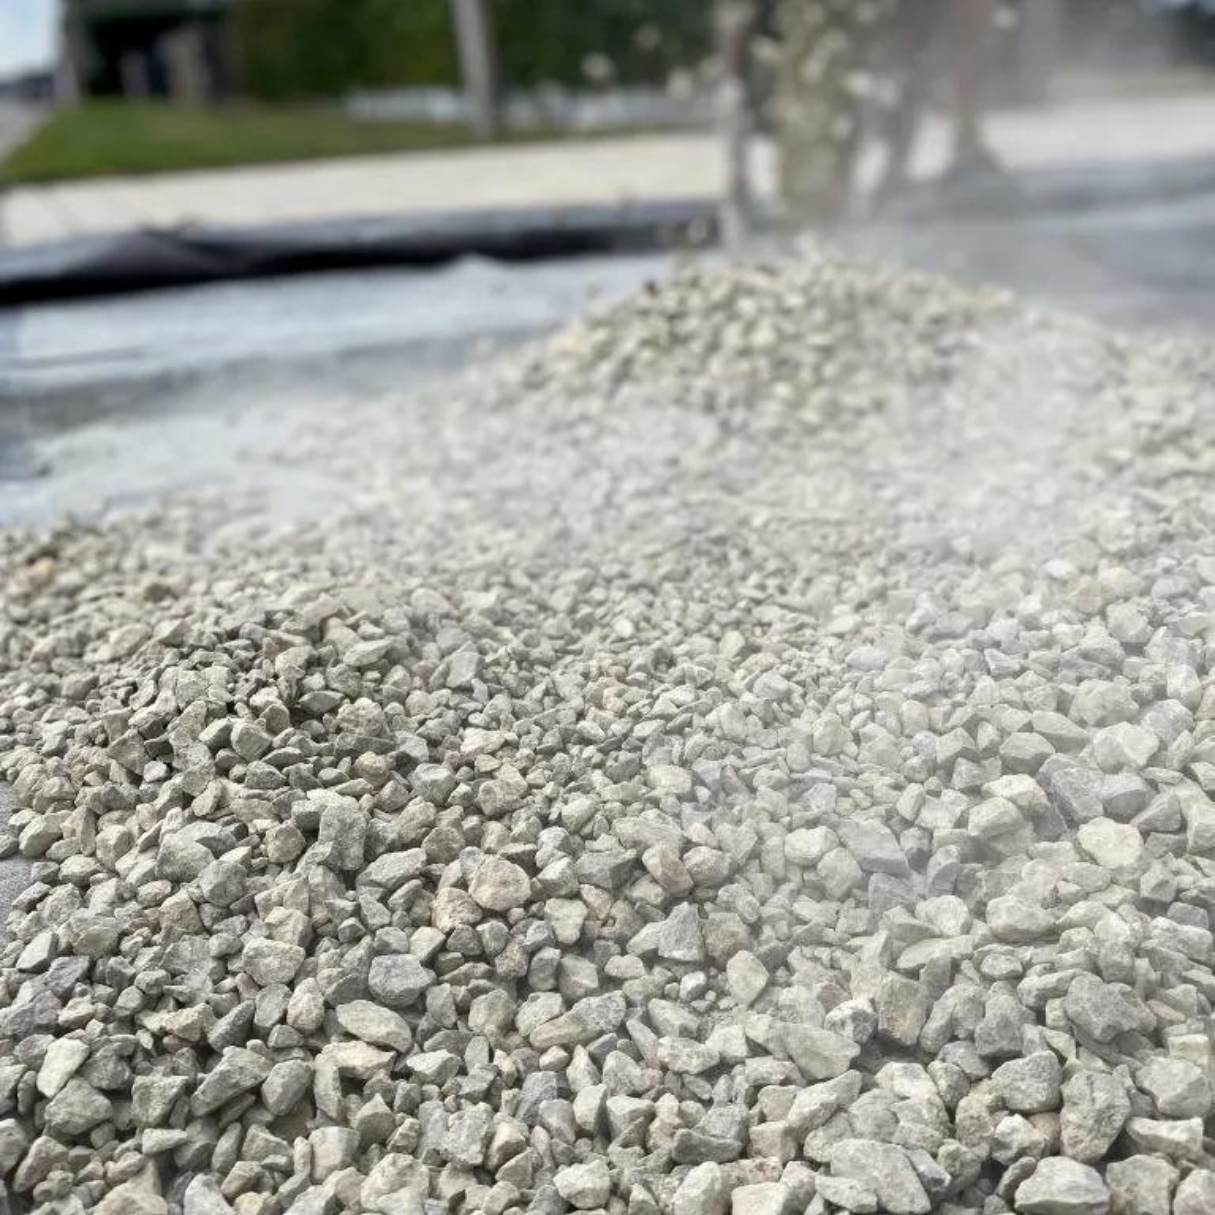
When it comes to choosing the gravel type, consider factors such as size, color, and texture. Common options include crushed stone, pea gravel, and river rock. Each type has its own unique characteristics and can contribute to the overall look and feel of your driveway.
If you prefer a more compact and stable surface, consider using crushed stone or gravel with angular edges. This type of gravel interlocks tightly, preventing shifting and creating a more durable driveway.
On the other hand, if you’re looking for a more natural and organic look, pea gravel or river rock can be great options. These rounded stones provide a softer and more relaxed aesthetic, but may require more maintenance to prevent them from migrating or scattering.
Once you have chosen the gravel type, it’s time to spread it evenly over the driveway. Use a shovel or a wheelbarrow to distribute the gravel in small sections, starting from one end and working your way towards the other end.
Ensure that the gravel layer is uniform in thickness, aiming for a depth of 2-3 inches. This will provide adequate coverage and stability for your driveway. Use a rake or a shovel to smooth out the gravel and create an even surface.
While spreading the gravel, pay attention to any low spots or uneven areas. Add additional gravel and compact it firmly to eliminate any potential hazards or inconsistencies. Taking the time to ensure a level and well-distributed gravel layer will contribute to the overall aesthetics and functionality of your driveway.
With the gravel spread and leveled, you can now move on to the final steps of enhancing the look of your gravel driveway, including choosing the finishing touches.
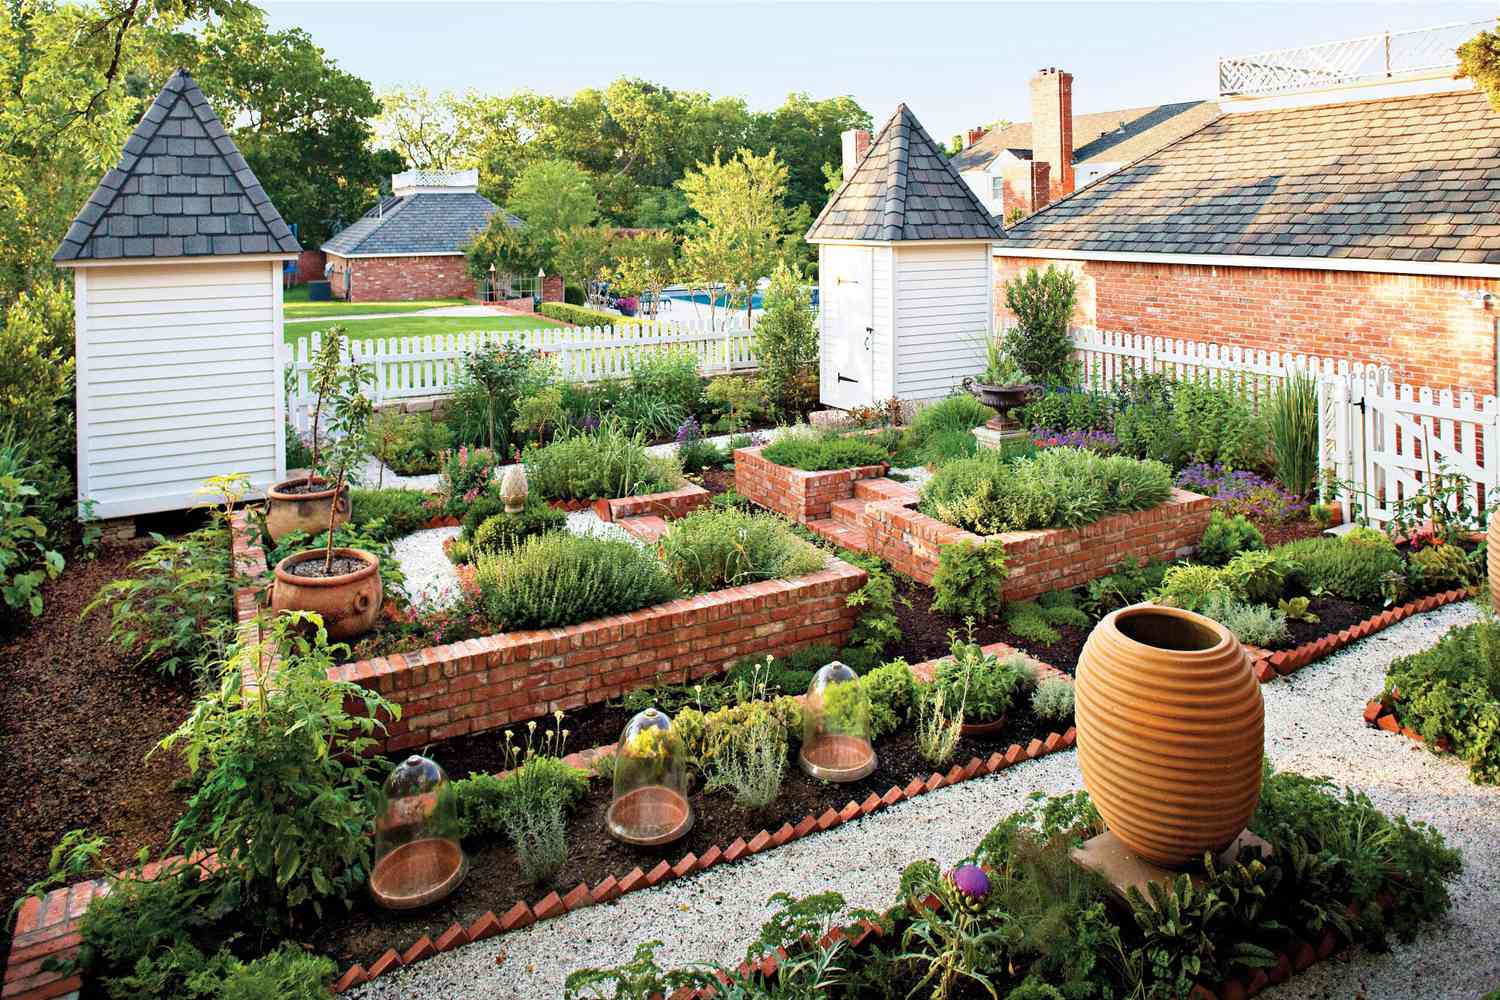
Add some landscaping features such as bordering plants, decorative rocks, or potted plants to enhance the appearance of your gravel driveway. This can help create a more polished and visually appealing look.
Choosing a Gravel Type
Choosing the right type of gravel for your driveway is crucial in achieving the desired look and functionality. There are various factors to consider when selecting a gravel type, including size, color, texture, and regional availability.
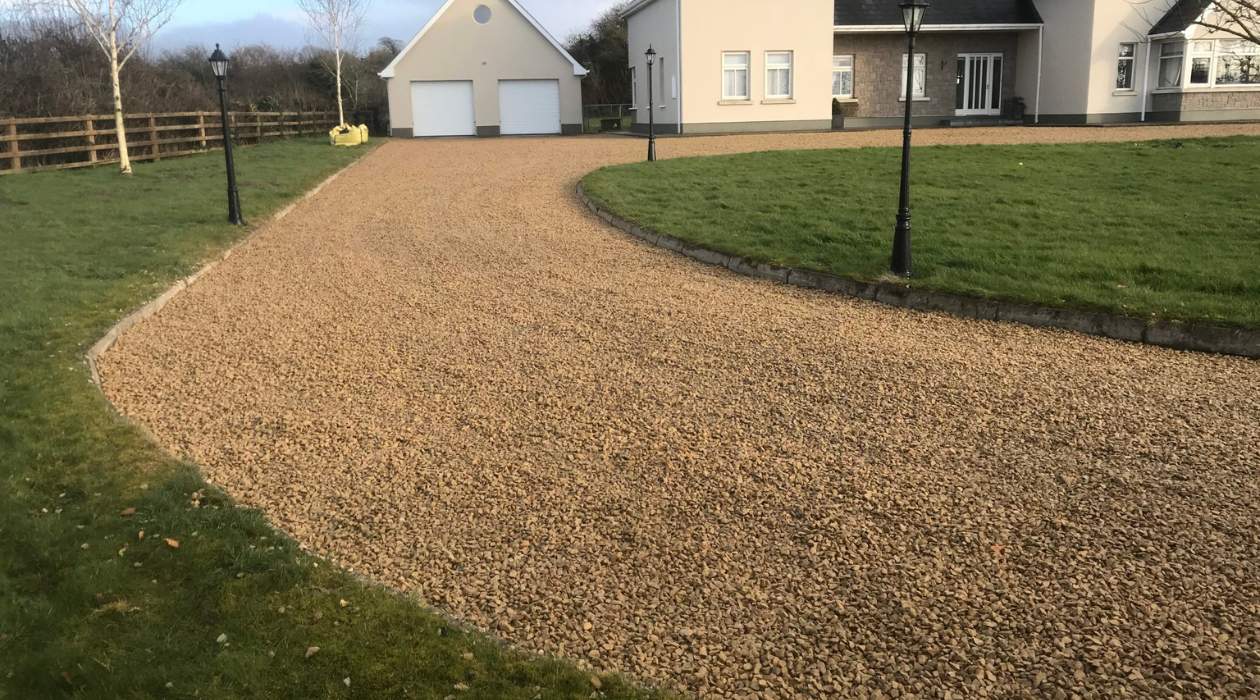
One popular option for driveways is crushed stone. Crushed stone is commonly available in different sizes, ranging from fine dust to larger stones. The angular edges of crushed stone interlock well, creating a stable surface that is resistant to shifting and erosion. It is also available in various colors, such as gray, white, tan, and more, allowing you to choose a shade that complements your home and landscape.
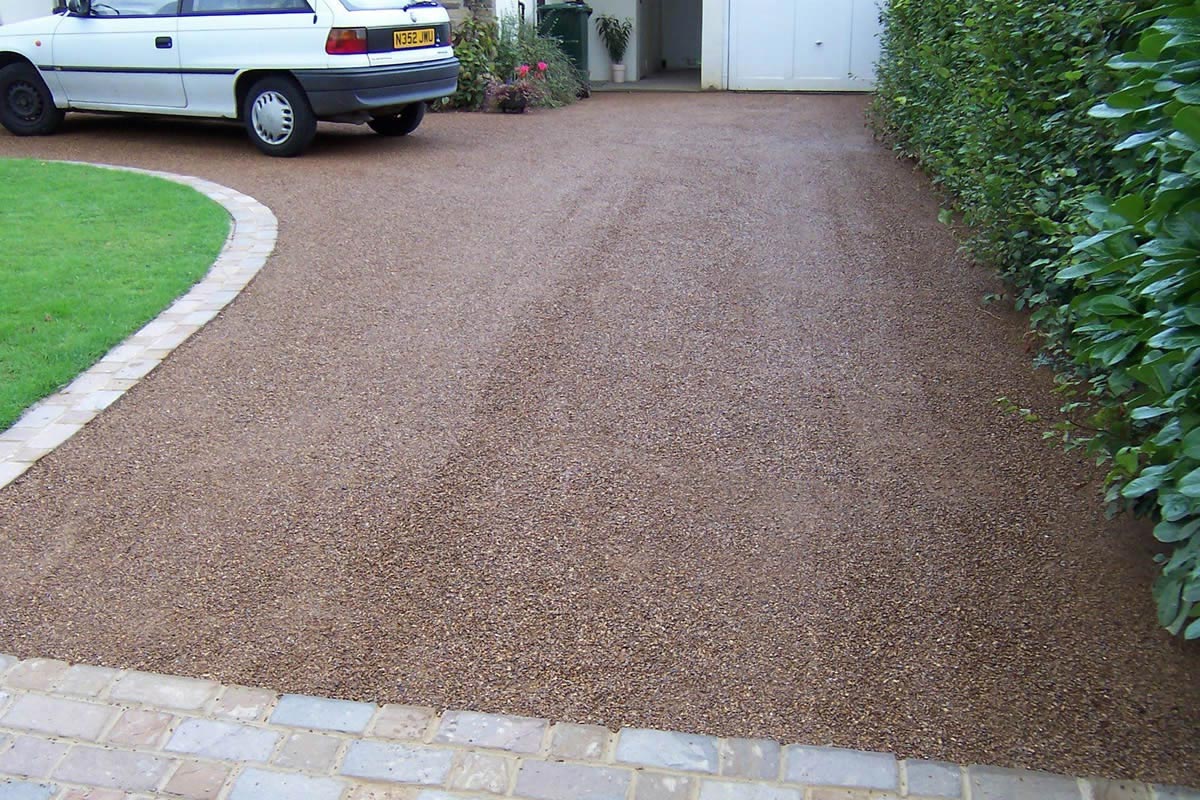
Pea gravel is another common choice for gravel driveways. This type of gravel consists of small, rounded stones that have been naturally weathered by water. Pea gravel offers a more relaxed and natural look, and it is available in various colors, including browns, grays, and mixed tones. However, it is important to note that pea gravel may require more maintenance to prevent it from migrating or scattering.
River rock is a larger option that provides a bold and decorative look for driveways. These smooth stones, often found in riverbeds or near bodies of water, come in various colors and sizes. River rock can create a unique and eye-catching driveway, but it may be less stable compared to crushed stone.
When choosing a gravel type, consider the climate in your area as well. If you live in an area prone to heavy rain or snow, opting for a gravel type with good drainage properties will help prevent pooling water and potential damage to the driveway.
Before making a final decision, it is recommended to visit local gravel suppliers or home improvement stores to see and feel different gravel types in person. This will allow you to visualize how they will look in your driveway and choose the most suitable option for your needs.
Remember, selecting the right gravel type is essential in achieving the desired aesthetic and functionality of your driveway. Take your time to research and consider different options before making a decision.
Now that you have chosen the gravel type, it’s time to move on to the next step: compacting the gravel for a stable and long-lasting driveway.
Compact the Gravel
Once you have spread the gravel evenly over your driveway, the next step is to compact it. Compacting the gravel is essential to create a stable and durable surface that will resist sinking, shifting, and erosion over time.
There are several methods and tools you can use to compact the gravel. One common method is to use a vibrating plate compactor. This machine applies even pressure to the surface, ensuring that the gravel particles are tightly packed together.
Start by running the plate compactor over the entire surface of the driveway, making multiple passes in different directions. This will help to evenly distribute the compaction force and achieve a more solid foundation.
Another option is to use a hand tamper, which is a manual tool with a flat bottom. Use the hand tamper to firmly press down on the gravel surface. Work systematically, focusing on smaller sections at a time, and apply consistent pressure to ensure proper compaction.
When compacting the gravel, pay attention to any low spots or uneven areas. Add additional gravel to these areas and compact it again to create a level surface. It is crucial to achieve uniform compaction throughout the driveway for optimal stability and longevity.
During the compacting process, it’s important to be mindful of safety precautions. Wear appropriate protective gear, such as gloves and safety glasses, and ensure that the compaction equipment is used properly and safely.
Once you have finished compacting the gravel, walk over the surface to check for any soft spots or areas that may need additional compaction. If you notice any unstable areas, repeat the compaction process in those specific spots to ensure a solid and uniform surface.
Remember that compacting the gravel is a critical step in ensuring the longevity and stability of your driveway. By creating a tightly packed surface, you reduce the risk of sinking, shifting, and deterioration, ultimately contributing to the overall appearance and functionality of your gravel driveway.
Now that you have successfully compacted the gravel, it’s time to add the finishing touches that will enhance the appearance of your driveway.
Adding Finishing Touches
Adding finishing touches to your gravel driveway can elevate its overall appearance and make it stand out. These small details can make a big difference in achieving a polished and well-designed look for your driveway.
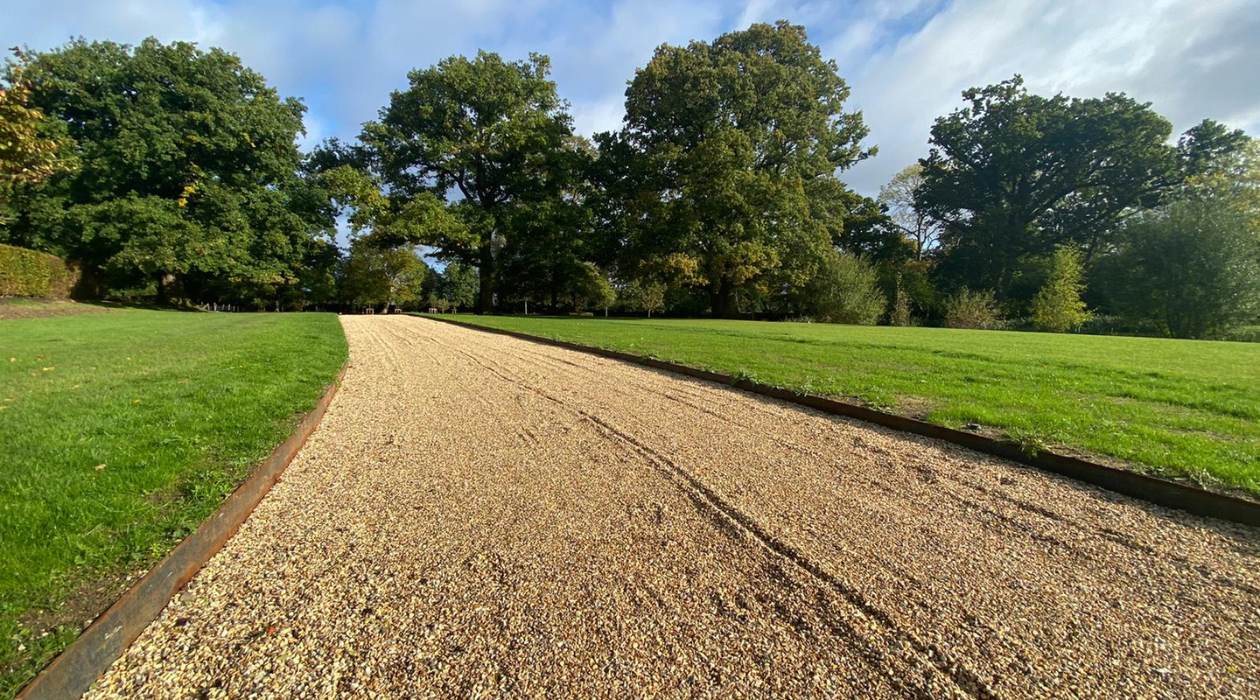
One way to enhance the aesthetics of your gravel driveway is to create defined borders. Consider adding decorative stones, bricks, or pavers along the edges of the driveway. This will give your driveway a clean and finished look while also helping to contain the gravel and prevent it from spreading into surrounding areas.
Additionally, you can incorporate landscaping elements to complement your driveway. Planting colorful flowers, shrubs, or ornamental grasses alongside the driveway can create a beautiful contrast and add visual interest to the overall landscape.
Lighting is another fantastic way to add a touch of elegance and functionality to your gravel driveway. Install low-voltage landscape lighting along the edges or at regular intervals to illuminate the driveway at night. Not only will this enhance safety and visibility, but it will also create a charming ambiance for your property.
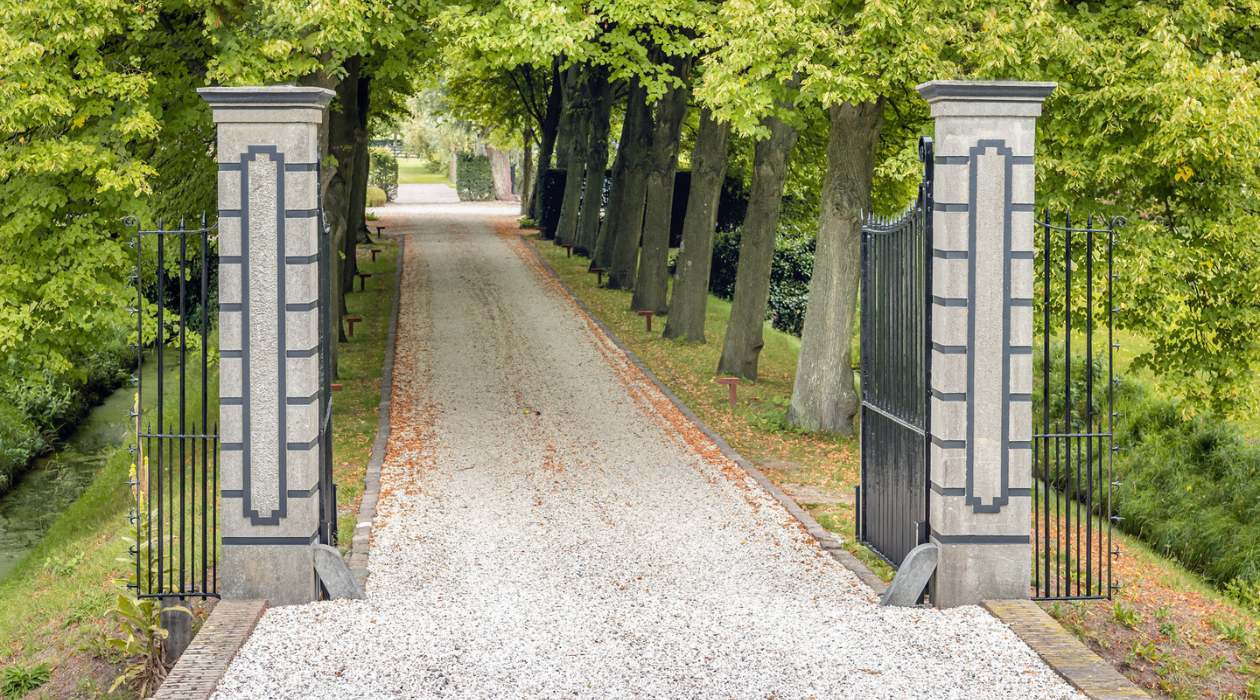
Consider adding a focal point to your driveway, such as a decorative mailbox, a stone pillar, or a custom-designed entrance gate. These elements can provide a unique and personalized touch, making your driveway more visually appealing and memorable.
Finally, don’t forget about regular maintenance to keep your gravel driveway looking its best. Rake or sweep the surface occasionally to remove debris and restore its neat appearance. Fill any minor depressions or low spots with additional gravel to maintain an even surface.
By paying attention to these finishing touches and incorporating them into your gravel driveway, you can create a visually stunning and inviting entrance to your home. The small details can make a big impact on the overall appeal and impression of your property.
Now that you have added the finishing touches to your gravel driveway, you are ready to enjoy its beauty and functionality. Remember to periodically assess and maintain your driveway to ensure it continues to look nice for years to come.
Overall, by following the steps we have outlined in this article, you can transform your gravel driveway into a picturesque feature of your home. With proper planning, preparation, and attention to detail, your gravel driveway will not only provide a functional surface for your vehicles but also enhance the overall curb appeal of your property.
Happy driveway beautifying!
Read more: How To Make A Small Porch Look Nice
Maintenance Tips
Proper maintenance is key to keeping your gravel driveway looking nice and ensuring its longevity. By following these maintenance tips, you can preserve the appearance and functionality of your driveway for years to come:
- Regularly inspect your driveway for any signs of erosion, potholes, or uneven areas. Address these issues promptly by adding additional gravel and compacting it to maintain a smooth and level surface.
- Keep the driveway clean by regularly removing debris, leaves, and branches. Use a rake or a broom to sweep the surface and prevent them from accumulating, which can degrade the appearance of the driveway.
- Address any weed growth immediately to maintain a neat and weed-free driveway. Use a weed trimmer or pull out weeds by hand. Consider using a weedkiller that is safe for gravel driveways if the weed infestation is extensive.
- Prevent water pooling by ensuring proper drainage. Clear any debris that may obstruct drainage channels or culverts. If necessary, add additional drainage solutions, such as French drains, to redirect water away from the driveway.
- Replenish the gravel layer as needed to maintain a consistent depth. Over time, the gravel may settle or be displaced, so adding more gravel periodically will help to keep the surface level and prevent bare patches.
- Consider adding a top layer of gravel every few years to refresh the appearance of the driveway. This will help to smooth out any rough areas and give your driveway a renewed and polished look.
- Sealcoating the gravel driveway is an option that can provide added protection and enhance its longevity. Consult with a professional to determine if sealcoating is suitable for your specific driveway and climate.
- Take care when using snowplows or shovels during winter. Use plastic shovels and avoid metal blades that can scrape and displace the gravel. Alternatively, use a snowblower set to a height that avoids hitting the gravel.
- Regularly inspect the edges and borders of your driveway. Repair any damaged or shifted edging materials to maintain the defined and polished look.
- Consider adding strategic landscaping elements, such as plants or decorative stones, to enhance the appearance of your driveway and provide a buffer zone between the driveway and surrounding areas.
By following these maintenance tips, you can ensure that your gravel driveway continues to look nice, remain functional, and withstand the test of time. Regular care and attention will help preserve its aesthetic appeal and make coming home a pleasure every day.
Remember, each driveway is unique, so adapt these maintenance tips based on your specific circumstances and local climate. With proper care, your gravel driveway will serve as a beautiful and durable addition to your property for years to come.
Enjoy the charm and convenience of your well-maintained gravel driveway!
Conclusion
Transforming your gravel driveway into a visually appealing and functional feature of your home is a rewarding endeavor. By following the steps outlined in this article and implementing the maintenance tips provided, you can achieve a gravel driveway that enhances the curb appeal of your property and provides a durable surface for vehicles.
Starting with clearing the driveway of debris, adding edging for a defined border, and grading the surface for proper drainage, each step plays a crucial role in creating a well-designed driveway. Installing a weed barrier helps prevent unwanted vegetation growth, and spreading the right gravel type adds a personal touch to the aesthetics.
Compacting the gravel and adding finishing touches, such as borders and landscaping elements, ensure stability, durability, and a polished look. Ongoing maintenance, such as regular cleaning, weed control, and replenishing the gravel layer, will help your driveway maintain its beauty and functionality over time.
Remember that each gravel driveway is unique, and you should adapt the steps and tips to suit your specific needs and local climate. Regular care and attention will ensure that your gravel driveway remains a welcoming and attractive entrance to your home.
So, put on your work gloves, grab your tools, and get ready to transform your gravel driveway into a beautiful feature that you can be proud of. Enjoy the benefits of a well-maintained and visually appealing gravel driveway for years to come!
Frequently Asked Questions about How To Make A Gravel Driveway Look Nice
Was this page helpful?
At Storables.com, we guarantee accurate and reliable information. Our content, validated by Expert Board Contributors, is crafted following stringent Editorial Policies. We're committed to providing you with well-researched, expert-backed insights for all your informational needs.




0 thoughts on “How To Make A Gravel Driveway Look Nice”