
Articles
How To Edge A Driveway
Modified: October 22, 2024
Learn the best techniques for edging your driveway with our informative articles. Enhance the look of your property with professional tips and tricks.
(Many of the links in this article redirect to a specific reviewed product. Your purchase of these products through affiliate links helps to generate commission for Storables.com, at no extra cost. Learn more)
Introduction
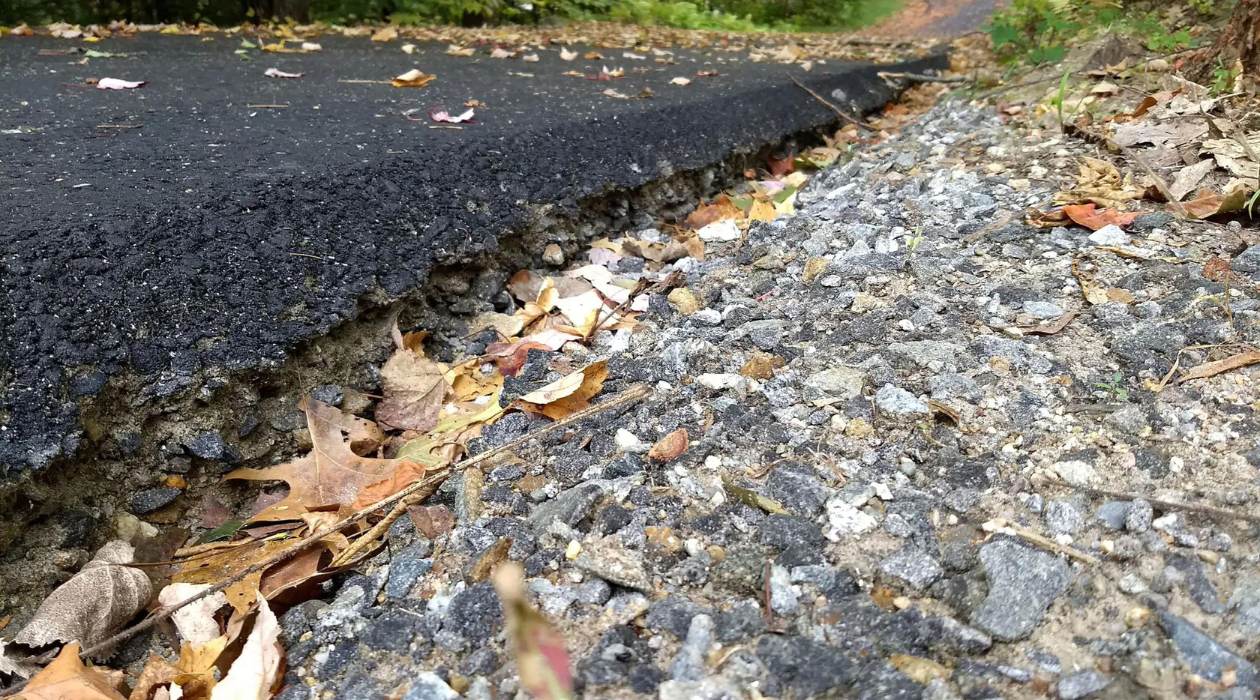
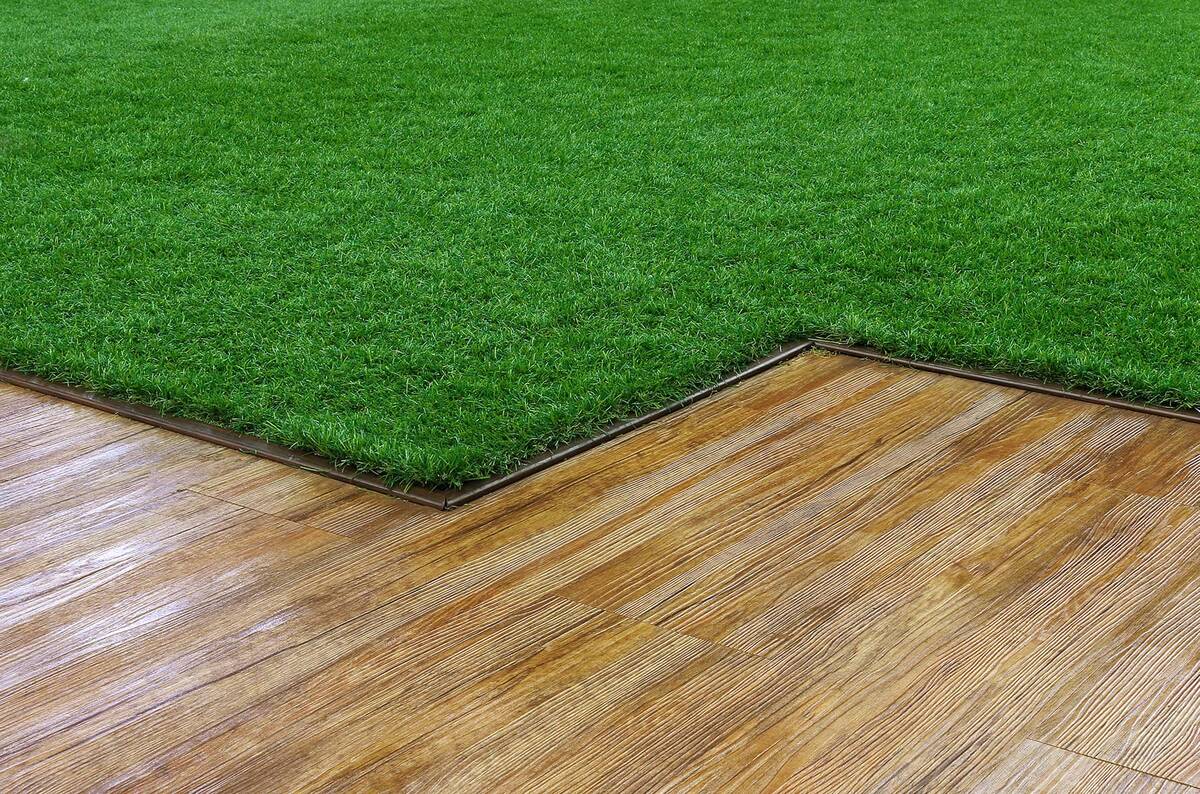
Creating a neatly edged driveway not only enhances the overall appearance of your property but also helps to keep your driveway in good condition. Whether you have an asphalt or concrete driveway, edging provides a defined barrier that prevents the edges from crumbling or cracking over time. It also helps to prevent the growth of grass or weeds along the edges, keeping your driveway looking clean and well-maintained.
Edging a driveway may seem like a daunting task, but with the right tools and materials, it can be a straightforward process that you can do yourself. In this article, we will walk you through the step-by-step process of how to edge a driveway, covering everything from marking the path to securing the edging material and finishing touches.
Before we begin, it’s important to gather the necessary tools and materials to ensure a smooth and efficient process. Let’s take a look at what you’ll need:
Key Takeaways:
- Transform your driveway with defined edging to enhance its appearance and durability. Follow the step-by-step guide for marking, preparing, installing, securing, and finishing your driveway edging to achieve a professional and polished look.
- Regular maintenance is key to preserving the beauty and functionality of your newly edged driveway. Keep it clean, inspect for shifting or damage, and seek professional guidance for long-term care and maintenance.
Read more: How To Edge A Gravel Driveway
Tools and Materials Needed
Before you get started on edging your driveway, make sure you have the following tools and materials readily available:
- Measuring tape: A measuring tape will come in handy when marking out the path of your driveway.
- Wooden stakes: Wooden stakes will be used to securely hold the edging material in place.
- String or rope: String or rope will help you create a straight and even line to guide the placement of the edging material.
- Shovel: A shovel is essential for digging out the edges of your driveway.
- Wheelbarrow: A wheelbarrow will be useful for transporting and disposing of excess soil and debris.
- Edging material: There are various types of edging materials to choose from, including concrete pavers, plastic or metal landscape edging, or natural stone. Select the material that best suits your driveway and aesthetic preferences.
- Level: A level will help ensure that the edging material is installed evenly and at the correct height.
- Hammer: A hammer will be used to secure the edging material in place.
- Drill and screws: If your edging material requires securing with screws, make sure you have a drill and the necessary screws on hand.
- Sand or gravel: Sand or gravel will be used for backfilling around the edging material, providing stability and preventing shifting.
- Broom: A broom will help with the final touches, sweeping away any loose debris and giving your newly edged driveway a clean finish.
With all the tools and materials gathered, you are now ready to start the process of edging your driveway. The next step is marking the path to guide the installation of the edging material, so let’s get started!
Step 1: Marking the Path
The first step in edging your driveway is to mark the path where you want the edging to be installed. This will provide a clear guide for digging and placing the edging material accurately. Here’s how you can mark the path:
- Measure and plan: Use a measuring tape to determine the desired width and length of your driveway. Take into account any curves or angles in the path and make a rough sketch, if needed.
- Create a straight line: Starting at one end of the driveway, use wooden stakes and string or rope to create a straight line that runs the entire length of the driveway. This will serve as a guide for the placement of the edging material.
- Mark the path: Along the straight line, place wooden stakes at regular intervals, spacing them according to the width of your chosen edging material. For example, if you are using 12-inch wide plastic landscape edging, place stakes every 12 inches along the path.
- Connect the stakes: Once the stakes are in place, attach string or rope to each stake, creating a continuous line that connects all the stakes along the path. This will create a visual representation of the edging path.
- Double-check and adjust: Step back and double-check that the path looks straight and aligned. Make any necessary adjustments to the stakes and string to ensure a clear and accurate marking.
Once the path is marked, you are ready to move on to the next step – preparing the edging material. This involves gathering the necessary tools and ensuring the edging material is cut to the correct length. Let’s proceed to Step 2!
Step 2: Preparing the Edging Material
Now that you have marked the path for your driveway edging, it’s time to prepare the edging material. This step involves ensuring the material is the correct length and making any necessary adjustments. Here’s how you can prepare the edging material:
- Measure the length: Using a measuring tape, measure the length of the path you have marked for the edging material. Make sure to add a few extra inches to accommodate any curves or corners in the driveway.
- Cut the material: Depending on the type of edging material you have chosen, you may need to cut it to the appropriate length. Use a saw or cutting tool suitable for the material to make precise cuts.
- Double-check the measurements: Once the material is cut, double-check the length to ensure it matches the dimensions of your marked path. This will help ensure a snug and seamless fit during installation.
- Smooth any rough edges: If the edging material has any rough or jagged edges from the cutting process, use sandpaper or a file to smooth them down. This will prevent any potential injuries during installation and create a more polished finish.
- Clean the material: Before proceeding to the installation, give the edging material a quick wipe down to remove any dirt or debris. This will help ensure a clean and professional-looking final result.
With the edging material properly prepared, you are now ready to move on to the next step – installing the edging material. This is where the transformation of your driveway starts to take shape. Continue reading to learn how to install the edging material in Step 3!
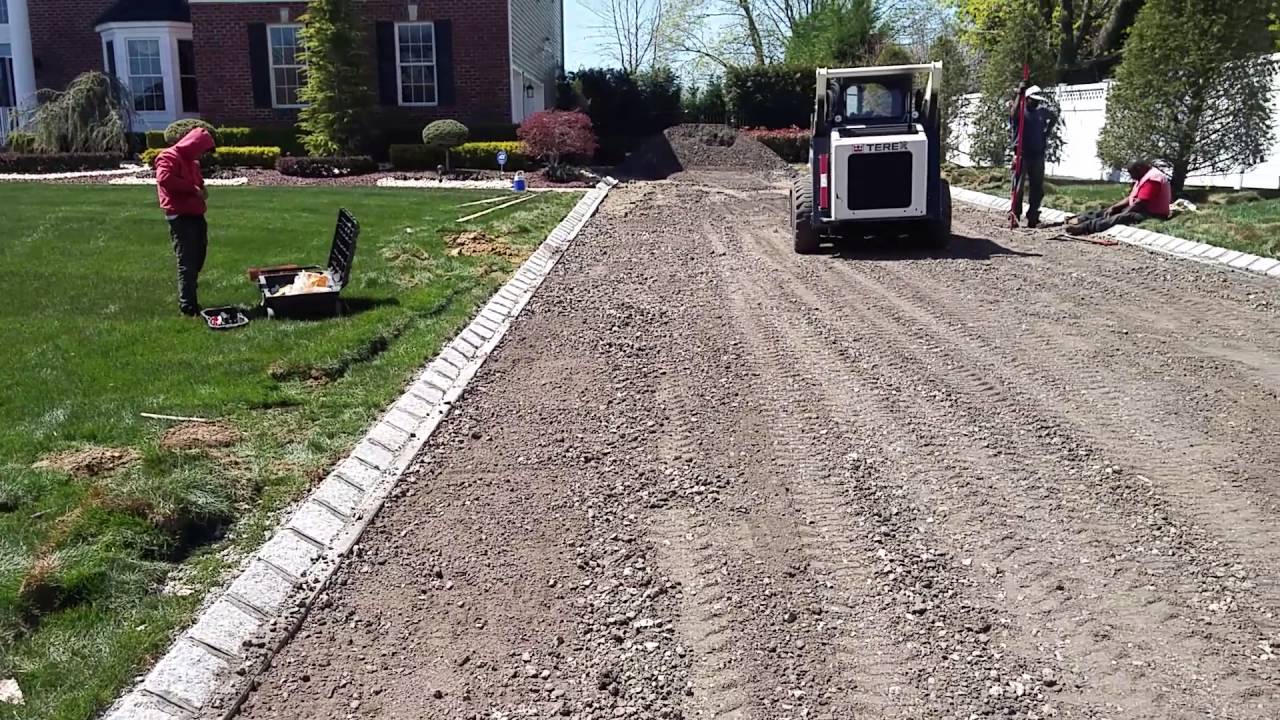
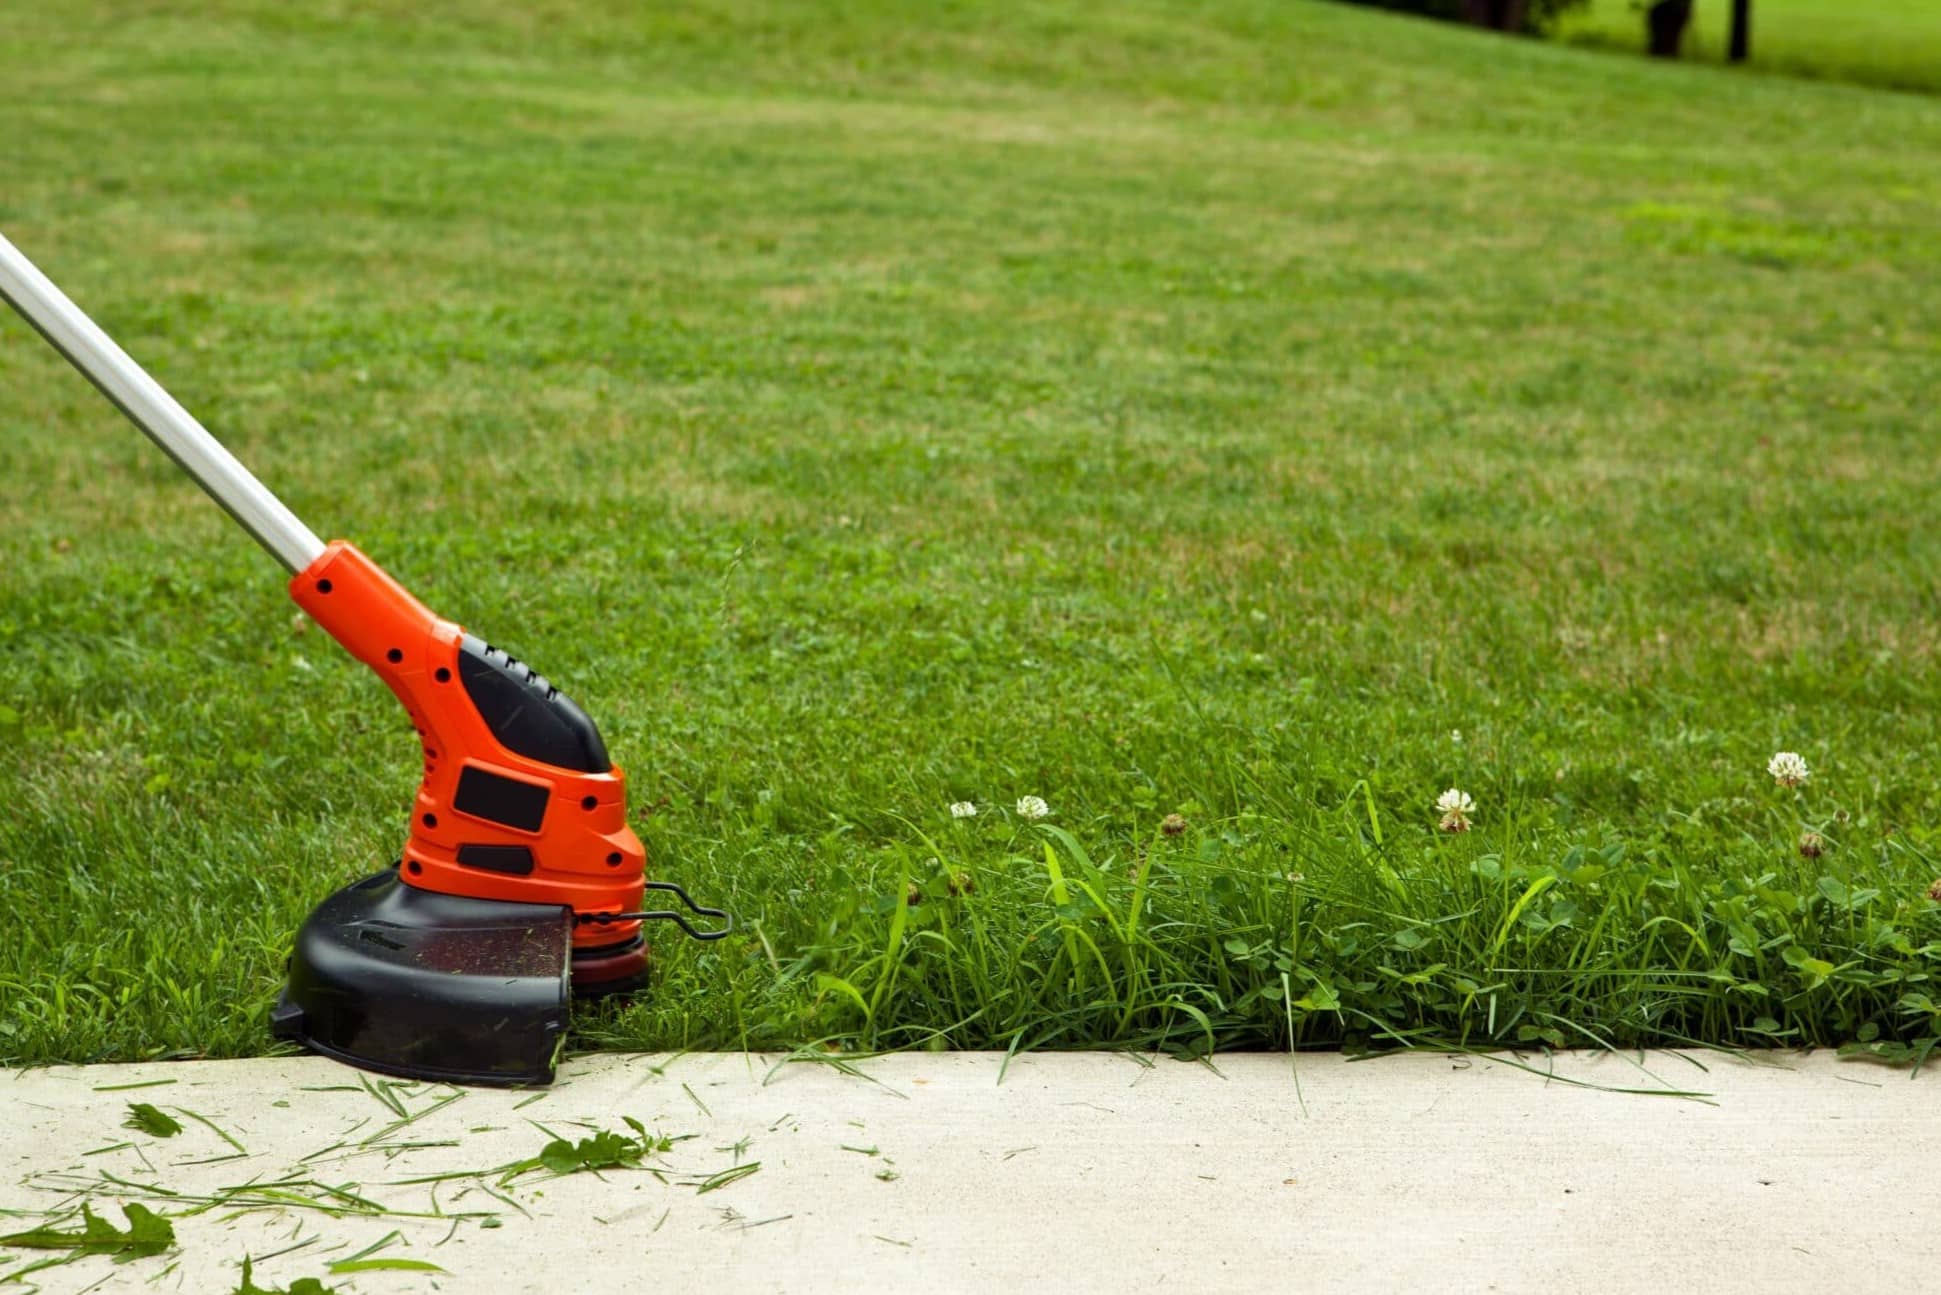
When edging a driveway, use a spade or edging tool to create a clean, straight edge. This will help define the driveway and prevent grass or weeds from encroaching onto the surface.
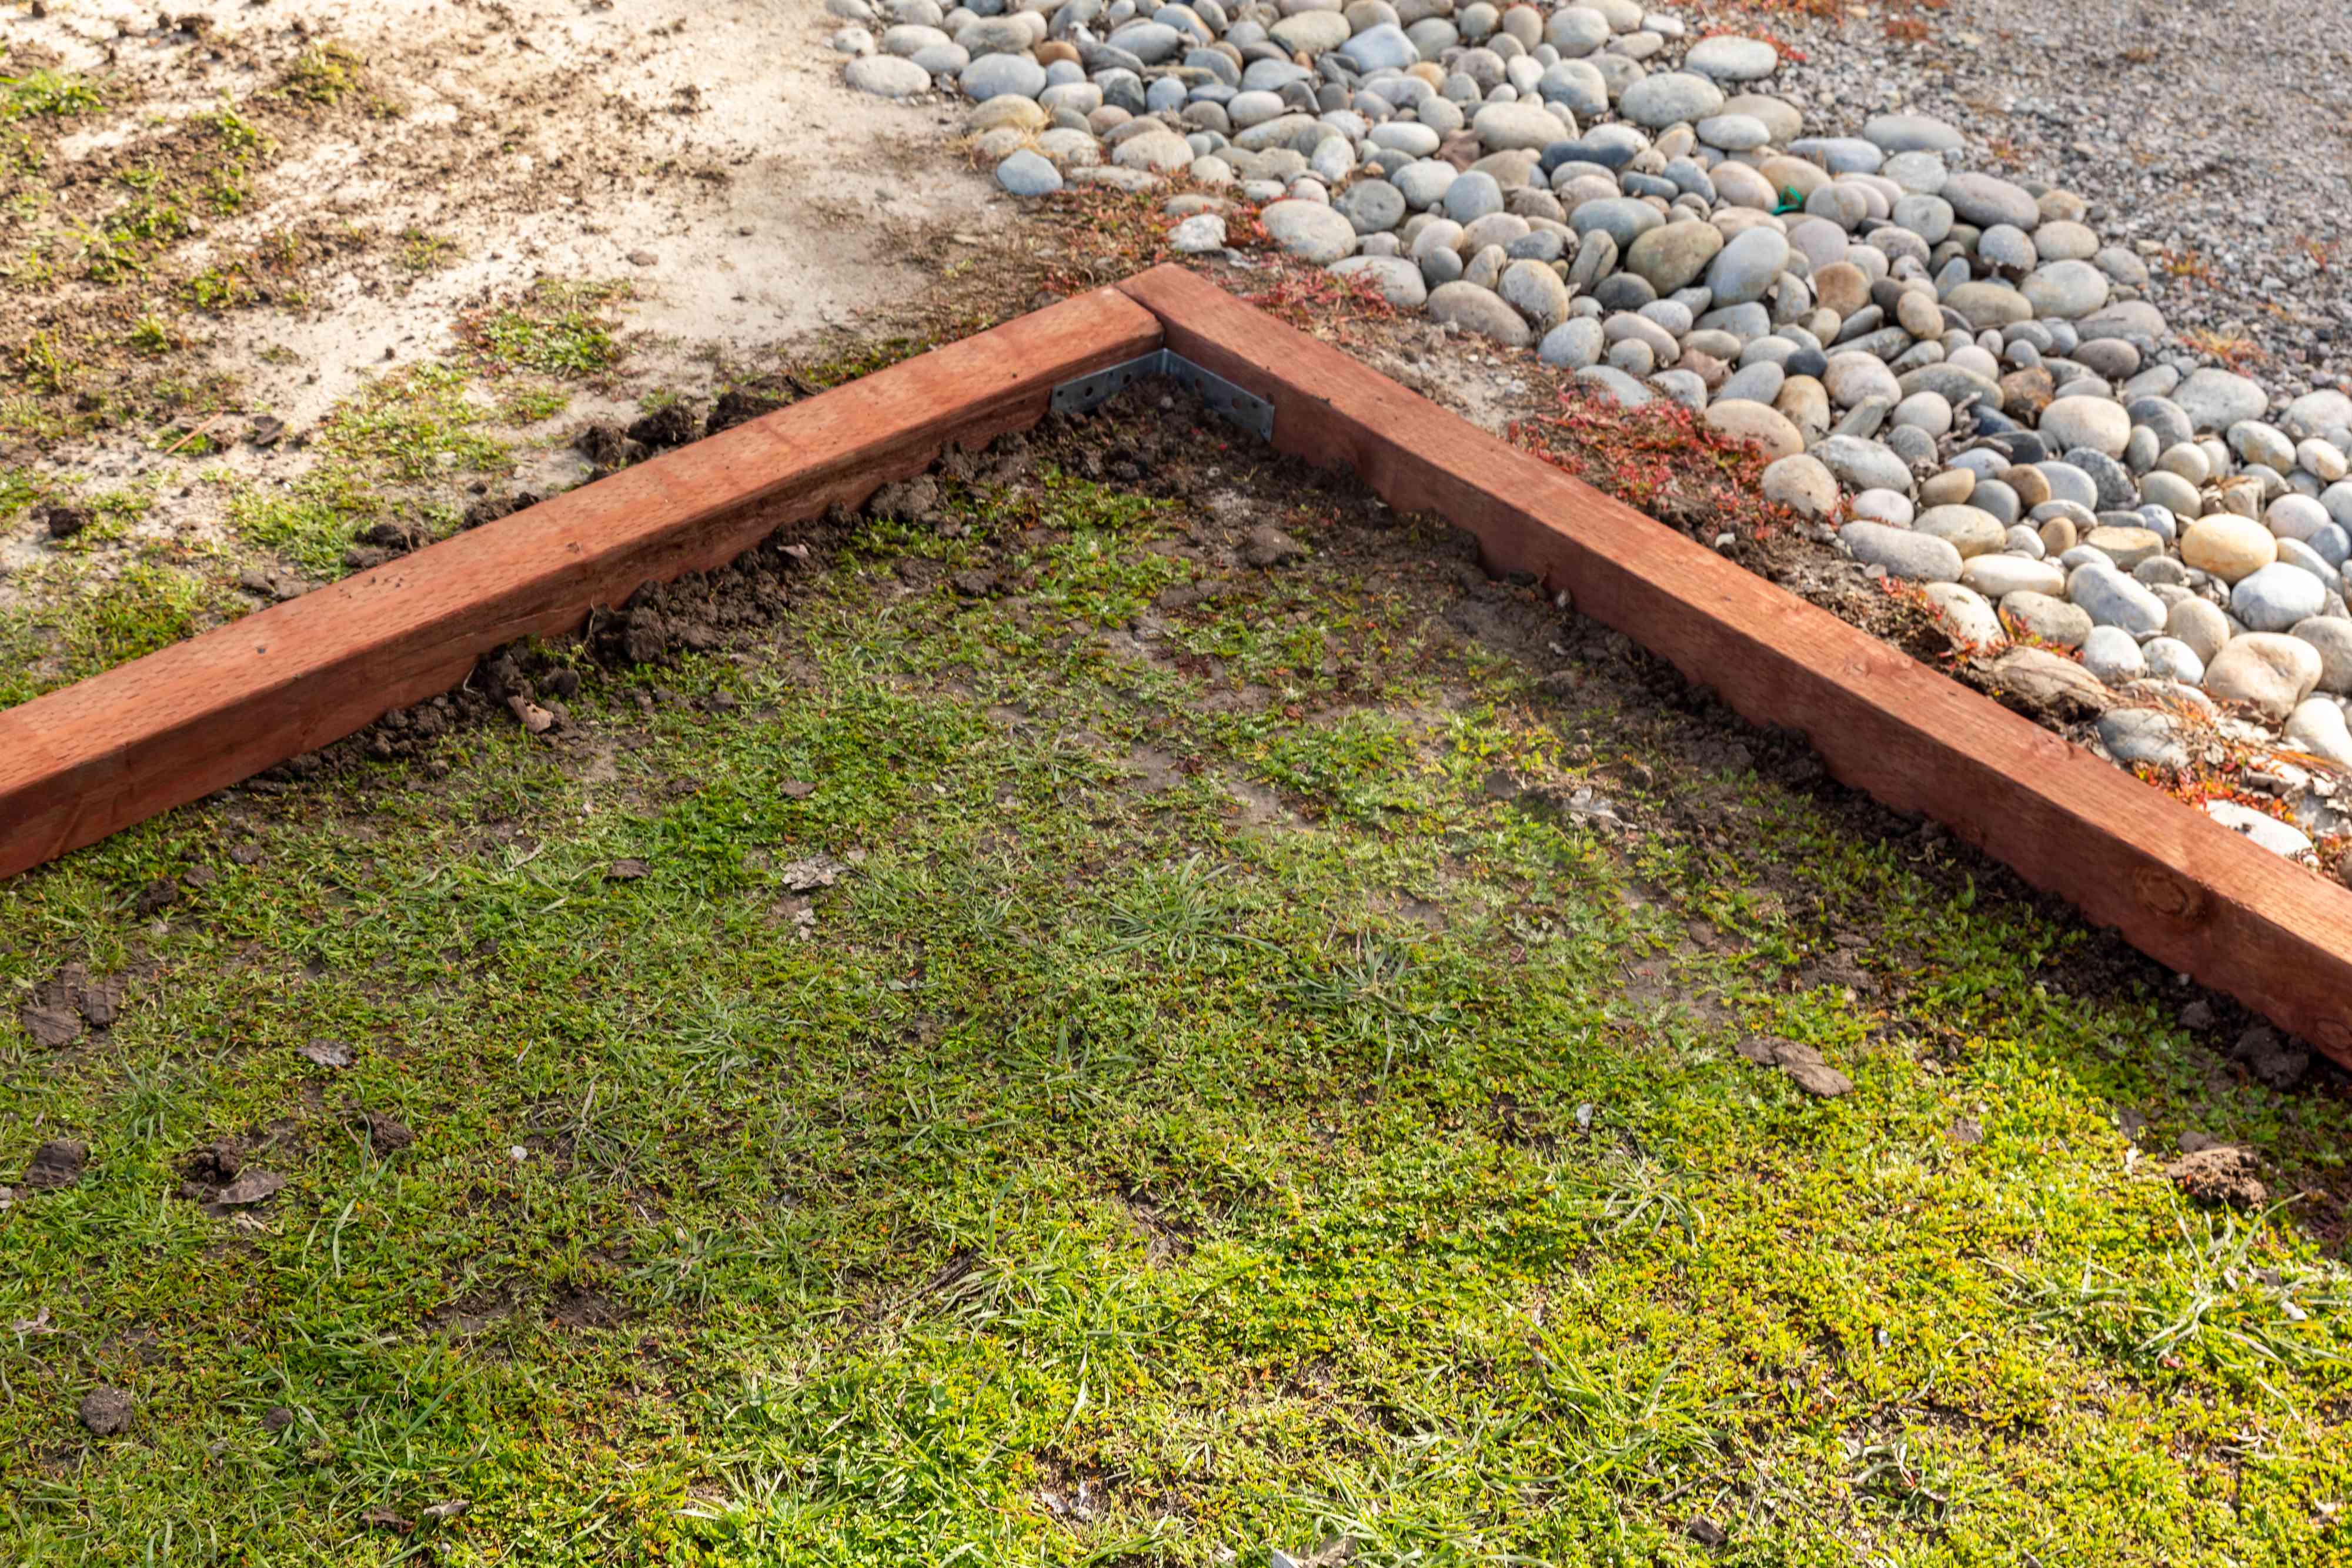
Step 3: Installing the Edging Material
With the path marked and the edging material prepared, it’s time to start installing the edging material along the edges of your driveway. This step will give your driveway a clean and defined look. Follow these steps to install the edging material:
- Dig a trench: Using a shovel, dig a trench along the marked path. The depth of the trench should be slightly deeper than the height of the edging material, typically around 2-4 inches.
- Place the edging material: Carefully place the edging material into the trench, ensuring it sits flush against the sides of the trench and follows the marked path. If the material is flexible, gently bend it to match any curves in the driveway.
- Align the edging material: Use a level to ensure that the edging material is straight and level along the entire length of the driveway. Adjust as necessary to achieve an even and uniform appearance.
- Make adjustments: If the edging material is too long for a specific section, use a saw or cutting tool to trim it to the appropriate length. Remember to wear safety goggles and follow proper cutting techniques.
- Repeat the process: Continue placing the edging material along the entire length of the driveway, maintaining a consistent height and alignment as you go. Use the same techniques to adjust and secure the material as needed.
Installing the edging material may require some effort and precision, but the end result will greatly enhance the appearance and functionality of your driveway. Once the material is properly installed, move on to the next step – securing the edging material. This will ensure its stability and longevity. Read on to discover how to secure the edging material in Step 4!
Read more: How To Edge An Asphalt Driveway
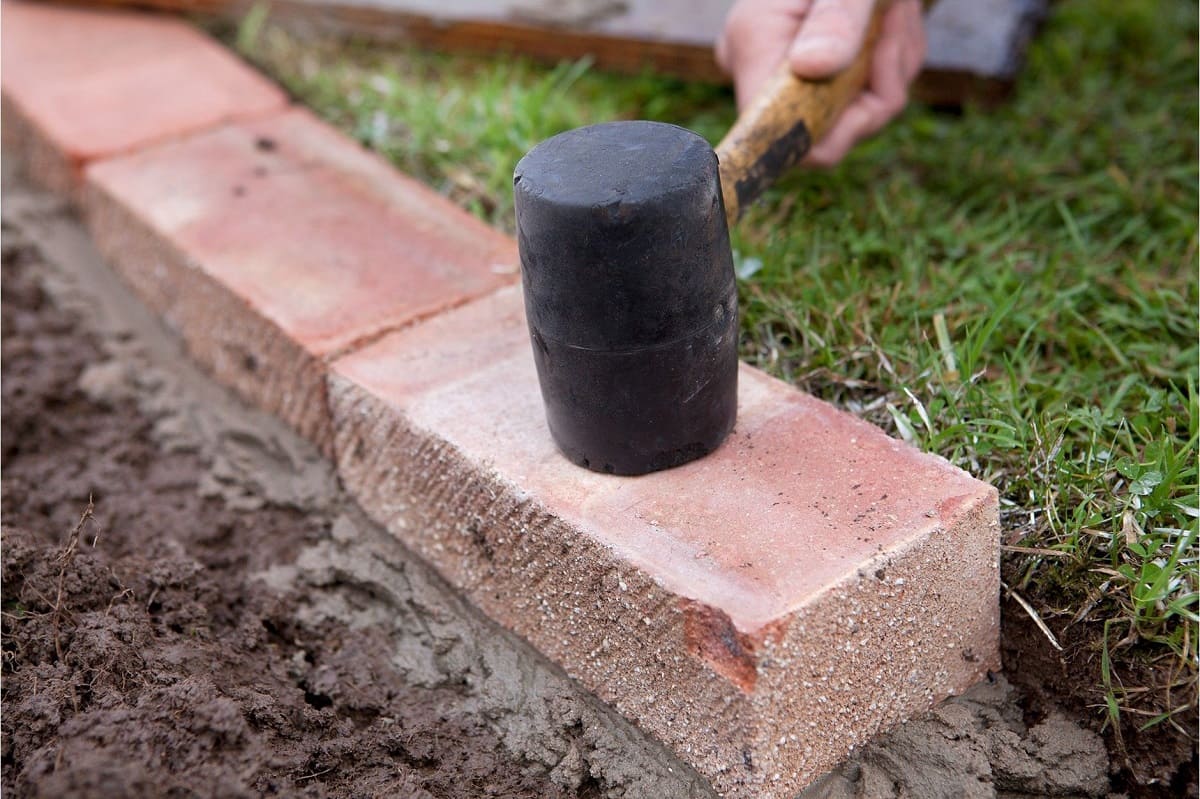
Step 4: Securing the Edging Material
Now that you have successfully installed the edging material along the edges of your driveway, it’s important to secure it in place. This step will ensure the stability and longevity of the edging, preventing it from shifting or moving over time. Follow these steps to secure the edging material:
- Prepare the stakes: Using a hammer, drive wooden or plastic stakes into the ground at regular intervals along the length of the edging material. Make sure the stakes are placed on the outside edge of the edging material and angled slightly towards the driveway.
- Attach the stakes: Once the stakes are in place, use screws or nails to secure them to the edging material. If your edging material does not have pre-drilled holes, use a drill to create holes for the screws or nails.
- Check for stability: Give the edging material a gentle shake to ensure it is firmly secured by the stakes. If you notice any sections that feel loose or unstable, add additional stakes and screws for reinforcement.
- Adjust as needed: If the edging material has shifted during the securing process, carefully realign it to ensure a straight and uniform appearance. Use a level to double-check that it is still level.
Securing the edging material is a crucial step in the process as it will help maintain the integrity and durability of your driveway edging. The next step involves backfilling the trench and adding finishing touches. Let’s move on to Step 5!
Step 5: Backfilling and Finishing
Now that the edging material is securely in place along the edges of your driveway, it’s time to complete the project by backfilling the trench and adding the finishing touches. This step will ensure that the edging is stable, provides proper drainage, and gives your driveway a polished look. Follow these steps to backfill and finish the edging:
- Remove excess soil: If there is excess soil or debris in the trench, use a shovel or wheelbarrow to remove it. Make sure the trench is clear of any obstructions that could interfere with the placement of the edging material.
- Add backfill material: Fill the trench with sand or gravel, using a shovel to evenly distribute the material. The backfill should reach the top of the trench, providing stability and support for the edging material.
- Compact the backfill: Use a tamper or the back of a shovel to compact the backfill material. This will create a firm base for the edging and help prevent any shifting or settling over time.
- Smooth the surface: Use a rake or broom to smooth out the surface of the backfilled trench. This will give your driveway a neat and tidy appearance.
- Clean up: Sweep away any loose soil or debris from the driveway surface and surrounding area. This will give your newly edged driveway a clean and finished look.
With the backfilling and finishing steps complete, take a moment to admire your beautifully edged driveway. Not only does it enhance the overall aesthetic appeal of your property, but it also adds durability and functionality to your driveway. Regular maintenance, such as sweeping away debris and checking for any signs of shifting or damage, will help ensure the longevity of your newly edged driveway.
Congratulations on successfully edging your driveway! By following these step-by-step instructions and taking care during each stage of the process, you have transformed your driveway into a well-defined and inviting feature of your home.
Remember, it’s important to regularly inspect and maintain your driveway edging to keep it in optimal condition. Enjoy your newly edged driveway and the enhanced curb appeal it brings to your property!
If you have any further questions or need additional assistance, don’t hesitate to consult with a professional or seek guidance from your local home improvement store.
Conclusion
Edging a driveway is a worthwhile project that can greatly enhance the appearance and functionality of your property. By creating a defined barrier along the edges of your driveway, you not only improve its durability but also prevent the growth of grass and weeds. Follow the step-by-step process outlined in this article to edge your driveway successfully.
Starting with marking the path, you’ll create a clear guide to follow. Then, with the right tools and materials, you’ll prepare the edging material by cutting it to the correct length and ensuring a smooth finish. Installing the edging material along the driveway’s edges requires careful placement and alignment to achieve a clean and professional appearance.
Securing the edging material with stakes is crucial to maintaining its stability and longevity. By properly backfilling the trench and adding finishing touches, your edged driveway will have a polished and complete look.
Regular maintenance is essential to keep your newly edged driveway in top shape. Sweep away debris, inspect for any signs of shifting or damage, and make necessary adjustments as needed. With proper care, your driveway will remain a picturesque and functional feature of your home.
Remember, if you’re unsure about any part of the process or prefer professional guidance, it’s always a good idea to consult with a professional landscaper or seek advice from your local home improvement store. They can provide further insights and recommendations based on your specific situation.
Now that you have the knowledge and tools necessary to edge your driveway, it’s time to bring your vision to life. Enjoy the satisfaction of a beautifully edged driveway that adds curb appeal and value to your property.
Happy driveway edging!
Now that you've mastered driveway edging, why not spruce up your front yard too? Our guide on mailbox landscaping ideas offers creative ways to boost curb appeal effortlessly. For those with a passion for DIY projects, our detailed instructions on laying bricks for garden borders will surely pique your interest. Both articles provide practical tips that promise to transform your outdoor spaces.
Frequently Asked Questions about How To Edge A Driveway
Was this page helpful?
At Storables.com, we guarantee accurate and reliable information. Our content, validated by Expert Board Contributors, is crafted following stringent Editorial Policies. We're committed to providing you with well-researched, expert-backed insights for all your informational needs.


0 thoughts on “How To Edge A Driveway”