Articles
How To Make A Wine Barrel Kegerator
Modified: October 19, 2024
Learn how to transform a wine barrel into a stylish kegerator with our informative articles. Discover the step-by-step process and start serving your favorite draft beer at home today.
(Many of the links in this article redirect to a specific reviewed product. Your purchase of these products through affiliate links helps to generate commission for Storables.com, at no extra cost. Learn more)
Introduction
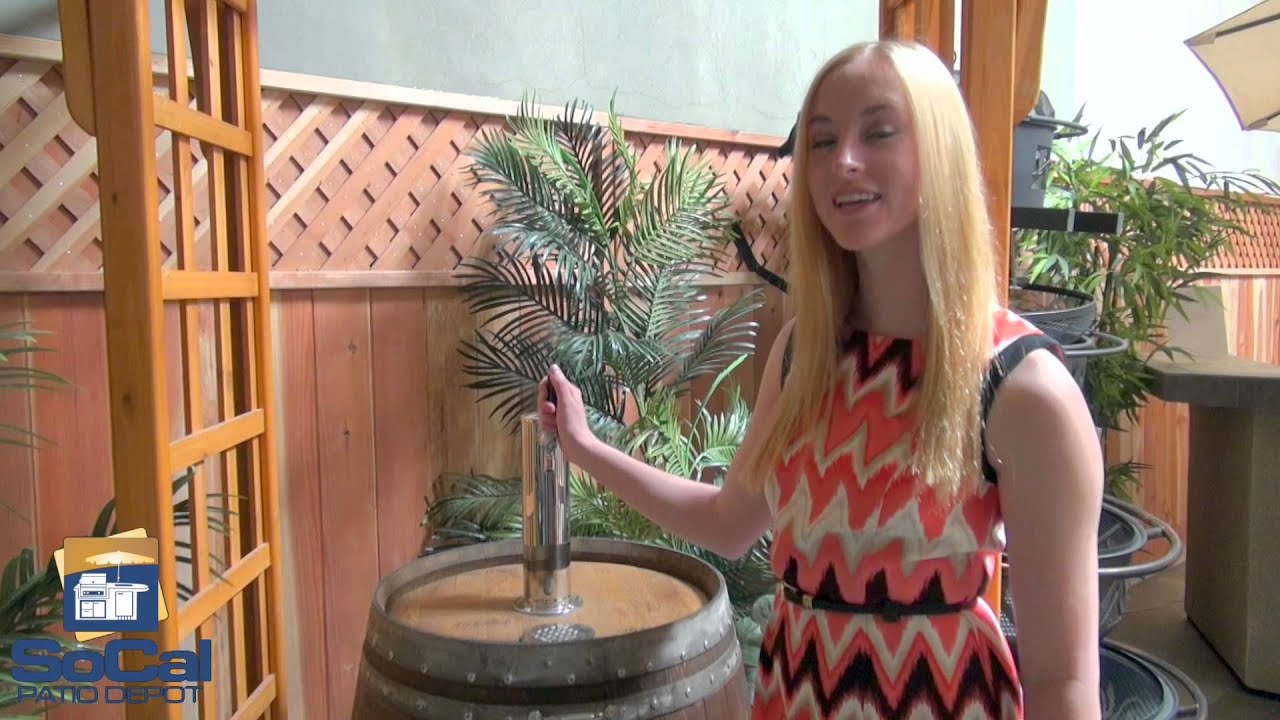
Welcome to the world of DIY kegerators, where you can transform a wine barrel into a unique and impressive kegerator that will be the envy of all your friends. If you’re a wine enthusiast looking to add a touch of beer enjoyment to your repertoire, or simply love the idea of repurposing old wine barrels, then this article is for you.
In this comprehensive guide, we will walk you through the step-by-step process of making your own wine barrel kegerator. With just a few materials and a little bit of time and effort, you’ll have a functional and stylish kegerator that can dispense your favorite craft beers right in the comfort of your own home.
Imagine the sense of pride and satisfaction you’ll feel every time you pour yourself a refreshing pint from your one-of-a-kind kegerator. Not to mention, it will make a fantastic conversation piece when you have friends and family over.
So, let’s not waste any more time. Grab your tools and let’s get started on this exciting journey to create your very own wine barrel kegerator.
Key Takeaways:
- Transform an ordinary wine barrel into a unique and functional beer dispensing system, impressing friends and enhancing home bar experience with a DIY wine barrel kegerator.
- Enjoy the convenience and satisfaction of serving cold, refreshing beer straight from the barrel in the comfort of your own home with a stylish and impressive wine barrel kegerator.
Read also: 12 Best Wine Barrel Wine Rack For 2025
Materials Needed
Before we dive into the construction process, let’s make sure we have all the necessary materials on hand. Here’s a list of everything you’ll need to make a wine barrel kegerator:
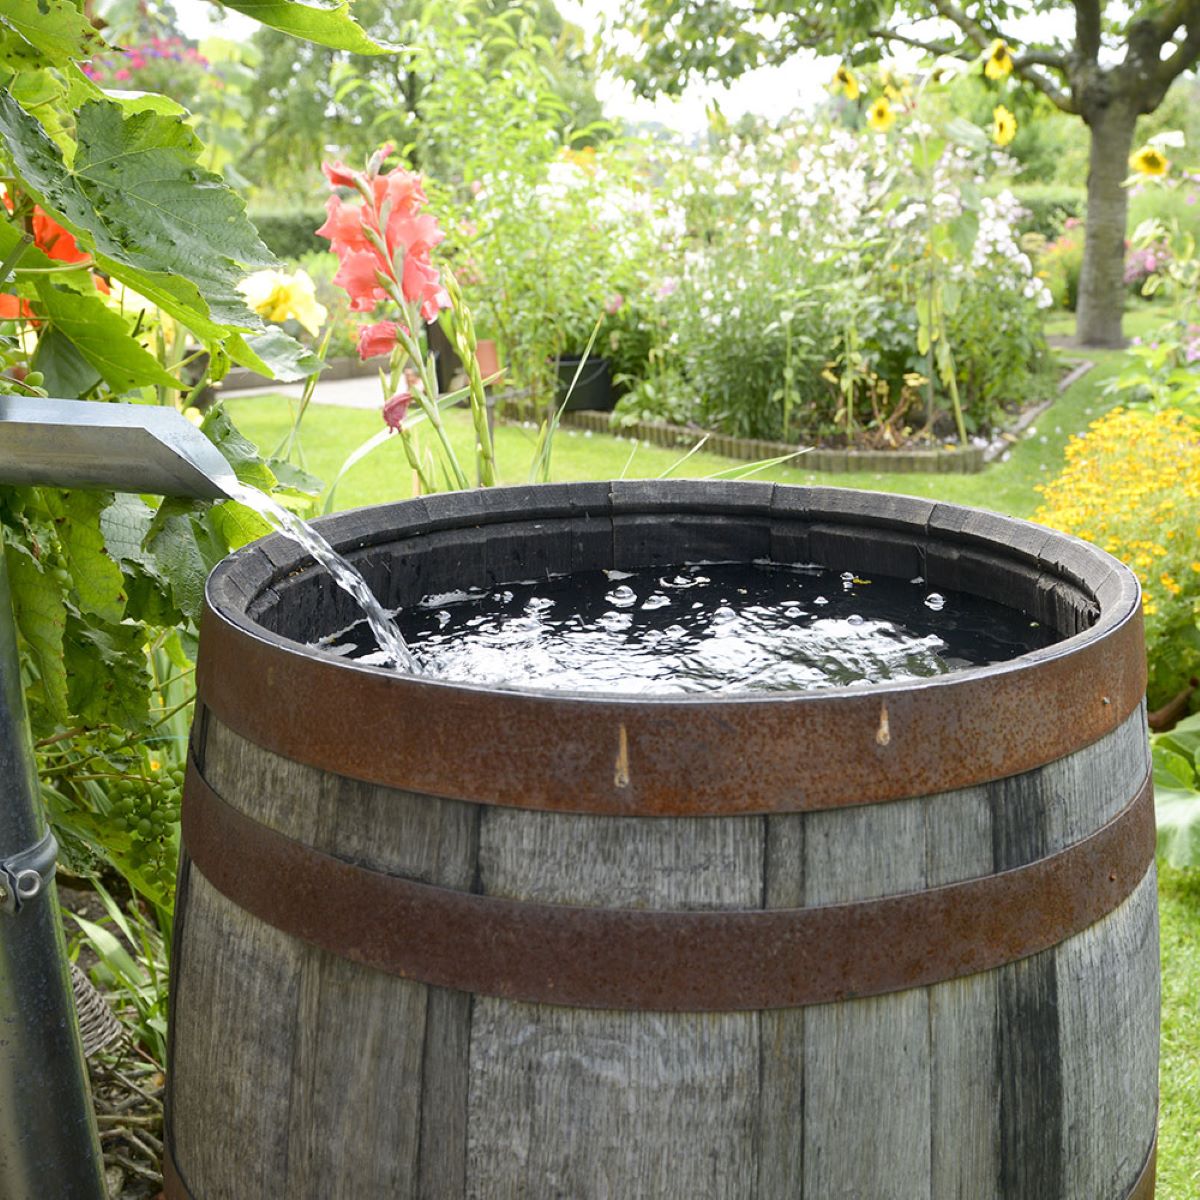
- Wine barrel – Look for a barrel that is in good condition and has a solid construction. Ideally, it should be made of oak and have a capacity of at least 5 gallons.
- Electric drill – You’ll need this to make holes for the draft tower, faucets, and CO2 system.
- Hand saw or jigsaw – This will be used to cut the wine barrel open to create the access point for the kegerator.
- Draft tower – The centerpiece of your kegerator, the draft tower is where the beer is dispensed from. Choose one that fits your aesthetic preferences and is compatible with your chosen faucet.
- Faucet – Select a high-quality faucet that suits your needs and beer dispensing preferences.
- Tap handle – This is the lever or knob that you’ll use to start and stop the flow of beer. Choose a tap handle that matches your aesthetic and personal style.
- CO2 tank and regulator – The CO2 system is essential for carbonating and dispensing the beer. You’ll need a CO2 tank, regulator, and tubing to connect everything together.
- Insulation materials – To keep your kegerator at the optimal temperature, you’ll need insulation materials such as foam or fiberglass insulation.
- Primer and paint – If you want to customize the look of your kegerator, you’ll need primer and paint in your desired colors.
- Various tools – Don’t forget to gather a collection of essential tools, such as a measuring tape, screws, screwdriver, pliers, and a wrench, to assist with the construction process.
Once you have gathered all these materials, you’ll be well-prepared to start crafting your wine barrel kegerator. Let’s move on to the next step, where we’ll prepare the wine barrel for transformation.
Step 1: Preparing the Wine Barrel
Before we can begin constructing our wine barrel kegerator, we need to properly prepare the barrel itself. Here are the steps to follow:
- Inspect the barrel: Start by thoroughly inspecting the wine barrel for any cracks, leaks, or signs of damage. You want to ensure that the barrel is in good condition and can hold the weight of the kegerator components.
- Remove the wine residue: Empty the barrel and rinse it out to remove any remaining wine residue. Use a mixture of warm water and a mild detergent if needed. Rinse the barrel several times to ensure it is clean and free of any odors.
- Remove the barrel head: Use a screwdriver or a pry bar to carefully remove one of the barrel heads. This will create an access point for the kegerator components and make it easier to cut open the barrel later on.
- Sand the interior: Use sandpaper or a sander to smooth out the inner surface of the barrel. This will help eliminate any rough spots or splinters and create a clean surface for insulation and beer lines to adhere to.
- Apply a sealant (optional): To further protect the wood and enhance its longevity, you can apply a sealant or varnish to the interior of the barrel. Make sure to choose a food-safe sealant that is compatible with the type of wood used in your barrel.
By properly preparing the wine barrel, you are ensuring that it is clean, sturdy, and ready to be transformed into a kegerator. Once you’ve completed these steps, we can move on to the exciting part of cutting open the barrel in the next step.
Step 2: Cutting Open the Wine Barrel
Now that we have prepared the wine barrel, it’s time to create an opening for the kegerator components. Follow these steps to cut open the barrel:
- Measure and mark the cut: Determine the desired size and location for the opening on the barrel. Use a measuring tape to mark the area where you will make the cut. Keep in mind the dimensions of the draft tower and other components that will be installed.
- Secure the barrel: Place the barrel securely on a stable surface, making sure it won’t move or roll while you work.
- Drill pilot holes: Use an electric drill to create pilot holes along the perimeter of the marked area. These holes will act as guides for the saw blade and help prevent the wood from splintering.
- Cut the opening: With a hand saw or jigsaw, carefully cut along the marked lines. Take your time and use steady, controlled movements to ensure a clean and precise cut. Follow the pilot holes as your guide.
- Sand the edges: Once the opening is cut, use sandpaper or a sander to smooth out the edges of the cut. This will help prevent any splinters and create a neat finish.
It is essential to exercise caution and wear appropriate safety gear, such as goggles and gloves, while cutting open the barrel. Take your time and work slowly to ensure a smooth and accurate cut.
Congratulations! You have successfully cut open the wine barrel, creating an opening for the kegerator components. In the next step, we will install the draft tower, the centerpiece of our wine barrel kegerator.
Step 3: Installing the Draft Tower
With the wine barrel cut open, it’s time to install the draft tower, the focal point of your kegerator. Follow these steps to properly install the draft tower:
- Prepare the draft tower: Remove any protective packaging or covers from the draft tower. Check that all the necessary components, such as the tower base, tower cap, and mounting hardware, are included.
- Position the draft tower: Place the draft tower on top of the wine barrel, aligning it with the opening you cut. Ensure that the tower is centered and level on the barrel.
- Mark the mounting holes: Use a pencil or marker to mark the location of the mounting holes on the wine barrel. Make sure to mark all the holes provided in the draft tower base.
- Drill pilot holes: Using an electric drill with a drill bit slightly smaller than the mounting screws, drill pilot holes in the marked locations. These pilot holes will help guide the screws and prevent the wood from splitting.
- Attach the draft tower: Align the draft tower base with the pilot holes and attach it to the wine barrel using the provided screws. Tighten the screws firmly, but be careful not to overtighten and strip the wood.
- Secure the draft tower cap: Place the draft tower cap onto the top of the tower base and secure it in place according to the manufacturer’s instructions. This will help keep the tower securely in position.
It’s important to ensure that the draft tower is securely attached to the wine barrel to prevent any wobbling or instability. Double-check the tightness of the screws and give the tower a gentle shake to confirm its stability.
Once the draft tower is successfully installed, you’re one step closer to having your very own wine barrel kegerator. In the next step, we will tackle the installation of the faucet and tap handle for dispensing your favorite brews. Let’s continue the journey!
When converting a wine barrel into a kegerator, make sure to properly insulate the interior to maintain the desired temperature for serving beer. This will help ensure that your beer stays fresh and cold for longer periods of time.
Read more: How To Make A Wine Rack
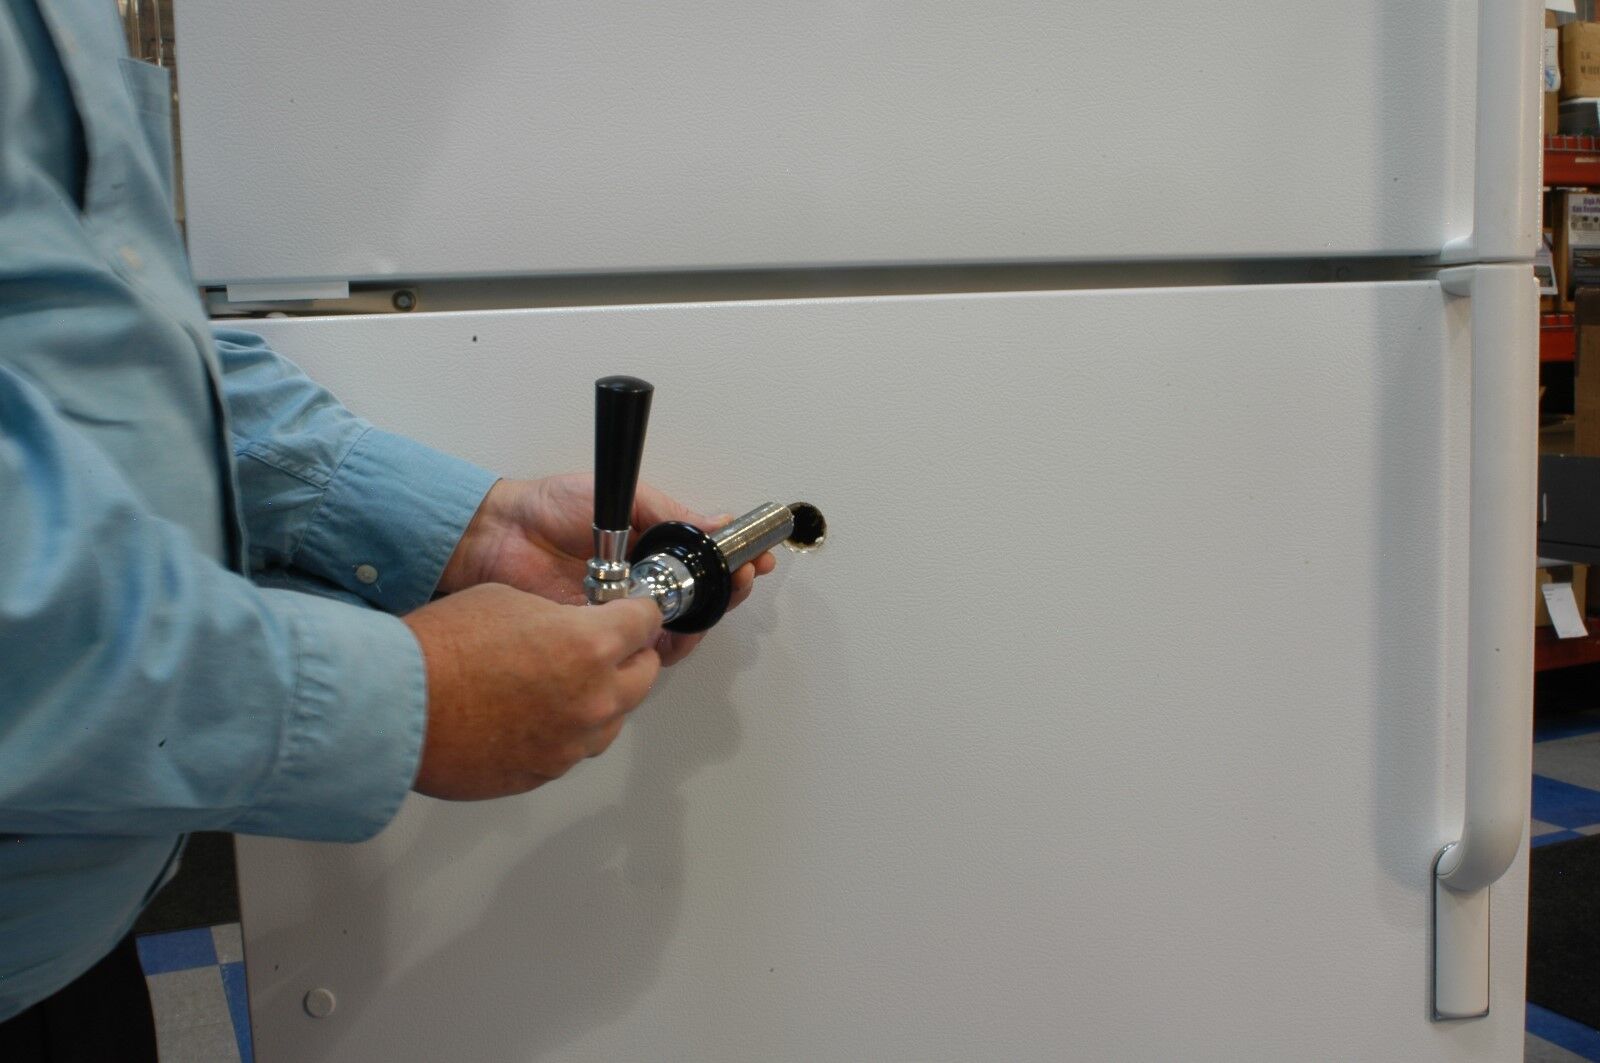
Step 4: Attaching the Faucet and Tap Handle
Now that the draft tower is securely in place, it’s time to attach the faucet and tap handle to complete the beer dispensing system of your kegerator. Follow these steps to properly install the faucet and tap handle:
- Prepare the faucet and tap handle: Remove any protective packaging or covers from the faucet and tap handle. Make sure you have all the necessary components, such as the faucet, shank, tap handle, and hardware.
- Attach the shank: The shank is the metal tube that connects the faucet to the draft tower. Insert one end of the shank into the pre-drilled hole in the draft tower, and tighten it with the provided hardware. Ensure the shank is securely attached and facing downward.
- Attach the faucet: Slide the faucet onto the other end of the shank, lining up the openings and threads. Use the provided hardware to tighten the faucet onto the shank. Make sure it is firmly secured but not overly tightened, as it can damage the threads.
- Install the tap handle: Screw the tap handle onto the top of the faucet. Ensure it is aligned and positioned correctly for comfortable operation.
- Tighten all connections: Double-check that all connections, including the shank, faucet, and tap handle, are tight and secure. Give them a gentle tug to ensure they are firmly in place.
Take care not to cross-thread or over-tighten the connections, as it can lead to leaks or damage to the components. If necessary, use a wrench or pliers to assist with tightening, but do so with caution to avoid applying excessive force.
With the faucet and tap handle properly attached, your wine barrel kegerator is now one step closer to being fully functional. In the next step, we will connect the CO2 system to carbonate and dispense your beer. Let’s continue our journey towards the perfect pint!
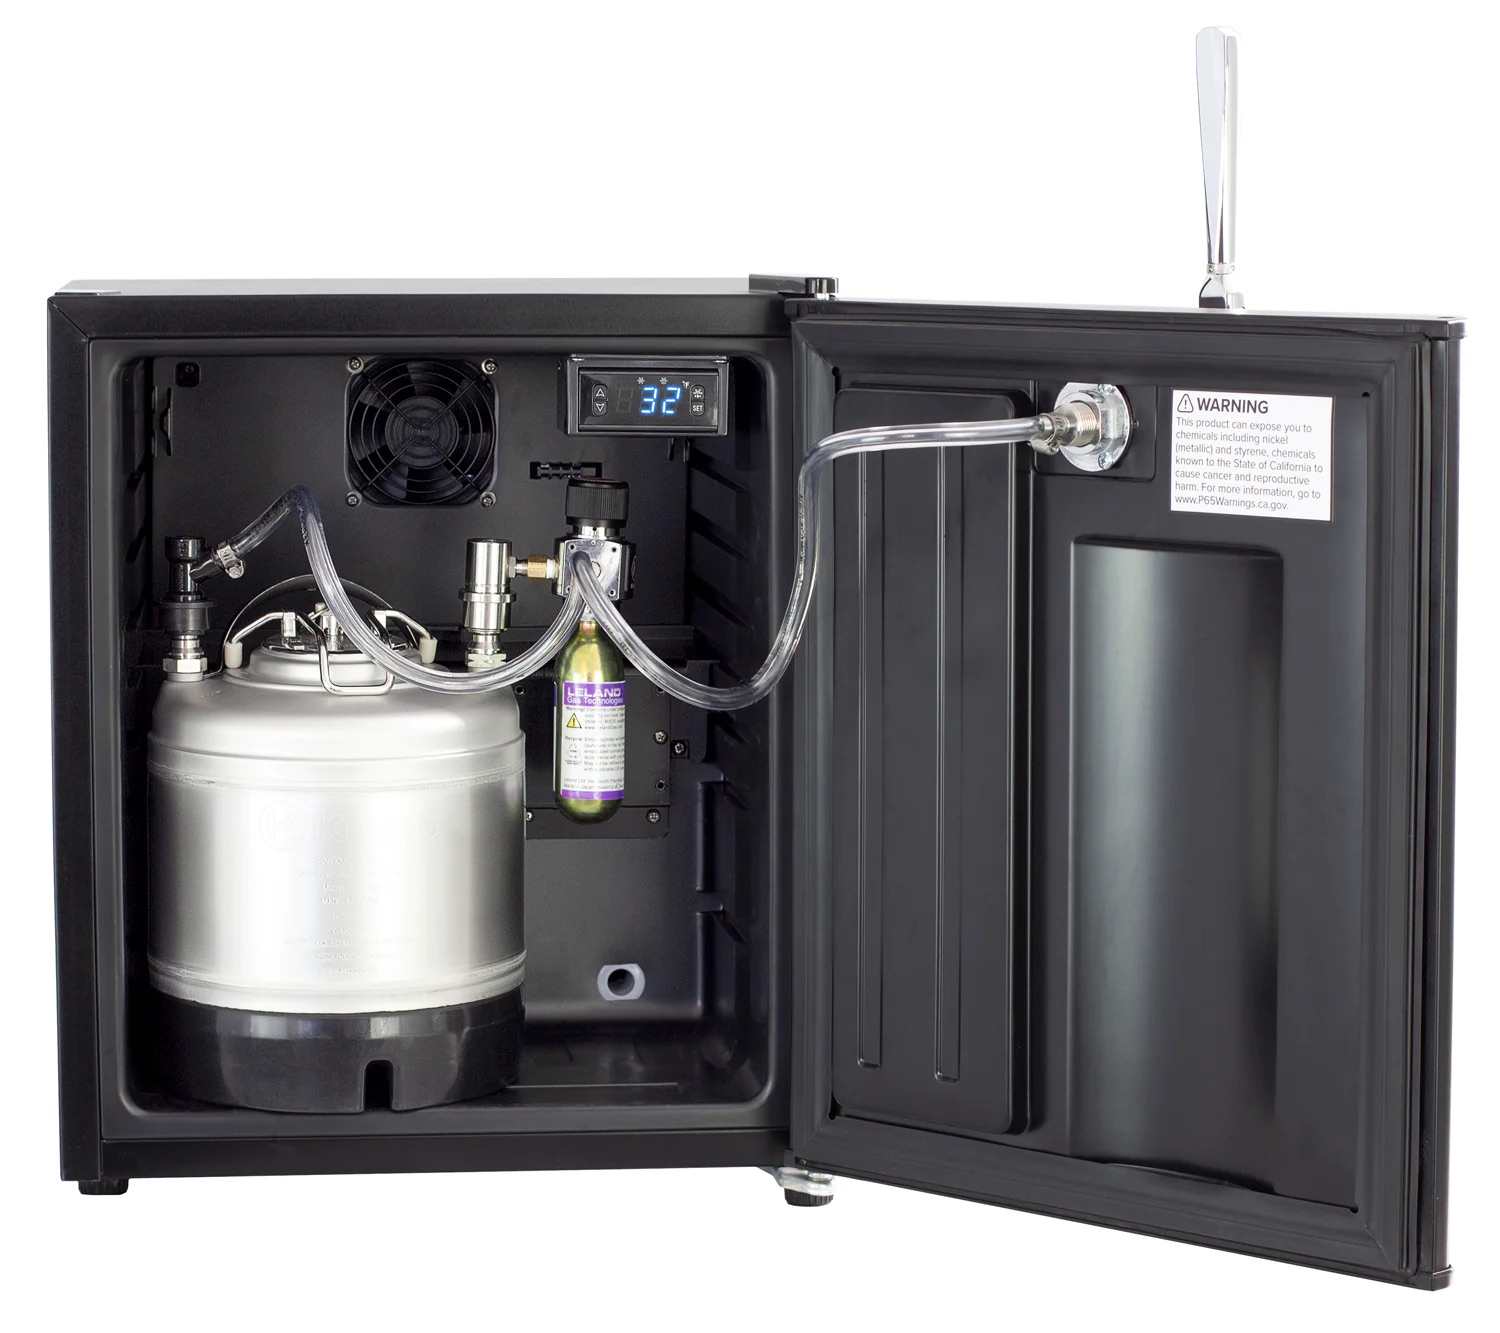
Step 5: Connecting the CO2 System
Now that the faucet and tap handle are in place, it’s time to connect the CO2 system to ensure proper carbonation and dispensing of your beer. Follow these steps to connect the CO2 system:
- Prepare the CO2 tank: Ensure the CO2 tank is filled and ready for use. Check the pressure gauge to ensure it is within the recommended range for carbonation.
- Attach the regulator: Connect the regulator to the CO2 tank by aligning the threads and tightening the connection. Ensure the connection is secure, but be cautious not to overtighten.
- Connect the tubing: Attach one end of the tubing to the outlet port of the regulator and the other end to the inlet port of the draft tower. Use hose clamps to secure the tubing in place if needed.
- Adjust the pressure: Using the pressure adjustment knob on the regulator, set the desired pressure level for carbonating the beer. Refer to the specific instructions for your beer style and the recommended carbonation levels.
- Test for leaks: Open the CO2 tank valve and turn on the faucet. Check for any leaks along the connections, including the regulator, tubing, and draft tower. Apply a soapy water solution to identify any bubbles that indicate a leak. If found, tighten the connections or replace any faulty components.
- Monitor and adjust pressure: Keep an eye on the pressure gauge periodically to ensure a consistent carbonation level. Adjust the pressure as needed to maintain the desired carbonation.
Properly connecting the CO2 system is crucial for ensuring the right amount of carbonation and a smooth dispensing process. Take your time to check for leaks and adjust the pressure, as this will greatly enhance the overall enjoyment of your beer.
With the CO2 system connected, we’re almost at the finish line! In the next step, we will insulate the wine barrel to help maintain the ideal temperature for your kegerator. Let’s keep up the momentum!
Step 6: Insulating the Wine Barrel
Insulating the wine barrel is an essential step to maintain the optimal temperature inside your kegerator. Follow these steps to properly insulate the wine barrel:
- Select insulation material: Choose an insulation material that is suitable for your specific kegerator setup. Common options include foam insulation and fiberglass insulation. Ensure that the material is safe for food and beverage applications.
- Prepare the insulation material: Measure and cut the insulation material to fit the interior walls of the wine barrel. Make sure to leave space for the beer lines and other components.
- Apply the insulation: Attach the insulation material to the inner walls of the wine barrel. Use adhesive or tape designed for insulation purposes to secure the material into place. Ensure that the insulation covers all sides and the bottom of the barrel.
- Seal any gaps: Inspect the insulation for any gaps or seams where air can escape. Seal these gaps using insulation tape or additional adhesive to ensure a proper seal.
- Insulate the draft tower: Apply insulation material around the draft tower to prevent heat transfer from the surrounding area. Cut and fit the insulation material to cover the tower and secure it with adhesive or tape.
Proper insulation helps maintain a consistent temperature inside your kegerator, ensuring that your beer stays fresh and properly carbonated. It also helps to prevent condensation and minimize energy consumption.
With the wine barrel properly insulated, we’re almost there! In the next step, we will test the kegerator to ensure everything is functioning as expected. Let’s move on to the next and final step of this exciting process!
Step 7: Testing the Kegerator
Now that you’ve completed the construction of your wine barrel kegerator, it’s time to put it to the test. Follow these steps to ensure that everything is functioning properly:
- Double-check all connections: Before testing the kegerator, carefully inspect all the connections, including the draft tower, faucet, tap handle, CO2 system, and beer lines. Ensure everything is securely tightened and in place.
- Carbonate your beer: If you haven’t done so already, connect a keg of your favorite beer to the kegerator. Follow the instructions provided with your keg to initiate the carbonation process. Allow sufficient time for the beer to carbonate according to your preferences and the recommendations of the brewery.
- Temperature control: Monitor the temperature inside the kegerator to ensure it remains within the desired range for serving your beer. If necessary, adjust the refrigerator or cooling system settings to maintain the ideal temperature.
- Dispensing test: Open the faucet and start dispensing the beer into a glass. Pay attention to the flow and ensure it comes out smoothly without any leaks or excessive foam. Adjust the pressure and faucet opening as needed to achieve the desired pour.
- Taste and enjoy: Fill a glass with the beer from your kegerator and take a moment to savor the fruits of your labor. Evaluate the taste, carbonation, and overall quality of the beer. Make any necessary adjustments to the CO2 pressure or serving temperature to achieve your desired results.
Testing is an important step to ensure your kegerator is working as expected and delivering delicious, properly carbonated beer. Take the time to fine-tune any elements that may affect the taste and quality of the beer.
Congratulations! You’ve successfully built and tested your very own wine barrel kegerator. Now you can enjoy the convenience and satisfaction of serving cold, refreshing beer straight from the barrel in the comfort of your own home. Cheers to your DIY success!
Remember, always drink responsibly and adhere to legal drinking age requirements in your jurisdiction.
Read more: How To Make A Kegerator Handle
Conclusion
Congratulations on completing your wine barrel kegerator! You’ve transformed an ordinary wine barrel into a unique and functional beer dispensing system that is sure to impress your friends and enhance your home bar experience. Let’s recap the journey we’ve taken to bring this kegerator to life.
We started by preparing the wine barrel, ensuring it was clean and sturdy. We then moved on to cutting open the barrel, creating an access point for the kegerator components. With the barrel ready, we installed the draft tower, the centerpiece of our kegerator, followed by attaching the faucet and tap handle for dispensing our favorite beers.
To complete the setup, we connected the CO2 system, allowing for carbonation and dispensing of the beer. Insulating the wine barrel helped maintain optimal temperature control, ensuring the beer stayed fresh and properly chilled. Finally, we thoroughly tested the kegerator, checking all connections and adjusting variables such as pressure and temperature to achieve the perfect pour.
Building a wine barrel kegerator is a rewarding DIY project that combines creativity, craftsmanship, and a passion for beer. Not only does it offer the convenience of serving draft beer at home, but it also adds a unique and stylish element to your home bar or entertainment area.
Remember to take pride in your creation and share the joy of homemade draft beer with your family and friends. Experiment with different types of beer, fine-tune your carbonation levels, and make adjustments as needed to create the ultimate beer-drinking experience.
Cheers to your success and the enjoyment of cold, refreshing beer straight from your very own wine barrel kegerator!
Frequently Asked Questions about How To Make A Wine Barrel Kegerator
Was this page helpful?
At Storables.com, we guarantee accurate and reliable information. Our content, validated by Expert Board Contributors, is crafted following stringent Editorial Policies. We're committed to providing you with well-researched, expert-backed insights for all your informational needs.

0 thoughts on “How To Make A Wine Barrel Kegerator”