Articles
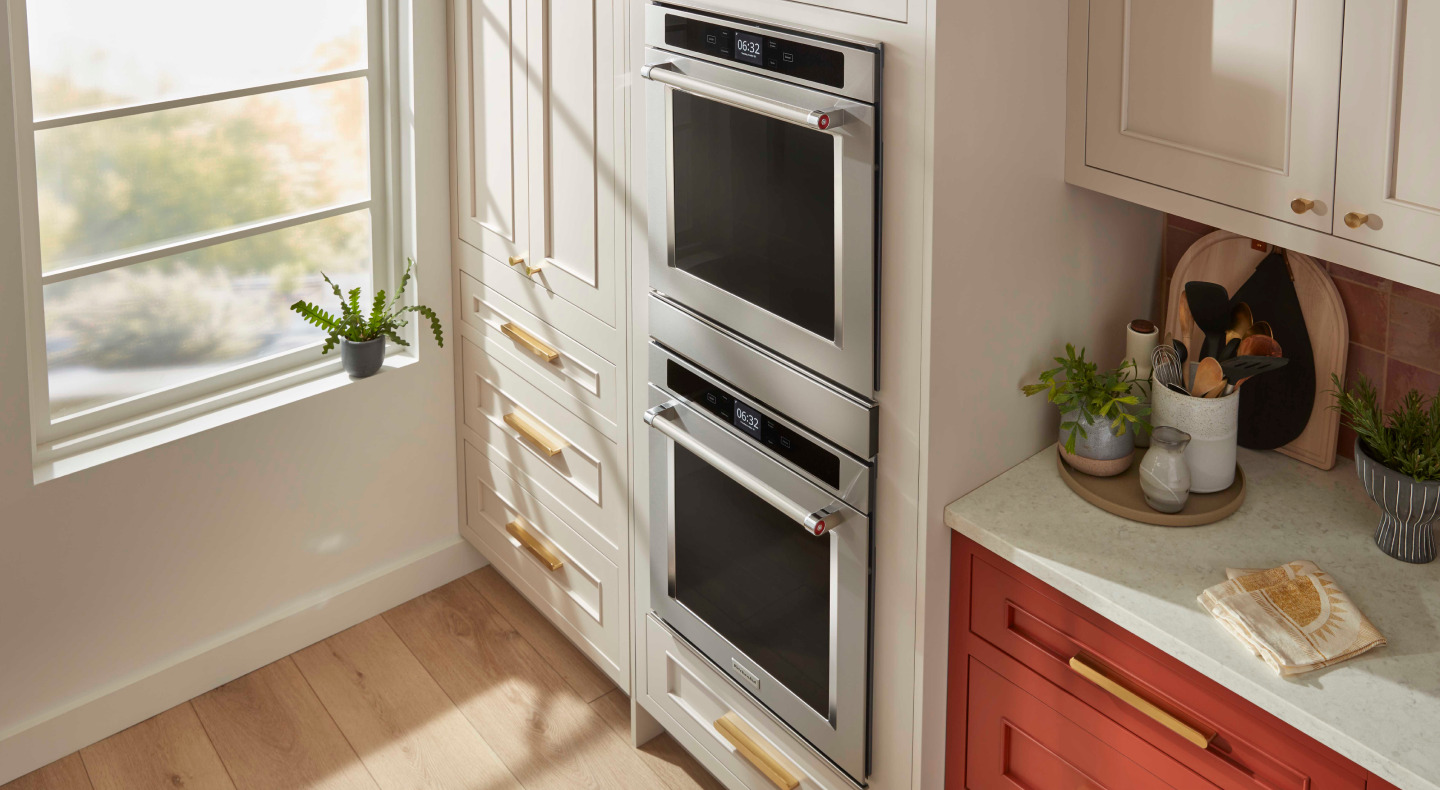
How To Make Built In Cabinet
Modified: October 18, 2024
Looking for storage ideas? Learn how to make a stylish built-in cabinet to maximize your space and keep your belongings organized.
(Many of the links in this article redirect to a specific reviewed product. Your purchase of these products through affiliate links helps to generate commission for Storables.com, at no extra cost. Learn more)
Introduction
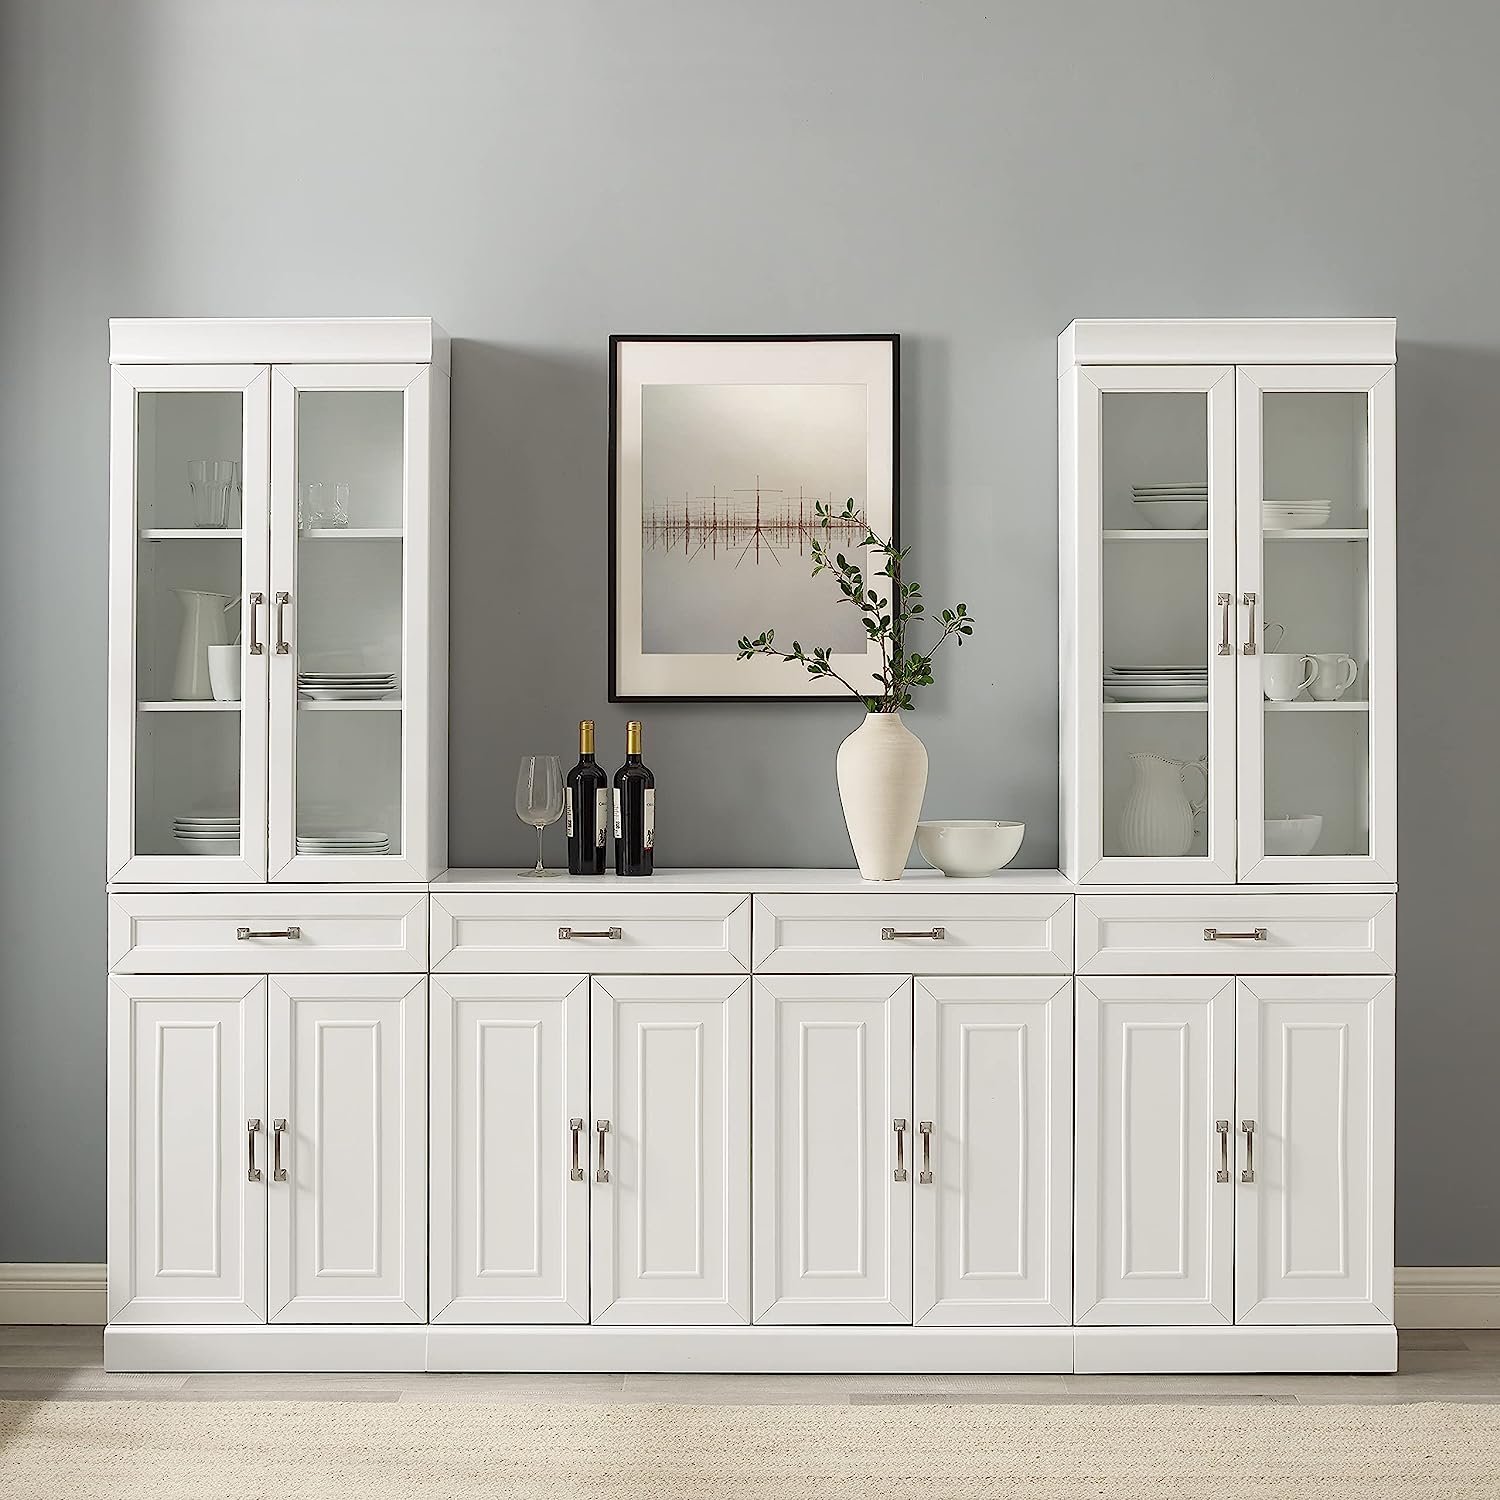
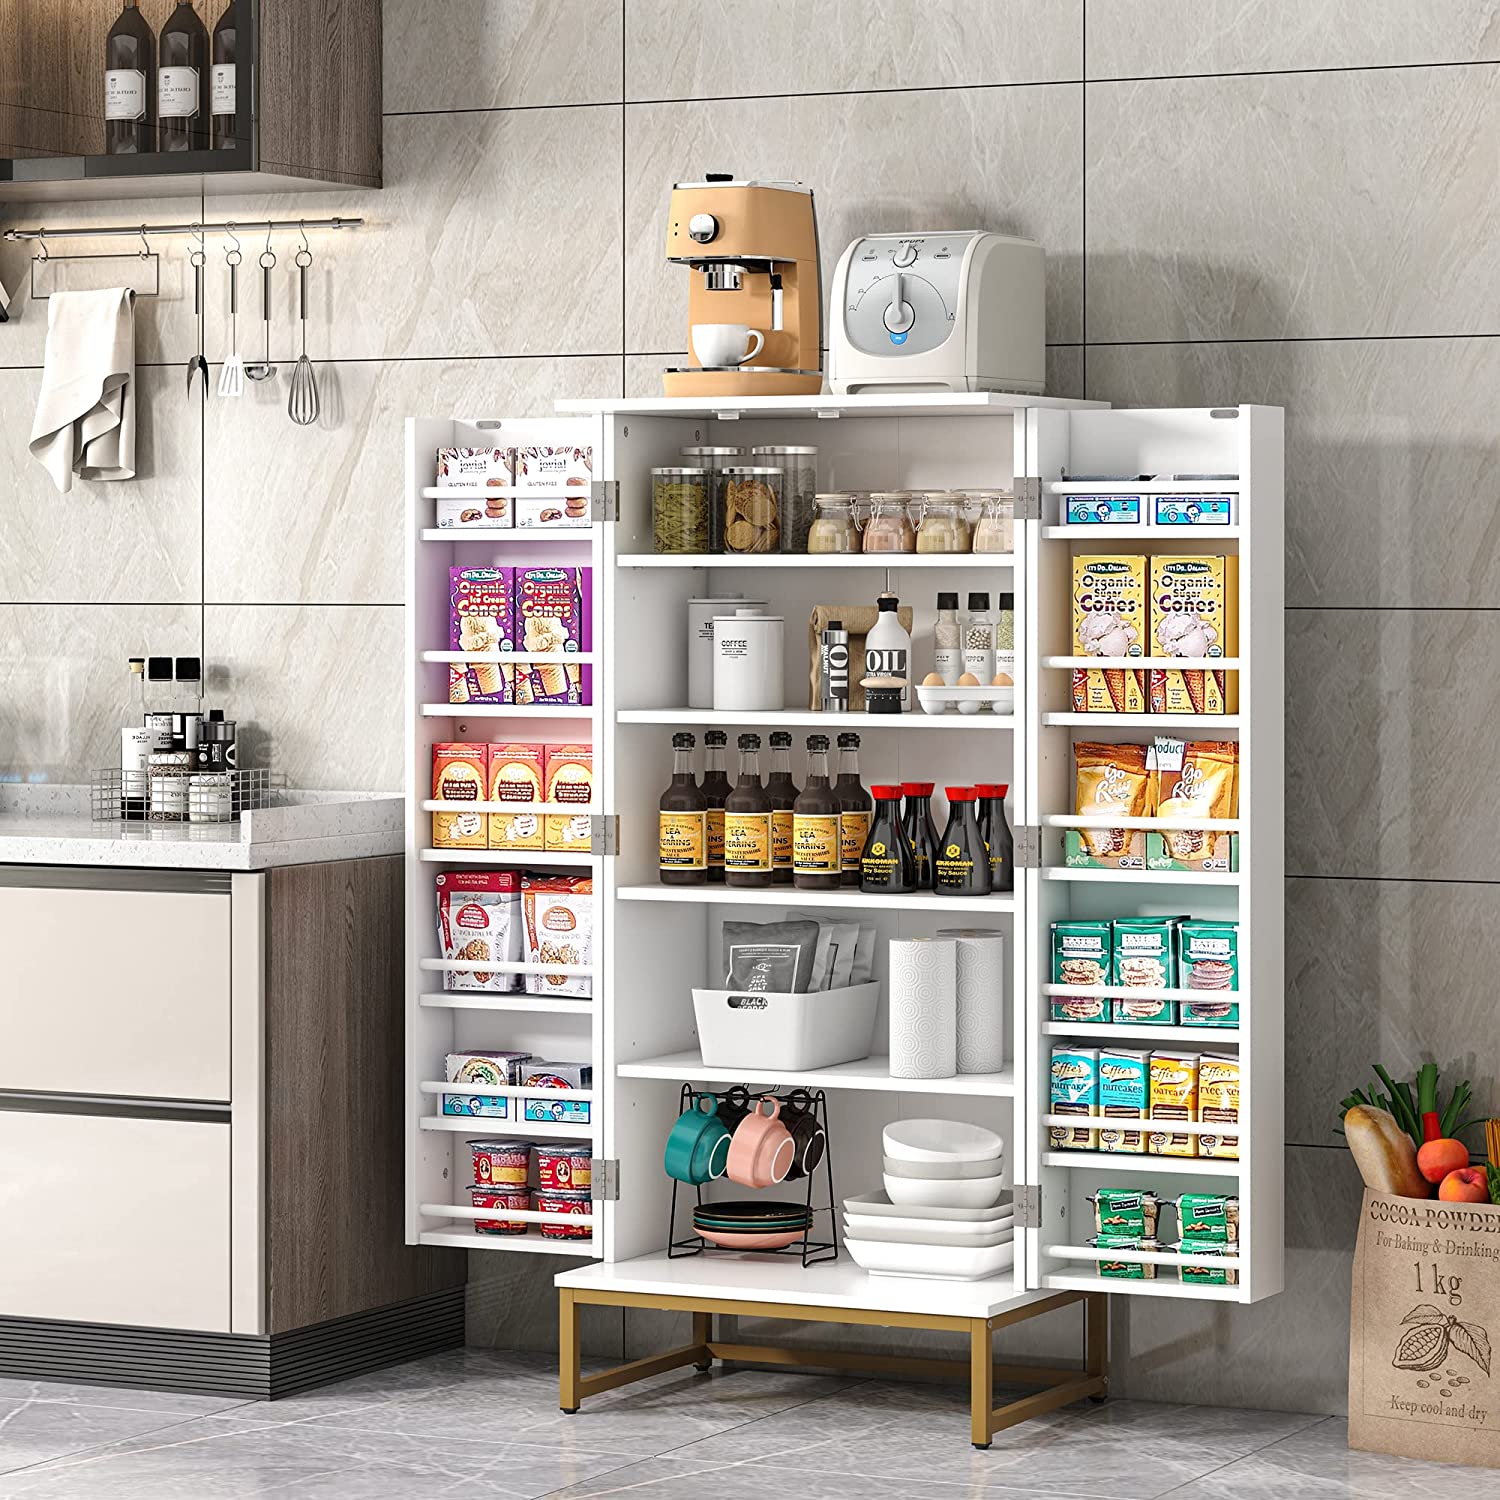
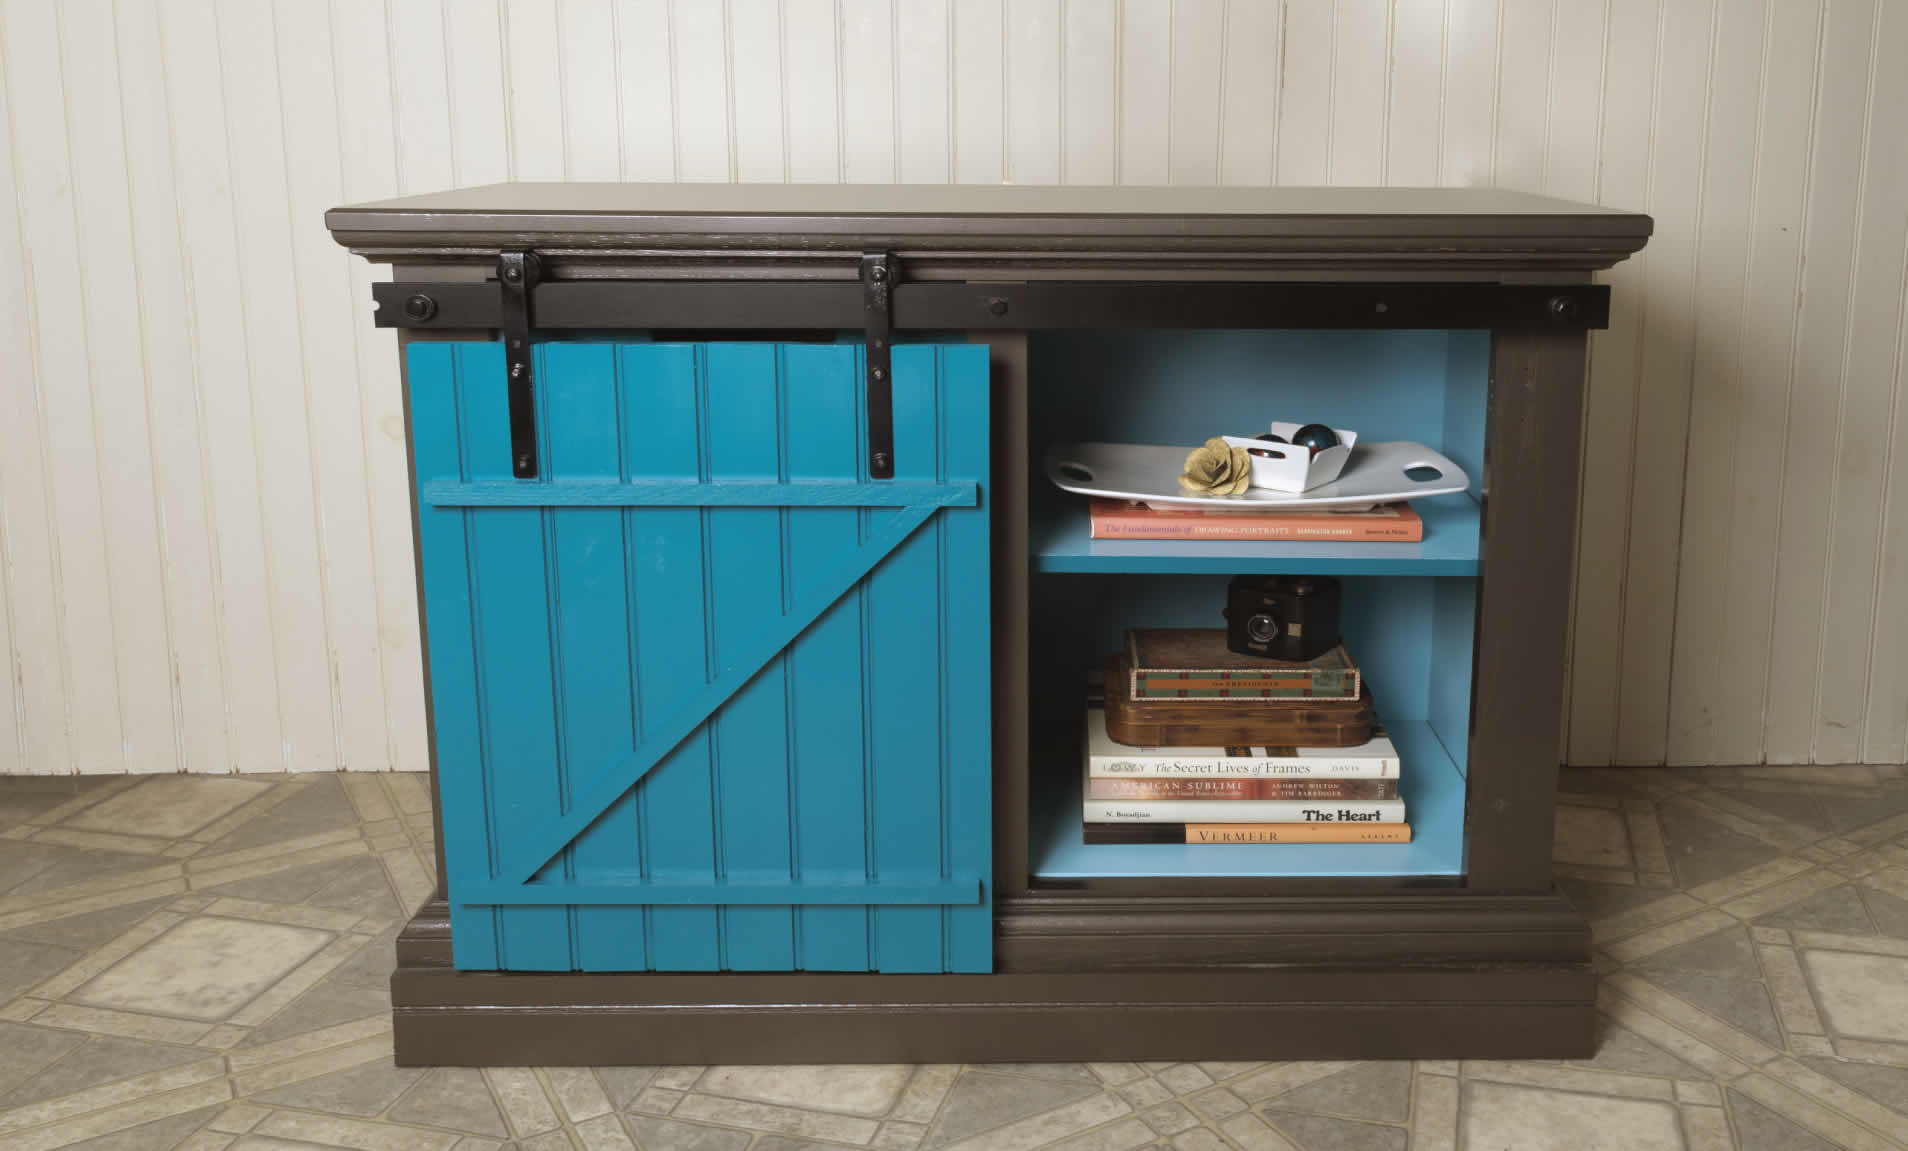
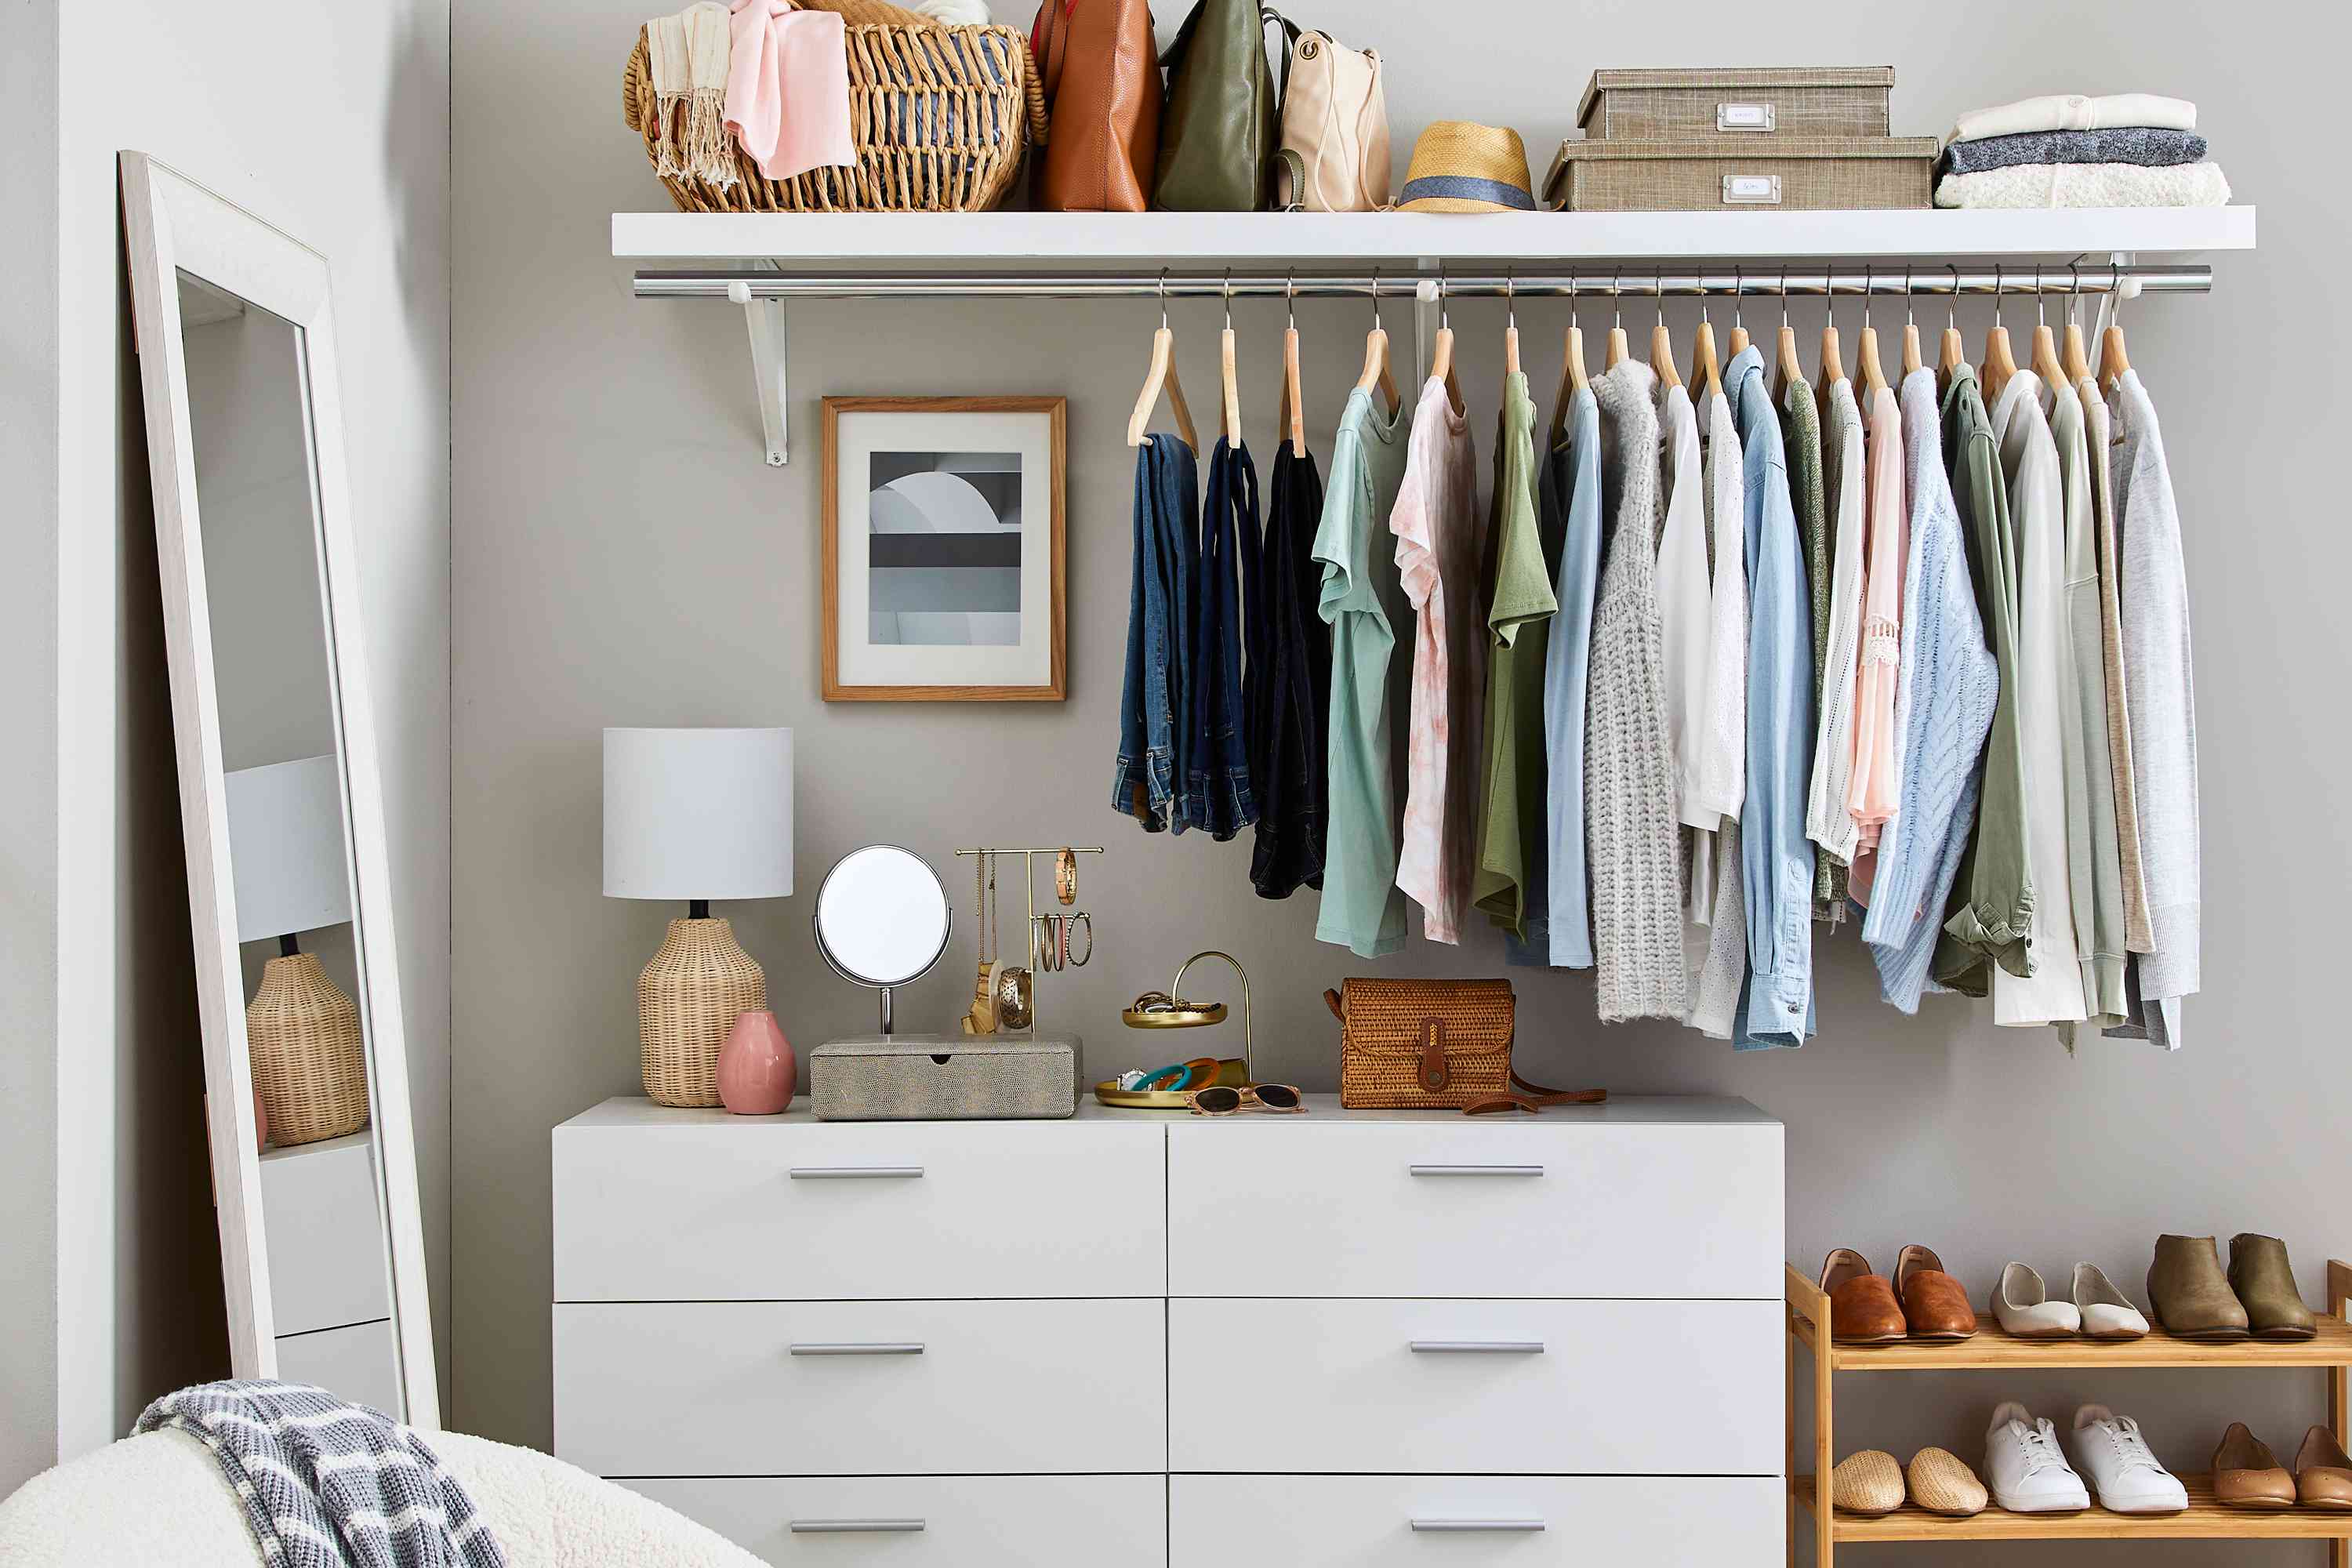
Welcome to our guide on how to make a built-in cabinet! If you’ve been looking to add storage and style to your space, building a custom cabinet can be a fantastic solution. Not only will it provide you with ample storage space, but it will also seamlessly blend into your room’s design.
Whether you’re a seasoned DIYer or a newbie to woodworking, this step-by-step tutorial will walk you through the process of building your own built-in cabinet. From planning and measurements to installing shelves and doors, we’ve got you covered.
Before we dive into the details of the project, let’s talk about the materials and tools you’ll need to get started.
Key Takeaways:
- Maximize storage and style by building a custom built-in cabinet to seamlessly blend into your space. Plan, measure, build, and finish to create a functional and visually appealing storage solution.
- Empower yourself with woodworking skills to create a personalized storage solution. From planning and building to finishing and painting, enjoy the process of crafting a stylish and practical built-in cabinet.
Read more: How To Remove A Built-In Pantry Cabinet
Materials and Tools Needed
To make a built-in cabinet, you will need the following materials:
- Plywood sheets for the cabinet body
- Wood boards for the frame
- Shelves and dividers
- Wood glue
- Screws
- Cabinet hardware such as hinges and knobs
- Paint or finish of your choice
In addition to the materials, you will need the following tools:
- Measuring tape
- Saw (circular saw or miter saw)
- Drill
- Screwdriver
- Sanding block or sandpaper
- Paintbrushes or rollers
- Level
Having these materials and tools ready before you start will ensure a smooth and efficient building process.
Planning and Measurements
Before you begin building your built-in cabinet, it’s important to spend some time on careful planning and accurate measurements. This will ensure that your cabinet fits perfectly in the designated space and meets your storage needs.
Here are a few steps to follow during the planning and measurement phase:
- Assess the space: Take measurements of the area where you want to install the built-in cabinet. Consider factors such as height, width, and depth to determine the appropriate size for your cabinet.
- Create a design: Sketch out a rough design of how you want your cabinet to look. Consider the number of shelves, the configuration of dividers, and any additional features you may want.
- Research and gather inspiration: Look for design ideas and inspiration online or in magazines. This will help you refine your design and make informed decisions.
- Determine materials and finishes: Choose the type of wood or plywood you want to use for your cabinet. Consider the finish or paint color that will complement your existing decor.
- Make a materials list: Based on your design and measurements, create a comprehensive list of all the materials and tools you will need for the project.
Remember to double-check your measurements and ensure they are accurate before proceeding to the construction phase. Taking the time to plan and measure properly will save you from potential mistakes and ensure a successful built-in cabinet project.
Building the Cabinet Frame
Once you have completed the planning and measurement phase, it’s time to start building the frame of your built-in cabinet. The frame will provide the structure and support for the cabinet.
Follow these steps to build the cabinet frame:
- Cut the plywood: Using your measurements, cut the plywood sheets for the top, bottom, sides, and back of the cabinet. Make sure to use a saw that is appropriate for the job.
- Assemble the sides and bottom: Apply wood glue along the edges of the plywood sheets and join them together to form the sides and bottom of the cabinet. Use screws to secure the pieces in place.
- Add the top and back: Attach the top piece by applying wood glue along the edges and securing it with screws. Then, attach the back piece onto the cabinet frame, ensuring it is properly aligned.
- Install support brackets: To reinforce the cabinet’s structure, add support brackets inside the cabinet. These brackets will help bear the weight of the shelves.
- Sand the frame: Once the frame is assembled, use sandpaper or a sanding block to smooth out any rough edges or surfaces.
Remember to double-check the squareness and levelness of the frame as you go along. This will ensure a sturdy and properly aligned cabinet.
With the cabinet frame in place, you can now move on to installing the shelves and dividers.
When making built-in cabinets, be sure to measure the space accurately and consider the function of the cabinets. Use high-quality materials and precise cutting for a professional finish.
Installing Shelves and Dividers
Now that you have successfully built the frame of your built-in cabinet, it’s time to focus on installing the shelves and dividers. These components will help maximize the storage space and keep your items organized.
Follow these steps to install the shelves and dividers:
- Measure and mark placement: Determine the desired height and spacing of the shelves and dividers within the cabinet. Use a measuring tape and a pencil to make accurate markings on the inside of the cabinet.
- Cut the shelves and dividers: Using the measurements from the previous step, cut the plywood sheets to the appropriate size for the shelves and dividers.
- Attach shelf brackets: Install shelf brackets on the sides of the cabinet, following the manufacturer’s instructions. These brackets will provide support for the shelves.
- Insert the shelves and dividers: Place the shelves and dividers onto the brackets and ensure they are level. Adjust as needed to achieve a balanced and functional storage space.
- Secure the shelves and dividers: Use screws to secure the shelves and dividers in place. Be sure to screw them into the brackets and the cabinet frame for added stability.
- Check for stability: Give the shelves and dividers a gentle shake to ensure they are securely attached. Make any necessary adjustments or reinforcements to ensure stability.
Installing the shelves and dividers is a crucial step in making your built-in cabinet functional and practical. With this step completed, you can now move on to adding the doors and hardware.
Read more: How To Make A Cabinet Door
Adding Doors and Hardware
Adding doors and hardware to your built-in cabinet not only enhances its appearance but also provides functionality and accessibility. Follow these steps to add doors and hardware to your cabinet:
- Measure and cut the doors: Measure the opening of the cabinet and cut plywood sheets to the appropriate size for the doors. Ensure that the doors are properly aligned and fit snugly within the cabinet frame.
- Attach hinges: Position the door hinges on the cabinet frame and mark the screw holes. Screw the hinges into place, making sure they are securely fastened. Repeat this step for each door.
- Attach door handles or knobs: Determine the desired location for the door handles or knobs. Use a drill to create holes for attaching the hardware. Install the handles or knobs and tighten them securely.
- Check the door alignment: Close the doors and check for proper alignment and clearance. Make any necessary adjustments to ensure that the doors open and close smoothly.
- Test the functionality: Open and close the doors multiple times to ensure that they operate properly. If necessary, make further adjustments to the hinges or hardware.
Once the doors and hardware are installed, you can move on to the next step—finishing and painting.
Adding doors and hardware is the final touch that will give your built-in cabinet a polished and complete look. Take your time during this step to achieve the desired result.
Finishing and Painting
After completing the construction and installation of your built-in cabinet, it’s time to apply the finishing touches with paint or stain. This step will not only protect the wood but also add the final aesthetic appeal to your cabinet. Follow these steps to finish and paint your cabinet:
- Sanding: Start by sanding the entire surface of the cabinet, including the frame, doors, and shelves. This will help create a smooth and even surface for the paint or stain.
- Clean the surface: Using a damp cloth, wipe away any dust or debris from sanding. Ensure that the surface is completely dry before proceeding.
- Apply wood conditioner (optional): If you are using stain, applying a wood conditioner before staining can help achieve a more even result. Follow the manufacturer’s instructions for the wood conditioner.
- Apply paint or stain: Use a paintbrush or roller to apply your chosen paint or stain to the cabinet. Apply multiple thin coats for an even and durable finish, allowing each coat to dry before applying the next.
- Seal the surface (optional): To protect the finish and enhance its longevity, consider applying a clear topcoat or sealer. This will also give your cabinet a polished and professional look.
- Allow for curing and drying: After applying the final coat, allow the paint or stain to cure fully according to the manufacturer’s instructions. This will ensure that the finish is fully hardened and ready for use.
Finishing and painting your built-in cabinet will not only protect it from wear and tear but also give it a personal touch that matches your style and the overall aesthetic of the room. Take your time during this step to achieve the desired result, and enjoy the transformation of your cabinet.
Conclusion
Congratulations on completing your built-in cabinet! By following this step-by-step guide, you have successfully built a functional and stylish storage solution that seamlessly integrates into your space. Building a custom cabinet allows you to maximize storage and tailor it to your specific needs and design preferences.
Throughout the process, you have learned how to plan and measure, build the cabinet frame, install shelves and dividers, add doors and hardware, and finish and paint your cabinet. These skills will not only serve you in this project but also empower you to take on future woodworking endeavors.
Remember, attention to detail, accurate measurements, and patience are key to a successful cabinet build. Take your time, double-check your work, and make adjustments as necessary. This will ensure that your built-in cabinet is sturdy, functional, and visually appealing.
Now that you have completed your built-in cabinet, it’s time to enjoy the newfound storage and style it brings to your space. Organize your belongings, showcase your favorite items, and revel in the satisfaction of creating something beautiful and practical with your own hands.
We hope this guide has been helpful and inspiring for your DIY project. Happy woodworking!
Frequently Asked Questions about How To Make Built In Cabinet
Was this page helpful?
At Storables.com, we guarantee accurate and reliable information. Our content, validated by Expert Board Contributors, is crafted following stringent Editorial Policies. We're committed to providing you with well-researched, expert-backed insights for all your informational needs.


0 thoughts on “How To Make Built In Cabinet”