Articles
How To Build Cabinet Box
Modified: September 1, 2024
Discover smart storage ideas for building a cabinet box and maximizing space in your home. Create efficient storage solutions with our expert tips and suggestions.
(Many of the links in this article redirect to a specific reviewed product. Your purchase of these products through affiliate links helps to generate commission for Storables.com, at no extra cost. Learn more)
Introduction
Welcome to our comprehensive guide on how to build a cabinet box. Whether you’re a DIY enthusiast or a professional carpenter, learning how to construct a cabinet box is an essential skill that can come in handy for various home improvement projects.
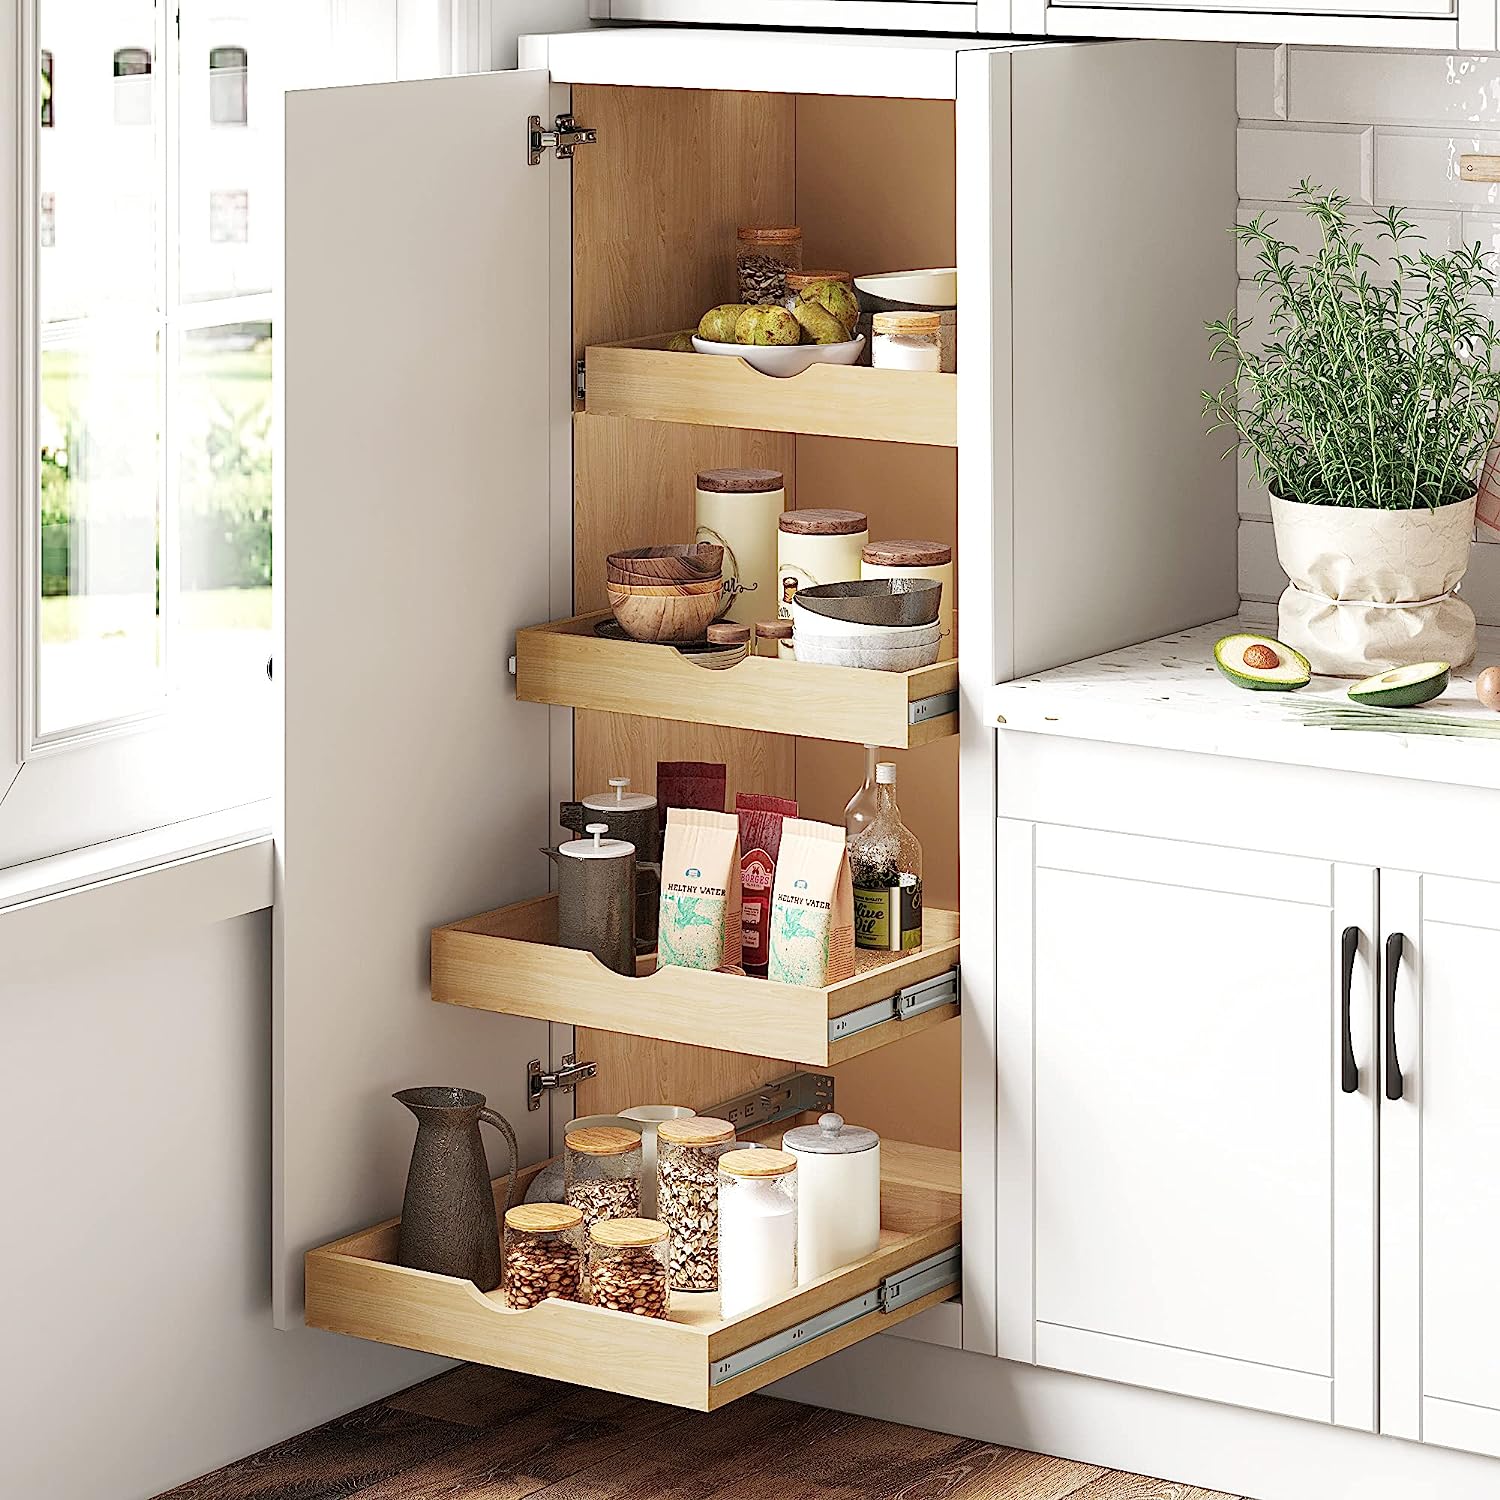
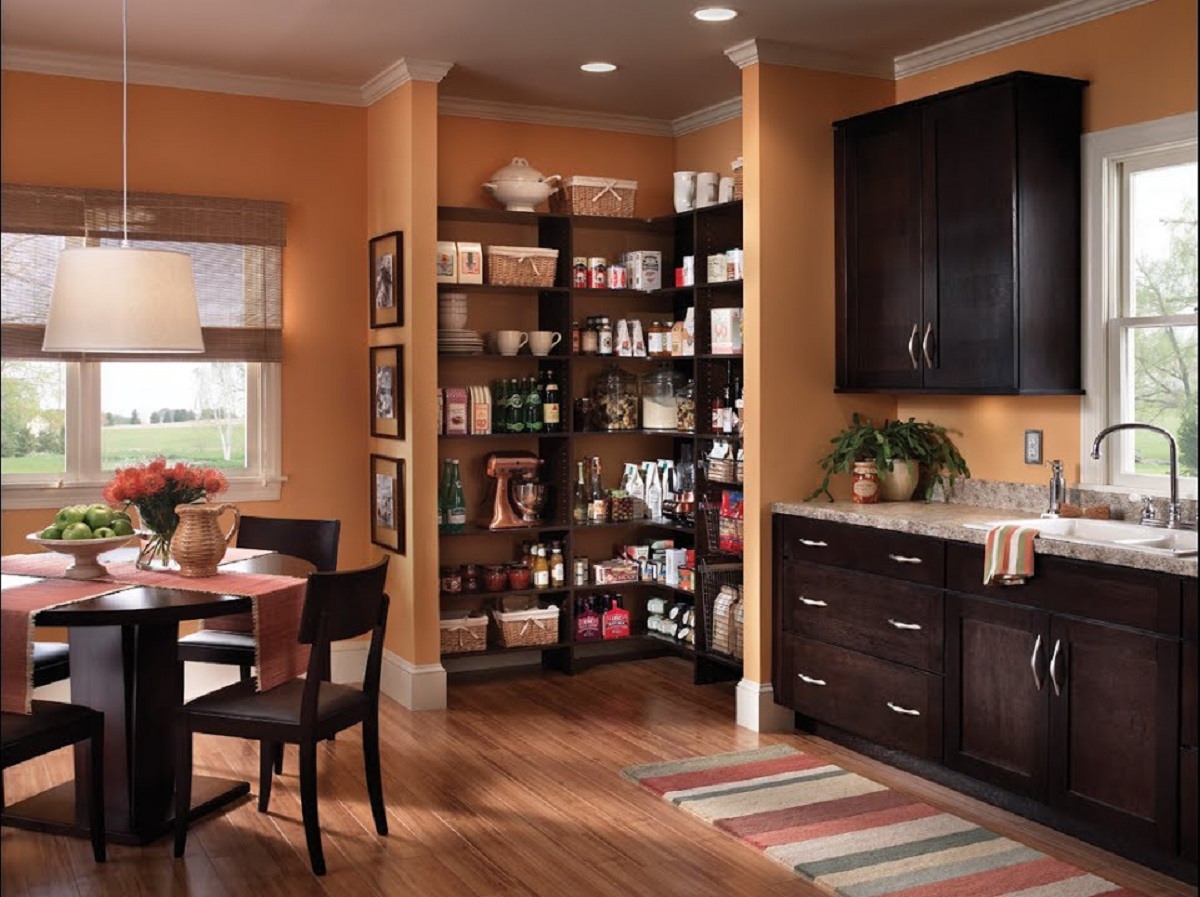
Building your own cabinet box allows you to customize the design, size, and functionality to perfectly suit your needs. Whether you’re looking to create additional storage space in your kitchen, bathroom, or any other area of your home, building a cabinet box is a practical and rewarding endeavor.
In this guide, we will walk you through the step-by-step process of building a cabinet box from scratch. But before we dive into the details, let’s take a look at the tools and materials you will need for this project.
Key Takeaways:
- Customize your cabinet box to fit your needs and style by following the step-by-step process outlined in this guide. From measuring and planning to adding shelves or drawers, create a functional and visually appealing storage solution for your home.
- Building and installing your own cabinet box is a rewarding DIY project that provides additional storage space and showcases your craftsmanship. With the right tools and materials, you can create a high-quality, personalized cabinet box that enhances the aesthetic appeal of your space.
Read more: How To Build A Cabinet
Tools and Materials Needed
Before you begin building your cabinet box, it’s important to gather all the necessary tools and materials. Here’s a comprehensive list of what you will need:
Tools:
- Circular saw or table saw
- Drill with various drill bits
- Measuring tape
- Clamps
- Screwdriver or screw gun
- Carpenter’s square
- Sandpaper or sanding block
- Safety glasses
- Ear protection
Materials:
- 3/4-inch plywood or MDF (medium-density fiberboard)
- Wood screws
- Wood glue
- Cabinet hardware (hinges, knobs, handles, etc.)
- Finishing nails
- Wood filler
- Paint or stain
These tools and materials are essential for building a basic cabinet box. Depending on your design and preferences, you may need additional tools or materials. It’s always a good idea to plan and gather everything you need before starting the project to avoid interruptions.
Now that you have your tools and materials ready, let’s move on to the first step of building a cabinet box: measuring and planning.
Step 1: Measuring and Planning
Before you start cutting any wood, it’s crucial to accurately measure the space where your cabinet box will be installed. Take precise measurements of the height, width, and depth of the desired cabinet space.
Once you have the measurements, it’s time to plan the design and layout of your cabinet box. Consider the purpose of the cabinet and how you will use it. Will it be used for storing dishes, appliances, or cleaning supplies? Do you need shelves or drawers?
Sketch out a rough layout of your cabinet box, including any desired shelves, drawers, or other features. This will serve as a guide for the next steps of the process.
Additionally, think about the style and finish you want for your cabinet box. Take into account the existing décor in your space and choose a design that complements it. Keep in mind that a well-designed cabinet box can add both functionality and aesthetic appeal to any room.
With your measurements and design plan in hand, you’re ready to move on to the next step: cutting the pieces.
Step 2: Cutting the Pieces
Now that you have your measurements and design plan, it’s time to cut the pieces for your cabinet box. Start by marking the dimensions of each piece on the plywood or MDF board.
Using a circular saw or table saw, carefully cut along the marked lines to create the top, bottom, sides, and back pieces of the cabinet box. Make sure to wear safety glasses and follow proper safety precautions while operating the saw.
When cutting the pieces, it’s important to double-check your measurements and ensure the cuts are precise. This will ensure that all the pieces fit together correctly during the assembly process.
Once all the pieces are cut, use sandpaper or a sanding block to smooth any rough edges or surfaces. This will create a clean and professional finish for your cabinet box.
Before moving on to the next step, take a moment to review your pieces and make sure they are all cut to the correct dimensions. This will help prevent any issues during the assembly process.
Now that you have your pieces ready, it’s time to start assembling the cabinet box in the next step.
When building a cabinet box, ensure that all the pieces are cut accurately and use a square to ensure the corners are perfectly aligned before securing them together.
Step 3: Assembling the Box
Now that you have your pieces cut, it’s time to assemble the cabinet box. Start by laying out the bottom piece on a flat and stable surface. Apply a thin layer of wood glue along the edges where the sides and back will join the bottom piece.
Next, align the side piece with the bottom piece and press them together firmly. Use clamps to hold the pieces in place while the glue dries. Make sure the edges are flush and check for squareness using a carpenter’s square.
Repeat this process for the other side piece and the back piece. Apply wood glue to the edges, align the pieces, and use clamps to hold them in place. Check for squareness and adjust if necessary.
Once the glue has dried and the sides and back are securely attached to the bottom piece, it’s time to attach the top piece. Apply wood glue to the edges of the sides and back, align the top piece, and clamp it in place. Use a carpenter’s square to ensure the box remains square during this step.
Allow the glue to dry completely, following the manufacturer’s instructions. This may take a few hours or overnight, depending on the type of glue used.
Once the glue is fully dried and the box is solid, reinforce the joints by drilling pilot holes and inserting wood screws. This will provide additional stability and strength to the cabinet box. Make sure to countersink the screws so they are flush with the surface of the wood.
With the box assembled and reinforced, it’s time to move on to the next step: adding shelves or drawers.
Read more: How To Build A Shelf In A Cabinet
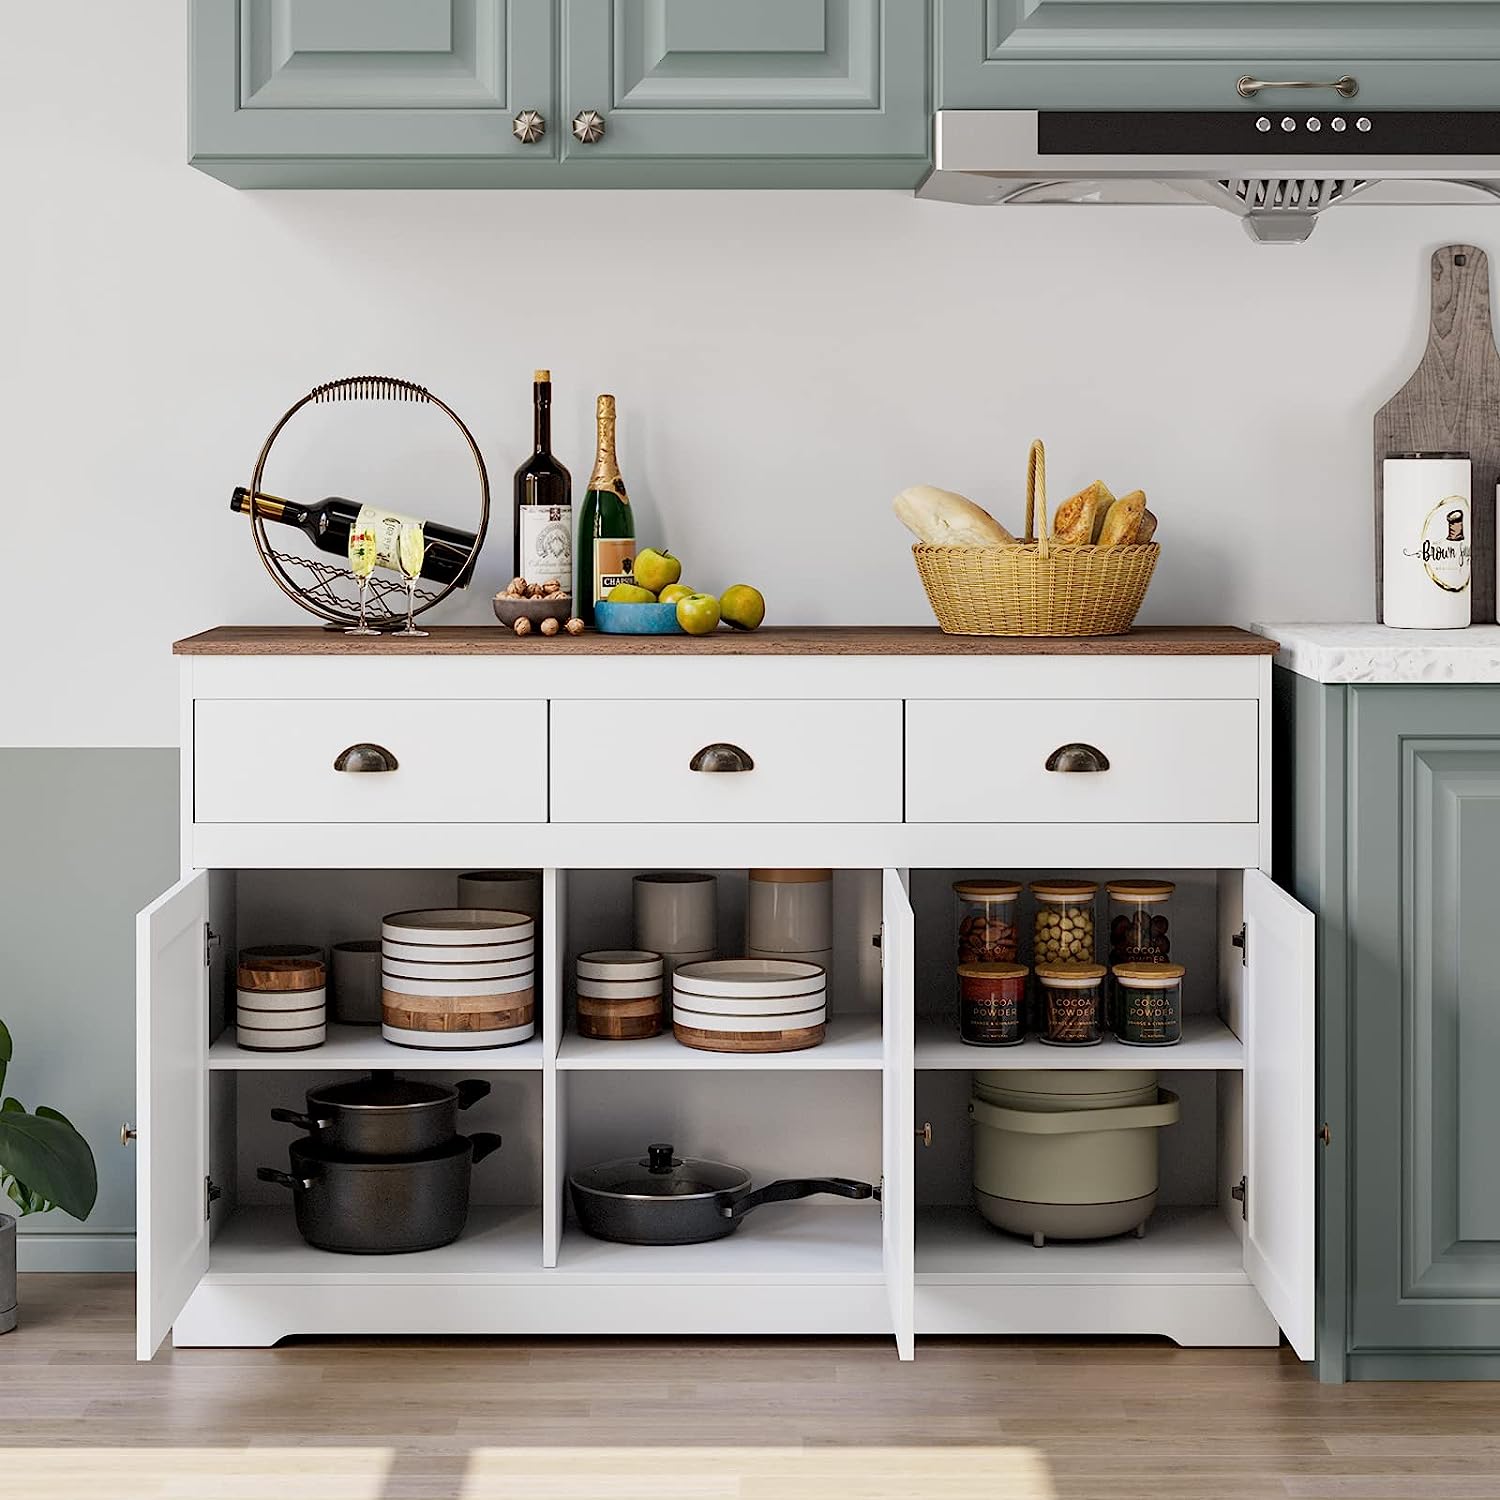
Step 4: Adding Shelves or Drawers
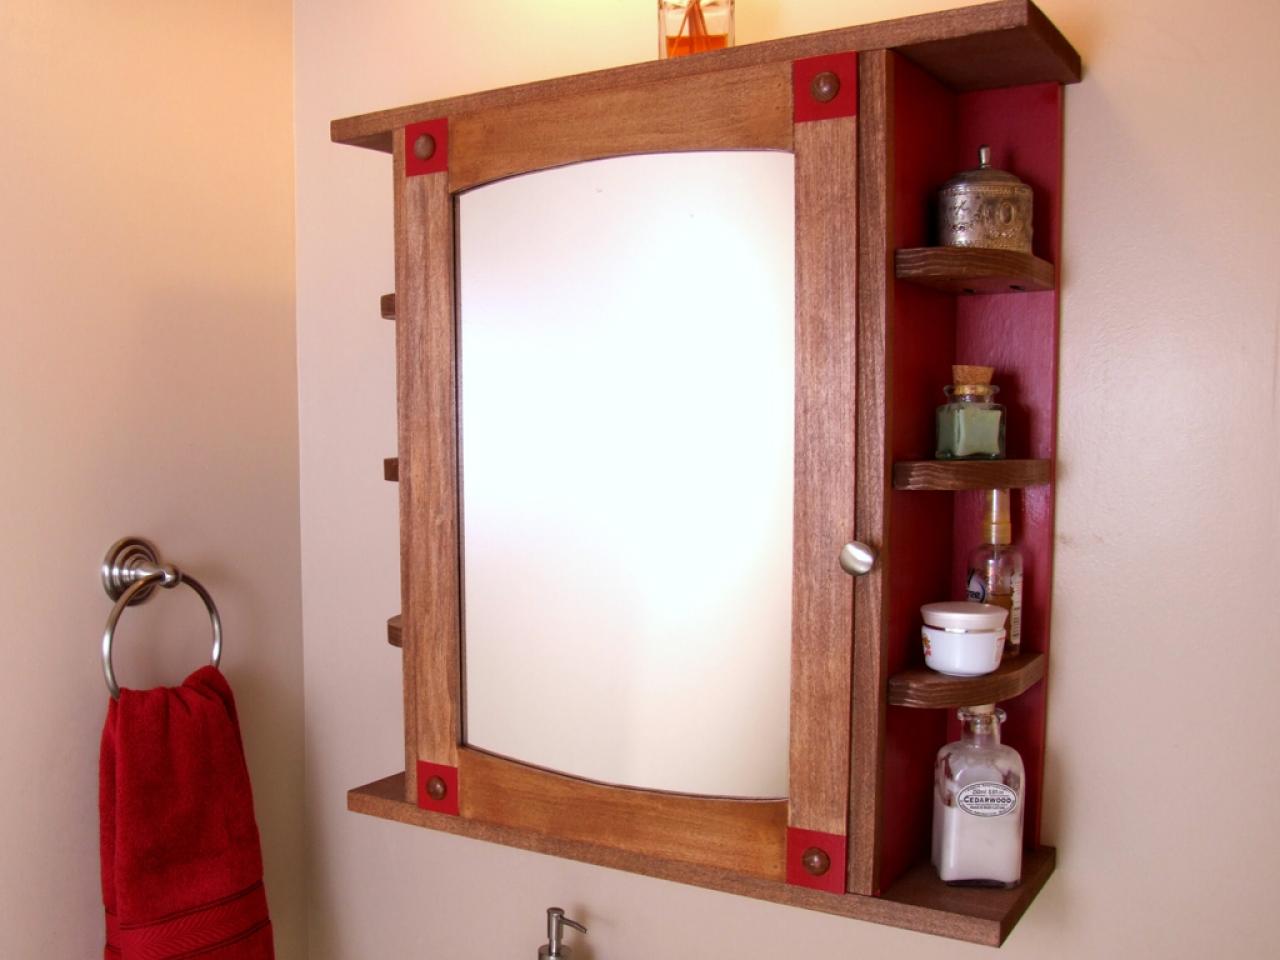
After successfully assembling the cabinet box, it’s time to decide whether you want to add shelves or drawers to enhance its functionality. Adding shelves or drawers can help maximize the storage space and make it easier to organize your items.
If you choose to add shelves, measure and mark the desired height for each shelf inside the cabinet box. Use a circular saw or table saw to cut pieces of plywood or MDF to fit as the shelves. Apply wood glue along the edges of the sides and back where the shelves will rest, and then place the shelves in position. Clamp them and allow the wood glue to dry completely before releasing the clamps.
If you prefer to incorporate drawers, you will need to measure the internal width and depth of the cabinet box to determine the size of the drawers. Cut pieces of plywood or MDF for the drawer fronts, sides, and back. Use a router or a dado blade on the table saw to create grooves for the drawer bottoms. Assemble the drawer pieces, ensuring they are square and align perfectly. Install drawer slides according to the manufacturer’s instructions, and then attach the drawer fronts to complete the installation of the drawers.
Whether you choose shelves or drawers, make sure they are level, flush, and operate smoothly. Test them by placing items inside to ensure they can hold the weight without any issues.
With the addition of shelves or drawers, your cabinet box is now fully functional and ready for installation. In the next step, we will guide you through the process of installing the cabinet box.
Step 5: Installing the Cabinet Box
With your cabinet box fully assembled and the shelves or drawers in place, it’s time to install it in its designated location.
Start by determining the placement of the cabinet box. Use a level to ensure it is perfectly straight and aligned. Mark the placement on the wall using a pencil.
Next, use a stud finder to locate the wall studs where you will attach the cabinet box. It’s important to secure the cabinet to the studs for stability and weight support.
Using a drill and screws, attach the cabinet box to the wall studs. Make sure to drill through the back of the cabinet into the studs for a secure and stable installation.
Check the levelness of the cabinet box before fully tightening the screws. Make any necessary adjustments to ensure the box is perfectly level and aligned with your markings on the wall.
Once the cabinet box is securely attached to the wall, double-check all the doors, drawers, and shelves to ensure they are functioning properly. Make any adjustments or fixes as needed.
Finally, apply any desired finishes, such as paint or stain, to the cabinet box. This will add a beautiful and polished look to your project while protecting the wood from damage.
Congratulations! You have successfully built and installed your own cabinet box. Take a moment to step back and admire your work. Your new cabinet box will provide functional storage and enhance the aesthetic appeal of your space.
Remember to personalize your cabinet box by adding hardware such as hinges, knobs, or handles that complement your style and design preferences.
Now that you know how to build and install a cabinet box, you have the skills to create additional storage solutions for any room in your home. Enjoy the satisfaction of completing a DIY project that is both functional and visually pleasing.
If you found this guide helpful, feel free to share it with others who may be interested in building their own cabinet boxes!
Happy building!
Conclusion
Building a cabinet box from scratch is a rewarding and practical project that allows you to customize storage solutions for your home. By following the step-by-step process outlined in this guide, you have learned the essential skills required to create a functional and visually appealing cabinet box.
From measuring and planning to cutting the pieces, assembling the box, and adding shelves or drawers, each step is crucial in creating a sturdy and well-designed cabinet box. By paying attention to detail and using the right tools and materials, you can create a high-quality cabinet box that fits seamlessly into your space.
Remember to take accurate measurements, double-check your cuts, and ensure the cabinet box is level and secure when installing it. Adding finishing touches such as paint or stain and hardware will further enhance the overall look and functionality of your cabinet box.
Building your own cabinet box not only provides you with additional storage space but also allows you to showcase your craftsmanship. The sense of accomplishment you’ll feel when completing this project is truly satisfying.
Now that you have the knowledge and skills, you can apply them to future projects and continue to improve your woodworking abilities. Whether it’s building more cabinets, furniture, or other carpentry projects, the possibilities are endless.
Remember to always prioritize safety while working with power tools and follow the manufacturer’s instructions. Take your time, measure twice, and enjoy the process of creating something beautiful and functional for your home.
We hope this guide has been informative and helpful in your journey to build a cabinet box. Now, go ahead and put your skills to the test!
Happy building!
Frequently Asked Questions about How To Build Cabinet Box
Was this page helpful?
At Storables.com, we guarantee accurate and reliable information. Our content, validated by Expert Board Contributors, is crafted following stringent Editorial Policies. We're committed to providing you with well-researched, expert-backed insights for all your informational needs.

0 thoughts on “How To Build Cabinet Box”