Articles
How To Make A Perfect Box With Hand Tools
Modified: December 7, 2023
Learn how to create the ideal box using only hand tools with our informative articles. Master the art of woodworking and craftsmanship.
(Many of the links in this article redirect to a specific reviewed product. Your purchase of these products through affiliate links helps to generate commission for Storables.com, at no extra cost. Learn more)
Introduction
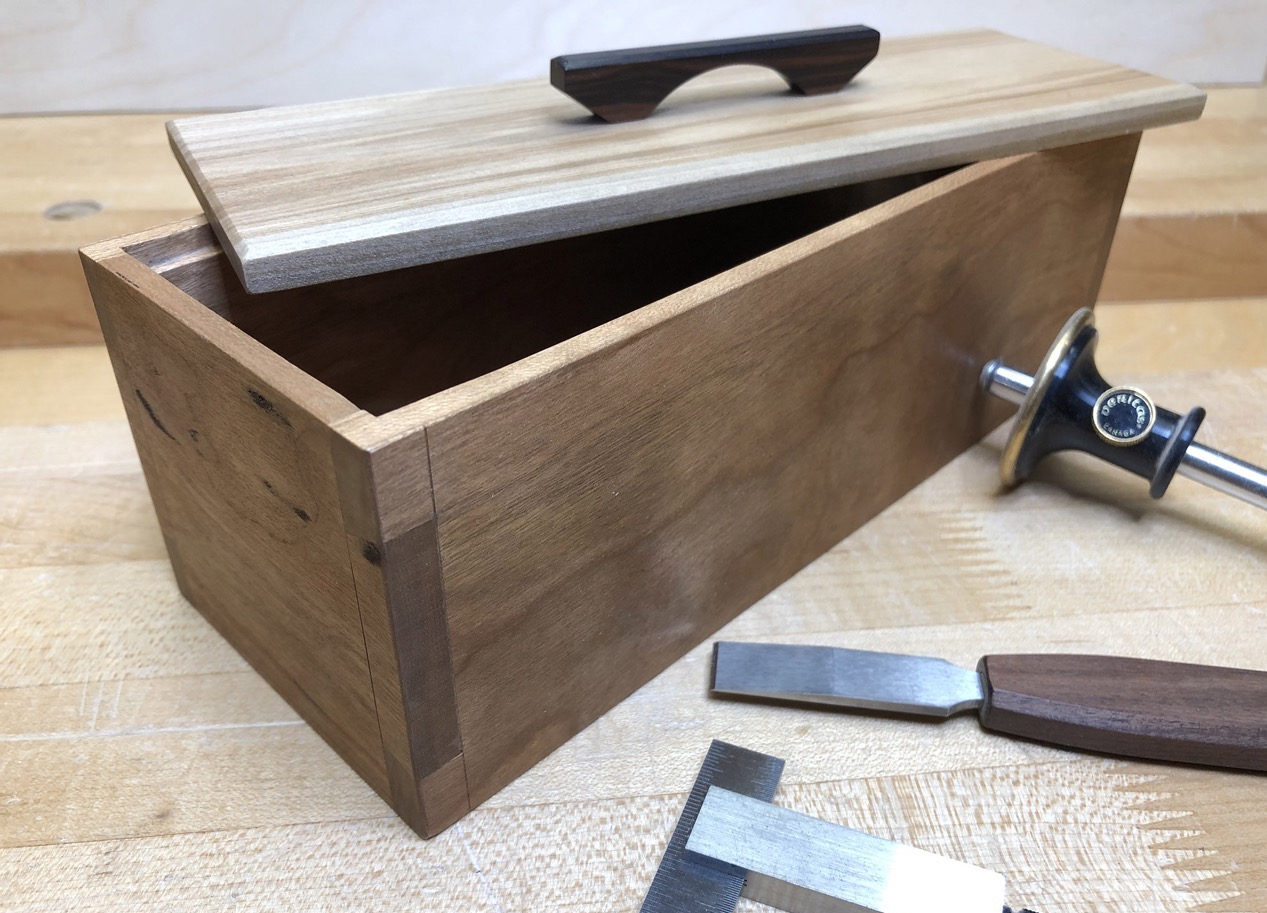
Creating a perfect box with hand tools is a rewarding and satisfying woodworking project. Whether you are a seasoned woodworker or a beginner looking to hone your skills, making a box manually offers a unique experience that connects you with the craftsmanship of the past. In this article, we will guide you through the step-by-step process of creating a perfect box using only hand tools.
While modern woodworking often relies on power tools for efficiency, using hand tools allows you to connect more intimately with the wood and the development of your project. It’s a slower, more deliberate process that requires patience and precision, but the end result is a box that exudes quality and craftsmanship.
Before we dive into the details of creating the perfect box, let’s take a moment to gather the necessary materials and tools. Having everything prepared before you start will make the process smoother and more enjoyable.
Key Takeaways:
- Embrace the timeless art of woodworking by creating a perfect box with hand tools. From meticulous planning to precise joinery, each step connects you with the craft’s rich tradition and rewards you with a one-of-a-kind masterpiece.
- Connect intimately with the woodworking process, from planning and measuring to sanding and finishing. Using hand tools allows for a slower, deliberate approach, resulting in a beautifully crafted box that exudes quality and craftsmanship.
Read more: How To Make A Birch Box With Hand Tools
Materials and Tools
Before beginning your box-making journey, it’s important to gather all the necessary materials and tools. Here are the essentials you’ll need:
Materials:
- Wood: Choose a high-quality wood of your preference, such as oak, walnut, or maple. Ensure it is well-dried and free of knots and defects.
- Wood glue: Opt for a strong and reliable wood glue for joining the box components.
- Sandpaper: Have a variety of grits available, ranging from coarse to fine, to ensure a smooth finish.
- Finish: Select an appropriate finish to protect and enhance the natural beauty of the wood.
Tools:
- Measuring tools: A combination square, ruler, and measuring tape will help ensure accurate measurements.
- Marking tools: Use a pencil or a marking knife to make precise markings on the wood.
- Saw: A crosscut saw and a backsaw or dovetail saw are essential for cutting the wood.
- Chisels: A set of chisels will be necessary for shaping and creating joinery in the box.
- Mallet: Use a wooden or rubber mallet to strike the chisel gently when removing waste material.
- Clamps: Clamps are crucial for holding the box components together during assembly.
- Hand plane: A smoothing plane or block plane will help refine surfaces and achieve a perfect fit.
- Sanders: Sanding blocks or sanding planes will aid in smoothing and refining the wood surfaces.
- Finishing brushes or rags: These are essential for applying the finish evenly.
Gathering the right materials and tools before starting your box-making project will ensure a smooth workflow and maximize your chances of creating a perfect box by hand.
Step 1: Planning and Measuring
Before you begin cutting and shaping the wood, it’s crucial to spend time planning and measuring. This step sets the foundation for creating a perfectly proportioned and well-fitting box. Here’s how to approach this important phase:
1. Design and dimensions: Decide on the overall design and dimensions of your box. Consider its purpose and the items you intend to store inside. Sketch out the design, noting the height, width, and depth you desire. This will serve as a blueprint for the rest of the project.
2. Choose your joinery technique: There are various joinery techniques you can use to assemble your box, such as dovetails, box joints, or rabbets. Research the options and choose one that suits your skill level and desired aesthetic.
3. Select the wood: Carefully choose the type of wood for your box. Consider both its durability and its visual appeal. Hardwoods like oak, walnut, and maple are popular choices due to their strength and beauty.
4. Measurements: Use measuring tools like a combination square and ruler to measure and mark the dimensions of each box component. Ensure the measurements are accurate and consistent.
5. Account for the thickness of the wood: When measuring and cutting the components, remember to account for the thickness of the wood. This will ensure that the assembled box achieves the desired dimensions.
6. Create a cut list: Based on your measurements, create a cut list that details the dimensions of each component. This will help you stay organized and efficient during the cutting and shaping process.
By investing time in careful planning and accurate measurements, you set yourself up for success in creating a perfectly proportioned and visually pleasing box. With these preparations complete, you’re ready to move on to the next step: marking and cutting the wood.
Step 2: Marking and Cutting
Once you have completed the planning and measuring phase, it’s time to move on to marking and cutting the wood for your box. This step requires precision and attention to detail to ensure that each component fits together seamlessly. Follow these steps to get started:
1. Transfer measurements: Use a pencil or marking knife to transfer the measurements from your cut list onto the wood. Make accurate marks on the surface, ensuring that they are easily visible.
2. Consider grain direction: When marking the wood, take note of the direction of the grain. For a visually appealing box, align the grain in a consistent direction across all components. This will enhance the overall aesthetic of the finished piece.
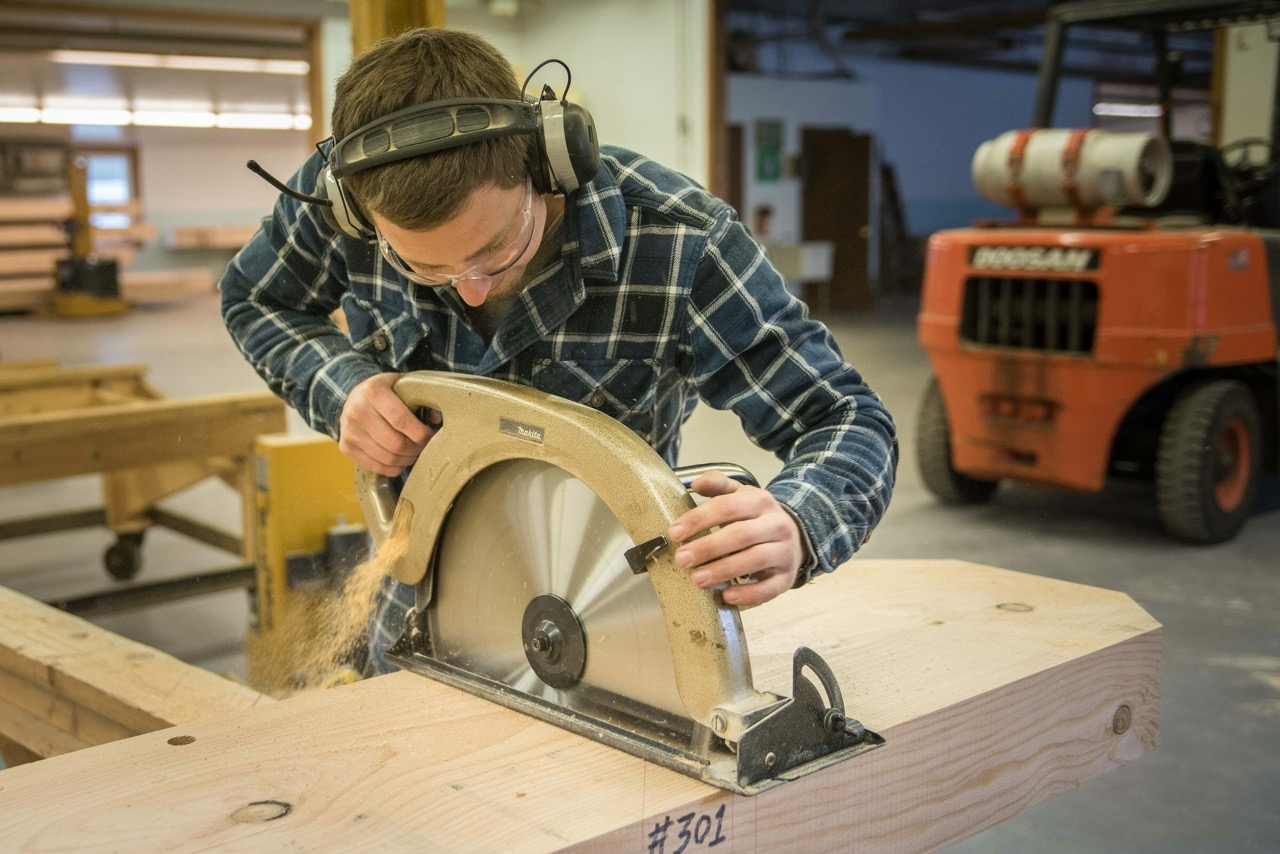
3. Cut the components: Using a saw appropriate for the type of cut you need (such as a crosscut saw for perpendicular cuts), carefully cut along the marked lines for each component. Take your time and follow the lines accurately to achieve clean and precise cuts.
4. Keep waste pieces: As you cut, set aside any waste pieces that may be created. These can be used later for test fitting or as additional support during assembly.
5. Double-check measurements: After cutting each component, double-check the measurements to ensure they match your intended design. Make any necessary adjustments before moving on to the next step.
Remember to work at a steady pace and maintain focus throughout the marking and cutting process. Taking your time and paying attention to detail will result in accurately cut components that fit together smoothly. With the wood ready, it’s time to explore different joinery techniques in the next step.
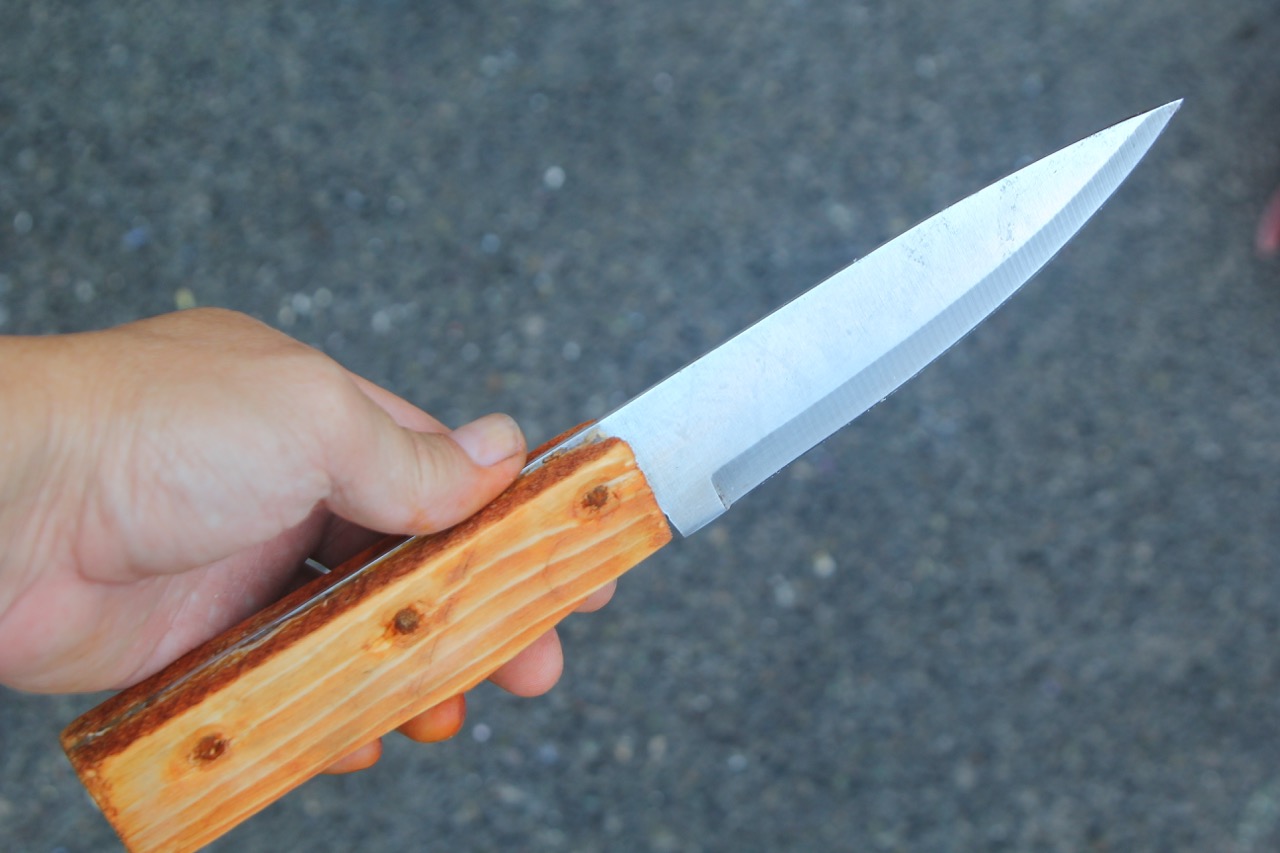
When cutting the pieces for your box, always measure twice and cut once to ensure accuracy and minimize mistakes. Use a sharp marking knife for precise layout lines.
Step 3: Joinery Techniques
Joinery is a fundamental aspect of box-making that determines the strength, stability, and visual appeal of the final product. There are several joinery techniques you can use to assemble the components of your box. In this step, we’ll explore a few commonly used techniques:
1. Dovetail joints: Dovetail joints are known for their strength and decorative appeal. They involve interlocking pins and tails, creating a tight and sturdy connection. To create dovetail joints, use a chisel and saw to carefully remove waste material and shape the pins and tails to fit together seamlessly.
2. Box joints: Box joints, also known as finger joints, are a simpler yet effective way to join box components. They involve interlocking rectangular fingers, providing excellent strength and stability. To create box joints, carefully cut evenly spaced slots with a saw and then remove the waste material between the slots with a chisel.
3. Rabbet joints: Rabbet joints involve creating a recess or groove along the edge of one component that allows another component to fit into it. Rabbet joints are commonly used for assembling the bottom of the box to the sides. You can create rabbets using a chisel or a router with a rabbeting bit.
4. Miter joints: Miter joints involve cutting two components at a 45-degree angle and joining them to create a clean and seamless corner. Miter joints are commonly used for decorative boxes or boxes with an emphasis on aesthetics. Ensure precise and accurate cuts for a perfect fit.
Choose the joinery technique that aligns with your skill level, desired aesthetics, and box design. Practice and patience are key to master these techniques, so don’t be discouraged if it takes time to achieve the desired results. Once you have chosen your technique and prepared the components, it’s time to move on to the exciting process of assembly in the next step.
Read more: Who Makes Milwaukee Hand Tools?
Step 4: Assembly
With the joinery techniques mastered and the components prepared, it’s time to bring your box to life through assembly. This step involves carefully fitting the pieces together to create a sturdy and well-constructed structure. Follow these steps for a successful assembly:
1. Dry fit: Before gluing, perform a dry fit by assembling the components without any adhesive. This allows you to ensure everything fits together properly and make any necessary adjustments or refinements.
2. Apply wood glue: Once you are satisfied with the dry fit, disassemble the pieces and apply a thin layer of wood glue to the joinery surfaces. Use a brush or your finger to evenly spread the glue while avoiding excessive application.
3. Reassemble: Carefully reassemble the components, ensuring that the joinery fits snugly together. Apply gentle pressure to ensure the tightest bond possible.
4. Check for squareness: Use a combination square to check if the corners are perfectly square. If necessary, adjust the alignment of the components before the glue sets. Clamps can be helpful in holding the box together during this process.
5. Wipe off excess glue: Before the glue dries, use a damp cloth or sponge to wipe off any excess glue that may have squeezed out from the joints. This will prevent unsightly glue stains on the finished box.
6. Allow time for curing: Once the box is assembled, allow the glue to cure as per the manufacturer’s instructions. Avoid putting stress on the joints during this time to ensure a strong and durable bond.
With the components joined together, your box is taking shape. However, there are still a few more steps to achieve a perfect finish. Sanding and finishing are up next.
Step 5: Sanding and Finishing
After the assembly is complete, it’s time to refine the box’s surfaces through sanding and apply a finish to enhance its natural beauty and protect the wood. Follow these steps to achieve a perfectly smooth and finished box:
1. Sanding: Start by using coarse-grit sandpaper to remove any rough edges, imperfections, or glue residue from the box. Gradually progress to finer-grit sandpaper, ensuring that each pass smooths the surface before moving on to the next grit. Sand with the grain of the wood to avoid scratches and unevenness.
2. Round over edges: Use sandpaper or a hand plane to round over sharp edges of the box, providing a more comfortable and visually appealing feel. Take care to maintain a consistent, smooth curve along the edges.
3. Clean the surface: After sanding, use a brush or a clean cloth to remove any dust or debris from the surfaces. Ensure the wood is clean and free from any particles that may affect the finish.
4. Apply the finish: Choose a suitable finish for your box, such as oil, varnish, or lacquer. Apply the finish according to the manufacturer’s instructions, using a brush, cloth, or spray. Ensure even coverage and allow the finish to dry between coats if multiple coats are needed for the desired effect.
5. Inspect and touch up: After the finish has dried, inspect the box for any blemishes, drips, or imperfections. Sand lightly or use a scraping tool to remove any flaws, and apply touch-up coats of finish if necessary.
Sanding and finishing the box not only enhances its appearance but also protects the wood from moisture and wear. The result will be a smoothly finished box that showcases the beauty of the chosen wood. Lastly, let’s conclude the article by summarizing the process and the satisfaction of creating a perfect box with hand tools.
Conclusion
Creating a perfect box with hand tools is a deeply satisfying woodworking project. By following the step-by-step process outlined in this article, you can achieve a beautifully crafted box that showcases your skill and dedication to the craft. Let’s recap the key steps to making a perfect box:
1. Plan and measure: Carefully plan the design and dimensions of your box, choosing the appropriate joinery technique and selecting high-quality wood.
2. Mark and cut: Transfer measurements onto the wood and cut each component with precision, accounting for grain direction and considering the type of joinery you will be using.
3. Joinery techniques: Explore different joinery techniques such as dovetails, box joints, rabbets, or miters to assemble the box components securely and add aesthetic appeal.
4. Assembly: Apply wood glue and assemble the box, ensuring the joinery fits tightly. Check for squareness and wipe off excess glue before allowing it to cure.
5. Sanding and finishing: Refine the box by sanding the surfaces, rounding over edges, and applying a suitable finish to protect and enhance the wood’s natural beauty.
By following these steps and using hand tools, you fully engage with the woodworking process, connecting with the materials and creating a one-of-a-kind piece. The patience, craftsmanship, and attention to detail required will reward you with a sense of accomplishment and a durable box that can be cherished for years to come.
So gather your materials, sharpen your tools, and embark on the journey of creating a perfect box with hand tools. Embrace the process, enjoy the craftsmanship, and let your creativity shine through each step. Happy woodworking!
Frequently Asked Questions about How To Make A Perfect Box With Hand Tools
Was this page helpful?
At Storables.com, we guarantee accurate and reliable information. Our content, validated by Expert Board Contributors, is crafted following stringent Editorial Policies. We're committed to providing you with well-researched, expert-backed insights for all your informational needs.


0 thoughts on “How To Make A Perfect Box With Hand Tools”