Articles
How To Store Rocks
Modified: December 7, 2023
Discover the best articles on how to store rocks and keep them in pristine condition. Learn the essential techniques and materials for proper rock storage.
(Many of the links in this article redirect to a specific reviewed product. Your purchase of these products through affiliate links helps to generate commission for Storables.com, at no extra cost. Learn more)
Introduction
Have you ever found yourself with a collection of rocks that you don’t quite know what to do with? Whether you’re an avid rock collector, a geologist, or simply someone who appreciates the beauty of nature’s creations, learning how to store rocks properly is essential. Proper storage not only keeps your rocks safe but also helps to preserve their beauty and integrity over time.
In this article, we will explore the best practices for storing rocks and minerals. We will discuss the importance of choosing the right storage location, cleaning and preparing rocks for storage, organizing and labeling your collection, packaging and storing rocks for long-term preservation, protecting rocks from damage and decay, and maintaining the storage area. By following these guidelines, you can ensure that your rock collection remains in pristine condition and is accessible for study or display whenever you desire.
So, whether you have a small collection of precious gemstones or a vast assortment of fossils, let’s dive into the world of rock storage and discover how to keep your treasures safe and sound.
Key Takeaways:
- Proper rock storage involves choosing the right location, cleaning and organizing rocks, and using appropriate packaging to protect them from damage and decay.
- Maintaining a clean, stable storage area with controlled humidity and temperature is crucial for long-term preservation of rock collections. Regular inspection and proper handling ensure the rocks remain in pristine condition.
Read more: How To Store Rock Collection
Choosing the Right Storage Location
When it comes to storing rocks, choosing the right storage location is crucial. The ideal storage space should provide a stable environment, away from potential hazards that could damage or degrade the rocks. Here are a few factors to consider when selecting a suitable storage location:
- Temperature and Humidity: Rocks are sensitive to fluctuations in temperature and humidity. It’s best to store them in a location with consistent temperature and humidity levels. Avoid areas prone to extreme temperature changes, such as attics or basements, as these can cause damage over time.
- Light Exposure: Many rocks can be affected by prolonged exposure to sunlight or artificial light sources. Choose a storage space that is away from direct light to prevent fading or discoloration.
- Ventilation: Proper ventilation is important to prevent the buildup of moisture or odors that could potentially damage the rocks. Make sure the storage area has adequate airflow to maintain a dry and fresh environment.
- Security: Depending on the value and rarity of your rock collection, you may want to consider the security of the storage location. If your collection is highly valuable or sentimental, invest in a secure cabinet, safe, or lockable storage unit to protect your rocks from theft or damage.
Additionally, consider the available space in the storage area. If you have a large collection, make sure there is enough room to properly organize and store the rocks without overcrowding. This will prevent accidental damage and make it easier to access specific rocks when needed.
By carefully selecting the right storage location, you can create an environment that promotes the longevity and preservation of your rock collection.
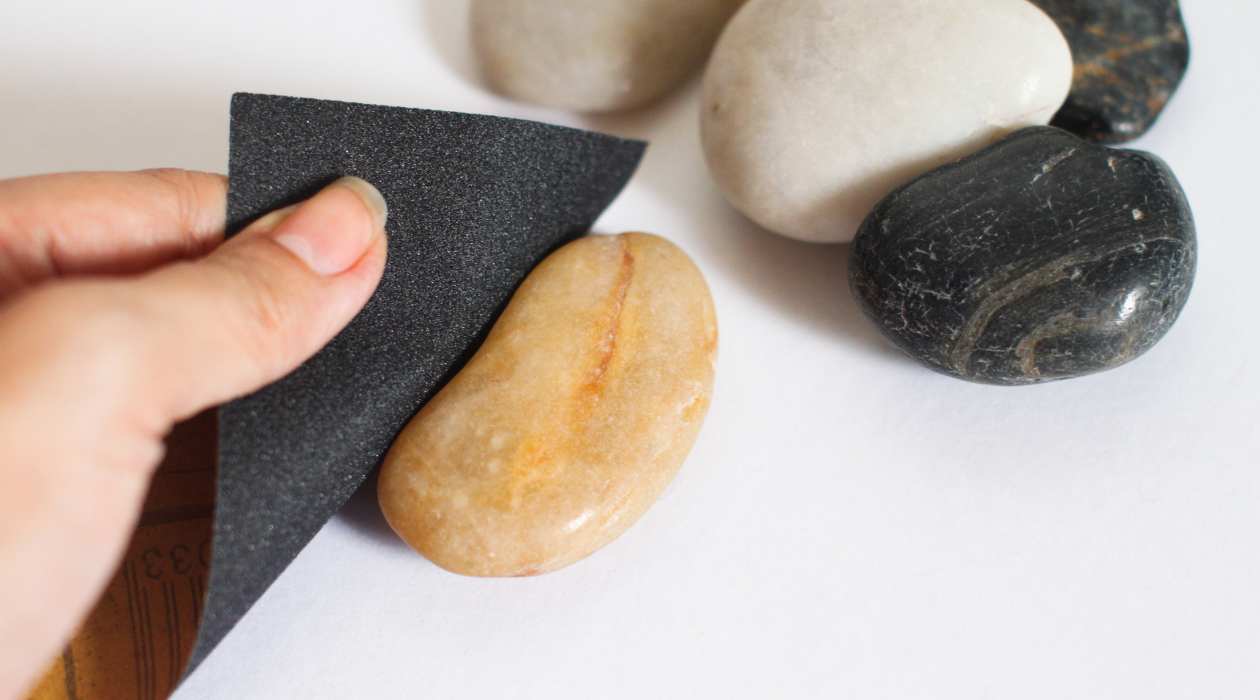
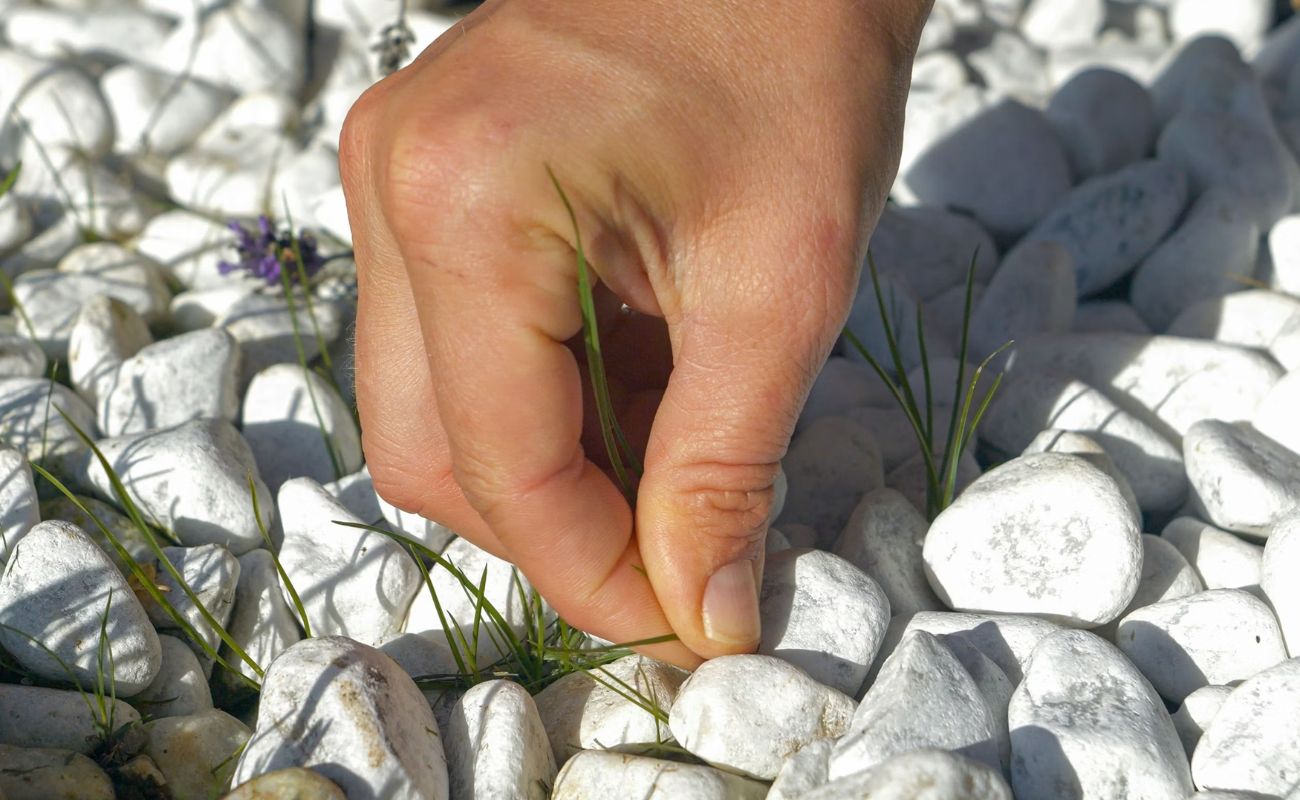
Cleaning and Preparing Rocks for Storage
Before you store your rocks, it’s important to clean and prepare them properly. This not only helps to maintain their appearance but also removes any dirt, dust, or potential contaminants that could affect their condition over time. Here are some steps to follow when cleaning and preparing your rocks for storage:
- Inspect the Rocks: Carefully examine each rock to identify any visible dirt, debris, or loose particles that need to be removed.
- Gentle Cleaning: Depending on the type of rocks you have, you can use different cleaning methods. For non-porous rocks, such as quartz or granite, you can use a soft brush or cloth to remove surface dirt. Avoid using harsh cleaning agents or abrasive materials that could scratch or damage the rocks.
- Soaking and Rinsing: For rocks that are harder to clean, you can create a gentle cleaning solution using mild soap or dish detergent and warm water. Soak the rocks in the solution for a few minutes, then carefully rinse them with clean water to remove any soap residue.
- Drying: After cleaning, it’s important to ensure that the rocks are completely dry before storing them. Use a clean towel or allow them to air dry in a well-ventilated area. Moisture can promote the growth of mold or cause deterioration over time, so proper drying is crucial.
- Handling with Care: When handling the rocks, make sure to avoid touching them with bare hands as the oils from your skin can leave fingerprints and potentially damage their surface. Use gloves or handle them with clean cloth or tissue.
It’s important to note that some rocks or minerals may require special cleaning methods or precautions. If you’re unsure about how to clean a specific rock, consult a professional or research the appropriate cleaning techniques for that particular type of rock.
By cleaning and preparing your rocks before storage, you can ensure that they remain in pristine condition and ready for future use or display.
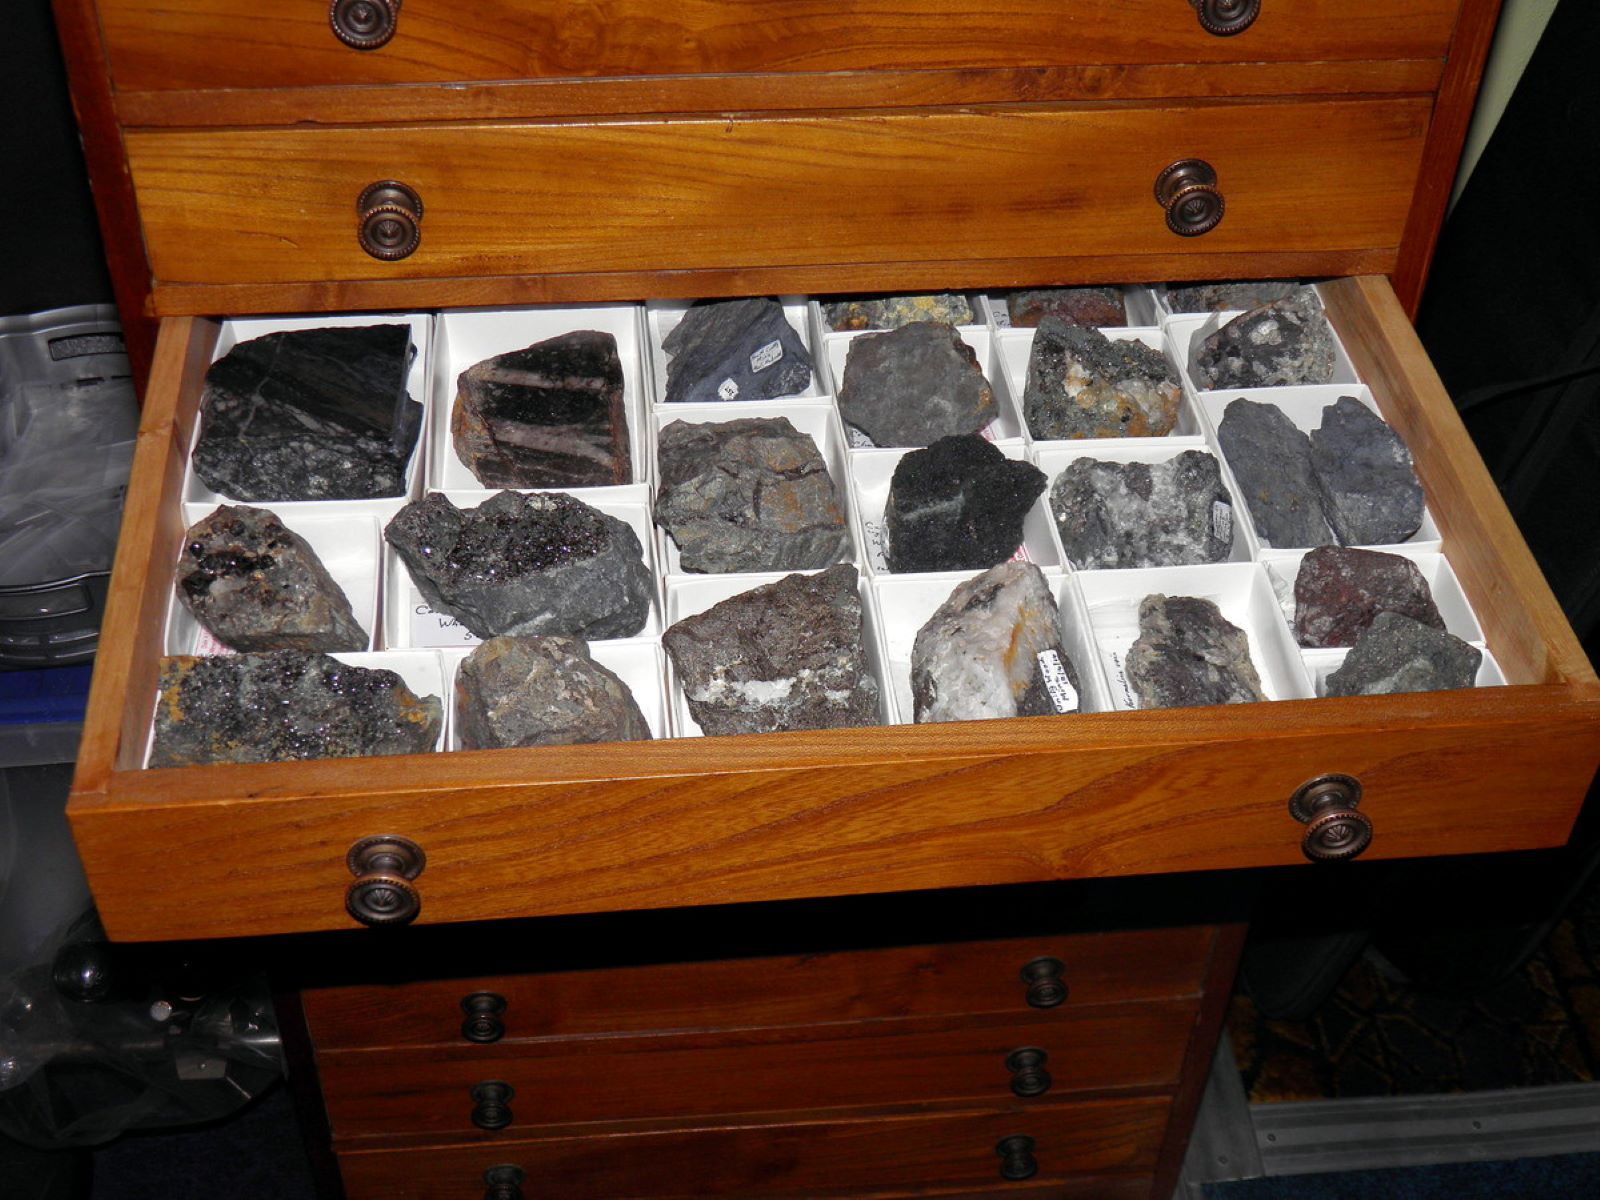
Organizing and Labeling the Rocks
Organizing and labeling your rock collection is essential for easy identification and retrieval of specific rocks. Proper organization allows you to quickly locate and showcase your rocks, whether for personal enjoyment or professional study. Here are some tips for organizing and labeling your rocks:
- Categorize by Type: Start by categorizing your rocks by their type, such as sedimentary, igneous, or metamorphic. This helps to create a logical arrangement and facilitates easy navigation through your collection.
- Use Storage Bins or Boxes: Invest in storage bins or boxes that are suitable for rock storage. Choose containers that are sturdy, stackable, and have enough space to hold your rocks comfortably.
- Dividers or Compartments: Inside the storage bins or boxes, consider using dividers or compartments to separate and organize different types or sizes of rocks. This prevents them from rubbing against each other and reduces the risk of damage.
- Labeling: Create labels for each container or compartment, indicating the type of rocks contained within. You can use adhesive labels, waterproof markers, or even color-coded stickers to differentiate between different categories.
- Include Descriptive Information: Along with the labels, consider including additional information about each rock. This could include its name, origin, geological characteristics, or any interesting facts. This adds educational value to your collection and enhances the overall experience.
- Documentation: Keep a separate record or catalog of your collection, documenting details such as acquisition dates, location of collection, and any relevant geological information. This serves as a reference and can be shared with others who have an interest in your collection.
By organizing and labeling your rock collection, you can easily locate and showcase specific rocks, maintain the integrity of the collection, and enhance your overall enjoyment and appreciation of the rocks.
Store rocks in a dry, well-ventilated area to prevent moisture buildup and potential damage. Avoid direct sunlight to prevent fading or discoloration. Use shelves or containers to keep them organized and easily accessible.
Packaging and Storing Rocks for Long-Term Preservation
Proper packaging and storage techniques are crucial for preserving the condition and integrity of your rocks over the long term. By following these guidelines, you can ensure that your rock collection remains protected and retains its value. Here are some tips for packaging and storing rocks:
- Individual Wrapping: Wrap each rock individually in acid-free tissue paper or clean cloth. This helps to prevent scratches or abrasion during storage and minimizes contact between rocks.
- Use Ziplock Bags or Plastic Containers: Place the wrapped rocks inside labeled and sealed Ziplock bags or plastic containers. These provide an extra layer of protection against moisture, dust, and contaminants.
- Silica Gel Packs: Include small silica gel packs inside the storage containers to absorb any excess moisture and help maintain a dry environment. This is particularly important in humid climates or if your storage area is prone to moisture buildup.
- Padding: If you are storing rocks in larger containers or boxes, use padding materials such as foam inserts, bubble wrap, or shredded paper to cushion the rocks and prevent movement during transport or handling.
- Stacking and Storing: When stacking containers or boxes, make sure to place heavier rocks at the bottom and lighter ones on top. This prevents any unnecessary pressure or crushing of the rocks.
- Avoid Extreme Temperatures: Store your rocks in a location with a stable temperature, avoiding extreme cold or heat. Fluctuations in temperature can cause expansion or contraction, leading to cracks or damage to the rocks.
- Keep Away from Chemicals: Avoid storing rocks near chemicals, solvents, or strong odors as these can potentially react with or damage the rocks.
- Consider a Dedicated Storage Cabinet: If you have a large collection or valuable specimens, consider investing in a dedicated storage cabinet or display case. These are specifically designed to protect and showcase rocks, offering features like adjustable shelves, locking mechanisms, and UV protection.
Remember to periodically inspect your stored rocks to ensure they are in good condition and to address any potential issues such as mold growth or deterioration. By taking proper care in packaging and storing your rocks, you can enjoy the beauty and significance of your collection for years to come.
Read more: How To Store Rock Salt
Protecting Rocks from Damage and Decay
Protecting your rocks from damage and decay is essential to maintain their beauty and longevity. Proper handling and care can prevent potential harm and preserve the integrity of your rock collection. Here are some tips for protecting your rocks:
- Handle with Clean Hands: Whenever you handle your rocks, make sure your hands are clean to avoid transferring dirt, oils, or chemicals onto the surfaces. Use gloves or hold the rocks with a clean cloth or tissue to minimize contact.
- Avoid Excessive Handling: Limit the amount of handling your rocks undergo, especially those that are more fragile or delicate. Excessive handling can lead to unintentional damage, such as chipping or scratching.
- Use Supports and Display Stands: For displaying rocks, use proper supports and display stands that are appropriate for the size and weight of the specimens. This ensures that the rocks are secure and stable, minimizing the risk of accidental falls or damage.
- Keep Away from Water: Unless the rocks specifically require water for cleaning or maintenance, keep them away from water sources. Water exposure can cause erosion, staining, or other forms of deterioration in certain types of rocks.
- Avoid Excessive Sunlight: Prolonged exposure to direct sunlight can cause fading, discoloration, and breakdown of certain minerals. Display your rocks away from intense sunlight or use UV-protective glass in your display cases.
- Prevent Dust and Debris: Regularly dust your rocks using a soft brush or cloth to remove any accumulated dust or debris. Avoid using abrasive materials that could scratch the surfaces.
- Monitor Pest Infestation: Inspect your storage area periodically for any signs of pests such as insects or rodents that could damage your rocks. Take necessary steps to eliminate or prevent pest infestations.
- Regular Maintenance: Check your rocks regularly for any signs of degradation or damage. Address any issues promptly to prevent further deterioration.
By following these protective measures, you can safeguard your rocks from unnecessary damage and preserve their natural beauty for generations to come.
Maintaining the Storage Area
Ensuring the proper maintenance of the storage area is crucial for the long-term preservation of your rock collection. By keeping the storage area clean, organized, and free from potential hazards, you can create an optimal environment for your rocks. Here are some tips for maintaining the storage area:
- Regular Cleaning: Regularly clean the storage area to remove dust, dirt, and any potential contaminants. Vacuum or sweep the area to keep it free from debris.
- Control Humidity: Maintain a stable humidity level in the storage area. Excess humidity can promote the growth of mold or cause deterioration of certain rocks. Use dehumidifiers or moisture-absorbing materials as needed.
- Check for Leaks: Regularly inspect the storage area for any signs of leaks or moisture intrusion. Address any plumbing or structural issues promptly to prevent damage to your rocks.
- Avoid Extreme Temperature Changes: Keep the storage area at a consistent temperature, avoiding extreme fluctuations. Sudden temperature changes can cause stress to the rocks and potentially lead to damage.
- Control Lighting: Ensure that the storage area is properly lit with gentle, non-direct lighting. Avoid UV light sources that can fade or damage certain rocks. Consider using LED lights that emit minimal heat.
- Prevent Pest Infestation: Implement pest control measures to prevent infestation by insects or rodents. Seal any cracks or openings in the storage area to minimize the entry points for pests.
- Inspect for Mold or Mildew: Regularly check for any signs of mold or mildew growth in the storage area. Immediately address any issues with proper cleaning and ventilation.
- Monitor Security: If your rock collection holds significant value or is of sentimental importance, consider installing security measures such as surveillance cameras or alarm systems to protect against theft or unauthorized access.
By maintaining a clean, stable, and well-organized storage area, you can ensure the optimal preservation and accessibility of your rock collection. Regular monitoring and maintenance help to identify and address any potential issues before they cause significant harm.
Conclusion
In conclusion, storing rocks properly is essential for preserving their beauty, integrity, and value over time. By following the guidelines outlined in this article, you can ensure that your rock collection remains safe, organized, and accessible for years to come.
Choosing the right storage location, such as a stable environment with controlled temperature and humidity, is the first step to protect your rocks. Cleaning and preparing the rocks before storage help to remove dirt and contaminants, ensuring their pristine condition.
Organizing and labeling the rocks not only makes it easier to locate specific specimens but also adds educational value to your collection. Categorizing, using storage bins or boxes, and including descriptive information and documentation are all key elements of effective organization.
Packaging and storing rocks properly, such as wrapping them individually and using sealed containers or bags, helps to prevent damage from moisture, dust, and other sources of degradation. Protecting rocks from potential damage and decay involves handling them with care, using proper supports for display, and avoiding exposure to excessive sunlight or water.
Maintaining the storage area is equally important. Regular cleaning, controlling humidity and temperature, monitoring for pests and mold, and implementing security measures all contribute to the long-term preservation of your rock collection.
By following these best practices for storing rocks, you can ensure that your collection remains in excellent condition and continues to bring you joy, knowledge, and appreciation for the wonders of the natural world.
Frequently Asked Questions about How To Store Rocks
Was this page helpful?
At Storables.com, we guarantee accurate and reliable information. Our content, validated by Expert Board Contributors, is crafted following stringent Editorial Policies. We're committed to providing you with well-researched, expert-backed insights for all your informational needs.


0 thoughts on “How To Store Rocks”