Articles
How To Install Floor Transition Strip
Modified: January 23, 2024
Looking for step-by-step guidance on installing a floor transition strip? Check out our informative articles for expert tips and tricks to get the job done right.
(Many of the links in this article redirect to a specific reviewed product. Your purchase of these products through affiliate links helps to generate commission for Storables.com, at no extra cost. Learn more)
Introduction
Welcome to our comprehensive guide on how to install a floor transition strip. If you are planning to install new flooring or are transitioning between two different types of flooring in your home, a transition strip is an essential component to ensure a seamless and professional-looking finish.
A transition strip serves as a bridge between two types of flooring materials, allowing for a smooth and safe transition from one room to another. Not only does it provide an aesthetic appeal, but it also serves a functional purpose by preventing tripping hazards and protecting the edges of the flooring.
In this guide, we will walk you through the step-by-step process of installing a floor transition strip. Whether you are replacing old flooring, installing new flooring, or simply updating the look of your home, this guide will help you achieve a professional and polished result.
Before we dive into the installation process, let’s first take a look at the tools and materials you will need.
Key Takeaways:
- Ensure a seamless transition between flooring types by preparing the floor, measuring and cutting the transition strip, and securing it properly for a professional and polished finish.
- Elevate the functionality and appearance of your transition strip by adding finishing touches such as cleaning, applying sealant, color matching, and adding trim for a cohesive and attractive flooring transition.
Read more: How To Transition Flooring At Top Of Stairs
Tools and Materials Needed
Before you start the installation process, it’s important to gather all the necessary tools and materials. Here is a list of what you’ll need:
- Measuring tape
- Pencil
- Miter saw or circular saw
- Hammer or nail gun
- Pry bar or chisel
- Your chosen transition strip
- Adhesive or nails
- Safety glasses
- Protective gloves
Make sure you have all these tools and materials readily available before you start the installation process. Having everything on hand will save you time and enable you to complete the project smoothly.
Preparing the Floor
Before installing the floor transition strip, it’s essential to prepare the floor adequately. Follow these steps to ensure a smooth and clean installation:
- Clean the floor: Start by thoroughly cleaning the area where the transition strip will be installed. Remove any dirt, dust, or debris using a broom or vacuum cleaner. This will ensure a clean surface for the transition strip to adhere to.
- Remove the old flooring (if necessary): If you are replacing old flooring, carefully remove the existing flooring material. Use a pry bar or chisel to lift the edges and remove any nails or adhesive residue. Ensure that the subfloor is clean and smooth before proceeding.
- Test the fit: If you are installing the transition strip between two different types of flooring, lay the two floors next to each other and check the fit. Measure the width of the gap between the two floors to determine the size of the transition strip.
- Trim the doors (if necessary): If the new flooring is thicker than the old flooring, you may need to trim the bottom of the doors to accommodate the height difference. Use a saw to carefully trim the doors, ensuring a proper fit.
By properly preparing the floor, you will create a solid foundation for the installation of the transition strip. This will ensure a secure and long-lasting result.
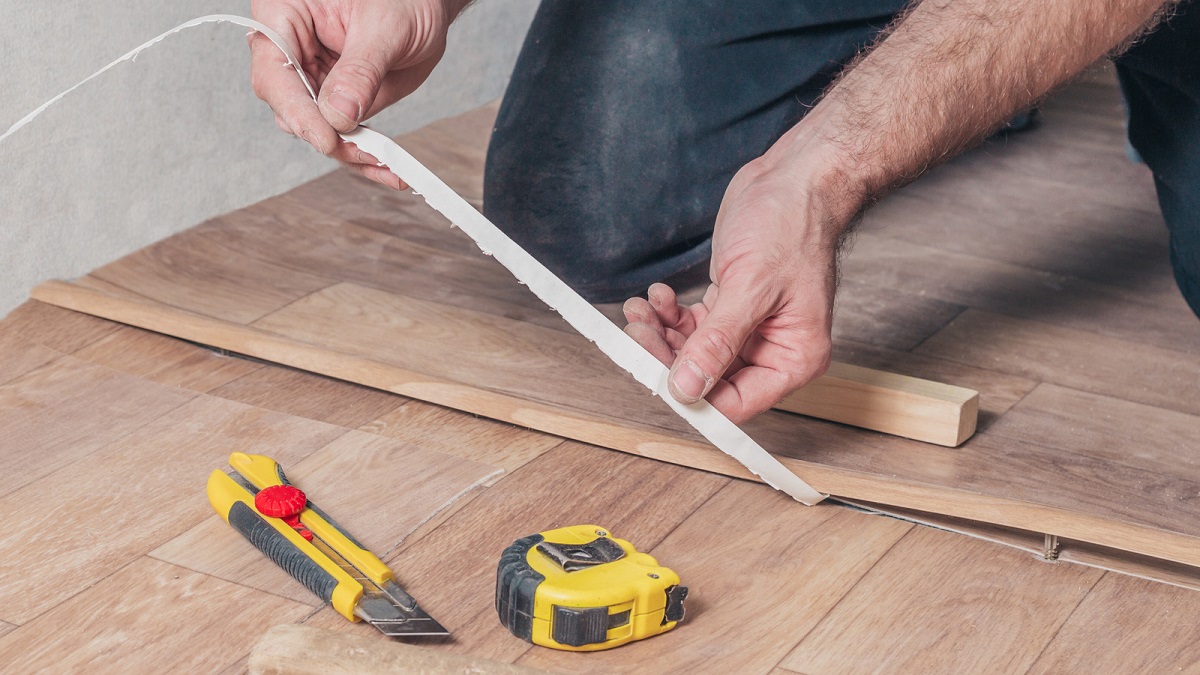
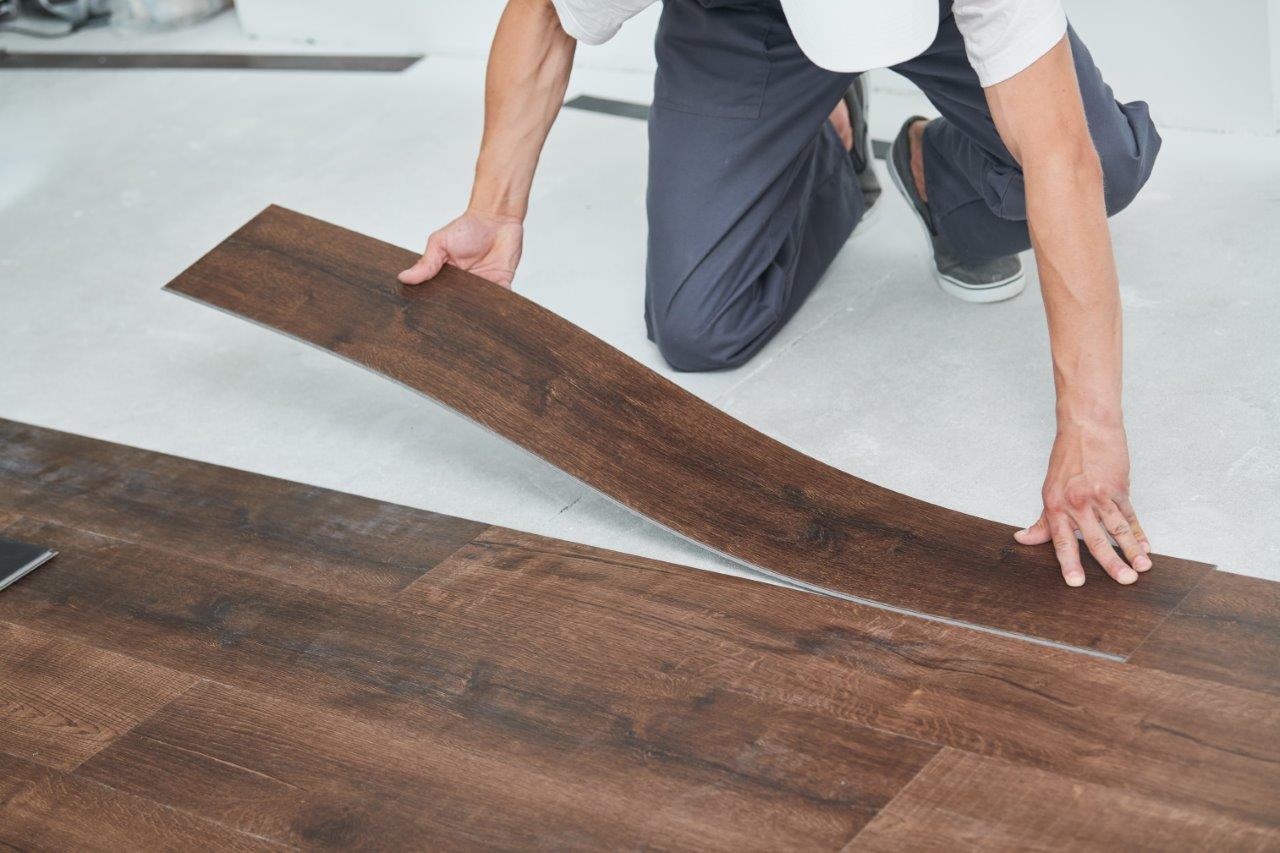
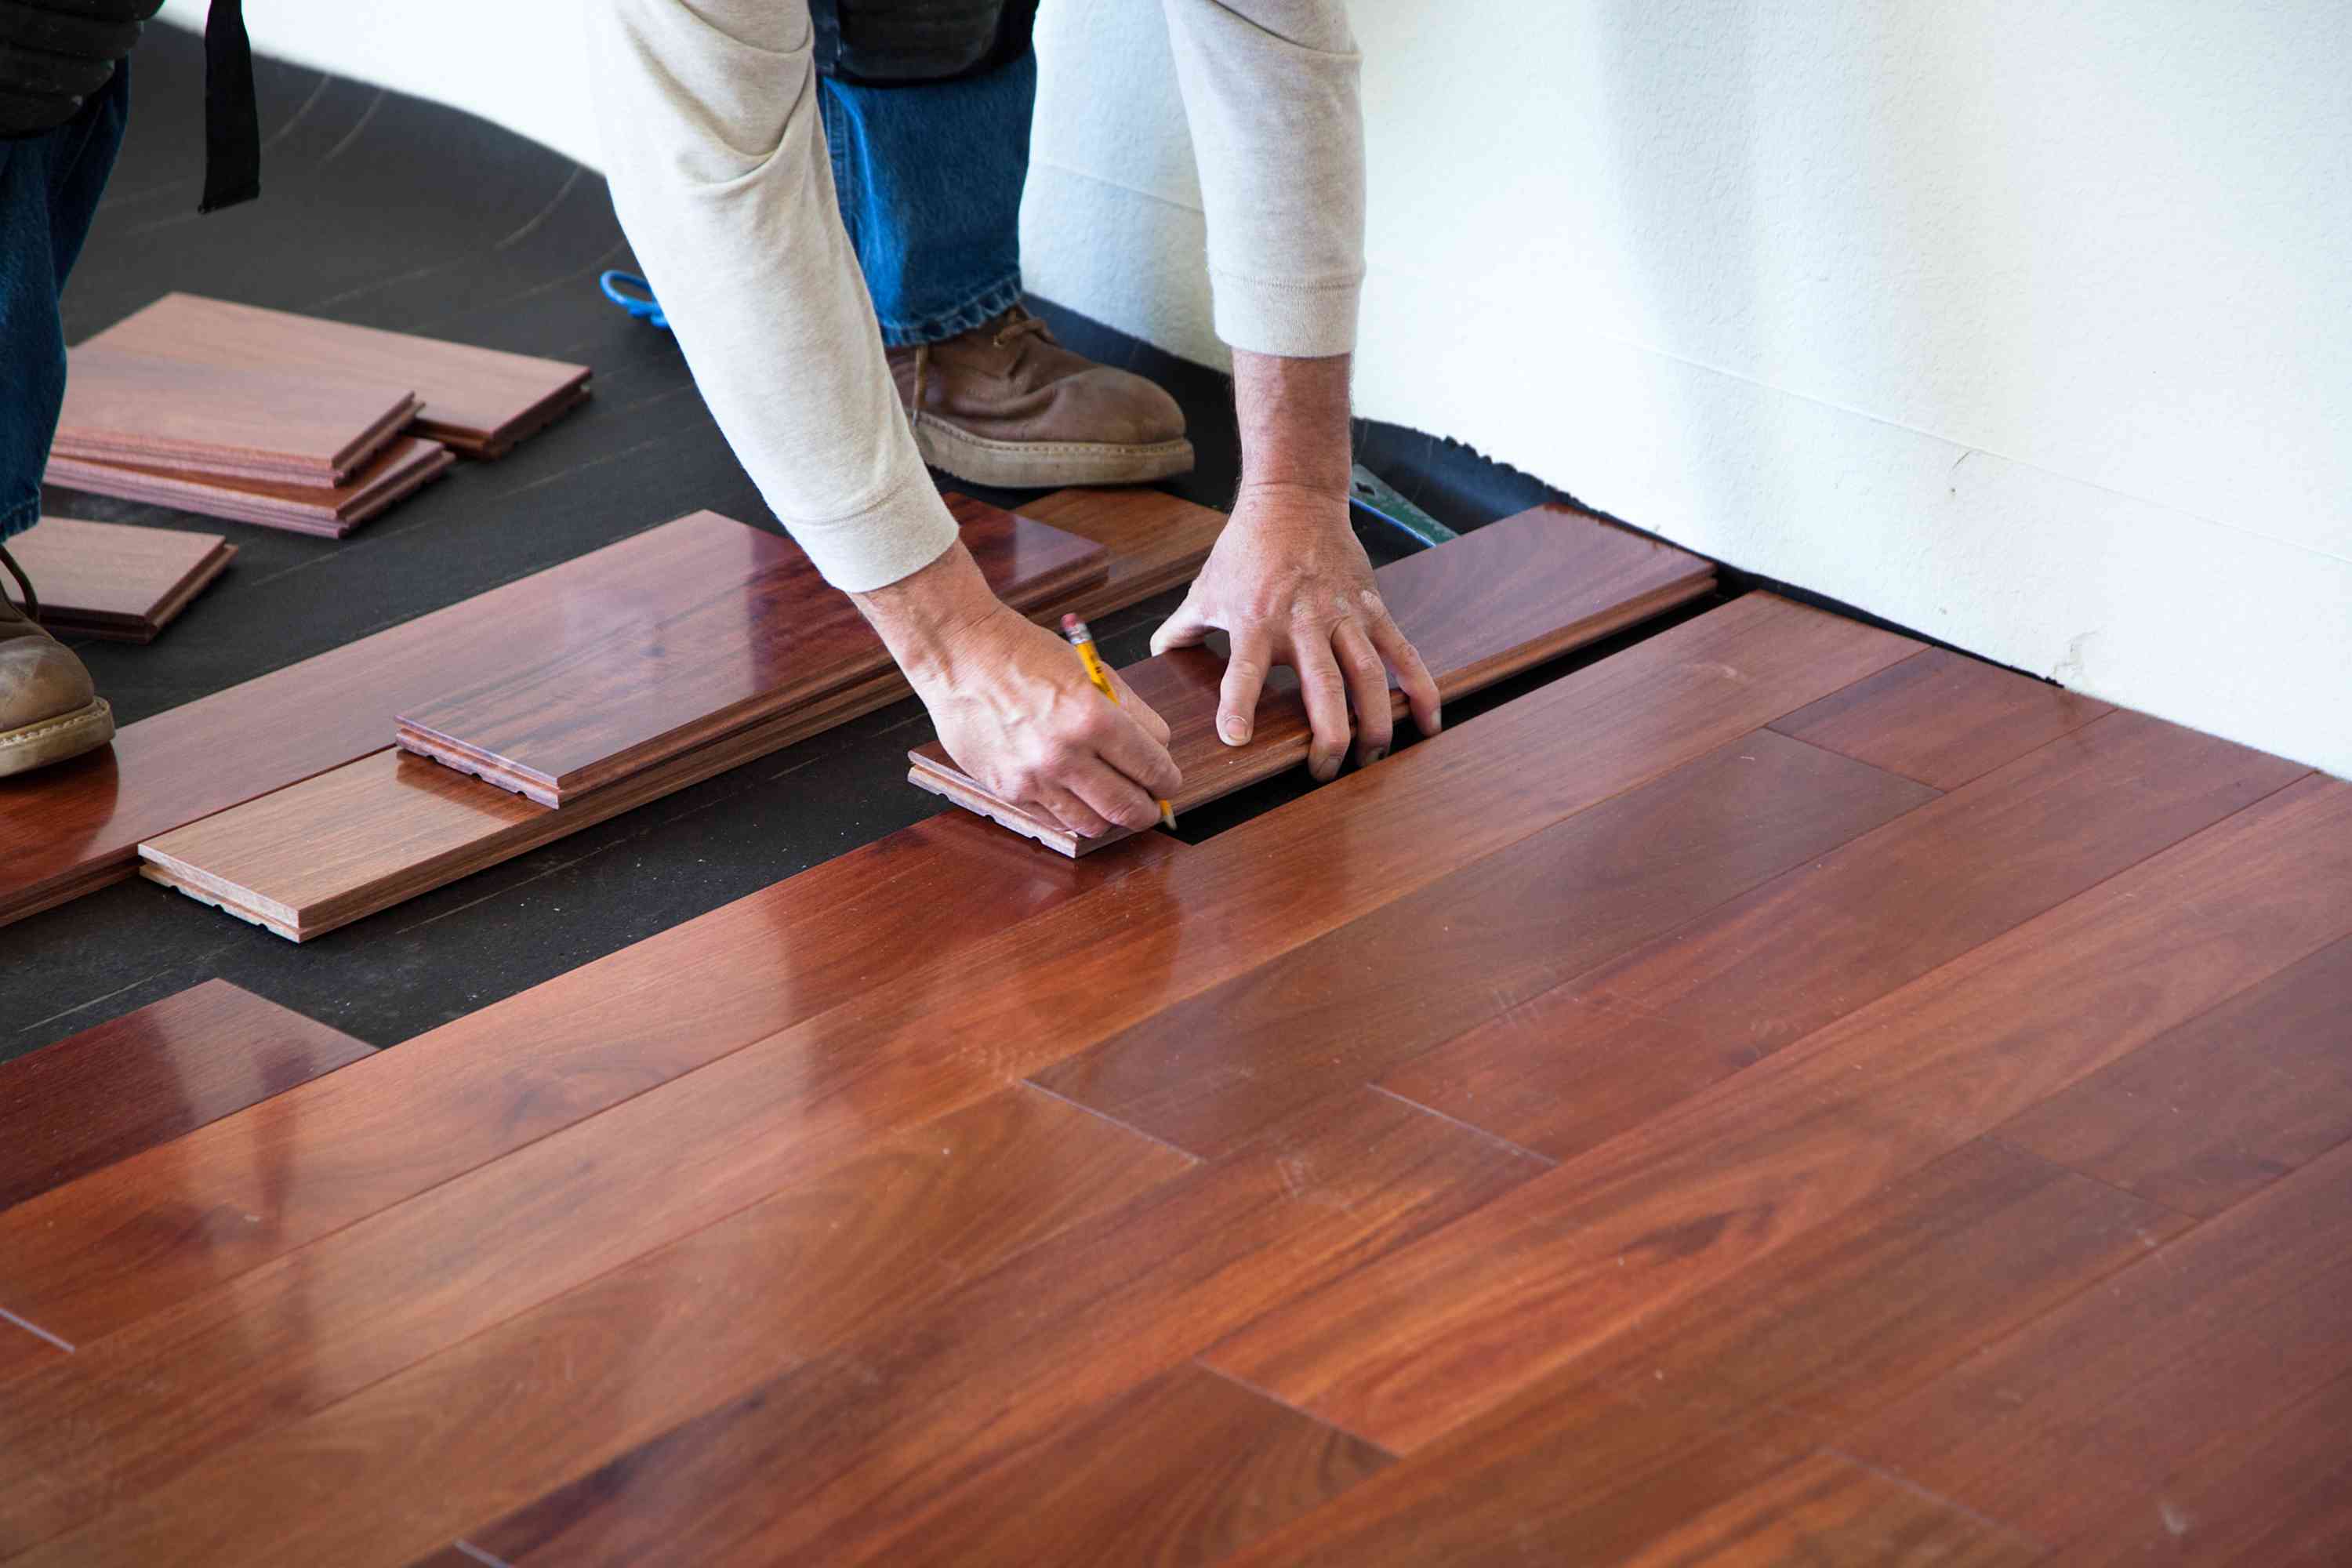
Measuring and Cutting the Transition Strip
Once the floor is prepared, it’s time to measure and cut the transition strip to the appropriate size. Here’s how:
- Measure the gap: Use a measuring tape to determine the width of the gap between the two floors. Ensure that you measure at multiple points along the gap, as the width may vary slightly.
- Transfer the measurements: Mark the measurements on the transition strip using a pencil. Make sure to mark the length and width accurately to ensure a precise cut.
- Cut the strip: Using a miter saw or circular saw, carefully cut the transition strip along the marked lines. Remember to wear safety glasses and follow proper safety precautions when using power tools.
- Check the fit: Once the strip is cut, place it in the gap between the floors to check the fit. Ensure that the strip sits flush with the floors and there are no gaps or overlaps. Trim any excess if needed.
Take your time with the measuring and cutting process to ensure that the transition strip fits perfectly. A well-fitted transition strip will not only enhance the aesthetic appeal but also provide a smooth and seamless transition between the floors.
When installing a floor transition strip, make sure to measure and cut the strip to fit the doorway, leaving a small gap for expansion. Use adhesive or screws to secure the strip in place for a smooth and seamless transition between flooring types.
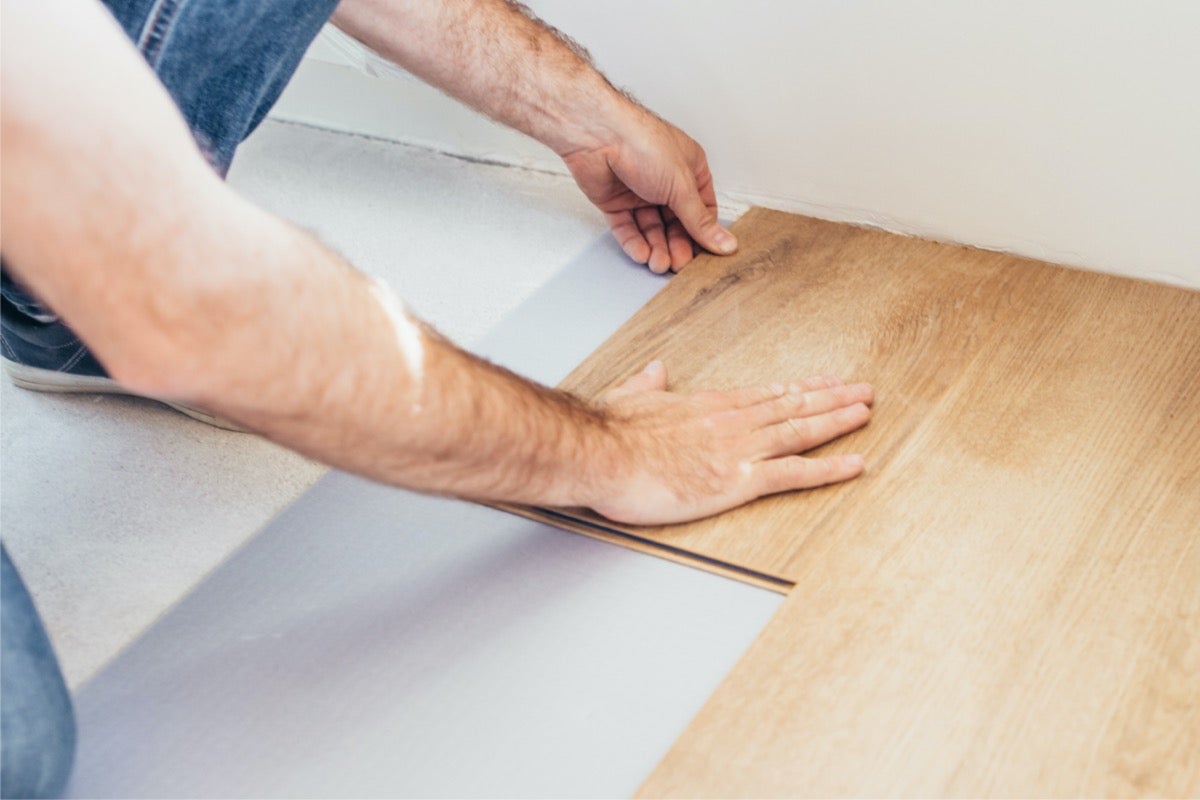
Installing the Transition Strip
Now that you have measured and cut the transition strip, it’s time to install it. Follow these steps:
- Apply adhesive: If your transition strip requires adhesive, apply a thin layer of adhesive to the backside of the strip. Make sure to read and follow the manufacturer’s instructions for the specific adhesive you are using.
- Position the strip: Carefully place the transition strip in the gap between the floors, ensuring that it is centered and aligned. Press down firmly to secure it in place.
- Pre-drill or nail: Depending on the type of transition strip and the manufacturer’s recommendations, you may need to pre-drill holes or use nails to secure the strip to the floor. If using nails, make sure to space them evenly along the length of the strip.
- Insert nails or screws: If recommended, insert nails or screws into the pre-drilled holes or use a nail gun to secure the strip to the floor. Use a hammer or nail gun to drive the nails or screws in, ensuring that they are flush with the surface of the strip.
It’s important to note that the specific installation process may vary depending on the type of transition strip you are using and the manufacturer’s recommendations. Always refer to the instructions provided by the manufacturer for the best results.
By carefully following these steps, you will successfully install the transition strip, providing a professional and seamless transition between different types of flooring in your home.
Securing the Strip to the Floor
After installing the transition strip, it’s crucial to ensure that it is securely fastened to the floor to prevent any movement or damage. Here’s how to properly secure the strip:
- Check for stability: After the initial installation, check the stability of the transition strip by applying gentle pressure to the edges and center. The strip should feel secure without any noticeable movement.
- Tighten any loose screws: If you notice any screws that are slightly loose, use a screwdriver or appropriate tool to tighten them. Ensure that they are securely fastened to the floor.
- Inspect the nails: If nails were used to secure the strip, ensure that they are properly embedded in the strip and the floor. If any nails are protruding or loose, use a hammer to drive them in or replace them with new ones.
- Check adhesive bond: If adhesive was used, inspect the bond between the strip and the floor. Make sure there are no gaps or areas where the adhesive hasn’t properly adhered. If needed, apply additional adhesive to secure any loose areas.
- Test the strip: Once all screws are tightened and adhesive is secure, perform a final test by walking over the transition strip. It should feel stable and not produce any squeaking or shifting noises.
By properly securing the transition strip to the floor, you will ensure its longevity and prevent any potential tripping hazards. Regularly inspect the strip to ensure that it remains in place and make any necessary adjustments as needed.
Finishing Touches
Once the transition strip is securely installed, it’s time to add some finishing touches to complete the project. These final steps will help enhance the overall appearance and functionality of the transition strip:
- Clean and maintain: After installation, clean the transition strip and the surrounding area to remove any dust or debris. Regularly maintain the strip by sweeping or vacuuming to keep it looking its best.
- Apply a sealant (if desired): Depending on the type of flooring and the manufacturer’s recommendations, you may choose to apply a sealant to the transition strip. A sealant can help protect the strip from moisture and damage, extending its lifespan.
- Consider a color match: If desired, you can paint or stain the transition strip to match the surrounding flooring. This can create a seamless and cohesive look, further enhancing the overall aesthetic appeal.
- Add trim or molding: To further enhance the transition between the floors, consider adding trim or molding along the edges of the transition strip. This can give it a polished and professional appearance.
- Inspect and make adjustments: Regularly inspect the transition strip to ensure that it remains secure and in good condition. Make any necessary adjustments or repairs promptly to maintain its integrity.
By taking the time to add these finishing touches, you will elevate the final look and functionality of the transition strip. It’s these small details that can make a big difference in the overall aesthetic appeal of your flooring transition.
Conclusion
Installing a floor transition strip is a crucial step in creating a seamless and professional-looking transition between different types of flooring in your home. By following the step-by-step process outlined in this guide, you can achieve a polished and secure installation.
From preparing the floor and measuring the gap to cutting and installing the transition strip, each step is essential in creating a seamless transition. Remember to secure the strip properly to the floor, ensuring stability and preventing any tripping hazards.
By paying attention to the finishing touches, such as cleaning, applying a sealant, and considering color matching or adding trim, you can further enhance the overall appearance and functionality of the strip.
We hope this guide has provided you with valuable insights and instructions on how to install a floor transition strip. By following these steps and taking the time to execute each task with care, you can achieve a professional and seamless transition between different types of flooring in your home.
Remember to always refer to the manufacturer’s instructions for the specific transition strip you are using, as the installation process may vary slightly. With proper installation and regular maintenance, your transition strip will serve as a durable and attractive addition to your flooring for years to come.
Frequently Asked Questions about How To Install Floor Transition Strip
Was this page helpful?
At Storables.com, we guarantee accurate and reliable information. Our content, validated by Expert Board Contributors, is crafted following stringent Editorial Policies. We're committed to providing you with well-researched, expert-backed insights for all your informational needs.


0 thoughts on “How To Install Floor Transition Strip”