
Articles
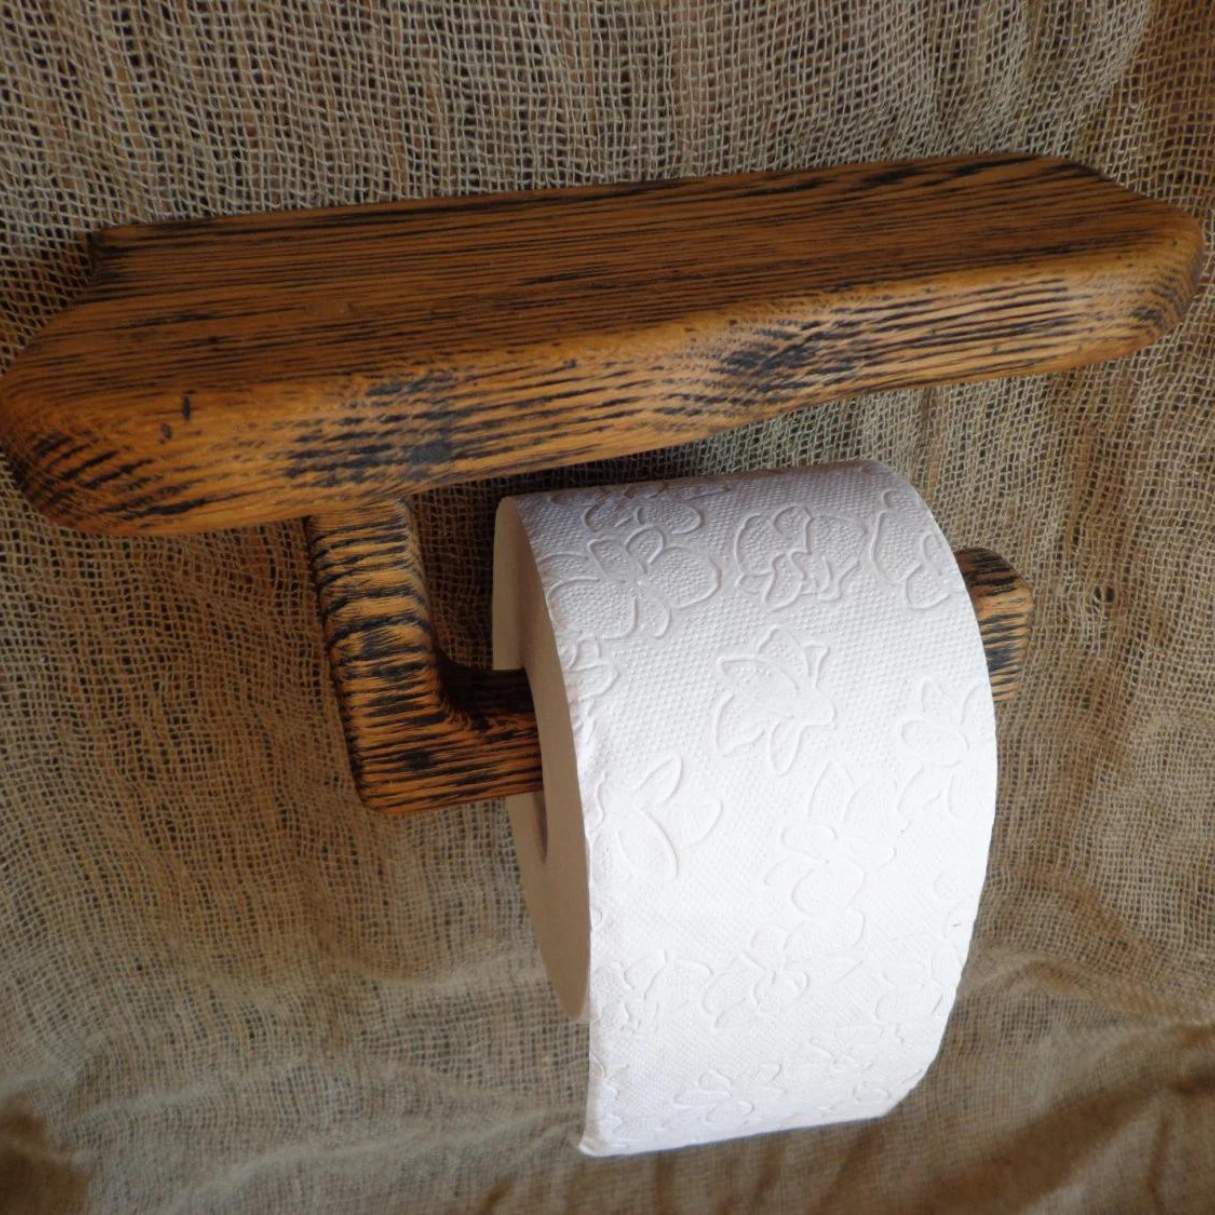
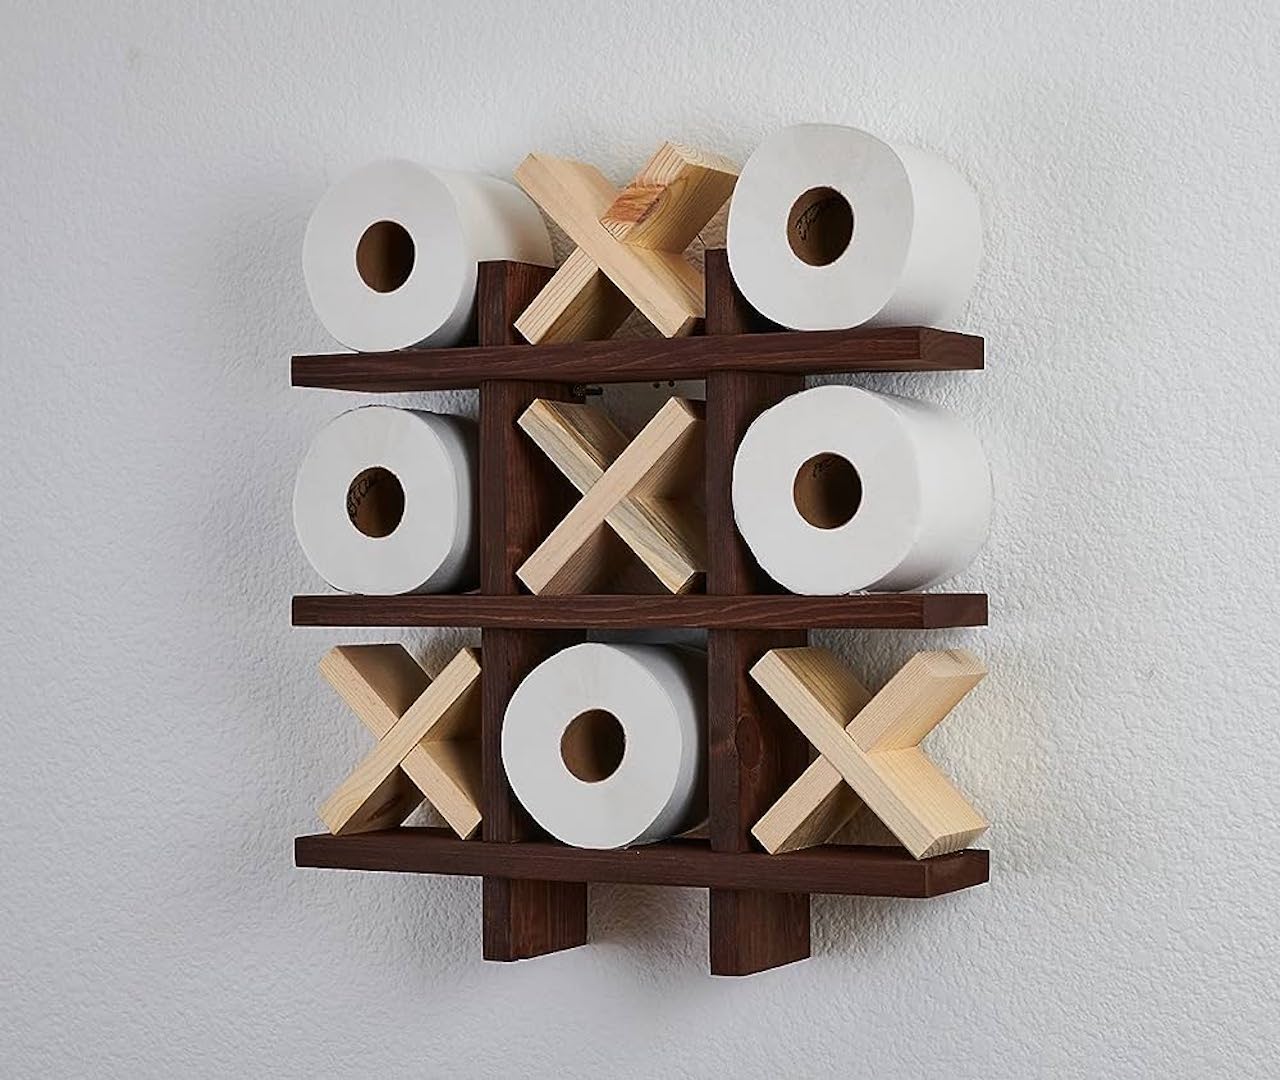
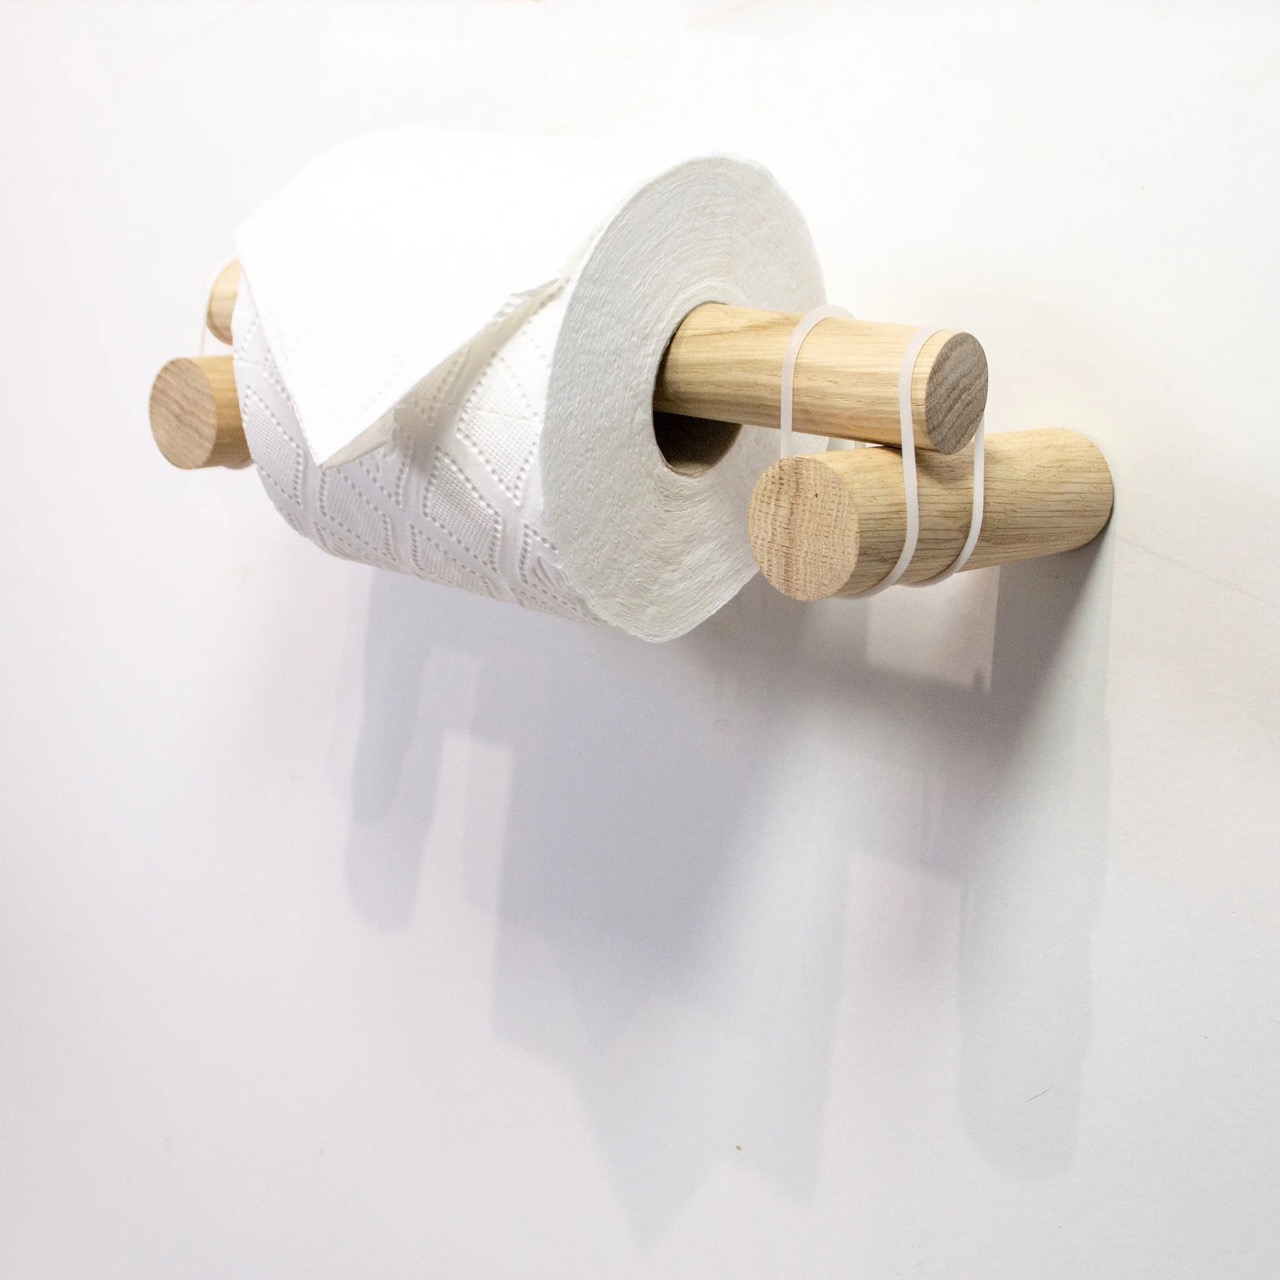
How To Make A Wooden Toilet Paper Holder
Modified: August 28, 2024
Discover creative and practical articles on how to make your own wooden toilet paper holder. Add a touch of craftsmanship to your bathroom with these DIY projects.
(Many of the links in this article redirect to a specific reviewed product. Your purchase of these products through affiliate links helps to generate commission for Storables.com, at no extra cost. Learn more)
Introduction
Having a well-organized and aesthetically pleasing bathroom is essential to creating a comfortable and functional space in your home. One often overlooked but important element in the bathroom is the toilet paper holder. Instead of settling for a basic plastic holder, why not add a touch of rustic charm with a homemade wooden toilet paper holder? Not only will it serve its purpose, but it will also be a unique and eye-catching addition to your bathroom decor.
In this article, we will guide you through the step-by-step process of making your own wooden toilet paper holder. With just a few materials and some basic woodworking skills, you can create a functional and visually appealing holder that will perfectly complement your bathroom design.
Before we dive into the instructions, let’s go over the materials you will need for this project.
Key Takeaways:
- Create a personalized and charming wooden toilet paper holder to add warmth and functionality to your bathroom decor. Customize the design and finish to match your style and showcase your woodworking skills.
- Transform basic materials into a unique and visually appealing bathroom accessory. Follow simple steps to craft a functional wooden toilet paper holder, adding a personal touch to your home while enjoying the satisfaction of building something with your own hands.
Read more: How To Make A Toilet Paper Holder
Materials Needed
Before you begin crafting your wooden toilet paper holder, gather the following materials:
- Wooden board: Choose a sturdy and durable wood such as pine or oak. The dimensions of the board will depend on the size of the holder you desire.
- Saw: A hand saw or a power saw will be necessary to cut the wooden pieces to size.
- Sandpaper or sanding block: You will need sandpaper with different grits to smoothen the rough edges of the wood.
- Wood glue: This will be used to join the wooden pieces together.
- Clamps: Clamps will help secure the wooden pieces while the glue dries.
- Screws or nails: Choose the appropriate size and type of screws or nails to assemble the holder.
- Drill: A drill will be necessary to create holes for attaching the holder to the wall.
- Stain or paint: If desired, you can stain or paint the wooden holder to match your bathroom decor.
- Brushes or rags: Use brushes or rags to apply the stain or paint onto the wood.
- Sealant: To protect the wood and enhance its durability, consider using a clear sealant.
Once you have gathered these materials, you are ready to proceed with crafting your wooden toilet paper holder. Now let’s move on to the step-by-step instructions.
Step 1: Cutting the Wooden Pieces
The first step in making a wooden toilet paper holder is to cut the wooden pieces to the desired dimensions. Here are the instructions:
- Measure and mark the dimensions for the base of the holder on the wooden board. The base should be a rectangular shape with a width that can comfortably fit a roll of toilet paper.
- Using a saw, carefully cut out the base piece along the marked lines.
- Next, measure and mark the dimensions for the vertical holder on the wooden board. The vertical piece should be tall enough to hold multiple rolls of toilet paper.
- Cut out the vertical piece along the marked lines.
- Lastly, measure and cut a small piece that will serve as a support or stopper at the top of the vertical holder to prevent the rolls from falling off.
Ensure that all the pieces are cut accurately and have smooth edges. If needed, use sandpaper to smoothen any rough areas or uneven edges.
With the wooden pieces cut and prepared, you are now ready to move on to the next step: sanding the wood.
Step 2: Sanding the Wood
After cutting the wooden pieces for your toilet paper holder, it’s important to sand them to ensure a smooth and polished finish. Sanding will help remove any rough edges or imperfections in the wood. Here are the steps to follow:
- Start by using a coarse-grit sandpaper, such as 80 or 100 grit, to sand the entire surface of each wooden piece. This will help to remove any splinters, rough patches, or uneven areas.
- Once you have sanded all the pieces with the coarse-grit sandpaper, switch to a finer-grit sandpaper, such as 120 or 150 grit. Sand each piece again to further smooth out the surface.
- Pay extra attention to the edges of the wood, making sure they are smooth and rounded. This will give your toilet paper holder a more professional look and prevent any potential splinters.
- After sanding, wipe down the wooden pieces with a damp cloth to remove any sawdust or debris.
Remember to take your time and sand the wood evenly and thoroughly. This will ensure a high-quality and comfortable finished product. Once you are satisfied with the smoothness of the wood, you can move on to the next step: assembling the base of the toilet paper holder.
When making a wooden toilet paper holder, be sure to use a durable and water-resistant wood such as teak or cedar to prevent warping and damage from moisture. Additionally, consider adding a protective finish to further enhance its durability.
Step 3: Assembling the Base
Now that you have the wooden pieces cut and sanded, it’s time to assemble the base of the toilet paper holder. Follow these steps:
- Apply a thin layer of wood glue along one of the shorter edges of the base piece.
- Align one of the longer edges of the vertical holder with the glued edge of the base piece.
- Press the two pieces together firmly, ensuring they are properly aligned.
- Secure the pieces together using clamps, applying gentle pressure to hold them in place.
- Allow the glue to dry according to the manufacturer’s instructions. This typically takes a few hours.
- Once the glue is completely dry, remove the clamps and check the stability of the assembly. Make any necessary adjustments to ensure the base is securely attached to the vertical holder.
With the base assembled, you’re one step closer to completing your wooden toilet paper holder. In the next step, we will guide you through attaching the vertical holder to the base.
Read more: How To Make Pipe Toilet Paper Holder
Step 4: Attaching the Vertical Holder
Now that the base of the toilet paper holder is assembled, it’s time to attach the vertical holder. Follow these steps:
- Measure and mark the desired position of the vertical holder on the base piece.
- Using a drill, create pilot holes on the marked spots. Make sure the pilot holes are slightly smaller than the screws or nails you will be using.
- Align the bottom end of the vertical holder with the pilot holes on the base.
- Insert screws or nails through the pilot holes and into the vertical holder to secure it in place.
- Tighten the screws or tap the nails gently until the vertical holder is firmly attached to the base.
Make sure the vertical holder is straight and centered on the base. The holder should be securely attached and able to support the weight of the toilet paper rolls. If necessary, use a level to ensure the vertical holder is perfectly upright.
Once the vertical holder is securely attached, you can move on to the final step: adding finishing touches to your wooden toilet paper holder.
Step 5: Adding Finishing Touches
Now that your wooden toilet paper holder is taking shape, it’s time to add the finishing touches to enhance its appearance and durability. Follow these steps:
- If desired, you can stain or paint the wooden holder to match your bathroom decor or personal preference. Choose a stain or paint that is suitable for wood and follow the instructions on the product.
- Apply the stain or paint evenly to all surfaces of the holder using a brush or rag. Make sure to cover the wood completely and allow the stain or paint to dry according to the manufacturer’s instructions.
- Once the stain or paint has dried, you can further protect the wood by applying a clear sealant. This will help preserve the finish and protect it from moisture.
- Use a brush or rag to apply the sealant, ensuring complete coverage on all surfaces of the holder. Allow the sealant to dry according to the instructions provided.
- Once the sealant is dry, inspect your wooden toilet paper holder for any rough spots or imperfections. Use a fine-grit sandpaper to gently smooth out any inconsistencies.
- Wipe down the holder with a clean cloth to remove any dust or debris.
After completing these steps, your wooden toilet paper holder is now ready to be installed and used in your bathroom. Hang it securely on the wall, ensuring it is at a convenient height for accessing the toilet paper rolls.
Congratulations! You have successfully crafted a beautiful and functional wooden toilet paper holder that adds a touch of warmth and charm to your bathroom decor.
Conclusion
Creating your own wooden toilet paper holder adds a personal touch to your bathroom and showcases your woodworking skills. With just a few materials and simple steps, you can craft a unique and attractive holder that perfectly suits your style and decor.
Throughout this article, we have walked you through the process of making a wooden toilet paper holder, from cutting and sanding the wood to assembling the base and attaching the vertical holder. We also covered adding finishing touches such as staining, painting, and sealing the wood for enhanced durability.
By following these steps and using your creativity, you can customize your wooden toilet paper holder with different wood types, finishes, and designs to suit your personal taste. This DIY project not only provides you with a functional bathroom accessory, but it also gives you the satisfaction of building something with your own hands.
Remember, safety is paramount when working with tools and materials. Always wear protective gear, such as safety glasses and gloves, when handling sharp objects or using power tools.
We hope this article has inspired you to embark on the journey of creating your own wooden toilet paper holder. Enjoy the process of woodworking, and take pride in the final result. May this beautiful addition to your bathroom bring convenience, style, and a sense of accomplishment. Happy crafting!
Now that you've mastered crafting a wooden toilet paper holder, why not expand your DIY horizons? For those needing clever ways to keep bathroom essentials tidy, our article on smart solutions for toilet paper storage offers smart solutions. Maybe you're drawn to a broader aesthetic change? Dive into our collection on inspiration for rustic home decor to find inspiration that transforms spaces. Or perhaps you feel ready to tackle more woodworking projects. Our guide on the best woodworking practices and projects for the upcoming year is perfect for honing those skills.
Frequently Asked Questions about How To Make A Wooden Toilet Paper Holder
Was this page helpful?
At Storables.com, we guarantee accurate and reliable information. Our content, validated by Expert Board Contributors, is crafted following stringent Editorial Policies. We're committed to providing you with well-researched, expert-backed insights for all your informational needs.


0 thoughts on “How To Make A Wooden Toilet Paper Holder”