Articles
How To Replace A Ceramic Toilet Paper Holder
Modified: August 27, 2024
Learn how to replace a ceramic toilet paper holder with our step-by-step guide. Find articles and tips to help you complete the task quickly and easily.
(Many of the links in this article redirect to a specific reviewed product. Your purchase of these products through affiliate links helps to generate commission for Storables.com, at no extra cost. Learn more)
Introduction
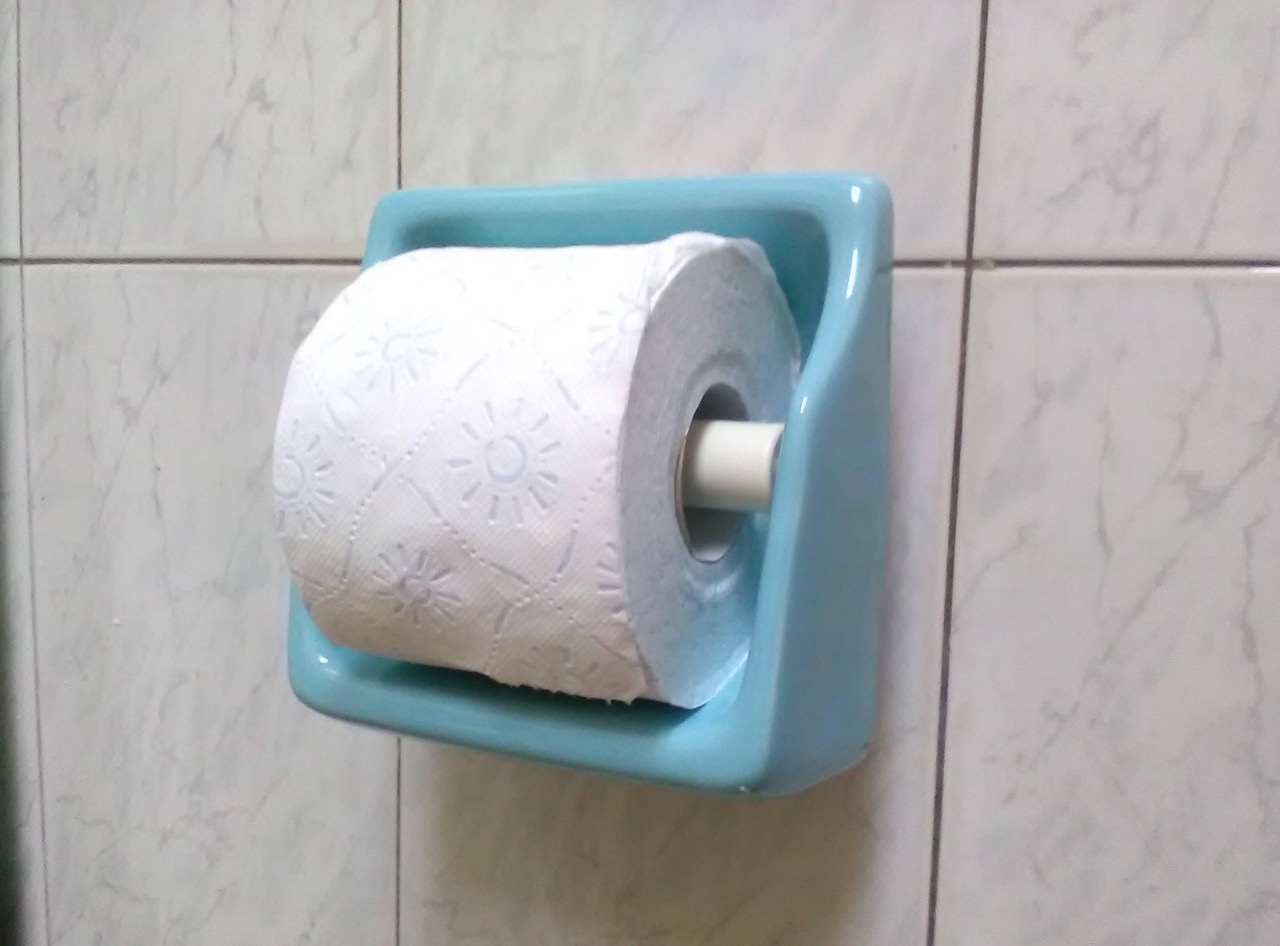
Replacing a ceramic toilet paper holder is a relatively simple and straightforward task that can instantly update the look of your bathroom. Whether you’re looking to replace a damaged holder or just want to give your bathroom a fresh new look, this guide will walk you through the steps to successfully replace a ceramic toilet paper holder.
Before we dive into the practical steps, let’s take a moment to understand why replacing a ceramic toilet paper holder can make a difference. Your bathroom is a space where functionality meets style, and every element plays a part in creating a cohesive and aesthetically pleasing environment.
A ceramic toilet paper holder not only serves the practical purpose of holding your toilet paper but also adds a touch of elegance and sophistication to your bathroom. Over time, due to wear and tear or changing design preferences, you may find yourself needing to replace your old holder with a new one.
Fortunately, replacing a ceramic toilet paper holder doesn’t require extensive plumbing or construction knowledge. With the right tools and a bit of patience, you can replace the holder yourself and enjoy a visually appealing and functional bathroom accessory.
Before starting the replacement process, it’s important to gather the necessary tools and materials to ensure a smooth and successful installation. Let’s take a look at what you’ll need:
Key Takeaways:
- Upgrade your bathroom with a new ceramic toilet paper holder to add elegance and functionality. Follow the step-by-step guide for a rewarding DIY project that instantly transforms your space.
- Ensure a successful installation by gathering the necessary tools, measuring and marking the placement, and properly tightening the mounting screws. Test and adjust the holder for optimal convenience and apply caulk for a polished finish.
Tools and Materials Needed
Before you begin replacing a ceramic toilet paper holder, make sure you have the following tools and materials ready:
- Power drill
- Drill bits (appropriate for your wall type)
- Masking tape
- Level
- Screwdriver
- Measuring tape
- Caulk gun
- Caulk
- Ceramic toilet paper holder (with mounting hardware)
Having all of these tools and materials on hand will make the replacement process much smoother and more efficient.
Now that you’re equipped with the necessary tools, let’s move on to the step-by-step process of replacing a ceramic toilet paper holder.
Step 1: Remove the Old Ceramic Toilet Paper Holder
Before you can install a new ceramic toilet paper holder, you’ll need to remove the old one. Follow these steps to safely remove the old holder:
- Start by locating the mounting screws or brackets that are holding the holder in place. These are usually located at the bottom or sides of the holder.
- Using a screwdriver, carefully unscrew and remove the mounting screws. If your holder is attached to the wall with adhesive or caulk, you may need to gently pry it off with a putty knife or scraper.
- If your holder is attached with caulk, use a utility knife to carefully cut through the caulk around the edges of the holder. This will help loosen it from the wall.
- Remove any remaining caulk or adhesive residue from the wall using a scraper or sandpaper. Ensure that the area is clean and smooth before proceeding to the next step.
By removing the old ceramic toilet paper holder, you’re preparing the space for the installation of the new one. Once you’ve completed this step, you can move on to preparing the area for installation.
Step 2: Prepare the Area for Installation
Now that you’ve removed the old ceramic toilet paper holder, it’s time to prepare the area for the installation of the new holder. Follow these steps to ensure a smooth and secure installation:
- Start by cleaning the wall surface to remove any dust, dirt, or debris. You can use a mild soap and water solution or a household cleaner suitable for the wall material.
- Once the wall is clean, use masking tape to mark the desired placement of the new toilet paper holder. Make sure it is at a convenient height and within easy reach when seated on the toilet.
- Use a level to ensure that the tape is straight and level. This will help ensure that the new holder is installed correctly and doesn’t appear crooked.
- Measure the distance between the mounting holes of the new holder. Transfer these measurements to the wall, making sure they align with the tape marks.
- Double-check the measurements and markings to ensure accuracy before moving on to the next step.
By preparing the area and marking the placement of the new holder, you’re setting the foundation for a successful installation. With the area ready, you can now move on to drilling holes for mounting in the next step.
Step 3: Measure and Mark the Placement of the New Holder
Now that you’ve prepared the area for installation, it’s time to measure and mark the exact placement of the new ceramic toilet paper holder. Follow these steps to ensure accurate placement:
- Start by measuring the distance between the mounting holes of the new holder. This will help you determine the precise location for drilling.
- Using a measuring tape, transfer the measurement to the wall, making sure to align it with the previous markings you made with masking tape.
- Double-check the measurements to ensure accuracy and adjust if necessary. It’s crucial to have the mounting holes in the correct position to ensure a secure and level installation.
- Mark the exact spot for drilling with a pencil or a small dot using a fine-tip permanent marker. This will serve as your guide during the drilling process.
By measuring and marking the placement of the new holder, you’re ensuring that it will be installed in the optimal position for functionality and aesthetics. With the markings in place, you can now move on to drilling holes for mounting in the next step.
Step 4: Drill Holes for Mounting
With the placement of the new ceramic toilet paper holder marked on the wall, it’s time to drill holes for mounting. Follow these steps to securely install the holder:
- Choose an appropriate drill bit size for your wall material and the mounting hardware provided with the holder. Refer to the instructions or the packaging for guidance.
- Put on safety goggles to protect your eyes and ensure a safe drilling process.
- Position the drill bit on one of the marked spots and hold the drill at a perpendicular angle to the wall.
- Apply gentle pressure to the drill and begin drilling into the wall. Use a steady and controlled motion to prevent slipping or damaging the wall surface.
- Continue drilling until you reach the desired depth for the wall anchors or the mounting hardware. This will vary depending on your specific holder and wall type.
- Repeat the drilling process for the remaining marked spots, ensuring that the holes are consistent and aligned with each other.
- Once you’ve drilled all the necessary holes, remove any dust or debris from the holes using a brush or a blast of compressed air.
By drilling holes for mounting, you’re preparing the wall to securely hold the new ceramic toilet paper holder. With the holes in place, you can now move on to the exciting step of installing the new holder in the next section.
When replacing a ceramic toilet paper holder, be sure to turn off the water supply to the toilet before starting. Use a drill to carefully remove the old holder, and follow the manufacturer’s instructions for installing the new one.
Step 5: Install the New Ceramic Toilet Paper Holder
Now that you have drilled the holes for mounting, it’s time to install the new ceramic toilet paper holder. Follow these steps to ensure a secure and sturdy installation:
- Start by removing the mounting hardware from the new holder. This may include screws, wall anchors, and any other components provided.
- Insert the wall anchors, if included, into the drilled holes. This will provide additional support for the mounting screws and ensure a stable installation.
- Align the holes on the holder with the drilled holes on the wall. Make sure the holder is level and aligned correctly with the markings you made earlier.
- Insert the mounting screws through the holes in the holder and into the wall anchors or directly into the drilled holes.
- Tighten the screws using a screwdriver, being careful not to overtighten and damage the holder or the wall.
- Double-check the alignment and stability of the holder. Adjust if necessary to ensure it is securely attached to the wall.
- Once the holder is securely mounted, give it a gentle tug to ensure it’s properly attached and won’t come loose.
By properly installing the new ceramic toilet paper holder, you’re setting the stage for its functionality and longevity. With the holder securely in place, you can move on to the next step of tightening the mounting screws.
Step 6: Secure and Tighten the Mounting Screws
Now that you have installed the new ceramic toilet paper holder, it’s important to secure and tighten the mounting screws to ensure its stability. Follow these steps to properly secure the holder:
- Using a screwdriver, tighten the mounting screws just enough to secure the holder in place. Be careful not to overtighten, as this can damage the holder or the wall.
- Check the alignment of the holder to ensure it is level and symmetrical. Make any necessary adjustments by loosening the screws slightly and repositioning the holder.
- Once the holder is properly aligned, tighten the screws further to securely fasten it to the wall. Use caution to avoid applying excessive force.
- Give the holder a gentle tug to ensure it is firmly attached and doesn’t wobble or come loose. If necessary, tighten the screws a bit more for added stability.
By securely tightening the mounting screws, you’re ensuring that the ceramic toilet paper holder is properly attached to the wall and will withstand everyday use. With the holder securely in place, it’s time to move on to the next step of testing and adjusting the holder.
Step 7: Test and Adjust the Holder
After securing the ceramic toilet paper holder in place, it’s important to test its functionality and make any necessary adjustments. Follow these steps to ensure the holder is in the correct position:
- Take a roll of toilet paper and place it onto the holder. Make sure it fits properly and is easy to access.
- Roll the toilet paper to ensure smooth rotation without any obstructions or difficulties.
- Sit on the toilet and reach for the toilet paper to confirm that it is within easy reach and doesn’t interfere with your movements.
- If you find that the holder is too high, too low, or at an uncomfortable angle, you may need to adjust its position.
- Loosen the mounting screws slightly to allow for adjustment. Gently reposition the holder to the desired height or angle.
- Tighten the screws again once you’re satisfied with the adjusted position of the holder.
By testing and adjusting the holder, you’re ensuring that it is not only securely installed but also positioned for optimal convenience and user experience. With the holder properly adjusted, you can now move on to the final step of applying caulk for a finished look.
Step 8: Apply Caulk for a Finished Look
To complete the installation of your new ceramic toilet paper holder and give it a polished appearance, you can apply caulk. Follow these steps to apply caulk for a finished look:
- Choose a caulk color that matches the color of your bathroom walls or the ceramic toilet paper holder. This will help the caulk blend seamlessly and create a neat finish.
- Load the caulk tube into a caulk gun and cut the tip at a 45-degree angle. The size of the opening should be small to allow for precise application.
- Apply a thin bead of caulk along the edges of the holder where it meets the wall. Be careful to work slowly and evenly for clean application.
- Smooth the caulk bead using your finger or a caulk smoothing tool. This will ensure a flush, professional-looking finish.
- Wipe away any excess caulk using a damp cloth or sponge.
- Allow the caulk to dry according to the manufacturer’s instructions. This typically takes around 24 hours.
By applying caulk, you not only create a finished and seamless appearance but also provide a waterproof seal that helps prevent moisture from seeping behind the holder and damaging the wall.
Congratulations! You have successfully replaced the ceramic toilet paper holder and added a touch of elegance to your bathroom. Enjoy the functional and stylish addition it brings to your space!
Remember, if you have any difficulties or concerns during the installation process, it’s always a good idea to consult a professional plumber or handyman for assistance.
As a final suggestion, take a step back and admire your handiwork. You’ve accomplished a small yet impactful upgrade to your bathroom that will be appreciated for years to come.
Conclusion
Replacing a ceramic toilet paper holder is a simple and rewarding DIY project that can transform the look of your bathroom. By following the step-by-step guide outlined in this article, you can successfully install a new holder and enjoy its practicality and elegance.
Throughout the process, it’s important to gather the necessary tools and materials, measure and mark the placement of the new holder, and drill holes for mounting. Installing the new holder requires attention to detail and proper tightening of the mounting screws to ensure stability.
Testing and adjusting the holder ensures that it is within easy reach and positioned for optimal convenience. The final step of applying caulk provides a finished appearance and helps protect the wall from moisture damage.
Remember, if you encounter any difficulties during the installation process or feel unsure about any step, it’s always wise to consult a professional for guidance.
Enjoy the process of upgrading your bathroom with a new ceramic toilet paper holder. Not only will it serve its practical purpose, but it will also enhance the overall aesthetics of your space. Take a moment to appreciate your accomplishment and the renewed charm your bathroom now exudes.
Thank you for reading this comprehensive guide. We hope it has been informative and helpful in your journey to replace a ceramic toilet paper holder. Happy DIY-ing!
Now that you've mastered replacing your ceramic toilet paper holder, why not tackle more projects to spruce up your space? Wondering how long bathroom renovations last? Our guide on how long bathroom renovations last will give you all the info needed. Or maybe you're feeling handy and eager for more DIY tasks around your home? Check out our comprehensive DIY home improvement tips. Lastly, if you're still pondering the best spot for that new toilet paper holder, our article on practical toilet paper holder installation advice offers practical advice to help you decide.
Frequently Asked Questions about How To Replace A Ceramic Toilet Paper Holder
Was this page helpful?
At Storables.com, we guarantee accurate and reliable information. Our content, validated by Expert Board Contributors, is crafted following stringent Editorial Policies. We're committed to providing you with well-researched, expert-backed insights for all your informational needs.


0 thoughts on “How To Replace A Ceramic Toilet Paper Holder”