
Articles
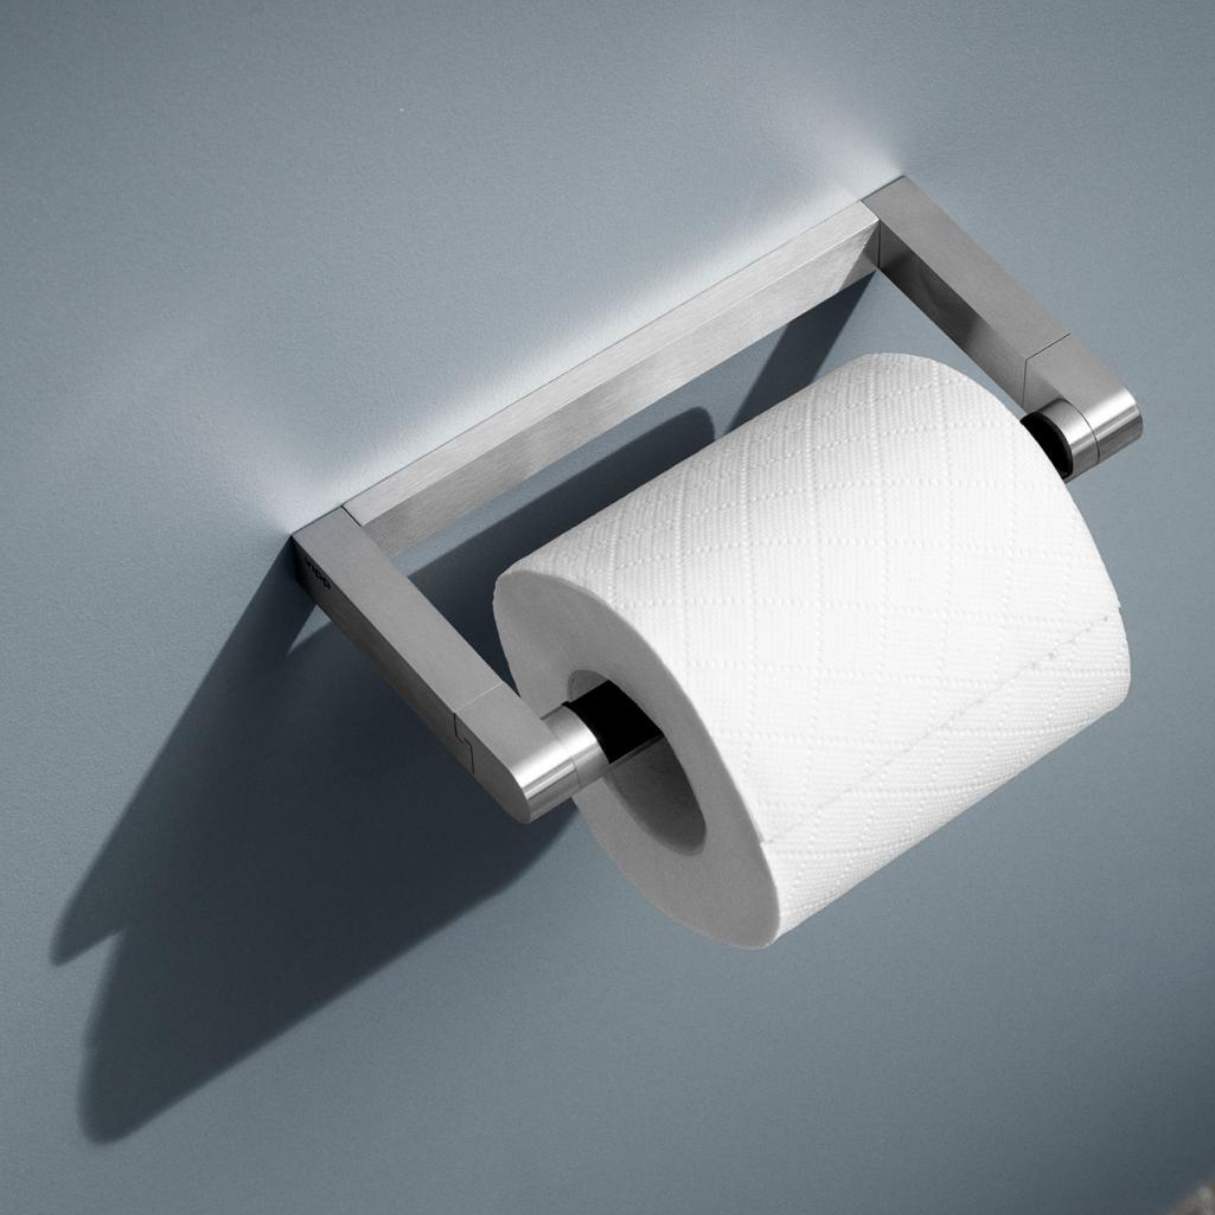
How To Make An Easy Extra Toilet Paper Holder
Modified: August 27, 2024
Learn how to create a stylish and convenient extra toilet paper holder with this easy step-by-step guide. Explore articles for more DIY ideas!
(Many of the links in this article redirect to a specific reviewed product. Your purchase of these products through affiliate links helps to generate commission for Storables.com, at no extra cost. Learn more)
Introduction
Welcome to the world of DIY! Have you ever found yourself in a situation where you desperately needed some extra toilet paper but there was nowhere convenient to store it? Don’t worry, we’ve got you covered! In this article, we will guide you through a simple and fun project: making your own easy extra toilet paper holder.
Having an extra toilet paper holder is not only practical but also adds a stylish touch to your bathroom. Whether you frequently run out of toilet paper or just want to have some additional rolls within arm’s reach, this project is for you.
Don’t worry if you’re not a seasoned DIY expert. This project is suitable for beginners and can be completed in just a few simple steps. All you need are a few basic materials and tools, and you’ll have your very own custom toilet paper holder in no time!
So, let’s kick off this exciting DIY adventure by gathering the materials needed for this project.
Key Takeaways:
- Create a practical and stylish extra toilet paper holder with just a few basic materials and simple steps. Enjoy the convenience and personal touch it adds to your bathroom decor, making running out of TP a worry of the past!
- Whether you’re a DIY enthusiast or a beginner, this project is perfect for anyone looking to add a functional and aesthetically pleasing element to their bathroom. Follow the steps carefully for a successful outcome and enjoy the convenience of easy access to extra rolls.
Read more: How To Make A Toilet Paper Holder
Materials Needed
Before getting started, make sure you have the following materials handy:
- A sturdy pipe – You can choose a metal or PVC pipe, depending on your preference and the overall aesthetic of your bathroom.
- Pipe caps – These will be used to secure the ends of the pipe.
- Measuring tape – Essential for accurately measuring the length of the pipe.
- Saw – To cut the pipe to the desired length.
- Sandpaper – To smoothen any rough edges after cutting the pipe.
- Marker – For marking the measurements on the pipe.
- Screws and anchors – To mount the holder on the wall securely.
- Drill – To create holes for mounting the holder.
- Paint (optional) – If you want to give your toilet paper holder some color, you can choose a paint that matches your bathroom’s decor.
- Paintbrush (optional) – For applying the paint.
These materials are easily available at your local hardware store or online. Once you have everything you need, let’s dive into the step-by-step process of creating your own extra toilet paper holder.
Step 1: Gather Supplies
The first step in creating your easy extra toilet paper holder is to gather all the necessary supplies. Ensure that you have all the materials mentioned in the previous section readily available.
Set up a workspace where you can comfortably work on your project. It could be a table or a countertop with enough space to lay out your materials. Make sure you have good lighting and ventilation to work safely and efficiently.
Once you have your workspace ready, arrange your materials in an organized manner. This will save you time and prevent any frustration caused by searching for specific items midway through the project.
Double-check that you have all the tools and materials required. If you’re missing anything, take a quick trip to the hardware store or order online to ensure you have everything you need to complete the project.
With your supplies gathered, you’re now ready to move on to the next step: measuring and marking the pipe.
Step 2: Measure and Mark
Now that you have all your supplies ready, it’s time to measure and mark the pipe. This step is crucial for determining the length of the pipe needed for your toilet paper holder.
Start by placing the pipe on a flat surface. Use the measuring tape to measure the desired length for your toilet paper holder. Consider the space where you plan to mount the holder and choose a length that fits well.
Once you have determined the length, use a marker to make a clear and visible mark on the pipe. Make sure to mark both ends of the pipe accurately.
Take your time during this step to ensure precise measurements. It’s always better to double-check and measure twice to avoid any errors. Remember, accuracy is key to a successful DIY project.
After marking the pipe, you can use the measuring tape again to confirm that both marks align with the desired length. This will give you peace of mind that your toilet paper holder will be the perfect fit for your bathroom.
With the pipe accurately measured and marked, you’re now ready to move on to the next step: cutting the pipe.
Step 3: Cut the Pipe
Now that you have measured and marked the pipe to the desired length, it’s time to cut the pipe. This step requires caution, so make sure to follow the safety guidelines and take your time to ensure accurate cuts.
Using a saw suitable for cutting the type of pipe you have chosen, carefully position the blade on the marked area of the pipe. Ensure that the pipe is securely held in place before starting the cutting process.
Apply even pressure and use a back-and-forth motion to saw through the pipe. Take your time to maintain a steady and controlled cutting motion. If you feel any resistance, don’t force the saw. Instead, adjust your positioning and angle to avoid any accidents.
Continue cutting until you reach the other marked point on the pipe. Once you have completed the cut, inspect the edges for any rough or jagged areas. The use of sandpaper will help smoothen these rough edges, ensuring a safer and neater finished product.
After sanding the edges, wipe away any debris or loose particles from the pipe. This will ensure that your toilet paper rolls won’t snag or tear when placed on the holder.
Congratulations! You have successfully cut the pipe to the desired length. In the next step, we will move on to attaching the caps to secure the ends of the pipe.
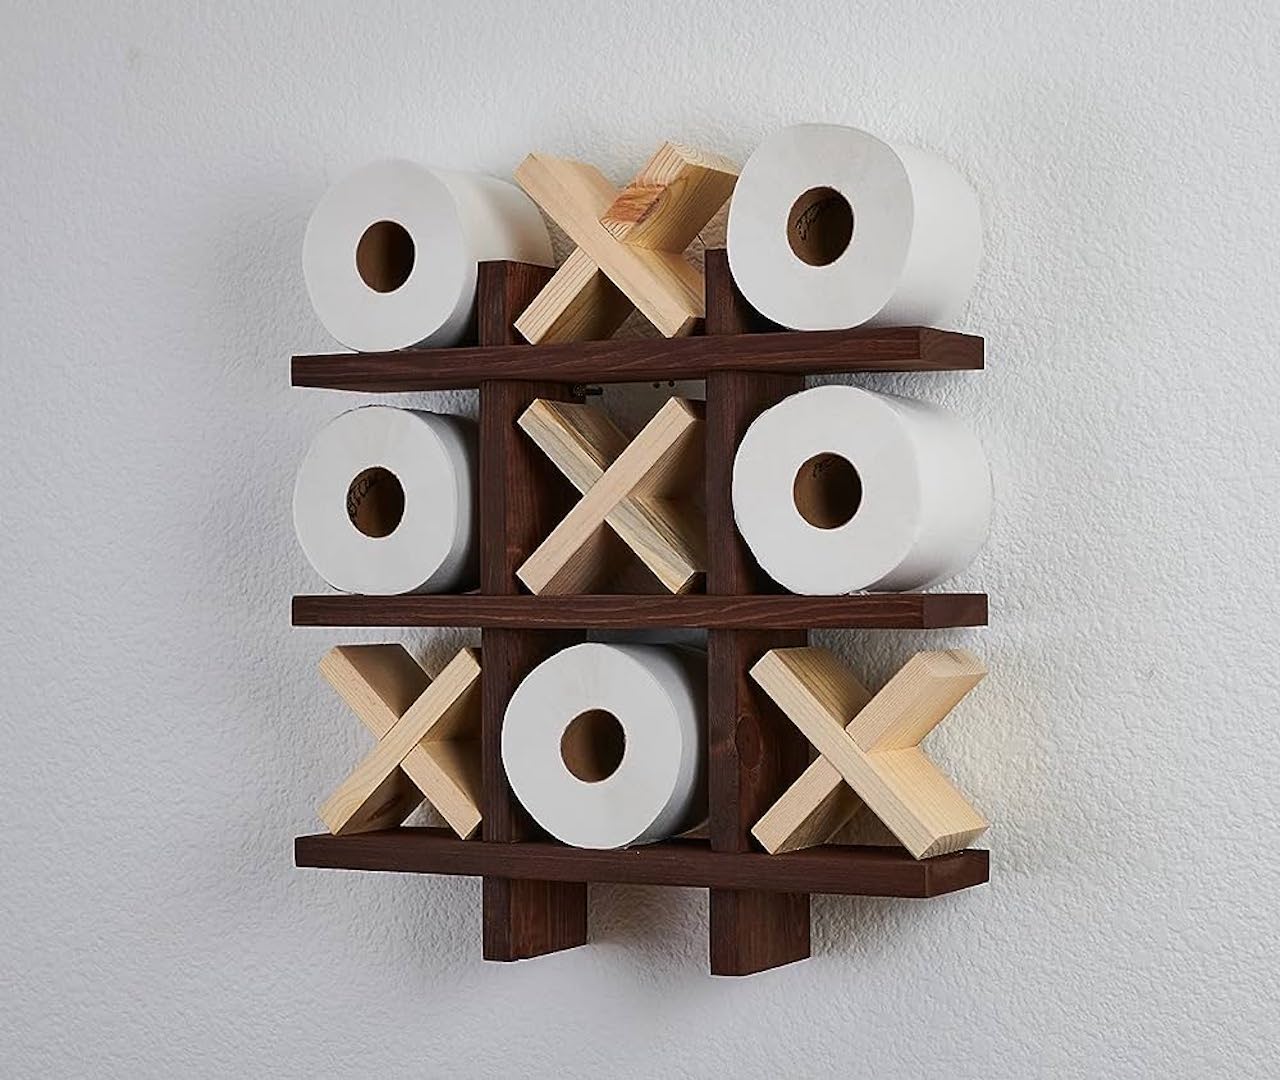
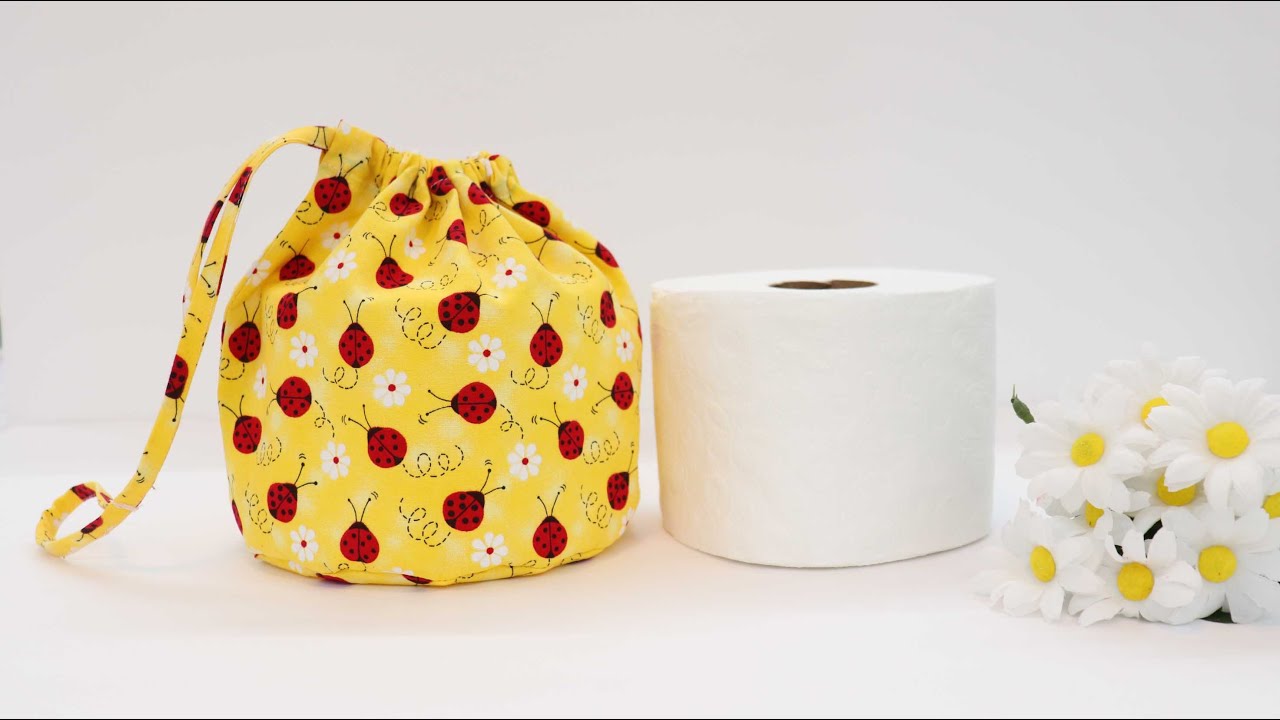
Consider using a small basket or decorative container to hold extra toilet paper rolls. This can be placed on the floor next to the toilet for easy access and a stylish storage solution.
Read more: How To Make Pipe Toilet Paper Holder
Step 4: Attach the Caps
With the pipe cut to the desired length, it’s time to attach the caps to secure the ends of the pipe. These caps will not only provide a finished look to your toilet paper holder but also prevent the rolls from accidentally sliding off.
Begin by removing any burrs or rough edges from the cut ends of the pipe using sandpaper. This will ensure a clean and smooth surface for attaching the caps.
Take one of the caps and apply a small amount of adhesive or glue to the inner rim. Place the cap onto one end of the pipe, ensuring that it fits securely and snugly. Hold it in place for a few seconds to allow the adhesive to bond properly.
Repeat this process for the other cap and attach it to the opposite end of the pipe. Again, make sure it fits tightly and is properly aligned.
Allow the adhesive to fully dry as instructed by the manufacturer. This may take a few hours or overnight, depending on the type of adhesive you are using.
Once the caps are securely attached and the adhesive is completely dry, give the caps a gentle tug to ensure they are firmly in place. You don’t want them coming loose over time.
With the caps attached, your DIY toilet paper holder is almost complete. The next step involves mounting the holder on the wall for easy access and convenience.
Step 5: Mount the Holder
Now that you have assembled the main structure of your toilet paper holder, it’s time to mount it securely on the wall. This step will ensure that your extra rolls of toilet paper are easily accessible and within reach whenever needed.
Start by selecting the ideal location for your toilet paper holder. Consider factors such as convenience, accessibility, and the overall layout of your bathroom. It’s best to choose a spot that is easily reachable from the toilet and doesn’t interfere with other fixtures in the room.
Take the holder and position it against the wall at the desired height. Place a level on top of the holder to ensure it is perfectly straight. Once you are satisfied with the position, use a pencil or marker to mark the mounting holes on the wall through the holes in the holder.
Now, it’s time to drill the holes for the mounting screws. Make sure to use the appropriate drill bit size for the screws you will be using. Carefully drill into the marked spots on the wall, ensuring that the holes are deep enough to hold the screws securely.
After drilling the holes, insert anchors into each hole. These anchors will provide extra support and stability for your toilet paper holder. Gently tap the anchors using a hammer until they are flush with the wall surface.
Align the holes on the holder with the holes in the wall, then insert the screws and tighten them using a screwdriver or drill. Make sure not to overtighten the screws, as this can damage the holder or strip the screw holes.
Once the holder is securely mounted on the wall, give it a gentle tug to ensure it is stable and doesn’t wobble. If everything feels secure, you’re ready to move on to the final step of testing and adjusting the holder.
Step 6: Test and Adjust
Now that your toilet paper holder is mounted on the wall, it’s time to test its functionality and make any necessary adjustments for optimal performance.
Start by placing a few rolls of toilet paper on the holder. Make sure they fit comfortably and do not slide off or feel unstable. Give the rolls a gentle tug to ensure they stay securely in place.
Test the ease of accessing and removing the toilet paper rolls. Ensure that they can be easily pulled off the holder without any hassle or resistance. If you find any issues, such as the rolls getting stuck or difficulty in removing them, re-evaluate the positioning of the holder and make any necessary adjustments.
Check the alignment of the holder to ensure it is level and straight. If you find that it is slightly off-center or crooked, loosen the screws slightly and make any adjustments as needed. Once aligned, tighten the screws securely.
If you have chosen to paint your toilet paper holder, now is the time to inspect the paint finish. Ensure that it is smooth and evenly applied. If you notice any imperfections or areas that require touch-ups, now is the time to address them.
Once you are satisfied with the functionality, stability, and appearance of your toilet paper holder, take a step back and admire your handiwork. Congratulations, you have successfully created your very own easy extra toilet paper holder!
Enjoy the convenience and style that your new toilet paper holder brings to your bathroom. Feel free to customize it further by adding decorative elements or personal touches that suit your taste. Now, you never have to worry about running out of toilet paper with this handy and stylish solution at your fingertips.
Remember to regularly restock the holder with toilet paper and keep it clean for a hygienic and organized bathroom experience.
Thank you for joining us in this DIY project. We hope you found it enjoyable and rewarding. Happy crafting!
Conclusion
Congratulations on completing your easy extra toilet paper holder! By following the steps outlined in this article, you have successfully created a practical and stylish solution for storing additional rolls within arm’s reach.
This DIY project not only provides a convenient storage option but also allows you to add a personal touch to your bathroom decor. Whether you’re a DIY enthusiast or a beginner, this project is perfect for anyone looking to add a functional and aesthetically pleasing element to their bathroom.
Remember to gather all the necessary materials, measure and mark the pipe accurately, cut it to the desired length, attach the caps to secure the ends, mount the holder securely on the wall, and test and adjust for optimal functionality. Taking the time to follow each step carefully ensures a successful outcome.
With your new toilet paper holder in place, you’ll never have to worry about running out of TP again. The added convenience and easy access to extra rolls will make your bathroom experience much more convenient and hassle-free.
Feel free to customize your toilet paper holder further by adding paint or other decorative elements that match your bathroom’s decor. This allows you to make it uniquely yours and showcase your creativity.
Thank you for joining us in this DIY adventure. We hope you enjoy your new toilet paper holder and continue to explore more exciting DIY projects in the future. Happy crafting!
Frequently Asked Questions about How To Make An Easy Extra Toilet Paper Holder
Was this page helpful?
At Storables.com, we guarantee accurate and reliable information. Our content, validated by Expert Board Contributors, is crafted following stringent Editorial Policies. We're committed to providing you with well-researched, expert-backed insights for all your informational needs.


0 thoughts on “How To Make An Easy Extra Toilet Paper Holder”