Articles
How To Put Plastic On Windows With Blinds
Modified: September 1, 2024
Learn how to effectively put plastic on windows with blinds in this informative articles. Discover helpful tips and techniques for insulating your windows during the colder months.
(Many of the links in this article redirect to a specific reviewed product. Your purchase of these products through affiliate links helps to generate commission for Storables.com, at no extra cost. Learn more)
Introduction
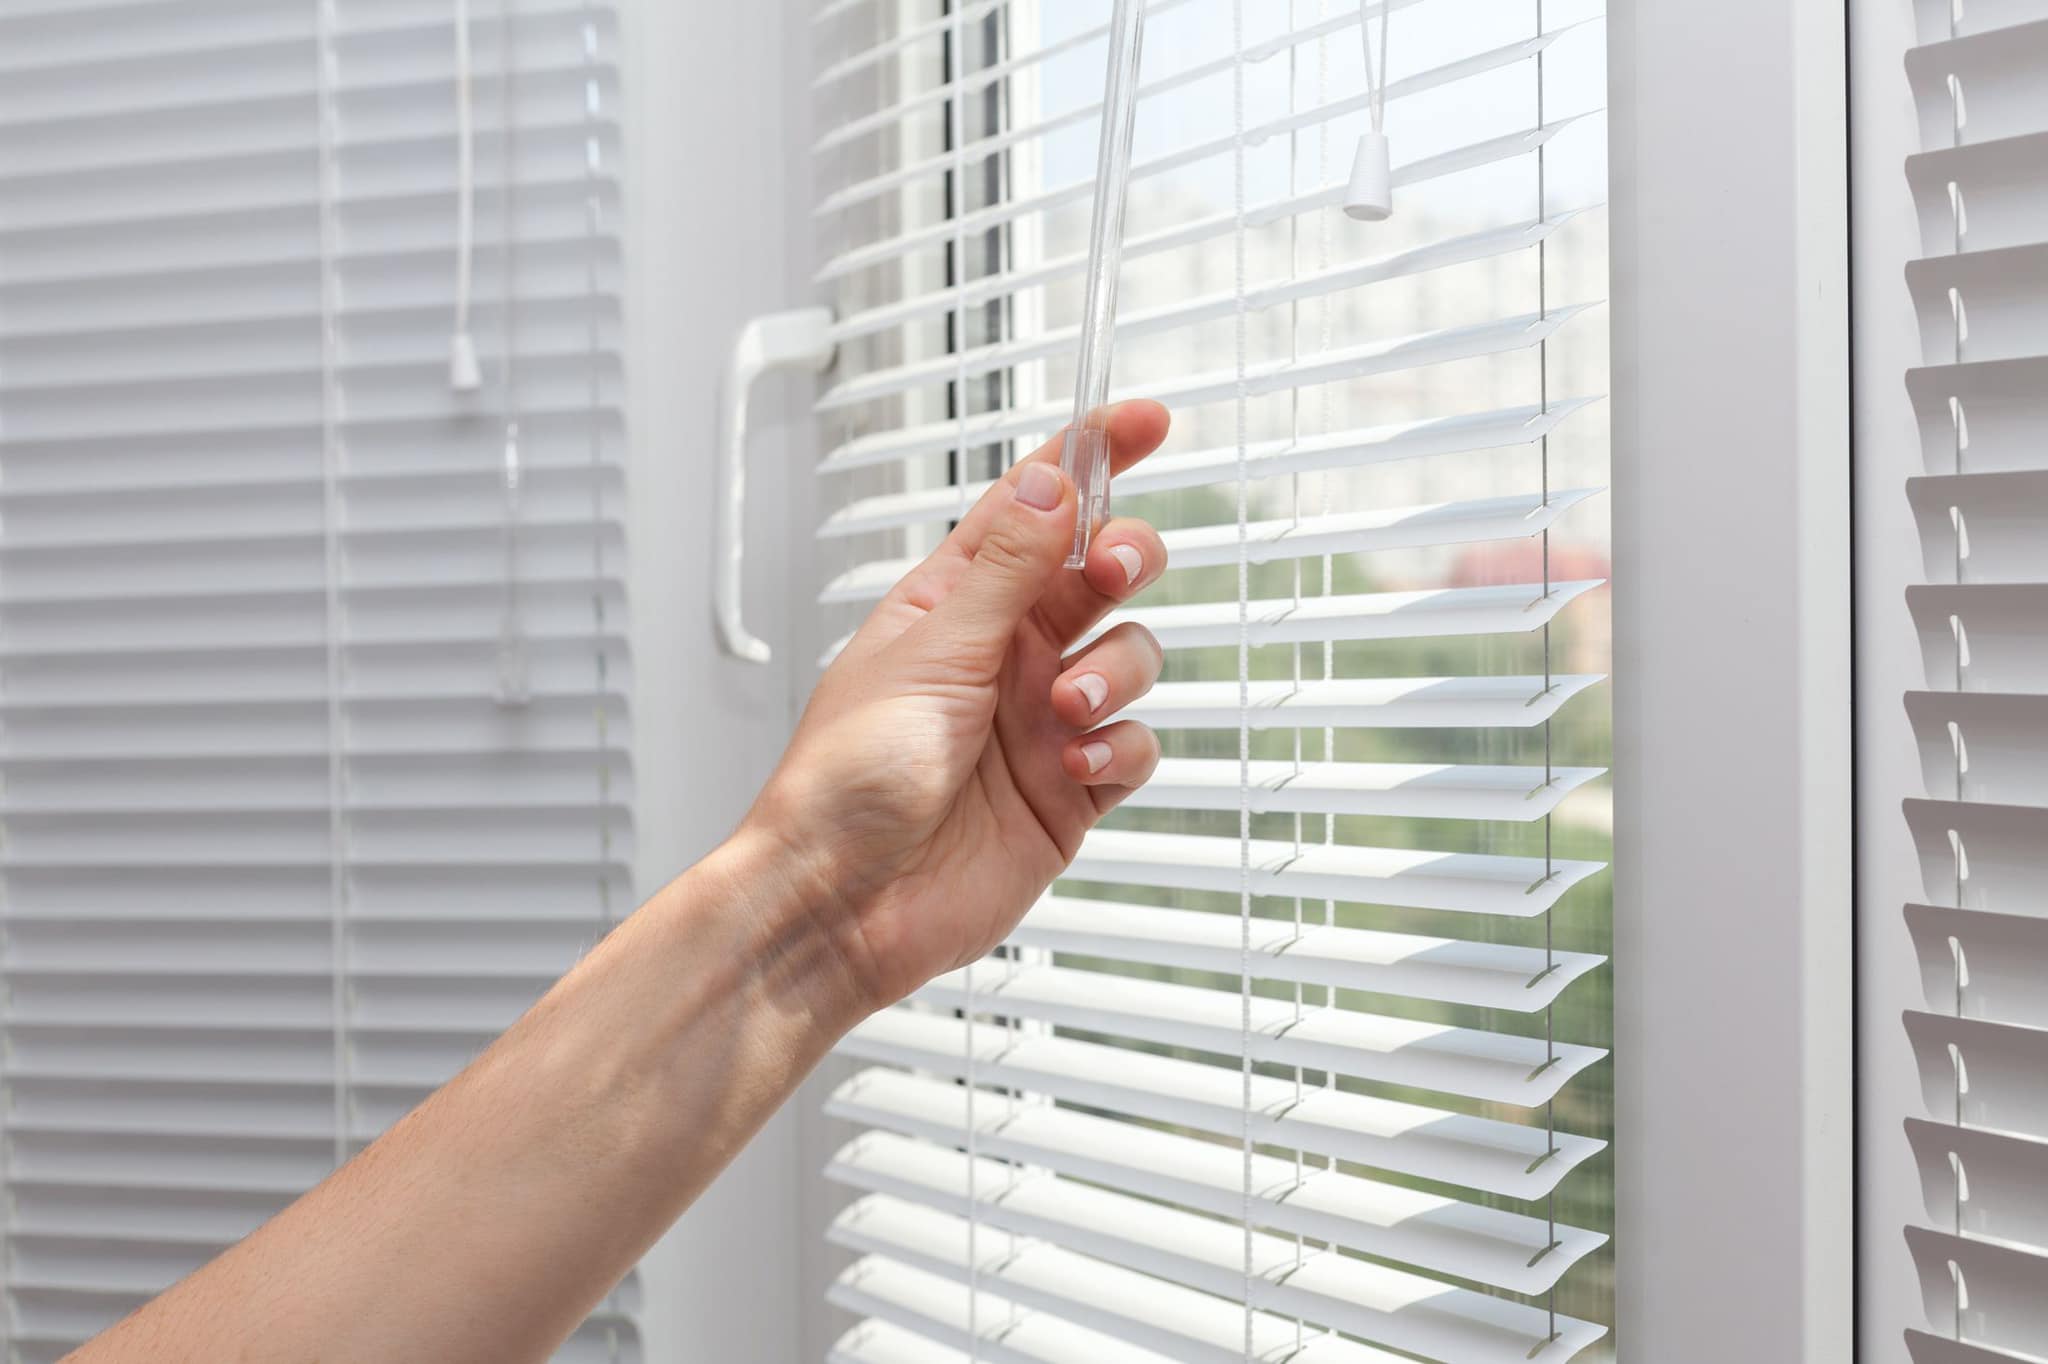
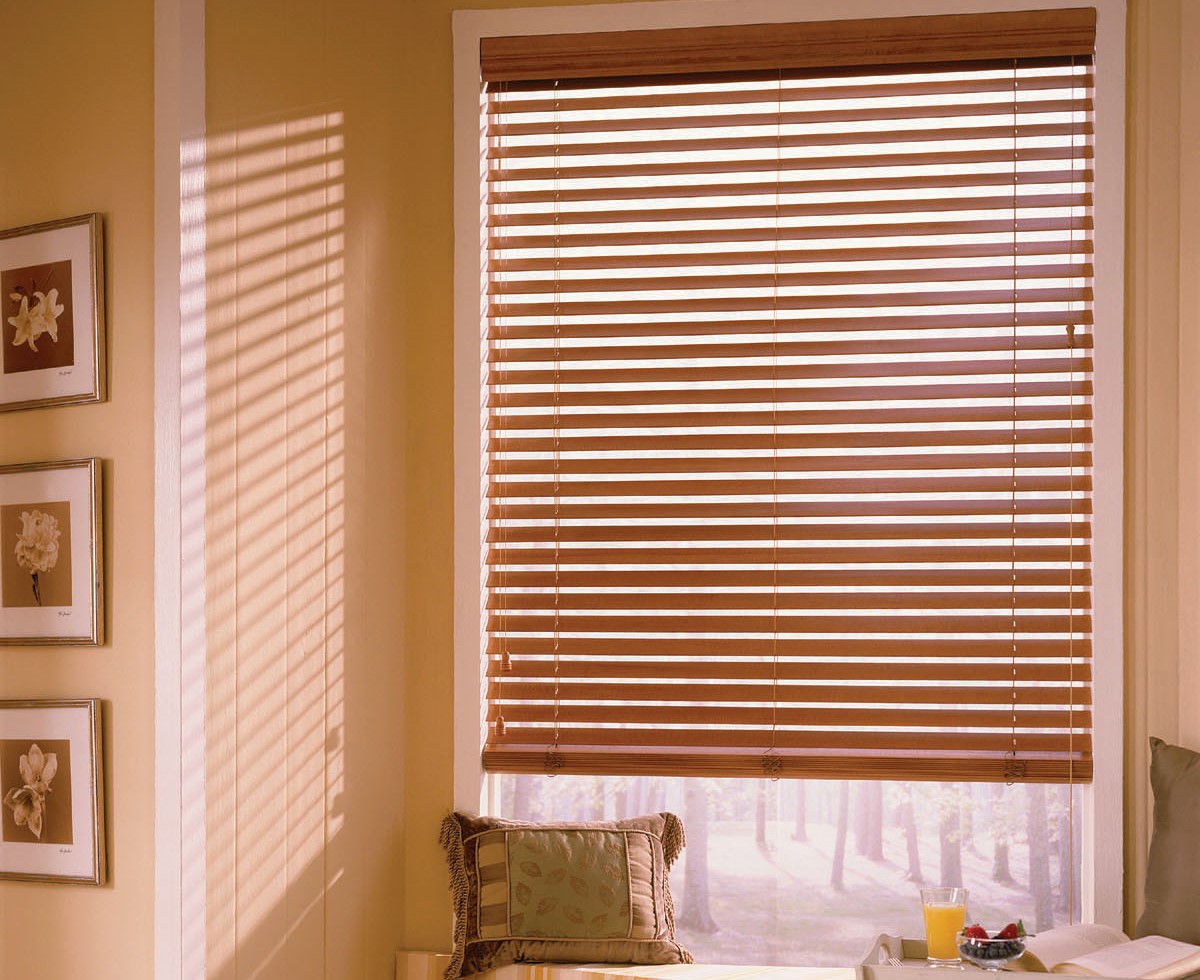
When the colder months roll in, many homeowners turn to various methods to protect their homes from the chilly drafts and to maintain a comfortable indoor temperature. One effective and economical way to achieve this is by putting plastic on windows with blinds. This technique not only helps to insulate the windows but also prevents cold air from seeping into the room, thereby reducing heating costs.
In this comprehensive guide, we will walk you through the step-by-step process of putting plastic on windows with blinds. We will cover everything from choosing the right plastic materials to installing the plastic film and ensuring a secure fit for your blinds. By the end of this article, you will have all the knowledge and tools you need to effectively weatherproof your windows and enjoy a cozy and energy-efficient winter season.
Key Takeaways:
- Enhance Energy Efficiency: By combining plastic film with blinds, you can improve insulation, reduce drafts, and lower heating costs, creating a cozy and energy-efficient home environment during colder months.
- Protect Windows and Treatments: Putting plastic on windows with blinds helps preserve window treatments, prevents condensation, and maintains the integrity of your windows, ensuring a comfortable and well-maintained living space.
Read more: How To Put Blinds On A Window
Why Put Plastic on Windows with Blinds?
Before diving into the process of putting plastic on windows with blinds, it’s important to understand the benefits of this method. There are a few key reasons why homeowners opt for this technique:
- Improved Insulation: Placing plastic film over your windows creates an additional layer of insulation, helping to reduce heat loss. This is particularly beneficial if you have older windows that may not be as efficient in retaining heat.
- Energy Efficiency: By reducing heat loss through your windows, putting plastic on windows with blinds can significantly improve the energy efficiency of your home. This means lower heating costs and a smaller carbon footprint.
- Draft Prevention: Windows are notorious for allowing drafts to enter your home. Applying plastic film provides a barrier against incoming drafts, minimizing cold air infiltration and keeping your living spaces more comfortable.
- Condensation Control: During the winter months, condensation can form on windows, leading to moisture damage and potential mold growth. The plastic film helps to create a moisture barrier, reducing the likelihood of condensation forming and protecting your windows.
- Preserves Window Treatments: If you have blinds or curtains installed, putting plastic on windows can help protect these window treatments from damage caused by condensation and drafts. It adds an extra layer of protection without obstructing your view or the functionality of your blinds.
By combining plastic window film with blinds, you can enhance the insulation properties of your windows while maintaining the aesthetic appeal of your living spaces. This simple and cost-effective solution provides multiple benefits, making it an attractive option for homeowners looking to improve energy efficiency and reduce heating costs.
Choosing the Right Plastic for Your Windows
When it comes to putting plastic on windows with blinds, choosing the right type of plastic is essential for achieving optimal results. Consider the following factors when selecting the plastic film for your windows:
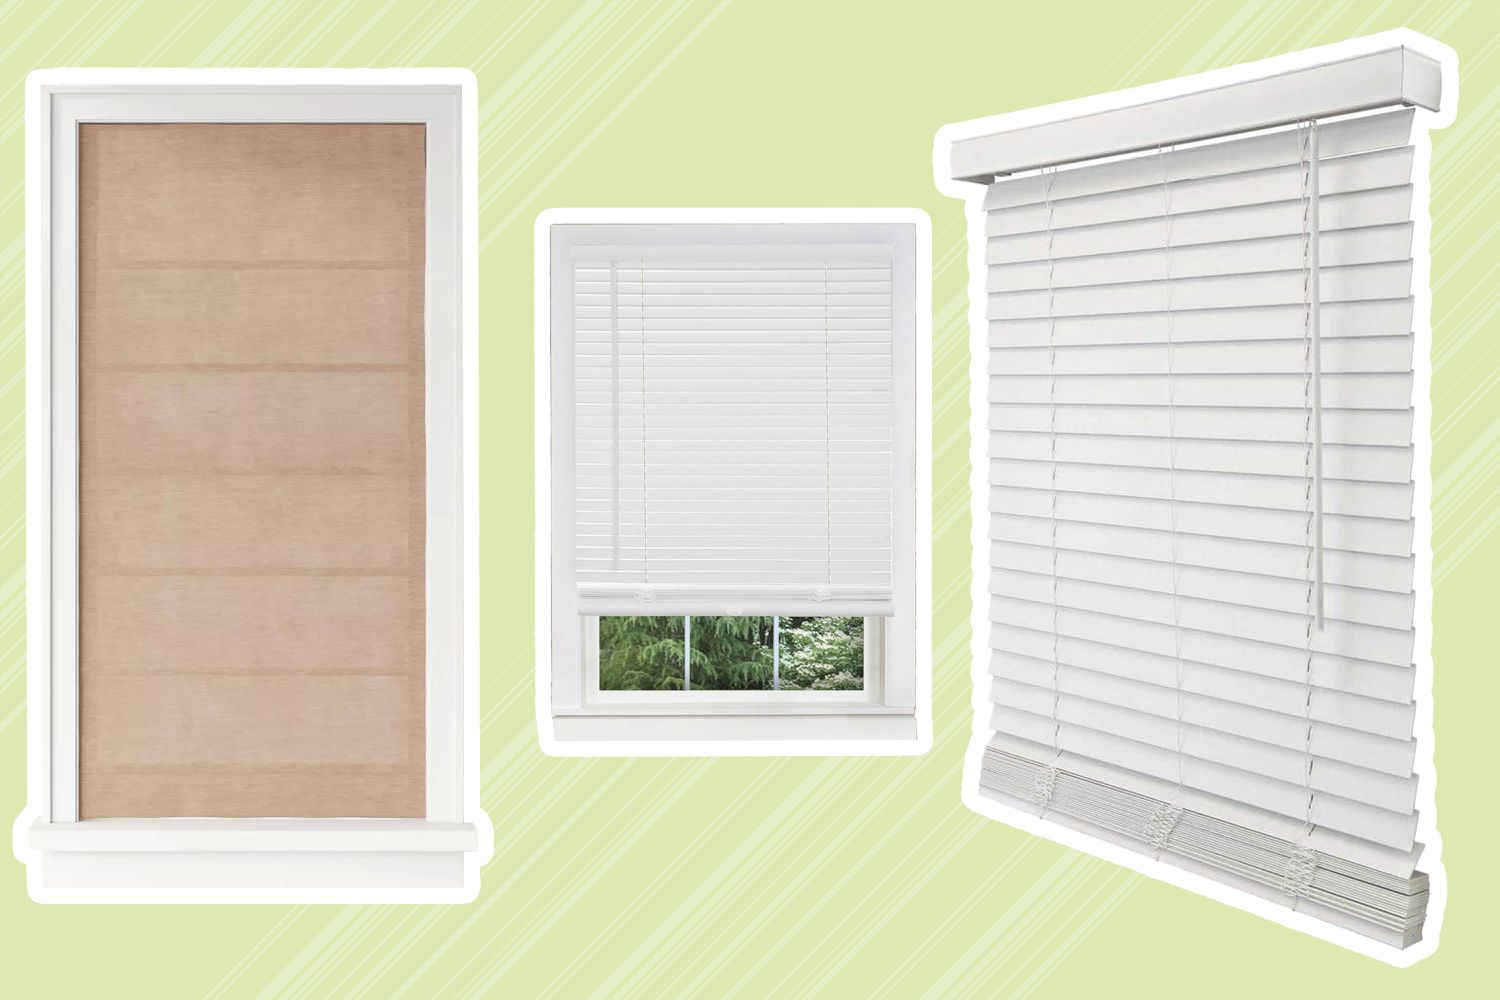
- Thickness: Plastic film thickness is typically measured in mils or gauges. The higher the number, the thicker the plastic. For most residential applications, a thickness of 0.7 to 2 mils is recommended. Thicker plastic provides better durability and insulation, but it may appear less transparent than thinner alternatives.
- Clarity: Look for plastic film that offers excellent clarity to ensure that it does not obstruct your view or interfere with the amount of natural light that enters the room. Clarity is especially important if you have blinds or window treatments that you want to preserve.
- Sealing Ability: Consider the sealing properties of the plastic film. Look for options that provide a strong adhesive or a tight seal when applied to the window surface. This helps to prevent drafts and moisture from seeping in.
- UV Protection: Some plastic films offer UV protection, which can help to reduce the fading and damage caused by the sun’s rays on your furniture, flooring, and other items in the room.
- Ease of Installation: Choose a plastic film that is easy to install and work with. Look for options that come with clear installation instructions and include all the necessary tools or accessories needed for application.
It’s important to note that there are different types of plastic films available, each with its own features and benefits. Some popular options include heat-shrink film, self-adhesive film, and insulating window kits. Consider your specific needs, budget, and personal preferences when making your selection.
By taking the time to choose the right plastic film for your windows, you can ensure a successful installation and enhance the energy efficiency of your home while still enjoying clear views and natural light.
Gathering the Necessary Supplies
Before you can begin the process of putting plastic on windows with blinds, it’s important to gather all the necessary supplies. Having everything on hand will make the installation process smoother and more efficient. Here are the essential supplies you will need:
- Plastic Film: Select the plastic film that matches your requirements and preferences. Ensure that you have enough film to cover all the windows you plan to insulate. It’s a good idea to have some extra film on hand in case of any mistakes or miscalculations during the cutting process.
- Double-Sided Tape or Adhesive: You will need adhesive to attach the plastic film to the window frame. Look for double-sided tape specifically designed for this purpose, as regular tape may not provide a strong enough seal.
- Scissors or a Utility Knife: You will need a sharp pair of scissors or a utility knife to cut the plastic film to the correct size. Make sure your cutting tool is sharp to ensure clean and precise cuts.
- Measuring Tape: Accurate measurements are crucial for cutting the plastic film to fit your windows. Have a measuring tape on hand to measure the width and height of each window.
- Rubbing Alcohol or Window Cleaner: Before applying the double-sided tape, it’s important to clean the window surface thoroughly. Use rubbing alcohol or a window cleaner to remove any dirt, dust, or grease that could compromise the adhesion of the tape.
- A Plastic Squeegee or Credit Card: A plastic squeegee or credit card can be used to smooth out the plastic film and remove any air bubbles or wrinkles during the installation process.
- Optional: Hair Dryer or Heat Gun: If you are using a heat-shrink film, you may need a hair dryer or heat gun to shrink the film and create a tight, wrinkle-free seal on the window.
By ensuring that you have all the necessary supplies before starting the installation process, you can save time and avoid interruptions. Having everything on hand will allow you to complete the project efficiently and achieve the desired results.
Step 1: Preparing the Window Surface
Before applying the plastic film, it’s important to properly prepare the surface of the window. This step ensures better adhesion and a smooth, clean finish. Follow these steps to prepare the window surface:
- Clean the Window: Use a glass cleaner or rubbing alcohol and a clean cloth to thoroughly clean the window surface. Remove any dirt, dust, or grease, as these can affect the adhesion of the double-sided tape.
- Dry the Window: After cleaning, ensure that the window surface is completely dry. Use a lint-free cloth or paper towel to remove any moisture.
- Remove Window Treatments: If you have blinds or curtains installed, carefully remove them from the window. This will allow you to apply the plastic film directly to the window without any obstructions.
- Inspect the Window Frame: Take a close look at the window frame. If there are any cracks, gaps, or damage, consider sealing or repairing them before applying the plastic film. This will help to improve the overall effectiveness of the insulation.
- Apply Painter’s Tape (Optional): If you’re concerned about the double-sided tape potentially damaging the window frame, you can apply a strip of painter’s tape along the edges of the window frame. This will act as a protective barrier and ensure easy removal of the plastic film in the future.
By properly preparing the window surface, you can ensure better adhesion of the plastic film and a clean, professional-looking finish. Taking the time to clean and inspect the window surface will contribute to the overall effectiveness and longevity of the plastic insulation.
Read more: How To Put Blinds In A Bay Window
Step 2: Measuring and Cutting the Plastic
Once you have prepared the window surface, the next step is to measure and cut the plastic film to fit your windows properly. Follow these steps to ensure accurate measurements and clean cuts:
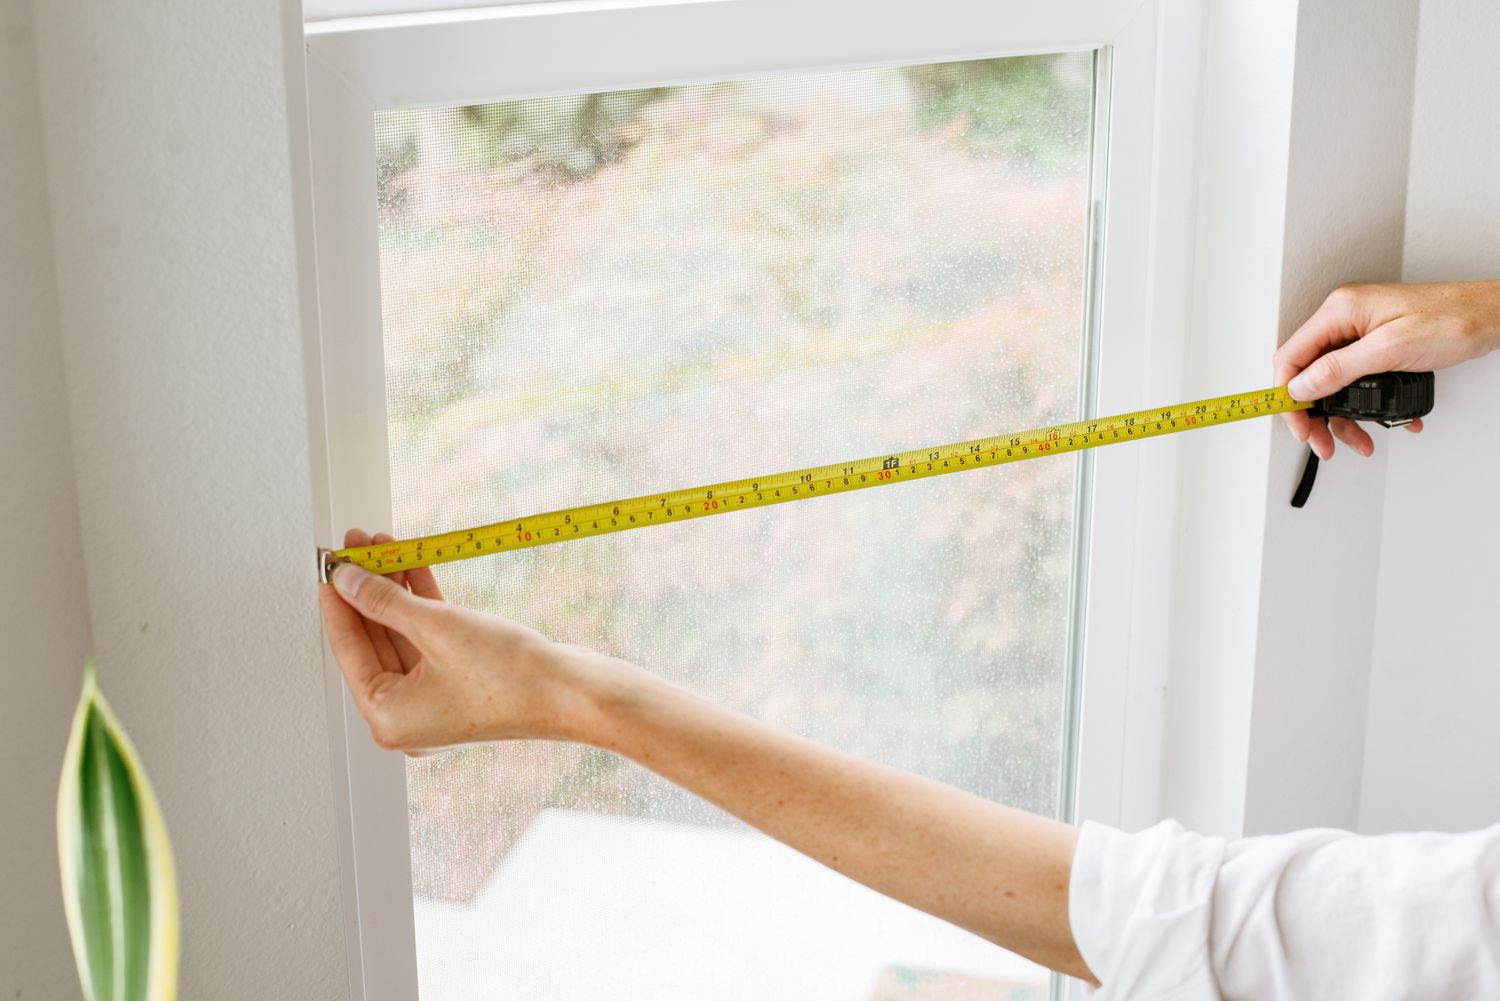
- Measure the Width and Height: Use a measuring tape to measure the width and height of the window. Measure from edge to edge, accounting for any trim or molding. Write down the measurements for reference.
- Add Extra Length and Width: To ensure a proper fit, add a few inches to both the width and height measurements. This additional length and width will allow you to securely attach the plastic film and provide some overlap for a tight seal.
- Roll Out the Plastic Film: Lay out the plastic film on a clean, flat surface. Ensure that the film is large enough to accommodate the measurements you have taken, including the additional length and width.
- Secure the Film: Use tape or weights to secure the corners of the plastic film to the surface. This will prevent it from moving or shifting while you measure and cut.
- Transfer the Measurements: Using a pencil or marker, transfer the measured width and height onto the plastic film. Ensure that the marks are clearly visible and accurate.
- Cut the Plastic Film: Using sharp scissors or a utility knife, carefully cut along the marked lines to create the desired size of the plastic film. Take your time to ensure clean and straight cuts.
It’s important to emphasize the accuracy of your measurements and the precision of your cuts. Properly measured and cut plastic film will ensure a tight fit and optimum insulation. Remember to double-check your measurements before cutting to avoid any wastage or incorrect sizing.
When putting plastic on windows with blinds, make sure to measure and cut the plastic to fit the window frame. Use double-sided tape to secure the plastic without interfering with the blinds.
Step 3: Applying the Double-Sided Tape
After measuring and cutting the plastic film, the next step is to apply the double-sided tape to the window frame. This tape will securely attach the plastic film for an airtight seal. Follow these steps to correctly apply the double-sided tape:
- Start at the Top: Begin by positioning the roll of double-sided tape at the top edge of the window frame, parallel to the glass.
- Unroll the Tape: Slowly unroll the double-sided tape, adhering it to the window frame as you go. Ensure that the tape sticks firmly and evenly along the entire length of the window frame.
- Cut the Tape: Once you have covered one side of the window frame, use scissors or a utility knife to cut the tape, separating it from the roll. Repeat this process for the other sides of the window frame.
- Apply Extra Tape (If Needed): If you have a larger window that requires additional support, apply an extra strip of double-sided tape in the middle of the window frame for added reinforcement.
- Press the Tape Firmly: After applying the double-sided tape, press it firmly against the window frame using your fingers or a plastic squeegee. This will ensure proper adhesion and create a strong bond.
It’s important to ensure that the double-sided tape is securely and evenly applied along the window frame. This will provide a solid foundation for attaching the plastic film and prevent any air leaks or drafts. Take your time during this step to ensure the tape is applied correctly.
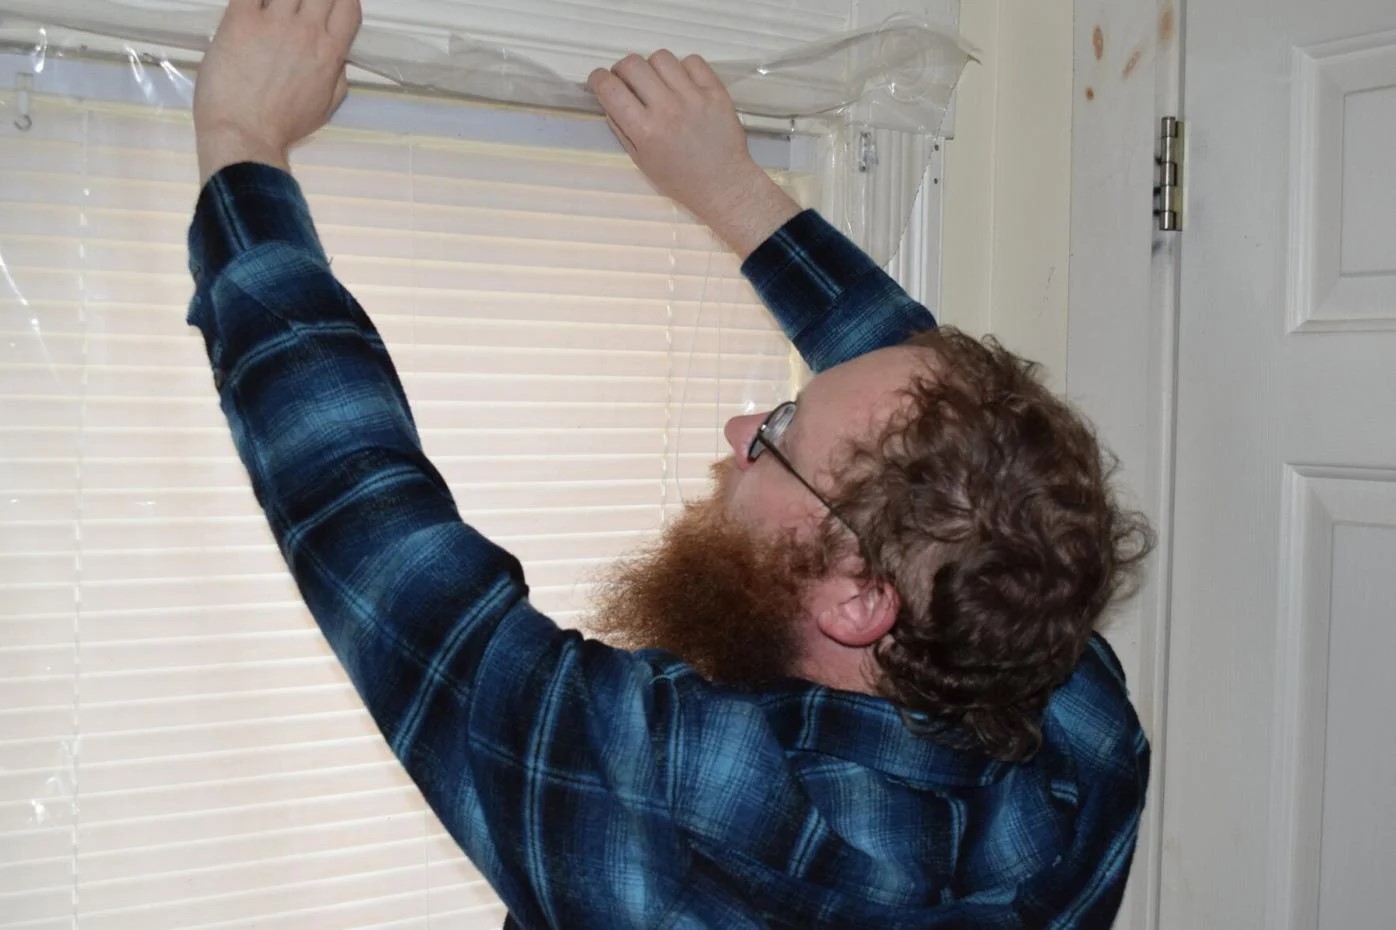
Step 4: Attaching the Plastic to the Window Frame
With the double-sided tape in place, it’s time to attach the plastic film to the window frame. Follow these steps to ensure a secure and proper fit:
- Start at the Top: Begin by aligning the top edge of the plastic film with the top edge of the window frame. Ensure that there is some overlap, allowing the plastic to cover the entire window surface.
- Press the Plastic onto the Tape: Starting from one side, press the plastic film onto the double-sided tape, applying gentle pressure as you go. Ensure that the plastic adheres securely to the tape along the entire length of the window frame.
- Smooth Out the Plastic: Use a plastic squeegee or credit card to smooth out the plastic film, removing any air bubbles or wrinkles. Start from the center and move outward, working your way to the edges. This will help create a smooth and even surface.
- Repeat for the Other Sides: Repeat the process for the remaining sides of the window frame, ensuring that the plastic film overlaps slightly at the corners for a tight seal.
It’s important to take your time during this step to ensure the plastic film is applied smoothly and without any wrinkles. The tight bond between the plastic film and the double-sided tape will create an effective barrier against drafts and improve insulation.
Step 5: Securing and Sealing the Edges
After attaching the plastic film to the window frame, the next step is to secure and seal the edges. This will ensure a tight and effective insulation. Follow these steps to properly secure and seal the edges:
- Trim Excess Plastic: Using scissors or a utility knife, carefully trim any excess plastic film that extends beyond the window frame. Trim the film to be flush with the edges of the window frame.
- Press the Plastic Against the Frame: Starting from one side, press the plastic film against the window frame, ensuring a tight seal. Use your fingers or a plastic squeegee to press along the edges, helping the plastic adhere securely.
- Apply Heat (Optional): If you are using a heat-shrink film, you can use a hair dryer or heat gun to gently apply heat to the plastic film. This will cause the film to shrink and create an even tighter seal. Be cautious not to overheat the film or the window frame.
- Double-Check the Sealing: Once the edges are secured, double-check the entire perimeter of the window frame to ensure that the plastic film is properly sealed and there are no gaps or air leaks.
It’s important to pay attention to detail when securing and sealing the edges of the plastic film. A tight seal will prevent drafts and maintain the integrity of the insulation. Take your time during this step to ensure a professional-looking finish.
Read more: What Is Window Blinds
Step 6: Installing Blinds over the Plastic
After you have successfully secured and sealed the plastic film, the next step is to install the blinds over the plastic. This will not only provide privacy and light control but also help to further insulate your windows. Follow these steps to install blinds over the plastic:
- Measure for Blind Installation: Determine the correct placement for your blinds by measuring the width of the window frame and the desired height for the blinds. Mark these measurements on the window frame.
- Pre-drill Mounting Holes: Using a power drill or screwdriver, pre-drill small holes at the marked positions on the window frame. Ensure that the holes are deep enough to securely anchor the blind brackets.
- Attach the Blind Brackets: Position the blind brackets over the pre-drilled holes and secure them in place using screws provided with the blinds. Align the brackets horizontally and ensure they are level.
- Hang the Blinds: With the brackets in place, carefully lift the blinds and hook them onto the brackets. Make sure the blinds are evenly aligned and centered within the window frame.
- Secure the Blinds: Depending on the type of blinds, there may be clips or additional hardware to secure the blinds in place. Follow the manufacturer’s instructions to lock the blinds into position.
- Test the Blinds: After installation, test the operation of the blinds to ensure they function smoothly and adjust as desired. Check that the blinds can be raised, lowered, and tilted without any obstructions.
Installing blinds over the plastic film adds an extra layer of insulation and provides a finished look to your windows. It’s important to refer to the specific instructions provided by the blind manufacturer for precise installation steps.
Remember, if you encounter any difficulties during the blind installation, consult the manufacturer’s instructions or consider seeking assistance from a professional installer.
Conclusion
Putting plastic on windows with blinds is an effective and cost-efficient method for enhancing insulation, reducing drafts, and improving energy efficiency in your home. By following the step-by-step process outlined in this guide, you can achieve a well-insulated and comfortable living space during the colder months.
Starting with the selection of the right plastic film, ensure that it offers the desired clarity, thickness, sealing ability, and UV protection. Gathering the necessary supplies beforehand, such as plastic film, double-sided tape, scissors, and a measuring tape, will streamline the installation process.
Prepare the window surface by cleaning it thoroughly, removing window treatments, and inspecting the window frame for any repairs or sealing needs. Accurate measurement and careful cutting of the plastic film are crucial for achieving a proper fit.
Applying the double-sided tape securely onto the window frame ensures a strong foundation for attaching the plastic film. Then, pressing the plastic onto the tape and smoothing out any air bubbles or wrinkles will provide a clean and seamless appearance.
Finally, secure and seal the edges of the plastic film, trimming any excess and ensuring a tight fit. If desired, install blinds over the plastic film for added privacy, light control, and insulation.
By completing these steps, you can significantly improve the insulation of your windows, reduce drafts, and lower energy costs. With proper insulation, you’ll create a more comfortable and energy-efficient living environment while preserving the integrity of your window treatments.
Don’t hesitate to refer back to this guide whenever you need a refresher on the process of putting plastic on windows with blinds. With a little effort and attention to detail, you can enjoy a cozy and efficient home throughout the colder months.
Frequently Asked Questions about How To Put Plastic On Windows With Blinds
Was this page helpful?
At Storables.com, we guarantee accurate and reliable information. Our content, validated by Expert Board Contributors, is crafted following stringent Editorial Policies. We're committed to providing you with well-researched, expert-backed insights for all your informational needs.