
Articles
How To Remove Levolor Window Blinds
Modified: May 6, 2024
Learn how to easily remove Levolor window blinds with our informative articles. Find step-by-step guides and expert tips for a hassle-free process.
(Many of the links in this article redirect to a specific reviewed product. Your purchase of these products through affiliate links helps to generate commission for Storables.com, at no extra cost. Learn more)
Introduction
Levolor window blinds are a popular choice for homeowners due to their functionality and aesthetic appeal. However, there may come a time when you need to remove them, whether it’s for cleaning, replacement, or a change in interior design. Removing Levolor window blinds may seem like a daunting task, but with the right tools and techniques, it can be a simple and straightforward process.
In this article, we will provide you with a step-by-step guide on how to remove Levolor window blinds. We will walk you through the necessary supplies, the preparation of the workspace, and each individual step to ensure a smooth removal process. So, grab your tools and let’s get started!
Key Takeaways:
- Removing Levolor window blinds is a manageable task with the right tools and guidance. Prepare your workspace, gather supplies, and handle the blinds with care for a smooth removal process.
- After removing Levolor window blinds, clean and store them properly to maintain their condition. Follow manufacturer’s instructions for cleaning and choose a suitable storage location to ensure longevity.
Read more: How To Lower Levolor Window Blinds
Supplies Needed
Before you begin removing your Levolor window blinds, gather the necessary supplies to ensure a smooth and efficient process. Here are the supplies you will need:
- Step ladder or stool: Depending on the height of your windows, you may need a step ladder or stool to safely reach the blinds.
- Screwdriver: Most Levolor blinds are held in place with mounting brackets that require a screwdriver for removal.
- Pliers: Pliers may be necessary to detach the blind brackets or release the cord from the brackets.
- Cleaning supplies: If you plan to clean the blinds before storing or reinstalling them, have your preferred cleaning supplies on hand, such as a microfiber cloth and mild detergent.
- Storage space: Ensure you have a designated area to store the blinds while they are removed.
By gathering these supplies beforehand, you can streamline the removal process and avoid any unnecessary delays or interruptions. Now that you have everything you need, let’s move on to preparing the workspace.
Step 1: Prepare the Workspace
Before you begin removing your Levolor window blinds, it’s important to prepare the workspace to ensure safety and efficiency. Here are the steps to follow:
- Clear the area: Remove any furniture or obstacles near the window to provide easy access to the blinds. This will prevent any accidents or damage during the removal process.
- Protect the floor: Lay down a drop cloth or a large sheet to protect the floor from any dirt, dust, or debris that may fall during the removal process. This will also make cleanup easier afterward.
- Gather your tools: Take out the screwdriver, pliers, and any other tools you will need for the removal process. Keep them within reach, so you don’t have to search for them while working.
- Ensure proper lighting: Make sure the room is well-lit, either with natural daylight or by turning on overhead lights. This will help you see any small components or screws more clearly, making the removal process easier.
By taking the time to prepare your workspace, you can create an optimal environment for removing your Levolor window blinds. This will make the process smoother and more efficient, allowing you to complete the task with ease.
Step 2: Remove Valance
The valance is the decorative top piece of the blinds that covers the headrail. Before removing the actual blinds, you will need to remove the valance. Here’s how:
- Inspect the valance: Take a closer look at the valance to identify how it is attached to the blinds. It might be held in place with clips, brackets, or Velcro.
- Remove clips or brackets: If the valance is secured with clips or brackets, gently pry them off using a screwdriver or your fingers. Be careful not to damage the valance or the surrounding area.
- Detach Velcro: If the valance is attached with Velcro, gently separate the valance from the headrail by pulling it away. Be mindful not to pull too hard, as this can damage the valance or the Velcro.
Once the valance is removed, set it aside in a safe place. You can choose to clean it before storing it or reinstalling it later. Removing the valance allows you to access the headrail and the blinds themselves, making the next steps easier to complete.
With the valance out of the way, you’re ready to move on to the next step: detaching the blind brackets. Stay tuned!
Step 3: Detach the Blind Brackets
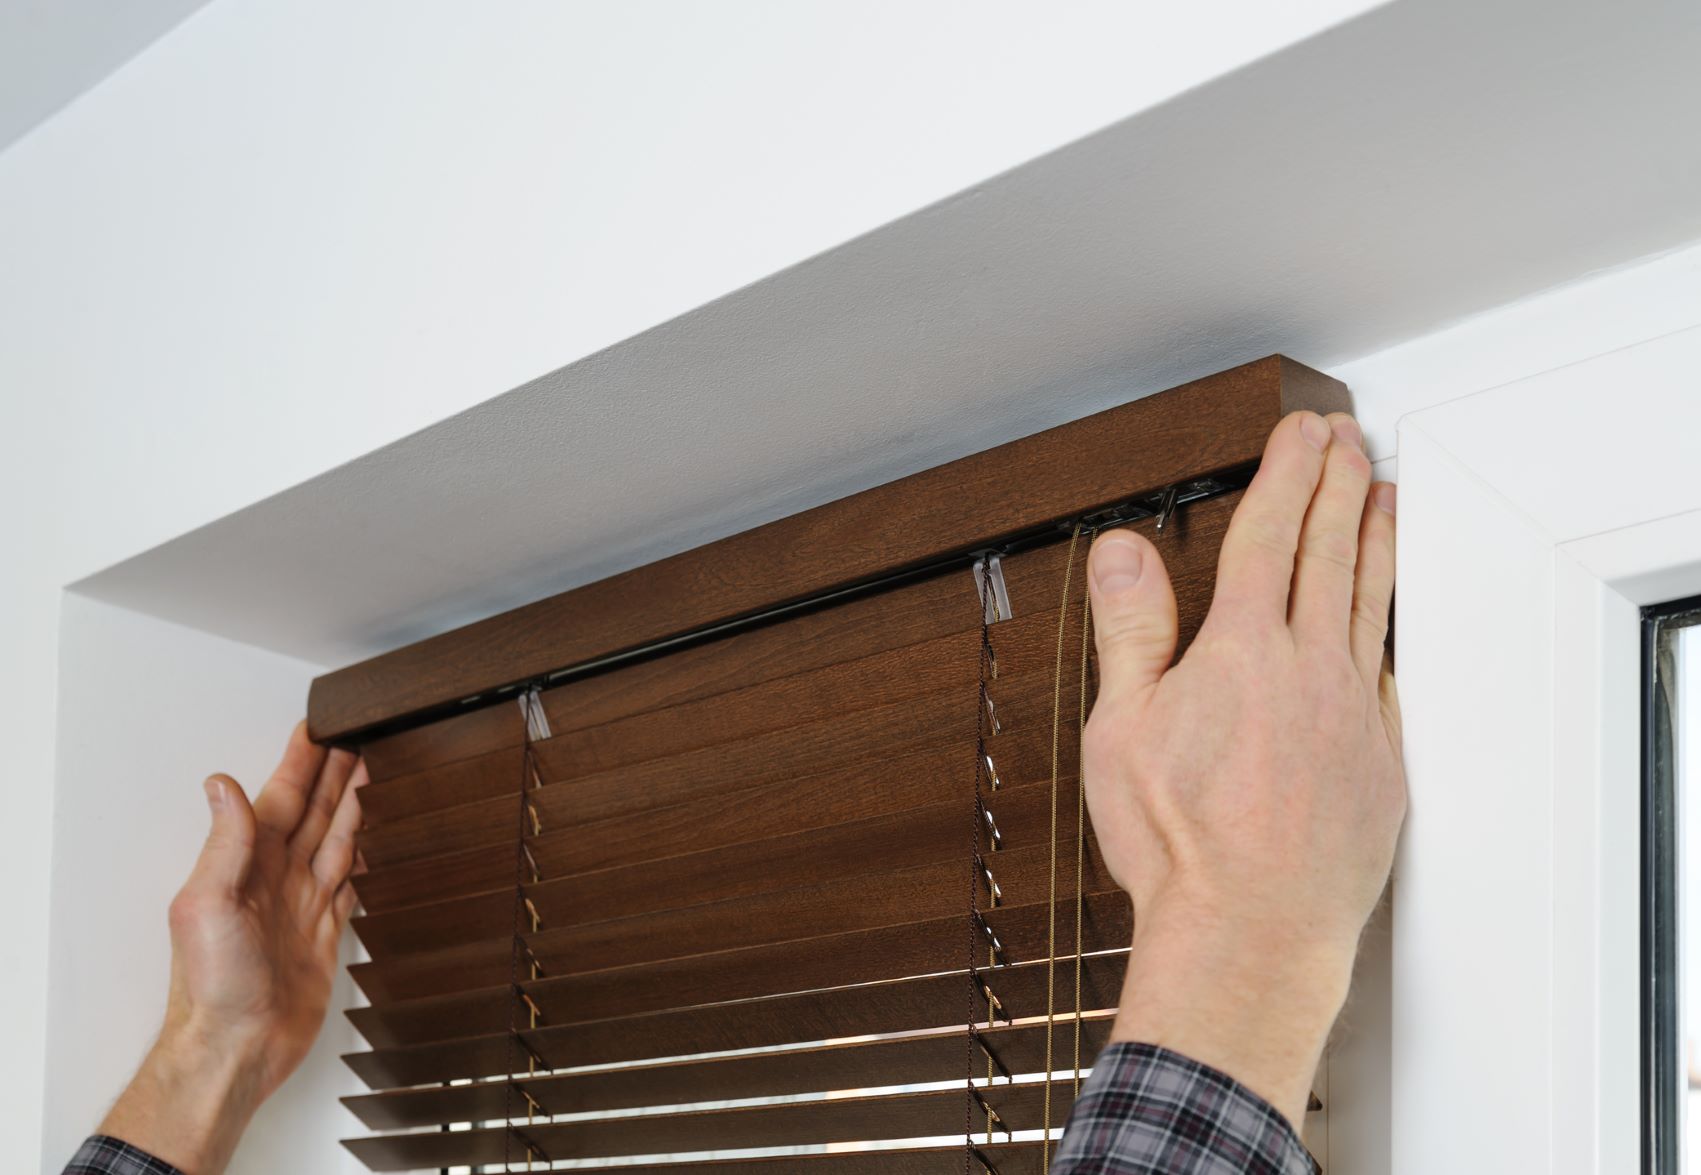
Now that the valance has been removed, it’s time to detach the blind brackets from the window frame. The brackets are what hold the blinds in place, so removing them will allow you to release the blinds and remove them completely. Follow these steps:
- Locate the brackets: The brackets are typically located on either side of the window frame, near the top. They may be attached with screws or clips.
- Use a screwdriver or pliers: If the brackets are held in place with screws, use a screwdriver to remove them. If they are attached with clips, you can use pliers to squeeze and release the clips.
- Be cautious: When removing screws or clips, be careful not to drop them or damage the surrounding area. Keep track of all the hardware to ensure easy reinstallation if needed.
Once the blind brackets are detached, set them aside in a safe place. You will need them when reinstalling the blinds or replacing them with new ones. With the brackets removed, you’re one step closer to removing the blinds completely.
Next, we’ll move on to the next step: releasing the blinds from the brackets. Stay tuned!
Read more: How To Remove Window Blinds
Step 4: Release the Blind from Brackets
With the blind brackets detached, it’s time to release the blinds from the brackets. This step involves freeing the blinds from the grip of the brackets so that they can be fully removed from the window. Follow these steps:
- Identify the release mechanism: Examine the brackets to determine how the blinds are secured. Levolor blinds typically have a small tab or latch that needs to be pressed or lifted to release the blinds.
- Press or lift the release mechanism: Using your fingers or a small tool, press or lift the tab or latch on each bracket. This will free the blinds from the brackets and allow them to move freely.
- Check for any additional lock mechanisms: Some Levolor blinds may have additional lock mechanisms to ensure that the blinds remain in place. If you encounter any additional locks, follow the manufacturer’s instructions to release them.
Once the blinds are released from the brackets, you can gently pull them out of the brackets and lower them. Be cautious while handling the blinds to avoid any damage. With the blinds free from the brackets, you’re ready to proceed to the next step: unhooking the cord.
Stay tuned for step 5: unhooking the cord!
To remove Levolor window blinds, start by raising the blinds fully. Then, locate the brackets at the top of the blinds and release them by pushing up on the tab or sliding them out. Finally, carefully lower the blinds and remove them from the brackets.
Step 5: Unhook the Cord
Now that the blinds are released from the brackets, it’s time to unhook the cord. The cord is what controls the movement and adjustment of the blinds. By unhooking the cord, you will be able to detach the blinds from the window mechanism. Here’s how:
- Locate the cord attachment: The cord is typically attached to a mechanism at the bottom of the blinds, near the center. Look for a small hook or loop where the cord is connected.
- Unhook the cord: Gently detach the cord from the hook or loop by pulling it away. If needed, you can use your fingers or a small tool to assist in unhooking the cord.
- Confirm detachment: Once the cord is unhooked, ensure that it is completely free from the mechanism. This will allow you to remove the blinds from the window without any obstruction.
With the cord unhooked, you can now proceed to remove the blinds from the window. Make sure to keep a firm grip on the blinds while handling them to prevent them from falling or getting damaged. You’re almost done with the removal process!
Next up is step 6: removing the blind from the window. Let’s dive in!
Step 6: Remove the Blind from the Window
Now that the blinds are no longer attached to the window mechanism, it’s time to remove them completely. With a few simple steps, you’ll have the blinds in your hands and ready for cleaning, storage, or replacement. Follow these instructions:
- Hold the blinds securely: With one hand, hold onto the bottom rail of the blinds to keep them steady and in place.
- Gently lift the blinds: Using your other hand, lift the blinds straight up, keeping them at a slight angle away from the window. This will ensure that the blinds clear the window frame without getting caught.
- Slowly pull the blinds towards you: While keeping the blinds at an angle, slowly pull them towards you, away from the window frame. This will allow you to disengage any remaining parts of the blinds from the window guide.
- Lower the blinds to the floor or a nearby surface: Once the blinds are clear of the window frame, lower them carefully to the floor or a nearby surface. Be cautious to avoid any damage, especially if the blinds are made of delicate materials.
Now that the blinds are removed from the window, you can proceed to the next step: removing the mounting brackets. This will ensure a clean and complete removal of the Levolor window blinds.
Stay tuned for step 7: removing the mounting brackets!
Step 7: Remove the Mounting Brackets
After removing the blinds from the window, it’s time to remove the mounting brackets. These brackets secure the blinds to the window frame and may need to be removed for cleaning, replacement, or if you no longer need them. Follow these steps to remove the mounting brackets:
- Inspect the mounting brackets: Take a close look at the brackets to see how they are attached to the window frame. They may be secured with screws or adhesive.
- Remove screws: If the brackets are held in place with screws, use a screwdriver to unscrew them counterclockwise. Keep track of the screws to ensure easy reinstallation if needed.
- Dissolve adhesive (if applicable): If the brackets are secured with adhesive, you can use a solvent or adhesive remover to dissolve the adhesive. Follow the product instructions and use a cloth or sponge to apply the solvent. Once the adhesive is dissolved, gently pry off the brackets.
Once the mounting brackets are removed, check for any residual adhesive or marks on the window frame. You can clean these surfaces using a mild detergent or surface cleaner and a cloth. Be careful not to damage the window frame during cleaning.
With the mounting brackets removed, you have successfully completed the removal of the Levolor window blinds. Now, it’s time to clean and store the blinds or prepare for the installation of new blinds.
Next up is step 8: cleaning and storing the blinds. Let’s dive in!
Read more: How To Fix Levolor Blinds
Step 8: Clean and Store the Blinds
Now that you’ve successfully removed the Levolor window blinds, it’s important to clean and store them properly. This will help maintain their condition and ensure that they are ready for reinstallation or future use. Here’s what you need to do:
- Inspect the blinds: Before cleaning, visually inspect the blinds for any dust, dirt, or stains. This will give you an idea of how thorough the cleaning process needs to be.
- Clean the blinds: Depending on the material of your Levolor blinds, the cleaning process may vary. For fabric blinds, you can use a mild detergent mixed with water and a soft cloth. For vinyl or aluminum blinds, you can use a damp cloth or sponge to wipe away any grime or dust. Be sure to follow the manufacturer’s instructions for cleaning and avoid using abrasive materials that could damage the blinds.
- Dry the blinds: After cleaning, allow the blinds to air dry completely before storing them. This will prevent any moisture from causing mold or mildew growth during storage.
- Secure the blinds: Once the blinds are dry, roll them up neatly or gather them together. Use a cord or elastic band to secure them in place. This will prevent them from unrolling or getting tangled during storage.
- Select a storage location: Find a clean and dry area to store the blinds. Ideally, choose a space where they won’t be exposed to direct sunlight or extreme temperatures, as this can cause damage over time. You can use a storage closet, a designated shelf, or a storage container specifically designed for blinds.
- Label or mark the storage: To easily identify the blinds in the future, consider labeling or marking the storage area or container. This will save you time when you need to retrieve or reinstall them.
By cleaning and storing the blinds properly, you’re ensuring their longevity and preserving their condition. Whether you plan to reuse them or replace them with new blinds, following these steps will keep them in good shape until you need them again.
Congratulations! You have completed the process of removing Levolor window blinds, cleaning them, and storing them correctly. Now you can enjoy a fresh and updated window space or prepare for the installation of new blinds in the future.
Remember to refer back to this guide when you need to reinstall your Levolor blinds or for any future removal tasks. Happy organizing!
For any further assistance or queries, feel free to reach out.
Conclusion
Removing Levolor window blinds may seem like a daunting task, but with the right tools and step-by-step guidance, it can be a straightforward and manageable process. By following the eight steps outlined in this article, you can easily remove your Levolor blinds for cleaning, replacement, or a change in décor.
Throughout the removal process, it’s essential to prepare your workspace, gather the necessary supplies, and take caution when handling the blinds and removing the mounting brackets. This will help ensure a smooth and safe removal experience.
Additionally, cleaning the blinds and properly storing them after removal will maintain their condition and make them ready for future use. By following the manufacturer’s instructions and using gentle cleaning methods, you can effectively clean the blinds without causing damage.
Remember, when removing Levolor window blinds, it’s crucial to take it step-by-step and be mindful of the delicate components. This will help prevent any accidents or damage to the blinds or your property.
By following this comprehensive guide, you can confidently and successfully remove Levolor window blinds, giving you the freedom to clean, replace, or update your window treatments as needed. Enjoy your refreshed space and the satisfaction of a job well done!
If you have any further questions or need assistance, feel free to seek professional help or contact Levolor’s customer support for guidance tailored to your specific blinds model and needs.
Wishing you the best of luck with your window blind removal process!
Now that you've mastered removing Levolor window blinds, why not check out some of the latest designs? Our article on Levolor Blinds showcases an array of stunning options that can transform any room. If you're feeling handy, our piece on DIY Projects offers inspiring ideas that make tackling projects around the house both fun and rewarding. Dive into these reads to spruce up your space or to take on a new challenge today!
Frequently Asked Questions about How To Remove Levolor Window Blinds
Was this page helpful?
At Storables.com, we guarantee accurate and reliable information. Our content, validated by Expert Board Contributors, is crafted following stringent Editorial Policies. We're committed to providing you with well-researched, expert-backed insights for all your informational needs.
