Articles
How To Cap An Electrical Wire
Modified: October 20, 2024
Learn how to cap an electrical wire with step-by-step articles. Find expert tips and techniques to ensure safety and efficiency in your electrical projects.
(Many of the links in this article redirect to a specific reviewed product. Your purchase of these products through affiliate links helps to generate commission for Storables.com, at no extra cost. Learn more)
Introduction
When it comes to electrical work, safety should always be the top priority. Whether you’re dealing with a new wiring project or making repairs, properly capping electrical wires is an essential skill to have. Capping the wires ensures that they are secure, isolated, and won’t cause any potential electrical hazards.
In this guide, we will walk you through the step-by-step process of capping an electrical wire. From gathering the necessary materials to testing the connections, we’ve got you covered. By following these instructions carefully, you can ensure a safe and reliable electrical connection.
Before we dive into the steps, it’s important to note that if you are not confident or experienced in working with electricity, it is always best to consult a licensed electrician. Electrical work can be dangerous, and it’s crucial to have the proper knowledge and training to avoid any accidents or injuries. With that said, let’s get started on capping an electrical wire!
Key Takeaways:
- Safety is paramount when capping electrical wires. Always turn off the power supply, wear protective gear, and test the connection to ensure a secure and reliable electrical connection.
- Properly stripping, twisting, and securing wire connectors are essential for creating safe electrical connections. Take your time, follow the steps diligently, and seek professional help if needed.
Read also: 14 Amazing Electrical Wire Caps for 2025
Step 1: Gather the necessary materials
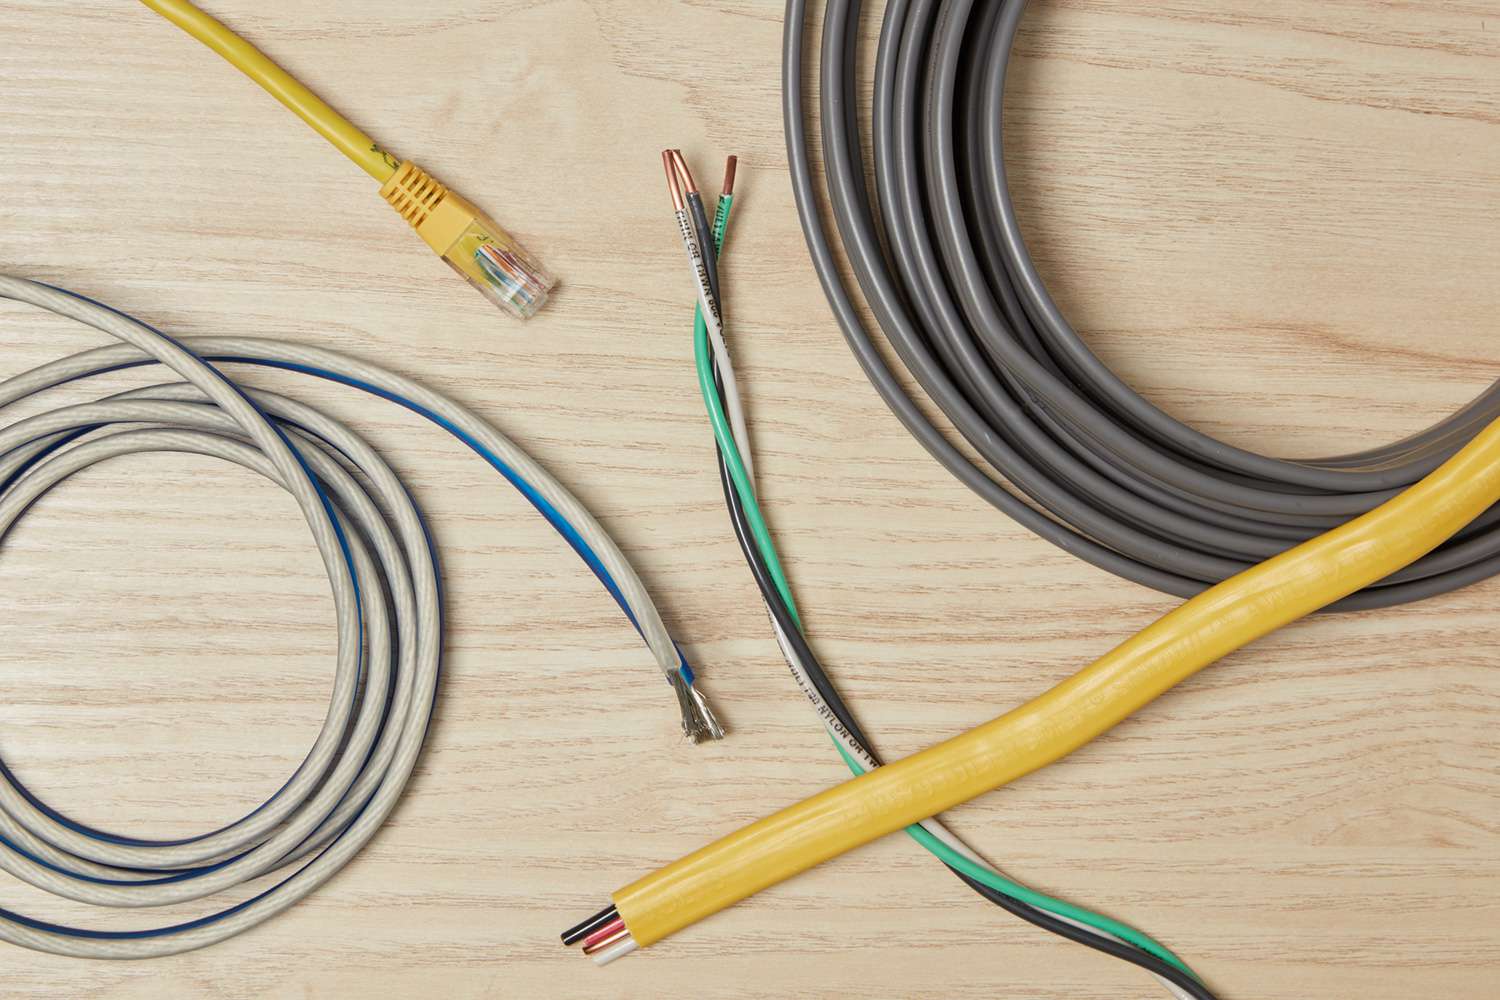
Before you begin capping an electrical wire, make sure you have the following materials on hand:
- Wire connectors: Also known as wire nuts or twist-on connectors, these are the devices used to secure the wires together.
- Wire stripping tool: This tool is specifically designed to cleanly remove the insulation from the wire.
- Wire cutters: Used to cut the wire to the desired length.
- Protective gloves: Insulated gloves provide an extra layer of safety when handling electrical wires.
- Wire tester: A device used to check the electrical connection and ensure there is no voltage present.
- Safety glasses: Always protect your eyes when working with electrical equipment.
Having these materials ready will not only make the process smoother but also ensure your safety throughout the project. Once you have gathered all the necessary materials, double-check to make sure you have everything before proceeding to the next step.
Step 2: Turn off the power supply
Before working on any electrical wires, it is crucial to turn off the power supply to the circuit you’ll be working on. This step is critical to prevent accidents and ensure your safety.
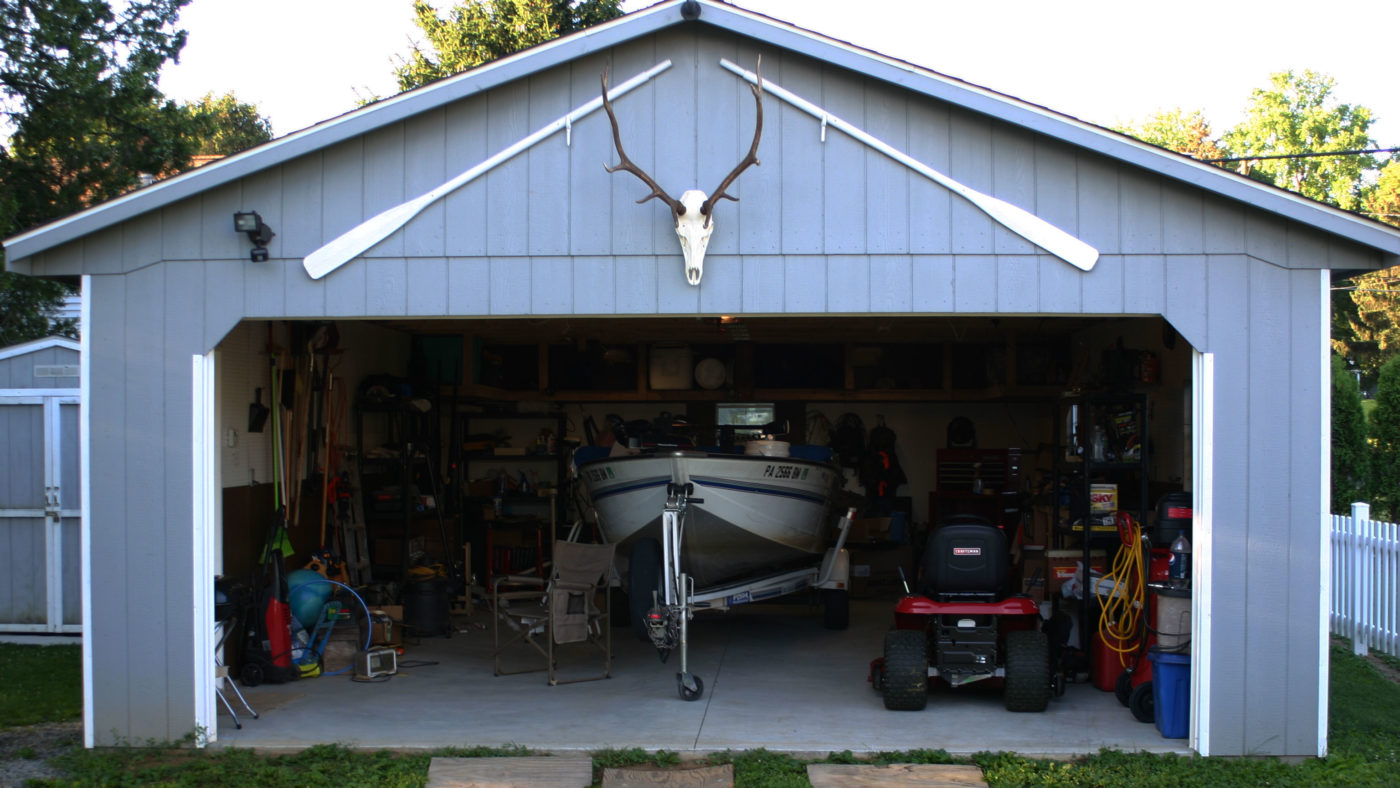
Start by locating the circuit breaker panel in your home. It is usually found in the basement, garage, or utility room. Open the panel door and identify the breaker switch that corresponds to the circuit you’ll be working on. Each breaker switch should be labeled to indicate which area of the home it controls.
Once you have identified the correct breaker, switch it off by flipping the switch to the “off” position. Sometimes, breakers might be labeled with just letters or numbers. If you’re unsure which breaker controls the circuit you’re working on, you can use a voltage detector to test for live electricity. This device will emit an audible or visual signal if voltage is present.
After turning off the breaker switch, it is always a good idea to double-check if the power is truly off by using a non-contact voltage tester or a multimeter. These tools will confirm the absence of voltage in the wires, ensuring your safety.
Remember, it is crucial to double-check that the power is off before proceeding with any work on the electrical wires. Working on live wires can be extremely dangerous and should be avoided at all costs.
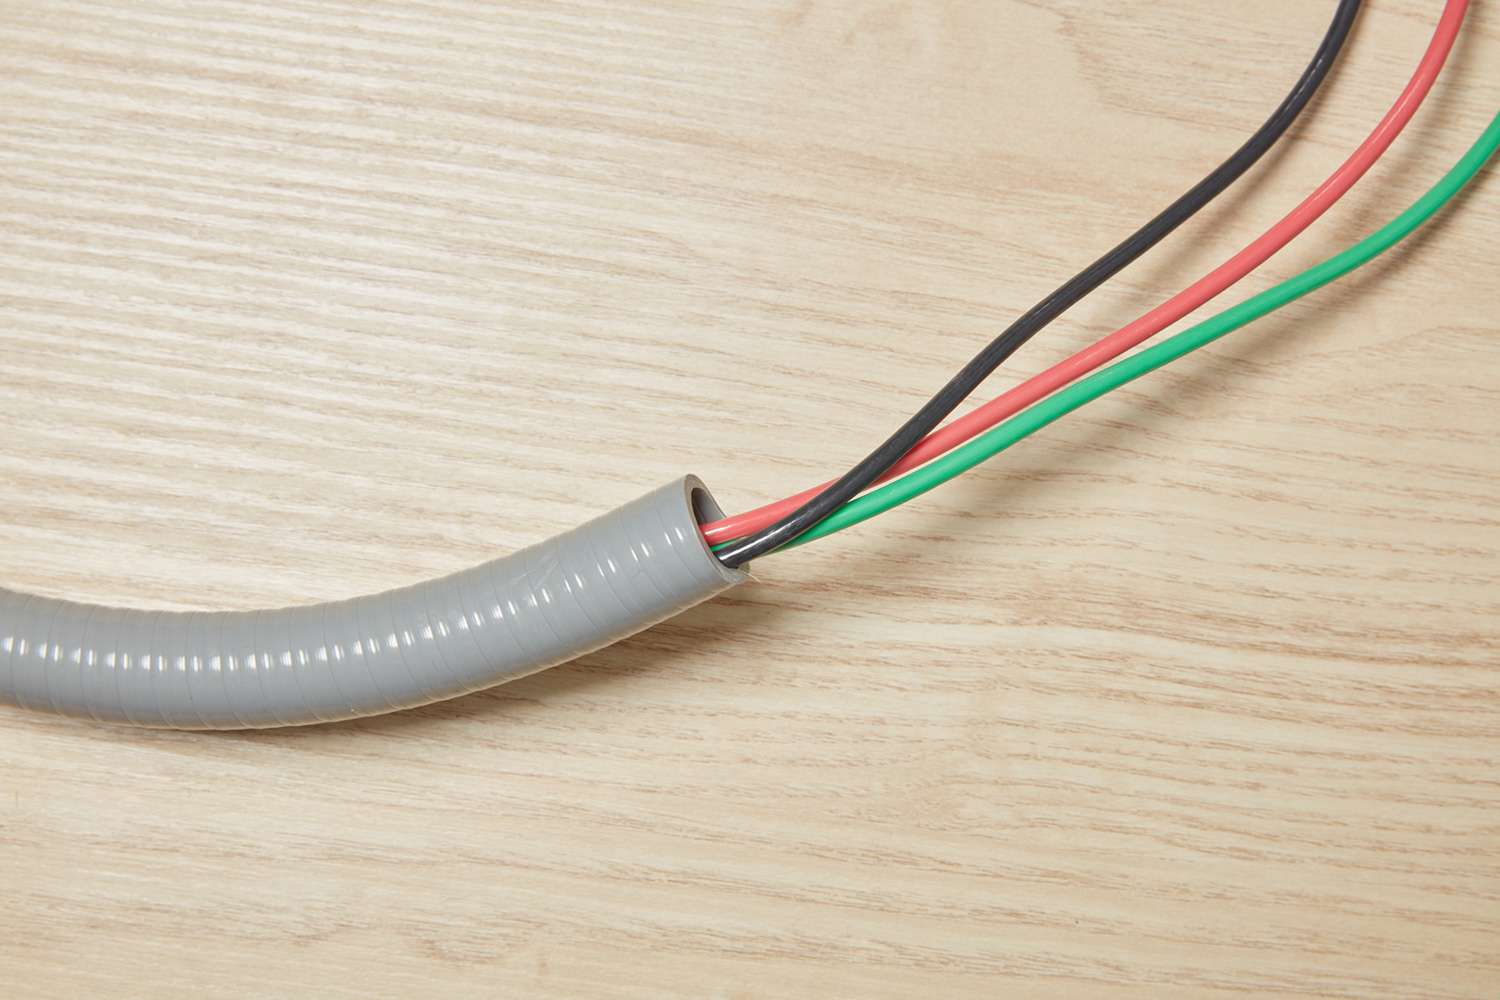
Step 3: Strip the wire
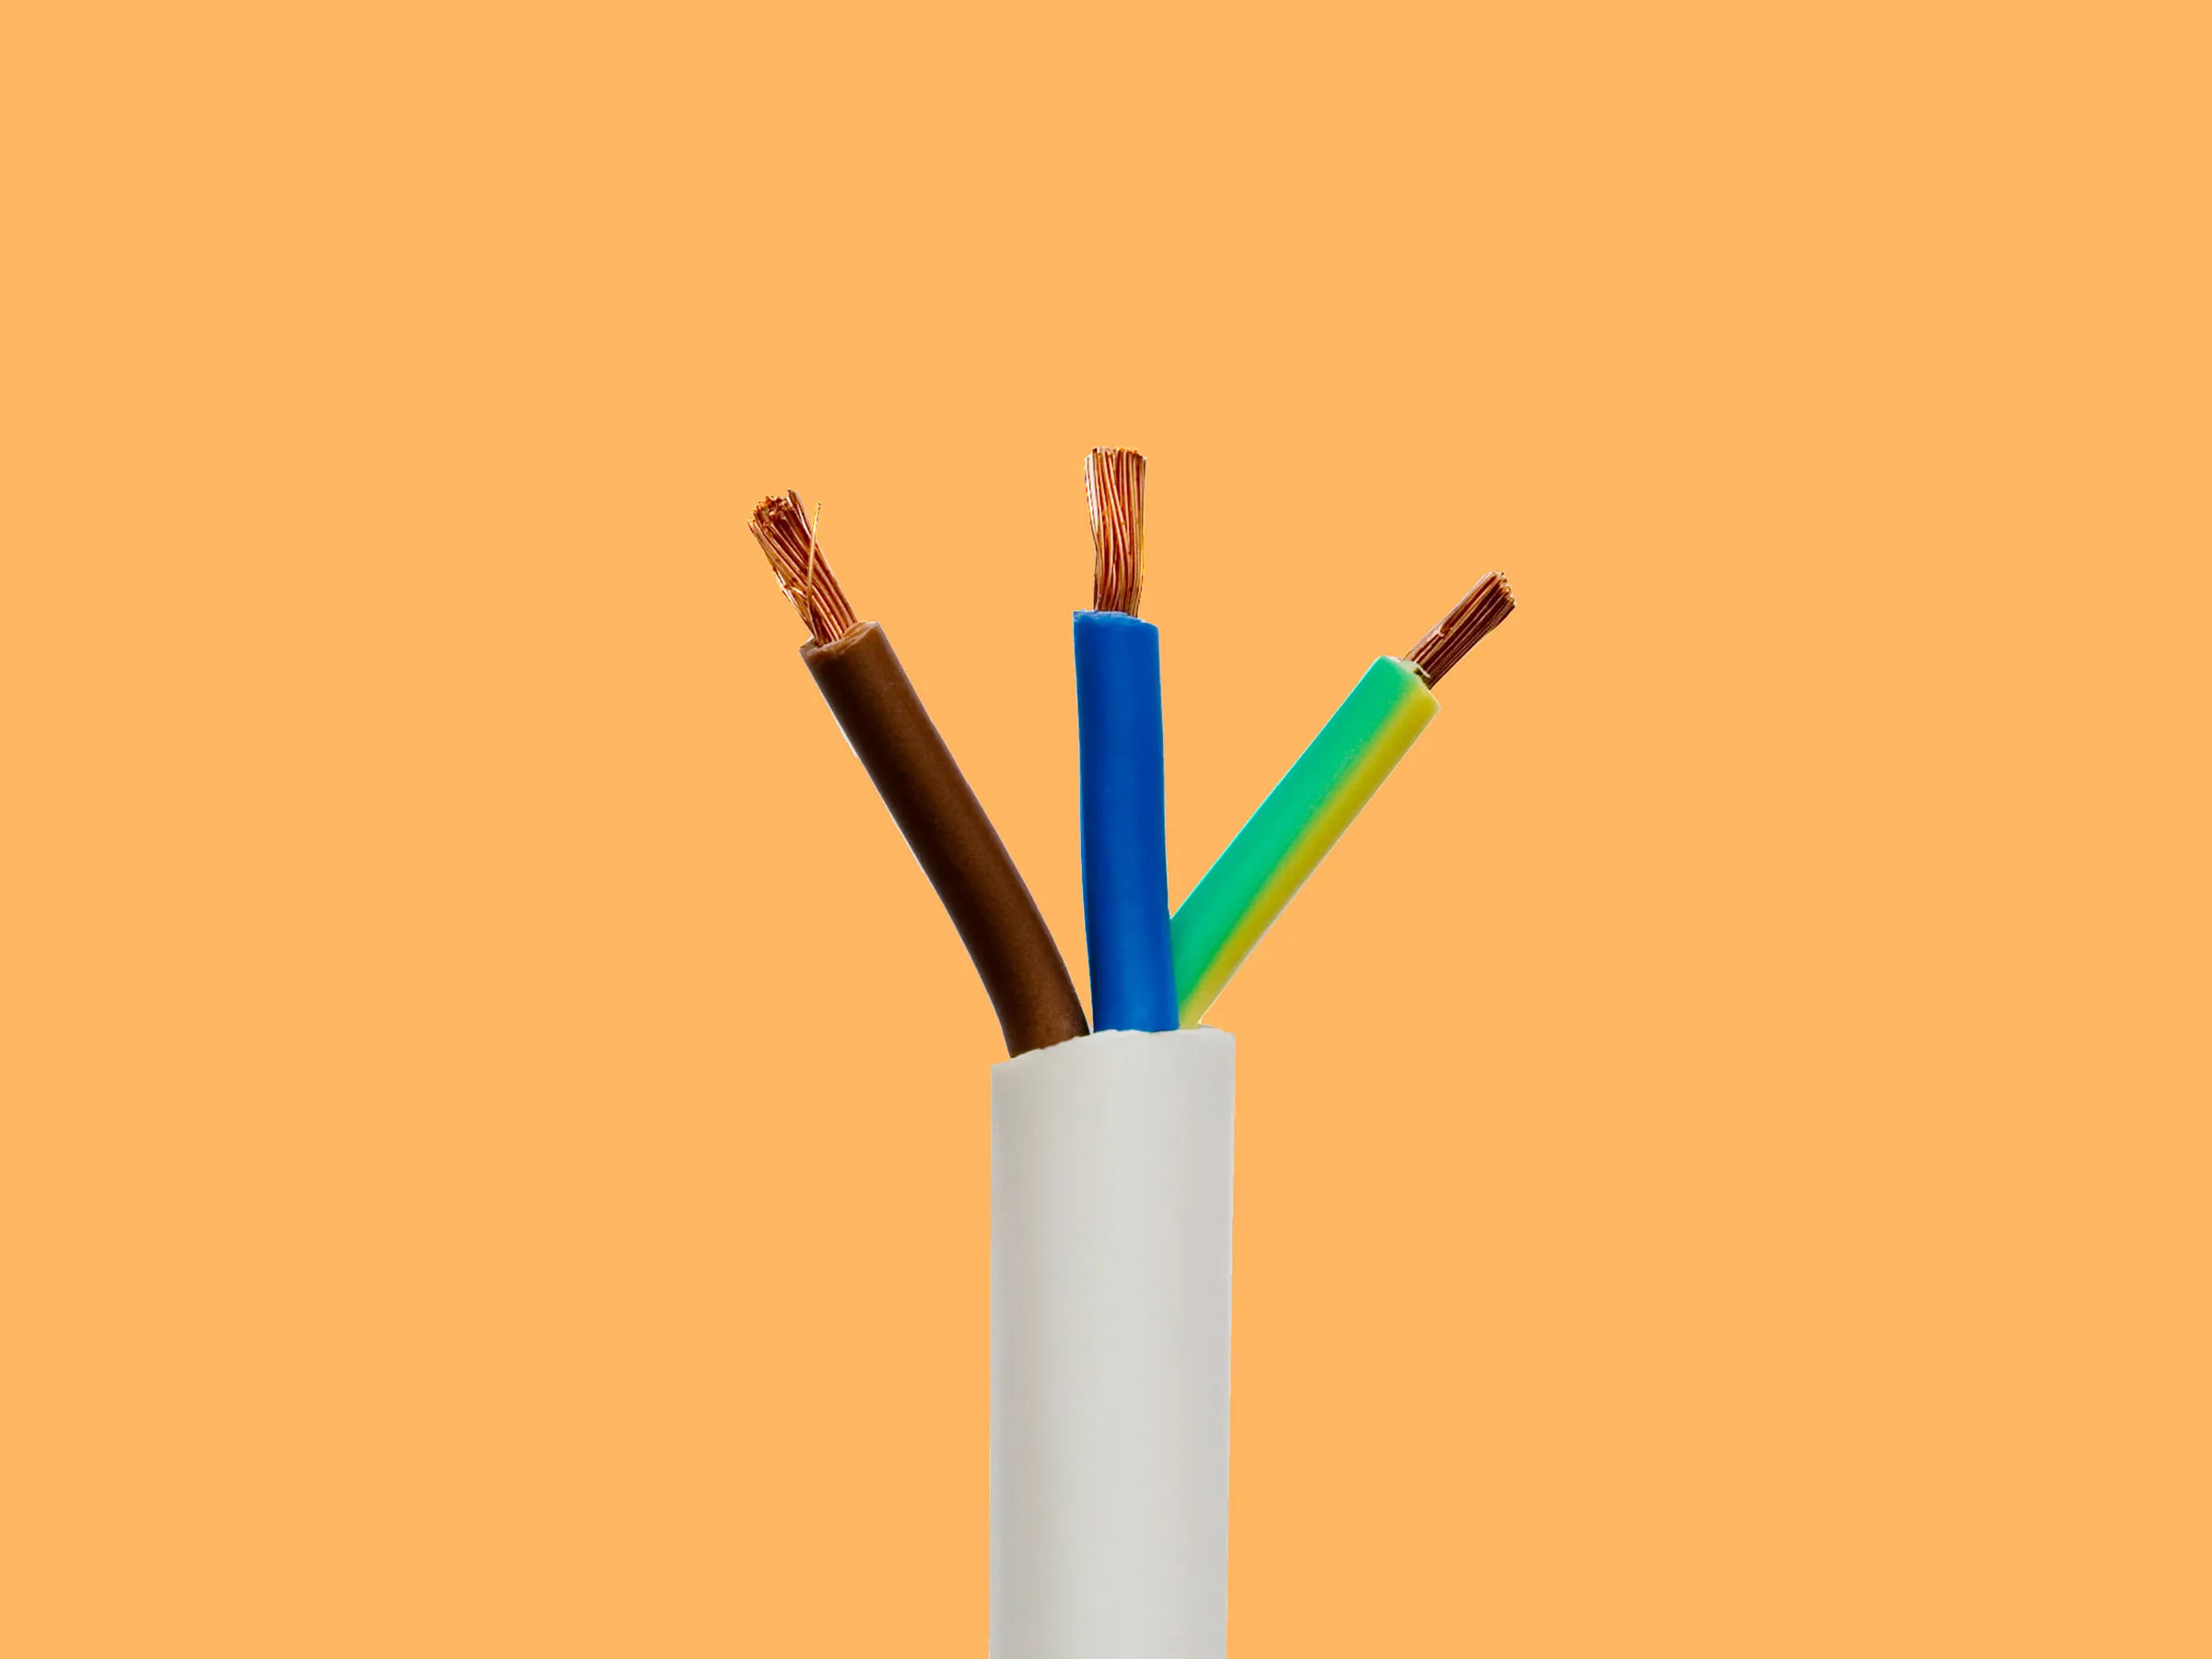
Stripping the wire is an essential step in preparing the wire for capping. Stripping involves removing the outer insulation of the wire to expose the copper strands beneath. This allows for a clean and secure connection within the wire connector.
Here’s how to strip the wire:
- Put on your protective gloves and safety glasses for added safety.
- Locate the section of the wire that needs to be stripped. Typically, it’s recommended to strip around 3/4 inch to 1 inch of insulation.
- Using a wire stripper tool, find the appropriate gauge size hole that matches the wire size. Insert the wire into the hole, making sure it is secure.
- Apply gentle pressure and rotate the stripper tool around the wire in a circular motion. This will remove the outer insulation without damaging the copper strands.
- Once you have completed the rotation, pull the wire stripper tool away from the wire, taking the stripped insulation with it.
- Inspect the stripped section of the wire to ensure all the insulation has been removed and the copper strands are exposed.
It’s important to note that when stripping the wire, be cautious not to strip too much insulation or damage the copper strands. If you accidentally nick or cut the copper strands, it’s best to trim the wire and start the stripping process again.
By properly stripping the wire, you ensure a clean and reliable connection when capping the wires together in the next steps.
Step 4: Twist the wire strands
Once the wire has been stripped, the next step is to twist the exposed copper strands together. This twisting motion helps to create a secure and tight connection within the wire connector.
Follow these steps to twist the wire strands:
- Hold the stripped ends of the wire firmly in one hand, ensuring the copper strands are aligned and evenly distributed.
- Using your free hand, grip the stripped ends of the wire and twist them together in a clockwise direction. Apply enough pressure to ensure a tight twist, but be careful not to overdo it and break the wires.
- Continue twisting the wire strands until they are tightly connected and form a solid bundle. This will provide a stable foundation for securing the wires within the wire connector.
- Inspect the twisted ends to ensure there are no loose strands or gaps. If necessary, re-twist any loose sections to ensure a secure connection.
Twisting the wire strands helps to create a strong and reliable connection. The tight twist prevents the wires from coming loose and maintains a consistent flow of electrical current.
Remember to handle the wires with caution during this step to avoid any injuries or accidental damage. Take your time to ensure a proper twist before moving on to the next step.
When capping an electrical wire, always use a wire nut to securely connect the wires together. Make sure to twist the wire nut on tightly to ensure a safe and secure connection.
Read more: What Is 4 Wire Electrical Wire
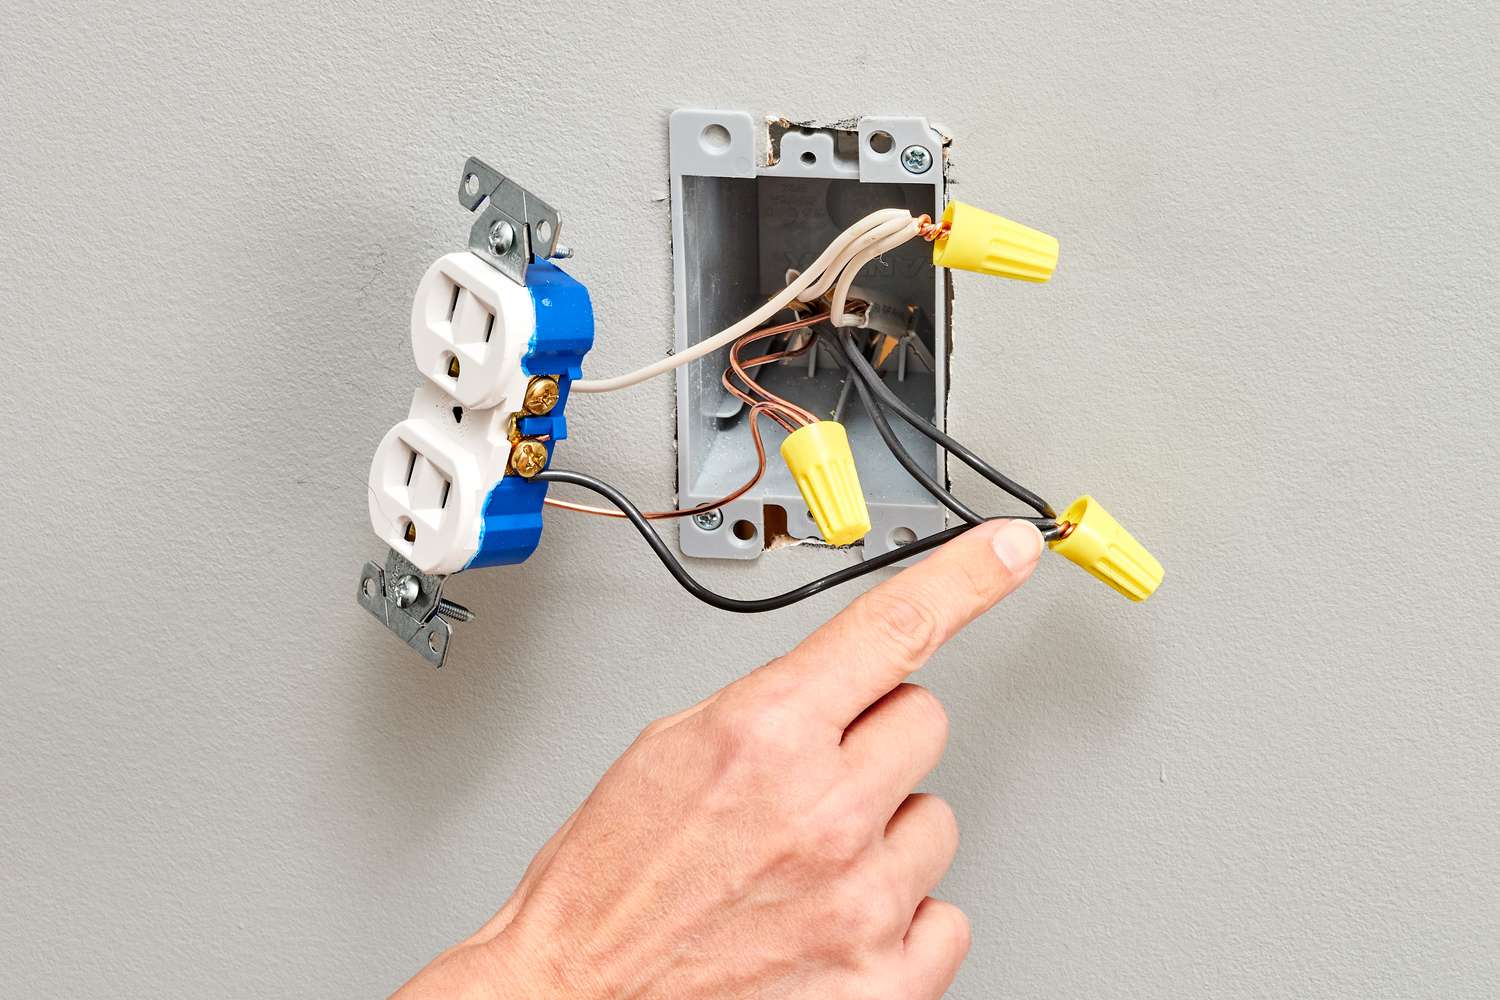
Step 5: Insert the wire into the wire connector
Now that the wire strands are twisted together, it’s time to insert them into the wire connector. The wire connector is a device specifically designed to join and secure multiple wires together.
- Select an appropriately sized wire connector that matches the gauge of your wires. The wire connector should have enough room to accommodate the twisted wire strands.
- Hold the wire connector in one hand and insert the twisted wire strands into the open end of the connector.
- Push the wires into the connector until they are fully inserted. You should feel some resistance as the connector grips the wires.
- Continue pushing until the twisted wire strands are completely inside the connector, and the insulation is in contact with the connector’s body.
- Ensure that the twisted wire strands are positioned securely within the connector to prevent any slippage or loose connections.
It’s important to note that different wire connectors may have specific instructions or color-coded markings for proper usage. Refer to the manufacturer’s instructions to ensure you are using the wire connector correctly.
By inserting the twisted wire strands into the wire connector, you are creating a solid electrical connection that will safely transmit electrical current through the wires.
Once the wires are inserted into the connector, move on to the next step to secure the connection.
Step 6: Secure the wire connector
After inserting the wire strands into the wire connector, the next step is to secure the connection to ensure it remains stable and reliable. Securing the wire connector helps to prevent any accidental disconnections or loose wires.
- Hold the wire connector in one hand, ensuring the wires remain inserted and aligned within the connector.
- Using your other hand, firmly twist the wire connector clockwise. Apply steady pressure to ensure a tight seal and engagement.
- Continue twisting until the wire connector is snugly fastened. This will provide a secure connection and minimize the risk of the wires coming loose.
- Inspect the wire connector to ensure it is fully tightened and there are no visible gaps or openings.
It’s important not to overtighten the wire connector, as this may damage the wires or connector itself. Strike the right balance between a secure connection and not applying excessive force.
Some wire connectors may have built-in wings or fins that provide additional grip and leverage for tightening. Follow the manufacturer’s instructions and recommendations for the specific type of wire connector you are using.
Once the wire connector is securely tightened, gently tug on the wires to ensure they are firmly held in place. If any wires come loose, repeat the securing process until all wires are securely connected.
Securing the wire connector provides peace of mind that the electrical connection is solid and will not come apart during use.
Step 7: Test the connection
After completing the capping process, it’s crucial to test the connection to ensure it is functioning properly. Testing the connection helps to confirm that the wires are securely connected and that there are no electrical issues.
- Put on your safety glasses and gloves for protection.
- Turn the power supply back on by flipping the breaker switch to the “on” position.
- Using a wire tester or multimeter, carefully touch the probes to the exposed wires or connectors.
- Observe the readings on the tester or multimeter. It should indicate a proper electrical connection with no voltage fluctuations or irregularities.
- If the tester or multimeter does not indicate any voltage, it means the connection is secure and functioning correctly.
- If there are any voltage fluctuations or readings indicating an issue, immediately turn off the power supply and recheck the connection. Ensure that all wires are properly inserted and secured within the wire connector.
- If the issue persists, it’s advisable to consult a licensed electrician for further assistance.
Testing the connection is a critical step in ensuring the safety and functionality of the electrical circuit. It helps to identify any potential problems or loose connections before they become hazardous or lead to electrical failures.
Remember, always exercise caution and follow safety protocols when testing the connection. If in doubt or if there is any uncertainty, seek professional help to avoid any risks or injuries.
Step 8: Repeat for other wires, if necessary
If you have multiple wires that need to be capped, you will need to repeat the previous steps for each individual wire. This ensures that all connections are properly secured and safe.
- Identify the next wire that needs to be capped.
- Follow steps 3 to 7 for stripping, twisting, inserting, and securing the wire connector.
- Once the connection is secured, move on to the testing process as described in step 7.
- If there are additional wires that require capping, repeat these steps until all connections have been completed.
It’s important to take your time and be thorough when working with multiple wires. Double-check each connection to ensure they are secure and properly tested before moving on to the next one. This will help prevent any potential electrical issues or hazards down the line.
Remember, safety is paramount when dealing with electrical work. Always follow best practices, use the appropriate tools and equipment, and seek professional assistance if needed.
By repeating these steps for each wire, you can confidently cap multiple wires and create a reliable and safe electrical connection.
Read more: How To Wire An Electric Cooktop
Conclusion
Capping an electrical wire is a fundamental skill that ensures the safety and integrity of electrical connections. By following the step-by-step process outlined in this guide, you can confidently cap wires and create secure electrical connections in your projects or repairs.
Throughout the process, it is crucial to prioritize safety. Always turn off the power supply and wear protective gear, such as gloves and safety glasses, when working on electrical wires. Additionally, take your time to properly strip the wires, twist the strands, insert them into wire connectors, and securely fasten the connections.
Testing the connection after capping is essential to confirm proper functionality and identify any potential issues. If any abnormalities are found during testing, it’s important to recheck the connection and seek professional assistance if necessary.
Remember, if you are not experienced or comfortable working with electrical systems, it is highly recommended to consult a licensed electrician. They will ensure the job is done correctly and safely, minimizing the risk of electrical hazards.
By following these guidelines and using the right tools and materials, you can cap electrical wires with confidence, providing a secure and reliable electrical connection for your projects.
Stay safe, be meticulous in your work, and enjoy the satisfaction of completing a well-capped electrical wire!
Frequently Asked Questions about How To Cap An Electrical Wire
Was this page helpful?
At Storables.com, we guarantee accurate and reliable information. Our content, validated by Expert Board Contributors, is crafted following stringent Editorial Policies. We're committed to providing you with well-researched, expert-backed insights for all your informational needs.


0 thoughts on “How To Cap An Electrical Wire”