Articles
How To Make Beer Bottle Cap Wall Art
Modified: August 23, 2024
Learn how to create stunning beer bottle cap wall art with these easy-to-follow articles. Get inspired and start your own DIY project today!
(Many of the links in this article redirect to a specific reviewed product. Your purchase of these products through affiliate links helps to generate commission for Storables.com, at no extra cost. Learn more)
Introduction
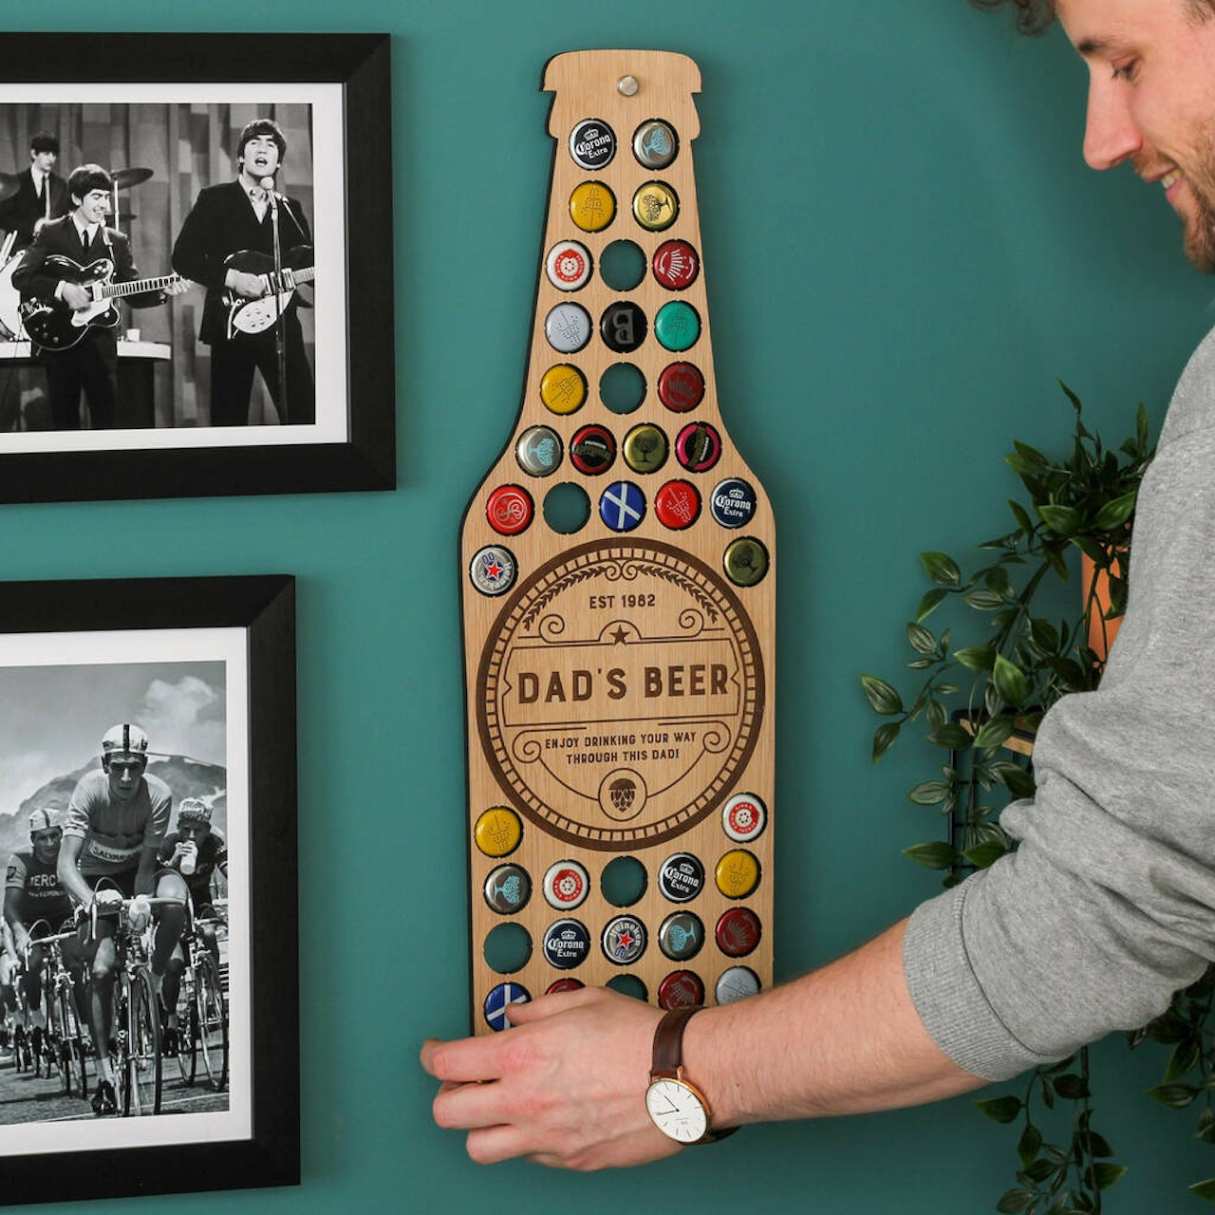
Beer bottle cap wall art is a unique and creative way to showcase your love for craft beer and add a touch of personality to your living space. Instead of throwing away those bottle caps, you can repurpose them into a stunning piece of art that reflects your passion for beer culture.
Creating a beer bottle cap wall art not only allows you to preserve your favorite beers’ caps but also gives you the opportunity to exercise your artistic skills. Whether you’re a seasoned DIY enthusiast or a beginner looking for a fun and easy project, making a beer bottle cap wall art is a fantastic way to unleash your creativity and make a statement in your home or office.
In this article, we will guide you through the step-by-step process of creating your own beer bottle cap wall art. From collecting bottle caps to designing your pattern and securing them to a wooden backing, we will provide you with the information and tips you need to create a stunning piece of art that will impress your guests and ignite conversations.
So grab a cold brew, gather your bottle caps, and let’s get started on this exciting DIY project that showcases your love for beer and art!
Key Takeaways:
- Turn your love for craft beer into a visually stunning and personalized beer bottle cap wall art, showcasing your creativity and passion for repurposing materials.
- Gather a diverse collection of bottle caps, unleash your artistic skills, and create a unique piece of art that sparks conversations and admiration while reflecting your love for all things beer.
Read more: How To Make Bottle Cap Coasters
Materials Needed
Before you begin your beer bottle cap wall art project, it’s important to gather all the necessary materials. Here’s a list of what you’ll need:
- Beer bottle caps: Collect a variety of bottle caps from your favorite beers. You can also ask friends and family to save their caps for you.
- Wooden backing: Choose a sturdy and flat piece of wood as the base for your artwork. The size will depend on how big you want your wall art to be.
- Adhesive: A strong adhesive is essential to secure the bottle caps onto the wooden backing. Epoxy resin or a heavy-duty adhesive like E6000 are popular choices.
- Pliers: You’ll need pliers to straighten the bent bottle caps and remove any sharp edges or inner linings.
- Paint (optional): If you want to add some color to your design, acrylic paints and brushes will come in handy.
- Epoxy resin (optional): To create a smooth and glossy finish on your artwork, consider using epoxy resin to fill the gaps between the bottle caps.
- Sanding paper: If your wooden backing has rough edges or imperfections, sanding paper will help you smooth them out.
- Sealant: A sealant will protect your beer bottle cap wall art from dust, moisture, and fading. Choose a clear, waterproof sealant suitable for the materials used.
- Hanging hardware: Depending on the weight of your artwork, you may need hooks, nails, or picture hanging wire to securely hang it on the wall.
Once you have gathered all the necessary materials, you’ll be ready to start turning your beer bottle caps into a visually stunning and personalized wall art.
Step 1: Collect Beer Bottle Caps
To create an eye-catching beer bottle cap wall art, you’ll need a wide variety of bottle caps from different beers. Follow these steps to collect a diverse collection of bottle caps:
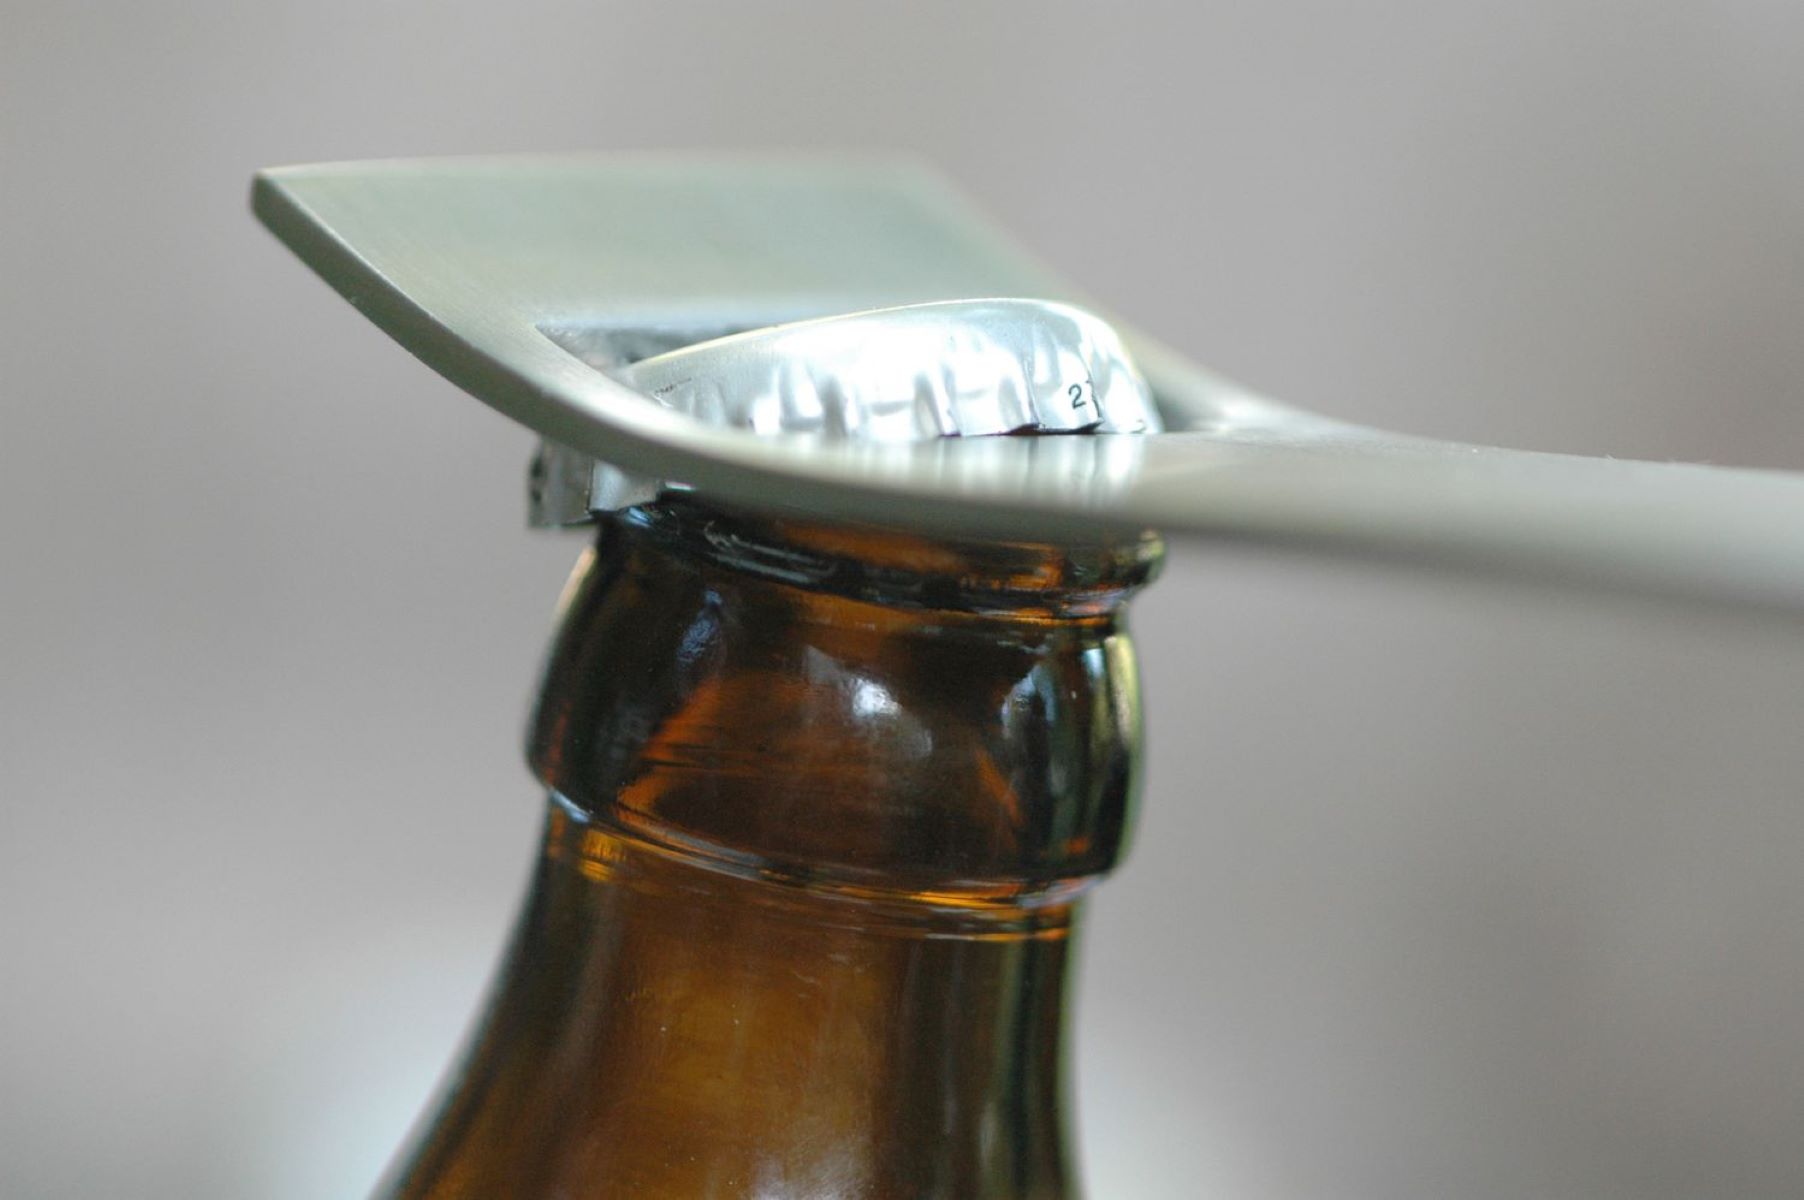
- Save your own bottle caps: Whenever you enjoy a beer, be sure to save the bottle cap. Rinse it out if necessary, to remove any residue.
- Ask friends and family: Reach out to your friends, family, and coworkers and ask them to save their bottle caps for you. This will help you gather a larger and more diverse collection.
- Visit local bars and breweries: Some bars and breweries are more than happy to give away bottle caps or sell them at a nominal price. Check with your local establishments to see if they have any available.
- Explore online resources: There are online communities where beer enthusiasts trade or sell bottle caps. Websites and forums dedicated to craft beer and homebrewing can be a great resource to find unique and rare caps.
It’s important to note that not all bottle caps are created equal. Different brands and beers have their own unique designs and colors, so try to gather a wide array of caps to give your artwork a vibrant and varied look.
Remember to handle the bottle caps with care to avoid any injuries. Some caps may have sharp edges or inner linings, so you may need to use pliers to straighten them or remove any unwanted parts. Safety should always be a top priority when working with bottle caps.
Once you have a substantial collection of bottle caps, you’re ready to move on to the next step: cleaning them to ensure they’re ready for your beer bottle cap wall art project.
Step 2: Clean the Bottle Caps
Before incorporating the bottle caps into your beer bottle cap wall art, it’s important to clean them properly to remove any dirt, residue, or odors. Follow these steps to ensure your bottle caps are ready for the project:
- Sort the bottle caps: Separate the bottle caps by brand, color, or design. This will make it easier to clean them and organize them for your desired pattern or image.
- Rinse with warm soapy water: Fill a sink or basin with warm water and add a mild dish soap. Place the bottle caps in the soapy water and scrub them gently with a sponge or brush to remove any dirt or grime.
- Remove stubborn residue: For any stubborn residue or sticky substances, use a small amount of rubbing alcohol or acetone on a cloth or cotton ball. Gently rub the residue until it is completely removed.
- Allow them to dry: Once you have cleaned the bottle caps, lay them out on a clean towel or drying rack and allow them to air dry completely. Ensure they are completely dry before proceeding to the next steps.
- Inspect for odors: Some bottle caps may retain odors from the beverages they were originally used on. If you notice any lingering odors, you can let them sit in a mixture of equal parts water and white vinegar for a few minutes to eliminate the smell. Rinse them thoroughly with water afterward and allow them to dry again.
The cleaning process is essential to ensure that your beer bottle cap wall art looks clean and professional. By taking the time to clean and dry the bottle caps properly, you’ll be ready to move on to the next step: designing your pattern or image.
Step 3: Design Your Pattern or Image
Designing your pattern or image is a crucial step in creating a visually appealing and personalized beer bottle cap wall art. Here are some steps to help you create an eye-catching design:
- Plan your design: Take some time to brainstorm and envision how you want your bottle caps to be arranged. Consider the size and shape of your wooden backing and how many bottle caps you have to work with.
- Sketch it out: Use a piece of paper or a digital drawing tool to sketch out your design. This will allow you to visualize the layout and make any necessary adjustments before gluing the caps to the backing.
- Consider color coordination: Think about how the colors of the bottle caps will work together in your design. You can create a cohesive color scheme or incorporate pops of contrasting colors for visual interest.
- Create a focal point: Decide if you want to feature a central image or a specific area of focus in your design. This can be a logo, symbol, or artwork that holds special meaning to you.
- Experiment with different patterns: There are endless possibilities when it comes to arranging the bottle caps. Explore various patterns such as rows, spirals, mosaics, or even a random scatter for a more eclectic look.
- Test the layout: Before gluing the bottle caps down, lay them out on the wooden backing according to your design. This step will allow you to make adjustments and ensure that you are happy with the placement.
Remember, there are no strict rules when it comes to designing your beer bottle cap wall art. Let your creativity and personal taste guide you as you create a unique and visually captivating piece. Once you are satisfied with your design, you’re ready to move on to the next step: preparing the wooden backing.
Read more: How To Make Plaster Wall Art
Step 4: Prepare the Wooden Backing
Preparing the wooden backing is an essential step in ensuring that your beer bottle cap wall art is sturdy, durable, and ready to display. Follow these steps to prepare the wooden backing:
- Select your wooden backing: Choose a piece of wood that is suitable for the size and shape of your desired wall art. Ensure that it is thick enough to support the weight of the bottle caps and any additional materials.
- Clean and sand the wood: Wipe down the wooden surface with a damp cloth to remove any dust or debris. Then, use sandpaper to smooth out any rough edges or imperfections on the wood. This step will create a clean and even surface for gluing the bottle caps.
- Consider painting or staining (optional): If you want to add a splash of color or enhance the aesthetics of your beer bottle cap wall art, you can paint or stain the wooden backing. Choose colors that complement the design and overall theme of your artwork. Allow the paint or stain to dry completely before moving on to the next steps.
- Measure and mark the layout: Using a ruler or measuring tape, mark the desired layout of the bottle caps on the wooden backing. This step will act as a guide to ensure accurate placement and spacing of the caps.
- Protect the wood: Apply a thin layer of clear sealant or varnish to the wooden surface. This step will help protect the wood from moisture and give it a glossy finish. Allow the sealant to dry according to the manufacturer’s instructions before proceeding to the next step.
By properly preparing the wooden backing, you ensure that your beer bottle cap wall art will have a strong foundation and a polished appearance. With the backing ready, you can now move on to the exciting step of gluing the bottle caps in place.
When creating beer bottle cap wall art, consider using a variety of cap colors and designs to add visual interest and dimension to your piece. Mixing in different sizes and shapes can also create a more dynamic composition.
Step 5: Glue the Bottle Caps to the Backing
Now that you have prepared the wooden backing, it’s time to start gluing the bottle caps in place. Follow these steps to securely attach the bottle caps to the backing:
- Prepare your adhesive: If you are using epoxy resin, mix it according to the manufacturer’s instructions. If you are using a heavy-duty adhesive like E6000, ensure that you have it readily available.
- Apply adhesive to the bottle cap: Pick up one bottle cap at a time and apply a small amount of adhesive to the underside or rim of the cap. Be cautious not to use too much adhesive, as it can cause overflow or create a messy appearance.
- Place the bottle cap onto the marked area: Carefully position the bottle cap onto the corresponding marked area on the wooden backing. Press it down firmly and hold it for a few seconds to allow the adhesive to bond.
- Continue gluing: Repeat the process for the remaining bottle caps, following your predetermined design or layout. Take your time to ensure that each bottle cap is securely attached and aligned properly.
- Allow the adhesive to cure: Depending on the type of adhesive used, it may take several hours or overnight for the glue to fully cure. Follow the instructions provided by the manufacturer to ensure proper bonding.
During the gluing process, it’s important to be mindful of the placement and spacing of the bottle caps. Ensure that they are positioned correctly according to your design, and leave enough space for any additional elements or accents you plan to incorporate.
Take your time with this step to ensure that the bottle caps are securely adhered to the wooden backing. Once the adhesive has cured, you can proceed with optional steps such as filling the gaps with epoxy resin for a smoother finish or sealing the artwork for added protection.
With the bottle caps securely glued, your beer bottle cap wall art is beginning to take shape. The next step will cover optional enhancements using epoxy resin.
Step 6: Fill the Gaps with Epoxy Resin (Optional)
If you want to take your beer bottle cap wall art to the next level, you can choose to fill the gaps between the bottle caps with epoxy resin. This step will create a smooth and glossy finish, enhancing the overall appearance of your artwork. Here’s how you can fill the gaps with epoxy resin:
- Prepare your workspace: Set up a well-ventilated area with a covered surface to protect it from spills. Make sure you have all the necessary materials, including epoxy resin, mixing cups, stirring sticks, and a heat gun or torch for removing air bubbles.
- Mix the epoxy resin: Follow the manufacturer’s instructions to properly mix the epoxy resin. Be sure to measure the resin and hardener accurately to achieve the desired results. Mix the components thoroughly until they are well combined.
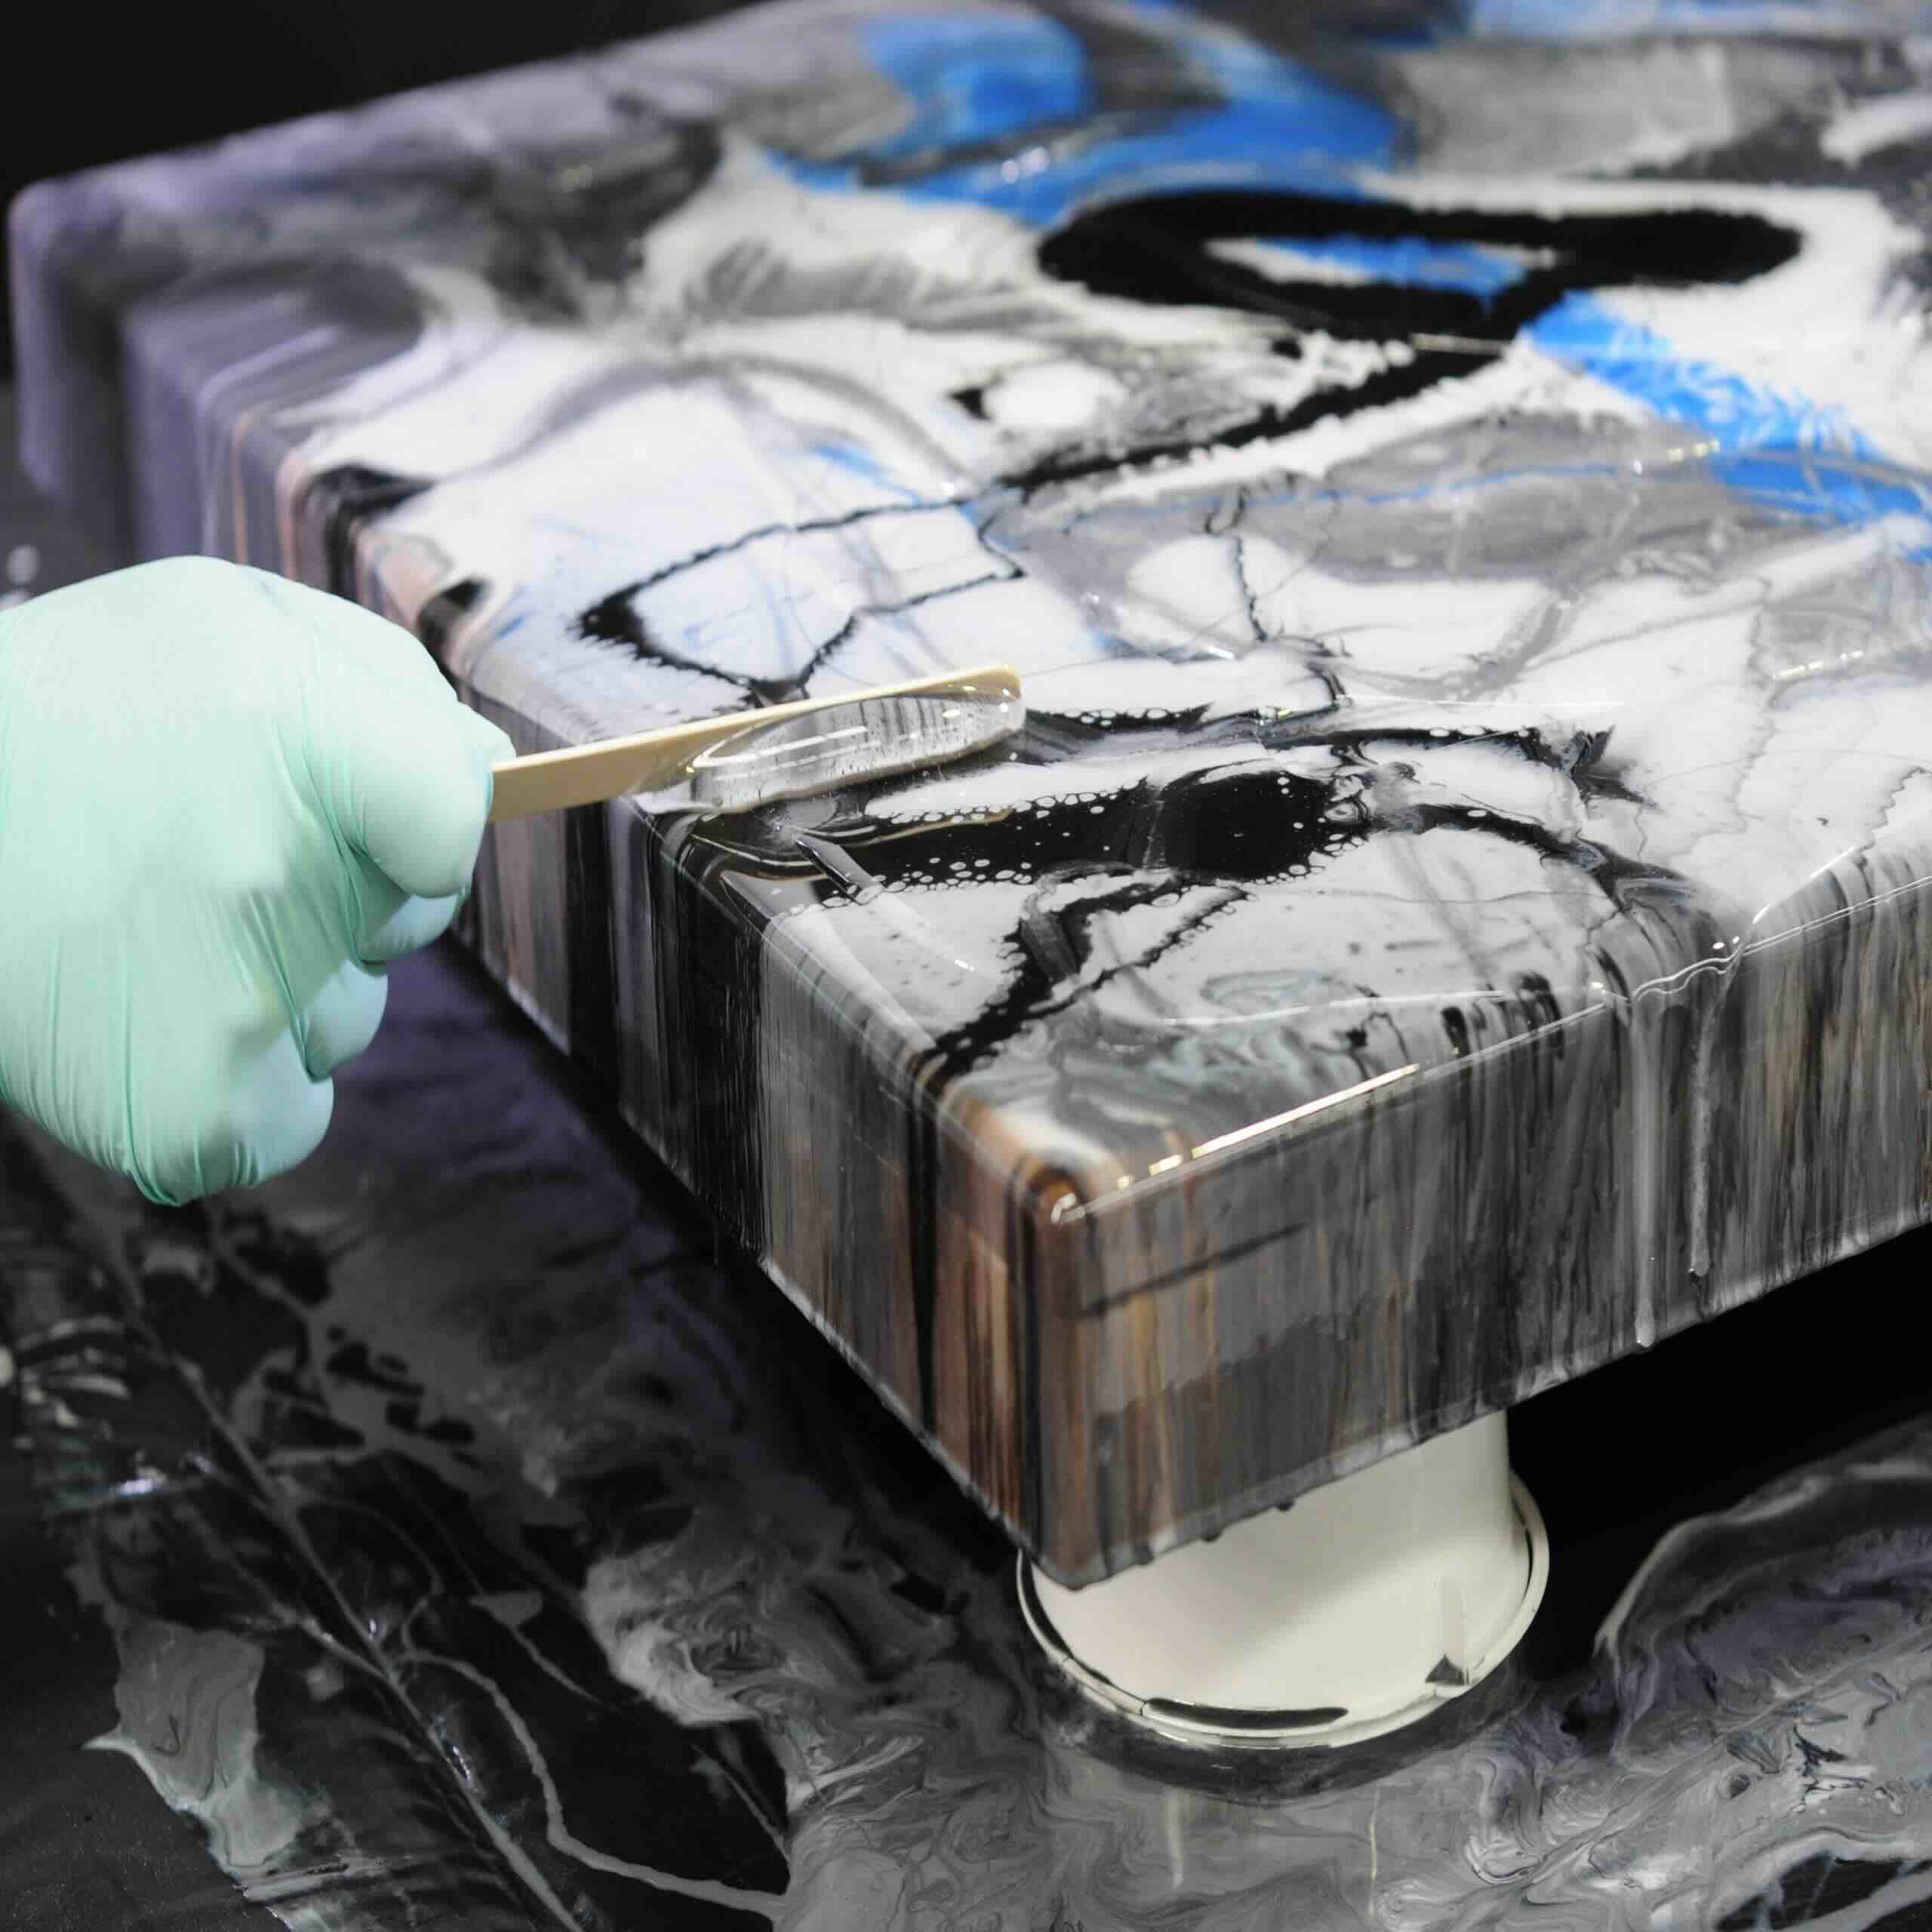
- Pour the epoxy resin: Slowly pour the mixed epoxy resin into the gaps between the bottle caps. Use a small spatula or popsicle stick to help spread the resin evenly, ensuring it fills the gaps completely.
- Remove air bubbles: After pouring the resin, use a heat gun or torch to carefully remove any air bubbles that may have formed. Move the heat source in a sweeping motion over the resin, but avoid holding it in one place for too long to prevent scorching or overheating.
- Allow the epoxy resin to cure: Follow the instructions provided by the manufacturer for the curing time of the epoxy resin. It may take several hours or even days for the resin to fully cure and harden. Ensure that the artwork is placed in a dust-free and undisturbed area during the curing process.
It’s important to note that working with epoxy resin requires proper safety precautions, such as wearing gloves and ensuring adequate ventilation in your workspace. Always read and follow the manufacturer’s instructions and guidelines to achieve the best results.
Keep in mind that filling the gaps with epoxy resin is an optional step and can add an extra layer of complexity to your beer bottle cap wall art. If you prefer a more rustic or textured look, you can choose to skip this step and proceed to sealing your artwork.
With the epoxy resin filling, your beer bottle cap wall art is taking its final form. The next step covers the important task of sealing the artwork for protection and longevity.
Step 7: Seal the Artwork
Sealing your beer bottle cap wall art is an essential step to protect it from dust, moisture, and fading. The sealing process will also give your artwork a finished and polished look. Follow these steps to properly seal your beer bottle cap wall art:
- Clean the surface: Ensure that the surface of your artwork is free from any dust or debris. Use a soft cloth or brush to gently remove any particles that might interfere with the sealing process.
- Select a sealant: Choose a clear, waterproof sealant that is suitable for the materials used in your artwork. Look for a sealant that is non-yellowing and provides UV protection to prevent fading over time.
- Apply the sealant: Follow the instructions provided by the manufacturer to apply the sealant evenly over the entire surface of the beer bottle cap wall art. Be sure to coat all exposed areas, including the bottle caps and any epoxy resin if you have used it.
- Allow the sealant to cure: Give the sealant ample time to dry and cure according to the manufacturer’s instructions. It’s important to avoid touching or moving the artwork during this time to allow the sealant to set properly.
- Apply additional coats (optional): Depending on the type of sealant you are using, you may choose to apply additional coats for added protection. Allow each coat to dry completely before applying the next one.
Sealing your beer bottle cap wall art will not only prolong its lifespan but also make it easier to clean and maintain. The sealant acts as a protective barrier, preventing moisture from seeping into the artwork and preserving its overall appearance.
Keep in mind that different sealants may have different curing times, so be patient and allow enough time for the sealant to fully cure before handling or displaying your beer bottle cap wall art.
With the sealing process complete, your beer bottle cap wall art is now ready to be displayed and admired. The final step in this process involves hanging or displaying your unique creation.
Read more: How To Make Metal Wall Art
Step 8: Hang or Display Your Beer Bottle Cap Wall Art
After putting your creative efforts into making a stunning beer bottle cap wall art, it’s time to proudly display it in your home or office. Follow these steps to hang or display your masterpiece:
- Select the perfect location: Choose a spot where your beer bottle cap wall art will be prominently showcased. Consider the size and weight of the artwork, as well as the overall aesthetic of the room.
- Decide on the hanging method: Depending on the size and weight of your beer bottle cap wall art, you may need to use different hanging methods. Options include picture hanging wire, sawtooth hangers, or keyhole brackets. Ensure that the method chosen is appropriate for the weight and stability of your artwork.
- Mark the wall: Use a level and a pencil to mark the desired placement of your artwork on the wall. Take into consideration any other decorations or objects that may be nearby.
- Install the hanging hardware: Follow the instructions provided with the hanging hardware to securely attach it to the back of your beer bottle cap wall art. Make sure it is properly aligned with the marked spots on the wall.
- Hang the artwork: With the hanging hardware in place, carefully hang your beer bottle cap wall art on the wall. Use a level to ensure it is straight and adjust if necessary.
- Step back and admire: Step back and take a moment to admire your creative achievement. Take pride in the unique and personalized beer bottle cap wall art you have created.
Remember to take proper precautions when hanging your artwork, especially if it is heavy. Use appropriate wall anchors or consult a professional if needed to ensure that your beer bottle cap wall art is secure and well-supported.
By finding the ideal location and using the right hanging method, you can showcase your beer bottle cap wall art as a statement piece that reflects your passion and creativity.
Congratulations! You have successfully completed all the steps to create and display your very own beer bottle cap wall art. It’s now time to enjoy your unique creation and share it with others who appreciate the artistry and uniqueness of repurposed bottle caps.
Conclusion
Creating a beer bottle cap wall art is a fulfilling and rewarding DIY project that allows you to showcase your love for craft beer while adding a touch of creativity to your living space. By repurposing bottle caps and transforming them into a unique piece of art, you not only contribute to a more sustainable lifestyle but also create a visually captivating display that sparks conversations.
Throughout the step-by-step process, we’ve covered everything you need to know to create your own beer bottle cap wall art. From collecting an assortment of bottle caps to cleaning them, designing a pattern or image, preparing the wooden backing, gluing the bottle caps in place, and even optional steps like filling gaps with epoxy resin and sealing the artwork, every detail has been covered to help you achieve a professional and personalized result.
Remember to let your creativity shine as you design your pattern and arrange the bottle caps on the wooden backing. Experiment with different layouts, colors, and patterns to make your beer bottle cap wall art a true reflection of your personal style and passion.
Once complete, hang or display your artwork with pride, choosing a location that allows it to become a focal point in your home or office. Show off your creativity to others, sparking conversations and admiration for your unique creation.
Now it’s time to sit back, relax, and enjoy the visual appeal of your beer bottle cap wall art. Let it serve as a reminder of your love for craft beer, your dedication to repurposing materials, and your artistic prowess.
So why not start collecting those bottle caps, gather your materials, and embark on this exciting DIY project? Unleash your creativity and transform simple bottle caps into a stunning piece of art that reflects your personal style and passion for all things beer.
Cheers to your new beer bottle cap wall art masterpiece!
Frequently Asked Questions about How To Make Beer Bottle Cap Wall Art
Was this page helpful?
At Storables.com, we guarantee accurate and reliable information. Our content, validated by Expert Board Contributors, is crafted following stringent Editorial Policies. We're committed to providing you with well-researched, expert-backed insights for all your informational needs.


0 thoughts on “How To Make Beer Bottle Cap Wall Art”