Articles
How To Make Vigil Candles
Modified: January 23, 2024
Learn how to make vigil candles with our informative articles. Discover tips, step-by-step guides, and expert advice on creating beautiful and meaningful candles for your spiritual practices.
(Many of the links in this article redirect to a specific reviewed product. Your purchase of these products through affiliate links helps to generate commission for Storables.com, at no extra cost. Learn more)
Introduction
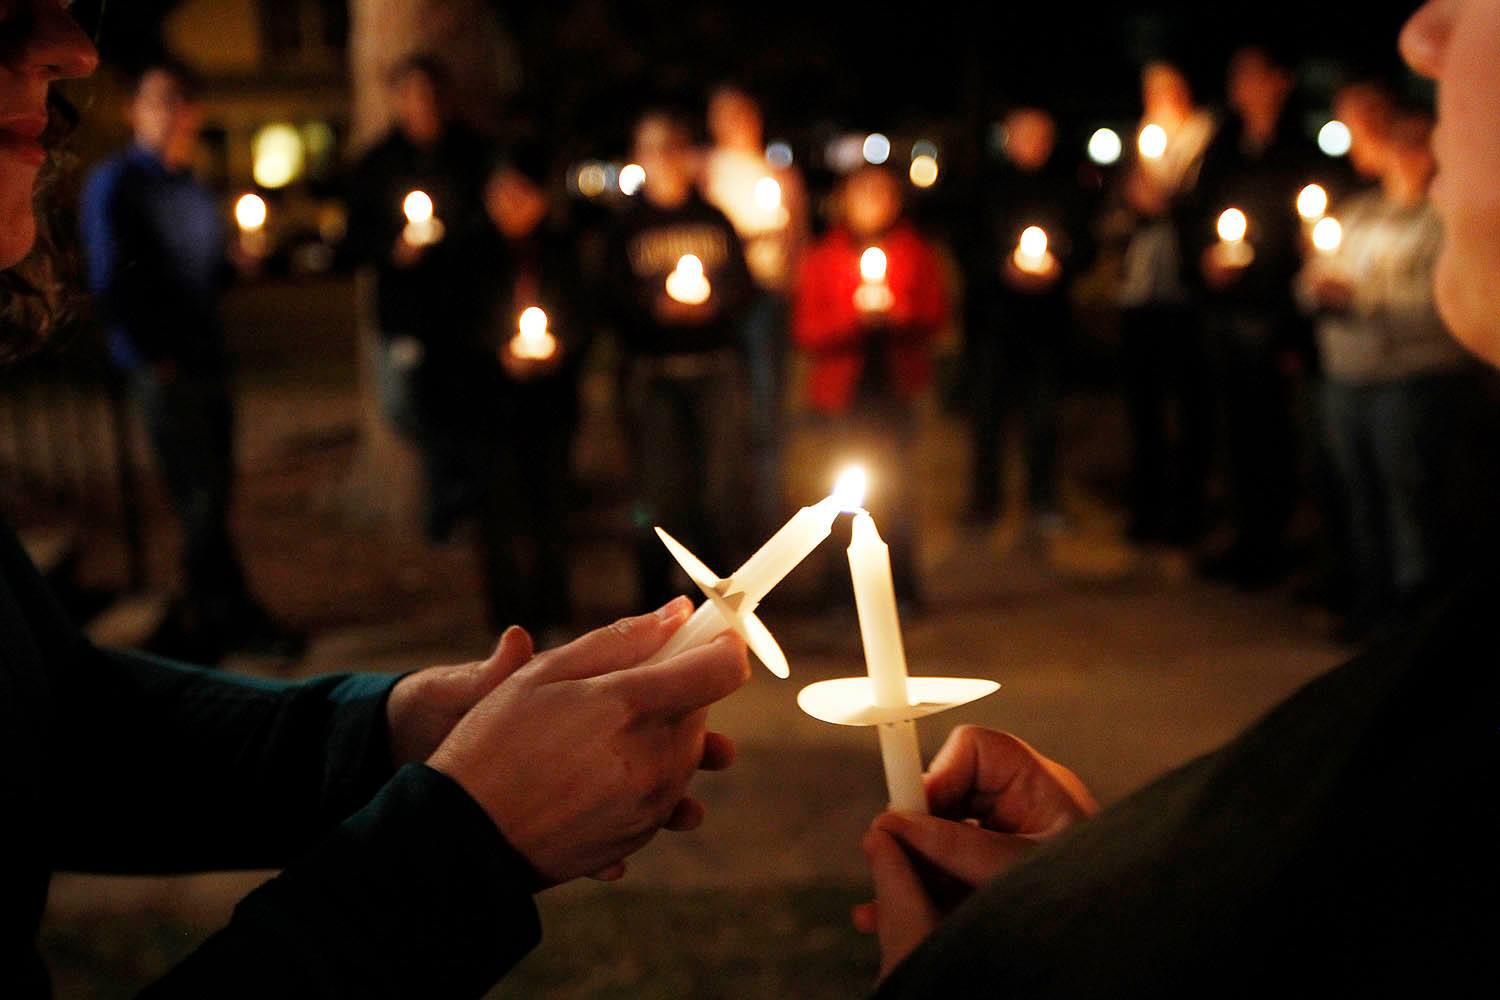
Lighting a vigil candle is a powerful and symbolic act that has been practiced for centuries in various spiritual and religious traditions. Vigil candles are often used to create a serene and peaceful ambiance, to offer prayers or intentions, or to symbolize hope, comfort, and remembrance. Making your own vigil candles not only allows you to infuse them with your personal intentions, but it also provides a creative and fulfilling activity.
In this article, we will guide you through the process of making your own vigil candles. Whether you are looking to create a serene space for meditation, offer prayers for a loved one, or simply enhance the atmosphere in your home, making your own vigil candles can be an empowering and rewarding experience.
To create your own vigil candles, you will need a few basic materials and tools that are readily available. The process itself is relatively simple and can be adapted to suit your preferences in terms of fragrance, color, and decoration. So, let’s gather our supplies and get started on our candle-making journey!
Key Takeaways:
- Embrace your creativity and personal intentions by making your own vigil candles, infusing each one with meaning and creating a serene atmosphere for meditation, prayer, or relaxation.
- Enjoy the rewarding experience of crafting your own vigil candles, from gathering supplies to adding fragrance and color, and bask in the soothing glow of your personalized creations.
Read more: How To Make A Heater With Candles
Materials Needed
Before you start making your vigil candles, it’s important to gather all the necessary materials. Here’s a list of items you’ll need:
- Container: You’ll need heat-resistant glass containers to hold the wax. The size and shape of the container can vary based on your preference.
- Wax: There are several options for candle wax, including soy wax, beeswax, and paraffin wax. Choose a type that suits your needs and personal preferences.
- Wicks: Look for pre-tabbed wicks specifically designed for container candles. The wick size should be compatible with the diameter of your chosen container.
- Fragrance oil (optional): If you want scented candles, select fragrance oils that are safe for candle making. Choose scents that align with the ambiance you want to create.
- Candle dye or color blocks (optional): If you prefer colored candles, consider using candle dye or color blocks specifically made for candle making.
- Double boiler or a heat-resistant container and a saucepan: You’ll need a way to melt the wax safely. A double boiler setup or a heat-resistant container placed inside a saucepan with water works well.
- Thermometer: It’s important to monitor the temperature of the wax while melting and pouring. A candle-making thermometer that can withstand high temperatures is essential.
- Heat-resistant gloves: Protect your hands from hot wax and containers by using heat-resistant gloves.
- Stirring utensil: Use a heat-resistant spoon or wooden dowel to stir the wax and mix in fragrance or color.
- Scissors: You’ll need scissors to trim the wicks later.
Once you have gathered these materials, you’re ready to start the candle-making process. Make sure you have a clean and organized workspace, as working with wax can be messy. With all the materials in place, let’s move on to the next step of preparing the glass containers.
Step 1: Gathering the Supplies
Before you begin making your vigil candles, it’s important to gather all the necessary supplies and create a clean and organized workspace. Here’s a step-by-step guide to help you gather your supplies:
- Make a list of the materials needed: Refer to the “Materials Needed” section above and write down all the items required to make the vigil candles.
- Check your inventory: Go through your existing candle-making supplies to see if you already have some of the required materials. This will help you avoid duplicate purchases and save money.
- Make a shopping list: Based on the materials you need, create a shopping list of the items that are missing from your inventory. This will ensure that you don’t forget anything when you go to purchase the supplies.
- Select the containers: Choose the heat-resistant glass containers that you want to use for your vigil candles. Consider the size, shape, and style of the containers based on your personal preference or the intended purpose of the candles.
- Choose the wax type: Decide on the type of wax you want to use for your candles. Options include soy wax, beeswax, or paraffin wax. Take into consideration factors such as sustainability, scent throw, and personal preference.
- Pick the wicks: Select pre-tabbed wicks that are specifically designed for container candles. Ensure that the wick size matches the diameter of your chosen containers to achieve an optimal burn and prevent tunneling.
- Consider fragrance and color: If desired, choose fragrance oils or essential oils to add scent to your candles. Additionally, you can opt for candle dye or color blocks if you want to incorporate color into your candles.
- Prepare a double boiler or heat-resistant container: Set up a double boiler system or place a heat-resistant container inside a saucepan with water. This will be used to melt the wax safely and efficiently.
- Gather additional tools and accessories: Collect other necessary tools such as a thermometer, heat-resistant gloves, a stirring utensil, and a pair of scissors for trimming the wicks.
Once you have gathered all the necessary supplies, you’re ready to move on to the next step: preparing the glass containers for your vigil candles.
Step 2: Preparing the Glass Containers
Now that you have gathered all your supplies, it’s time to prepare the glass containers for your vigil candles. Follow these steps to ensure your containers are clean and ready for the candle-making process:
- Wash the containers: Start by washing the glass containers with warm, soapy water. Rinse them thoroughly to remove any dirt, dust, or residue that may be present. Dry the containers completely before proceeding.
- Inspect the containers: Check each glass container for any cracks, chips, or imperfections. It’s important to use containers that are in good condition to ensure safe and effective candle-making.
- Secure the wicks: Take your pre-tabbed wicks and use a small amount of melted wax to adhere the metal tabs to the bottom center of each container. Ensure that the wick is centered and standing straight upright.
- Secure the wick with a wick holder (optional): If you’re using a wider container or if the wick tends to tilt or fall over, you can use a wick holder. These metal or plastic devices hold the wick in place and keep it centered while the candle sets.
- Place the containers on a flat and heat-resistant surface: Prepare a clean, flat surface where you can easily pour the melted wax. Ensure that it is heat-resistant and can withstand any potential spills or drips.
- Protect the work area: To prevent any wax spills or damage to the surface, place a layer of newspaper or a reusable protective mat underneath the containers.
Preparing the glass containers beforehand will make the candle-making process smoother and help ensure that your candles turn out beautifully. Once the containers are clean, inspected, and the wicks are secured, you’re ready to move on to the next step: melting the wax.
Step 3: Melting the Wax
With your glass containers prepared, it’s time to move on to the next step: melting the wax. Follow these guidelines to ensure a safe and successful melting process:
- Prepare the double boiler or heat-resistant container: If using a double boiler, fill the bottom pot with water and place it on the stove over low to medium heat. If using a heat-resistant container, place it inside a saucepan with a few inches of water.
- Add the wax to the double boiler or container: Measure out the required amount of wax based on the size and number of candles you are making. Add the wax to the top pot of the double boiler or directly into the heat-resistant container.
- Monitor the temperature: Attach a thermometer to the side of the double boiler or heat-resistant container, ensuring the tip is immersed in the wax but not touching the bottom. Heat the water and melt the wax, slowly increasing the temperature to around 180-190°F (82-88°C) for soy wax or 160-180°F (71-82°C) for beeswax and paraffin wax.
- Stir occasionally: As the wax melts, stir it gently with a heat-resistant utensil to ensure even heating and to help expedite the melting process. Continue stirring intermittently throughout the melting process.
- Be patient and cautious: Take your time melting the wax and avoid rushing the process by turning up the heat too high. This can lead to overheating, which may result in discoloration or other defects in the candles.
- Never leave the melting wax unattended: It’s crucial to stay present and attentive while the wax is melting. Never leave it unattended, as hot wax can be a fire hazard.
- Remove the melted wax from heat: Once the wax is completely melted, carefully remove the double boiler or heat-resistant container from the heat source and turn off the stove.
Melting the wax is an essential step in the candle-making process. By following these guidelines, you can ensure that the wax is melted safely and properly. Now that the wax is melted, you’re ready to move on to the next step: adding fragrance and color (optional).
Read more: How To Make Candles With Herbs
Step 4: Adding Fragrance and Color (optional)
Now that your wax is melted and ready, you have the option to add fragrance and color to your vigil candles. Adding fragrance and color can enhance the ambiance and personalization of your candles. Here’s how you can incorporate fragrance and color:
- Fragrance oils: If you choose to add a pleasant scent to your candles, carefully measure the desired amount of fragrance oil based on the manufacturer’s recommendations. Start with a small amount and adjust according to your preference. Stir the fragrance oil into the melted wax using a heat-resistant utensil until it is evenly distributed.
- Color blocks or dye: To add color to your candles, you can use specially designed candle dye or color blocks. These are created to safely color the wax. Start with a small amount of dye or a small piece of color block and gradually add it to the melted wax. Stir continuously to achieve an even distribution of color.
- Adjusting fragrance and color intensity: Keep in mind that the fragrance and color may intensify as the wax cools and solidifies. If you notice that the scent or color is too strong, you can add additional melted uncolored wax to balance it out.
Remember, adding fragrance and color to your vigil candles is purely optional. If you prefer unscented and uncolored candles, you can skip this step and proceed to the next one. However, if you decide to incorporate fragrance and color, make sure to choose scents and colors that align with the ambiance you want to create. With fragrance and color added, our next step will focus on preparing the wicks for your vigil candles.
Step 5: Preparing the Wicks
With the fragrance and color added to the melted wax, the next step in making your vigil candles is to prepare the wicks. Properly preparing the wicks ensures that they are ready for use and will burn efficiently. Follow these steps to prepare the wicks:
- Cut the wicks: Using a pair of scissors, cut the wick for each candle to a length that is slightly taller than the height of your glass container. Leave about 1 inch (2.5 cm) extra to allow for trimming later.
- Secure the wicks: Using a wick centering tool or a small weight, gently press the wick tab at the bottom of the container to keep it centered as you pour the wax. This step helps ensure the wick remains in the middle of the candle as it burns.
- Straighten the wick: Hold the top end of the wick between your fingers and gently pull it taut. This straightens the wick and ensures a clean, even burn throughout the life of the candle.
Preparing the wicks is an important step in candle-making to ensure even burning and an optimal flame. Taking the time to properly cut and secure the wicks will contribute to the overall quality and longevity of your vigil candles. Now that the wicks are prepared, we can move on to the next step: pouring the melted wax into the glass containers.
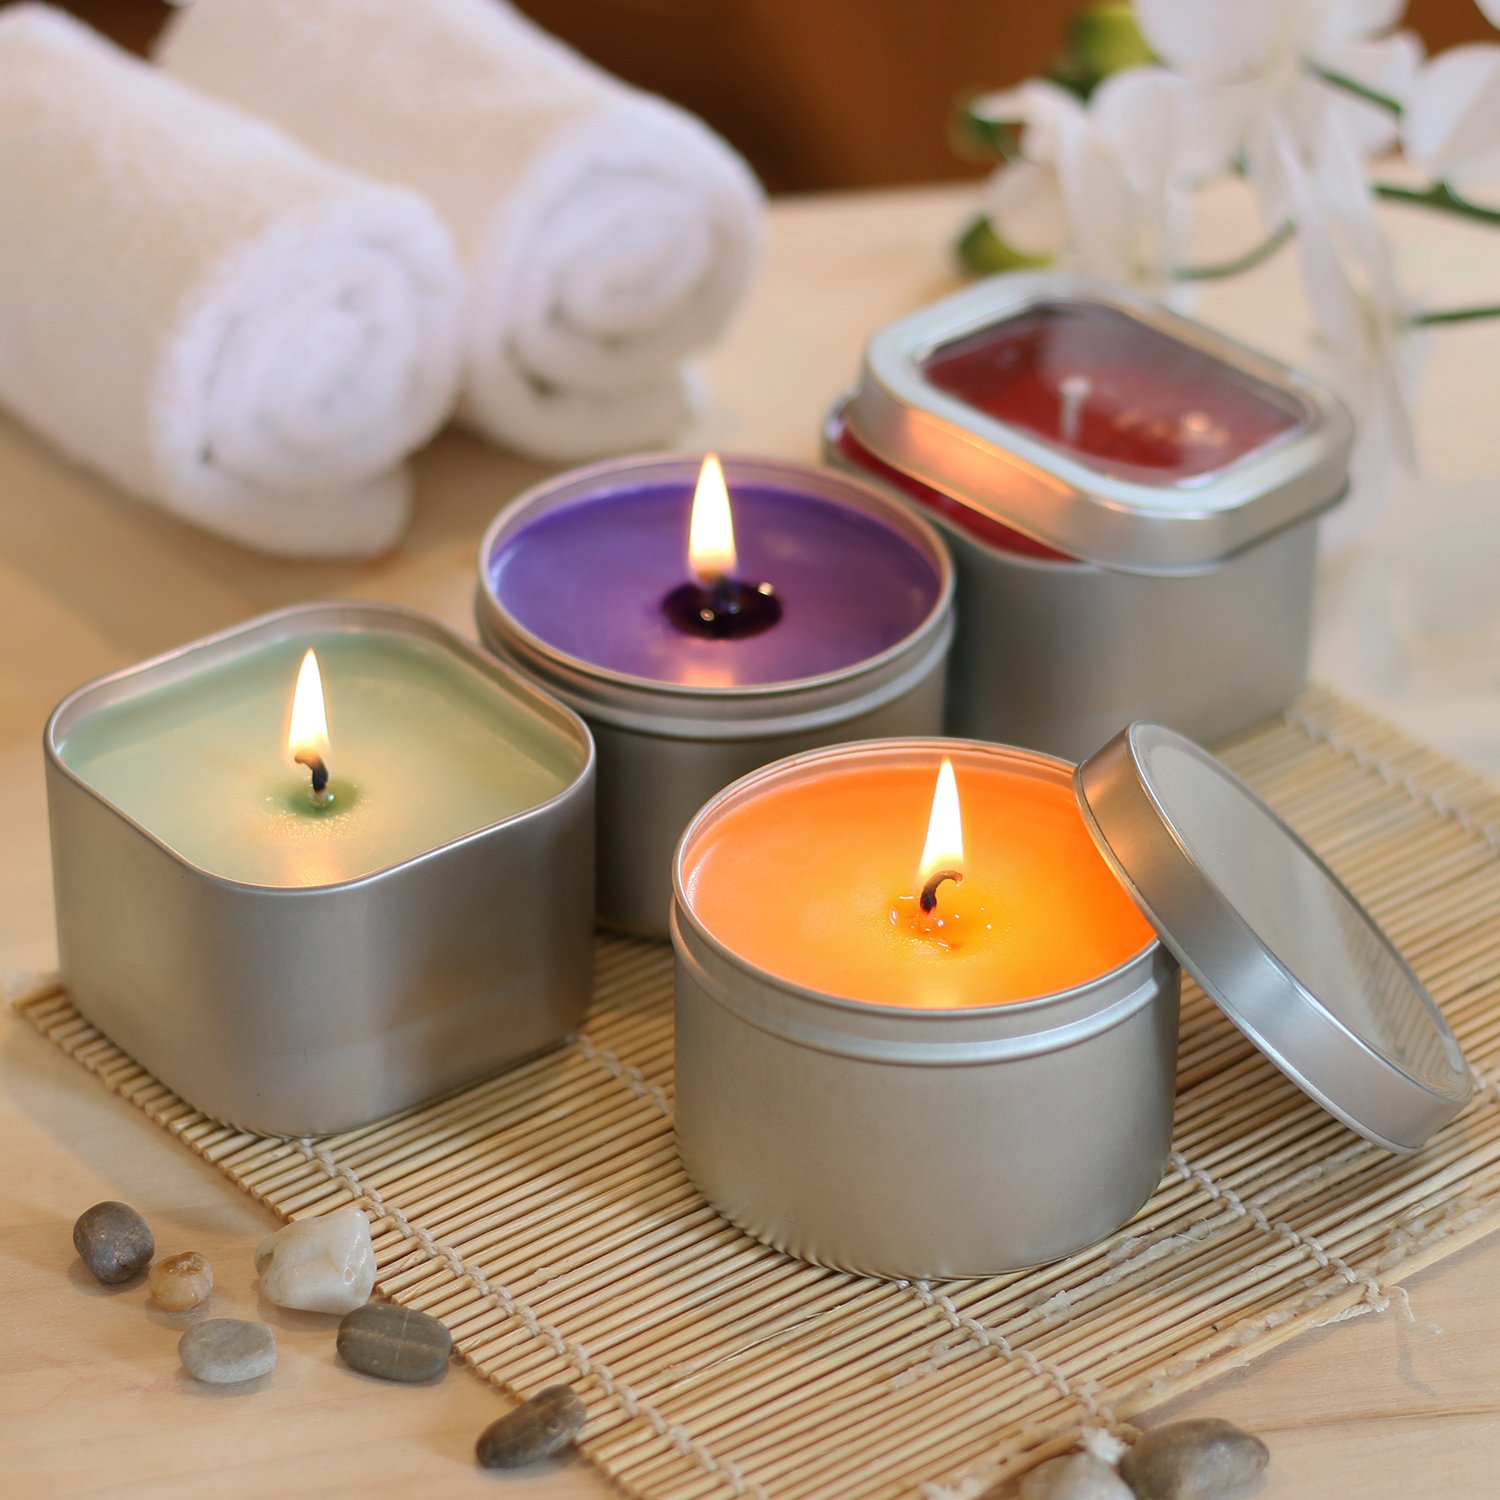
When making vigil candles, use high-quality wax and wicks to ensure a clean and long-lasting burn. Adding fragrance oils or essential oils can enhance the scent of the candle.
Step 6: Pouring the Wax into Containers
With the wicks prepared, it’s time to pour the melted wax into the glass containers to create your vigil candles. Follow these steps to ensure a smooth and successful pouring process:
- Prepare the workspace: Ensure you have a flat and stable surface to work on. Place a protective barrier like a newspaper or a reusable mat to catch any spills or drips.
- Slowly pour the wax: Using a heat-resistant pitcher or ladle, slowly pour the melted wax into the prepared glass containers. Start from the center of the container, allowing the wax to reach about ¾ of the way up. This leaves room for the wax to expand as it cools.
- Be careful and steady: Take your time while pouring to avoid spills or overflow. Maintain a steady hand to ensure an even distribution of wax in each container.
- Avoid overfilling: Do not fill the container to the brim. Leaving some space at the top prevents the wax from overflowing once it solidifies.
- Wipe any spills: If you accidentally spill any wax on the containers or their rims, use a clean cloth or paper towel to wipe it off immediately. This prevents the wax from hardening and affecting the final appearance of the candles.
Remember, hot wax can be dangerous, so exercise caution and follow safety procedures. By pouring the melted wax slowly and carefully, you’ll ensure that your vigil candles have a neat and professional finish. With the wax poured, we can now move on to the next step: allowing the candles to cool and harden.
Step 7: Allowing the Candles to Cool and Harden
After pouring the melted wax into the containers, it is crucial to allow the candles to cool and harden properly. Follow these steps to ensure your vigil candles solidify correctly:
- Settle the containers: Avoid moving or disturbing the candles while they are cooling. Place them on a flat surface in a draft-free area where they can remain undisturbed.
- Patience is key: Allow the candles to cool naturally at room temperature. Avoid placing them in the refrigerator or freezer, as rapid temperature changes can cause imperfections in the wax and affect the final appearance of the candles.
- Check for air bubbles: As the wax cools, it may develop air bubbles on the surface. If you notice any air bubbles, gently tap the sides of the container to release them. You can also use a toothpick to carefully pop any visible bubbles.
- Wait for complete hardening: Depending on the type and amount of wax used, it may take several hours for the candles to completely cool and harden. Be patient and let them sit undisturbed until they are solid to the touch.
- Avoid disturbances: While the candles are setting, keep them away from drafts or direct sunlight. Any sudden movements or temperature changes can cause uneven cooling and potential cracks in the wax.
Allowing the candles to cool and harden properly ensures that they have a smooth and even appearance. Be mindful of the cooling time and avoid rushing the process to obtain the best results. Once the candles have thoroughly hardened, we can proceed to the next step: trimming the wicks.
Read more: How To Make Dipped Candles
Step 8: Trimming the Wicks
Once your vigil candles have cooled and hardened, it’s time to trim the wicks. Trimming the wicks not only enhances the appearance of the candles but also promotes a clean and efficient burn. Follow these steps to trim the wicks of your candles:
- Inspect the wicks: Examine each candle to ensure that the wicks are positioned straight and centrally within the wax.
- Measure the wick length: Using a ruler or a wick trimmer, measure and determine the desired length for your wicks. A length of about ¼ inch (0.6 cm) is recommended for optimal burning.
- Cut the wicks: With a pair of scissors, carefully trim the wicks to the desired length. Make sure to cut them straight across and avoid leaving any loose or frayed ends.
- Remove the trimmed wick debris: After cutting the wicks, gently blow or use a tool to remove any loose or trimmed wick debris, ensuring a clean and tidy appearance.
Trimming the wicks before lighting your vigil candles helps prevent excessive smoke, mushrooming, and uneven burning. It also promotes a safer and longer-lasting candle experience. Now that your wicks are properly trimmed, we can move on to the next step: decorating the candles.
Step 9: Decorating the Candles (optional)
Now that you’ve successfully created your vigil candles, you have the option to decorate them to add a personal touch or enhance their visual appeal. Decorating your candles can be a fun and creative way to make them even more special. Here are some ideas for decorating your candles:
- Ribbon or twine: Wrap a ribbon or twine around the base of the glass container to add a touch of elegance or rustic charm.
- Gemstones or beads: Glue gemstones or beads onto the surface of your candles to create decorative patterns or symbols that hold personal meaning.
- Dried flowers or herbs: Press dried flowers or herbs onto the sides of the candles using a small amount of melted wax. This adds a natural and aromatic element to the candles.
- Decorative charms or pendants: Attach small decorative charms or pendants to the wick using a thin piece of wire or string, creating a whimsical and customized touch.
- Personalized labels or stickers: Create your own labels or stickers with meaningful quotes, personal messages, or the name of the intended recipient. Stick them onto the glass containers for a personalized touch.
- Hand-painted designs: Use acrylic paint or glass paint to create intricate designs or patterns on the glass containers. Let your creativity shine and make each candle unique.
Remember, decorating your candles is purely optional, and you can choose to leave them plain if you prefer a more minimalist look. The key is to let your creativity guide you and to choose decorations that resonate with you or the intended purpose of the candles. With the candles decorated, we can move on to the final step: lighting and enjoying your vigil candles.
Step 10: Lighting and Enjoying Your Vigil Candles
After all the preparation and hard work, it’s time to light and enjoy the fruits of your labor. Here are the final steps to light and bask in the comforting glow of your vigil candles:
- Find a safe and suitable location: Choose a sturdy surface away from flammable objects, drafts, and areas where the candles can be easily knocked over. Ensure the candles are out of reach of children and pets.
- Clear the area: Remove any debris or potential hazards around the candles to prevent accidents or damage.
- Light the wick: Using a long-reach lighter or a match, carefully light the wick of one candle. Hold the flame at the base of the wick until it catches fire. If you have multiple candles, light them one by one.
- Enjoy the ambiance: Sit back, relax, and take in the beautiful glow and fragrance of your vigil candles. Allow their warm light to create a soothing and serene atmosphere in your space.
- Supervise the candles: Never leave lit candles unattended. Keep an eye on them and make sure to extinguish them before leaving the room or going to sleep.
- Trim the wicks as needed: If you notice the wicks becoming long or flickering excessively, use a trimmer to trim them to about ¼ inch (0.6 cm) to maintain a steady and clean burn.
- Extinguish the candles: To safely extinguish the candles, use a candle snuffer or gently blow them out. This helps prevent flying sparks or hot wax splatter.
Now you can fully enjoy the mesmerizing glow and calming presence of your vigil candles. Whether you use them for meditation, prayer, or simply to create a serene ambiance, these homemade candles will bring warmth and tranquility to any space. Remember to always practice candle safety and enjoy your candles responsibly.
With this final step, you have completed the process of making and enjoying your own vigil candles. Congratulations on your accomplishment and may these candles bring you peace, inspiration, and moments of serenity.
Happy candle-lighting!
Conclusion
Making your own vigil candles is a rewarding and fulfilling experience that allows you to infuse your intentions and creativity into each candle. By following the step-by-step process outlined in this article, you have learned how to gather the necessary supplies, prepare the glass containers, melt the wax, add fragrance and color, prepare the wicks, pour the wax, allow the candles to cool and harden, trim the wicks, decorate the candles (optional), and finally, light and enjoy the beautiful glow of your vigil candles.
Throughout this journey, you have embraced your creativity and put your personal touch on each candle. Whether you use them for meditation, spiritual rituals, or to create a peaceful atmosphere in your home, these homemade vigil candles hold a special significance and bring a sense of calm and serenity to any space.
Remember to always prioritize safety when working with hot wax and open flames. Ensure that you place your candles in a secure and suitable location, supervise them while they’re lit, and always keep them away from flammable objects.
Now it’s time to sit back, relax, and enjoy the captivating ambiance that your vigil candles create. Take a moment to reflect, offer prayers or intentions, or simply find solace in their warm glow. Let the gentle flickering of the flames bring you a sense of peace and tranquility, allowing you to find respite in the daily chaos of life.
Thank you for joining us on this candle-making journey. We hope the knowledge and skills you’ve gained will continue to inspire you to explore the world of homemade candle-making and bring light into your life and the lives of others.
Happy candle-making and may the glow of your vigil candles illuminate your path!
Frequently Asked Questions about How To Make Vigil Candles
Was this page helpful?
At Storables.com, we guarantee accurate and reliable information. Our content, validated by Expert Board Contributors, is crafted following stringent Editorial Policies. We're committed to providing you with well-researched, expert-backed insights for all your informational needs.


0 thoughts on “How To Make Vigil Candles”