Home>Technology>Home Entertainment Systems>How To Build A Projector Screen Frame
Home Entertainment Systems
How To Build A Projector Screen Frame
Modified: October 18, 2024
Learn how to build a projector screen frame for your home entertainment system with our step-by-step guide. Create the perfect setup for movie nights and gaming sessions.
(Many of the links in this article redirect to a specific reviewed product. Your purchase of these products through affiliate links helps to generate commission for Storables.com, at no extra cost. Learn more)
Introduction
Welcome to the world of immersive home entertainment! Building your own projector screen frame is an exciting and rewarding project that can elevate your movie nights and gaming sessions to a whole new level. Whether you're a DIY enthusiast or simply looking to enhance your home theater experience, creating a custom projector screen frame allows you to tailor the size and quality of the screen to your specific needs.
In this guide, we'll walk you through the step-by-step process of building a projector screen frame, from selecting the materials to mounting the finished product. By following these instructions, you'll be able to construct a high-quality screen that delivers crisp, vibrant images and complements your home entertainment system.
So, roll up your sleeves, gather your tools, and get ready to embark on a fun and fulfilling project that will bring the magic of the big screen right into your living room. Let's dive in and explore the materials needed to kickstart your DIY projector screen frame journey.
Key Takeaways:
- Elevate your home entertainment with a custom projector screen frame. Follow the step-by-step guide to create a personalized centerpiece for immersive movie nights and gaming adventures.
- Craft a high-quality projector screen that complements your home entertainment system. Embrace the magic of cinema and shared moments of joy with your expertly crafted DIY projector screen frame.
Read more: How To Frame A Screen Porch
Materials Needed
Before diving into the construction process, it’s essential to gather the necessary materials and tools to ensure a smooth and efficient build. Here’s a comprehensive list of items you’ll need to create your projector screen frame:
- 1. Wood: Select high-quality, lightweight wood for the frame, such as pine or cedar. The dimensions will depend on the desired screen size.
- 2. Screws and Nails: Choose appropriate screws and nails for securing the frame and attaching the screen material.
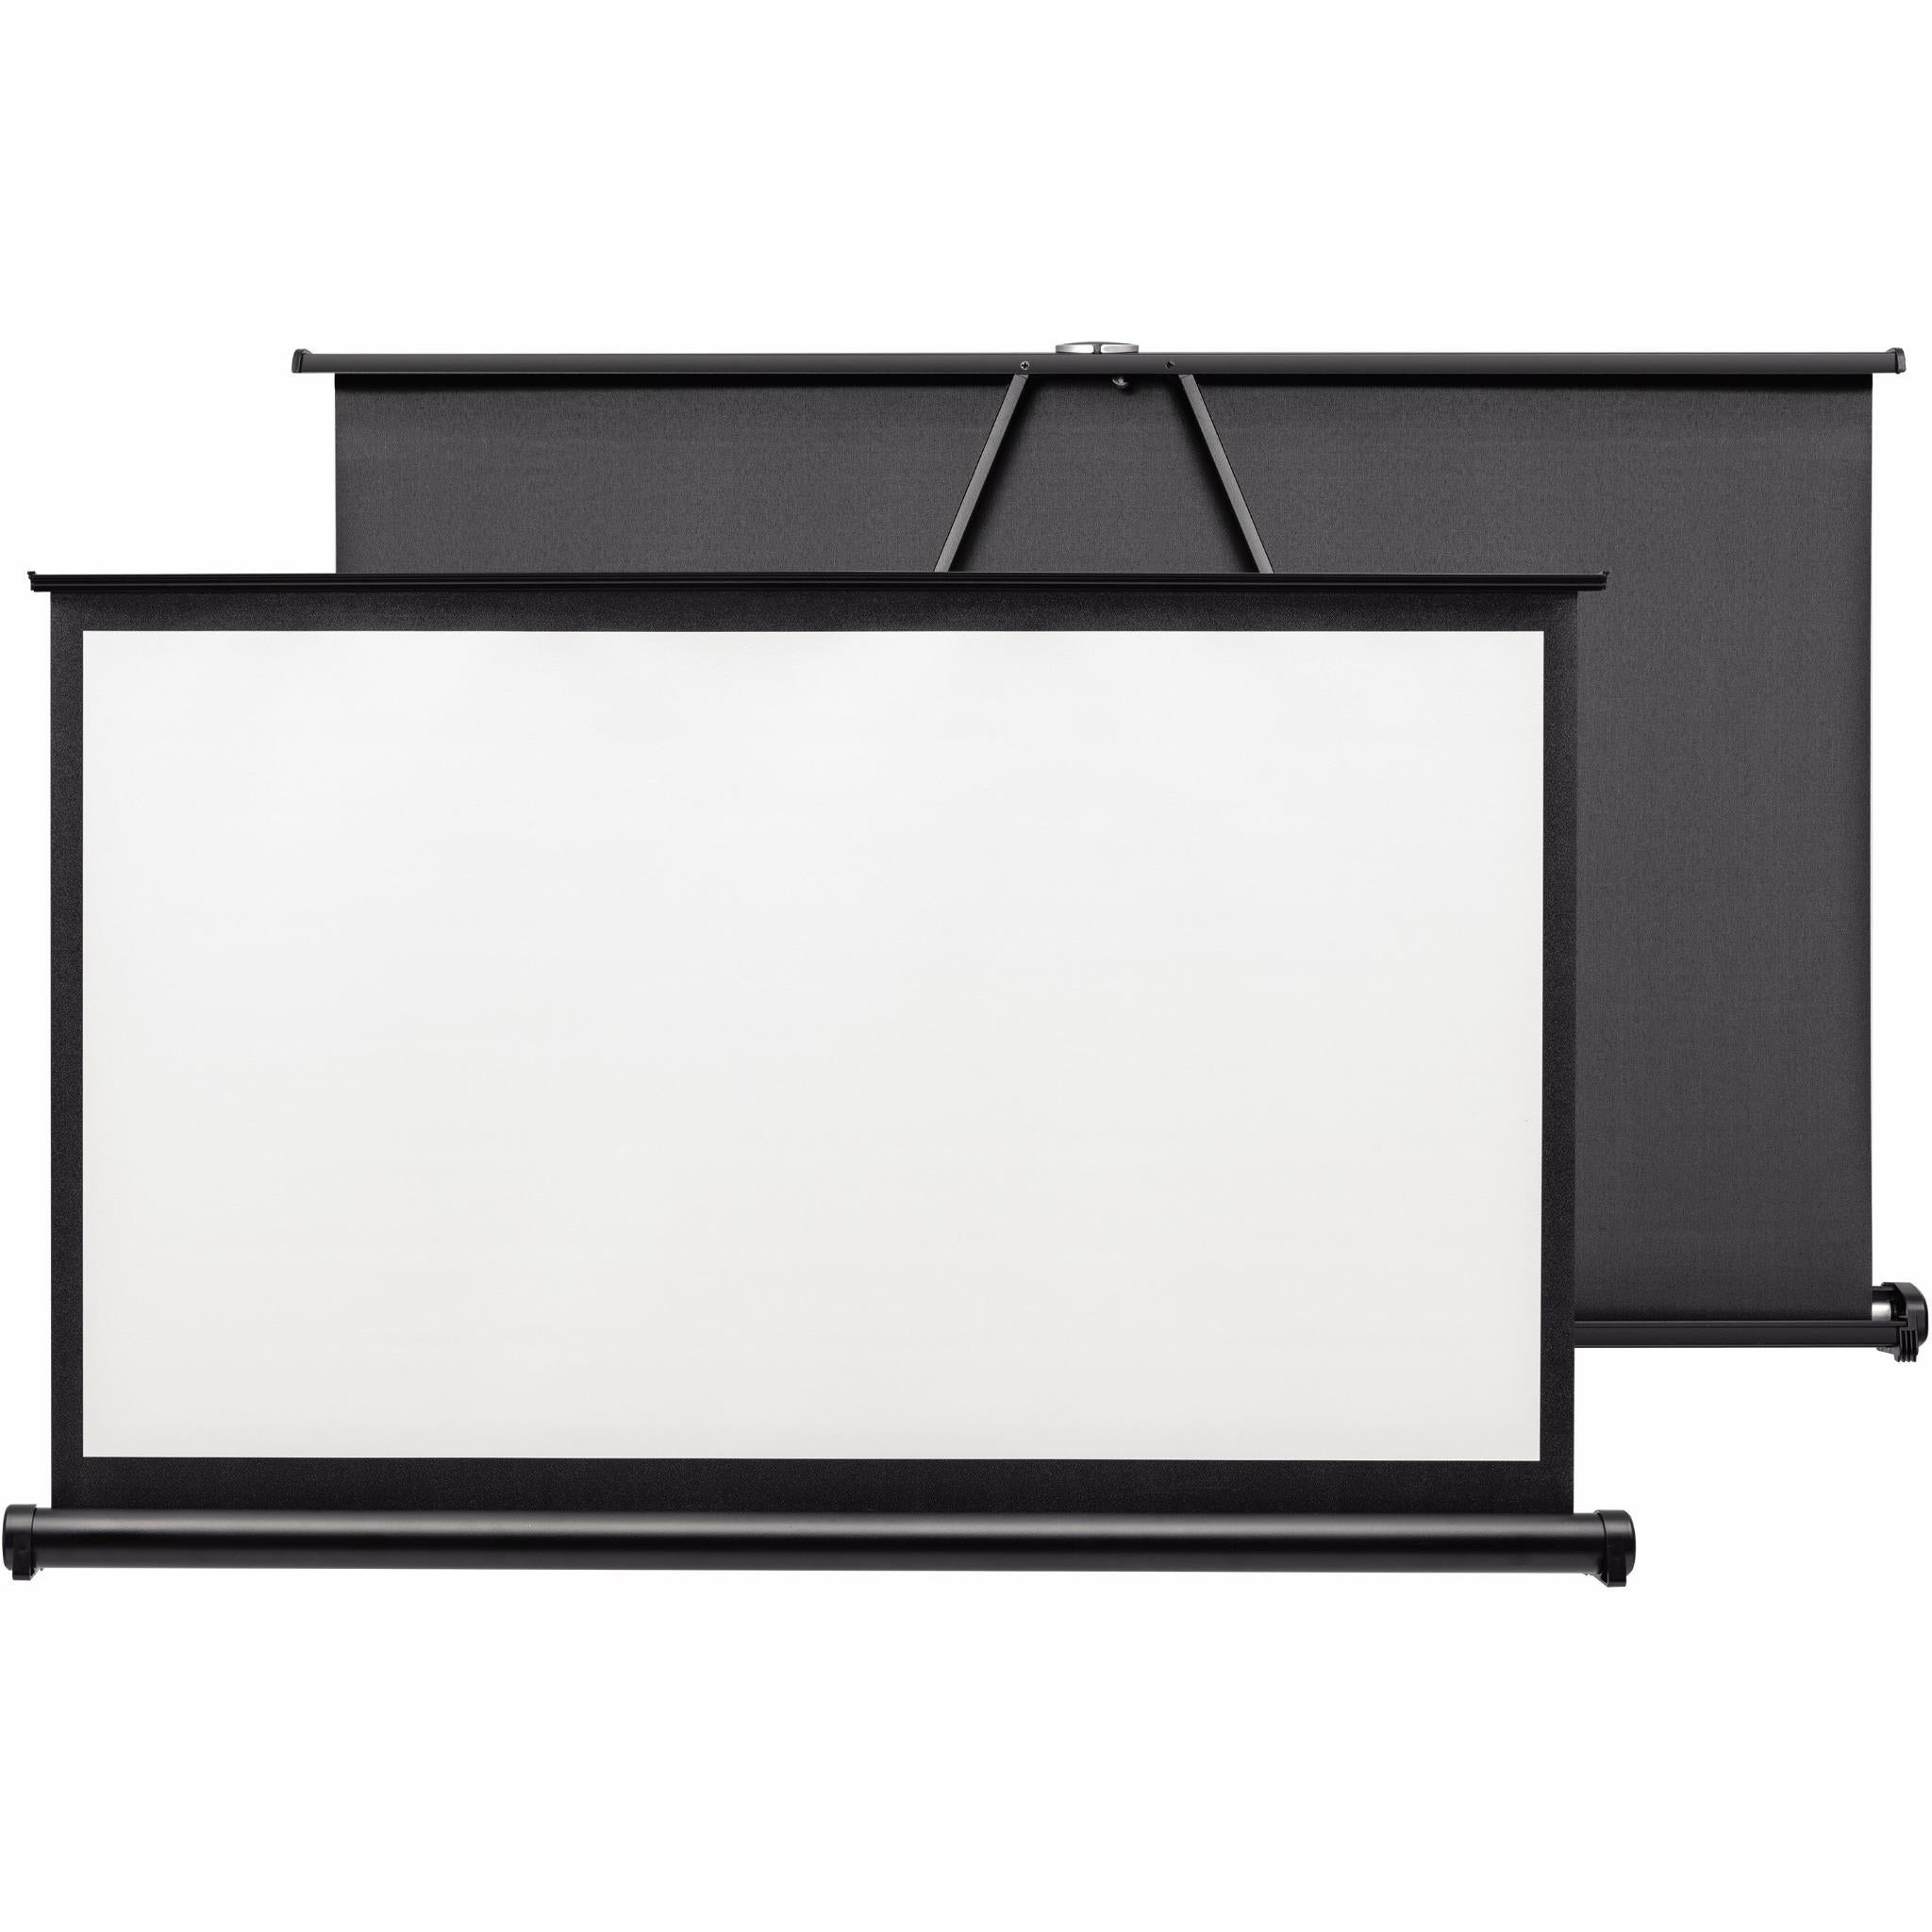
- 3. Screen Material: Opt for a high-gain, tensioned screen material for optimal image quality, such as PVC-based fabric or specialized projector screen material.
- 4. Corner Brackets: These will provide additional stability to the frame and ensure squareness during assembly.
- 5. Staple Gun and Staples: Essential for attaching the screen material to the frame securely.
- 6. Measuring Tape and Carpenter’s Square: Accurate measurements and precise angles are crucial for a professional-looking frame.
- 7. Saw: Depending on the wood type, a circular saw or miter saw will be necessary for cutting the wood to the desired dimensions.
- 8. Sandpaper: Smooth any rough edges and surfaces for a polished final product.
- 9. Level: Ensures the frame is perfectly aligned during assembly and mounting.
- 10. Mounting Hardware: Depending on your installation method, you may need mounting brackets, hooks, or other hardware to secure the frame to the wall or ceiling.
- 11. Paint or Stain (Optional): If desired, you can finish the frame with paint or stain to match your room’s aesthetics.
With these materials in hand, you’re well-equipped to commence the construction of your projector screen frame. The next step involves measuring and cutting the wood to the appropriate dimensions, laying the foundation for your custom screen. Let’s move on to the first step of this exciting DIY journey!
Step 1: Measure and Cut the Wood
Accurate measurements and precise cuts are fundamental to creating a sturdy and visually appealing projector screen frame. To begin, you’ll need to determine the dimensions of your desired screen, taking into account the aspect ratio and available space in your home theater area. Here’s a detailed breakdown of the process:
- Measure the Screen Area: Using a measuring tape, determine the width and height of the intended screen area. Consider the aspect ratio of your projector (e.g., 16:9 or 4:3) to ensure the screen dimensions are compatible with your viewing preferences.
- Select the Wood: Once you have the measurements, select high-quality wood that is lightweight yet sturdy, such as pine or cedar. Ensure that the wood is straight and free from defects, as this will impact the overall stability and appearance of the frame.
- Cut the Frame Components: Using a saw (e.g., circular saw or miter saw), carefully cut the wood into the necessary components for the frame, including the top, bottom, and side pieces. Ensure that the cuts are precise and the angles are accurate, especially for mitered corners if you prefer a seamless look.
- Smooth the Edges: After cutting the wood, use sandpaper to smooth any rough edges and surfaces, creating a clean and professional finish for the frame components.
- Assemble the Frame: Lay out the cut wood pieces and ensure that they align perfectly to form the frame. Use a carpenter’s square to verify that the corners are at right angles, promoting a square and symmetrical structure.
By meticulously measuring and cutting the wood according to your screen dimensions, you’ll establish the foundation for a well-crafted projector screen frame. The next step involves assembling the frame components to bring your custom screen to life. Let’s proceed to the assembly process and explore how to construct a sturdy and visually impressive frame for your home entertainment system.
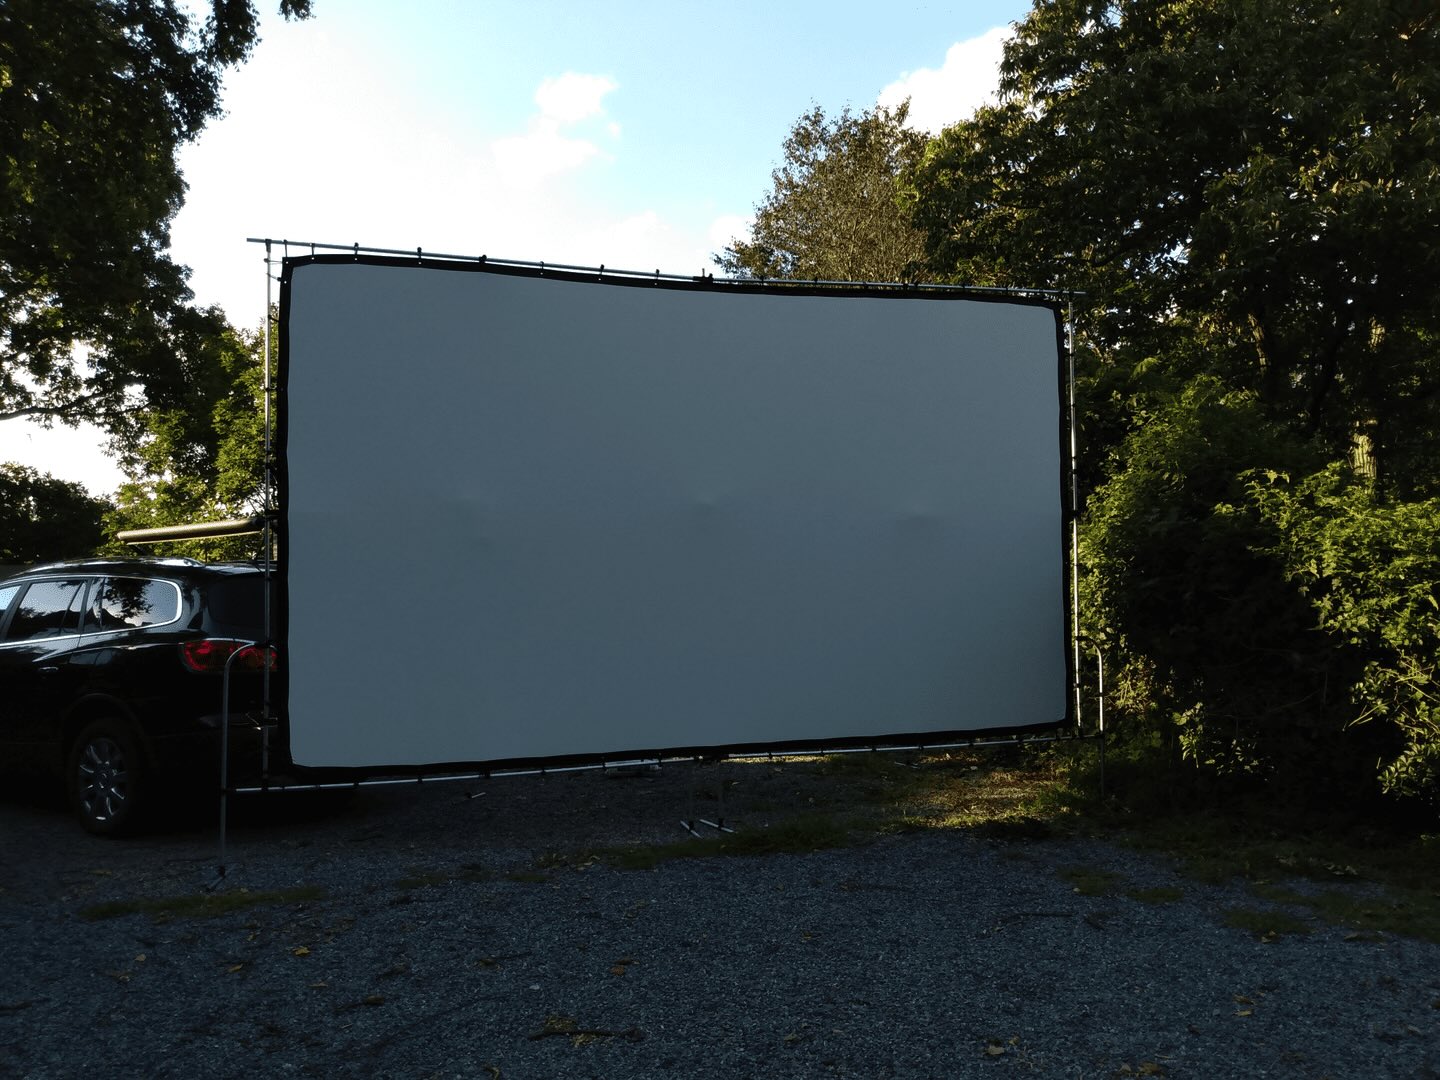
Step 2: Assemble the Frame
With the wood components cut to precision, it’s time to assemble the frame for your projector screen. This step is crucial in ensuring the structural integrity and stability of the frame, laying the groundwork for a professional and durable end product. Follow these detailed instructions to seamlessly construct your custom frame:
- Position the Components: Lay the cut wood pieces on a flat, stable surface, ensuring that the frame’s top, bottom, and side components are arranged according to the screen dimensions.
- Secure the Corners: Use screws and corner brackets to secure the frame’s corners, ensuring that the joints are tight and the frame is square. This step is essential for maintaining the frame’s structural stability and preventing warping over time.
- Check for Alignment: Utilize a level to verify that the frame is perfectly aligned and sits flat on the surface. This will guarantee that your projector screen hangs evenly and displays a distortion-free image.
- Reinforce the Frame: Depending on the size of your screen, consider adding additional support in the form of crossbars or center bracing to prevent the frame from bowing under tension when the screen material is attached.
- Inspect for Quality: Thoroughly inspect the assembled frame, ensuring that all components are securely fastened and the structure is robust. Address any loose joints or misalignments to guarantee a professional finish.
By meticulously assembling the frame components and reinforcing the structure as needed, you’ll create a sturdy and reliable foundation for your projector screen. The next critical step involves attaching the screen material to the frame, transforming it into a fully functional and visually stunning addition to your home entertainment system. Let’s move on to the process of affixing the screen material and exploring the various options available for achieving optimal image quality.
When building a projector screen frame, make sure to use sturdy and straight materials to prevent warping. Also, measure and cut the frame accurately to ensure a tight and smooth screen surface.
Step 3: Attach the Screen Material
Attaching the screen material to the frame is a pivotal stage in the construction of your projector screen, as it directly impacts the visual performance and overall quality of your home theater experience. Whether you opt for specialized projector screen material or PVC-based fabric, the method of affixing the material to the frame remains consistent. Follow these essential steps to ensure a seamless and taut screen surface:
- Cut the Screen Material: Measure and cut the screen material to exceed the dimensions of the frame, allowing for adequate coverage and tensioning.
- Secure the Material: Begin by attaching one edge of the screen material to the frame using a staple gun, ensuring that it is taut and free from wrinkles. Gradually work your way around the frame, pulling the material tightly and securing it in place with staples at regular intervals.
- Ensure Tension: As you progress, periodically check the tension of the screen material to maintain a uniform and wrinkle-free surface. This step is crucial for achieving optimal image clarity and preventing distortion during projection.
- Trim Excess Material: Once the screen material is securely attached and tensioned, trim any excess material along the frame’s edges, creating a clean and professional appearance.
- Inspect the Surface: Thoroughly inspect the screen surface to ensure that it is smooth, taut, and free from imperfections. Address any loose areas or wrinkles by readjusting and restapling the material as needed.
By meticulously attaching the screen material to the frame and maintaining consistent tension throughout the process, you’ll create an optimal surface for projecting vibrant and distortion-free images. The final step involves mounting the completed frame, bringing your custom projector screen to life within your home entertainment space. Let’s explore the process of securely mounting the frame and integrating it seamlessly into your viewing environment.
Read more: How To Split Screen On A Projector
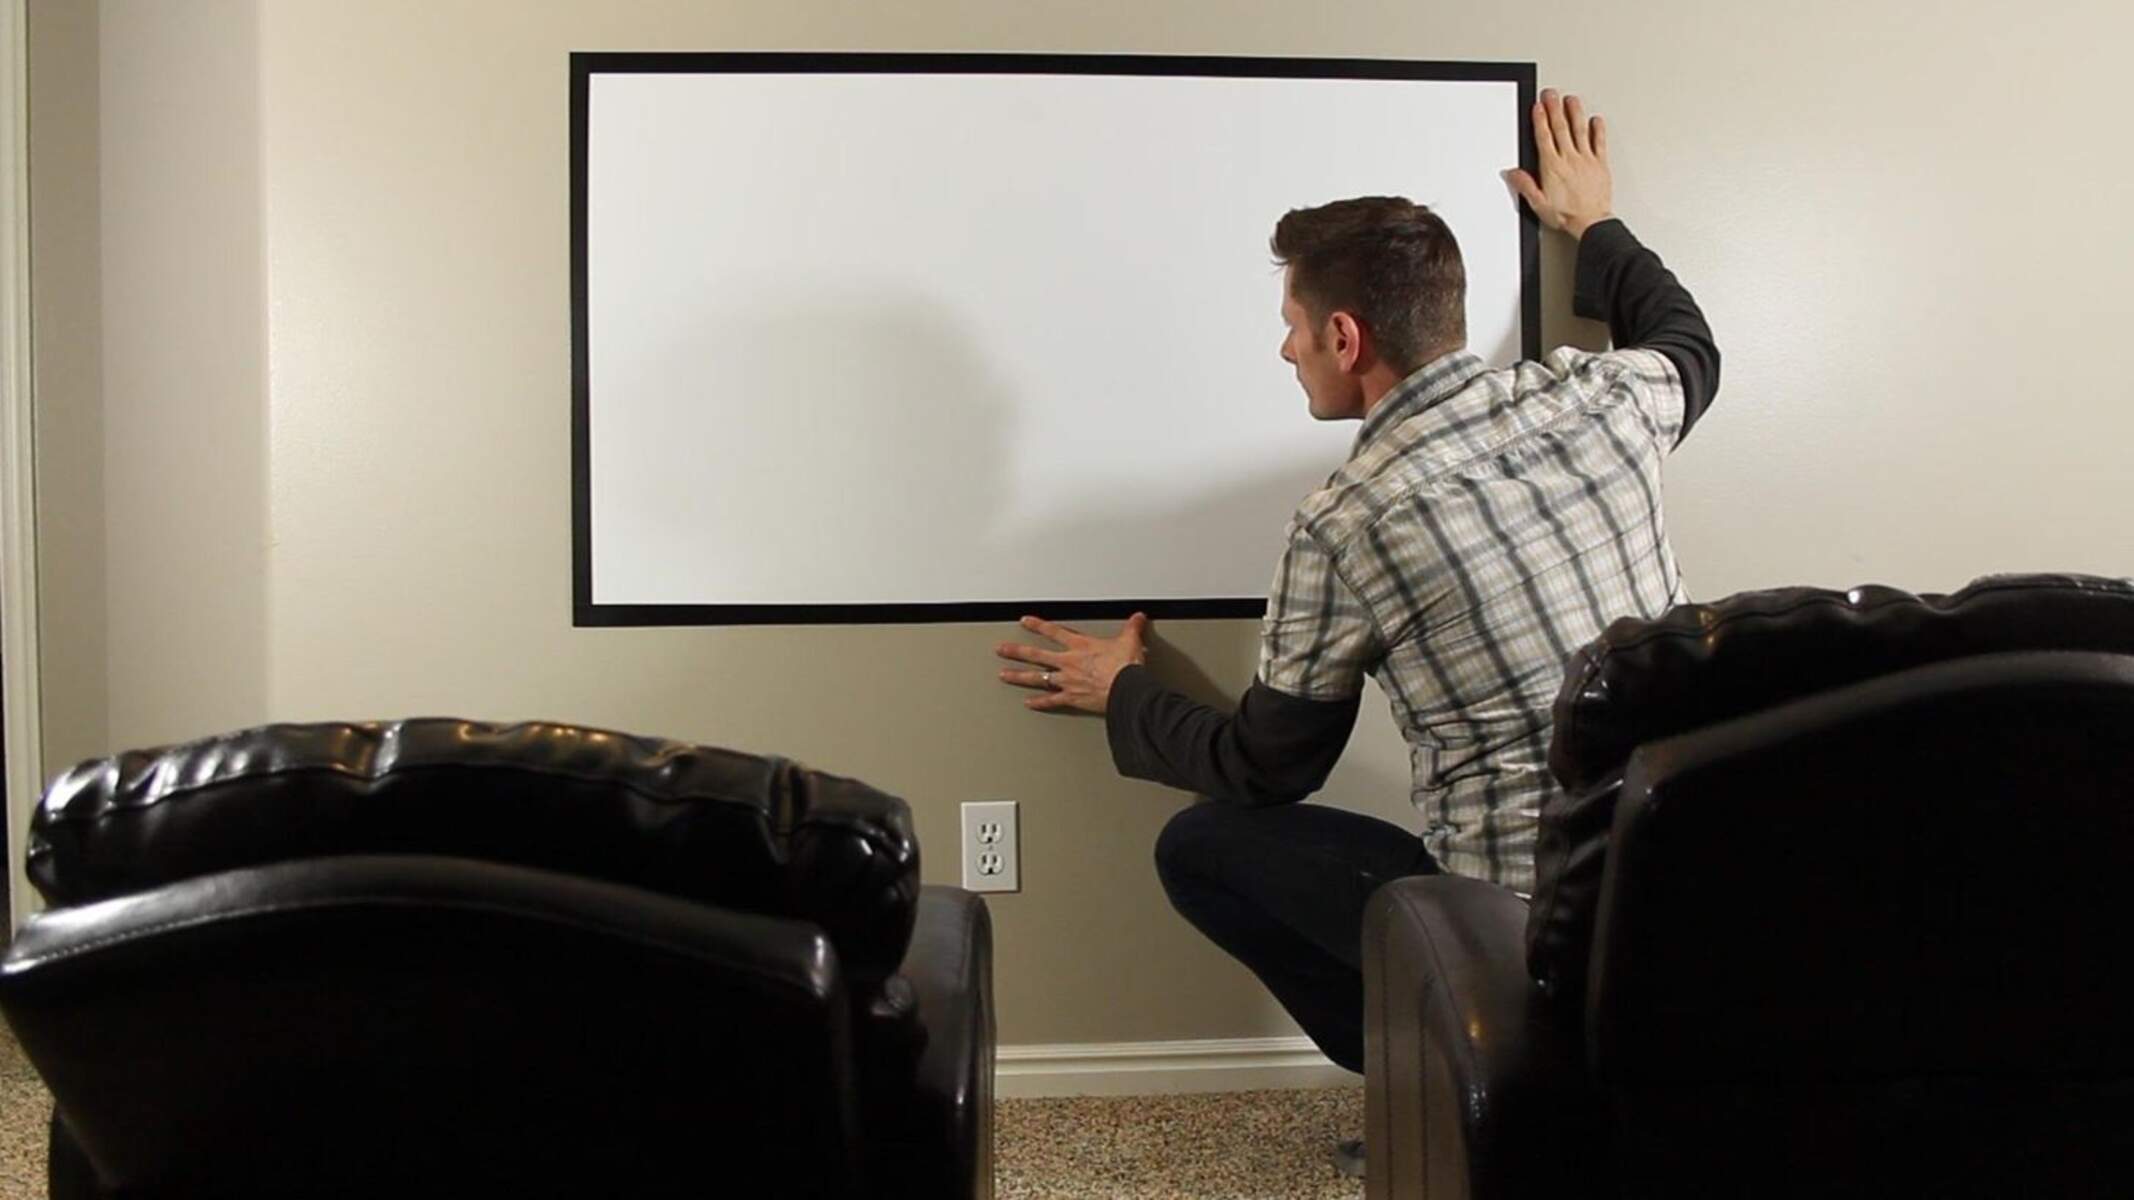
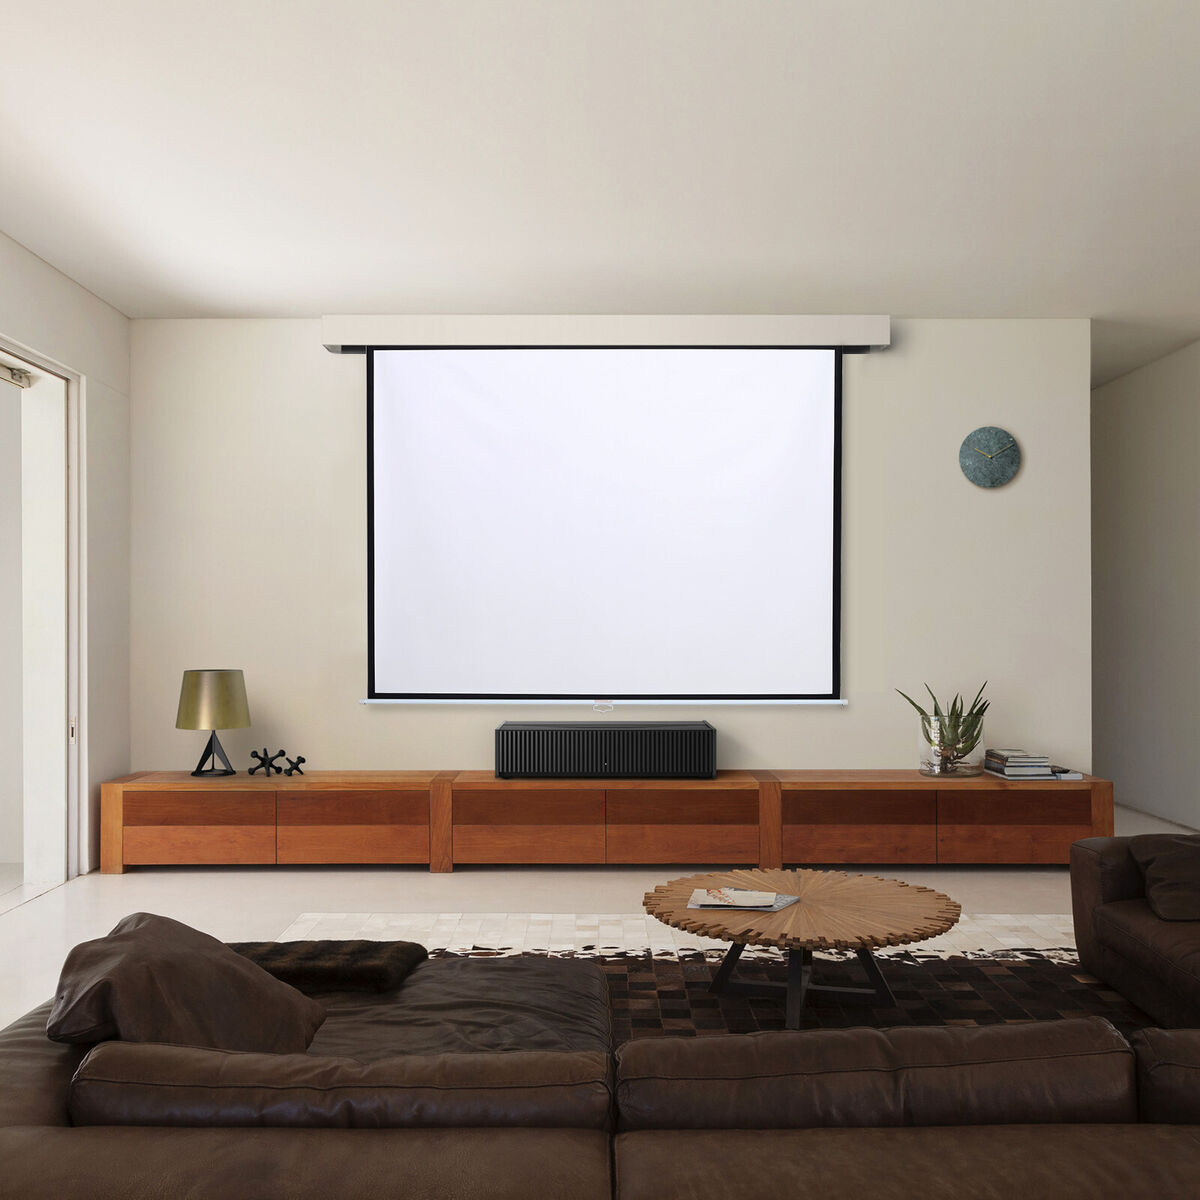
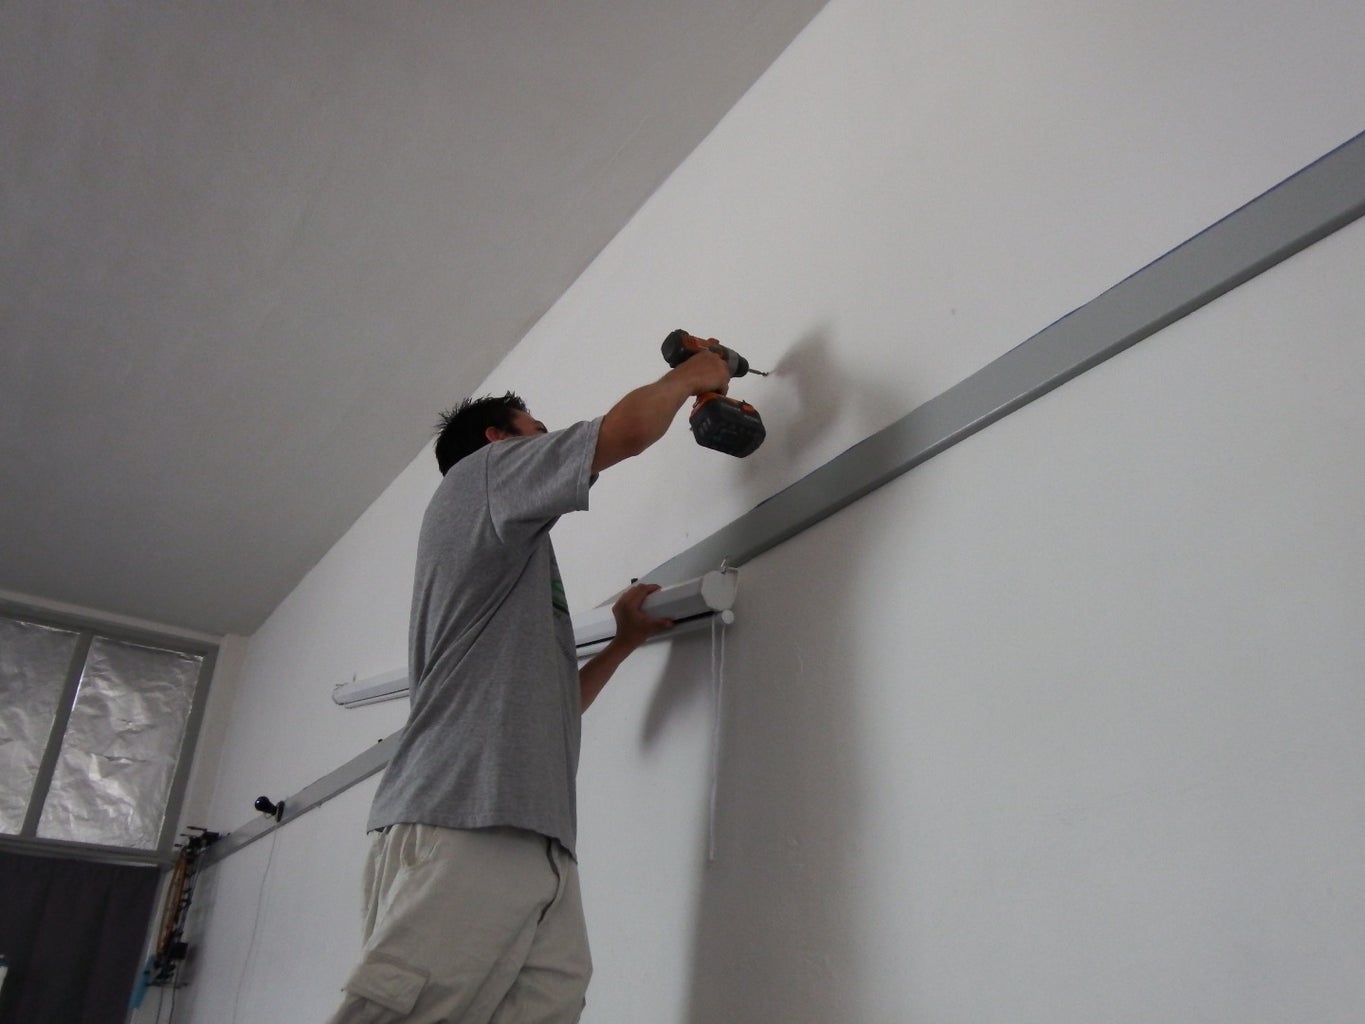
Step 4: Mount the Frame
Mounting the completed projector screen frame is the final step in bringing your DIY project to fruition, allowing you to seamlessly integrate the custom screen into your home entertainment environment. Whether you choose to wall-mount the frame or suspend it from the ceiling, proper installation is essential for achieving a polished and professional look. Follow these comprehensive guidelines to securely mount your projector screen frame:
- Select the Mounting Location: Identify the ideal placement for your projector screen, considering factors such as viewing angles, seating arrangements, and the proximity to your projector. Ensure that the chosen location provides a clear and unobstructed view for optimal viewing pleasure.
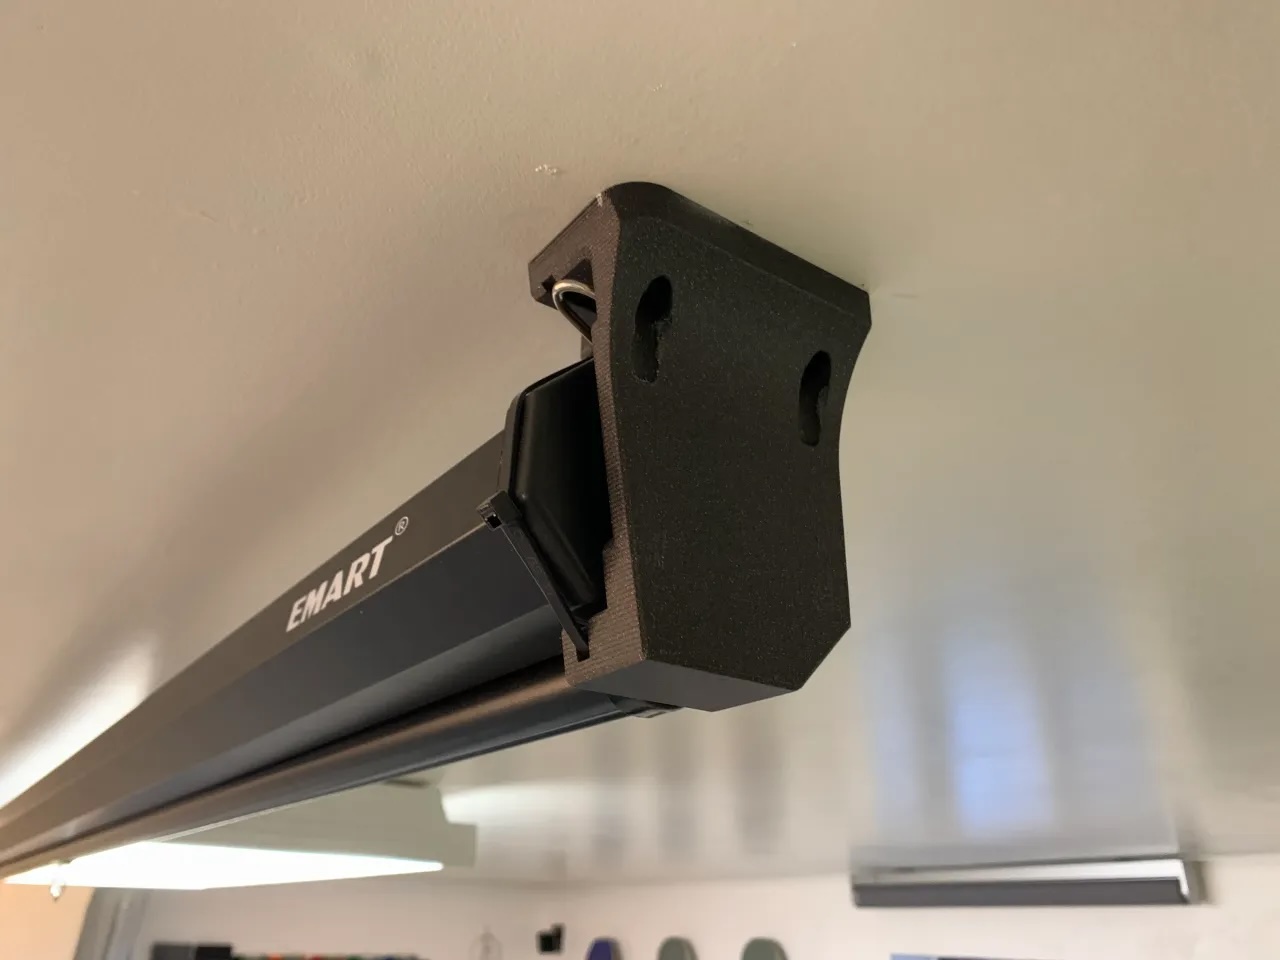
- Install Mounting Hardware: Depending on your chosen location, install the appropriate mounting hardware, such as wall brackets, hooks, or ceiling mounts. Ensure that the hardware is securely anchored and capable of supporting the weight of the frame.
- Verify Alignment: Prior to mounting the frame, use a level to confirm that the mounting surface is perfectly level and aligned. This step is crucial for ensuring that your projector screen hangs straight and displays a distortion-free image.
- Secure the Frame: With the assistance of a partner, carefully lift and position the frame onto the installed mounting hardware. Ensure that the frame is level and securely attached, making any necessary adjustments to achieve the desired positioning.
- Test Stability: Once the frame is mounted, test its stability by gently applying pressure and verifying that it remains securely in place. This step is essential for ensuring the safety and longevity of your projector screen installation.
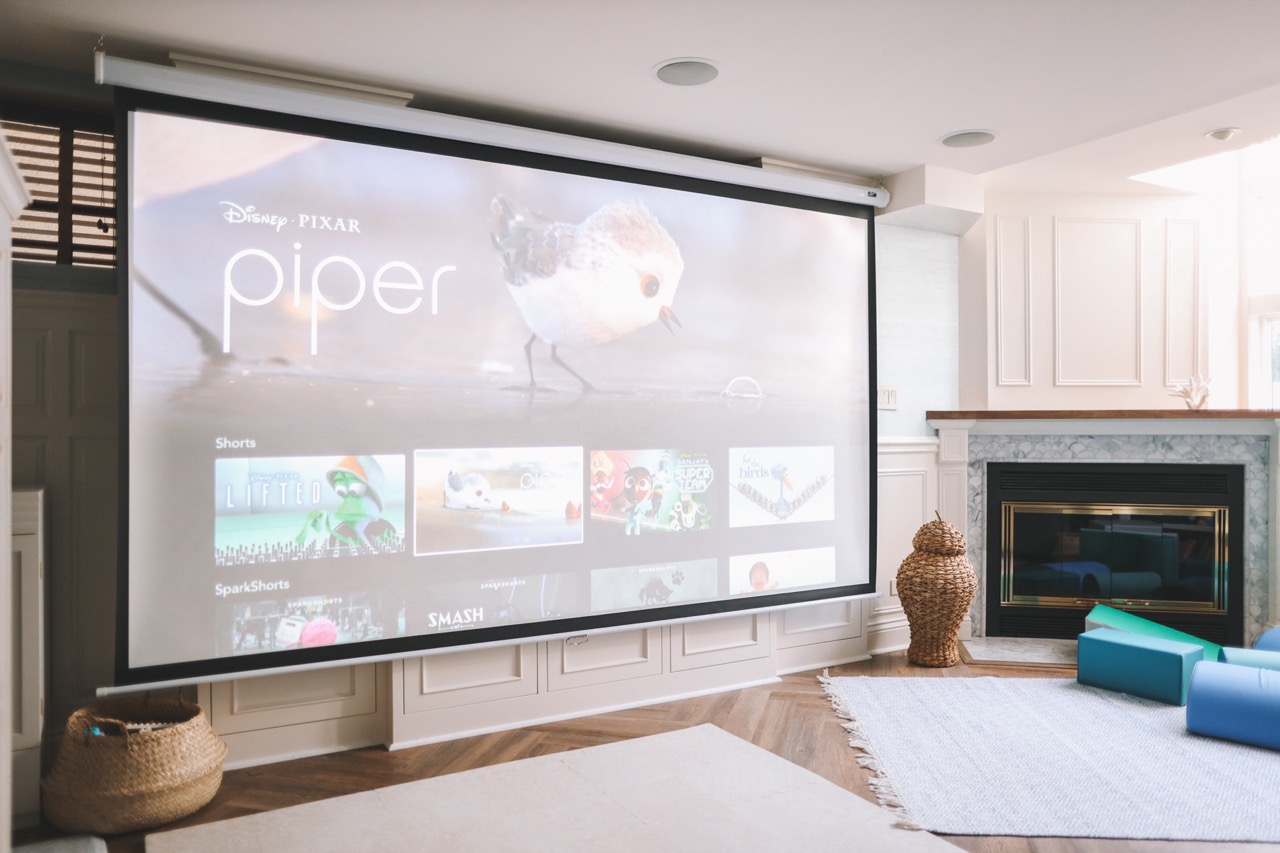
By meticulously mounting the completed frame in the designated location and confirming its stability, you’ll finalize the construction process and unveil your custom projector screen within your home entertainment space. With the frame securely in place, you’re ready to immerse yourself in the captivating visuals and immersive experiences offered by your personalized home theater setup.
Congratulations on completing the construction of your projector screen frame! Whether you’re enjoying movie nights with family and friends or delving into the latest blockbuster releases, your custom screen will elevate your viewing experience to new heights. With the right materials, precise construction, and attention to detail, you’ve crafted a high-quality projector screen that complements your home entertainment system and reflects your unique style and preferences.
Embrace the immersive world of home entertainment and relish the cinematic magic brought to life by your custom projector screen. Now, sit back, relax, and enjoy the show!
Conclusion
Congratulations on embarking on the journey of creating your very own projector screen frame! By following the step-by-step process outlined in this guide, you’ve gained the knowledge and skills to construct a custom screen that enhances your home entertainment experience. From selecting the finest materials to meticulously assembling and mounting the frame, you’ve crafted a personalized centerpiece for immersive movie nights, gaming adventures, and captivating visual presentations.
As you bask in the vibrant imagery and cinematic splendor brought to life by your DIY projector screen, remember that the possibilities for enjoyment and creativity are endless. Whether you’re delving into the latest blockbuster releases, hosting memorable movie marathons, or showcasing captivating visuals for presentations, your custom screen stands as a testament to your ingenuity and passion for home entertainment.
Furthermore, the satisfaction of creating a high-quality projector screen tailored to your preferences is a testament to your dedication to crafting a personalized home theater environment. As you revel in the immersive experiences and shared moments of entertainment with loved ones, your projector screen frame serves as a focal point, elevating the ambiance and visual allure of your viewing space.
Embrace the magic of cinema and the captivating allure of immersive visuals, all made possible by your expertly crafted projector screen frame. Your dedication to precision, quality, and creativity has resulted in a stunning addition to your home entertainment system, offering a gateway to boundless enjoyment and shared experiences.
So, as you settle in for your next movie night or prepare to showcase captivating visuals, take pride in the craftsmanship and artistry that went into building your custom projector screen frame. Let the immersive allure of the big screen captivate your senses and create lasting memories within the comfort of your home theater.
Now, with your custom projector screen frame proudly adorning your home entertainment space, it’s time to sit back, relax, and immerse yourself in the captivating world of cinematic visuals and shared moments of joy. Let the magic unfold, and may your custom projector screen frame continue to be a beacon of creativity and immersive entertainment within your home.
Frequently Asked Questions about How To Build A Projector Screen Frame
Was this page helpful?
At Storables.com, we guarantee accurate and reliable information. Our content, validated by Expert Board Contributors, is crafted following stringent Editorial Policies. We're committed to providing you with well-researched, expert-backed insights for all your informational needs.


0 thoughts on “How To Build A Projector Screen Frame”