Articles
How To Install A Roll Up Garage Door
Modified: December 7, 2023
Learn how to install a roll up garage door with our informative articles. Get step-by-step instructions and expert tips for a successful installation.
(Many of the links in this article redirect to a specific reviewed product. Your purchase of these products through affiliate links helps to generate commission for Storables.com, at no extra cost. Learn more)
Introduction
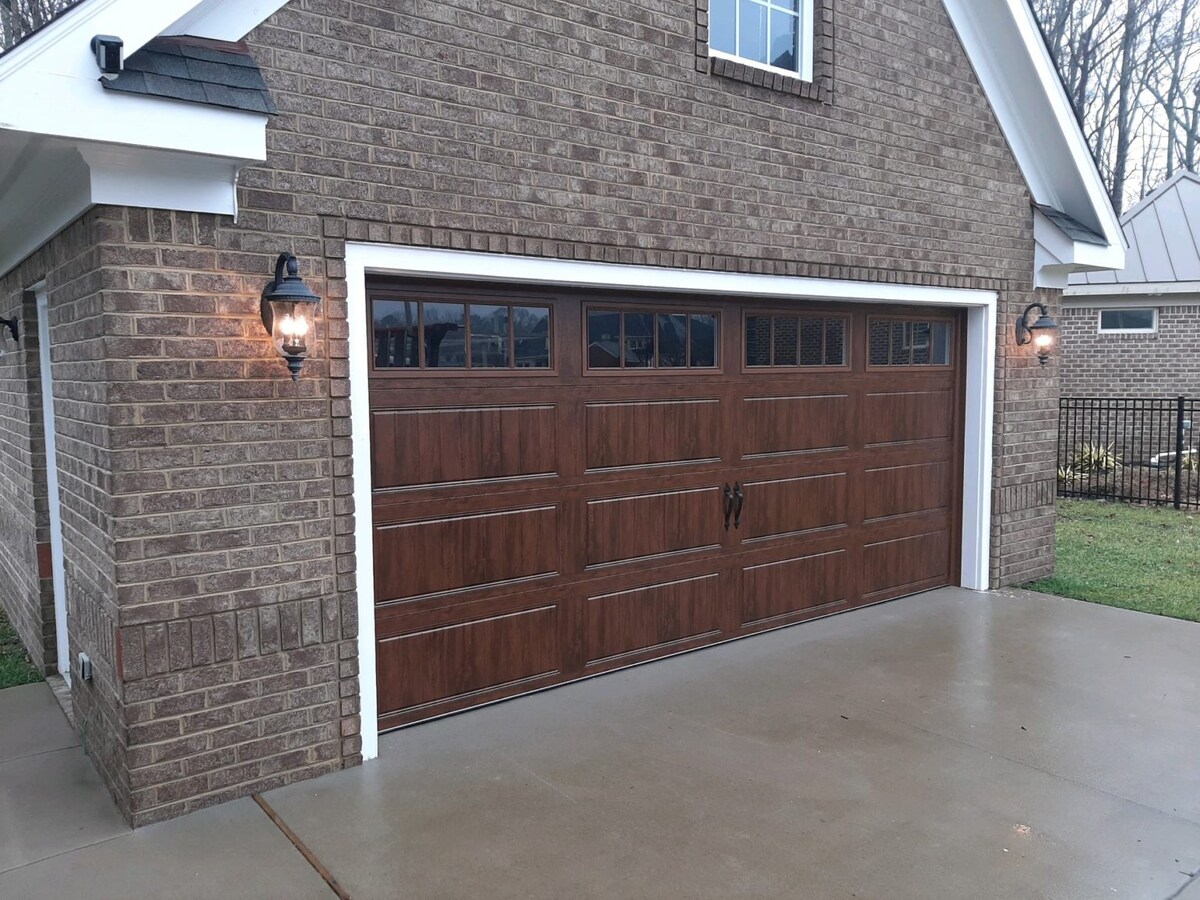
Installing a roll-up garage door can greatly improve the functionality and security of your garage. Whether you are replacing an old door or installing a new one, this comprehensive guide will walk you through the step-by-step process.
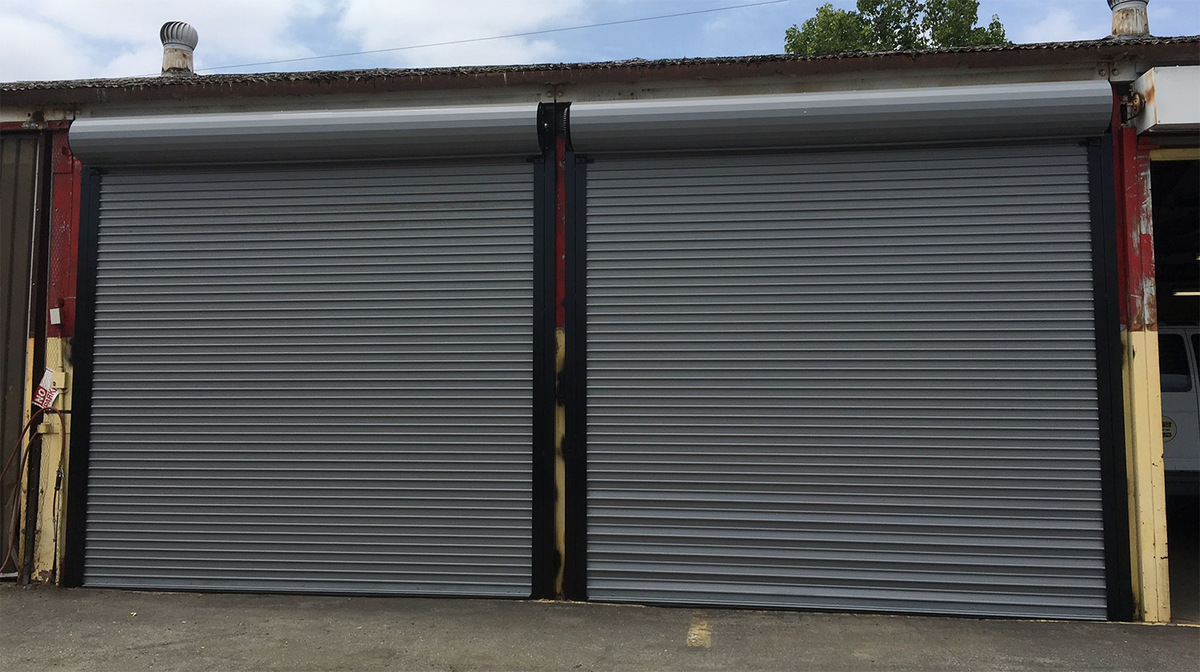
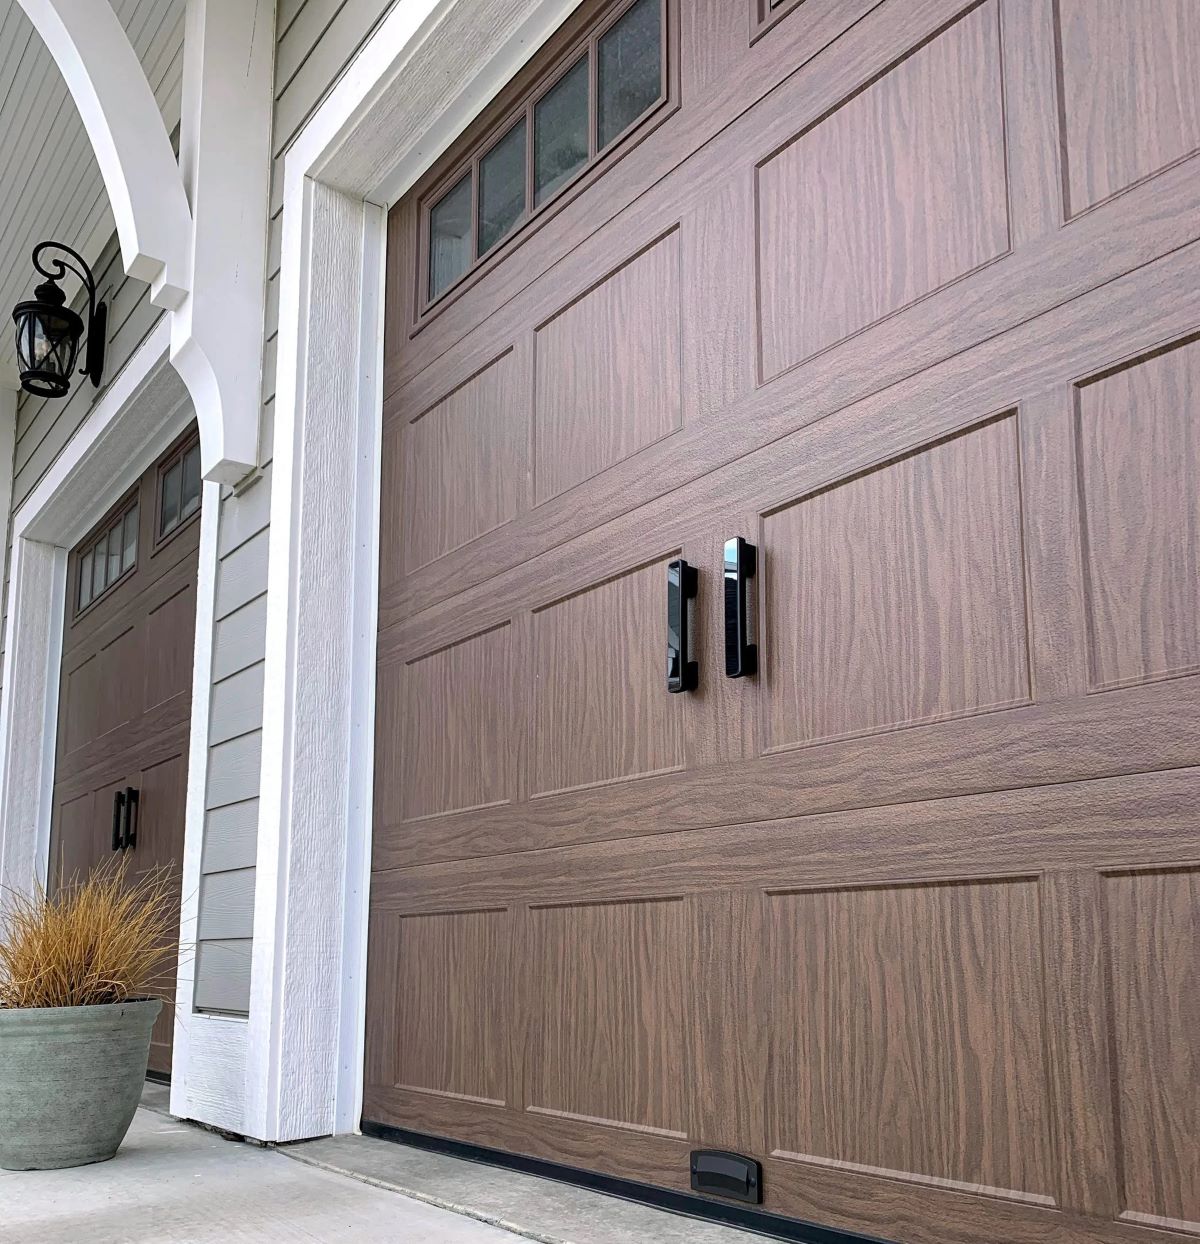
A roll-up garage door is a popular choice for many homeowners due to its space-saving design and durability. It consists of horizontal panels that are connected and roll up vertically when opening. This type of door is typically made of high-quality materials such as steel or aluminum, providing excellent protection against outdoor elements and potential break-ins.
Before you begin the installation process, it’s important to gather all the necessary materials and tools. This will ensure a smooth and efficient installation and prevent any unnecessary delays. In the next section, we will discuss the essential items you’ll need for the installation.
Key Takeaways:
- Installing a roll-up garage door involves gathering materials, preparing the opening, assembling tracks, installing the spring system, and testing the door’s operation. Prioritize safety and enjoy the convenience and security it brings to your garage.
- A properly installed roll-up garage door offers space-saving design, durability, and convenience. Regular maintenance is essential to prolong its lifespan and prevent issues. Always refer to the manufacturer’s guidelines for safe and successful installation.
Read more: How To Insulate A Roll Up Garage Door
Step 1: Gather Materials and Tools
Before you start installing a roll-up garage door, you’ll need to gather all the necessary materials and tools. Having everything prepared in advance will save you time and frustration during the installation process. Here is a list of the essential items you’ll need:
- Roll-up garage door kit: This includes the door panels, tracks, rollers, hinges, and all necessary hardware.
- Measuring tape: You’ll need this to accurately measure the dimensions of your garage opening.
- Drill: A drill with appropriate drill bits will be used to attach the tracks and other components to the door frame.
- Screwdriver: Both a flathead and a Phillips head screwdriver may be needed for different parts of the installation.
- Level: To ensure a straight and properly aligned installation, a level is essential.
- Wrench: A wrench will be needed to tighten nuts and bolts during the installation process.
- Ladder: Depending on the height of your garage, a ladder may be required for accessing and installing the door components.
- Safety goggles and gloves: It’s important to protect your eyes and hands while working with tools and materials.
Once you have gathered all the materials and tools, ensure that they are organized and easily accessible during the installation process. This will help you work efficiently and complete the installation without any unnecessary interruptions.
Now that you have everything ready, it’s time to move on to the next step: preparing the opening for the roll-up garage door installation. This is a crucial step that will ensure a smooth and secure fit for the door panels.
Step 2: Prepare the Opening
Before you can install a roll-up garage door, you’ll need to prepare the opening for the installation. This involves measuring the dimensions of the opening, ensuring it is level, and making any necessary adjustments to accommodate the door tracks and panels. Here’s how you can prepare the opening:
- Measure the opening: Use a measuring tape to determine the width and height of the garage door opening. This will help you choose the correct size door and ensure a proper fit.
- Check for levelness: Place a level on the floor and side walls of the opening to ensure that they are level. If you notice any unevenness, you may need to make adjustments before proceeding with the installation.
- Clear the area: Remove any obstructions or debris from the opening. This includes items such as old door tracks, nails, or any other objects that may interfere with the installation process.
- Install weather stripping: To prevent drafts and ensure a tight seal, consider installing weather stripping around the edges of the opening. This will help to improve energy efficiency and protect your garage from the elements.
Once you have completed these preparation steps, your garage door opening will be ready for the installation of the door tracks and panels. This brings us to the next step: assembling the tracks and attaching them to the door frame.
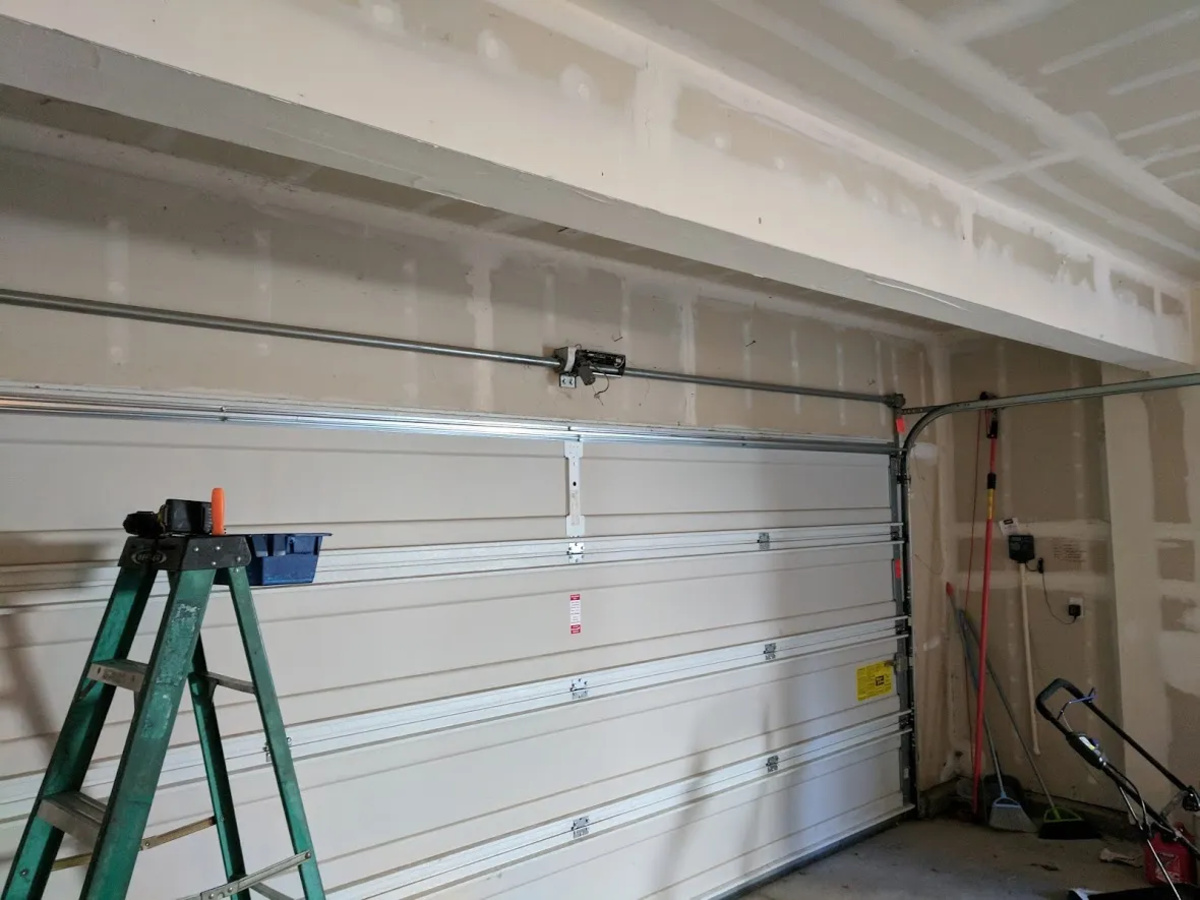
Step 3: Assemble the Tracks and Attach to Door Frame
Now that you have prepared the opening for the roll-up garage door, it’s time to assemble the tracks and attach them to the door frame. The tracks are crucial components that guide the door panels as they roll up and down. Here’s how you can complete this step:
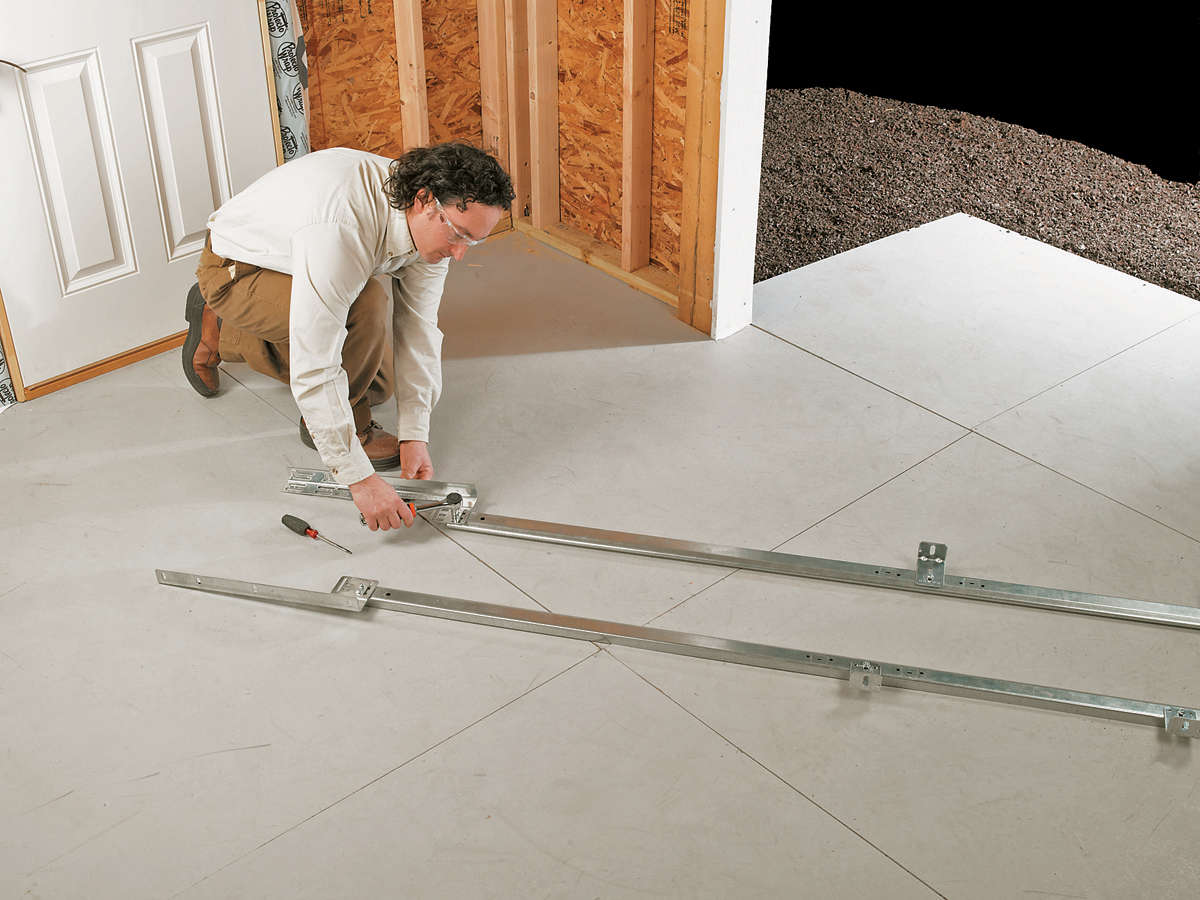
- Unpack the tracks: Remove the tracks from the packaging and ensure that you have all the necessary pieces, including vertical tracks and horizontal tracks.
- Assemble the vertical tracks: Align the sections of the vertical tracks according to the manufacturer’s instructions. Use the provided hardware, such as brackets and screws, to securely connect the sections together.
- Attach the vertical tracks: Position the assembled vertical tracks on both sides of the garage door opening. Use a level to ensure they are plumb and then mark the locations for attaching the tracks to the door frame.
- Secure the vertical tracks: Use a drill and the appropriate screws to attach the vertical tracks to the door frame. Make sure they are securely fastened and level with each other.
- Install the horizontal tracks: Attach the horizontal tracks to the ceiling of the garage. Again, use a level to ensure they are straight and then securely fasten them using the provided hardware.
By properly assembling and attaching the tracks to the door frame, you are setting the foundation for a smooth and reliable operation of the roll-up garage door. The next step will involve the installation of the spring system, which helps to counterbalance the weight of the door panels. Stay tuned!
Step 4: Install the Spring System
Installing the spring system is a crucial step in the roll-up garage door installation process. The spring system helps to counterbalance the weight of the door panels, making it easier to open and close the door. Here’s how you can install the spring system:
- Identify the type of spring system: There are two common types of spring systems used for roll-up garage doors: torsion springs and extension springs. Identify which type of spring system your door requires.
- Install torsion springs: If your door uses torsion springs, follow the manufacturer’s instructions to install them. This may involve winding the springs onto a shaft that is placed above the door and attaching the cables to the bottom brackets.
- Install extension springs: For doors with extension springs, attach them to the vertical tracks on both sides of the door. Ensure that the springs are securely fastened and properly tensioned.
- Ensure proper tension: Proper tension is essential for the safe operation of the garage door. Test the tension of the springs by manually opening and closing the door a few times. Adjust the tension if necessary, following the manufacturer’s guidelines.
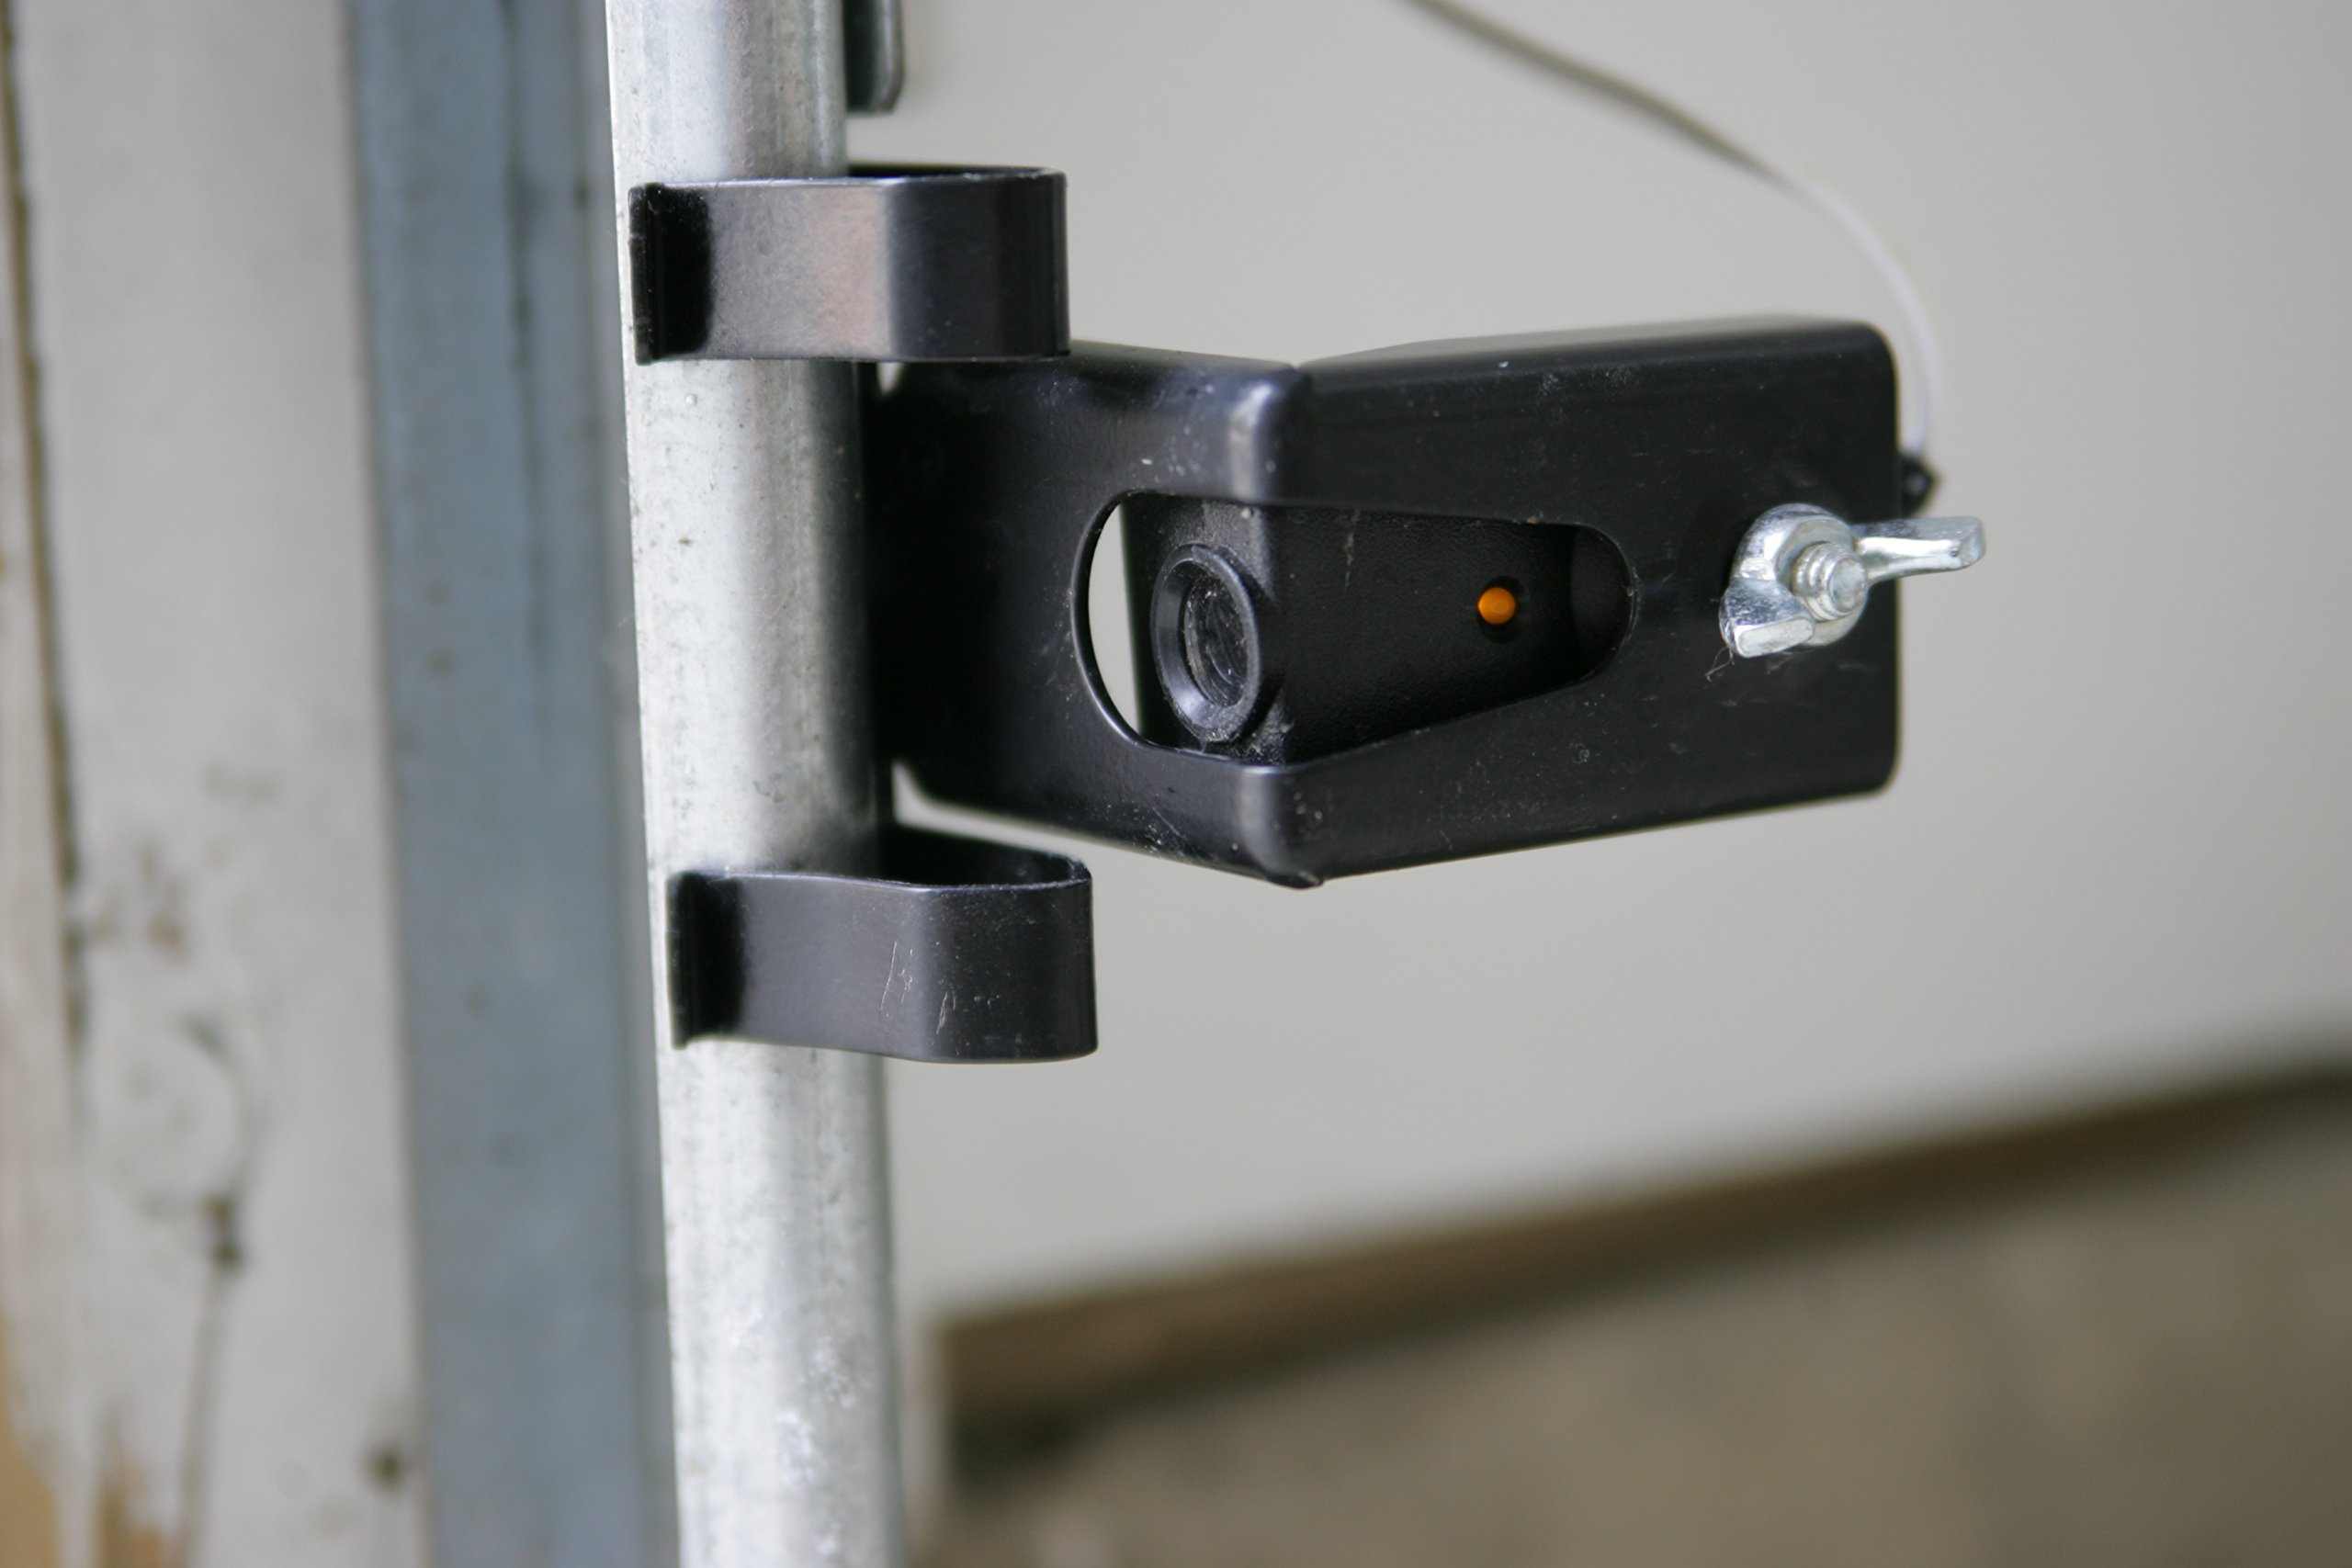
- Install safety cables: For extra safety, consider installing safety cables along with extension springs. These cables act as a backup in case the springs break, preventing the door from falling suddenly.
Installing the spring system can be complex and dangerous if not done correctly. If you’re unsure about the installation process, it’s recommended to seek professional assistance. Once the spring system is installed and properly tensioned, you’re ready to move on to the next step: installing the rollers and attaching the door panels.
Before installing a roll-up garage door, make sure to carefully measure the opening to ensure the door will fit properly. It’s also important to follow the manufacturer’s instructions and use the recommended tools for installation.
Read more: How To Adjust Roll Up Garage Door
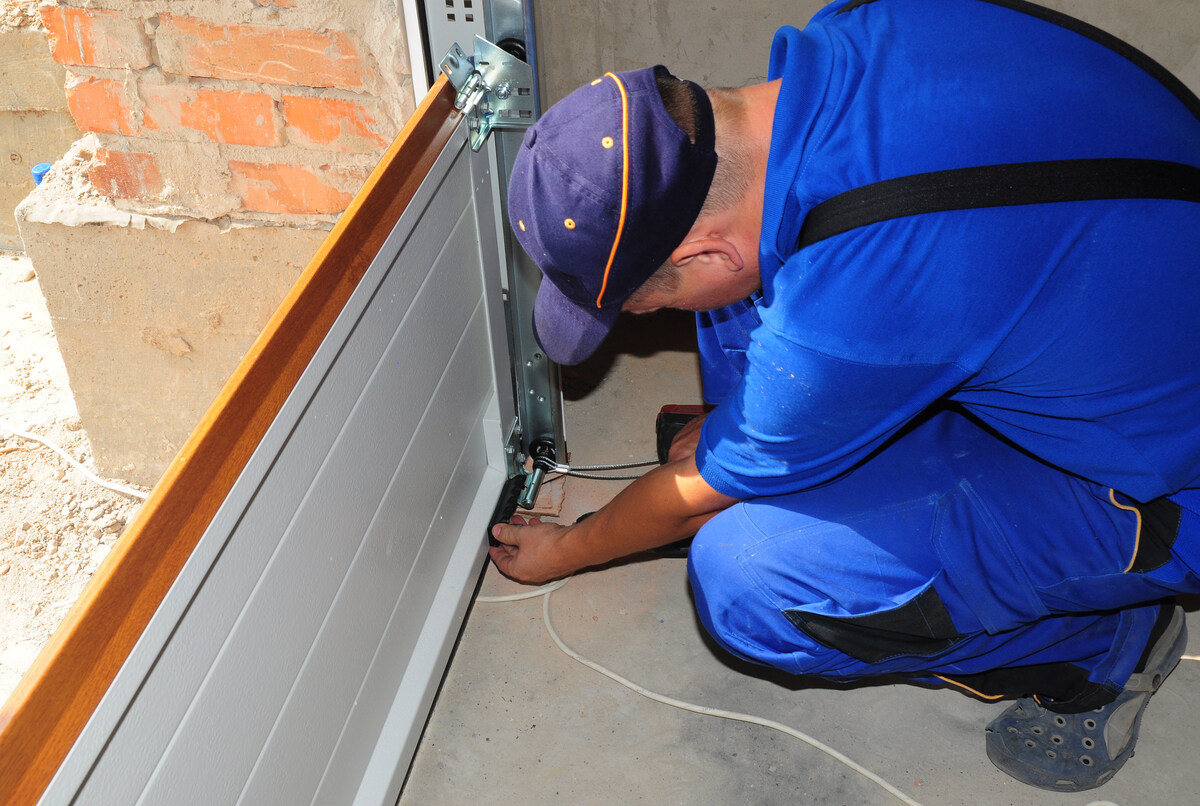
Step 5: Install the Rollers and Attach the Door Panels
With the spring system in place, it’s time to install the rollers and attach the door panels to the roll-up garage door. The rollers allow the door panels to move smoothly along the tracks, ensuring easy operation. Here’s how you can complete this step:
- Prepare the rollers: Inspect the rollers to ensure they are in good condition. Apply lubricant to the rollers to promote smooth movement.
- Attach the rollers to the door panels: Depending on the design of your door, you may need to attach the rollers to the bottom of each door panel. Use the provided hardware to securely fasten the rollers in place.
- Insert the rollers into the vertical tracks: With the rollers attached to the door panels, carefully lift each panel and insert the rollers into the vertical tracks on each side of the opening. Ensure that the rollers are properly seated within the tracks.
- Connect the door panels: If your door consists of multiple panels, connect them together using the provided hinges. Align the panels properly and attach the hinges securely.
- Test the door panels: With the rollers and panels in place, manually open and close the door to ensure that it operates smoothly. Check for any obstructions or alignment issues and make adjustments as necessary.
Installing the rollers and attaching the door panels requires careful attention to detail to ensure proper alignment and smooth operation. Take your time during this step to ensure everything is securely connected and functioning as it should. Once the rollers and panels are installed, you’re ready to move on to the next step: installing the bottom seal.
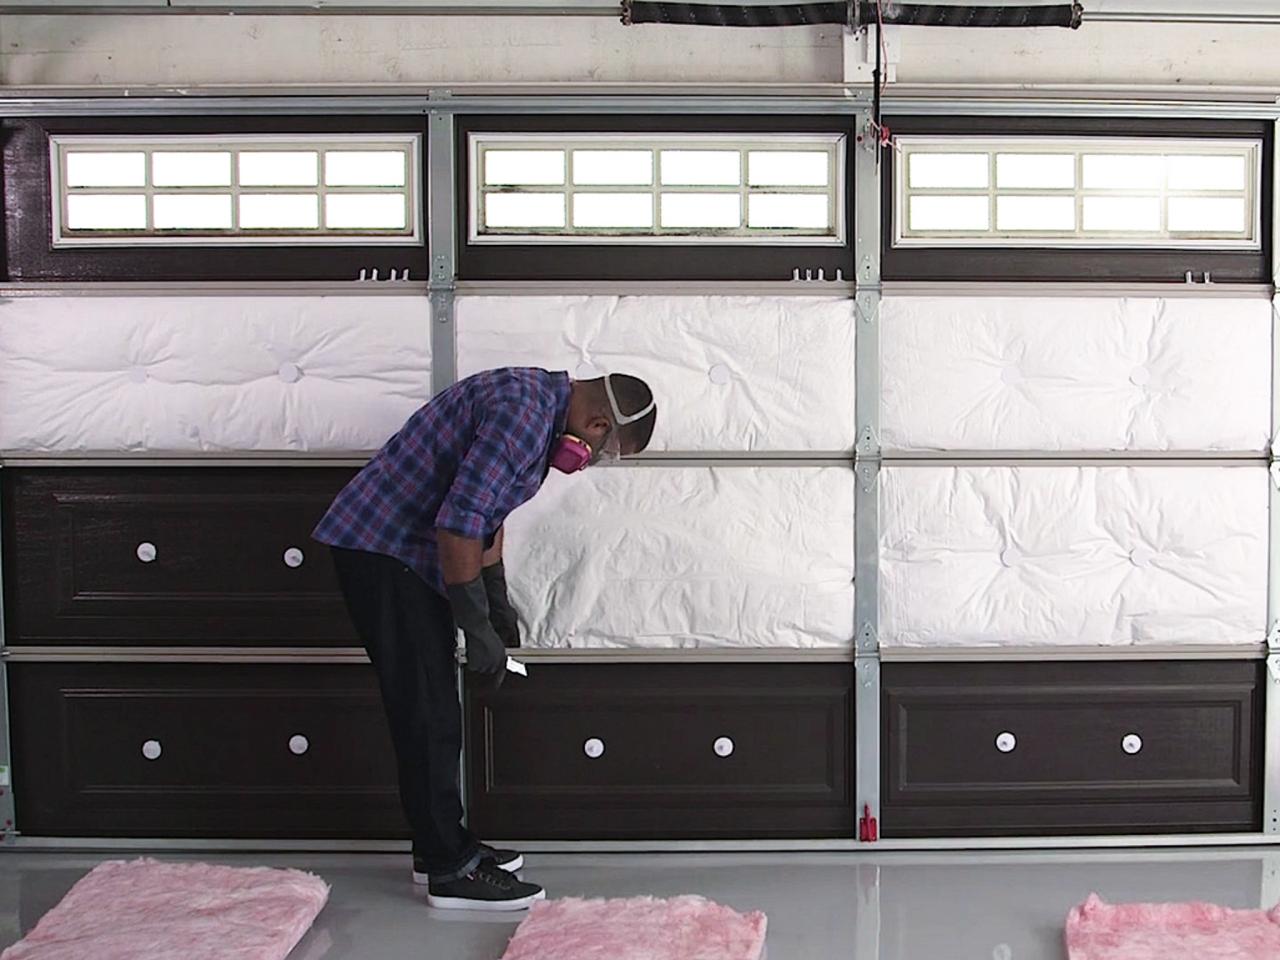
Step 6: Install the Bottom Seal
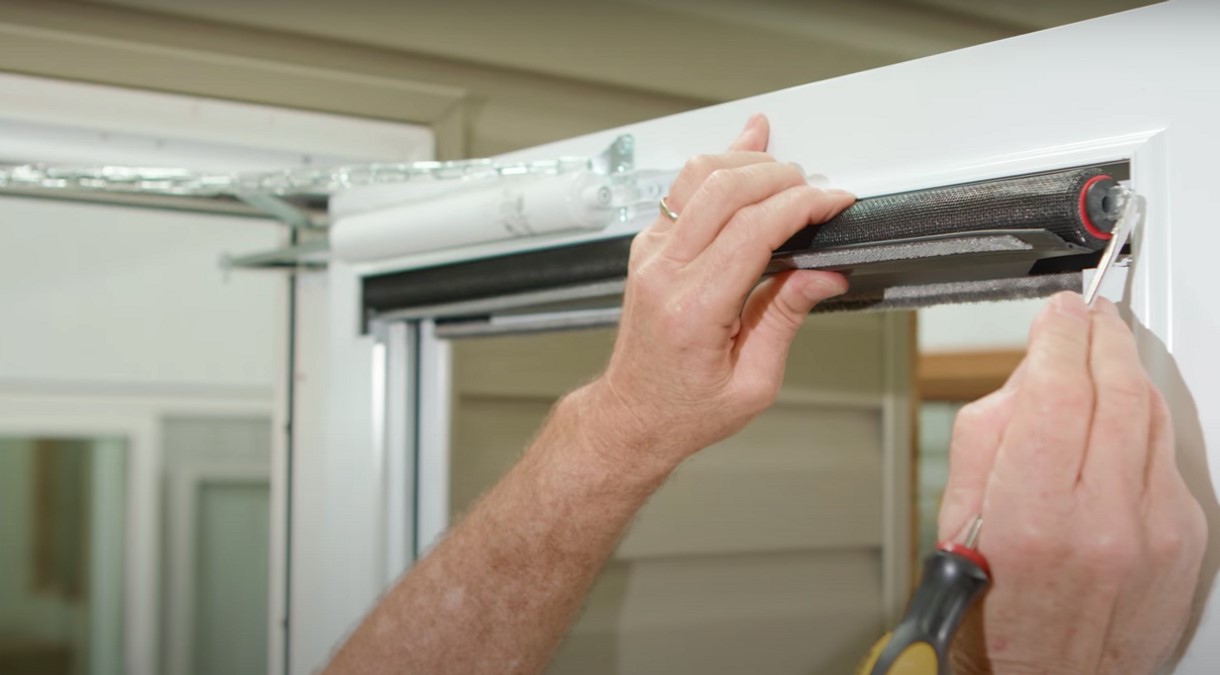
The bottom seal of a roll-up garage door plays a crucial role in preventing drafts, debris, and pests from entering the garage. It also helps to improve energy efficiency and provide a better seal between the door and the floor. Here’s how you can install the bottom seal:
- Measure the length: Use a measuring tape to determine the length of the bottom seal that you’ll need. Measure the width of the garage door opening and add a few inches for overlap.
- Cut the seal: Using scissors or a utility knife, cut the bottom seal to the measured length. Ensure a straight edge for a clean and precise installation.
- Attach the seal to the door: With the door in the closed position, align the bottom edge of the seal with the bottom edge of the door. Use the provided screws or adhesive to fasten the seal to the door panel securely.
- Ensure proper seal: Close the door and check for any gaps or areas where the seal is not making full contact with the floor. Make any necessary adjustments to ensure a tight seal along the entire width of the door.
Installing the bottom seal is a straightforward process that can greatly enhance the functionality and efficiency of your roll-up garage door. It provides an extra layer of protection against the elements and helps to keep your garage clean and insulated. With the bottom seal installed, you are one step closer to completing the installation. The next step will involve attaching the operator bracket and motor for automated operation. Stay tuned!
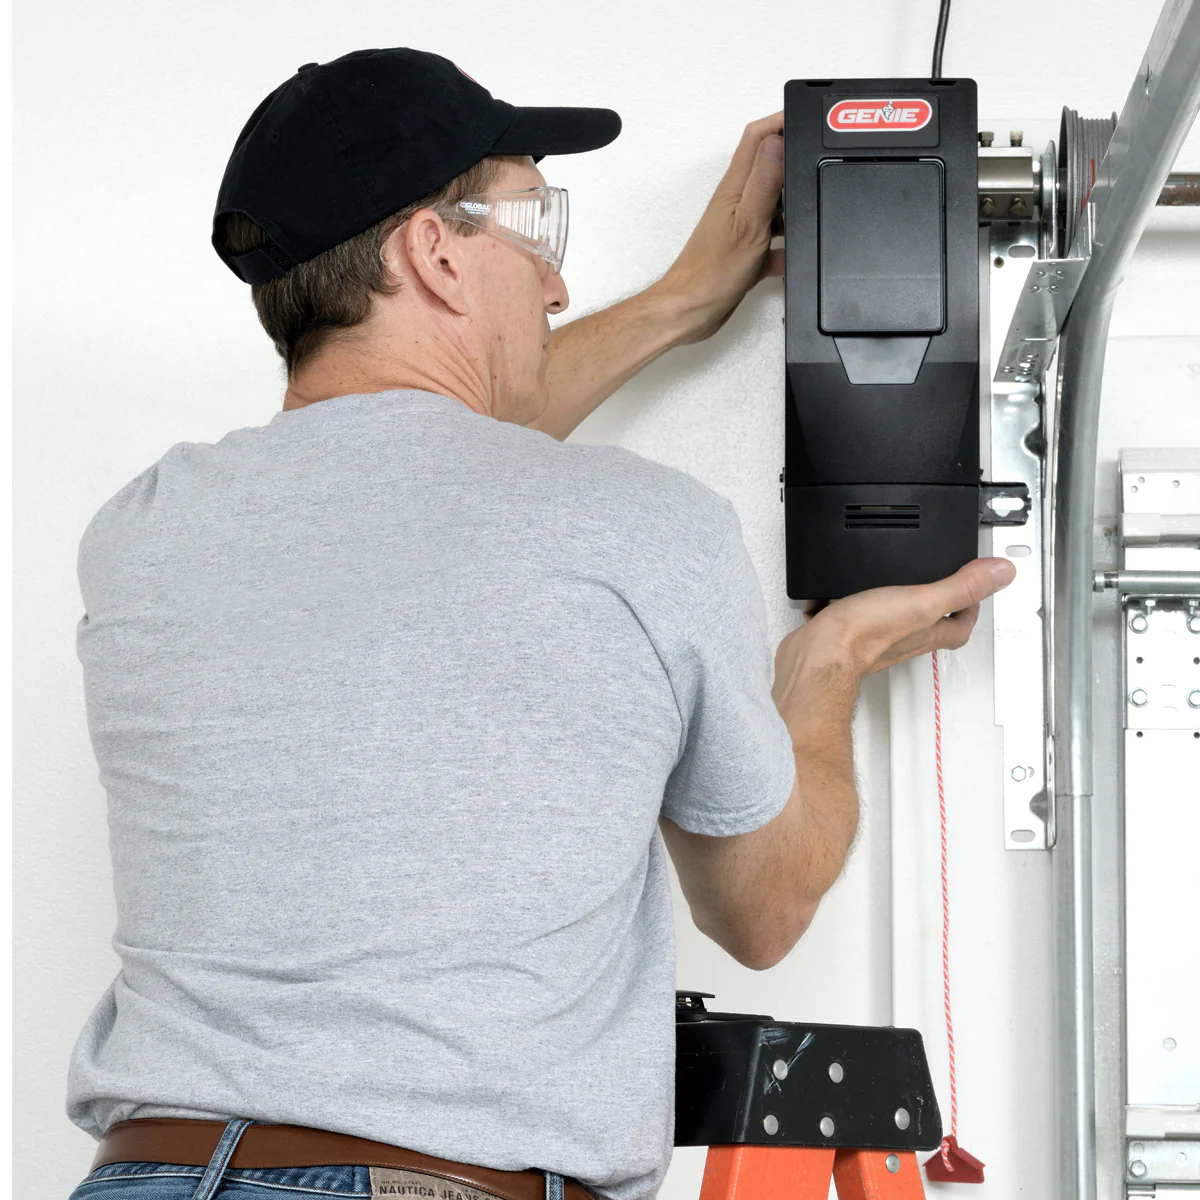
Step 7: Attach the Operator Bracket and Motor
Attaching the operator bracket and motor to your roll-up garage door will allow for convenient automated operation. With the right equipment and careful installation, you can easily open and close your garage door with the push of a button. Here’s how to complete this step:
- Choose the right operator: Select a garage door operator that is compatible with your roll-up door’s size and weight. Make sure it comes with the necessary accessories, including an operator bracket and motor.
- Attach the operator bracket: Position the operator bracket on the ceiling above the center of the door. Ensure it is securely fastened using the appropriate screws or bolts according to the manufacturer’s guidelines.
- Mount the motor: Assemble the motor according to the manufacturer’s instructions. Once assembled, mount it securely on the operator bracket, making sure it is level and aligned properly.
- Connect the motor to the door: Attach the motor’s arm to the top of the garage door. Follow the instructions provided with the operator to ensure proper installation. Make any necessary adjustments to ensure a secure connection.
- Wire the motor: Connect the wiring from the motor to a power source according to the manufacturer’s instructions. It’s essential to follow electrical safety guidelines and, if needed, consult a professional electrician to ensure proper wiring.
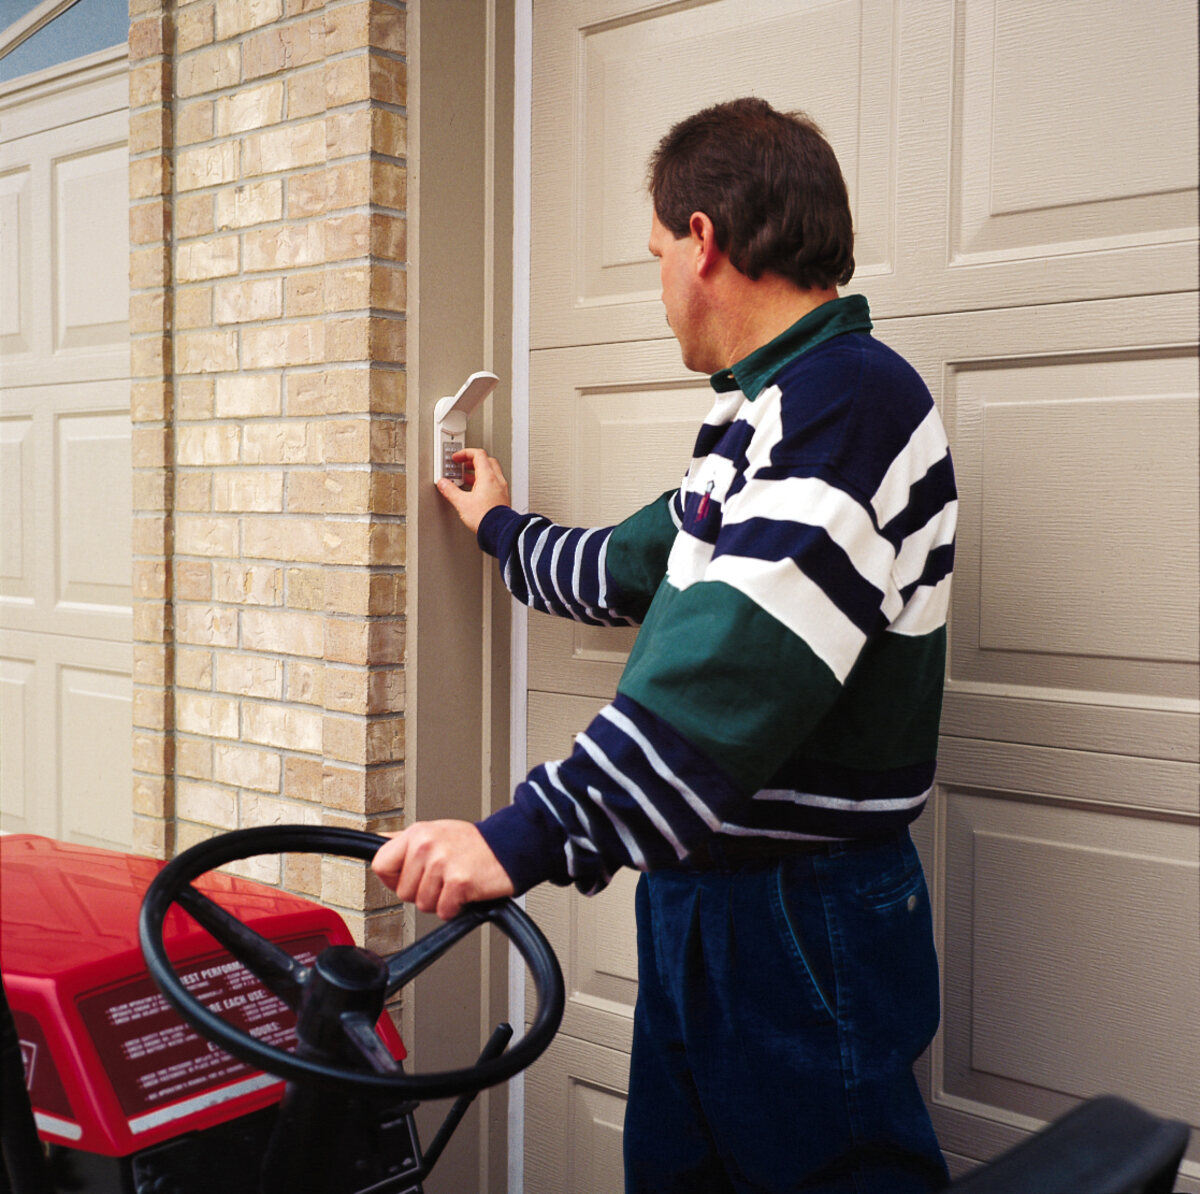
- Test the automated operation: With the motor and operator bracket securely in place, test the automated operation of the garage door. Use the remote control or wall-mounted switch to open and close the door multiple times, ensuring smooth and reliable operation.
Attaching the operator bracket and motor to your roll-up garage door will provide convenience and ease of use. Ensure that the motor is properly mounted, wired, and connected to the door for safe and efficient operation. With the motor installed, you’re now ready for the final step: testing the door’s operation and making any necessary adjustments for optimal performance.
Step 8: Test the Door Operation
After completing the installation of the roll-up garage door components, it’s crucial to thoroughly test the door’s operation to ensure its functionality and safety. Here’s how you can test the door operation:
- Check for proper alignment: Inspect the door panels and tracks to ensure they are properly aligned. Ensure that the rollers move smoothly along the tracks without any obstructions or resistance.
- Test manual operation: Begin by testing the manual operation of the door. Lift the door manually and check if it opens and closes smoothly without any sticking or jerking. Pay attention to any unusual noises or vibrations.
- Test automated operation: If you have installed an automated operator, test the door’s operation using the remote control or wall-mounted switch. Open and close the door multiple times to ensure smooth and reliable operation.
- Observe safety features: Pay attention to the door’s safety features, such as the reversal mechanism. Place an object, like a block of wood, in the path of the closing door and ensure that it automatically stops and reverses when it comes into contact with the object.
- Make necessary adjustments: If any issues or abnormalities are detected during testing, make necessary adjustments to ensure proper operation. This may include lubricating the tracks and rollers, tightening loose hardware, or adjusting the tension of the springs.
Testing the door operation ensures that all components are functioning as intended and that the door operates safely and smoothly. It provides an opportunity to identify and address any potential issues before they become major problems. Once you have thoroughly tested the door’s operation and made any necessary adjustments, you can confidently use your newly installed roll-up garage door.
Congratulations! You have successfully completed the installation of your roll-up garage door. Enjoy the convenience, security, and functionality that it brings to your garage space.
Note: The installation process may vary depending on the specific garage door model and manufacturer’s instructions. It’s important to refer to the manufacturer’s guidelines and seek professional assistance if needed.
Read more: What Is A Rolling Code Garage Door Opener
Conclusion
Installing a roll-up garage door is a rewarding project that enhances the functionality and security of your garage. By following the step-by-step process outlined in this guide, you can successfully install a roll-up garage door and enjoy the convenience it provides. From gathering the necessary materials and tools to testing the door’s operation, each step is crucial in ensuring a smooth and reliable installation.
Throughout the installation process, it’s important to prioritize safety. Wear protective gear, such as safety goggles and gloves, and take necessary precautions while working with tools and heavy components. If you’re unsure about any aspect of the installation, don’t hesitate to consult professional assistance.
A properly installed roll-up garage door offers several benefits. It saves space with its vertical opening and closing mechanism, allowing you to maximize the available space in your garage. It provides excellent protection against outdoor elements, increasing the durability and longevity of your garage and its contents. Additionally, an automated operator makes it convenient to open and close the door with the push of a button.
Regular maintenance is essential to keep your roll-up garage door in optimal condition. Lubricate the tracks and rollers periodically, check for any loose hardware, and ensure the door remains balanced and aligned. This will prolong the lifespan of your garage door and prevent unnecessary issues.
Remember, the installation process may vary depending on the specific garage door model and manufacturer’s instructions. Always refer to the manufacturer’s guidelines and instructions to ensure a safe and successful installation.
By following this comprehensive guide, you can confidently install a roll-up garage door and enjoy the benefits it brings. Enjoy your newly installed door and the enhanced functionality it provides to your garage space!
Frequently Asked Questions about How To Install A Roll Up Garage Door
Was this page helpful?
At Storables.com, we guarantee accurate and reliable information. Our content, validated by Expert Board Contributors, is crafted following stringent Editorial Policies. We're committed to providing you with well-researched, expert-backed insights for all your informational needs.


0 thoughts on “How To Install A Roll Up Garage Door”