Articles
How To Make Hooked Rugs
Modified: May 6, 2024
Learn how to make beautiful hooked rugs with our step-by-step articles. Discover the art of rug making and create your own cozy and unique designs.
(Many of the links in this article redirect to a specific reviewed product. Your purchase of these products through affiliate links helps to generate commission for Storables.com, at no extra cost. Learn more)
Introduction
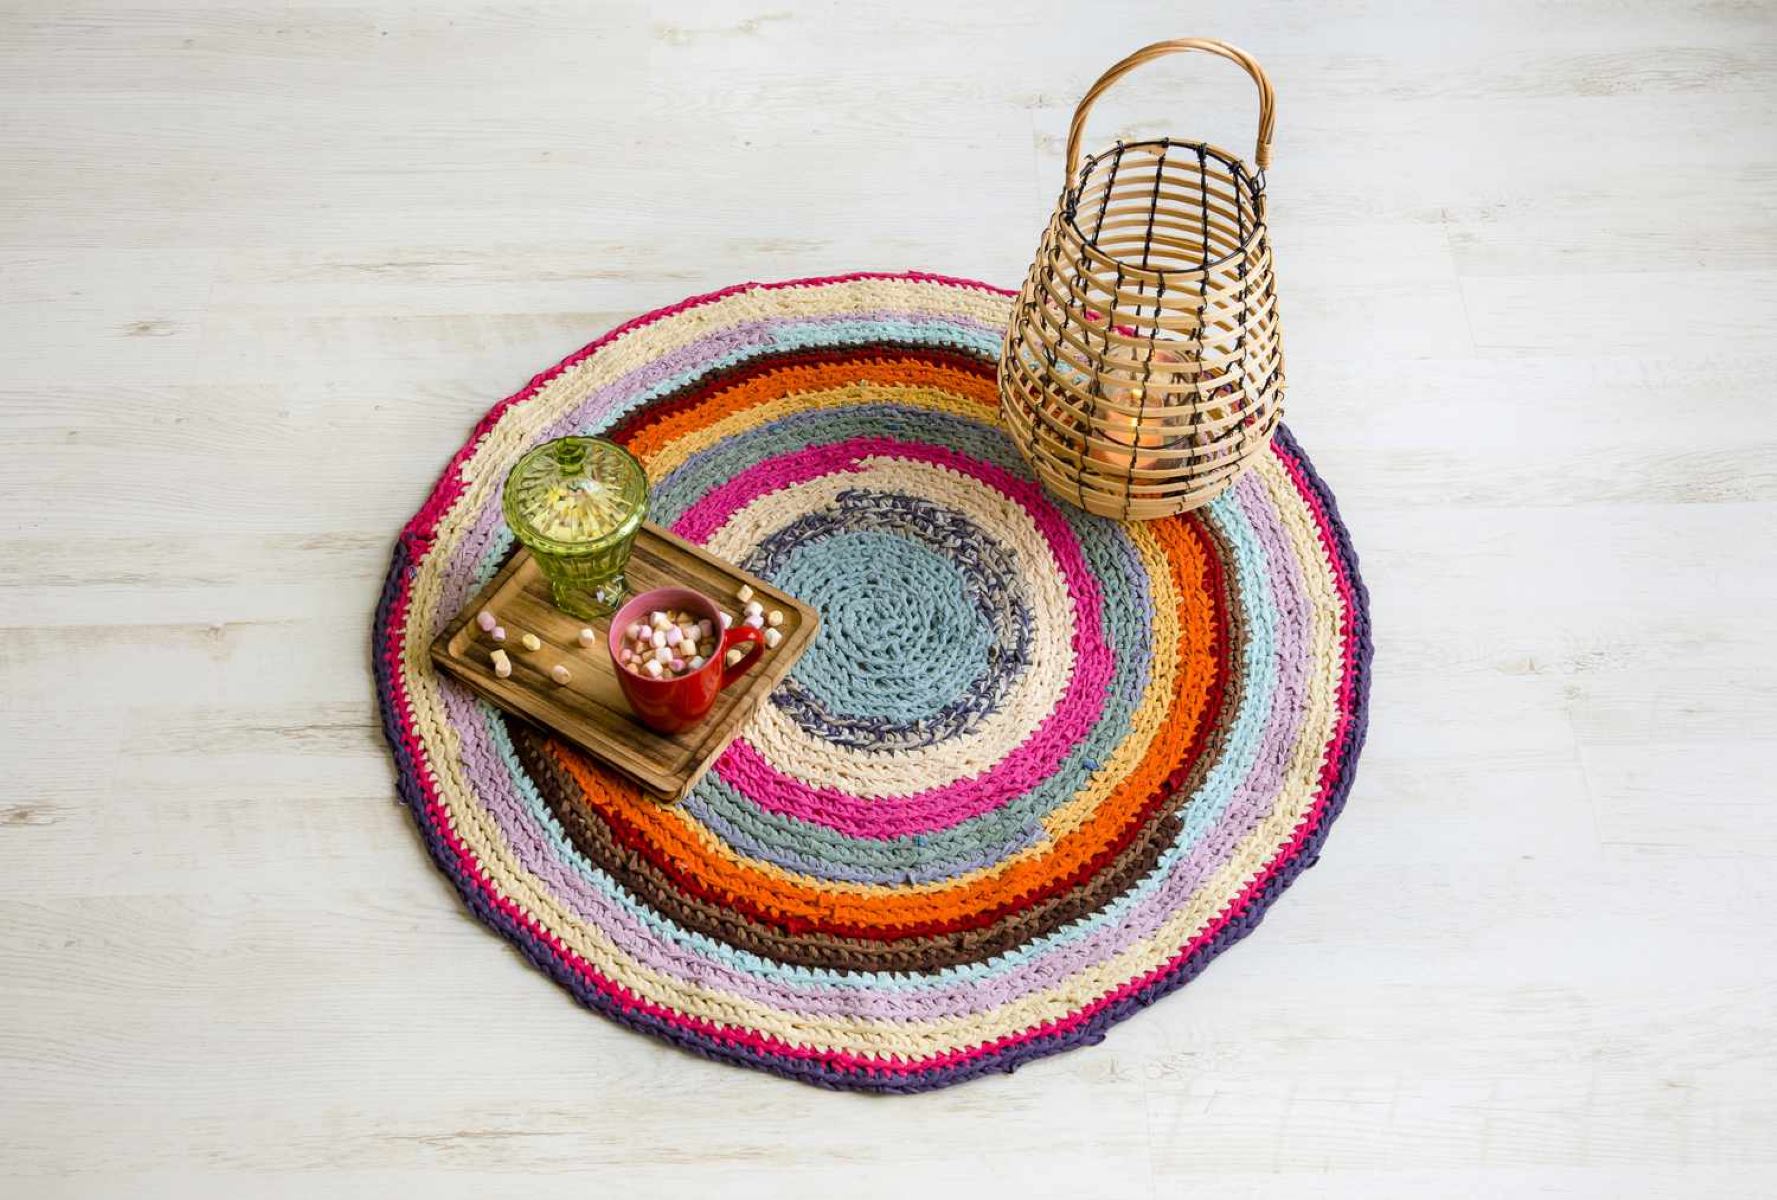
Welcome to the world of hooked rugs! In this article, we’ll explore the art of making hooked rugs – a traditional craft that dates back centuries. Hooked rugs are not only beautiful and functional, but they also allow you to unleash your creativity and create unique pieces for your home. Whether you’re a beginner or an experienced crafter, this guide will provide you with all the information you need to get started with making your own hooked rugs.
Hooked rugs are made by pulling loops of fabric or yarn through a sturdy base material, typically a mesh or burlap, creating a textured design. This technique creates a cozy, tactile surface that can be used as a decorative element or as a warm rug to step on. The materials and tools required for making hooked rugs are readily available and can be easily obtained from craft stores or online.
Not only is making hooked rugs an enjoyable and relaxing hobby, but it also allows you to personalize your home decor. You can choose from a variety of designs, colors, and patterns to suit your style and preferences. From simple geometric patterns to intricate floral motifs, the possibilities are endless.
In this article, we’ll guide you through the step-by-step process of making hooked rugs. We’ll cover everything from choosing the right materials to finishing and caring for your rug. So, let’s dive in and get started on our hooked rug-making journey!
Key Takeaways:
- Unleash your creativity and personalize your home decor by making beautiful and functional hooked rugs using simple materials and traditional techniques. Enjoy the therapeutic benefits and satisfaction of crafting unique pieces for your living space.
- Master the art of creating hooked rugs by exploring design options, mastering hooking techniques, and finishing and caring for your rug. Embrace the meditative nature of hooking and share your passion for handmade art with others.
Read more: How To Make Latch Hook Rugs
Getting Started
Before diving into the world of making hooked rugs, it’s important to gather all the necessary materials and tools. Here’s a list of what you’ll need to get started:
- Base material: This is the foundation of your rug. You can choose from options like mesh canvas or burlap. Make sure the base material is sturdy and can withstand the pulling and tugging of the loops.
- Hooking tool: This is a small, handheld hook that is used to pull the fabric or yarn through the base material. Hooking tools come in various sizes and styles, so choose one that feels comfortable in your hand.
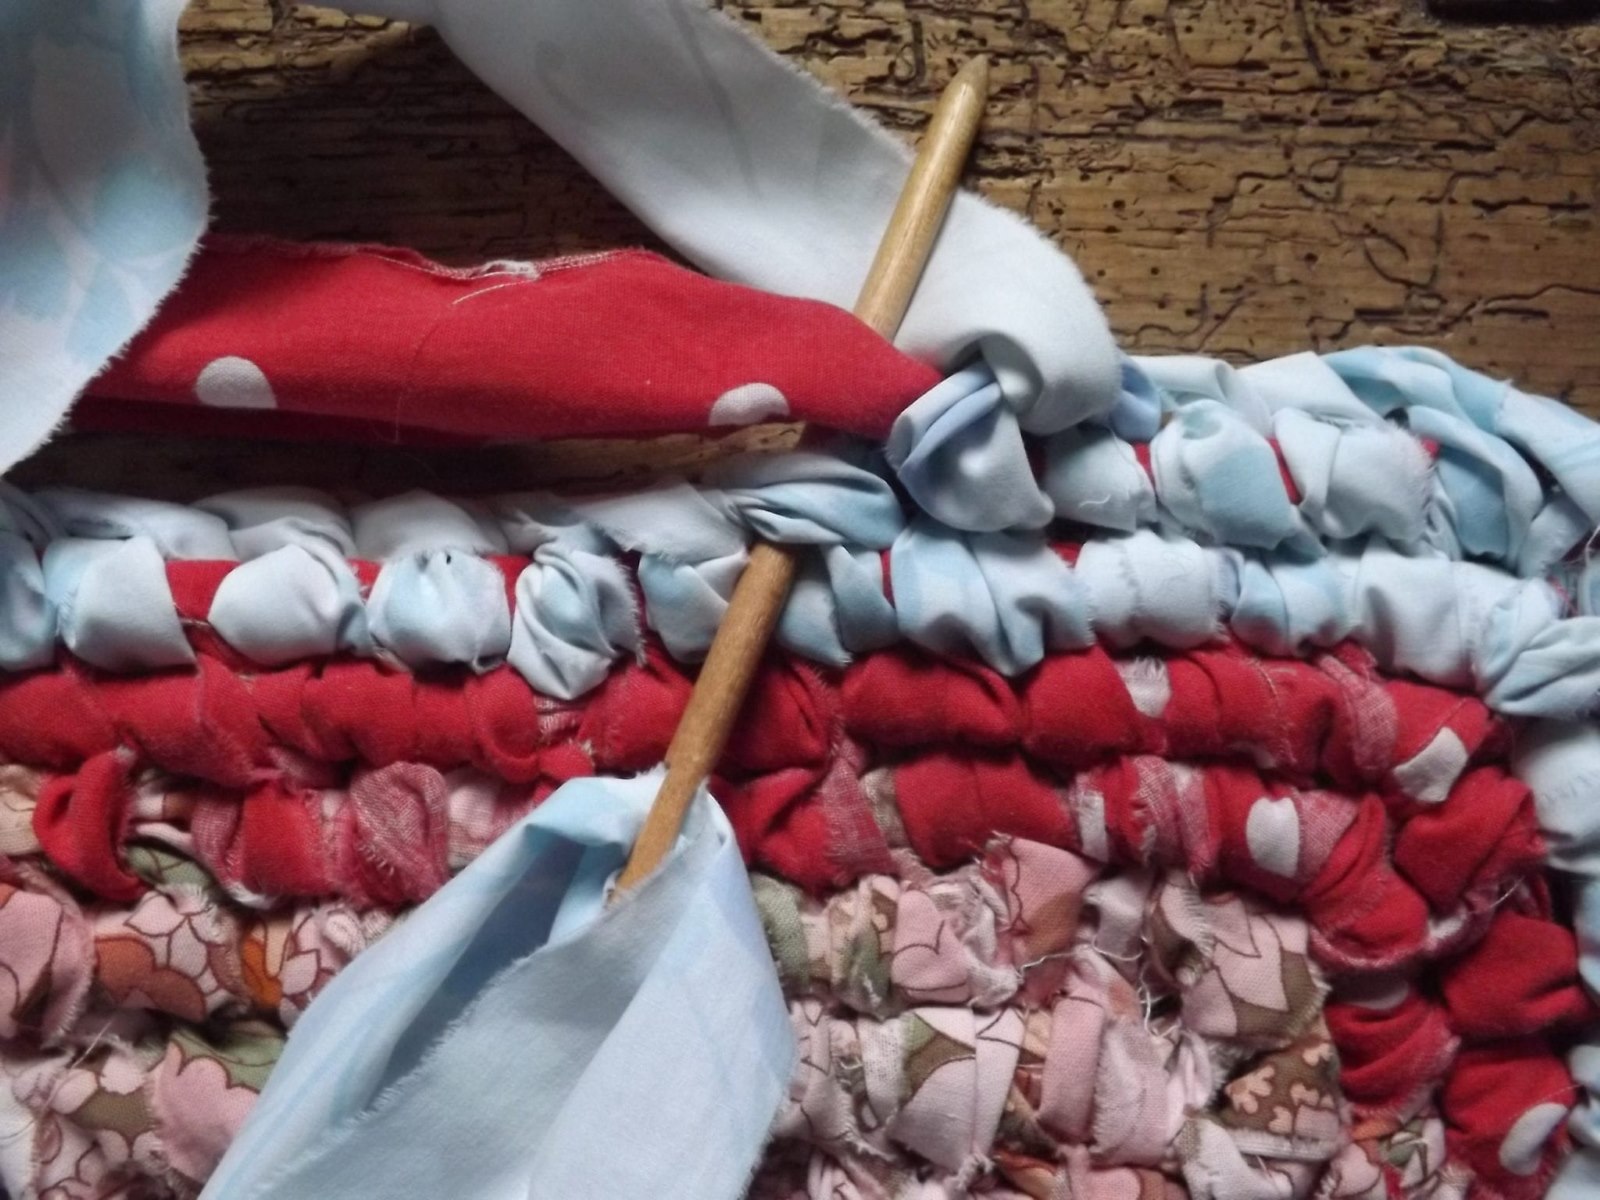
- Fabric or yarn: This is the material that will be pulled through the base material to create the loops. You can use either fabric strips or yarn, depending on your preference. Fabric strips are a great way to recycle old clothes or fabric scraps, while yarn offers a wide range of colors and textures to choose from.
- Scissors: You’ll need a good pair of fabric scissors to cut the fabric or yarn into strips before hooking them.
- Marking tool: This is optional, but it can be helpful to mark your design on the base material before you start hooking. You can use a fabric marker or chalk to lightly sketch out your design.
Once you have all your materials and tools ready, find a quiet and comfortable space where you can work on your rug. It’s important to have good lighting and a flat surface to ensure accuracy in your hooking.
Before starting your project, it can also be helpful to gather inspiration. Look for examples of hooked rugs online, in books, or at craft fairs to get ideas for your design. You can choose a traditional pattern or create your own unique design.
Now that you’re all set with your materials and inspiration, it’s time to move on to the next step: choosing your design.
Choosing Materials
When it comes to making hooked rugs, selecting the right materials is crucial for a successful and durable finished product. Here are some key factors to consider when choosing materials for your hooked rug:
Base Material: The base material serves as the foundation of your rug. It provides stability and support for the hooked loops. Mesh canvas and burlap are common choices for base materials. Mesh canvas is sturdy and allows for more precise hooking, while burlap has a coarser texture that gives the rug a more rustic look. Choose a base material that suits your desired aesthetic and level of hooking experience.
Fabric or Yarn: The material you choose for your loops will determine the texture and appearance of your rug. Fabric strips are a popular option and can be made from old clothing, fabric scraps, or specifically purchased fabric. Look for sturdy fabrics like cotton or wool as they will hold up better over time. Yarn, on the other hand, offers a wide variety of colors, textures, and thicknesses to choose from. Acrylic or wool yarns are commonly used for hooking rugs. Consider the desired look and feel of your rug when selecting fabric or yarn.
Color Palette: The color palette plays a crucial role in the overall design of your hooked rug. Consider the color scheme of the room where the rug will be placed and choose colors that complement or accentuate the existing decor. Experiment with different combinations and shades to create visual interest. Don’t be afraid to mix and match colors to achieve the desired effect.
Texture and Thickness: Texture adds depth and dimension to your rug. Consider the thickness of your fabric or yarn and how it will affect the overall appearance. Thicker fabric or yarn will create a more plush and textured rug, while thinner materials will result in a flatter surface. Play around with different textures to find the right balance for your design.
Durability: Hooked rugs are meant to be walked on and used, so durability is an important factor. Choose materials that can withstand regular use and can be easily cleaned. Consider the specific qualities of the fabrics or yarns you are using and determine if they will hold up well over time.
Keep in mind that personal preference and experimentation play a significant role in choosing materials for your hooked rug. Don’t be afraid to explore different options, mix and match textures, or create your own unique designs. The beauty of hooked rugs lies in their versatility and ability to showcase your individual creativity!
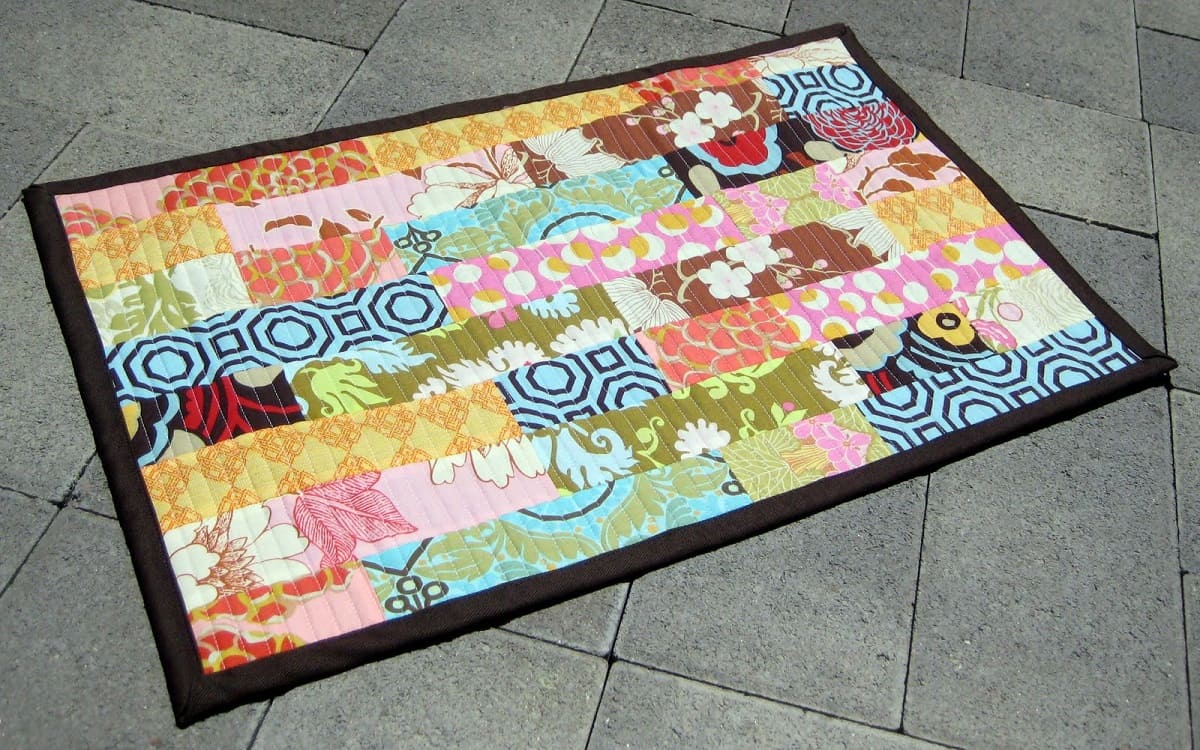
Selecting a Design
Choosing a design for your hooked rug is an exciting part of the process. It’s an opportunity to showcase your creativity and personal style. Here are some tips to help you select the perfect design for your hooked rug:
Consider Your Skill Level: If you’re a beginner, it’s best to start with a simple design that doesn’t involve intricate details or complex patterns. As you gain more experience and confidence, you can gradually move on to more challenging designs. Look for designs that match your skill level to ensure a successful and enjoyable hooking experience.
Take Inspiration from Nature: Nature is an abundant source of inspiration for hooked rug designs. Consider incorporating floral motifs, leaves, animals, or landscapes into your design. Look at photographs, botanical illustrations, or even take a walk in nature to gather ideas for your rug. You can simplify the design or add your own creative twist to make it unique.
Look for Traditional Patterns: Traditional patterns are a great choice if you’re looking to create a timeless and classic rug. These patterns have been used for generations and have a nostalgic appeal. Look for patterns like geometric motifs, checkerboard patterns, or traditional medallions. Books and online resources are excellent places to find traditional hooking patterns.
Create Your Own Design: If you’re feeling adventurous, why not create your own design from scratch? Sketch out your ideas on paper and experiment with different shapes, lines, and motifs. This allows you to have a rug that is truly one-of-a-kind and reflects your personal style. Don’t be afraid to take risks and let your imagination run wild.
Size and Placement: Consider the size and placement of your rug when selecting a design. If you’re making a rug for a specific area in your home, measure the space and choose a design that fits accordingly. For example, a small rug would work well for an entryway or kitchen, while a large rug might be suitable for a living room or bedroom. Take into account the proportions of the room and how the rug will interact with other elements of the decor.
Remember, the most important thing is to select a design that speaks to you and captures your interest. Whether you choose a traditional pattern or create your own unique design, your hooked rug will be a reflection of your creativity and craftsmanship. Embrace the process and have fun with it!
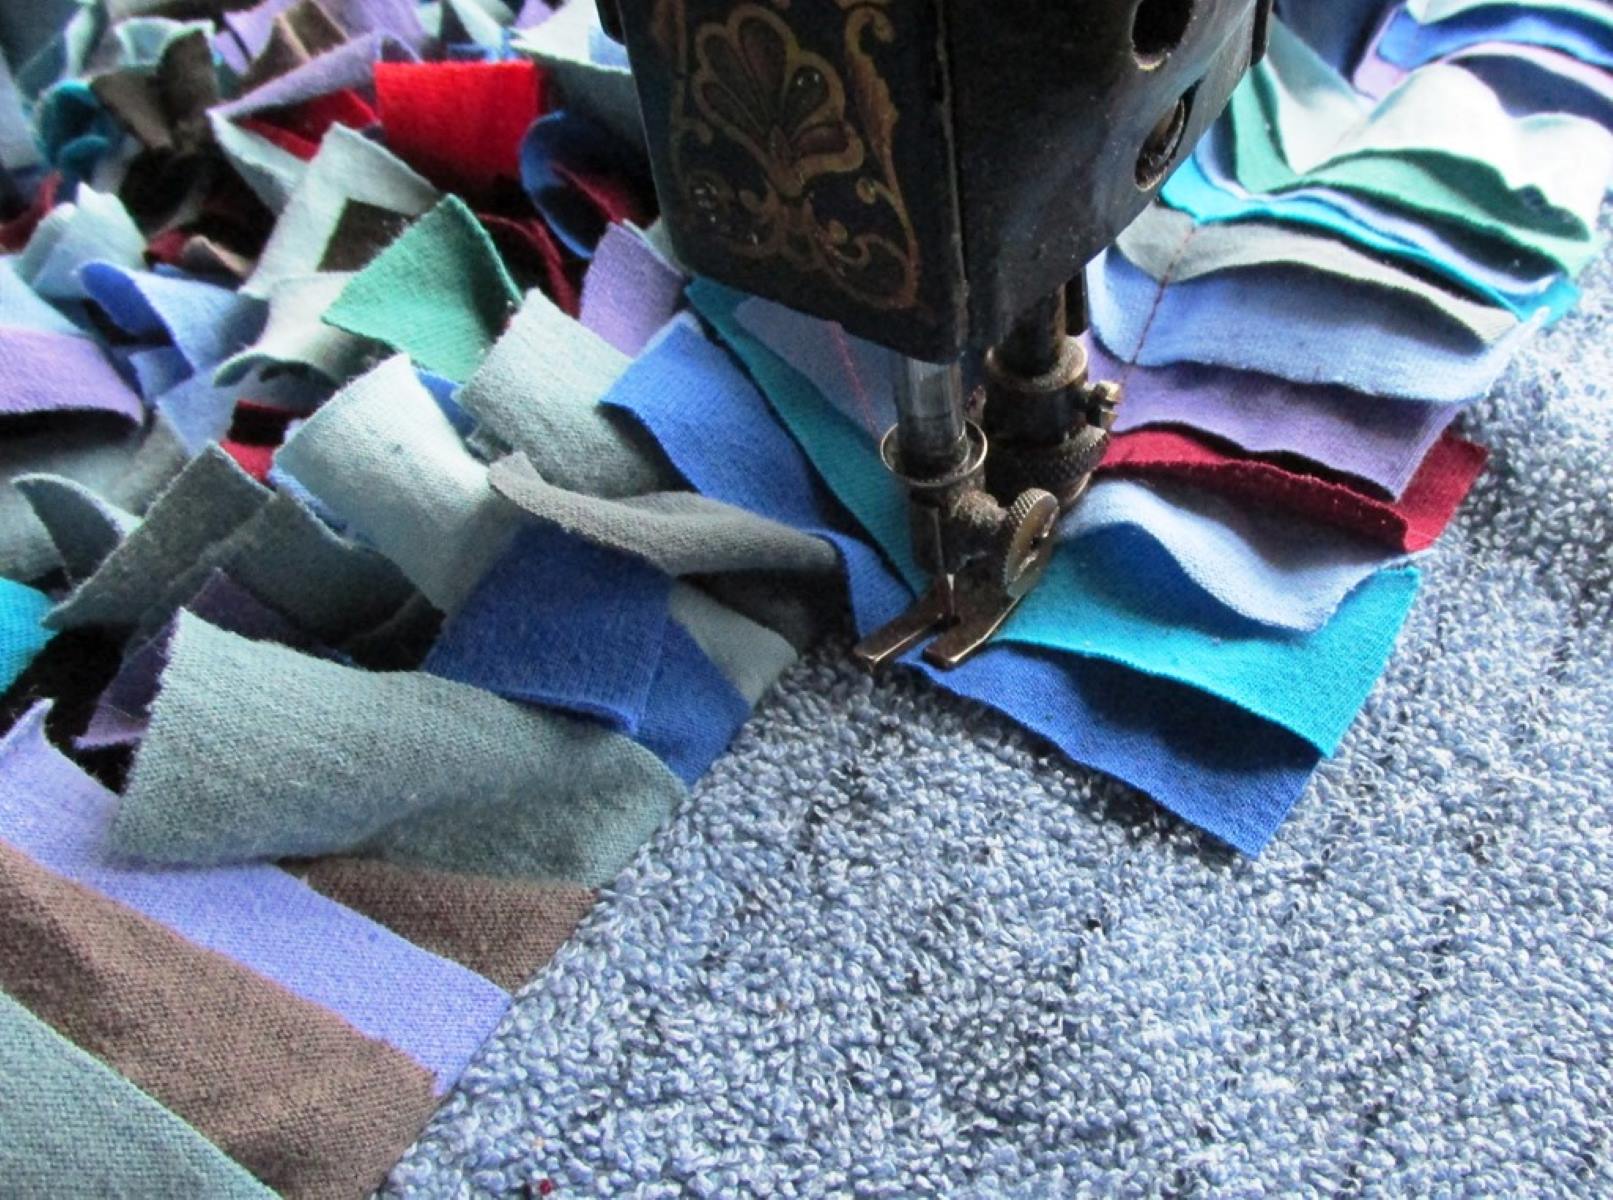
Preparing the Base
Before you can start hooking the loops and creating your design, you’ll need to prepare the base material for your hooked rug. Proper preparation will ensure that your rug is stable and that the loops are securely held in place. Here are the steps to prepare the base:
1. Cut the Base Material: Measure and cut the base material to the desired size for your rug. Make sure to leave a few extra inches on all sides to account for any adjustments during the hooking process.
2. Secure the Edges: To prevent fraying, fold over the cut edges of the base material and secure them in place. You can use a sewing machine or hand stitch along the edges, or use a fabric adhesive to create a clean and neat border. This step will ensure that your rug remains intact and doesn’t unravel over time.
3. Mark Your Design (optional): If you have a specific design in mind, you may want to lightly mark it on the base material before you start hooking. You can use a fabric marker, chalk, or even pins to create a rough outline of your design. This step will help you stay on track and maintain the desired proportions of your pattern.
4. Plan the Hooking Direction: Depending on your design, you may want to plan the hooking direction for different areas of your rug. For example, if you’re creating a design with diagonal lines or curves, you’ll need to adjust the direction of the loops to achieve the desired effect. Take some time to visualize the hooking direction and make a mental note or draw arrows on the base material to guide you during the process.
5. Stretch and Secure the Base: To ensure a taut and even surface for hooking, you’ll need to stretch and secure the base material. If you’re using a mesh canvas, you can attach it to a sturdy frame or use upholstery tacks to secure it to a flat surface. If you’re using burlap, you can stretch it over a frame or stapled it to a wooden base. Make sure the base material is tightly stretched to avoid any puckering or bunching when hooking.
Once you’ve completed these steps, your base material is ready, and you can start bringing your design to life by hooking the loops. Take your time and enjoy the process of creating your hooked rug. With proper preparation, you’ll have a stable and beautifully crafted rug that you can treasure for years to come.
When making hooked rugs, be sure to use a sturdy backing fabric to hold the loops in place. A strong, durable material like burlap or monk’s cloth is ideal for this purpose.
Read more: How To Make Yarn Rugs
Creating the Hooked Design
Now that you have prepared the base material, it’s time to start creating the hooked design for your rug. This is where your creativity and skill come into play. Follow these steps to bring your design to life:
1. Start with the Outline: Begin by hooking the outline of your design. This will provide a clear boundary and structure for your rug. Use a thicker fabric strip or yarn to make the outline more prominent. Follow the marked design or freehand the outline if you’re comfortable. This step will give your design definition and a clear shape.
2. Choose the Colors: Select the colors for your design based on your preferred color palette and the overall look you want to achieve. Consider using different colors for various sections of your design to add depth and visual interest. Experiment with different color combinations and shading techniques to bring your design to life.
3. Fill in the Design: Once your outline is complete, begin filling in the rest of your design. Use a smaller hooking tool and thinner fabric strips or yarn to create the smaller details and texture. If you’re following a specific pattern, make sure to follow the instructions and color placements. If you’re creating your own design, trust your instincts and have fun exploring different textures and patterns.
4. Vary the Loop Heights: To add texture and dimension to your design, vary the height of the loops. This technique is called “contouring” and can be done by adjusting the tension and length of the loops. Create shorter loops for areas that need more definition or are closer to the viewer, and longer loops for areas that are in the background or need a softer appearance. This variation in loop heights will bring depth and visual interest to your hooked design.
5. Blend and Gradate Colors: If you’re using multiple colors in your design, consider blending and gradating them to create smooth transitions. This technique involves gradually transitioning from one color to another by hooking alternating loops of each color. Blending and gradating colors can create a beautiful and subtle gradient effect that adds depth and visual appeal to your hooked rug.
6. Step Back and Evaluate: Throughout the hooking process, it’s important to step back periodically and evaluate your design. Take a moment to assess the overall balance, color distribution, and composition of your rug. Make any necessary adjustments or tweaks to ensure that you’re happy with the final result.
Remember, creating a hooked design is a creative and artistic process. There are no strict rules or limitations – you have the freedom to express your unique style and vision. Embrace the opportunity to experiment, make mistakes, and learn from your experiences. Your hooked design will be a testament to your creativity and craftsmanship.
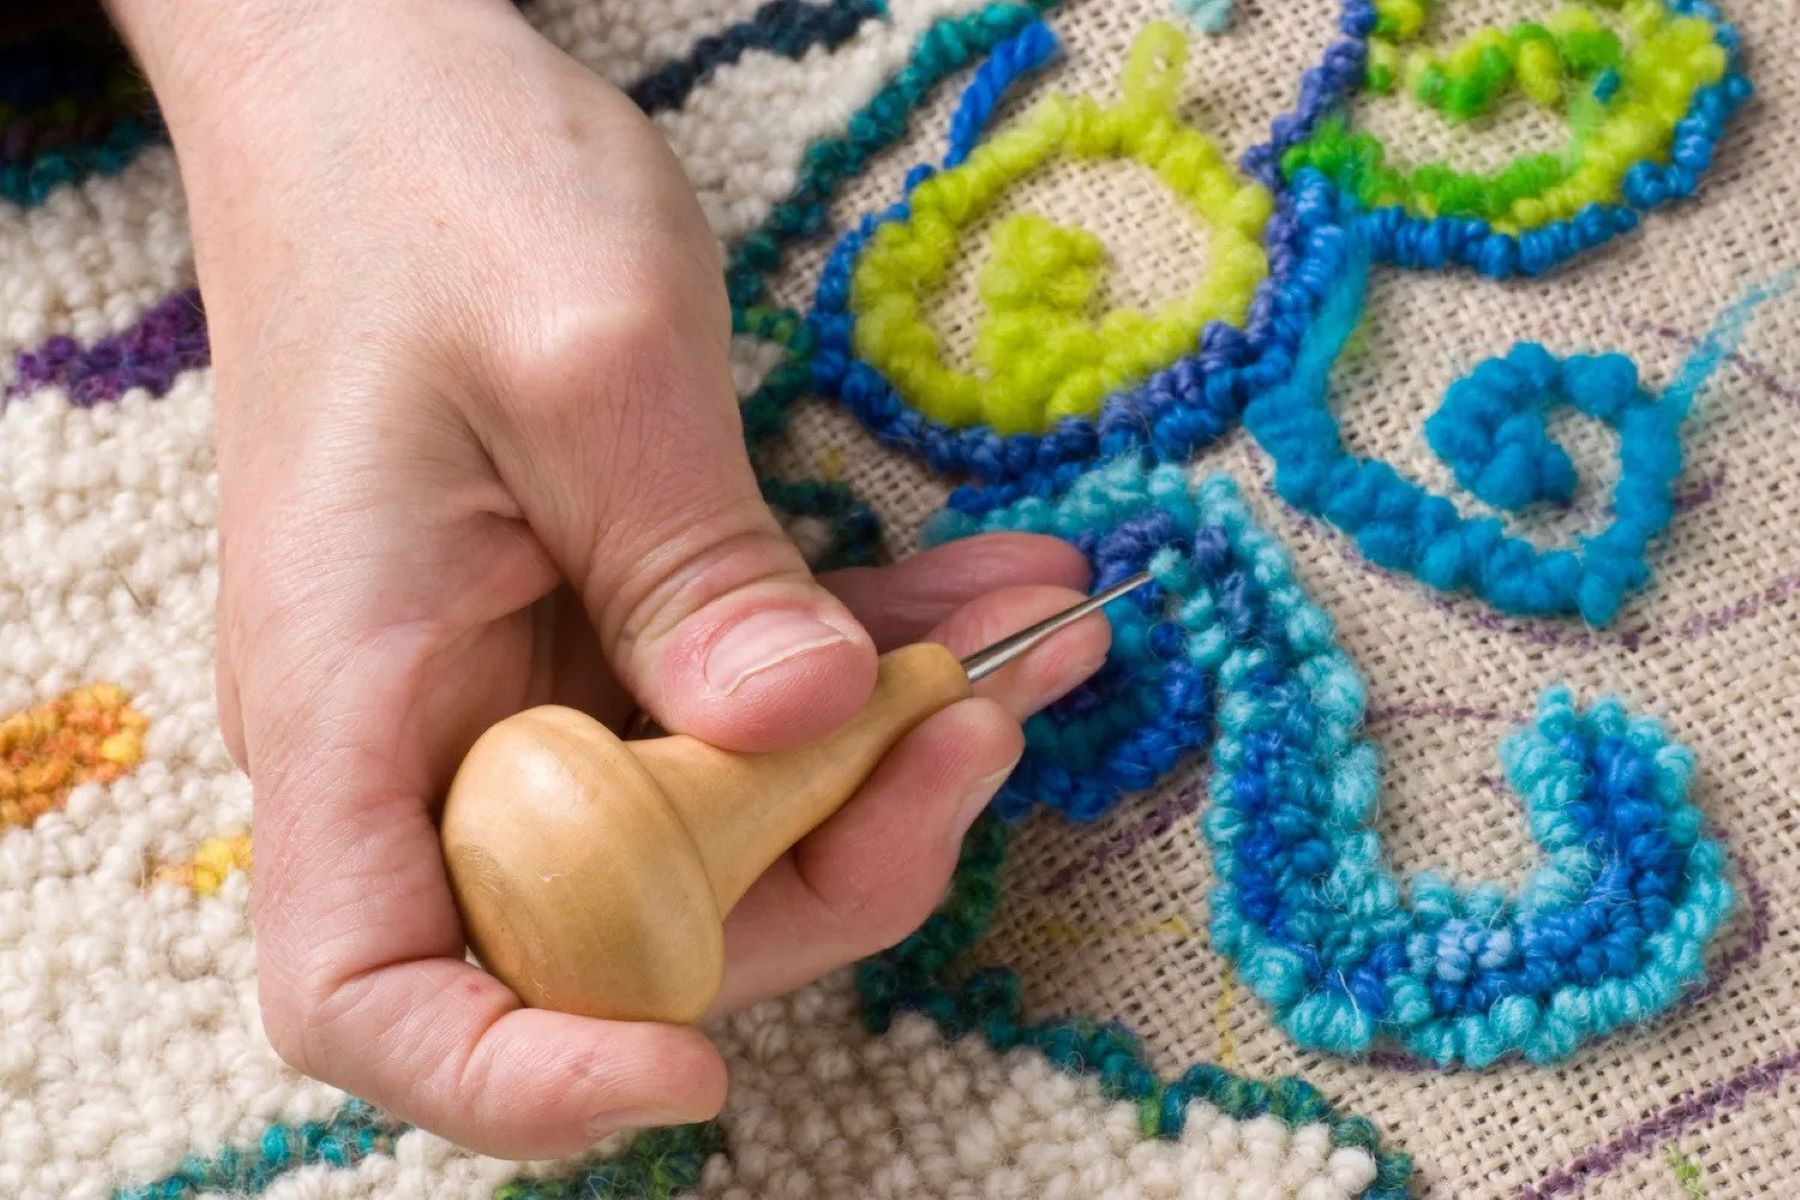
Hooking Techniques
Mastering different hooking techniques is essential for creating beautiful and intricate designs in your hooked rug. These techniques will help you control the height, texture, and direction of the loops. Here are some common hooking techniques to explore:
1. Traditional Loop: The traditional loop is the most basic and commonly used hooking technique. It involves inserting the hook tool through the base material from the front to the back, catching the fabric strip or yarn, and pulling it back through to the front, creating a loop. The loop should be tight enough to hold securely but loose enough to allow for adjustments if needed.
2. Pigtail Loop: The pigtail loop technique is used to create a more defined and textured effect. It involves twisting the fabric strip or yarn before pulling it through the base material, creating a twisted loop. This technique adds depth and visual interest to your design, especially when used for contouring or outlining certain areas.
3. Double Loop: The double loop technique involves pulling two loops through the same hole in the base material. This technique creates a fuller and more plush appearance. It is commonly used in areas that require more volume or when adding dimension to specific parts of your design.
4. Proddy Technique: The proddy technique involves using shorter fabric strips or yarn to create a tufted or shaggy effect. Rather than pulling the loop through the base material, you push or prod the strip or yarn into the base material, creating a raised, textured surface. This technique is ideal for creating accents or adding texture to specific elements of your design, such as flowers or foliage.
5. Rug Hooking in-the-Hand: Rug hooking in-the-hand is a technique where the rug base is held in your hand rather than stretched on a frame or attached to a backing. This allows for more mobility and flexibility when hooking. It’s particularly useful for small projects or when working on intricate designs that require frequent repositioning.
6. Directional Hooking: Directional hooking involves changing the direction of your loops to create curves, diagonals, or angles in your design. By adjusting the hooking direction, you can add movement and flow to your rug. This technique is especially useful when hooking geometric patterns, flowing lines, or natural motifs like waves or tree branches.
Remember to practice these techniques and experiment with different textures and loop heights to achieve the desired effect in your hooked rug. Each technique adds its own unique touch to your design, enabling you to create a rug that is truly one-of-a-kind.
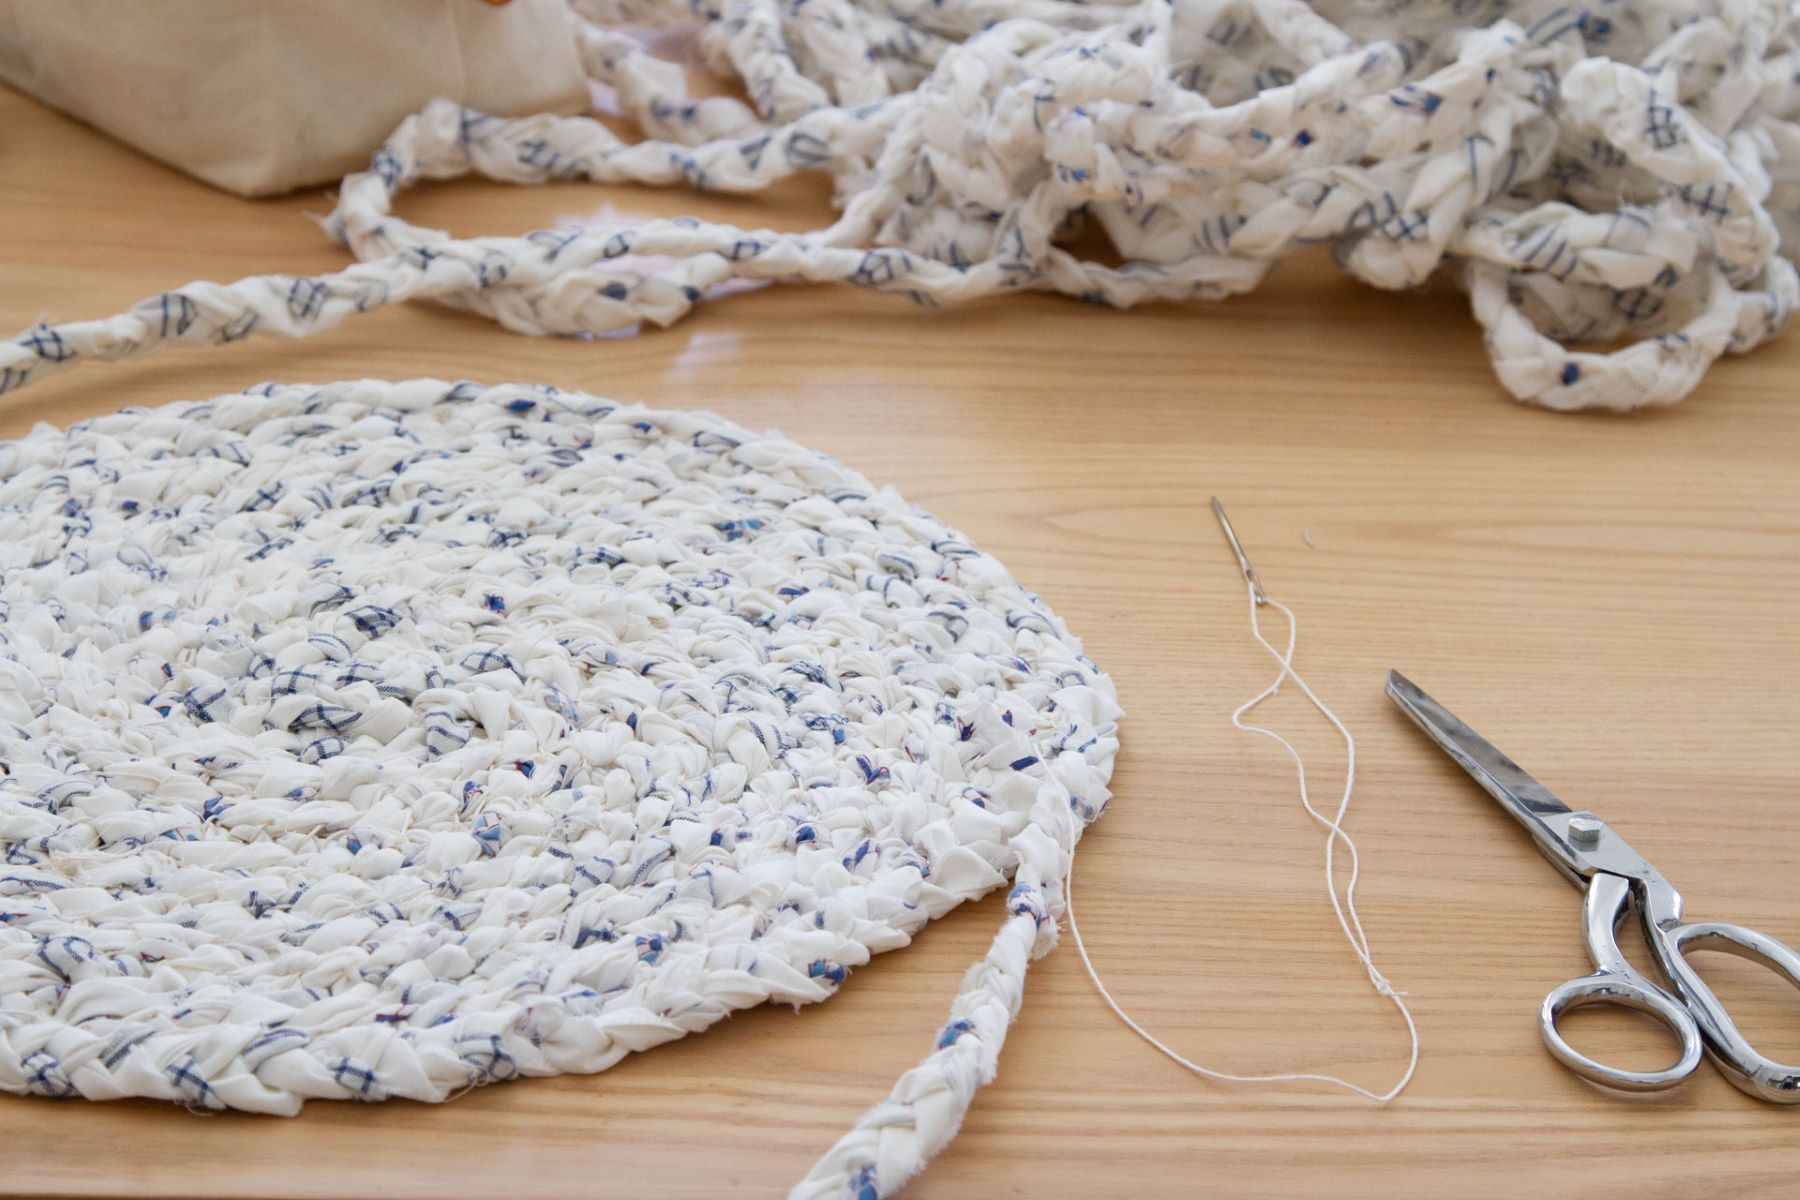
Finishing the Rug
After hours of carefully hooking each loop and bringing your design to life, it’s time to give your rug a polished and finished look. Here are the steps to complete your hooked rug:
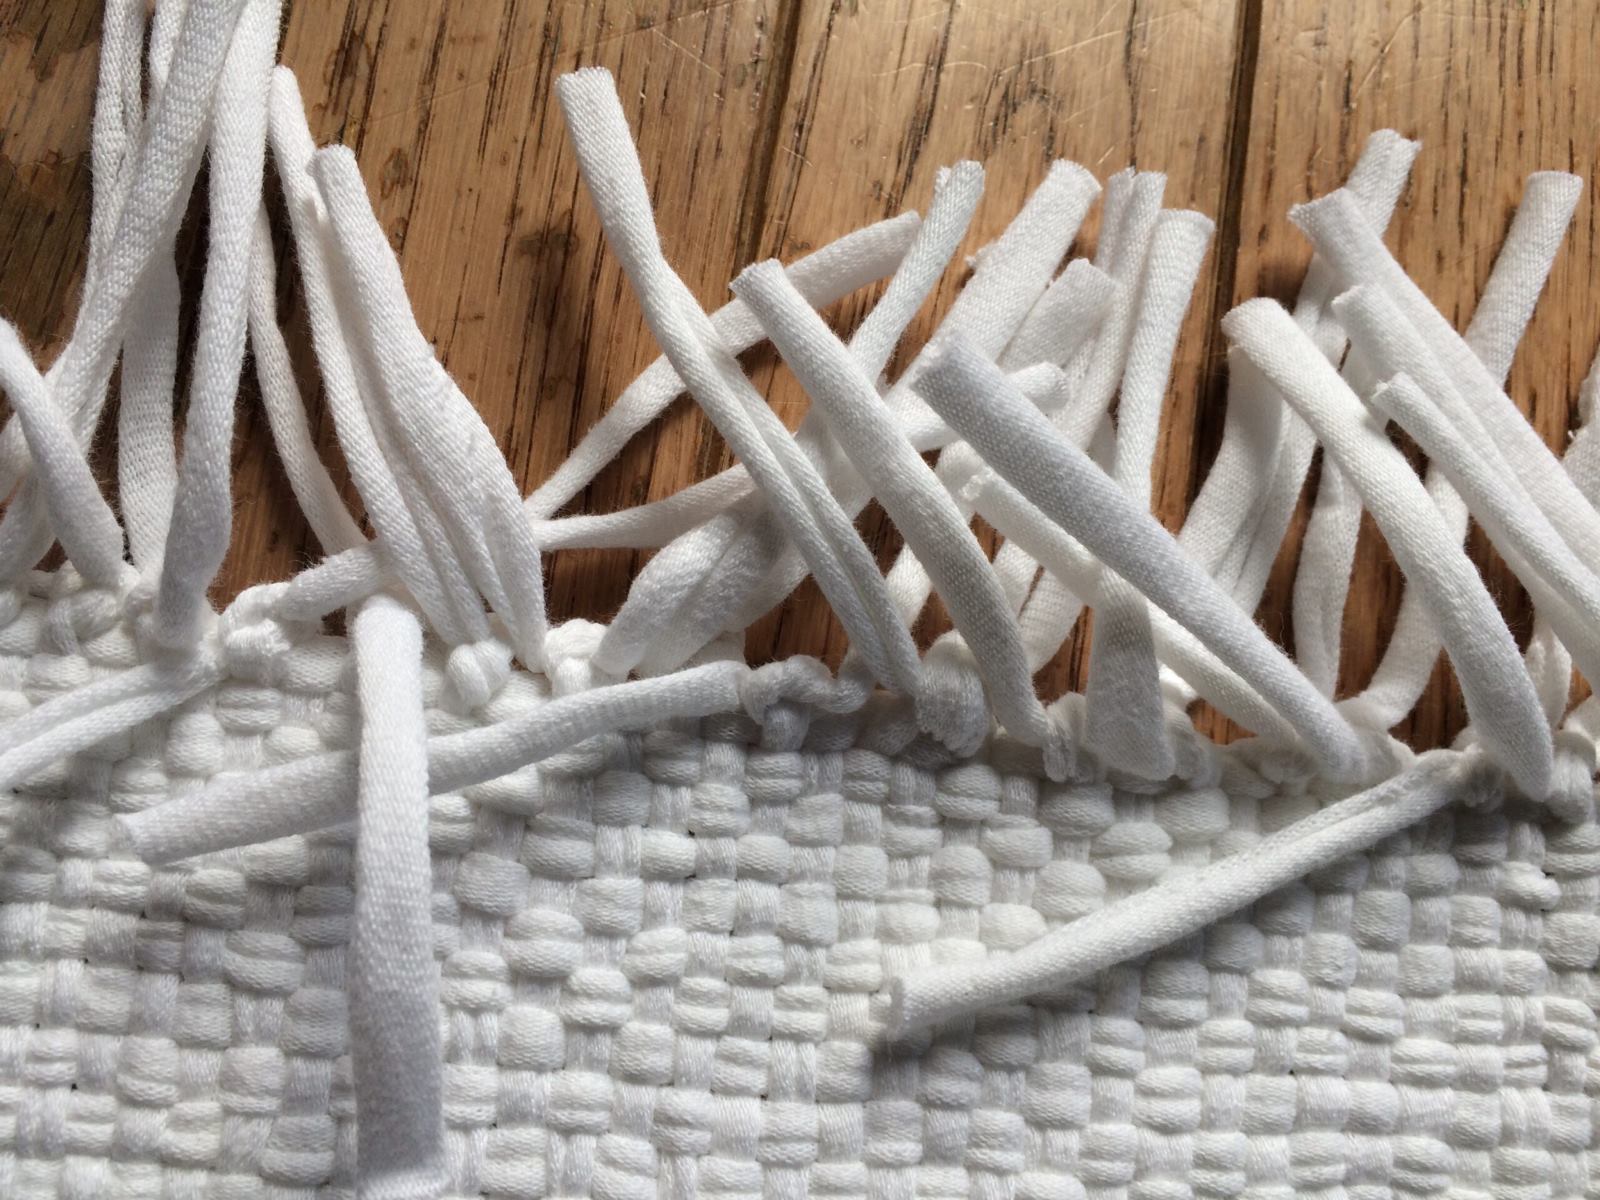
1. Trim Excess Fabric: Use sharp fabric scissors to trim any excess fabric or yarn that extends beyond the loops. Cut it close to the base material to create a clean and even edge. Be cautious not to cut the loops themselves.
2. Secure Loose Ends: If you have loose ends of fabric or yarn from changing colors or joining new strips, secure them by tucking them under existing loops or using a small needle and thread to stitch them in place. This will prevent them from unraveling or becoming snagged.
3. Bind the Edges (Optional): If you prefer a more finished look, you can bind the edges of your rug. This can be done by sewing fabric binding tape or bias binding along the edges of the rug. Alternatively, you can sew a fabric strip around the edges, folding it over the base material and stitching it in place. This step adds durability and a polished finish to your hooked rug.
4. Attach a Rug Backing (Optional): To prevent your rug from slipping or sliding on smooth surfaces, you can attach a rug backing. Rug backings are available in different materials, such as rubber or non-slip fabric, and come in various sizes and shapes. Simply cut the backing to fit your rug, and either sew or use adhesive to attach it securely to the back of your rug.
5. Add a Hanging Sleeve (Optional): If you want to display your hooked rug on a wall, you can add a hanging sleeve to the back. Cut a fabric strip or strip of fabric backing and sew it to the back of the rug, creating a tube wide enough to accommodate a rod or dowel. This will allow you to easily hang your hooked rug as a decorative wall hanging.
6. Clean and Press: Give your finished rug a thorough cleaning by gently vacuuming or shaking off any loose dirt or debris. If needed, you can spot clean any stains with a mild detergent and warm water. Once the rug is clean, press it with a warm iron on the lowest heat setting to flatten out the loops and give it a polished appearance.
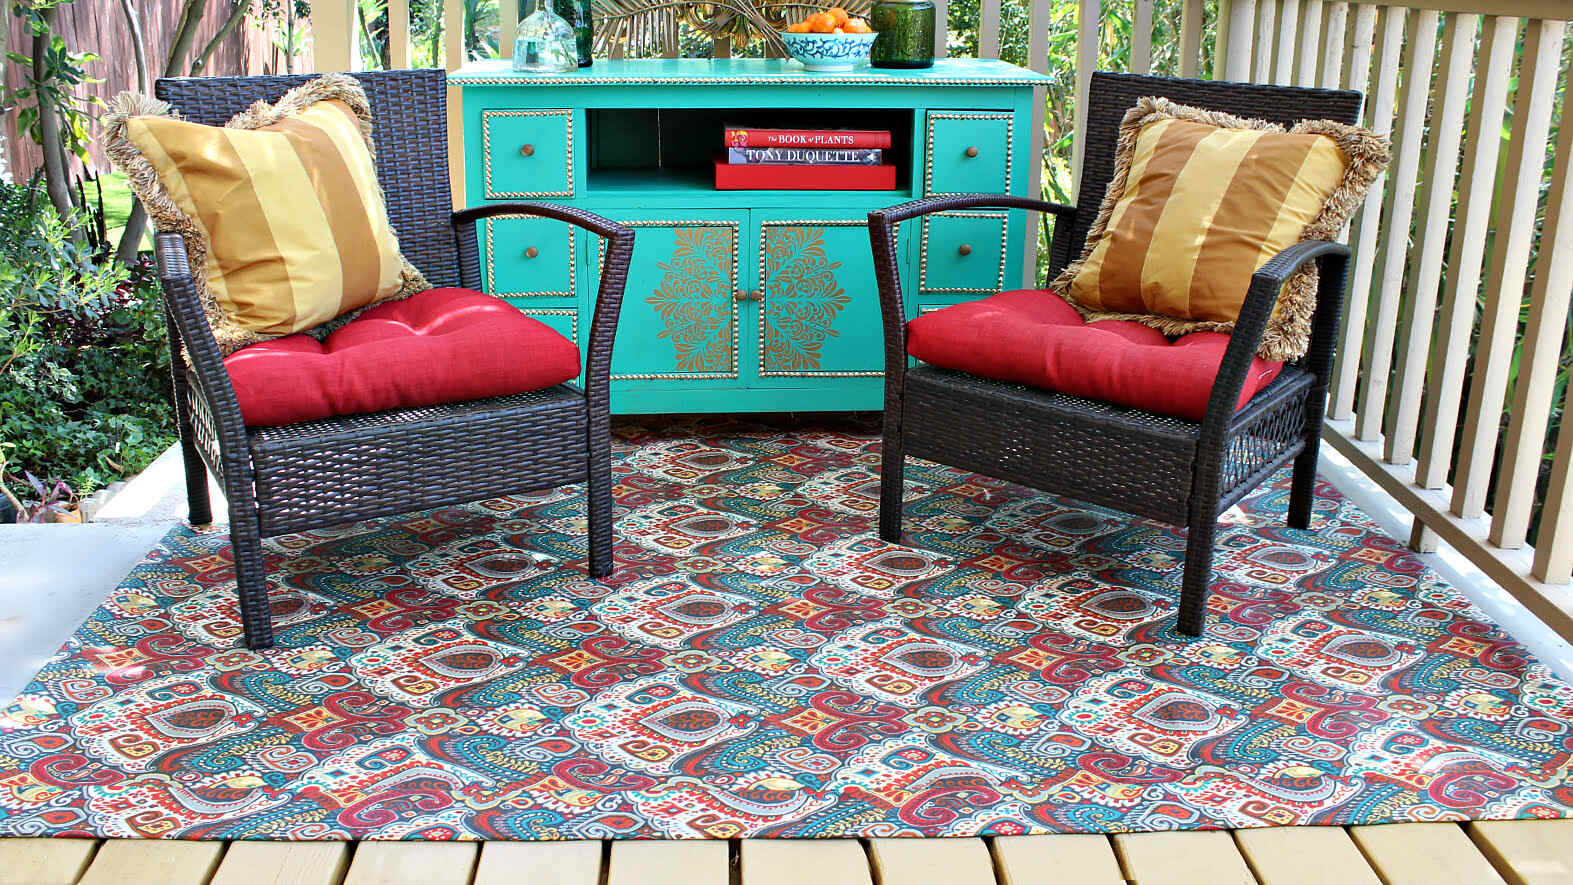
With these finishing touches, your hooked rug is now ready to be showcased and enjoyed in your home. Whether you hang it on the wall or place it on the floor, your rug is a testament to your creativity and craftsmanship. Take pride in your finished masterpiece and admire the beauty it brings to your living space.
Cleaning and Care
To ensure that your hooked rug stays in pristine condition and maintains its beauty for years to come, it’s important to follow proper cleaning and care techniques. Here are some guidelines to keep your rug looking fresh:
Regular Maintenance:
- Regularly vacuum your hooked rug to remove any loose dirt or debris. Use a vacuum cleaner with a brush attachment, and gently run it over the surface of the rug to avoid pulling or damaging the loops.
- Rotate your rug periodically to ensure even wear and minimize the impact of foot traffic on specific areas.
- Keep your rug away from direct sunlight, as prolonged exposure to sunlight can cause fading and damage to the fibers.
Spot Cleaning:
- If you notice any spills or stains on your rug, act quickly to prevent them from setting. Blot the stain with a clean, white cloth or paper towel to absorb as much liquid as possible. Avoid rubbing or scrubbing, as this can push the stain deeper into the fibers.
- For food or liquid spills, use a mild detergent mixed with warm water to gently clean the affected area. Test the cleaning solution on an inconspicuous area of the rug first to ensure it doesn’t cause any discoloration.
- For more stubborn stains, consult a professional rug cleaner to avoid causing further damage.
Professional Cleaning:
- Every few years, it’s advisable to have your hooked rug professionally cleaned to remove deeply embedded dirt and maintain its overall freshness. Look for a professional rug cleaner experienced in handling hooked rugs and follow their specific cleaning recommendations.
- Inform the rug cleaner about the materials used and any specific care instructions you were given when you purchased the rug.
Proper Storage:
- If you need to store your hooked rug for an extended period, make sure it’s clean and completely dry to avoid mold or mildew growth.
- Roll the rug with the pile (looped side) facing inward to protect it from dirt and damage during storage.
- Store the rug in a cool, dry place away from moisture and pests. Avoid storing it in basements or areas prone to humidity.
- Consider wrapping the rolled rug in acid-free paper or storing it in a breathable fabric bag to provide additional protection.
By following these cleaning and care tips, you can extend the lifespan of your hooked rug and continue to cherish its beauty. Regular maintenance and proper storage will help keep your rug looking vibrant and fresh for generations to come.
Read more: How To Make Tufted Rugs
Conclusion
Congratulations on completing your journey into the world of making hooked rugs! You have learned about the materials and tools needed, explored design options, prepared the base, mastered hooking techniques, and finished and cared for your rug. Now, you have a beautiful and unique piece of art that adds warmth and personality to your home.
Making hooked rugs is not just a craft; it’s a form of self-expression. Through the careful selection of colors, textures, and designs, you have created a rug that reflects your creativity and style. Each loop and contour tells a story of the hours spent perfecting your masterpiece.
Remember, making hooked rugs is an ongoing learning process. As you continue to create more rugs, your skills will improve, and your designs will become even more intricate and detailed. Don’t be afraid to push boundaries, try new techniques, and explore different patterns. Let your imagination run wild and allow your creativity to flourish.
Share your passion for hooked rugs with others. Display your beautiful creations in your home or gift them to friends and family. Spread the joy and inspiration that comes from making something by hand with love and care.
Lastly, remember that the journey of making hooked rugs is not just about the final product—it’s also about the joy and satisfaction that comes from the process itself. Embrace the meditative nature of hooking, let your mind wander as you work with each loop, and find solace in the rhythm of creating. Enjoy the therapeutic benefits that crafting can bring to your life.
Thank you for embarking on this hooked rug-making adventure. May your future projects be filled with creativity, inspiration, and endless possibilities. Happy hooking!
Now that you've mastered rug hooking, why not broaden your crafting skills with other projects around your home? Our guide on DIY home decor offers a variety of creative ideas to spruce up your living space. Whether you're looking to add personal touches with handcrafted items or transform the ambiance of your rooms, this article has got you covered with easy-to-follow tips and inspiring projects. Dive into the world of DIY and start enhancing your home today!
Frequently Asked Questions about How To Make Hooked Rugs
Was this page helpful?
At Storables.com, we guarantee accurate and reliable information. Our content, validated by Expert Board Contributors, is crafted following stringent Editorial Policies. We're committed to providing you with well-researched, expert-backed insights for all your informational needs.


0 thoughts on “How To Make Hooked Rugs”