Home>Kitchen & Cooking>Kitchen Gadgets & Utensils>How To Make Whipped Cream In A Stand Mixer
Kitchen Gadgets & Utensils
How To Make Whipped Cream In A Stand Mixer
Modified: February 17, 2024
Learn how to make perfect whipped cream using a stand mixer and elevate your desserts with this essential kitchen gadget and utensil. Master the art of whipping cream effortlessly!
(Many of the links in this article redirect to a specific reviewed product. Your purchase of these products through affiliate links helps to generate commission for Storables.com, at no extra cost. Learn more)
Introduction
Welcome to the delightful world of homemade whipped cream! There's something truly magical about the pillowy clouds of creamy goodness that adorn our favorite desserts and beverages. Whether you're topping off a luscious slice of pie, a bowl of fresh berries, or a steaming mug of hot chocolate, whipped cream adds a touch of decadence to any treat.
Creating your own whipped cream at home allows you to customize the flavor and sweetness to suit your preferences. While there are various methods for making whipped cream, using a stand mixer offers a convenient and efficient approach that consistently delivers smooth, fluffy results.
In this guide, we'll explore the art of making whipped cream using a stand mixer. We'll cover the essential ingredients, the equipment you'll need, and the step-by-step process to achieve perfect whipped cream every time. Additionally, we'll share some valuable tips and tricks to help you master this culinary skill and elevate your dessert game.
So, grab your apron and let's embark on a delightful culinary adventure as we uncover the secrets to creating heavenly homemade whipped cream with a stand mixer.
Key Takeaways:
- Whip up homemade whipped cream with a stand mixer for fluffy, customizable goodness that elevates any dessert or beverage.
- Chill, mix, and savor the velvety clouds of whipped cream, mastering the art with expert tips and creative flavor variations.
Read more: How To Make Whipped Cream In Stand Mixer
Ingredients
Before we dive into the process of making whipped cream in a stand mixer, let’s gather the essential ingredients. The beauty of whipped cream lies in its simplicity, requiring just a few basic components to achieve that irresistible texture and flavor.
Here’s what you’ll need:
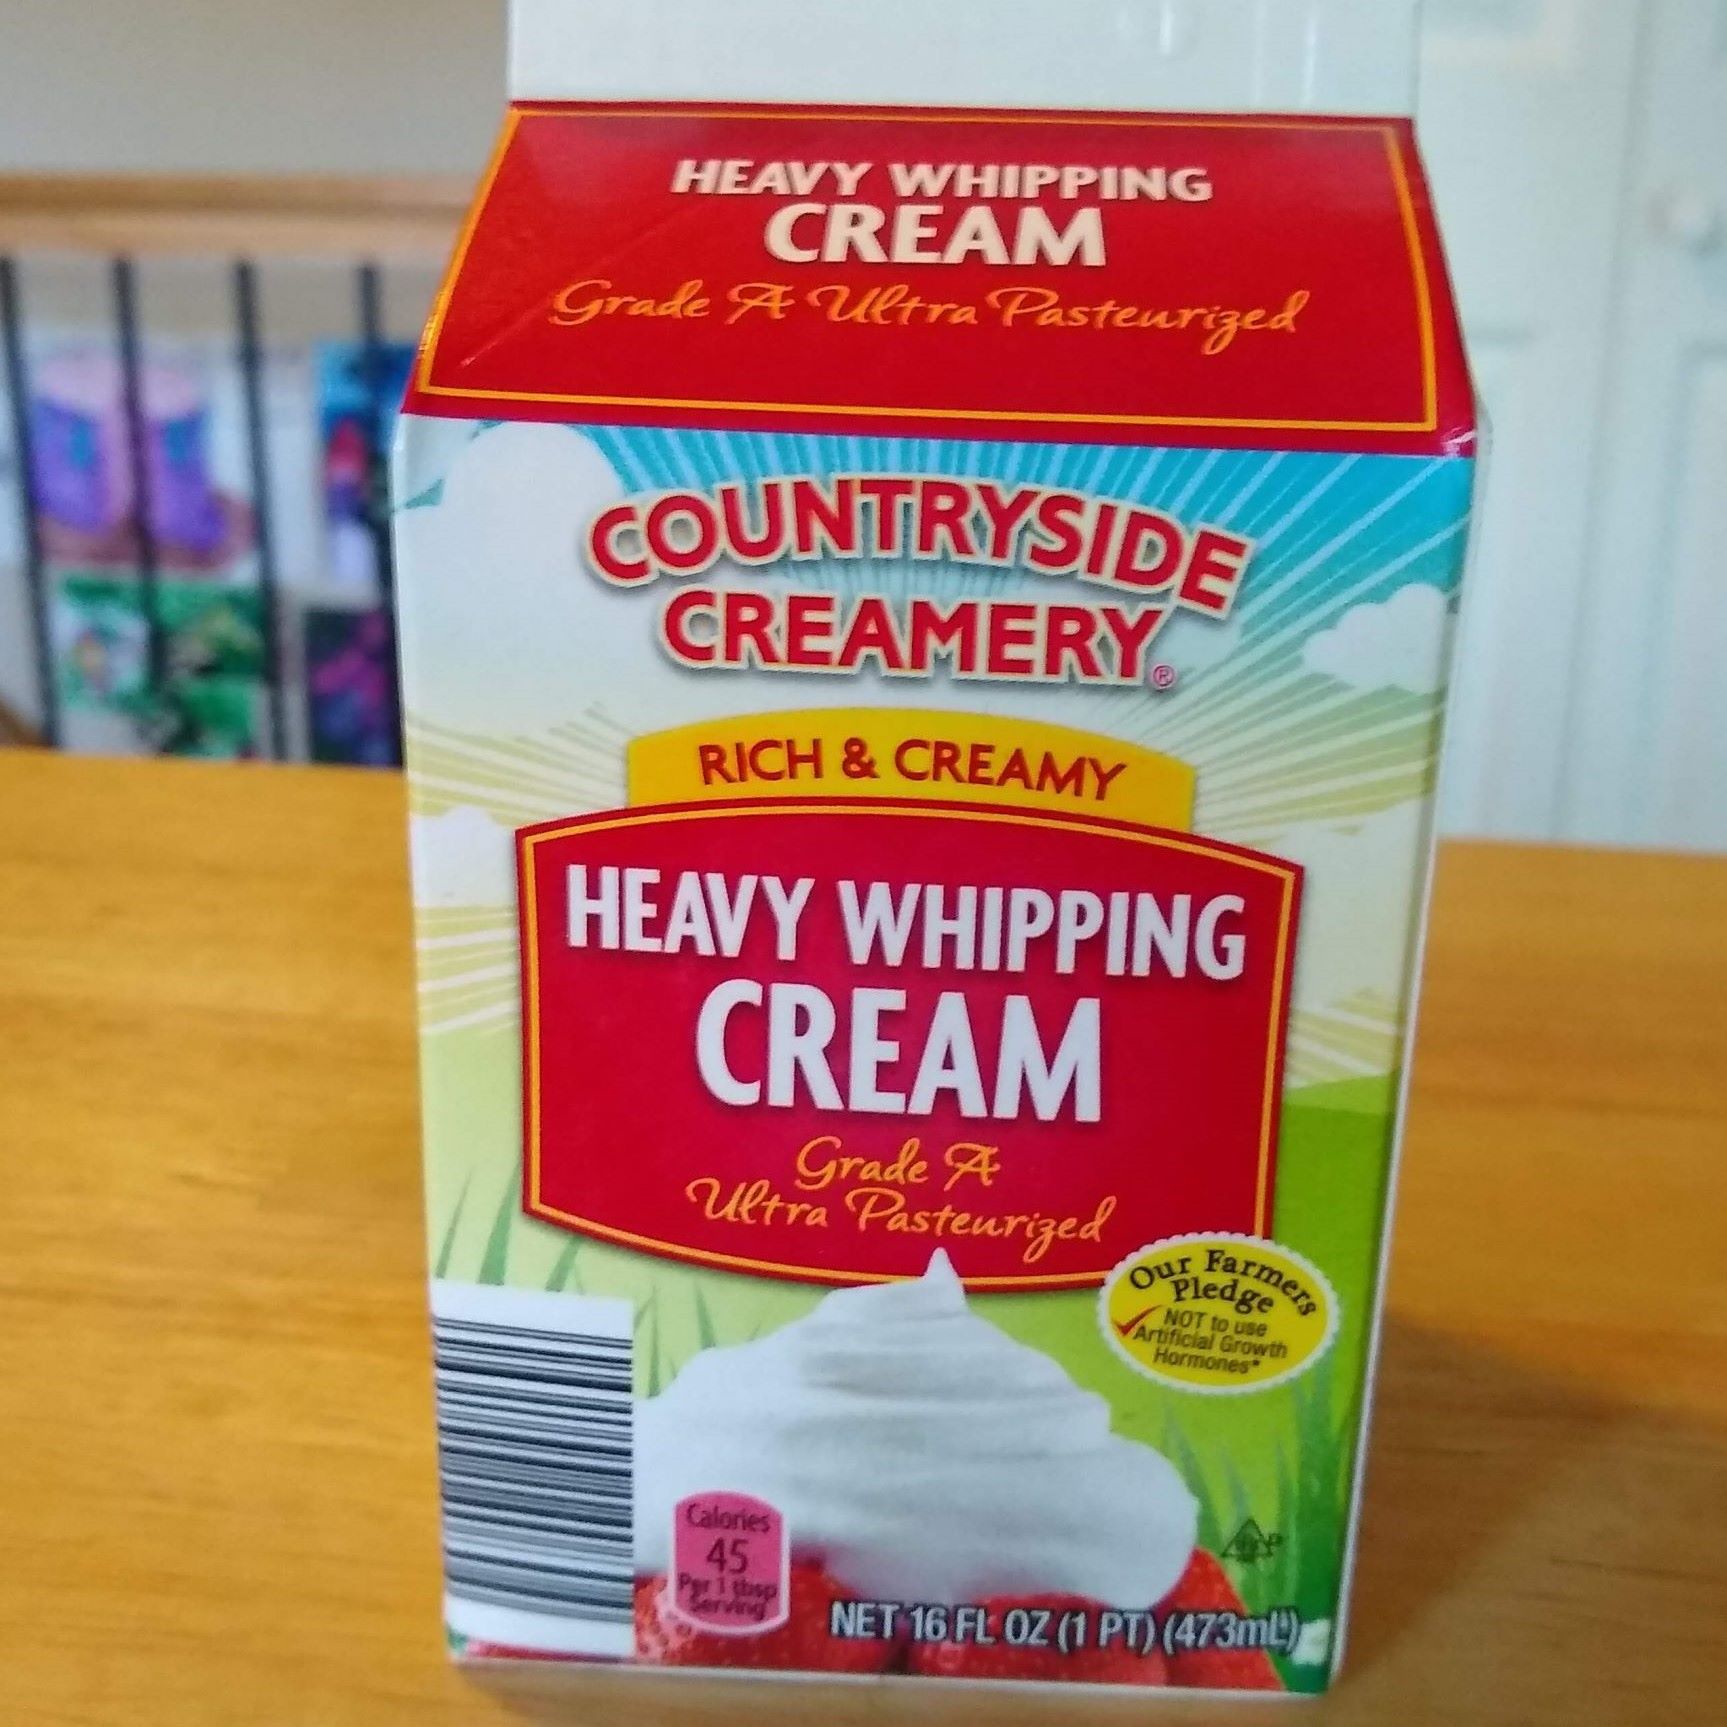
- Heavy Whipping Cream: This is the star of the show. Opt for high-quality heavy whipping cream with a rich fat content, as it will yield a creamier and more stable result.
- Confectioners’ Sugar (Powdered Sugar): Adding a touch of sweetness to the whipped cream is essential. Confectioners’ sugar dissolves easily and helps stabilize the whipped cream, resulting in a smooth and luscious texture.
- Pure Vanilla Extract (Optional): For a hint of aromatic flavor, consider incorporating pure vanilla extract. It complements the richness of the cream and adds a delightful depth of flavor.
With just these few ingredients, you’re well on your way to creating heavenly whipped cream that will elevate your desserts to new heights. Now that we have our ingredients ready, let’s move on to the equipment needed for this delightful culinary endeavor.
Equipment
Preparing whipped cream with a stand mixer requires the right tools to ensure a smooth and efficient process. Here’s what you’ll need:
- Stand Mixer: The hero of this culinary adventure, a stand mixer provides the power and consistency needed to whip the cream to perfection. Look for a model with a whisk attachment for optimal results.
- Chilled Mixing Bowl: To achieve the best results, use a chilled stainless steel or glass mixing bowl. Placing the bowl in the refrigerator for about 15-20 minutes before whipping the cream helps maintain a cool environment, allowing the cream to whip up faster and fluffier.
- Whisk Attachment: Ensure your stand mixer is equipped with a whisk attachment, as it’s specifically designed for aerating and whipping ingredients such as heavy cream.
- Spatula: A flexible spatula is essential for gently folding in any additional flavorings, such as vanilla extract, and scraping down the sides of the bowl to ensure all the cream is whipped evenly.
With these fundamental pieces of equipment at your disposal, you’re ready to embark on the delightful journey of creating luscious whipped cream using a stand mixer. Now that we have our ingredients and equipment assembled, it’s time to explore the step-by-step process of transforming these components into a delectable homemade treat.
Chill the mixing bowl and whisk attachment in the freezer for 10-15 minutes before whipping the cream to help it whip faster and hold its shape better.
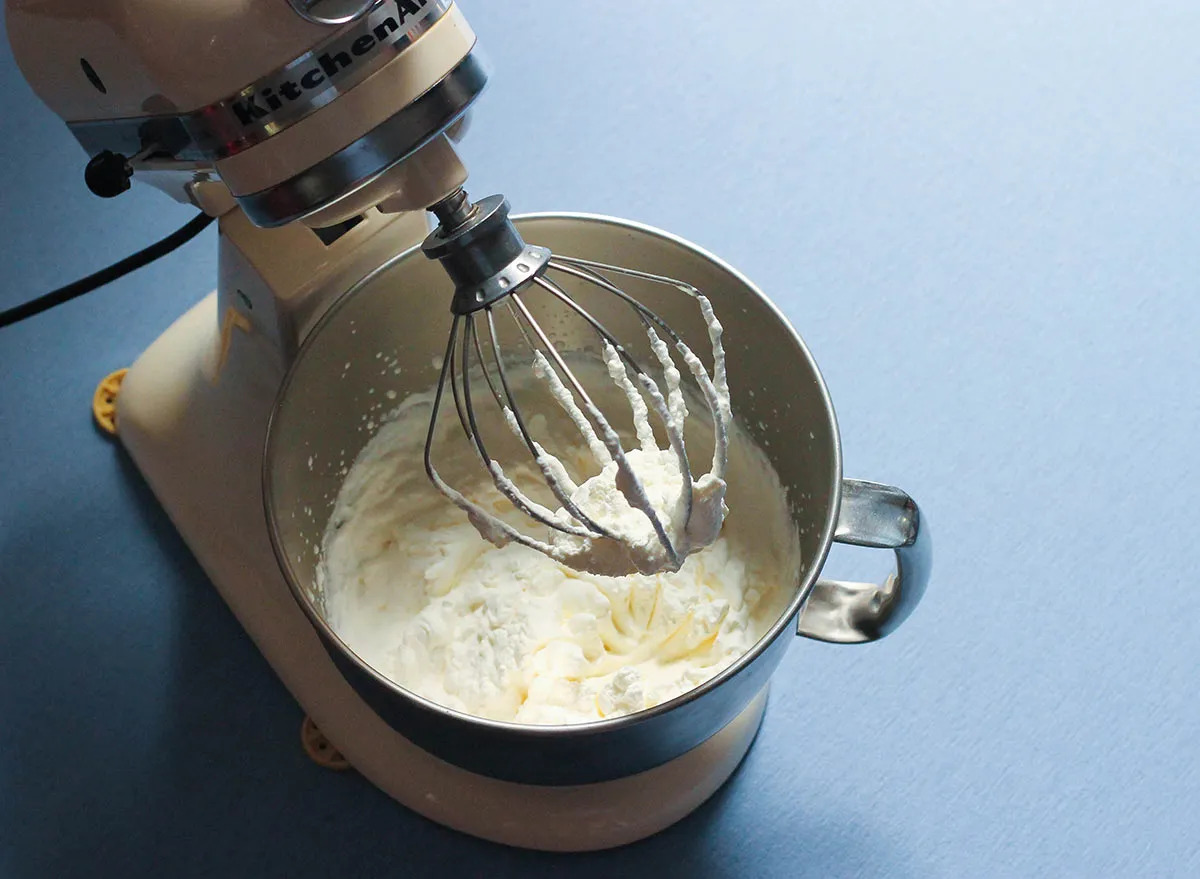
Steps to Make Whipped Cream in a Stand Mixer
Now that we have our ingredients and equipment ready, let’s delve into the step-by-step process of creating heavenly whipped cream using a stand mixer. Follow these simple yet crucial steps to achieve light, airy, and perfectly whipped cream:
- Chill the Mixing Bowl: Place the mixing bowl and whisk attachment in the refrigerator for 15-20 minutes before starting. A chilled bowl helps maintain a cool environment, allowing the cream to whip up faster and achieve a fluffier texture.
- Pour the Heavy Whipping Cream: Measure the desired amount of heavy whipping cream and pour it into the chilled mixing bowl.
- Add the Sweetness: Sprinkle in the confectioners’ sugar to sweeten the cream. The amount of sugar can be adjusted based on your preference for sweetness.
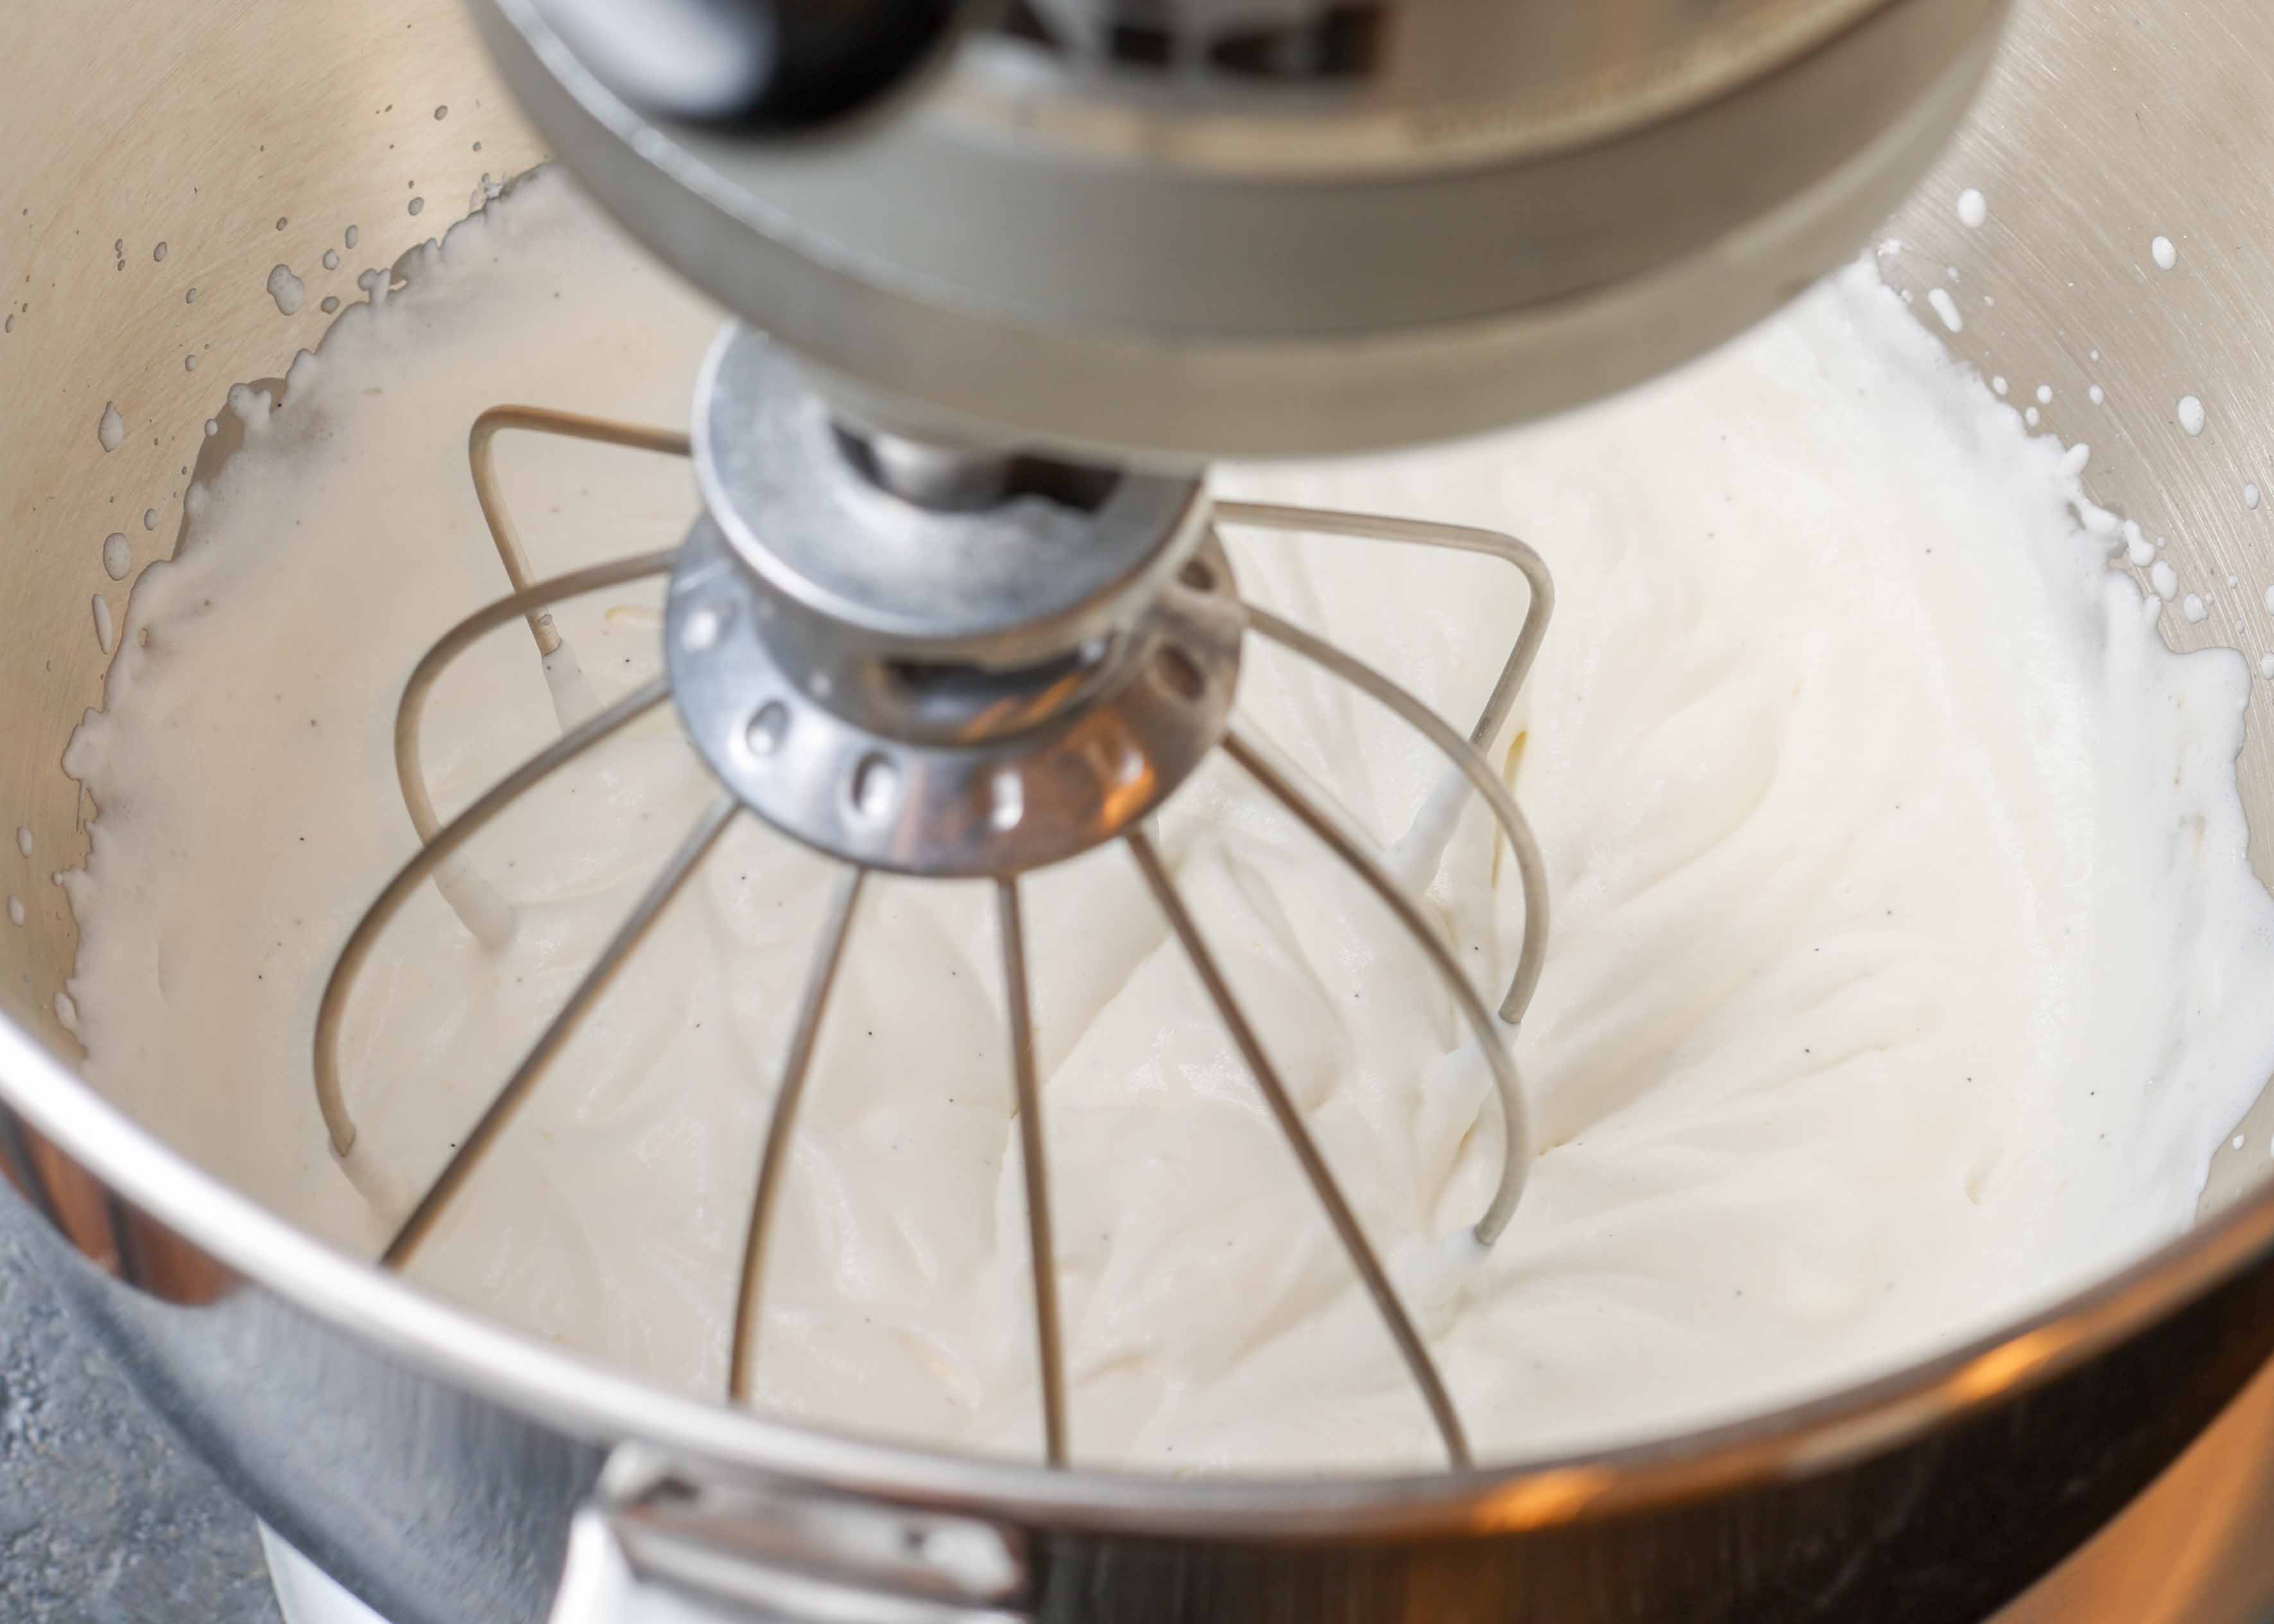
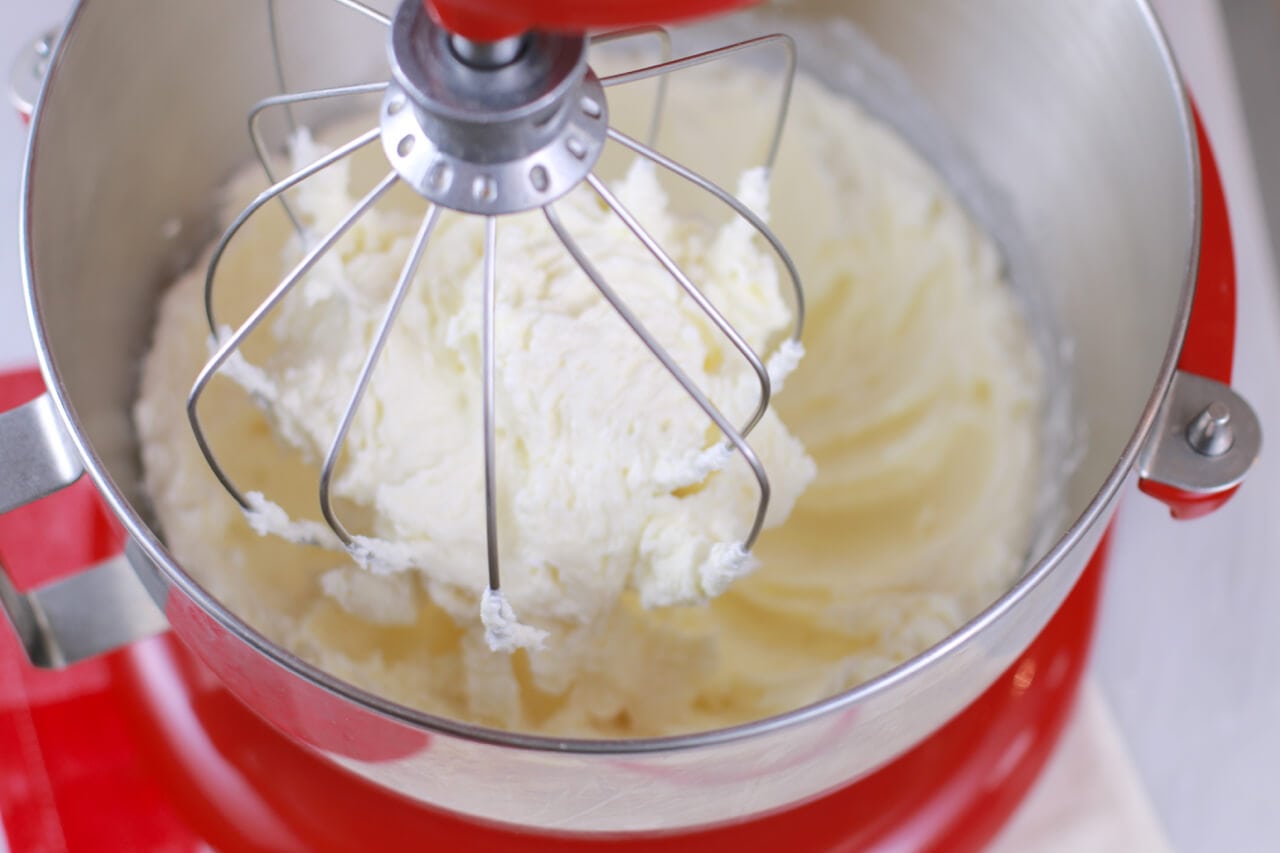
- Attach the Whisk and Begin Mixing: Secure the whisk attachment to the stand mixer and start mixing the cream on a medium-low speed to incorporate the sugar. Once the sugar is mixed in, increase the speed to medium-high. Keep a close eye on the cream as it thickens to avoid over-whipping.
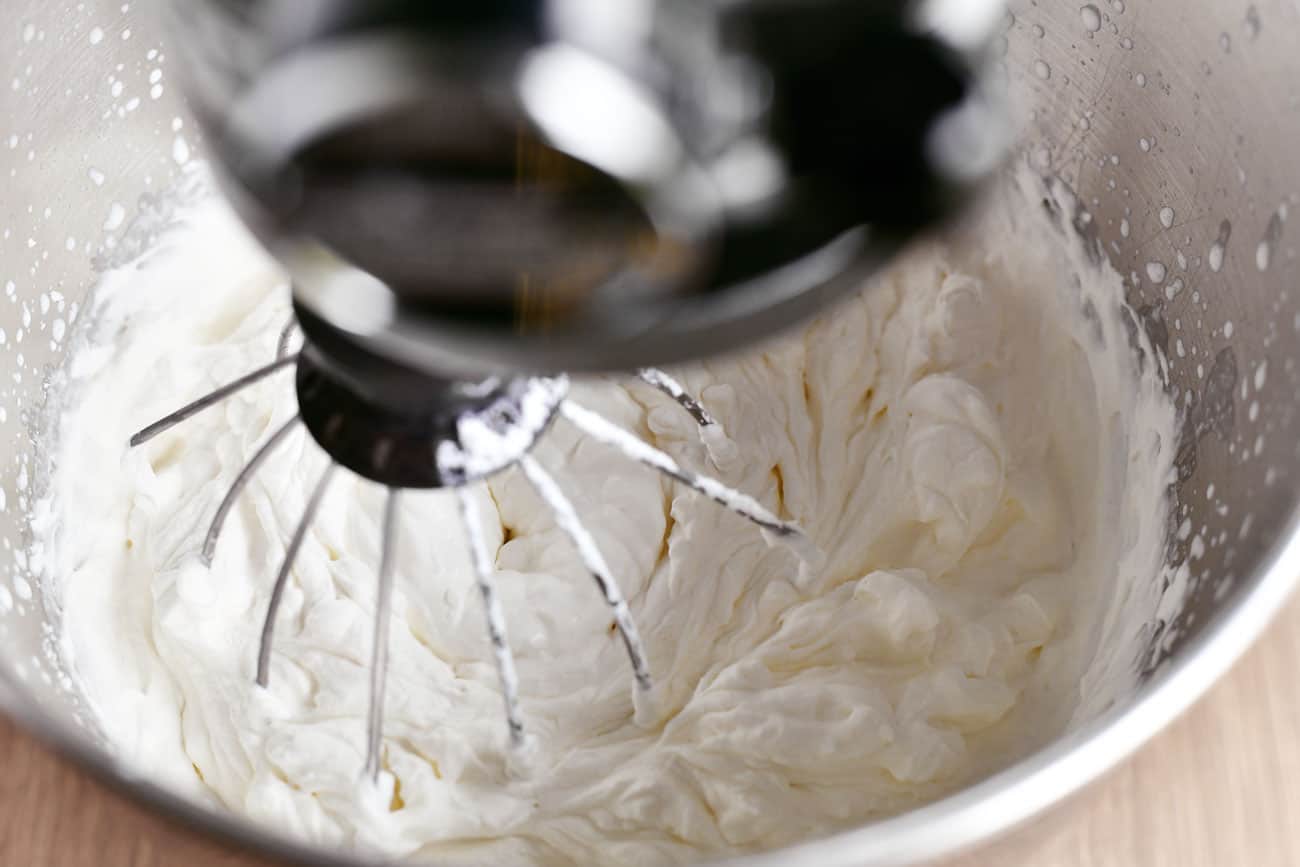
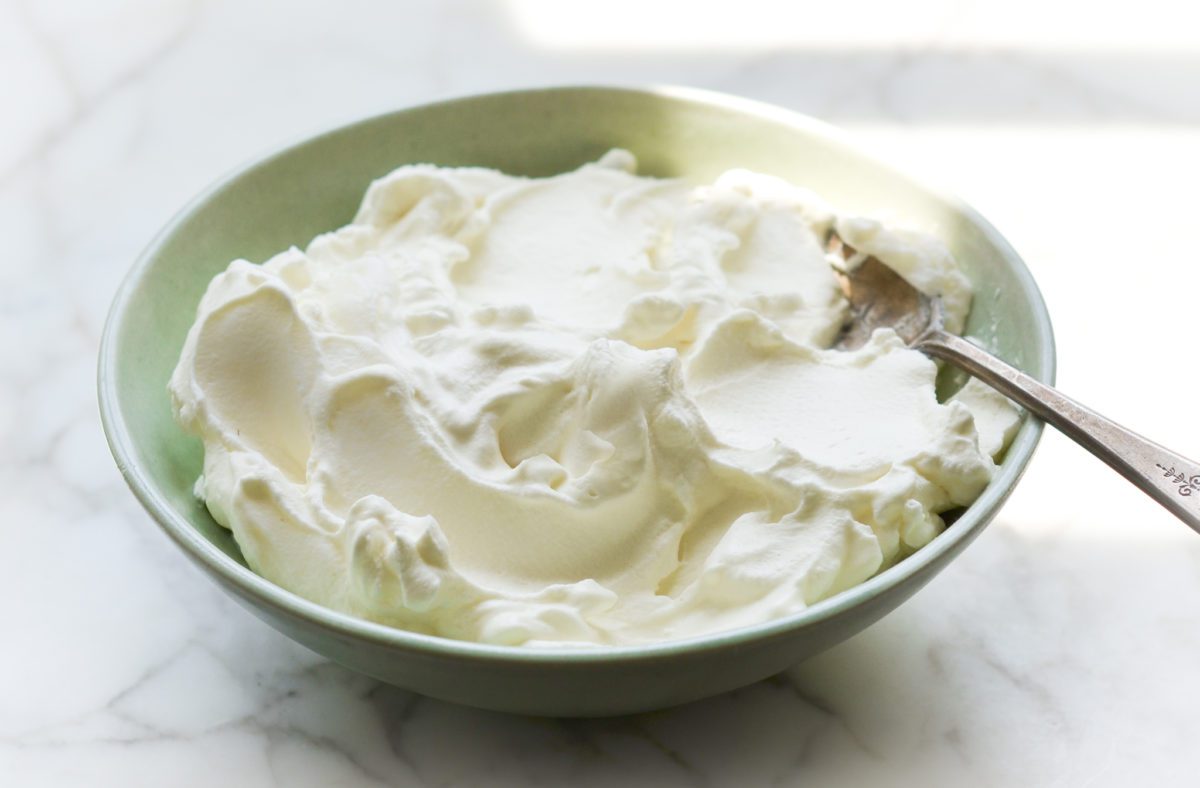
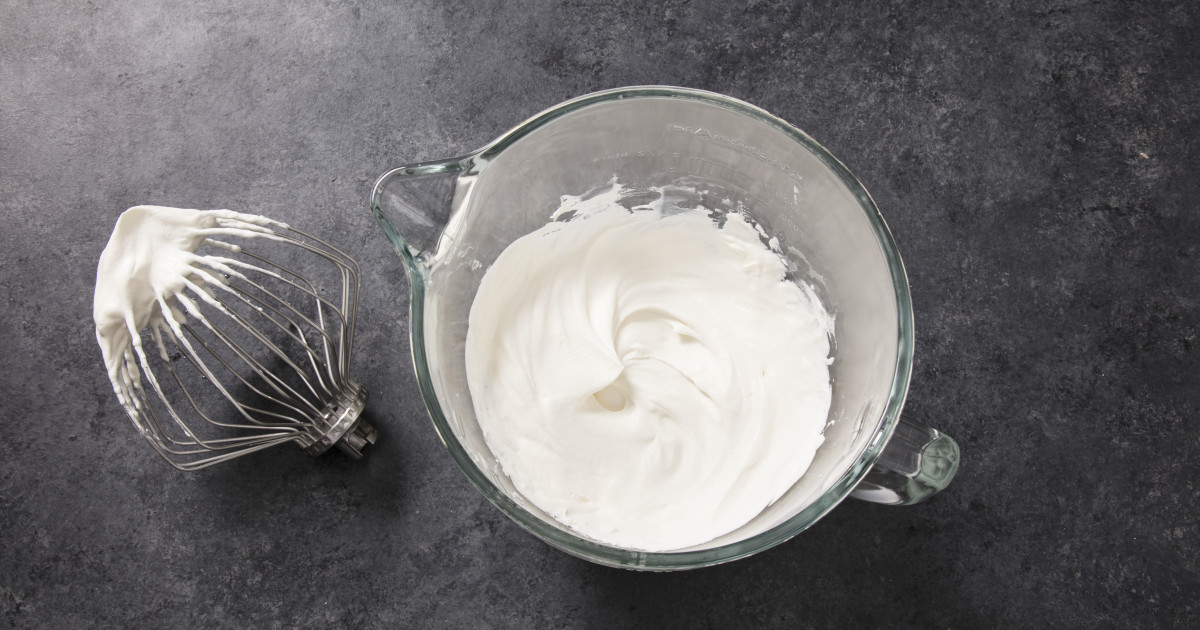
- Monitor the Texture: As the cream thickens, watch for the formation of soft peaks. The cream is ready when it holds its shape but is still smooth and luscious. Be cautious not to over-whip, as this can lead to the cream becoming grainy and eventually turning into butter.
- Optional: Add Vanilla Extract: If desired, gently fold in a small amount of pure vanilla extract to infuse the whipped cream with a hint of aromatic flavor.
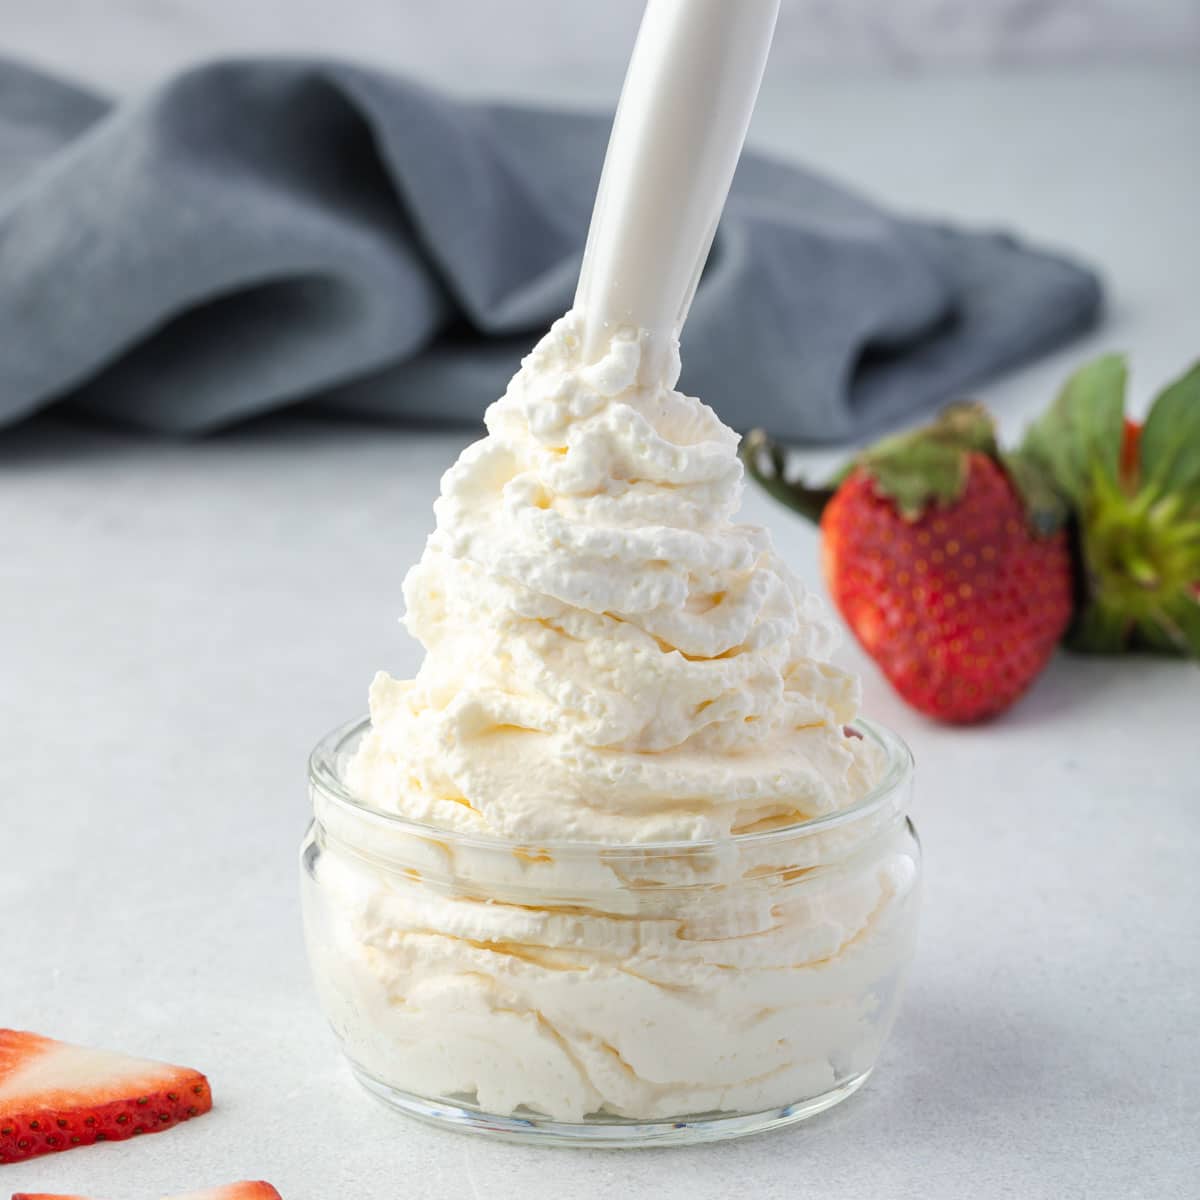
- Serve and Enjoy: Once the whipped cream reaches the perfect consistency, it’s ready to be spooned onto your favorite desserts or beverages. Revel in the satisfaction of creating a delectable homemade treat.
By following these steps with precision and care, you’ll master the art of making whipped cream in a stand mixer, achieving a heavenly texture and delightful flavor that will elevate any culinary creation.
Tips and Tricks
Creating the perfect whipped cream is an art that can be perfected with a few valuable tips and tricks. Here are some expert insights to enhance your whipped cream-making endeavors:
- Choose High-Quality Cream: Opt for heavy whipping cream with a high fat content for a richer and creamier result.
- Chill Everything: Ensure that the mixing bowl, whisk attachment, and cream are well chilled before starting. A cool environment is essential for achieving optimal texture.
- Monitor the Whipping Process: Keep a close eye on the cream as it whips, especially as it approaches the desired consistency. Over-whipping can lead to grainy or buttery texture, so exercise caution as the cream thickens.
- Adjust Sweetness to Taste: The amount of confectioners’ sugar can be adjusted based on your preference for sweetness. Taste the cream as you mix and add more sugar if needed.
- Gently Fold in Flavorings: If incorporating vanilla extract or other flavorings, use a gentle folding motion to avoid deflating the whipped cream. This ensures a smooth and consistent flavor throughout.
- Store Properly: If there are any leftovers, store the whipped cream in an airtight container in the refrigerator. It’s best enjoyed within a day or two for the freshest taste and texture.
- Experiment with Flavors: Get creative with flavor variations by infusing the cream with extracts such as almond, mint, or citrus, or incorporating a hint of cocoa powder for a chocolatey twist.
By incorporating these tips and tricks into your whipped cream-making routine, you’ll elevate your culinary creations and delight your taste buds with consistently perfect whipped cream.
Read more: How To Whip Cream With Hand Mixer
Conclusion
Congratulations! You’ve embarked on a delightful journey through the art of making whipped cream in a stand mixer. By mastering this culinary skill, you’ve unlocked the ability to add a touch of homemade decadence to your favorite desserts and beverages.
Creating whipped cream with a stand mixer allows you to tailor the sweetness and flavor to your liking, resulting in a customized treat that perfectly complements your culinary creations. With just a few simple ingredients and the right equipment, you can achieve light, airy, and luscious whipped cream that elevates every indulgence.
As you continue to hone your whipped cream-making expertise, remember to embrace creativity and experimentation. Whether it’s infusing the cream with aromatic extracts or exploring unique flavor variations, there are endless opportunities to elevate your whipped cream game and impress your family and friends with your delectable creations.
So, the next time you’re savoring a slice of pie, a bowl of fresh berries, or a steaming cup of cocoa, take pride in knowing that the velvety clouds of whipped cream adorning your treat are a testament to your culinary prowess.
Now, armed with the knowledge and expertise gained from this guide, you’re ready to embark on countless culinary adventures, each one infused with the delightful essence of homemade whipped cream.
So, go ahead, whip up a batch of heavenly goodness, and savor the sweet rewards of your newfound culinary mastery!
Frequently Asked Questions about How To Make Whipped Cream In A Stand Mixer
Was this page helpful?
At Storables.com, we guarantee accurate and reliable information. Our content, validated by Expert Board Contributors, is crafted following stringent Editorial Policies. We're committed to providing you with well-researched, expert-backed insights for all your informational needs.


0 thoughts on “How To Make Whipped Cream In A Stand Mixer”