Home>Articles>How To Make Your Own Candles With Essential Oils

Articles
How To Make Your Own Candles With Essential Oils
Modified: January 4, 2024
Learn how to create handmade candles using essential oils with our informative articles. Explore the benefits of using natural ingredients and unleash your creativity today!
(Many of the links in this article redirect to a specific reviewed product. Your purchase of these products through affiliate links helps to generate commission for Storables.com, at no extra cost. Learn more)
Introduction
Welcome to the wonderful world of candle making! There’s something magical about the soft glow and lovely aroma of a burning candle, and it’s even more special when you make it yourself. In this article, we’ll explore the art of making your own candles using essential oils.
Creating your own candles not only allows you to customize their appearance and fragrance, but it also gives you the opportunity to incorporate the therapeutic benefits of essential oils. These oils are derived from natural plant extracts and are known for their various health and well-being properties. By infusing your candles with essential oils, you can create a relaxing, inviting atmosphere that fills your space with delightful scents.
Before we dive into the candle-making process, let’s go over the basics. The key supplies you’ll need for this DIY project include wax, candle wicks, containers, a heat source for melting the wax (such as a double boiler), a thermometer, essential oils, and any additional decorative elements you desire.
When it comes to choosing the right wax, you have a few options. Paraffin wax is the most common and affordable choice. Soy wax is a natural and eco-friendly alternative, known for its clean burn and excellent scent throw. Beeswax is another option, valued for its natural fragrance and air-purifying properties.
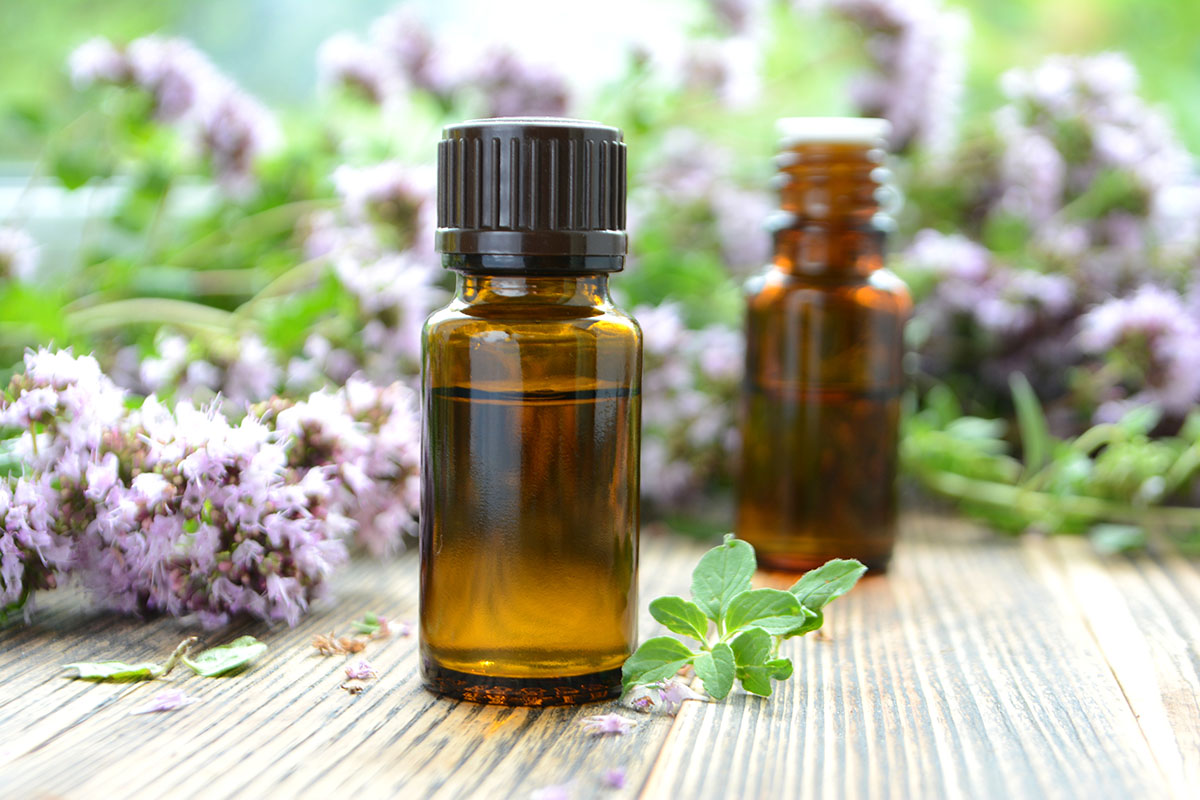
The next step is selecting the perfect essential oils for your candles. With a vast array of scents available, you can create a candle that suits your preferences and desired mood. Lavender essential oil promotes relaxation and sleep, while citrus scents like lemon and orange can boost energy and uplift your spirits. Eucalyptus oil is great for clearing congestion, and peppermint oil can help relieve headaches and improve focus.
Now that you have your supplies ready, it’s time to move on to the candle-making process. We’ll guide you step by step, ensuring that your homemade candles turn out beautifully. So, get ready to immerse yourself in the captivating world of candle making and discover the joy of creating your very own essential oil-infused candles.
Key Takeaways:
- Create personalized, therapeutic candles by selecting the right supplies and essential oil combinations. Embrace the art of candle-making to infuse your space with delightful scents and soothing ambiance.
- Enjoy the rewarding experience of making homemade essential oil candles. From melting the wax to trimming the wicks, immerse yourself in the creative process and indulge in the tranquil glow and captivating fragrances of your unique creations.
Selecting the Right Supplies
When it comes to making candles with essential oils, selecting the right supplies is crucial to ensure the success and quality of your final product. Here are some key considerations to keep in mind:
- Wax: The type of wax you choose will greatly impact the performance and scent throw of your candles. As mentioned earlier, paraffin wax, soy wax, and beeswax are popular options. Paraffin wax is readily available and affordable, but it may produce more soot compared to other types. Soy wax is a natural and sustainable choice that burns cleanly, while beeswax is known for its pleasant fragrance and air-purifying properties.
- Candle Wicks: Properly sized and centered wicks are essential for a successful candle burn. Cotton wicks are most commonly used and available in various thicknesses to suit different candle sizes. It’s important to choose a wick size that matches the diameter of your candle container. If the wick is too small, it may tunnel and create an uneven burn. If it’s too large, it may produce excessive smoke or lead to a hotter burn.
- Containers: The choice of container for your candles depends on your aesthetic preferences and the type of wax you’re using. For paraffin and soy wax, glass jars work well as they allow the beauty of the candle to shine through. Be sure to choose containers that are heat resistant and have a suitable diameter for your wick. If you’re using beeswax, consider using tin or metal containers that can handle the higher melting point of beeswax.
- Heat Source: You’ll need a reliable heat source for melting the wax. A double boiler is the safest and most effective method, as it provides indirect heat and prevents the wax from burning. If you don’t have a double boiler, you can use a stainless steel or heat-resistant glass container placed in a pot of water on the stove. Avoid using direct heat sources like microwaves, as they can cause the wax to overheat or catch fire.
- Thermometer: To ensure the wax reaches the correct temperature and doesn’t overheat or burn, a thermometer is essential. Look for a candy or candle-making thermometer that can withstand high temperatures. This will help you monitor the wax temperature and achieve the best results.
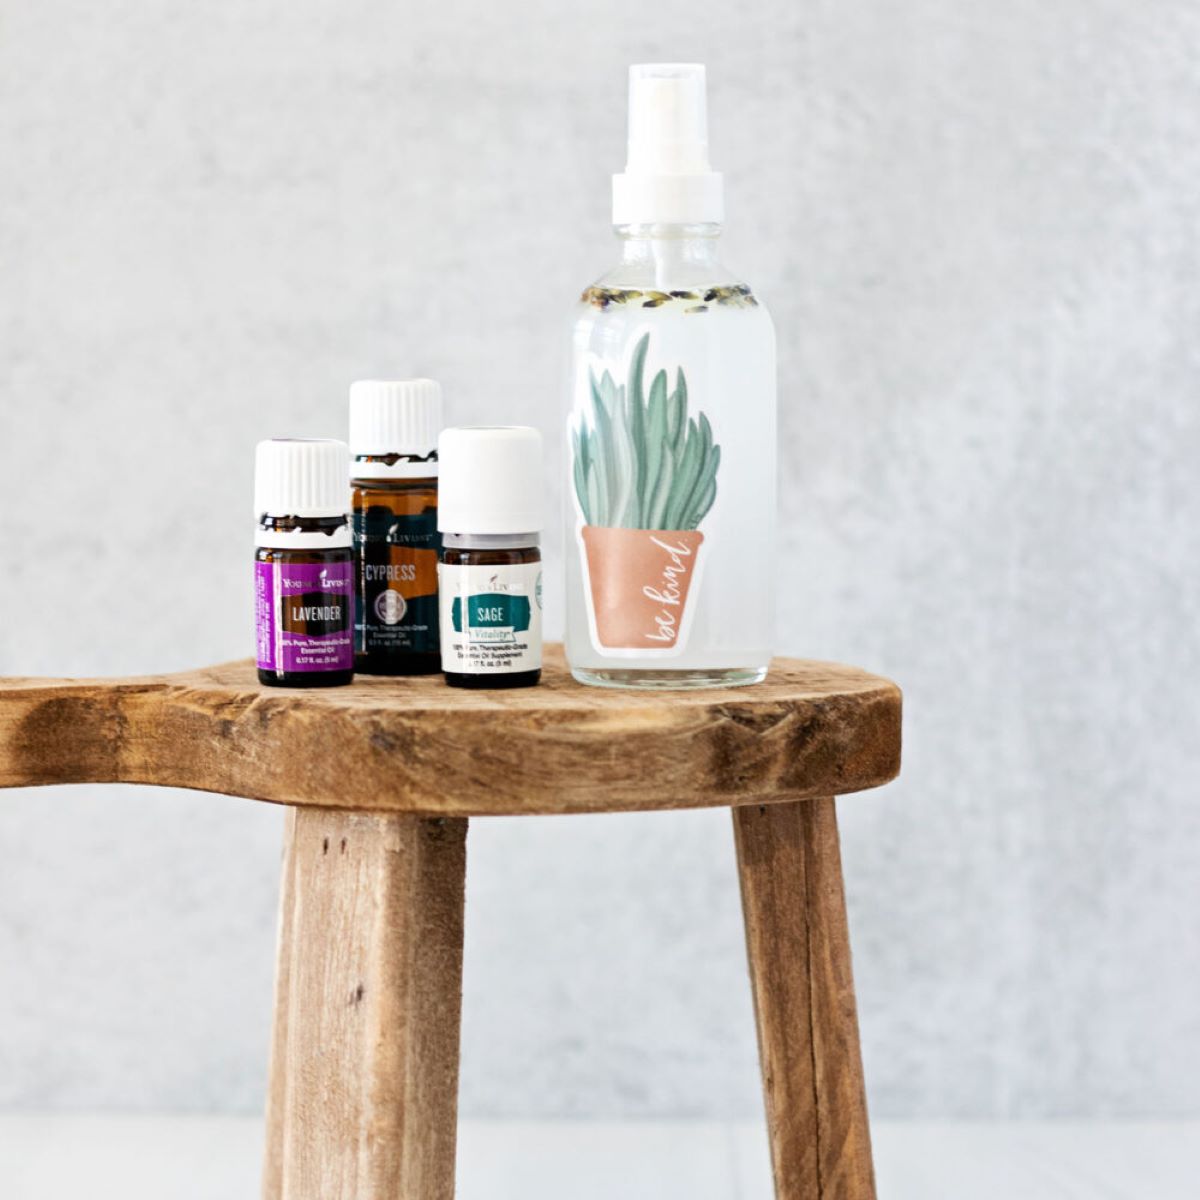
- Essential Oils: The star of the show! Choose high-quality, pure essential oils for the best fragrance and therapeutic benefits. Essential oils come in a wide range of scents, from floral and citrus to woody and herbal. Be sure to research each oil’s properties and consider how they blend together for your desired fragrance combination.
- Decorative Elements: If you want to get creative, consider adding decorative elements to your candles. You can use dried flowers, herbs, or even glitter to enhance the visual appeal of your candles. Just ensure that any additional materials are heat safe and won’t impact the burning performance of the candle.
By choosing the right supplies, you set the foundation for creating beautiful and fragrant candles with essential oils. Now that we’ve covered the basics of selecting the right materials, it’s time to explore the exciting world of essential oil combinations and dive into the actual candle-making process.
Choosing the Perfect Essential Oils
When it comes to making scented candles with essential oils, the fragrance combinations are endless. Each essential oil has its own unique scent profile and therapeutic properties, allowing you to create a personalized and aromatic experience. Here are some tips for choosing the perfect essential oils for your homemade candles:
- Familiarize Yourself with Essential Oil Scents: Before starting your candle-making journey, take a moment to familiarize yourself with the scents of different essential oils. Each oil has its own distinct aroma, ranging from floral and fruity to earthy and woody. Some popular options include lavender, citrus, eucalyptus, peppermint, and vanilla. Consider what scents you personally enjoy and what mood or ambiance you want to create with your candles.
- Synergy and Balance: Essential oils can be used individually or blended together to create unique fragrance combinations. When selecting oils for blending, consider their compatibility and how they complement each other. Some oils have stronger scents that can overpower others, so it’s essential to find a balance. For example, you might pair the calming properties of lavender with the uplifting qualities of citrus to create a well-rounded, refreshing scent.
- Consider Therapeutic Benefits: Essential oils are not just about fragrance; they also offer therapeutic benefits. Each oil has its own set of properties, which can range from promoting relaxation and stress relief to boosting energy and concentration. When choosing essential oils for your candles, think about the desired effect you want to achieve. For a relaxing evening at home, lavender or chamomile oils can create a soothing atmosphere, while a blend of peppermint and rosemary can help invigorate your mind during a study or work session.
- Testing and Experimentation: Don’t be afraid to experiment and test different essential oil combinations. Some scents may work well together, while others may not create the desired effect. Start with small amounts and combine a few drops of each oil to see how they blend. Keep track of your experiments and take notes so that you can recreate your favorite scents in the future.
- Quality Matters: When buying essential oils, opt for high-quality, pure oils. Look for oils that are sourced from reputable suppliers and undergo rigorous testing. Pure essential oils provide a more potent and authentic fragrance, ensuring that your candles will have a pleasant and long-lasting scent throw.
- Personal Preference: Ultimately, trust your own senses and personal preferences when choosing essential oils. The scents you enjoy and resonate with are the ones that will bring you the most joy and relaxation. Listen to your intuition and create candles that reflect your unique style and taste.
Remember, making candles with essential oils is a creative and artistic process. Embrace the exploration, have fun with experimentation, and discover the perfect fragrance combinations that will transform your space into a soothing and aromatic sanctuary.
Preparing the Candle Wicks
Before you can start making your own candles with essential oils, it’s important to properly prepare the candle wicks. The wick is the heart of the candle, responsible for providing an even and consistent flame. Here’s a step-by-step guide on how to prepare your candle wicks:
- Choose the Right Wick: Selecting the appropriate wick is crucial for a successful burn. The size of the wick depends on the diameter of the candle container. You can refer to wick size charts available online or consult the instructions provided by the wick manufacturer. Make sure to choose wicks that are specifically designed for the type of wax you’re using.
- Measure and Cut: Measure the height of your candle container and add a few extra inches to account for attaching the wick to the bottom of the container and trimming later on. Use a pair of scissors to cut the wick to the desired length.
- Attach the Wick to the Wick Sustainer: Most wicks come with a metal or wooden sustainer at the bottom. Place the sustainer at the end of the wick and use a pair of pliers to crimp it tightly. Make sure the sustainer is centered and securely attached to the wick.
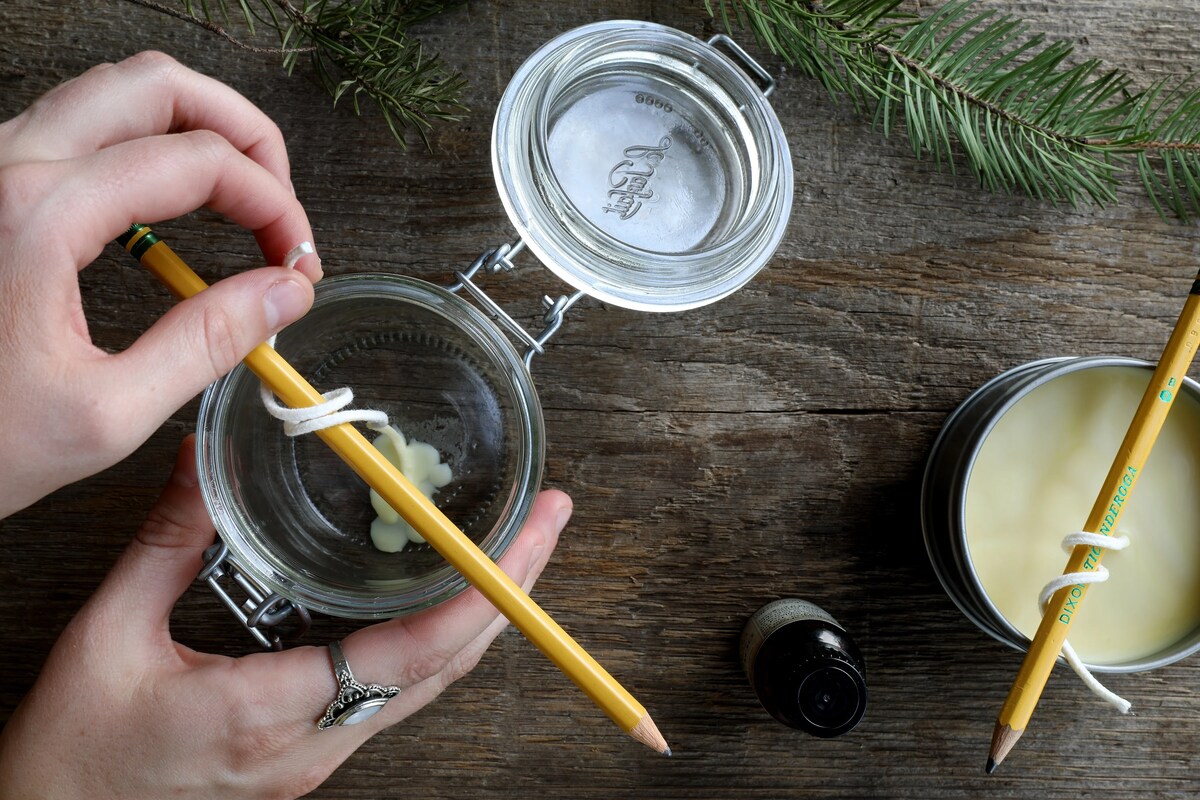
- Center the Wick in the Container: Place the wick in the center of the candle container, ensuring that it stands straight. You can use a wick centering tool or a simple pencil or chopstick to hold the wick in place. Make sure there is enough excess wick to trim later on.
- Secure the Wick in Place: To keep the wick in place while pouring the wax, you can use adhesive dots, hot glue, or a small amount of melted wax. Apply a small dot or dab of adhesive at the bottom of the sustainer and press it firmly onto the base of the container. This will prevent the wick from moving or drifting during the candle-making process.
- Optional: Wick Bar: If you’re making multiple candles or larger quantities, you may consider using a wick bar to hold multiple wicks in place. A wick bar is a metal or wooden rod with holes to hold the wicks securely. Simply insert the wicks into the holes and place the wick bar across the top of the candle container.
By properly preparing the candle wicks, you ensure that they are centered, secure, and ready to create a beautiful, even burn. Now that the wicks are ready, it’s time to move on to the next step: melting the wax and adding the essential oils.
Melting the Wax
Now that you have your candle wicks prepared, it’s time to start melting the wax. Properly melting the wax is essential for achieving a smooth and even consistency. Follow these steps to melt the wax for your homemade candles:
- Prepare a Double Boiler: Fill a large saucepan halfway with water and bring it to a gentle simmer. Place a heat-resistant glass or stainless-steel container on top of the saucepan, creating a double boiler setup. Ensure that the bottom of the container does not touch the water.
- Measure the Wax: Depending on the size of your candle containers, measure the appropriate amount of wax. It’s a good idea to melt slightly more wax than you’ll need to account for any spillage or loss during the pouring process.
- Place Wax in the Double Boiler: Add the measured wax into the top container of the double boiler setup. The heat from the steam will gradually melt the wax. Stir the wax occasionally with a heat-resistant spoon or spatula to ensure even melting.
- Monitor the Temperature: It’s important to monitor the temperature of the melting wax to prevent it from overheating or reaching its flash point. Different waxes have varying melting points, so refer to the instructions provided with the specific type of wax you’re using. Typically, soy wax melts around 120-150°F (49-66°C), while paraffin wax melts around 150-170°F (66-77°C).
- Use a Thermometer: Insert a candy or candle-making thermometer into the wax to keep track of the temperature. Stir the wax gently while measuring the temperature, ensuring that it heats evenly. If the wax starts smoking or bubbling, remove it from the heat source immediately.
- Optional: Add Color: If you want to add color to your candles, you can incorporate candle dye at this stage. Add a small amount of liquid or block dye to the melting wax and stir until it is fully dissolved. Keep in mind that a little goes a long way, so start with a small amount and add more if desired.
- Optional: Add Fragrance: Once the wax has melted and reached the desired temperature, it’s time to add your chosen essential oils for fragrance. The recommended usage rate is about 6-10% of the total wax weight. This means that for every ounce of wax, you’ll add about 0.06-0.1 ounces of essential oil. Stir the wax gently to ensure that the essential oils are well incorporated.
Now that your wax has been melted and prepared with any desired color or fragrance, it’s time to move on to the next step: pouring the wax into the candle containers. This is where your creativity shines as you create beautiful, aromatic candles that will fill your space with delightful scents.
Adding Essential Oils to the Wax
Now that your wax is melted and at the desired temperature, it’s time to add the essential oils to infuse your candles with delightful scents. Adding essential oils to the wax requires careful measurement and gentle mixing to ensure an even distribution of fragrance throughout the candles. Here’s how to add essential oils to your melted wax:
- Calculate the Amount: Determine the amount of essential oil you’ll need based on the recommended usage rate, which is typically 6-10% of the total wax weight. For example, if you have 20 ounces of melted wax, you’ll use approximately 1.2-2 ounces of essential oil. Use a scale or measuring spoons to measure the desired amount accurately.
- Choose Your Essential Oil Combination: Recall the fragrance combinations you decided on during the selection process. You can use a single essential oil or blend multiple oils to create a unique aroma. Start by adding a few drops of essential oil at a time to the melted wax, and gradually increase the amount until you reach your desired scent intensity.
- Gently Stir the Wax: Use a heat-resistant spoon or spatula to gently stir the melted wax as you add the essential oils. Ensure that the oils are evenly distributed throughout the wax. Avoid stirring too vigorously, as it may introduce air bubbles into the mixture.
- Test the Scent: To gauge the strength of the fragrance, you can take a small amount of the melted wax and allow it to cool slightly on a spoon. This way, you can assess if the scent is to your liking or if you need to adjust the amount of essential oil accordingly. Remember that the scent may intensify slightly as the candles cure and solidify.
Adding essential oils to the melted wax is an important step in creating beautifully scented candles. It allows you to customize the fragrance and experience of each candle, bringing a relaxing and inviting ambiance to your space. After adding the essential oils, it’s time to pour the wax into the candle containers and let them cool and set.
When making candles with essential oils, be sure to use a high-quality, natural wax like soy or beeswax for the best scent throw and clean burn.
Pouring the Wax into Containers
With your melted wax infused with the delightful fragrance of essential oils, it’s time to pour the wax into your chosen candle containers. This step requires careful pouring techniques to ensure that the wax fills the containers evenly and that the wicks remain centered. Here’s a step-by-step guide on how to pour the wax into your candle containers:
- Prepare Your Workspace: Set up a clean and level workspace where you can safely pour the wax. Place a protective covering, such as newspaper or a heat-resistant mat, to catch any potential spills or drips.
- Secure the Wick: Double-check that the wick is securely held in place at the bottom of the candle container. Use a wick centering tool or a pencil to ensure that the wick stays centered while pouring the wax.
- Pour in the Wax: Slowly and carefully pour the melted wax into the candle container. Start at the center and pour in a steady stream to avoid splashing or overflowing. Pour the wax to the desired level, leaving a small amount of space at the top for any additional decorations or to allow for proper burning.
- Avoid Disturbing the Wick: Take care not to bump or disturb the wick while pouring the wax. Gently maneuver the container if needed to ensure an even distribution of wax without disrupting the wick’s position.
- Optional: Layering Colors or Scents: If you want to create visually appealing layered candles or combine different colored waxes or scents, you can pour a small amount of wax into the container, allow it to partially solidify, then pour the next layer on top. Repeat this process until you achieve the desired layered effect.
- Allow the Wax to Cool: Let the candles sit undisturbed for several hours to allow the wax to cool and solidify completely. The cooling time may vary depending on the size and type of wax used. It’s essential to exercise patience during this step to ensure that the candles set properly.
- Optional: Add Decorative Elements: If you plan to decorate your candles with dried flowers, herbs, or other decorative elements, you can do so while the wax is still slightly soft. Gently press the decorations into the surface of the wax, ensuring they are securely embedded.
By following these steps, you can pour the melted wax into your candle containers, creating beautiful candles infused with the delightful scents of essential oils. Now, all that’s left to do is allow the candles to cool and fully set before moving on to the next step: trimming the wicks.
Cooling and Setting the Candles
After pouring the melted wax into your candle containers, the next step is to allow the candles to cool and set. This cooling and setting process is crucial for ensuring that the wax solidifies properly, allowing for safe and effective candle burning. Here’s what you need to do:
- Let the Candles Sit Undisturbed: Place the filled candle containers in a cool, undisturbed area where they can cool down naturally. Avoid moving or touching the candles as this can disrupt the cooling process and potentially cause imperfections in the final appearance of the candles.
- Allow Sufficient Cooling Time: The exact cooling time will vary depending on the size and type of wax used. In general, it’s recommended to let the candles cool for at least 4-6 hours or until the wax has completely solidified. Be patient during this time and resist the temptation to touch or move the candles prematurely.
- Observe the Surface Appearance: As the wax cools and solidifies, you may notice some changes in the appearance of the surface. This is normal and can include slight shrinkage or the formation of small air pockets. These imperfections can add character to your homemade candles and won’t affect their performance.
- Check for Sinkholes: Occasionally, you may notice sinkholes or depressions forming in the center of the candles as they cool. If this happens, you can gently poke small holes around the sinkholes and fill them with a bit of melted wax to level the surface. Allow the additional wax to cool and blend with the surrounding wax.
- Ensure Proper Stability: Once the candles have cooled and solidified, check to ensure that they are stable and the wicks remain centered. If necessary, gently adjust the wicks to ensure they are straight and upright. This will help promote an even burn when the candles are lit.
- Final Check and Quality Assurance: Before proceeding, inspect each candle for any imperfections or abnormalities. Look for any cracks, uneven surfaces, or signs of wick displacement. While small imperfections can be expected, you want to ensure that the candles are of good quality and ready for use.
Cooling and setting the candles is an important step in the candle-making process. It allows the wax to solidify properly, ensuring that your homemade candles are safe to burn and will provide hours of delightful scent and ambiance. Once the candles have fully cooled and set, it’s time to move on to the final step: trimming the wicks.
Trimming the Wicks
After the candles have cooled and set, it’s time to trim the wicks to the appropriate length. Trimming the wicks not only enhances the appearance of the candles but also promotes a safe and efficient burn. Here’s a simple guide on how to trim the wicks of your homemade candles:
- Inspect the Wick Length: Take a close look at the wicks of each candle. Over time, depending on the burn, the wicks may become too long, which can lead to excessive flickering, uneven burning, or soot buildup. Trimming the wicks helps maintain a controlled flame and a cleaner burn.
- Measure the Wick Length: Use a ruler or wick trimmer to measure approximately 1/4 to 1/2 inch (0.6 to 1.3 cm) above the surface of the candle wax. This is the ideal length for a wick that will provide a steady and even burn without producing excessive smoke.
- Trim the Wicks: Using a pair of sharp scissors or wick trimmers, carefully trim the wick to the desired length. Hold the candle steady and make a clean, straight cut across the wick. Be cautious not to cut the wick too short, as this can make it difficult to relight the candle.
- Remove the Trimmed Wicks: After trimming the wicks, remove any loose wick trimmings from the surface of the candle. This helps maintain a clean appearance and prevents any stray trimmings from interfering with the flame or falling into the wax while the candle is burning.
- Dispose of the Trimmed Wicks: Dispose of the trimmed wick pieces in a safe manner. You can simply discard them in the trash or collect them in a container for later disposal. Avoid leaving the trimmed wicks on surfaces near the candles, as they can pose a fire hazard.
By trimming the wicks of your homemade candles, you not only ensure a safer burning experience but also help extend the overall lifespan of the candles. Trimming the wicks before each use helps maintain a consistent flame height and prevents the formation of excessive soot or mushrooming.
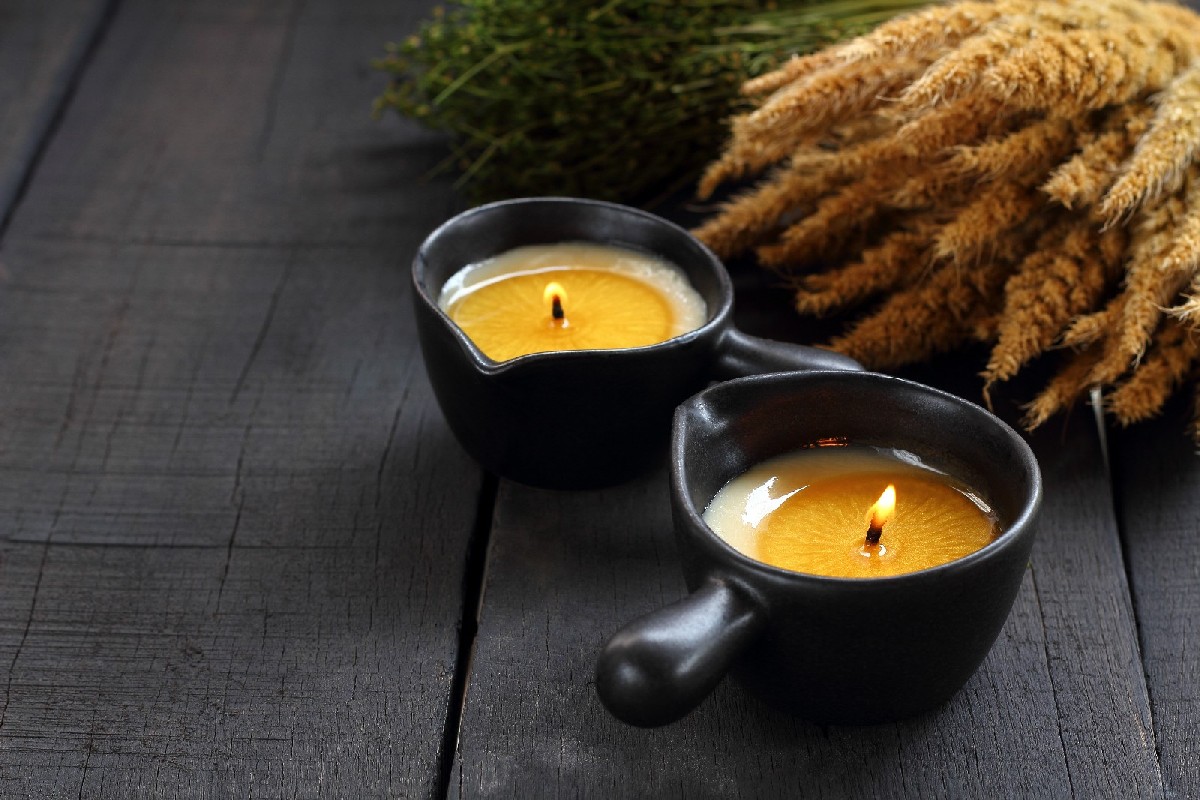
Now that you have trimmed the wicks, your homemade essential oil candles are ready to be enjoyed. Light them up and bask in the soothing glow and delightful fragrance that you have created.
Read more: How To Make Coconut Oil Candles
Enjoying Your Homemade Essential Oil Candles
Congratulations! You have successfully created your own homemade essential oil candles. Now it’s time to sit back, relax, and enjoy the delightful ambiance and wonderful scents that your candles bring to your space. Here are some tips on how to make the most out of your homemade candles:
- Create a Ritual: Incorporating your candles into a daily or weekly ritual can elevate the experience. Set aside a specific time each day to light your candles and indulge in some mindful relaxation. Whether it’s during a bubble bath, while reading a book, or during meditation, let your candles enhance the atmosphere and make it a special moment.
- Experiment with Placement: Move your candles around different areas of your home to see where they create the most impact. Place them on a coffee table, beside the bathtub, or on a mantel to create a cozy and inviting atmosphere. Explore various rooms and experiment with different arrangements to discover the perfect spot for each candle.
- Unwind and De-Stress: The gentle flicker of a candle and the soothing aromas of essential oils can help create a calming and stress-relieving environment. Take advantage of this by using your homemade candles to create a tranquil space where you can unwind and de-stress after a long day. Light the candles, dim the lights, and allow their scents to help melt away the tension.
- Explore Scent Combinations: With your homemade candles, you have the freedom to mix and match essential oils to create unique and personalized scent combinations. Have fun experimenting with different aromas to discover your favorites. Consider blending relaxing lavender with invigorating citrus, or combining earthy patchouli with uplifting bergamot. The possibilities are endless!
- Practice Candle Safety: As you enjoy your homemade candles, it’s important to prioritize safety. Never leave a burning candle unattended and ensure that they are placed on a stable and heat-resistant surface. Keep the candles away from flammable materials and out of the reach of children and pets. Remember to extinguish the candle flame before leaving the room or going to bed.
- Give as Thoughtful Gifts: Your homemade essential oil candles also make wonderful gifts for friends and loved ones. Share your creativity and passion by gifting these personalized candles on birthdays, holidays, or special occasions. Package them beautifully and include a note about their unique fragrance combination.
- Keep Improving: Candle-making is an art that can be continuously refined and improved. Take note of your experiences, learn from them, and try new techniques and fragrances. Explore different container styles and sizes, experiment with decorative elements, and continue to hone your skills to create even more captivating candles.
By incorporating these tips into your candle experience, you can fully enjoy and appreciate the wonderful ambiance and scents that your homemade essential oil candles bring to your home. Remember, candle-making is not only a creative outlet but also a source of relaxation and self-care. Enjoy the process and let the soft glow and enticing fragrances uplift your spirits.
Now, go ahead, light your candles, and immerse yourself in the cozy and aromatic world you have created!
Conclusion
Creating your own candles with essential oils is a fulfilling and rewarding experience that allows you to infuse your living space with captivating scents and soothing flickering light. Throughout this article, we explored the step-by-step process of making homemade essential oil candles, from selecting the right supplies to enjoying the final product.
By carefully selecting the right wax, candle wicks, containers, and essential oils, you can customize your candles to suit your preferences and desired ambiance. The therapeutic properties of essential oils add an extra layer of relaxation and well-being to your homemade candles, making them a delightful addition to any room.
As you melt the wax, add the essential oils, and pour the mixture into the containers, you have the opportunity to unleash your creativity and experiment with different color combinations, fragrance blends, and decorative elements. The cooling and setting process ensures that your candles solidify properly, while the trimming of the wicks promotes safe and efficient burning.
Once your homemade essential oil candles are ready, it’s time to immerse yourself in the tranquil ambiance and delightful scents they bring to your space. Create a daily or weekly ritual around lighting your candles, explore different placements around your home, and take the time to unwind and de-stress in their gentle glow.
Remember to practice candle safety to ensure a worry-free experience. Be attentive to the burn times, keep your candles away from flammable materials, and never leave them unattended. With the right care, your homemade candles will provide hours of enjoyment.
Whether you choose to keep your candles for yourself or gift them to others, embrace the joy of candle-making and continue to explore new fragrance combinations and techniques. With each homemade candle you create, you’ll enhance your skills and create a truly unique and personalized experience.
So, why wait? Start your candle-making journey today and embark on a creative and aromatic adventure that will fill your space with the warmth, tranquility, and enchanting scents of your own homemade essential oil candles.
Frequently Asked Questions about How To Make Your Own Candles With Essential Oils
Was this page helpful?
At Storables.com, we guarantee accurate and reliable information. Our content, validated by Expert Board Contributors, is crafted following stringent Editorial Policies. We're committed to providing you with well-researched, expert-backed insights for all your informational needs.
