Articles
How To Move A Dishwasher
Modified: August 31, 2024
Learn how to move a dishwasher with these helpful articles.
(Many of the links in this article redirect to a specific reviewed product. Your purchase of these products through affiliate links helps to generate commission for Storables.com, at no extra cost. Learn more)
Introduction
Moving a dishwasher can be a daunting task, but with the right preparation and a step-by-step plan, you can successfully relocate your appliance without any hassle. Whether you are moving to a new home or simply rearranging your kitchen layout, knowing how to move a dishwasher properly is crucial to ensure its safety and functionality.
In this article, we will guide you through the process of moving a dishwasher from start to finish. We’ll cover everything from preparing for the move to reinstalling and testing the dishwasher in its new location. So, let’s dive in!
Before we begin, it’s important to note that moving a dishwasher can be a physically demanding task. If you’re not comfortable or confident in your ability to handle the appliances, it’s best to seek professional help. However, if you’re up for the challenge, let’s get started with the preparation phase.
Key Takeaways:
- Proper preparation is essential when moving a dishwasher. This includes reading the manufacturer’s guidelines, gathering necessary tools, and clearing the area around the appliance to ensure a smooth and safe relocation process.
- When reinstalling and testing the dishwasher in its new location, it’s important to follow the manufacturer’s instructions, check for leaks, and ensure proper drainage to guarantee optimal performance and functionality.
Read more: How To Move A Wardrobe
Preparing for the Move
Before you start moving your dishwasher, there are a few important steps you need to take to ensure a smooth and successful relocation. Follow these guidelines to prepare for the move:
- Read the manufacturer’s guidelines: Consult the manual or contact the manufacturer to familiarize yourself with any specific instructions or precautions for moving the dishwasher. This will help you avoid any potential damage or voiding of the warranty.
- Gather the necessary tools: Make sure you have all the tools you’ll need for the job, such as a screwdriver, adjustable wrench, pliers, and a utility knife. Having these tools on hand will make the disconnection process much easier.
- Clear the area around the dishwasher: Remove any items that are stored near the dishwasher, such as dishes, utensils, and cleaning supplies. Creating a clear and clutter-free workspace will minimize the risk of accidents and make it easier to maneuver the appliance.
- Shut off the power and water: Before disconnecting the dishwasher, turn off the power at the circuit breaker and shut off the water supply. This will prevent any electrical or water-related mishaps during the moving process.
- Take photos: Before you start disconnecting any wires or hoses, take photos of the connections. This will serve as a visual reference when it’s time to reinstall the dishwasher.
By following these preparation steps, you’ll set yourself up for a successful and stress-free dishwasher move. Once you’ve completed these tasks, you’re ready to move on to the next phase – disconnecting the dishwasher.
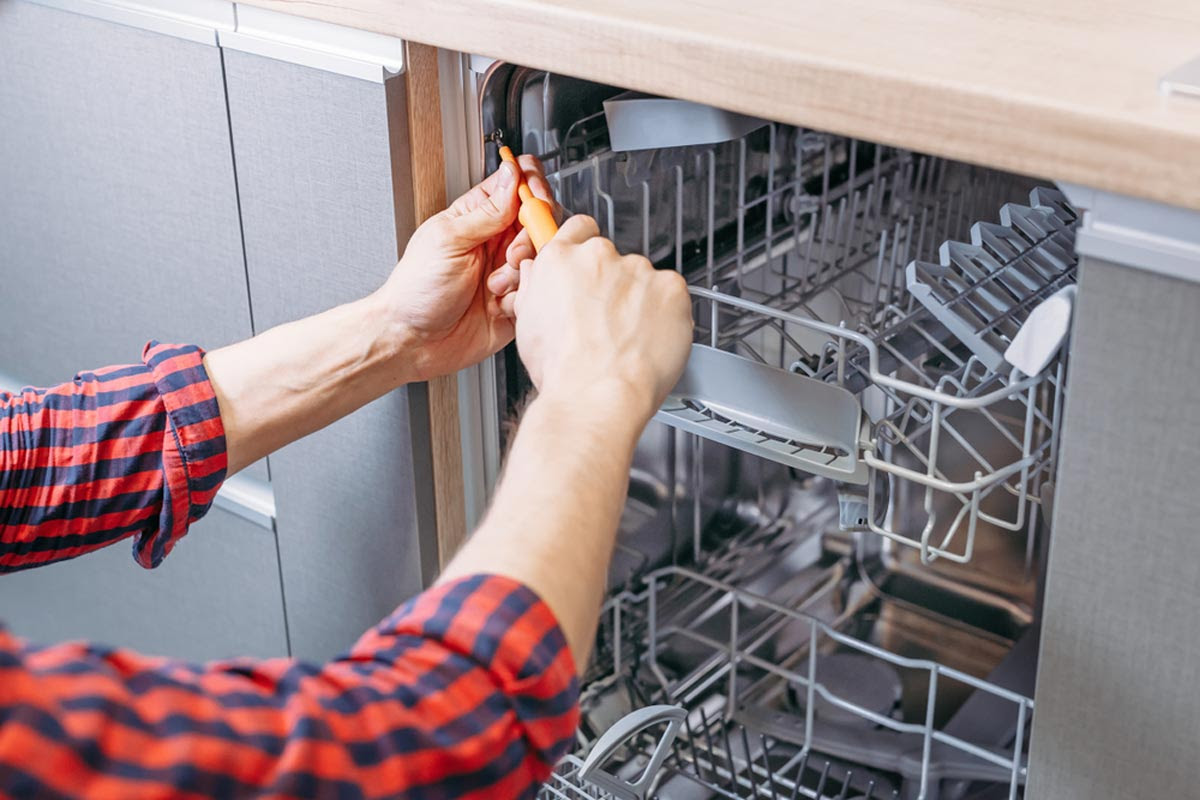
Disconnecting the Dishwasher
Disconnecting the dishwasher properly is crucial to avoid any damage to the appliance and ensure a smooth transition. Follow these steps to safely disconnect your dishwasher:
- Turn off the water supply: Locate the water shut-off valve beneath the sink and turn it clockwise to shut off the water supply to the dishwasher. This step is important to prevent any water leaks during the disconnection process.
- Unplug the power cord: Locate the power cord behind the dishwasher and unplug it from the electrical outlet. If the cord is hardwired, you may need to turn off the power at the circuit breaker instead.
- Remove the lower access panel: Use a screwdriver to remove the screws securing the lower access panel at the front of the dishwasher. Set aside the screws in a safe place for reinstallation later.
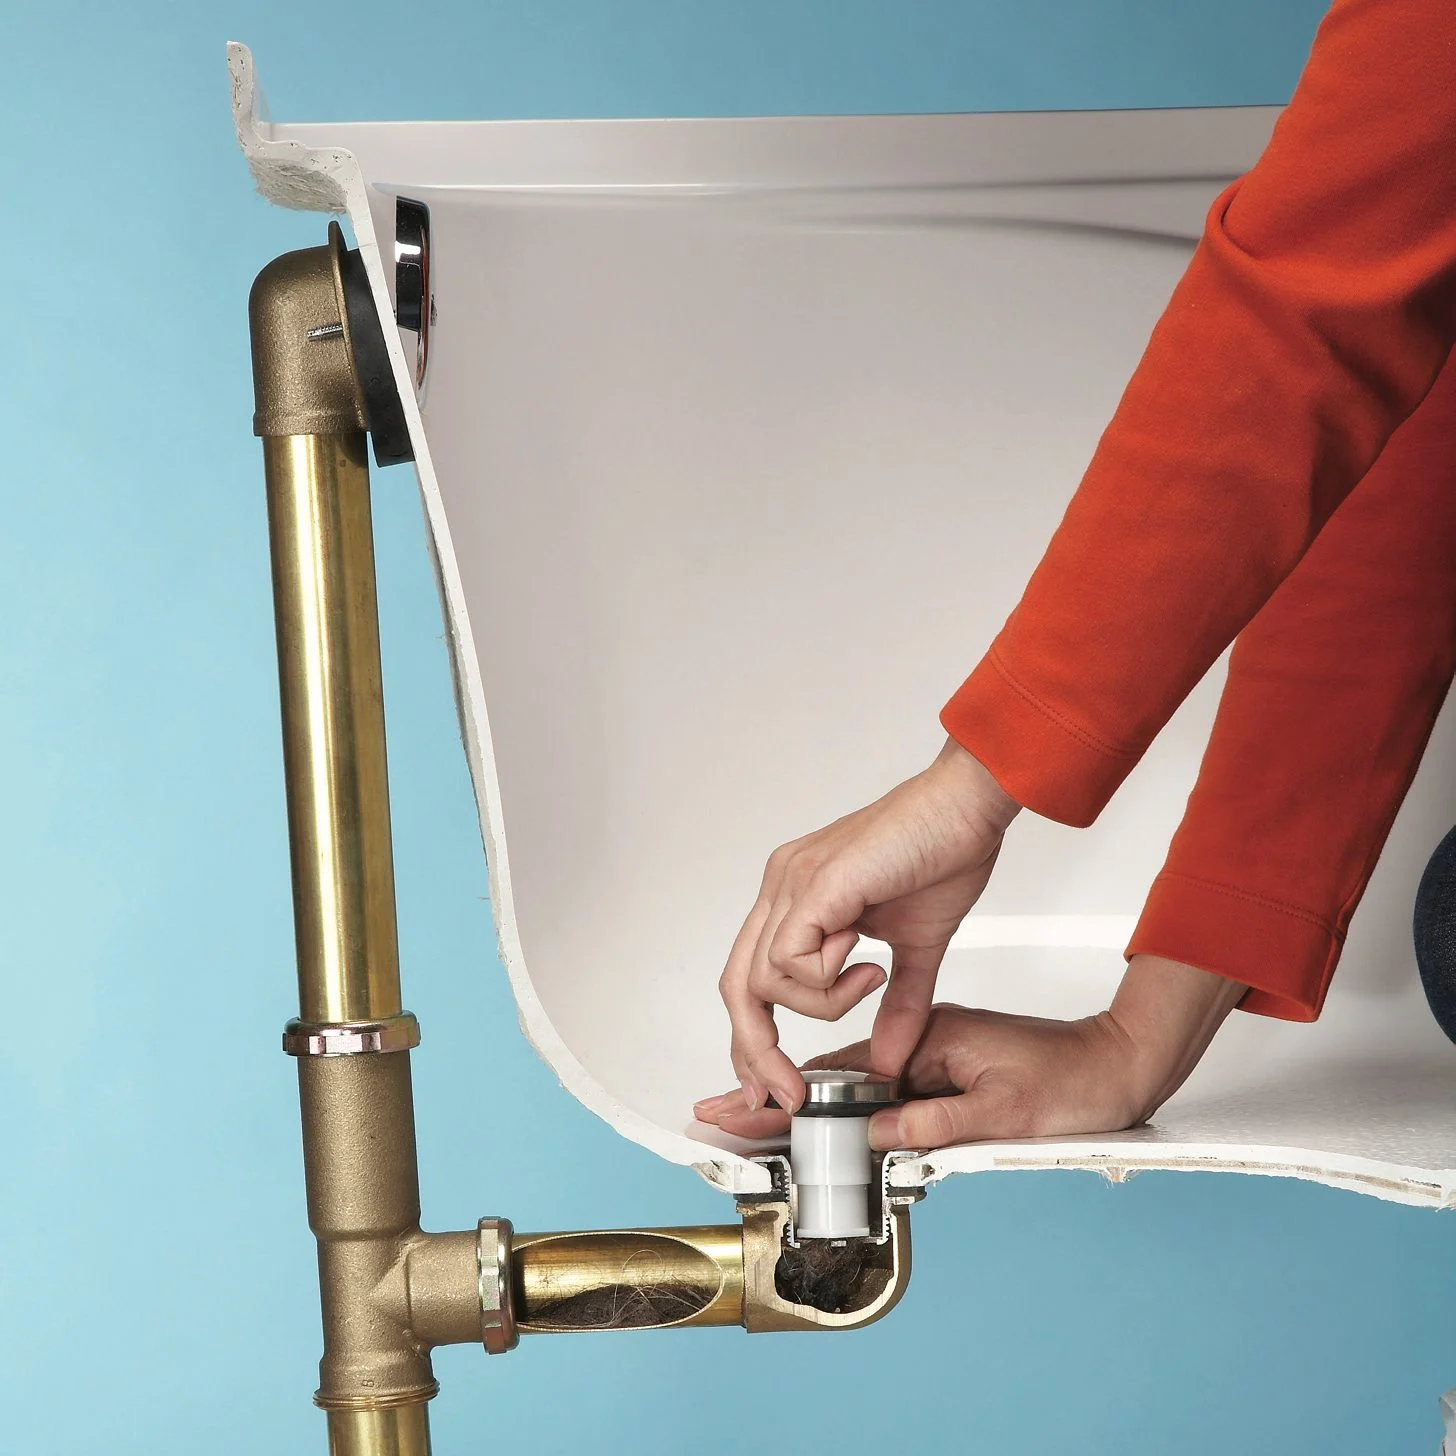
- Disconnect the water supply line: Depending on the type of connection, you may need an adjustable wrench or pliers to disconnect the water supply line from the dishwasher. Place a towel or bucket underneath to catch any residual water.
- Disconnect the drain hose: Locate the drain hose connected to the dishwasher and disconnect it from the sink drain or garbage disposal. Again, have a towel or bucket ready to catch any water that may come out.
- Detach the dishwasher from the countertop: Most dishwashers are secured to the countertop with screws or brackets. Use a screwdriver or wrench to remove these fasteners and detach the dishwasher from the countertop.
- Test for any remaining connections: Before moving the dishwasher, double-check for any remaining connections such as electrical wires or mounting brackets. Disconnect these carefully to prevent any damage.
By following these steps, you’ll be able to disconnect your dishwasher effectively and safely. Remember to keep track of any screws or small parts you remove and store them in a labeled bag or container to ensure easy reinstallation later on.
Now that the dishwasher is disconnected, let’s move on to the next phase – removing the dishwasher from its current location.
Removing the Dishwasher
Once you have successfully disconnected the dishwasher, it’s time to remove it from its current location. Follow these steps to safely remove the dishwasher:
- Clear the path: Make sure the path from the dishwasher to the exit is clear of any obstacles or furniture. This will ensure a smooth and hassle-free removal process.
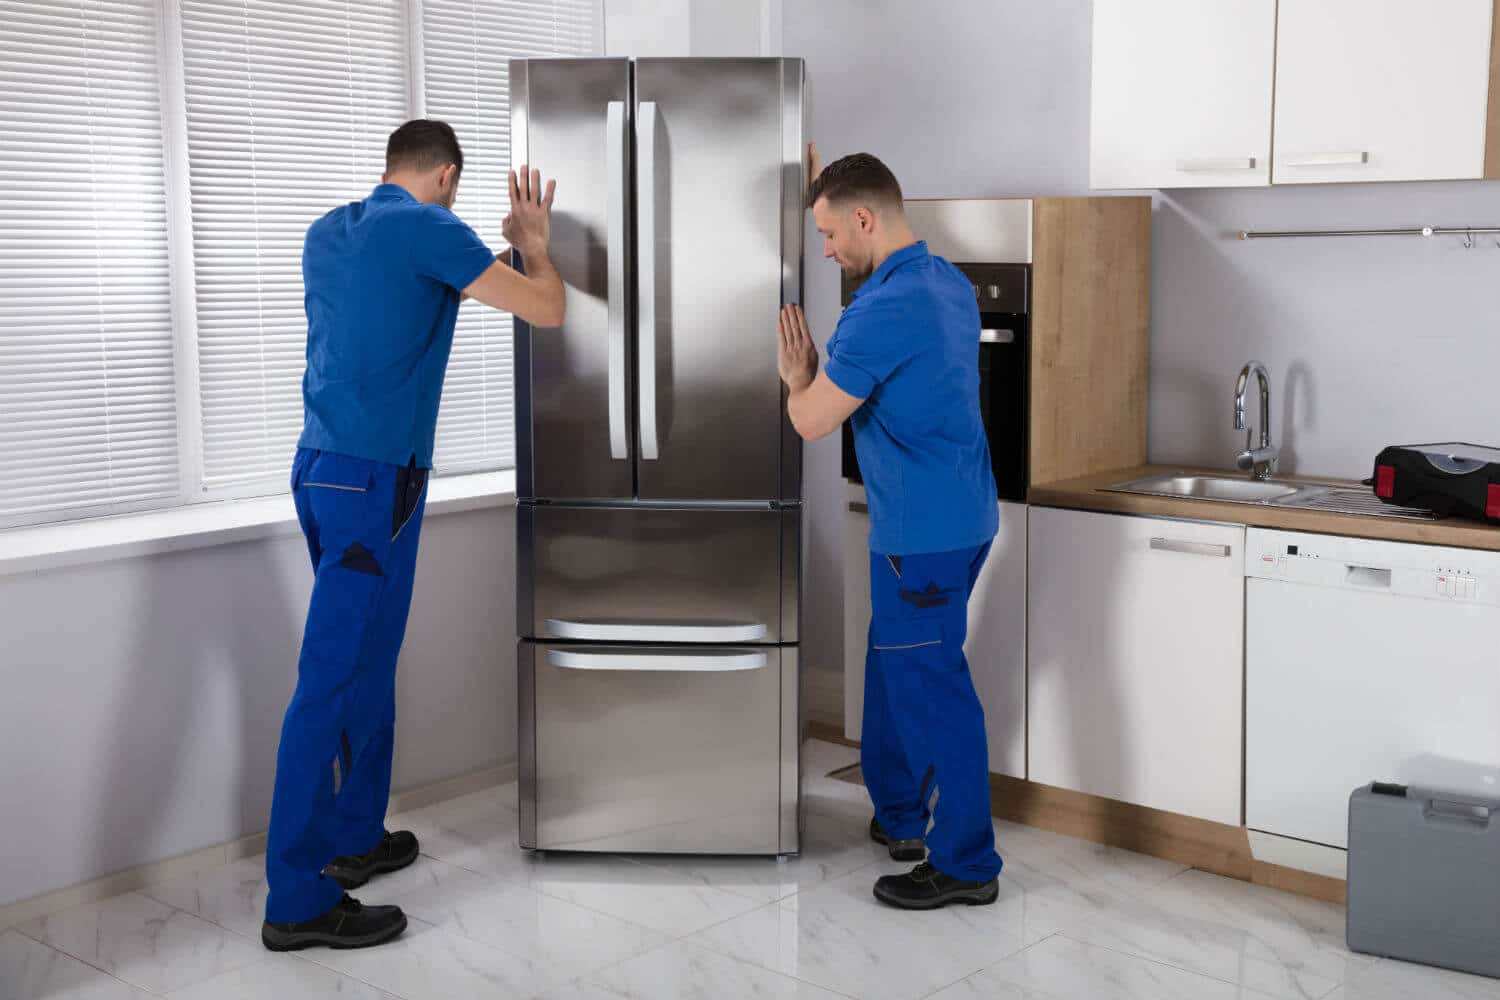
- Enlist help: Dishwashers can be heavy and cumbersome, so it’s recommended to have at least one other person help you with the removal process. This will make it easier to lift and maneuver the appliance.
- Slide out the dishwasher: Gently pull the dishwasher forward, ensuring that it is on a level surface. Take care not to scratch or damage the flooring. If the dishwasher is secured to the floor with screws, remove them carefully before sliding it out.
- Use furniture sliders (optional): If your dishwasher is particularly heavy or difficult to move, you can place furniture sliders underneath the appliance to aid in sliding it across the floor. This will reduce strain on your back and make the process smoother.
- Lift the dishwasher: Lift the dishwasher with the help of your assistant, using proper lifting techniques to avoid any strain or injuries. Lift from the bottom front and back corners, ensuring a secure grip.
- Carry the dishwasher: Carefully carry the dishwasher to the designated moving vehicle or storage area. Take your time and watch your surroundings to avoid any accidents or damage.
- Secure the dishwasher during transport: Once the dishwasher is in the vehicle, ensure it is securely fastened or wedged to prevent it from shifting or tipping during transportation.
By following these steps, you’ll be able to remove your dishwasher safely and without causing any damage to the appliance or your surroundings. Remember to take breaks when needed and ask for assistance if necessary to avoid any strain or injuries.
Now that the dishwasher is removed, let’s move on to the next phase – transporting the dishwasher to its new location.
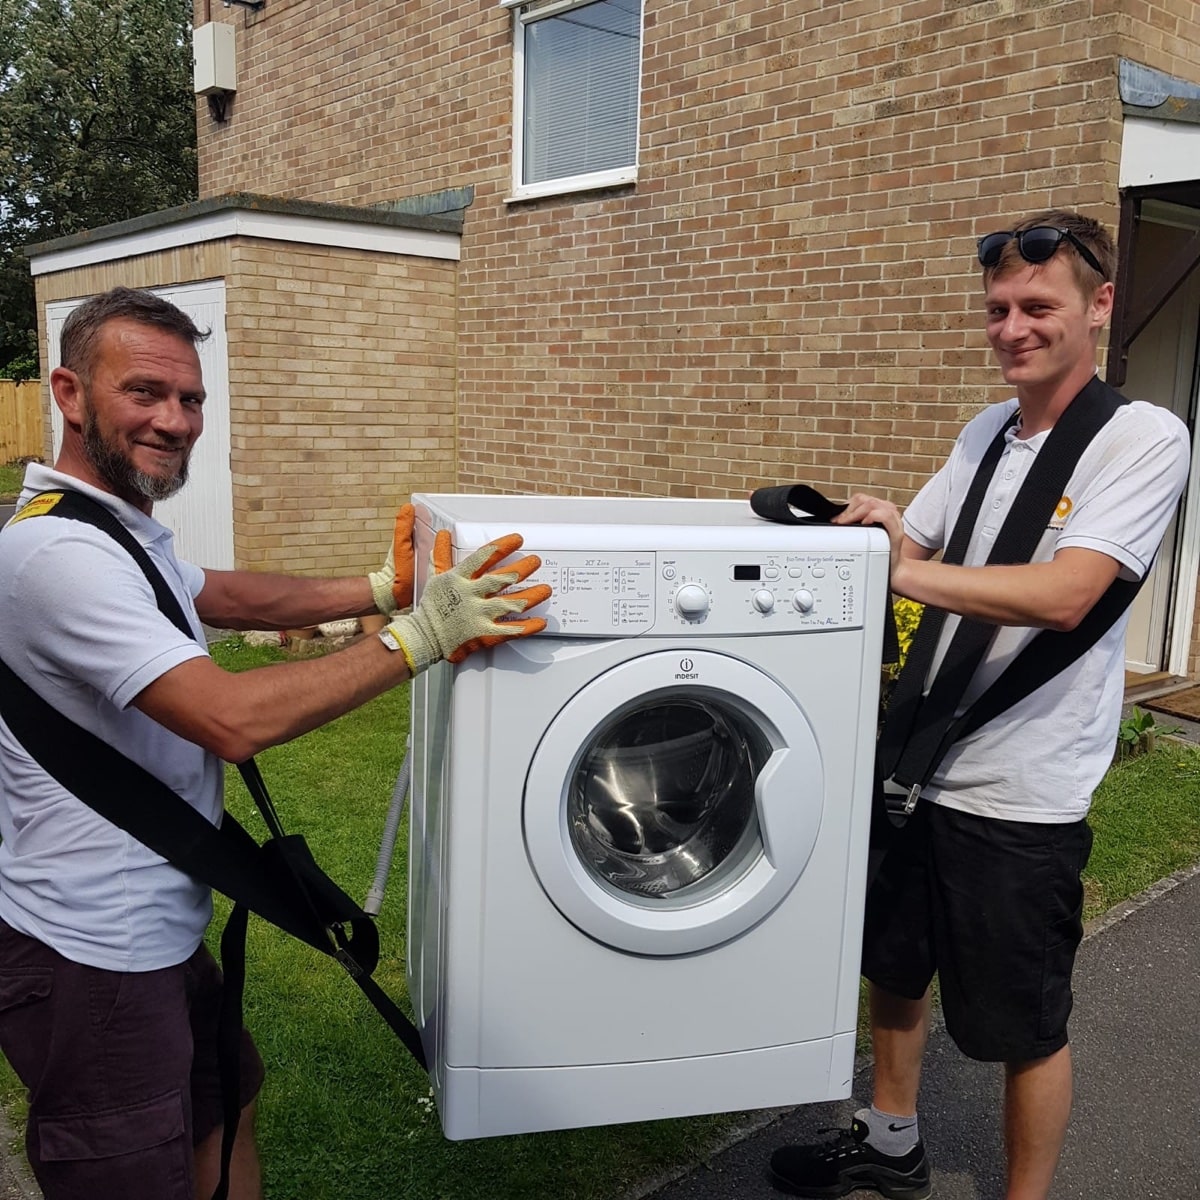
Transporting the Dishwasher
Transporting your dishwasher safely is essential to avoid any damage during the moving process. Follow these steps to ensure a secure and successful transportation:
- Choose the right vehicle: Ensure that you have a vehicle large enough to accommodate the dishwasher securely. If possible, lay down a protective mat or blanket in the vehicle to prevent any scratches or damage.
- Secure the dishwasher: Use straps or bungee cords to secure the dishwasher in place, preventing it from shifting or falling over during transportation. Make sure it is tightly secured on all sides.
- Drive with caution: While transporting the dishwasher, drive cautiously and avoid any sudden stops or sharp turns. This will minimize the risk of the appliance shifting or tipping over.
- Protect delicate parts: If there are any delicate or protruding parts on the dishwasher, cover them with blankets or padding to prevent them from getting damaged during transportation.
- Consider professional help: If you’re unsure about transporting the dishwasher on your own, or if you’re moving a long distance, consider hiring professional movers. They have the experience and equipment to safely handle and transport heavy appliances.
- Monitor the dishwasher: During transportation, periodically check on the dishwasher to ensure it remains secure and undamaged. If any issues arise, make necessary adjustments or pull over to address them.
- Unload with caution: When you reach your destination, unload the dishwasher carefully, ensuring that it remains stable and balanced. Use proper lifting techniques and ask for assistance if needed.
By following these steps, you can transport your dishwasher safely and protect it from any potential damage. Whether you’re moving locally or long-distance, taking the time to secure the appliance will give you peace of mind throughout the journey.
Now that you’ve successfully transported the dishwasher, let’s move on to the next phase – reinstalling the dishwasher in its new location.
Before moving a dishwasher, make sure to disconnect the power and water supply. Use a dolly to carefully transport the dishwasher to its new location to avoid damage.
Read more: How To Declutter For A Move
Reinstalling the Dishwasher
After successfully moving and transporting your dishwasher, it’s time to reinstall it in its new location. Here are the steps to follow for a seamless reinstallation:
- Clean the new location: Before reinstalling the dishwasher, make sure the area is clean and free from any dirt or debris. This will ensure optimal performance and prevent any potential damage.
- Position the dishwasher: Carefully place the dishwasher in its designated spot, ensuring that it is level and aligned with the surrounding cabinets or countertops. Use a level tool to check for any adjustments that may be needed.
- Attach the dishwasher to the countertop: If your dishwasher was previously secured to the countertop, use the screws or brackets you removed earlier to reattach it. Make sure it is tightly secured to prevent any movement or instability.
- Connect the water supply line: Reconnect the water supply line to the dishwasher, ensuring it is securely fastened. Turn on the water supply valve and check for any leaks. If necessary, tighten the connections or replace any faulty parts.
- Connect the drain hose: Reconnect the drain hose to the sink drain or garbage disposal, securing it in place. Make sure it is properly aligned to avoid any blockages or leaks.
- Reconnect the power: Plug in the power cord of the dishwasher into the electrical outlet. If the dishwasher is hardwired, turn on the power at the circuit breaker.
- Check for any loose connections: Double-check all the connections you made, including the water supply line, drain hose, and power cord. Tighten any loose fittings or connections to ensure they are secure.
Once you have completed the reinstallation process, take a moment to admire your newly installed dishwasher. Before running a cycle, perform a quick test to ensure everything is in working order.
Testing the Dishwasher
After reinstalling your dishwasher, it’s important to test it to ensure it is functioning correctly. Follow these steps to perform a quick test:
- Run a quick cycle: Fill the dishwasher with a small load of dishes and select a short cycle. Allow the dishwasher to run its cycle while monitoring for any unusual noises or issues.
- Check for leaks: Keep an eye out for any water leaks during the cycle. If you notice any leaks, turn off the dishwasher and check the connections for any loose fittings or damaged hoses.
- Inspect the cleanliness of dishes: Once the cycle is complete, inspect the cleanliness of the dishes. If they are not thoroughly cleaned, check the spray arms and filters for any blockages or debris.
- Ensure proper drainage: Verify that the dishwasher is draining properly without any standing water at the bottom. If there is water remaining, check the drain hose for any clogs or kinks.
If you encounter any issues or concerns during the testing process, consult the dishwasher’s manual or contact a professional for further assistance. It’s better to address any problems early on rather than allowing them to escalate.
Now that you’ve successfully reinstalled and tested your dishwasher, enjoy the convenience of having a fully functional appliance in its new location.
Testing the Dishwasher
After reinstalling your dishwasher, it’s important to test it to ensure it is functioning correctly. Performing a thorough test will help identify any potential issues and allow you to address them promptly. Here are the steps to follow when testing your dishwasher:
- Check the water connections: Ensure that the water supply line is properly connected to the dishwasher. Make sure there are no leaks or loose fittings. If you notice any issues, tighten the connections or replace any faulty parts.
- Load the dishwasher: Load dishes into the dishwasher, making sure not to overcrowd the racks. Position the dishes properly to allow for proper water circulation and cleaning.
- Select the appropriate wash cycle: Choose a wash cycle suitable for the load of dishes you have placed in the dishwasher. Common cycles include normal, light, heavy, or specific settings for delicate items or pots and pans.
- Add detergent: Add the appropriate amount of dishwasher detergent according to the manufacturer’s guidelines. Use a good-quality detergent to ensure optimal cleaning results.
- Start the dishwasher: Close the dishwasher door and start the wash cycle. Listen for any unusual noises during the operation. The dishwasher should run smoothly and quietly.
- Monitor the cycle: Keep an eye on the cycle as it progresses. Ensure that water is spraying adequately, the detergent is being dispensed properly, and the spray arms are turning without any obstructions.
- Check for proper drainage: Once the wash cycle is completed, open the dishwasher and check for proper drainage. There should be no standing water at the bottom of the dishwasher. If you notice any pooling water, it may indicate a clog in the drain hose or a problem with the drainage system.
- Inspect the cleanliness of dishes: Examine the dishes after the cycle to ensure they are thoroughly cleaned. Look for any leftover food particles or residue. If the dishes are not clean, it could indicate an issue with water pressure, spray arms, or filters.
- Check for any leaks: Carefully inspect around and beneath the dishwasher for any signs of water leakage. If you notice any leaks, investigate the source and take necessary steps to fix them promptly.
By following these testing steps, you can ensure that your dishwasher is functioning properly and providing the desired cleaning results. If you encounter any issues or concerns during the testing process, it’s recommended to refer to the dishwasher’s manual or reach out to a professional for assistance.
Remember to keep up with regular maintenance and cleaning of your dishwasher to prolong its lifespan and maintain its performance. Enjoy the convenience of clean dishes with your fully functional dishwasher!
Conclusion
Moving a dishwasher may seem like a daunting task, but with proper planning and careful execution, you can successfully relocate your appliance without any issues. By following the steps outlined in this guide, you can ensure a smooth and safe transition for your dishwasher.
Preparing for the move by reading the manufacturer’s guidelines, gathering the necessary tools, and clearing the area around the dishwasher is crucial. Properly disconnecting the dishwasher by turning off the power and water, removing the lower access panel, and disconnecting the water supply and drain hose will prevent any accidents or damage during the move.
Removing the dishwasher from its current location requires clearing the path, enlisting help, and using proper lifting techniques. Transporting the dishwasher safely involves choosing the right vehicle, securing the appliance, and driving with caution to avoid any damage.
Reinstalling the dishwasher in its new location requires positioning it properly, attaching it to the countertop, and connecting the water supply and drain hose securely. Finally, testing the dishwasher by running a cycle, checking for leaks, and verifying proper drainage ensures that everything is in working order before regular use.
Remember to consult the dishwasher’s manual for specific instructions and reach out to professionals if needed. Regular maintenance and cleaning will help keep your dishwasher in optimal condition for years to come.
By following the steps and tips provided in this article, you can confidently move your dishwasher and enjoy the convenience it brings to your kitchen.
Frequently Asked Questions about How To Move A Dishwasher
Was this page helpful?
At Storables.com, we guarantee accurate and reliable information. Our content, validated by Expert Board Contributors, is crafted following stringent Editorial Policies. We're committed to providing you with well-researched, expert-backed insights for all your informational needs.


0 thoughts on “How To Move A Dishwasher”