Articles
11 Best Floating Picture Frames for 2025
Modified: June 10, 2025
Discover the top 11 floating picture frames for 2025 and add a touch of elegance to your decor. Find the perfect frame to showcase your cherished memories.
(Many of the links in this article redirect to a specific reviewed product. Your purchase of these products through affiliate links helps to generate commission for Storables.com, at no extra cost. Learn more)
Introducing the 11 Best Floating Picture Frames for 2025 – the ultimate guide to enhancing your home décor with stylish and modern frames. Whether you’re looking to showcase cherished memories or add an artistic touch to your living space, these floating picture frames offer a seamless and elegant display option. With a variety of designs, materials, and sizes, you can find the perfect frame to complement any interior. From minimalist metal frames to rustic wooden ones, this comprehensive list will help you discover the best floating picture frames to adorn your walls and create a captivating visual experience for years to come.

Overall Score: 9.2/10
The Fixwal Floating Picture Frame Set of 2 offers a minimalist design with a touch of elegance. It features a metal frame and tempered glass pieces for a free adjustment of the tilt angle. The frame size is 5 x 7 inches, accommodating various photo sizes. With its sturdy and durable construction, the frame gives a premium feel and smooth touch. It is easy to use, allowing for effortless photo replacement and comes with a soft cloth for cleaning. The unique modern floating effect makes it a perfect decoration for any indoor environment. This high-quality frame also makes an excellent gift choice for family and friends.
Key Features
- Minimalist design with free tilt angle adjustment
- Sturdy and durable metal frame with elegant electroplating
- Easy photo replacement using the provided screwdriver
- Modern floating effect for versatile decoration
- Great gift choice
Specifications
- Color: Gold
- Dimension: 5.00Lx7.00Wx0.99H
- Size: 5x7in
Pros
- Elegant and versatile design
- Premium feel and smooth touch
- Effortless photo replacement
- Versatile decoration for any indoor environment
- Great for gifting
Cons
- Difficult to place 4×6 photos
- Can show fingerprints on the glass
The Fixwal Floating Picture Frame Set of 2 combines minimalist design, durability, and ease of use to provide an excellent storage solution for your photos. Its modern floating effect adds a touch of elegance to any indoor space, making it a versatile decoration. The frame’s high-quality construction and attention to detail ensure a premium feel and a smooth touch. While it may take a bit of effort to place 4×6 photos and the glass can show fingerprints, these minor drawbacks do not overshadow the overall quality and functionality of the frame. In conclusion, this frame set is a great choice for anyone looking for a stylish and practical way to display their cherished memories.

Overall Score: 9/10
The MUYE 8×10 Floating Frame Set of 2 is a versatile and beautifully designed frame that allows you to display any size photo up to 8×10. With its double-sided viewing feature and sleek composite wood frame, this frame provides a clean and modern look for your art or pictures. The frame is made with premium quality materials and includes two polished glass panels to protect your photos. It can be easily mounted on the wall or displayed on tabletops with stability. Additionally, it comes with all the necessary hardware for easy installation and a thoughtful gifting experience. Overall, this floating frame set is a great choice for showcasing your memories and a perfect gift for any occasion.
Key Features
- Floating double sided viewing frame
- Premium quality composite wood frame with polished glass
- Versatile frame for wall mount or tabletop display
- Includes hanging hardware for easy installation
- Great for gifting
Specifications
- Color: Natural
- Dimension: 10.63Lx8.58Wx0.99H
- Size: 8×10
Pros
- Beautiful and high-quality product
- Includes all necessary hardware and supplies
- Versatile for different sizes and types of displays
- Thoughful gifting option
Cons
- Not suitable for pressed flowers
- Difficult to disassemble once photo is in the frame
- Some minor chips in corners
The MUYE 8×10 Floating Frame Set of 2 is an excellent choice for anyone looking for a high-quality and versatile frame to display their photos or artwork. It offers a sleek and modern design with its double-sided viewing feature and premium materials. The included hanging hardware and supplies make installation a breeze, and the thoughtful packaging makes it a great option for gifting. While it may not be suitable for pressed flowers and disassembling the frame can be challenging, these minor drawbacks are overshadowed by the overall quality and functionality of this frame set. Whether you want to showcase your favorite memories or surprise someone with a thoughtful gift, the MUYE 8×10 Floating Frame Set of 2 is a fantastic option.

Overall Score: 7.5/10
The Aynoo Floating Picture Frame is a modern style wooden display frame that creates the illusion of your photo floating on your tabletop. It features a fold-out easel and two panels of clear plastic to enhance the floating effect. The frame fits a 7×9 inch photograph and has overall dimensions of 8x10x1.26 inches. With its simple lines and classic black design, it complements any decor and is perfect for displaying cherished photos, artworks, and more. The frame also allows for easy photo changes with turn buttons on the back panel. It makes a wonderful gift for birthdays, weddings, or housewarmings. The frame is easy to clean and comes with tear-off protect film on both sides of the plastic covers.
Key Features
- Do Tear Off both side protect film of Two Plastic Cover
- Look, Your Photo is Floating
- Double Plastic Glass Frame for Full Viewing
- Classic Float Flame with Simple Lines
- Change Photos at Will
- Wonderful Gift Choice
Specifications
- Color: Black Double Side
- Dimension: 9.00Lx7.00Wx0.99H
- Size: Desktop Floating 7×9
Pros
- Innovative floating design
- Clear plastic panels for full viewing
- Complements any decor
- Easy to change photos
- Great gift choice
- Easy to clean
Cons
- Fragile glass
- Plastic cover prone to scratching
- Cheap-looking plastic insert
- Cloudy plastic material
The Aynoo Floating Picture Frame is a unique and modern way to display your photos and artworks. Its innovative floating design creates an eye-catching effect, and the clear plastic panels ensure a full viewing experience. The classic black frame with simple lines is versatile and will fit seamlessly with any decor style. Although the frame has some drawbacks, such as fragile glass and a plastic cover prone to scratching, it is still a great choice for those looking for an affordable and stylish frame. Whether you want to showcase your cherished memories or give a thoughtful gift, this frame is worth considering. Just be mindful of the plastic material’s cloudiness and handle the frame with care.

Overall Score: 8/10
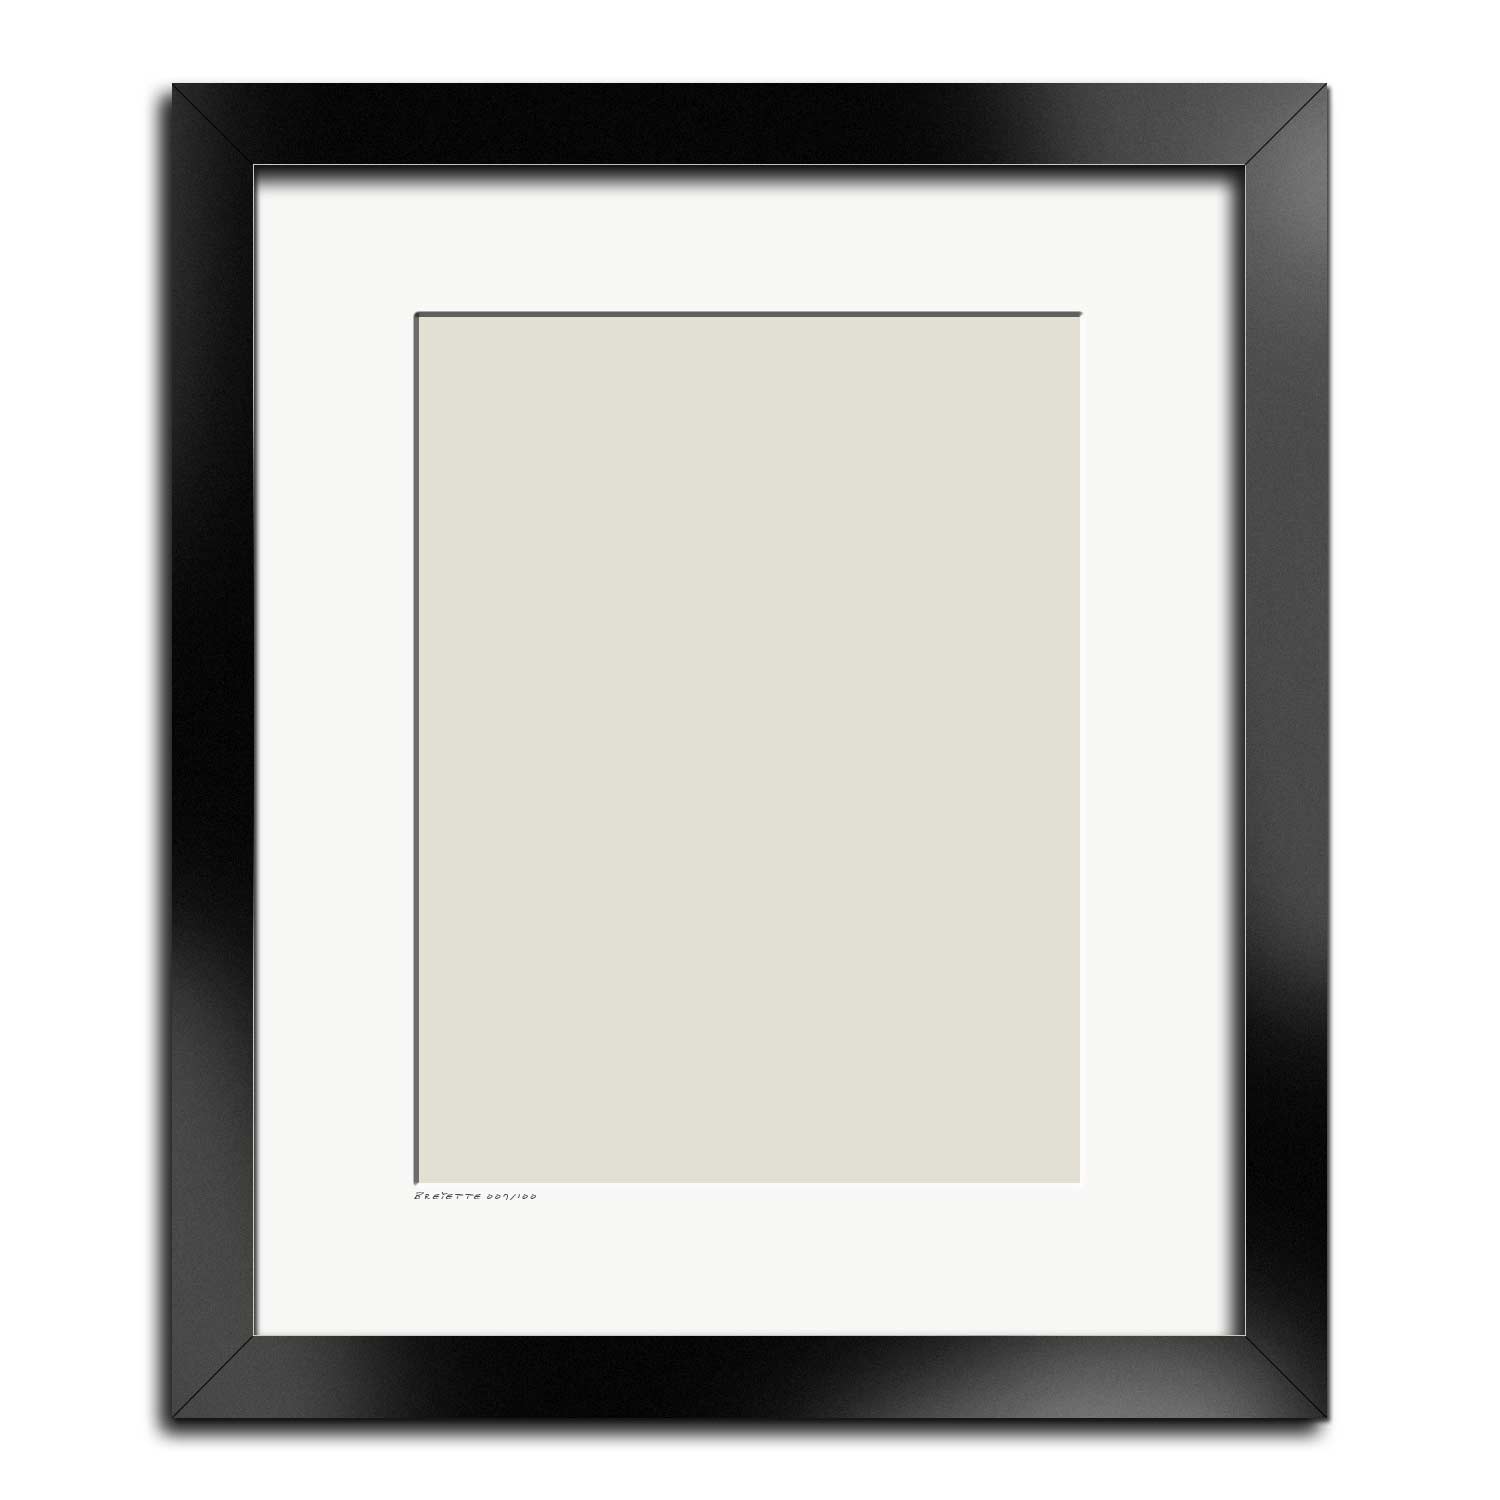
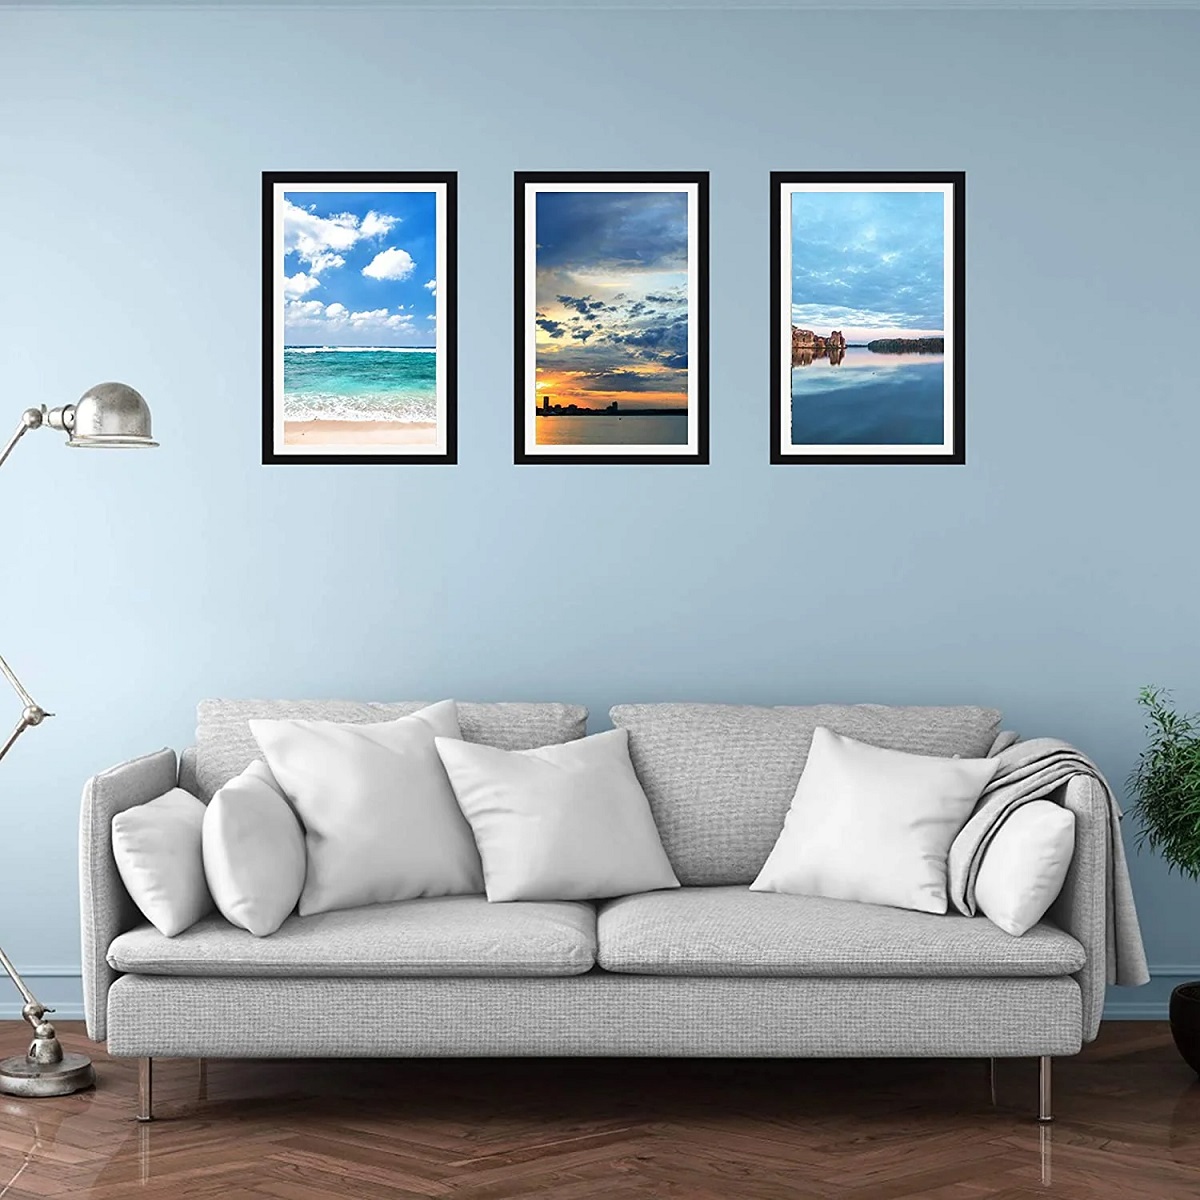
The Americanflat 12×18 Floating Picture Frame is a versatile and stylish frame that allows you to display 12×18 photos without the floating effect, or smaller photos like 8×10 or 5×7 with the floating effect. It features a sleek black design and polished glass that gives a clear view of your photo. The frame comes with hanging hardware for hassle-free display in both horizontal and vertical formats. It is durable, gallery-style, and designed to keep your photo in place. The frame also includes exclusive proprietary packaging to ensure safe delivery. Overall, this frame provides a modern and elegant way to showcase your favorite memories.
Key Features
- Black 12×18 floating frame
- Displays 12×18 photos without floating effect
- Can display smaller photos like 8×10 or 5×7 with floating effect
- Sandwiches photo between two glass panels
- Comes with hanging hardware for both horizontal and vertical formats
Specifications
- Color: Black
- Dimension: 19.06Lx12.99Wx0.99H
- Size: 12×18
Pros
- Stylish black design
- Clear view of the photo with polished glass
- Durable and gallery-style frame
- Easy to display with included hanging hardware
Cons
- Some quality control issues with smaller frames
The Americanflat 12×18 Floating Picture Frame is a high-quality and versatile frame that offers a modern way to showcase your favorite photos. Its sleek black design and polished glass provide a clear and elegant display. The frame is easy to set up and can be hung in both horizontal and vertical formats. While there have been some quality control issues reported with smaller frames, overall, this frame provides excellent value for the price. Whether you want to display larger photos without the floating effect or create a unique floating frame effect with smaller photos, this frame is a great choice.

Overall Score: 9/10
The LBECUA 8×10 Floating Picture Frame Set offers a stylish and modern way to display your favorite photos, artwork, or crafts. The double tempered glass frames give off a vivid floating effect, allowing you to showcase 4×6, 5×7, and 6×8 sized photos in the center. These frames are not only great for photos but also for dried flowers, illustrations, and more. Whether you want to hang them on the wall or place them on a tabletop, these frames provide stability and aesthetic appeal. Made of durable MDF with a sleek black texture, the frames are designed to withstand daily use. With excellent customer reviews and a rating of 4.4/5, these frames are highly recommended for their quality and value.
Key Features
- Double tempered glass frames for a floating effect
- Perfect for photos, crafts, artwork, and more
- Can be displayed on the wall or tabletop
- Made of durable MDF with a black texture
Specifications
- Color: Black 8×10
- Dimension: 10.80Lx8.80Wx0.99H
Pros
- Stylish and modern design
- Versatile for various types of items
- Includes after-sales service for broken frames/glass
Cons
- Thin glass that can easily cut
- Only one hook for hanging vertically
The LBECUA 8×10 Floating Picture Frame Set is a top choice for anyone looking to display their photos or artwork in a unique and contemporary way. With its double tempered glass frames and sleek black design, these frames offer a vivid floating effect and add a touch of elegance to any space. The frames are not limited to just photos but can also be used to showcase dried flowers, crafts, and illustrations. While the frames have received positive reviews for their quality and value, some users have mentioned the thinness of the glass and the limited hanging options. Overall, the LBECUA Floating Picture Frame Set is a great investment for those who value both style and functionality in their home decor.

Overall Score: 8/10
The ONE WALL 18×24 Inch Floating Frame is a high-quality picture frame made of durable solid wood with tempered glass. It features a unique floating effect with the picture sandwiched between two pieces of tempered glass. This frame is suitable for wall or tabletop display and can hold various sizes of photos, prints, certificates, or pressed flowers. It comes with a complete mounting kit including a bubble level, seamless nails, steel nails, and wire support. The frame is packaged securely to ensure safe delivery. With its modern and artistic style, it adds a touch of elegance to any home, office, restaurant, or shop.
Key Features
- Crafted from durable solid wood frame with tempered glass
- Can be displayed on walls or tabletops
- Various sizes available for different photo display options
- Versatile frame for pictures, plants, certificates, and more
- Protective packaging for safe delivery
Specifications
- Color: Black
- Dimension: 24.00Lx18.00Wx0.01H
- Size: 18×24 inch
Pros
- Durable and high-quality construction
- Easy to display on walls or tabletops
- Allows for different photo size options
- Adds modern and artistic style to any space
- Secure packaging for safe delivery
Cons
- Interior dimensions slightly smaller than advertised
- Glass can be difficult to insert into the frame
- Does not include the u-shaped metal stand as described
The ONE WALL 18×24 Inch Floating Frame is a stylish and versatile option for displaying your photos, art, or certificates. Despite some minor issues with the interior dimensions and glass fitting, the frame is durable and well-constructed. It adds a modern and artistic touch to any space, whether it’s hanging on a wall or placed on a tabletop. The frame comes with a complete mounting kit for hassle-free display, and its packaging ensures safe delivery. Overall, if you’re looking for a sleek and elegant frame with a unique floating effect, the ONE WALL Floating Frame is a great choice.

Overall Score: 8.5/10
The Frametory Floating Picture Frame is a high-quality, durable frame designed for wall mount or tabletop displays. It features a clear real glass front cover and a plexiglass backing, ensuring that your photos and flowers are secured in place. The frame has a classic gallery design, making it a perfect addition to any home or office decor. Additionally, it is a multi-functional photo frame, allowing you to display not only photos but also plant specimens, artwork, certificates, and more. This modern picture frame makes for a perfect gift for various occasions. Overall, the Frametory Floating Picture Frame is a stylish and versatile storage solution for preserving and displaying your precious memories.
Key Features
- High Quality: Durable, gallery-style frame with real glass front cover
- Use and Display: Perfect for displaying pressed flowers or 11×14 inch pictures
- Classic Gallery Design: Elegant decor for home, office, coffee shop, and gallery
- Multi-functional Photo Frame: Display photos and other items
- Perfect Gift: Ideal for birthdays, housewarmings, and special occasions
Specifications
- Color: Gold
- Dimension: 14.41Lx11.38Wx1.02H
- Size: 11×14
Pros
- Durable and high-quality materials
- Versatile for displaying various items
- Elegant design adds a touch of class to any decor
- Makes for a perfect gift
Cons
- Back clasp might be difficult to close with thicker flowers
- Plastic frame and plexiglass backing not ideal from both sides
The Frametory Floating Picture Frame is an excellent choice for anyone looking to stylishly display their precious memories. With its durable construction and versatile design, it offers both functionality and aesthetic appeal. While the back clasp may pose some challenges with thicker flowers, the frame’s overall quality and reliability make up for it. Whether for personal use or as a thoughtful gift, this frame is sure to impress. Its classic gallery design adds a touch of elegance to any space, and its multi-functional nature allows for creative display options. Preserve your cherished photos and items with the Frametory Floating Picture Frame.

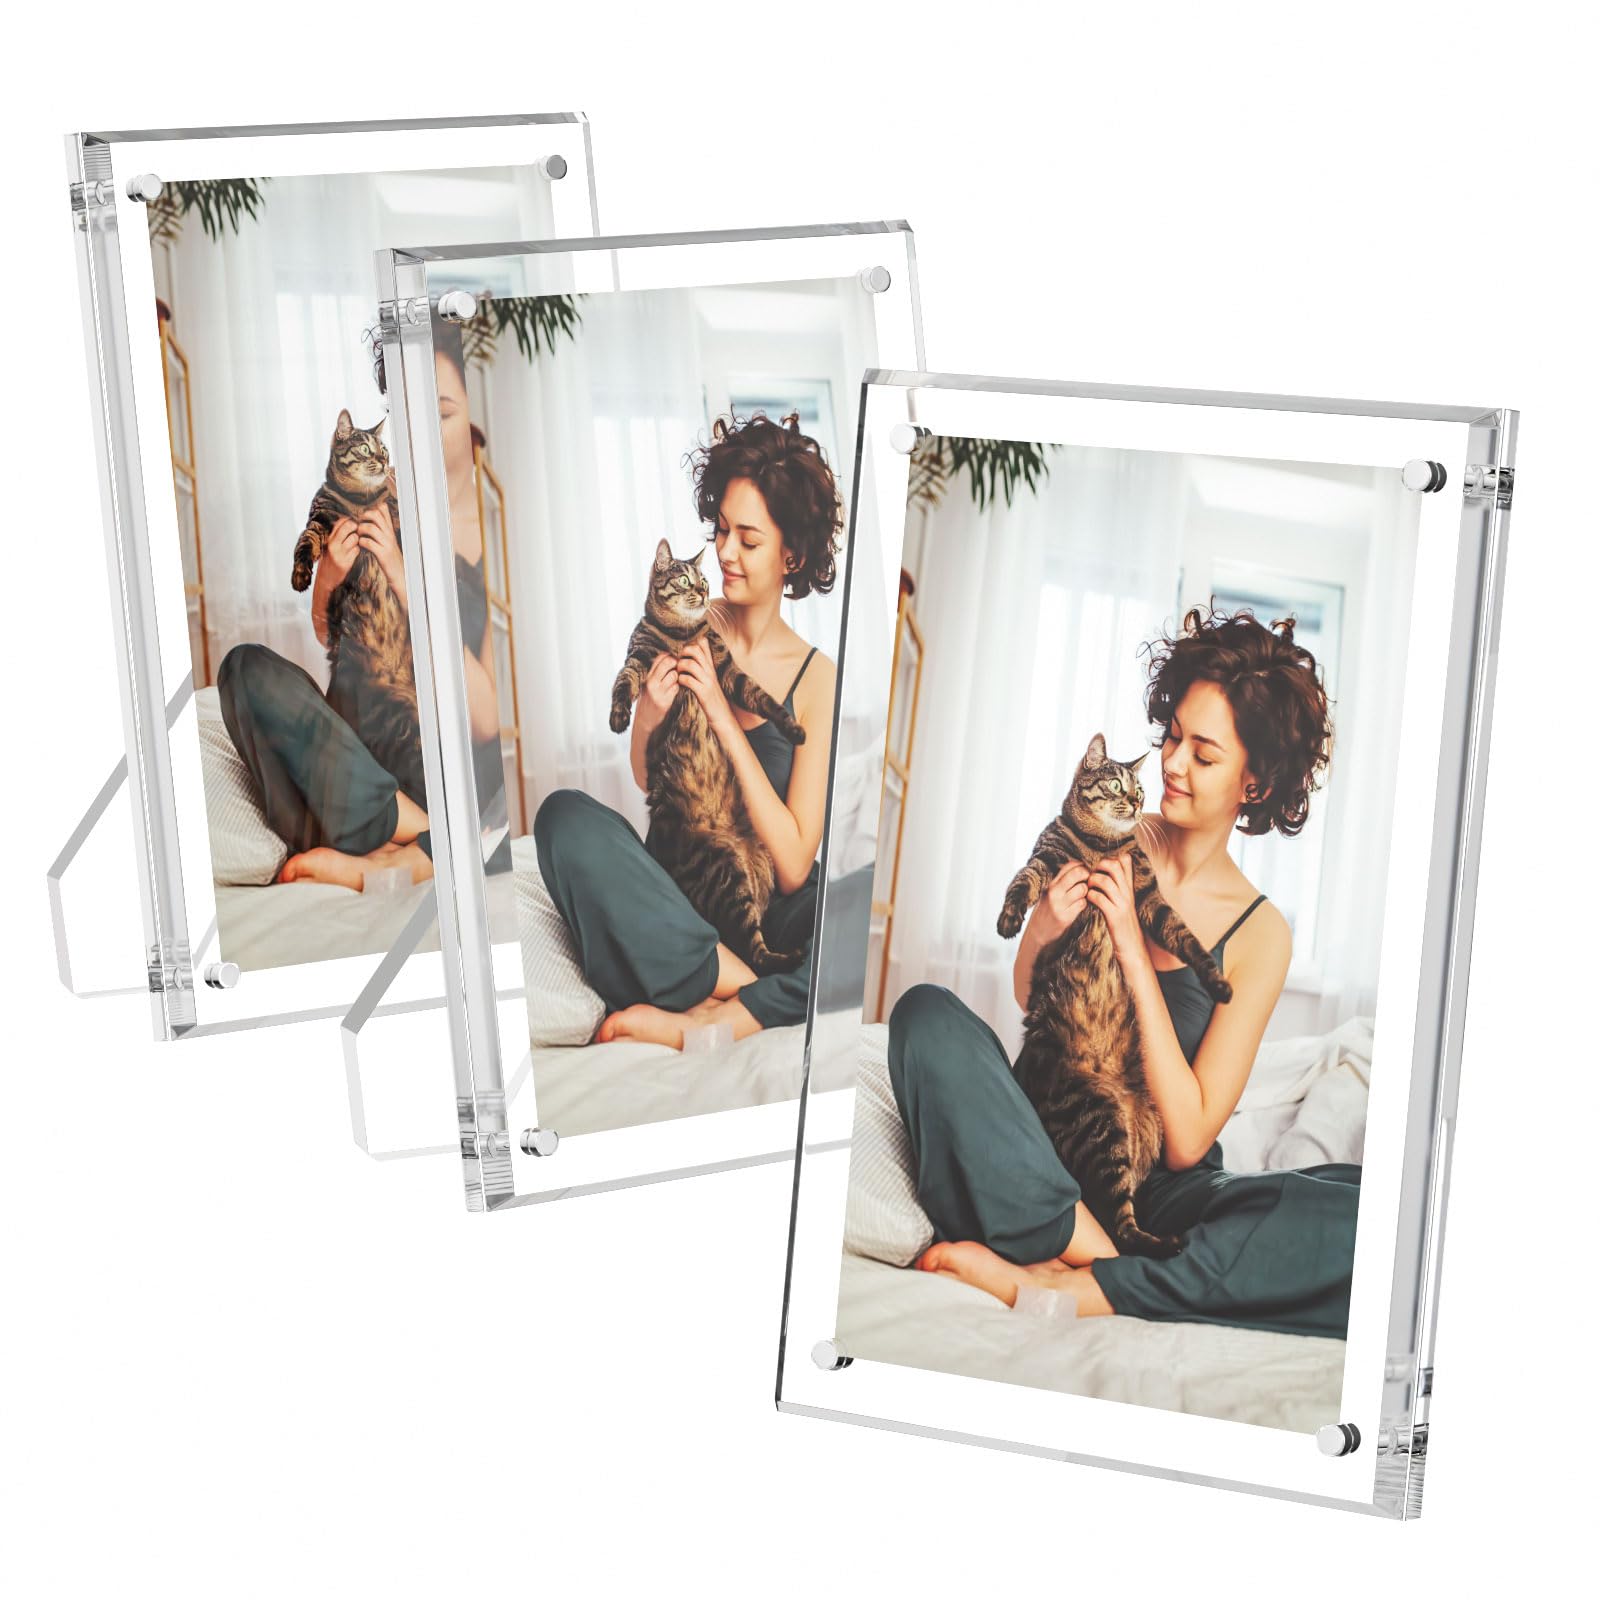
Overall Score: 9/10
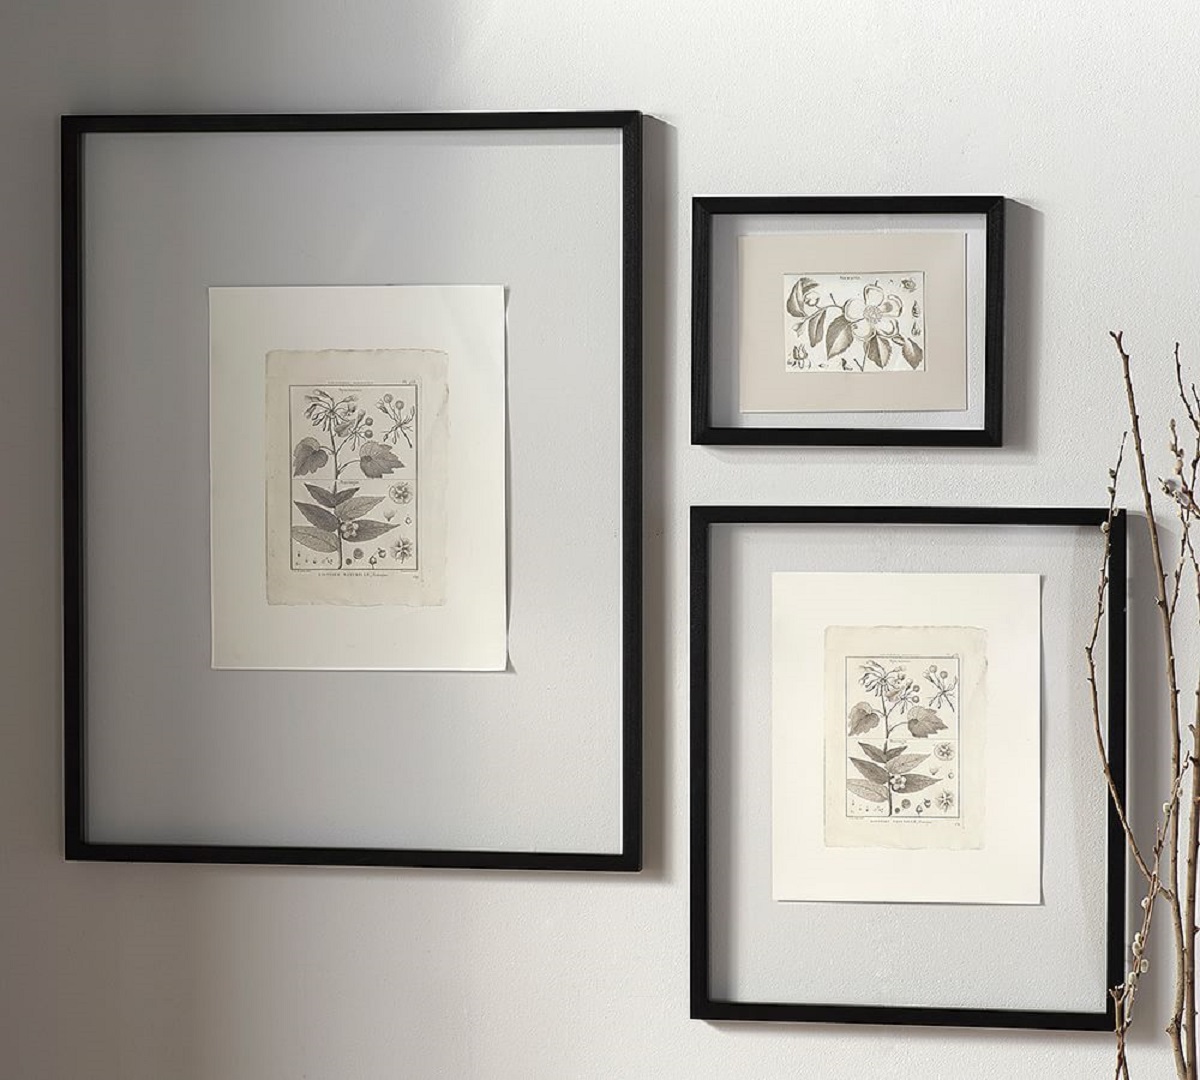
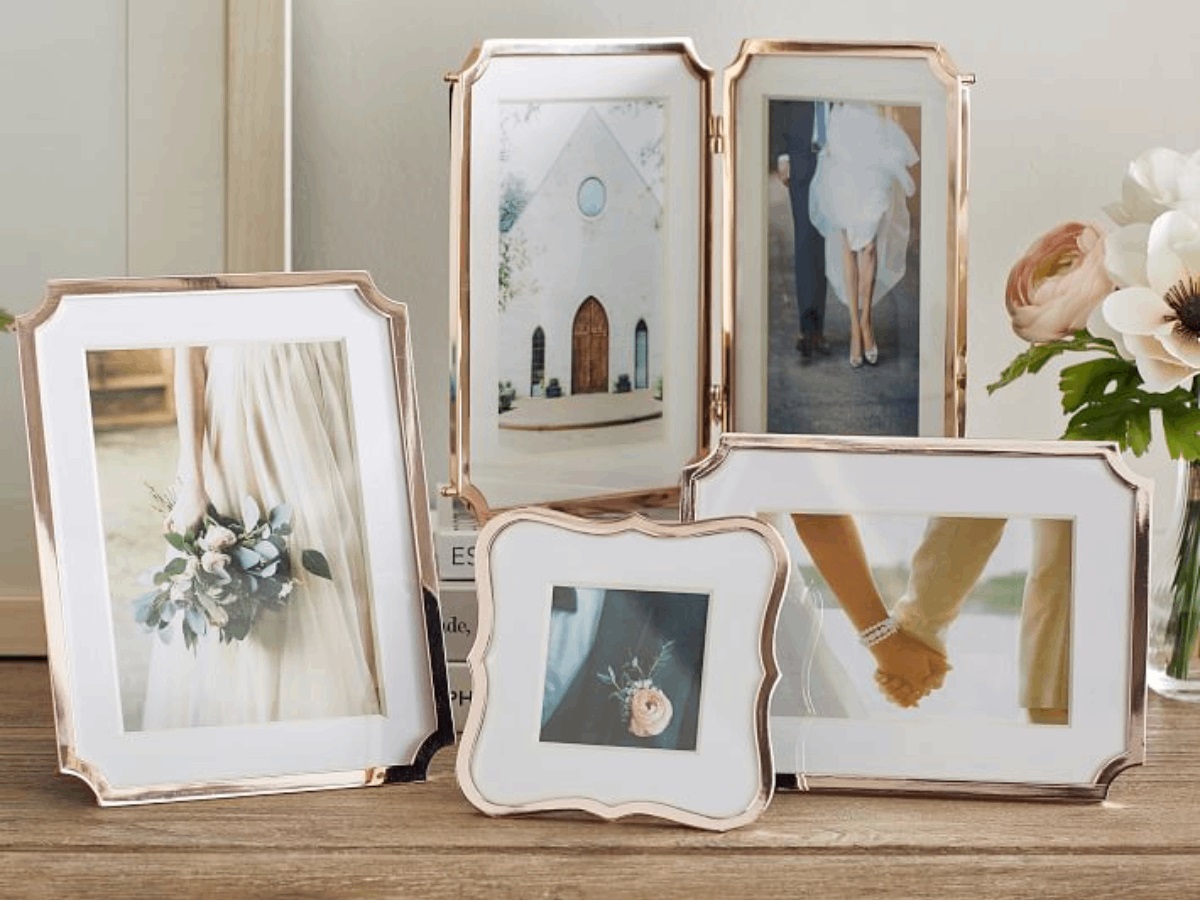
The HSAUYU Set of 3 Black Floating Picture Frame is a beautiful and versatile home decor accessory. These floating photo frames come in three different sizes – for photo sizes 6×8, 5×7 inches; 5×7, 4×6 inches; and 4×6, 4×4 inches. The frames are made of high-quality metal and feature real glass on both sides, providing a high-definition display. The frames float your pictures between two pieces of glass, giving them a unique and elegant look. The set includes an upgraded version with a soft and safe rubber strip on the back, as well as a stylish and minimalist design. These frames are perfect for displaying precious photos or pressed flowers, and they can be used in various home decoration styles. They also make a great gift for family, friends, and colleagues. In addition to photos, the frames can securely hold embossing, dried flowers, and specimens, making them a versatile storage solution. Overall, the HSAUYU Set of 3 Black Floating Picture Frame is a high-quality and stylish option for showcasing your cherished memories.
Key Features
- 3 pack of floating picture frames in different sizes
- Premium quality with metal frame and real glass
- Upgraded version with soft and safe rubber strip on the back
- Stylish and minimalist design suitable for various home decoration styles
- Perfect gift for family, friends, and colleagues
- Versatile – can hold photos, embossing, dried flowers, and specimens
Specifications
- Color: Black
- Dimension: 9.00Lx7.00Wx0.99H
Pros
- Beautiful and modern design
- High-quality materials
- Easy to add pictures
- Durable
- Versatile storage option
- Securely holds cherished memories
Cons
- No wall hooks included
- Can be difficult to open
The HSAUYU Set of 3 Black Floating Picture Frame is a fantastic choice for anyone looking to display their photos or other cherished memories in a stylish and modern way. The frames are made of high-quality metal and real glass, providing a high-definition display. The upgraded version with a soft rubber strip on the back ensures safety and adds a minimalist touch to any home decor. The frames are easy to use and durable, making them a great choice for a variety of scenarios such as weddings, birthday parties, or house warmings. With their versatility, these frames can securely hold not only photos but also embossing, dried flowers, and specimens. The HSAUYU Set of 3 Black Floating Picture Frame makes for a perfect gift and a functional addition to any home or office.

Overall Score: 8/10
The AhaGo Floating Picture Frame is a simple and elegant photo frame made with a gold metal frame and transparent glass, creating a floating effect for your photos. The frame is of good quality, with a durable and anti-corrosion electroplating process. It's easy to use, allowing for simple photo replacement with the included screwdriver. This frame is versatile and can be used to display photos, posters, DIY paintings, and more. Its stylish design makes it a perfect gift choice for any occasion. The only drawbacks are that the stand may not hold the frame up well and the transparent effect may be misleading for 4×6 photos.
Key Features
- Simple Design: gold metal frame with transparent glass
- Good Quality: durable, anti-corrosion, and odorless
- Easy to Use: replace photos easily with provided screwdriver
- Wide Applications: display photos, posters, plant specimens, etc.
- Perfect Gift: excellent choice for furnishings and decorations
Specifications
- Color: Gold
- Dimension: 10.00Lx8.00Wx0.99H
- Size: 8"×10"
Pros
- Simple and elegant design
- Good quality and durable
- Easy to replace photos
- Versatile for various displays
- Makes a great gift
Cons
- Stand doesn't hold frame up well
- Misleading transparent effect for 4×6 photo
Overall, the AhaGo Floating Picture Frame offers a simple and classy way to display your favorite photos and artwork. With its good quality and versatile applications, it makes for a great gift or addition to your home decor. Just be aware of the stand’s limitations and the potential mismatch with 4×6 photos. Nonetheless, it’s a stylish and charming frame that can add a touch of elegance to any space.

Overall Score: 8.5/10
The FrameWorks 11”x14” Deluxe Brass Gold Aluminum Contemporary Style Floating Picture Frame with Tempered Glass is the perfect way to showcase your favorite photos or create a collage of memories. This versatile frame can hold an 11×14 photo with a floating effect or smaller photos for a unique collage. It is designed for both vertical and horizontal hanging and is completely see-through in the middle. Made with high-quality aluminum and toughened glass, this frame is durable and safe for use around family and children. It is easy to use, with a simple insert and reattach process. The FrameWorks frames are securely packaged to ensure they arrive in perfect condition. Add a touch of elegance to your home with this beautiful brass gold frame.
Key Features
- FLOATING – Holds 11×14 photo or smaller with floating effect
- VERSATILE – Multiple sawtooth hangers for vertical and horizontal hanging
- DURABLE AND SAFE – Made with high-quality aluminium and toughened glass
- EASY TO USE – Simple insert and reattach process
- SECURELY PACKAGED – Expertly packaged to protect frames during transit
Specifications
- Color: Gold
- Dimension: 13.78Lx11.02Wx0.01H
- Size: 11"x14" float to 8"x10"
Pros
- Stylish and elegant design
- Can hold various photo sizes
- Durable construction
- Easy to insert and reattach photos
- Arrives in perfect condition
Cons
- Inner frame may be visible through the glass
- Not suitable for thicker mats
- Flimsy back screen
- Yellowish backing with divots
The FrameWorks 11”x14” Deluxe Brass Gold Aluminum Contemporary Style Floating Picture Frame offers a stylish and elegant way to display your favorite photos. With its versatile design, it can accommodate various photo sizes and create a unique floating effect. The frame is durable and safe, thanks to its high-quality aluminum construction and toughened glass. While it is easy to use, some users have reported issues with the visibility of the inner frame and the flimsiness of the back screen. Despite these drawbacks, the frame is well-packaged and arrives in perfect condition. Overall, if you’re looking for a beautiful frame to showcase your memories, the FrameWorks Deluxe Brass Gold Floating Picture Frame is a great choice.

Overall Score: 8.5/10
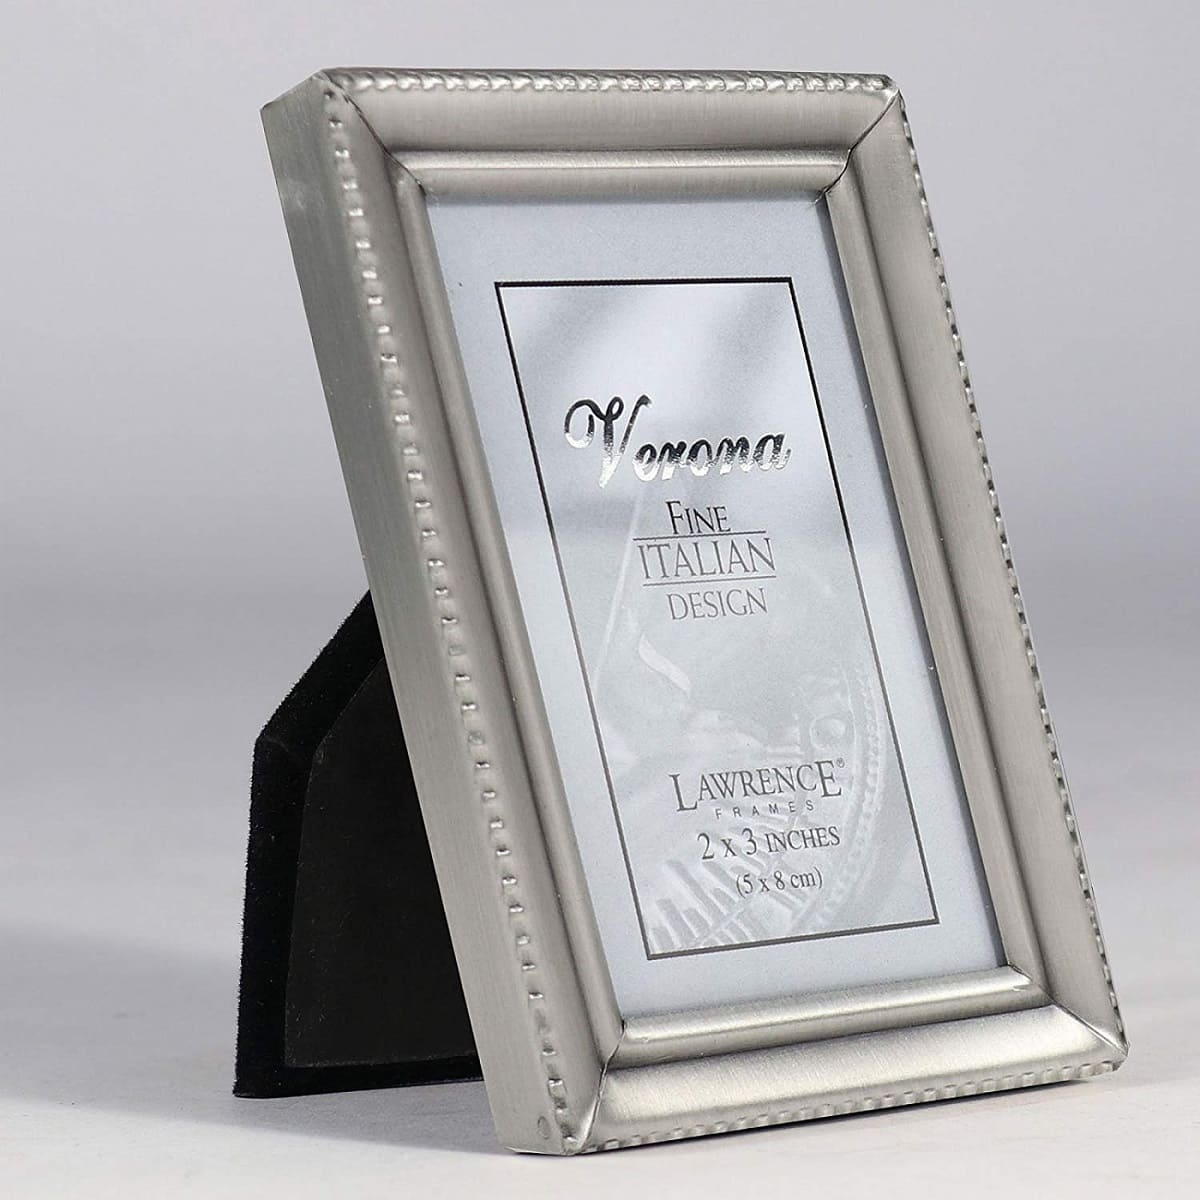
The N/A+ Trwcrt Floating Picture Frame is a stylish and versatile solution for displaying your favorite photos. This set includes 2 frames that can hold photos ranging from 2×3 to 7×9 inches, with the central opening allowing for the display of up to 10×12 inch photos. The frames feature a double glass design, providing protection for your photos while creating a unique floating effect. They can be displayed vertically or horizontally on a desktop, and also include a hanging claw for easy wall hanging. Made of MDF with a black rustic wood texture finish, these frames are not only suitable for photos but also for displaying plant specimens, artwork, illustrations, and landscape paintings. With its warm and stylish design, the N/A+ Trwcrt Floating Picture Frame also makes for a thoughtful gift. Overall, these frames offer a practical and attractive way to showcase your memories.
Key Features
- Floating Picture Frames
- Double Glass Design
- Flexible Display
- Multi-function Photo Frames
- Warm Gifts
Specifications
- Color: Black
- Dimension: 12.70Lx10.60Wx1.80H
- Size: 8X10
Pros
- Stylish and versatile design
- Double glass design for photo protection
- Can be displayed vertically or horizontally
- Suitable for photos, artwork, and more
- Makes for a thoughtful gift
Cons
- Glass may require cleaning before use
- Limited hanging options for landscape orientation
The N/A+ Trwcrt Floating Picture Frame is a great choice for anyone looking to display their photos in a stylish and unique way. With its double glass design and floating effect, it offers both protection and visual appeal. The frames are versatile, allowing for both vertical and horizontal display, making them suitable for any space. Additionally, the frames can be used not only for photos but also for displaying artwork and other decorative items. While there have been some complaints about the glass requiring cleaning and limited hanging options for landscape orientation, these minor drawbacks do not overshadow the overall quality and functionality of the frames. Overall, the N/A+ Trwcrt Floating Picture Frame is a reliable and attractive option for enhancing your home decor and showcasing your cherished memories.
Buyer's Guide: Floating Picture Frames
Are you looking to display your cherished photographs or artwork in a unique and modern way? Look no further than floating picture frames! These stylish frames provide a sleek and sophisticated look, making your pictures appear as if they are floating in mid-air. To help you choose the perfect floating picture frames for your needs, we have curated this comprehensive buyer's guide. Let's dive into the world of floating picture frames and discover the options that will elevate your space!
Read also: 11 Best Baby Picture Frames for 2025
Things to Consider
When selecting the ideal floating picture frames, there are several factors to keep in mind. Consider the following aspects to make an informed purchase decision:
- Frame Design
- Choose a frame design that complements your overall décor style—whether it's minimalist, rustic, or contemporary.
- Look for frames with a slim profile to enhance the illusion of your pictures floating.
- Materials
- Opt for high-quality materials such as solid wood, metal, or acrylic, ensuring durability and longevity.
- Consider the color and texture of the frame to accentuate the artwork or photograph.
- Size and Orientation
- Determine the dimensions and orientation (landscape or portrait) of the pictures you want to display.
- Ensure that the floating picture frames you choose can accommodate the desired artwork sizes.
- Installation Method
- Floating picture frames can be wall-mounted or freestanding. Decide which installation method suits your needs.
- Ensure that the frames come with the necessary hardware for easy and secure installation.
- Customization Options
- Some floating picture frames allow you to change the picture easily without disassembling the frame. Consider this feature if you like to switch your artwork frequently.
- Quality and Price
- Look for frames that strike a balance between quality and price.
- Compare different brands and read customer reviews to ensure you’re investing in a reputable product.
Benefits of Floating Picture Frames
Floating picture frames offer a plethora of advantages that set them apart from traditional frames. Here are some benefits to consider:
- Unique Aesthetic Appeal
- The illusion of the picture floating creates a visually stunning and modern display.
- Floating frames enhance the artwork by allowing it to take center stage, unobstructed by borders or mounts.
- Versatility
- Floating picture frames blend seamlessly with any space, from homes to offices or galleries.
- Their minimalistic design allows them to complement various décor styles.
- Easy to Clean and Maintain
- Cleaning is a breeze as there are no intricate corners or glass panes to contend with.
- Simply wipe down the frame with a soft cloth to maintain its pristine condition.
- Accessibility
- Changing the displayed picture is hassle-free in some floating frames, allowing you to effortlessly rotate and update your artwork.
Frequently Asked Questions about 11 Best Floating Picture Frames For 2025
Floating picture frames are incredibly versatile and work well with various types of artwork, including photographs, paintings, prints, and even canvas artworks.
Floating picture frames come in various sizes, including larger options, allowing you to display both small and large pieces. Ensure you select a frame size that matches your artwork’s dimensions.
When installing floating picture frames, ensure that they are securely mounted or placed on a stable surface to avoid accidents. Additionally, follow the manufacturer’s instructions for optimal safety.
Floating frames primarily cater to two-dimensional artwork, but some innovative designs accommodate three-dimensional pieces, such as shadow boxes or sculptural displays.
Floating picture frames made from moisture-resistant materials such as acrylic or metal can withstand humid environments. However, it is essential to choose frames that are specifically designed for bathroom use or to avoid direct exposure to water.
Was this page helpful?
Trust Storables.com for unbiased and honest product reviews. Our reviews are rigorously assessed by our Expert Board Contributors and adhere to strict Editorial Standards. We ensure that each review is transparent and trustworthy, helping you make informed purchasing decisions.

0 thoughts on “11 Best Floating Picture Frames for 2025”