Articles
How To Open Toilet Paper Holder Dispenser
Modified: February 22, 2024
Learn how to open a toilet paper holder with these informative articles. Find step-by-step instructions and helpful tips to easily access and replace toilet paper.
(Many of the links in this article redirect to a specific reviewed product. Your purchase of these products through affiliate links helps to generate commission for Storables.com, at no extra cost. Learn more)
Introduction
Have you recently purchased a new toilet paper holder and need guidance on how to open it? Look no further! In this article, we will walk you through the step-by-step process of opening a toilet paper holder, whether it is a new one or an existing one that needs to be replaced. With the right tools and a little know-how, you’ll have your toilet paper holder open in no time.
Before we get started, it is essential to ensure your safety while performing any DIY activity. Make sure to wear appropriate personal protective equipment, such as gloves and eyewear, as necessary. Additionally, take the time to read the manufacturer’s guidelines and instructions that come with your specific toilet paper holder to ensure you follow the correct procedures.
Now, let’s gather our tools and materials, get ready, and dive into the steps to open a toilet paper holder!
Key Takeaways:
- Ensure safety and proper preparation when opening a toilet paper holder. Assess the type of holder, prepare the installation area, and follow manufacturer’s instructions for a successful and safe installation.
- Test the functionality and make necessary adjustments after mounting the new toilet paper holder. Ensure smooth roll movement, stability, and aesthetic appeal for a convenient and visually appealing bathroom upgrade.
Tools and Materials Needed
Before you begin opening your toilet paper holder, gather the following tools and materials:
- Screwdriver (Phillips or flathead, depending on your holder)
- Adjustable wrench
- Allen wrench (if applicable)
- New toilet paper holder (if replacing the old one)
- Mounting hardware (if not included with the new holder)
- Level
- Pencil or marker
- Tape measure
- Wall anchors (if necessary)
- Drill and drill bits (if necessary)
Having these tools and materials ready will ensure a smooth and efficient process as you open your toilet paper holder.
Step 1: Assess the Toilet Paper Holder
The first step in opening a toilet paper holder is to assess the current condition of the holder. Determine whether it is a new installation or an existing one that needs to be replaced. This assessment will help you understand the type of holder you are working with and the steps required for opening it.
If it is a new installation, you may need to remove any packaging materials or protective covers that came with the holder. Carefully inspect the holder to check for any visible damage or defects. Ensure all necessary parts are included, such as the mounting bracket, screws, and any other components specified by the manufacturer.
If you are replacing an existing toilet paper holder, examine its condition. Look for any signs of wear or damage, such as loose screws or cracks. Depending on the condition, you may need to take additional steps in the process, such as removing the old holder or repairing any issues before opening the new one.
Remember, safety is crucial during this assessment. If you notice any sharp edges or broken parts, handle the holder with care or consider wearing protective gloves. If there are any electrical components, such as a built-in LED light, ensure the power is turned off before proceeding.
Once you have assessed the toilet paper holder and are familiar with its condition and type, you can move on to the next step in the process.
Step 2: Identify the Type of Toilet Paper Holder
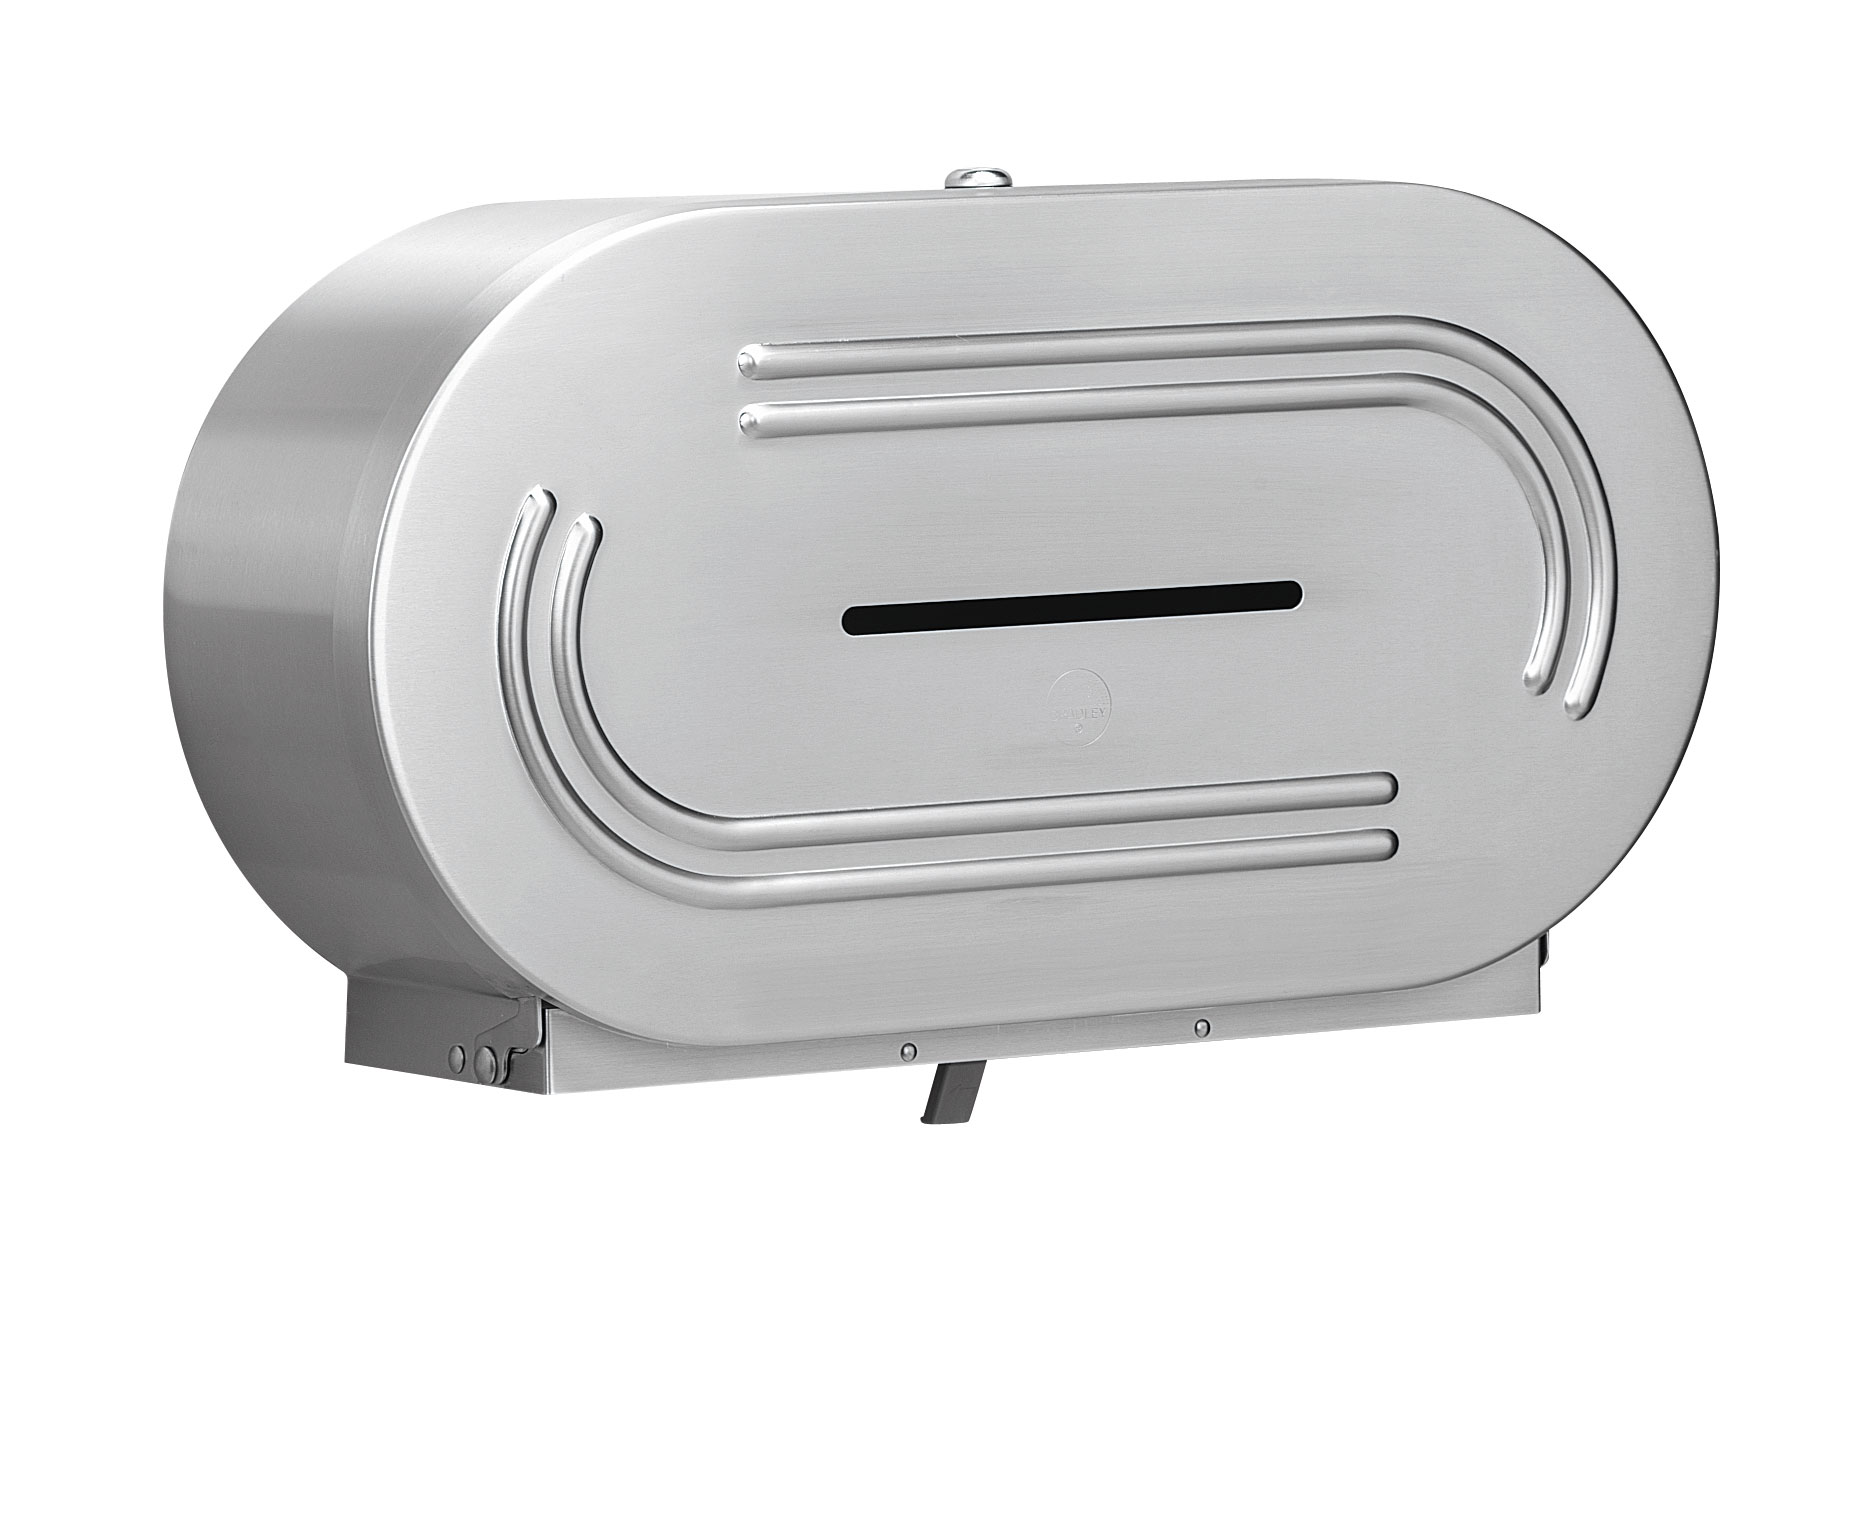
In order to open a toilet paper holder, it’s important to identify the type of holder you have. Different types of toilet paper holders require different methods of installation and removal. Here are three common types of holders:
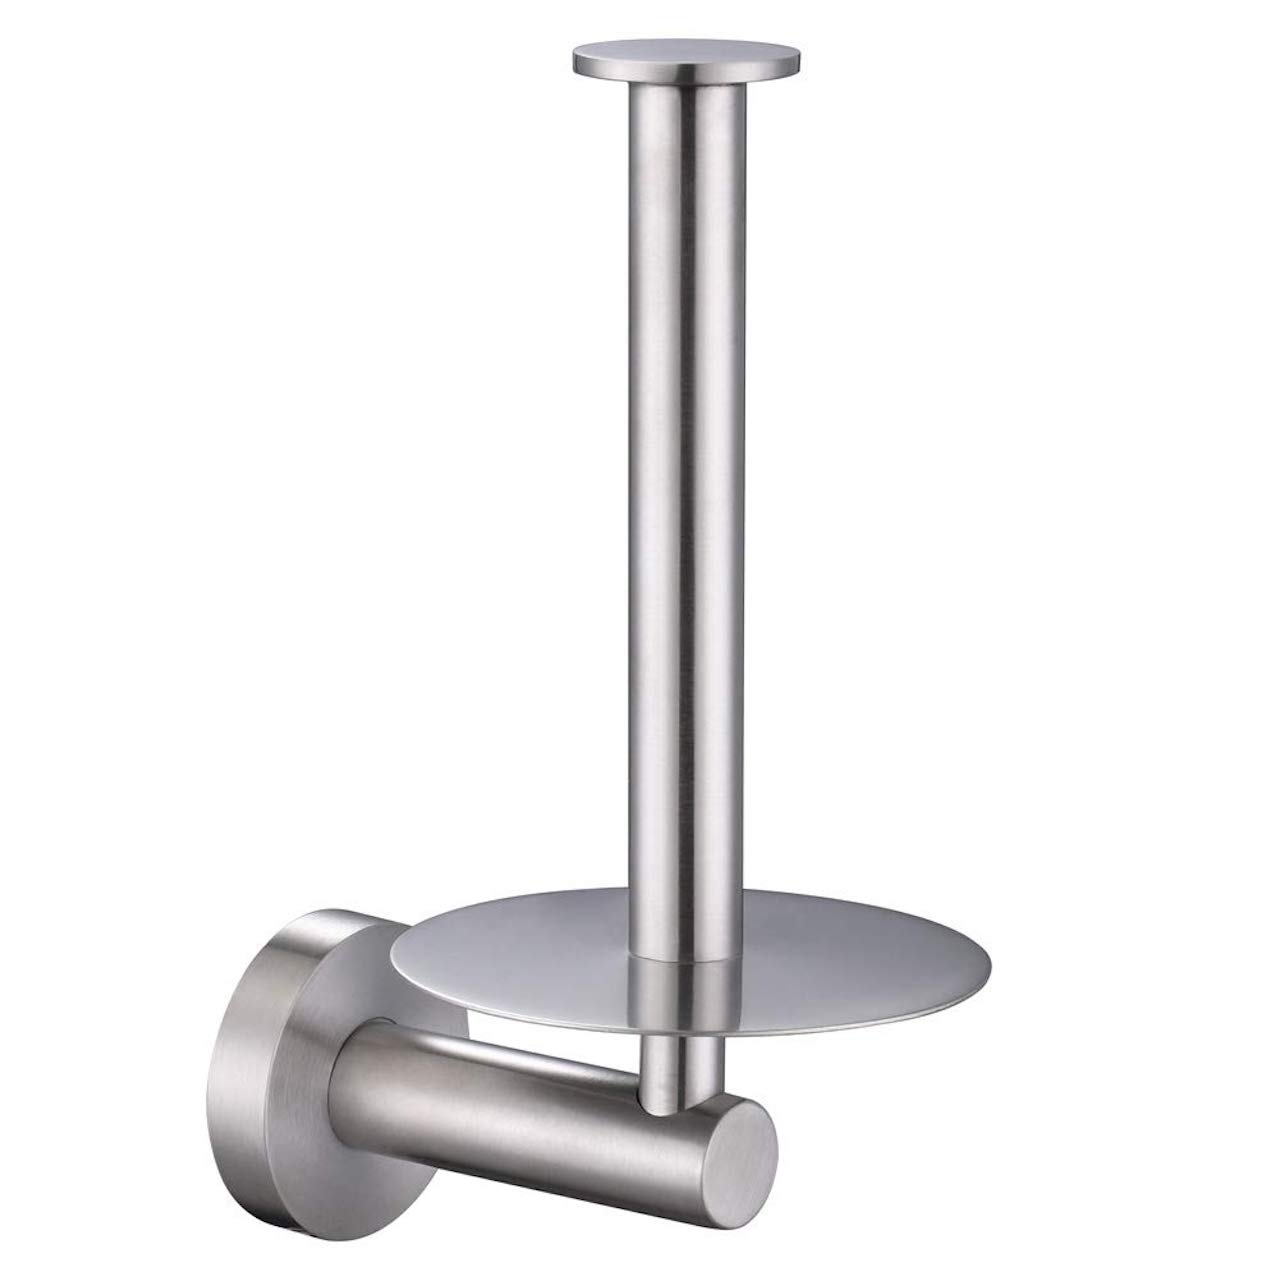
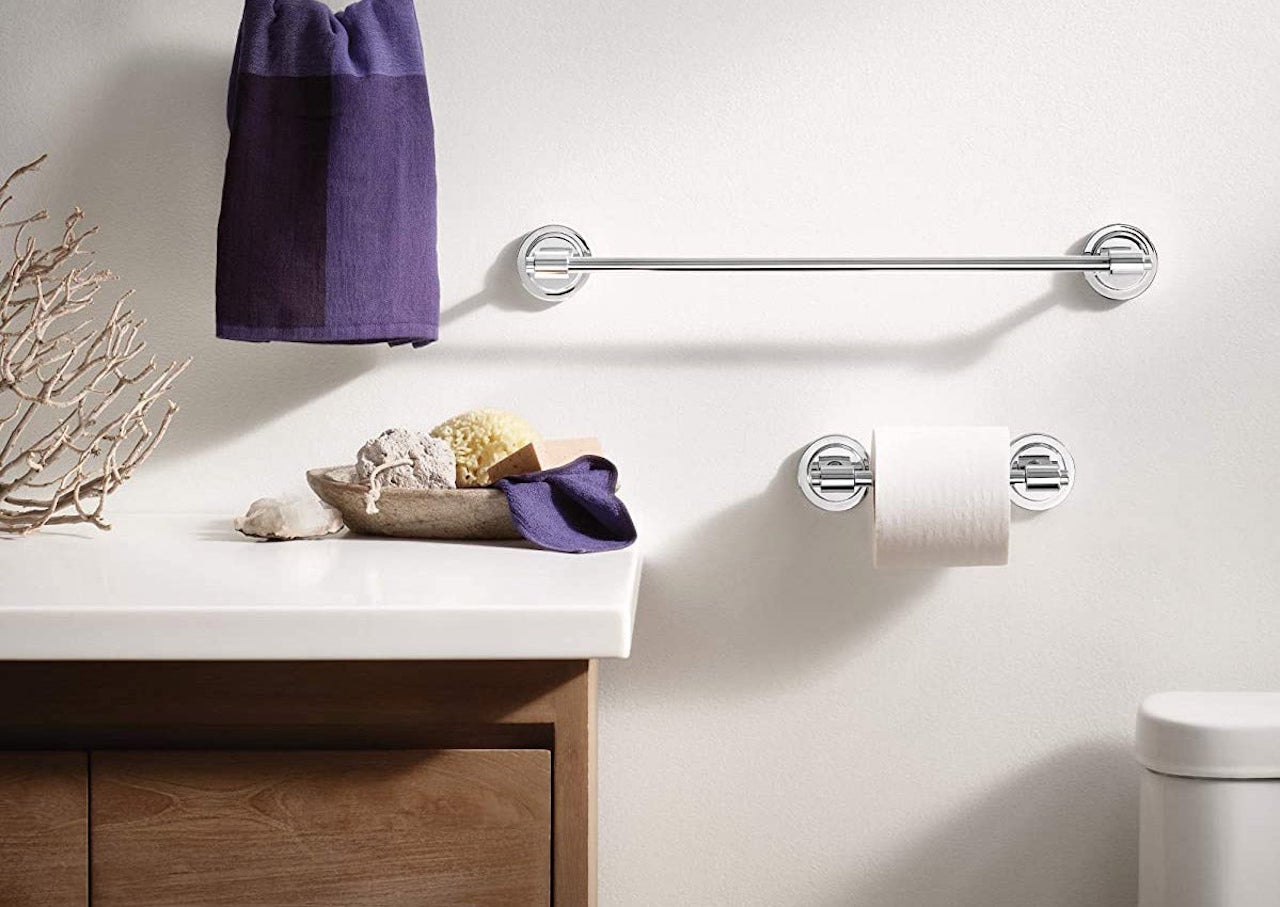
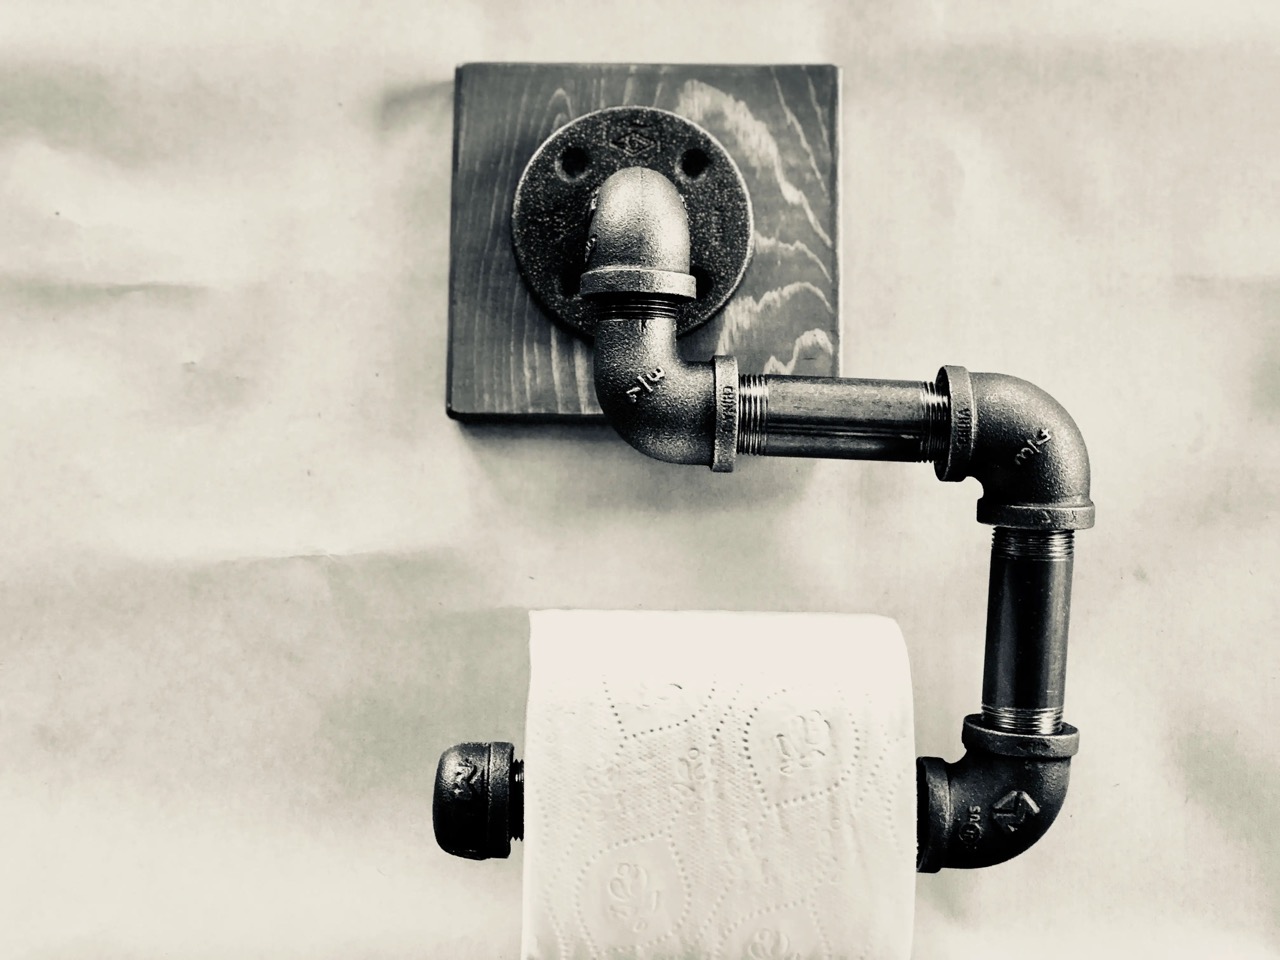
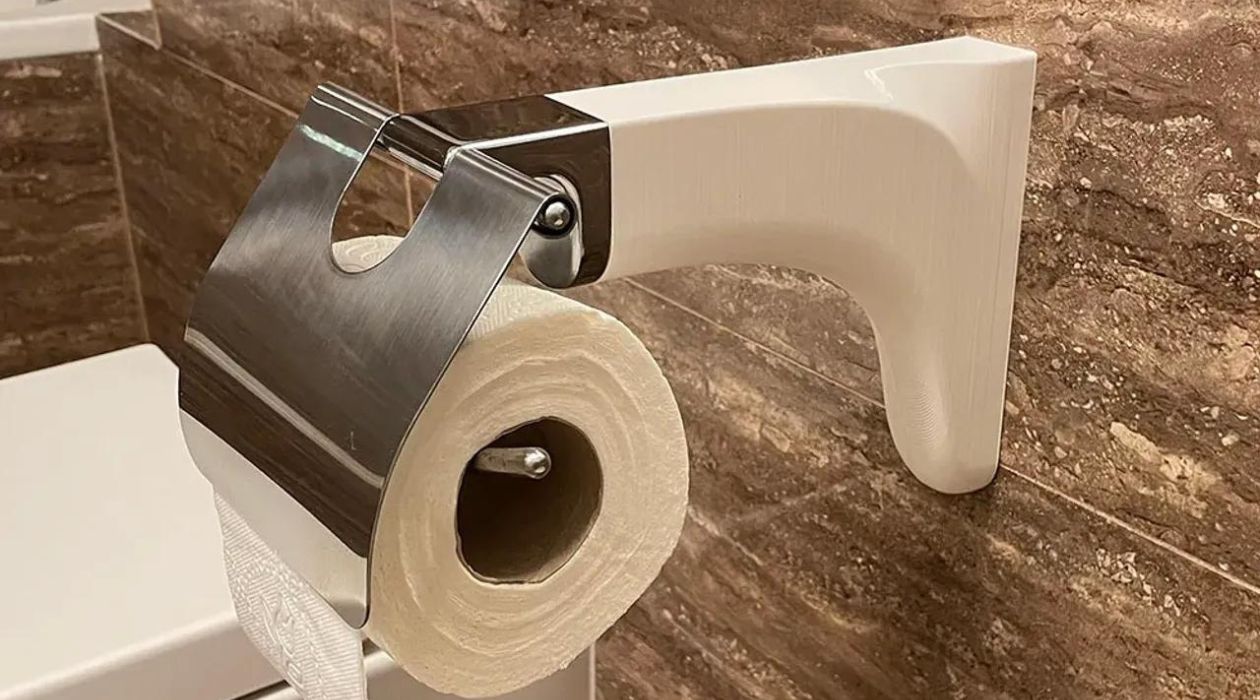
- Wall-mounted holders: These are attached directly to the wall, usually with screws or mounting brackets. They can be made of metal, plastic, or other materials.
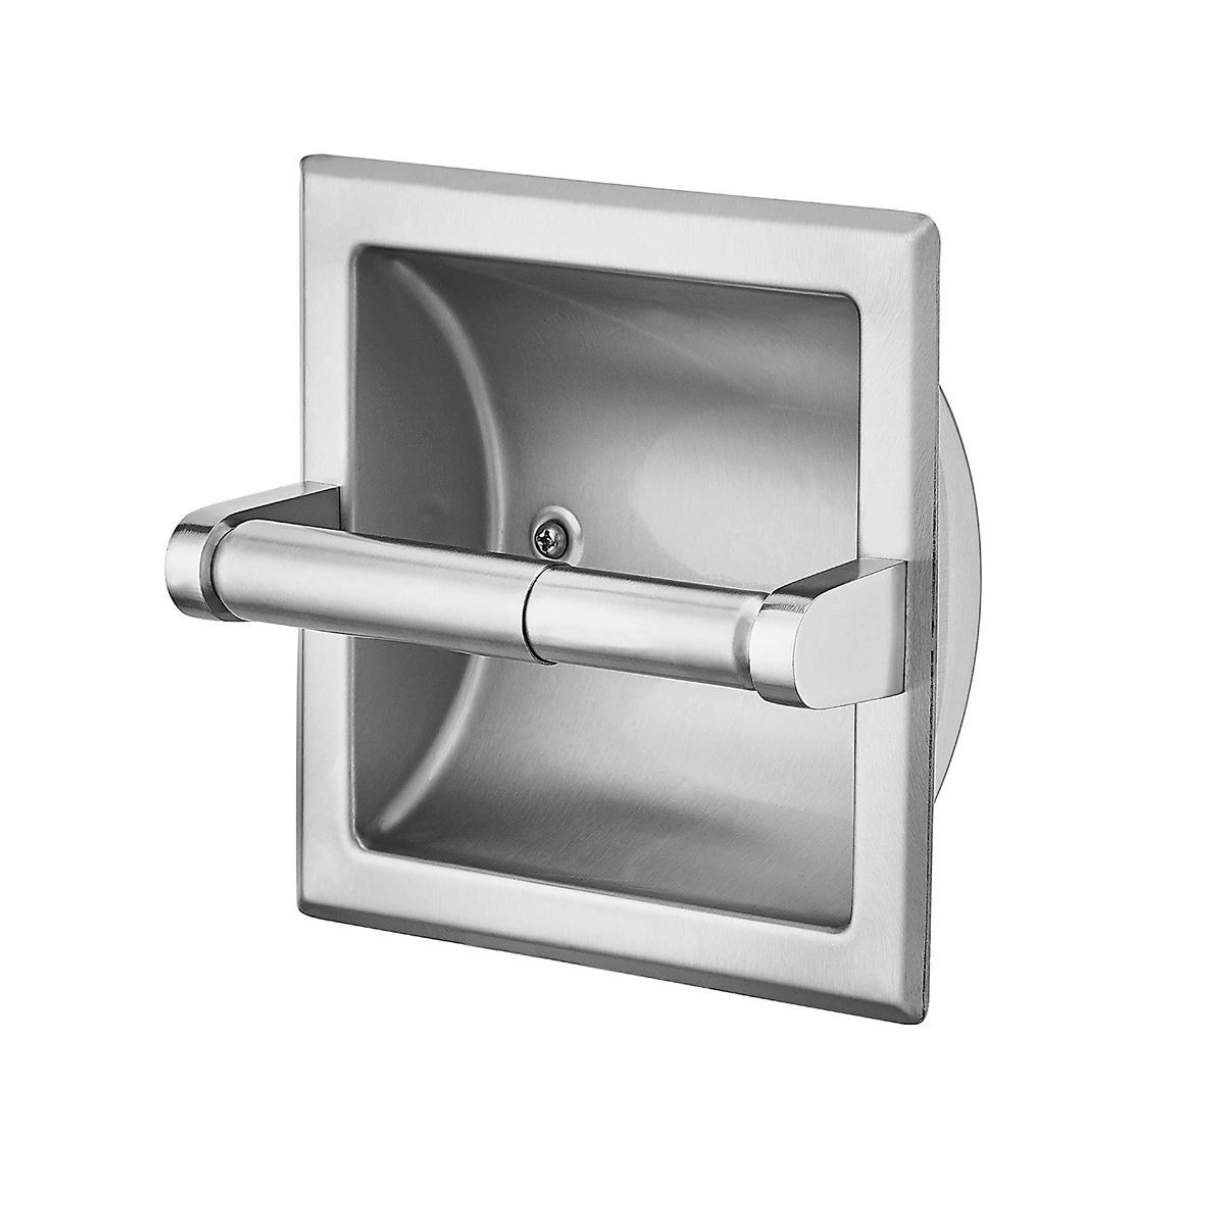
- Recessed holders: These are installed into the wall itself, creating a flush, built-in appearance. Recessed holders often have a hinged cover plate that conceals the roll of toilet paper.
- Freestanding holders: These are not attached to the wall and can be moved around as needed. They typically have a weighted base for stability and a vertical pole that holds the toilet paper roll.
Once you have determined the type of toilet paper holder you have, you can proceed with the appropriate steps for opening it.
If you have a wall-mounted holder, you may need to remove screws or loosen mounting brackets to access the interior mechanism. For a recessed holder, you will need to remove the hinged cover plate to expose the roll. Freestanding holders can typically be opened by simply lifting the vertical pole out of the base.
Keep in mind that some holders may have additional features, such as a spring-loaded mechanism for easily changing the roll. Look for any buttons, levers, or release mechanisms that may need to be engaged before attempting to open the holder.
By identifying the type of toilet paper holder you have, you can proceed confidently with the correct steps for opening it.
Step 3: Prepare for Installation
Before opening a toilet paper holder, it’s important to properly prepare yourself and the installation area. Follow these steps to ensure a smooth and successful installation:
- Clear the area: Remove any obstructions near the toilet paper holder. This includes toilet paper rolls, decorations, or any other items that may hinder your access to the holder.
- Clean the surface: If you are installing a new holder or replacing an existing one, take a moment to clean the installation area. Use a mild cleaning solution and a cloth to wipe away any dirt, dust, or residue. This will create a clean and smooth surface for mounting the holder.
- Locate the studs (if applicable): If you are mounting a wall-mounted holder, it’s important to find the studs in the wall for optimal stability. Use a stud finder or gentle tapping to locate the studs behind the wall. Mark their positions with a pencil or marker.
- Measure and mark the placement: Use a tape measure to determine the desired height and location for the toilet paper holder. Mark the positions with a pencil or marker, ensuring they align with the studs (if applicable). Utilize a level to ensure the marks are straight and even.
- Gather the necessary tools and materials: Double-check that you have all the tools and materials mentioned in Step 1. Having them readily available will make the installation process smoother and faster.
By preparing yourself and the installation area, you are setting the stage for a successful installation and opening of the toilet paper holder. Take the time to be thorough in this step to avoid any issues or complications later on.
When opening a toilet paper holder, gently pull the spring-loaded rod from one side to release it from the holder. Then, remove the old roll and replace it with a new one before reinserting the rod.
Read more: How To Screw On Toilet Paper Holder
Step 4: Remove the Old Toilet Paper Holder (If Applicable)
If you are replacing an existing toilet paper holder, you’ll need to remove it before opening the new one. Follow these steps to remove the old holder:
- Inspect the old holder: Take a moment to examine the current holder and identify how it is attached to the wall. Look for any screws or mounting brackets that are keeping it in place. Note any additional features or mechanisms that may need to be disengaged before removal.
- Unscrew or remove mounting brackets: Using a screwdriver or an appropriate tool, carefully unscrew any screws or remove mounting brackets that are securing the holder to the wall. Take your time to avoid damaging the wall or the holder itself. If there are any caps or covers hiding the screws, gently pry them off.
- Disconnect any additional mechanisms: Some holders may have additional mechanisms that need to be disengaged before removal. This can include spring-loaded mechanisms, snap-on covers, or other attachments. Follow the manufacturer’s instructions or use your discretion to safely disconnect these components.
- Remove the old holder: Once all screws, brackets, and mechanisms have been loosened or removed, gently pull the old holder away from the wall. Be cautious not to apply excessive force or yank it, as it may cause damage or injury.
- Inspect the wall: As you remove the old holder, assess the condition of the wall. Look for any damage, such as holes, cracks, or chipped paint. If necessary, repair or patch up any imperfections before proceeding with the installation of the new holder.
Once the old toilet paper holder has been successfully removed, you can now proceed to open and install the new holder following the appropriate steps for the specific type of holder you have.
Step 5: Mounting the New Toilet Paper Holder
With the old toilet paper holder removed, you are now ready to open and mount the new holder. Follow these steps to successfully install the new holder:
- Read the manufacturer’s instructions: Before proceeding with the installation, carefully read the instructions provided by the manufacturer. Pay attention to any specific guidelines or recommendations for mounting the holder.
- Prepare the mounting area: If you removed the old holder, ensure the wall is clean and free of any debris. If necessary, fill in any holes or repair any damage to create a smooth surface for mounting. If you are installing the holder in a new location, ensure that the mounting area is clear and prepped for installation.
- Assemble the holder (if required): Depending on the type of toilet paper holder you have, you may need to assemble it before mounting. Follow the manufacturer’s instructions to properly assemble the holder, ensuring all pieces are securely in place.
- Align the mounting holes: Hold the new holder against the wall, aligning the mounting holes with the previously marked positions. Ensure that the holder is level with the help of a spirit level.
- Secure the holder: Once properly aligned, use a screwdriver or the appropriate tool to attach the holder to the wall. Insert and tighten the screws or mounting brackets, making sure they are secure but not overtightened. If necessary, use wall anchors to provide additional stability.
- Test the holder: Gently pull or push on the newly installed toilet paper holder to ensure it is securely attached to the wall. Double-check that it is level and stable, making any necessary adjustments if required.
Once you have successfully mounted the new toilet paper holder, you are one step closer to enjoying its functionality. However, the process isn’t complete just yet. In the next step, we will test the holder and make any necessary adjustments.
Step 6: Test the Toilet Paper Holder
After mounting the new toilet paper holder, it’s essential to test its functionality before considering the installation complete. Follow these steps to ensure the holder is working properly:
- Insert a toilet paper roll: Take a fresh toilet paper roll and insert it into the holder. Make sure it fits securely and can rotate freely without any obstructions.
- Check the roll movement: Give the toilet paper roll a gentle spin to ensure it rotates smoothly on the holder. Verify that it rolls out easily and does not get stuck.
- Test the stability: Apply light pressure on the holder to simulate the force of pulling on the toilet paper. Ensure that the holder remains firmly attached to the wall and does not wobble or come loose.
- Inspect for any issues: Take a close look at the installed holder for any signs of misalignment, loose screws, or other problems. If you notice any issues, make the necessary adjustments or tighten any loose components.
- Engage any additional features: If your toilet paper holder includes additional features, such as a spring-loaded mechanism or a cover plate, ensure they are functioning correctly. Test their operation to ensure they work smoothly.
If the toilet paper holder passes all these tests, congratulations! You have successfully opened and installed a new toilet paper holder. It’s now ready for daily use. However, if you encounter any issues during the testing phase, refer to the manufacturer’s instructions or seek further assistance to resolve the problem.
Now that the toilet paper holder has been successfully tested, it’s time to move on to the final step: making any necessary adjustments.
Step 7: Adjust as Necessary
Once you have tested the toilet paper holder, it’s possible that you may need to make some adjustments to ensure it functions optimally. Follow these steps to make any necessary adjustments:
- Check for alignment issues: Take a step back and visually inspect the overall alignment of the toilet paper holder. Ensure it is level and centered on the wall. If it appears misaligned, you may need to loosen the screws or mounting brackets slightly, make the necessary adjustments, and then tighten them again.
- Reposition the holder (if needed): If you find that the toilet paper holder is positioned too high or too low, you can adjust its placement. Loosen the mounting screws or brackets and carefully reposition the holder to the desired height. Use a level to ensure it is straight before securely fastening it in place.
- Tighten any loose components: While testing the holder, you may have noticed screws or other components that felt loose. Take the time to tighten them securely to prevent any future issues or wobbling of the holder.
- Make aesthetic adjustments: If you are not satisfied with the appearance of the toilet paper holder or if it doesn’t perfectly match your bathroom décor, consider making aesthetic adjustments. This could include painting it a different color, adding decorative accents, or exploring options to customize its appearance.
By making the necessary adjustments, you ensure that the toilet paper holder is both functional and visually appealing. Take your time to achieve the desired results, always being mindful of safety and following the manufacturer’s guidelines.
With the adjustments completed, you have successfully opened and installed your new toilet paper holder. Enjoy the convenience and functionality it brings to your bathroom!
Read more: How To Open A Toilet Paper Dispenser
Conclusion
Opening a toilet paper holder may seem like a simple task, but it’s important to approach it with the right knowledge and tools. By following the step-by-step process outlined in this article, you can successfully open and install a new toilet paper holder or replace an existing one.
From assessing the condition of the holder to identifying its type, preparing the installation area, removing the old holder (if applicable), mounting the new holder, testing its functionality, and making adjustments as necessary, each step has its role in achieving a successful installation.
Remember to prioritize safety throughout the process by wearing appropriate protective gear and reading the manufacturer’s instructions. Take the time to properly assess any potential risks and address them before proceeding with the installation.
Whether you are performing a DIY project or seeking guidance on installing a new toilet paper holder, understanding these steps will empower you to confidently open and install the holder with ease.
By taking the time to open a toilet paper holder correctly, you’ll ensure its stability, functionality, and aesthetic appeal. With the holder securely in place, you can enjoy the convenience of easily accessing toilet paper whenever you need it.
So, go ahead and put your newfound knowledge into practice. Transform your bathroom with a new toilet paper holder, leaving you with a stylish and organized space.
Frequently Asked Questions about How To Open Toilet Paper Holder Dispenser
Was this page helpful?
At Storables.com, we guarantee accurate and reliable information. Our content, validated by Expert Board Contributors, is crafted following stringent Editorial Policies. We're committed to providing you with well-researched, expert-backed insights for all your informational needs.


0 thoughts on “How To Open Toilet Paper Holder Dispenser”