
Articles
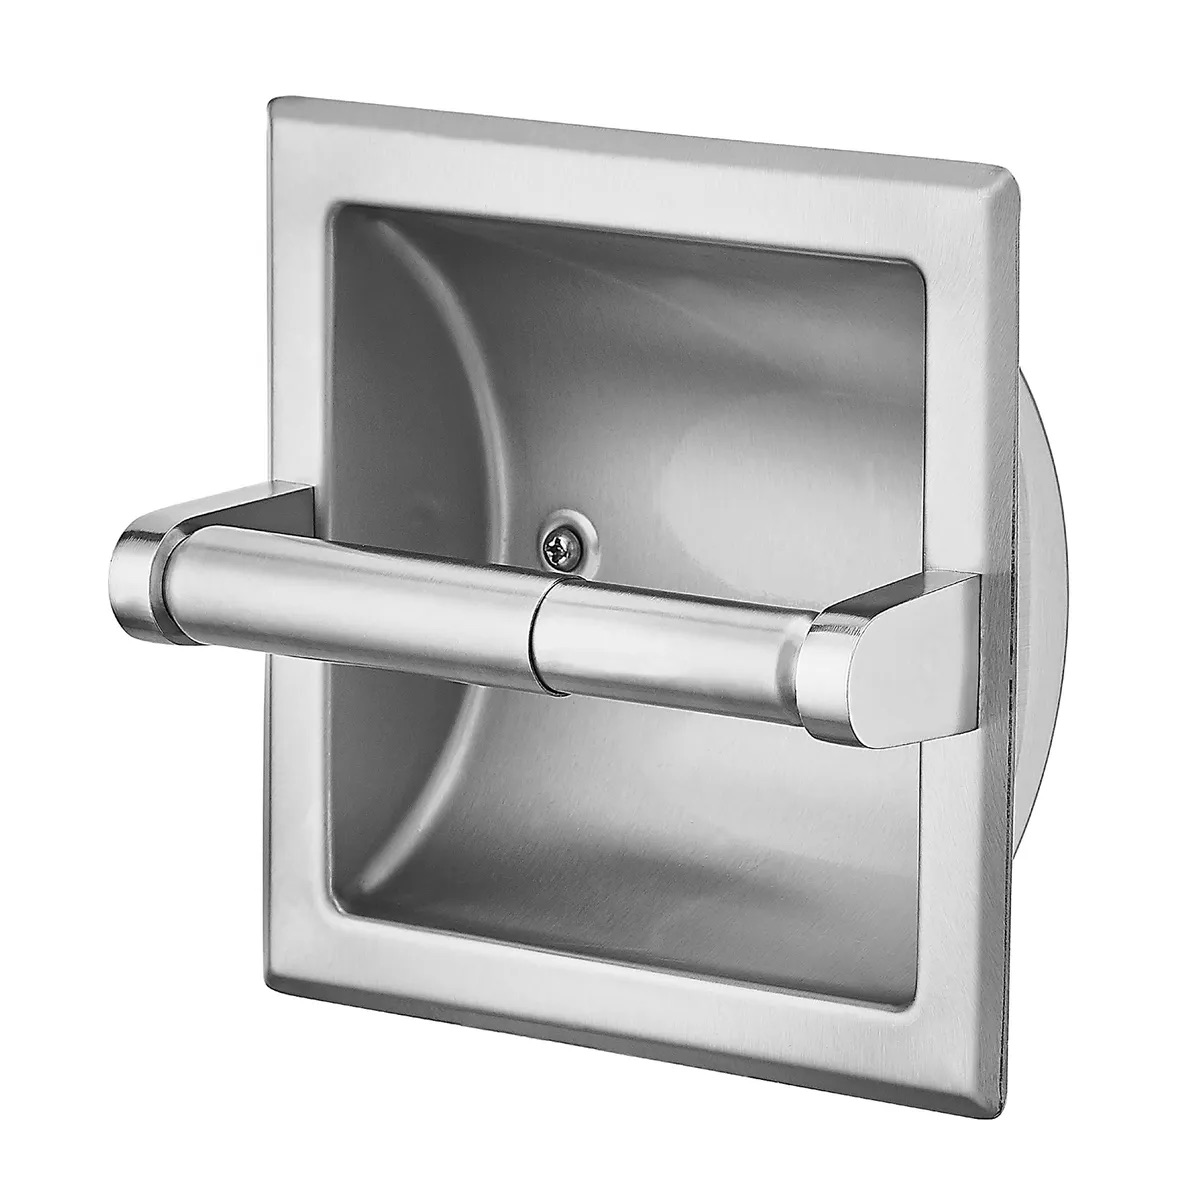
How To Install Recessed Toilet Paper Holder
Modified: March 2, 2024
Learn how to install a recessed toilet paper holder with this informative article. Find step-by-step instructions and helpful tips to complete this DIY project.
(Many of the links in this article redirect to a specific reviewed product. Your purchase of these products through affiliate links helps to generate commission for Storables.com, at no extra cost. Learn more)
Introduction
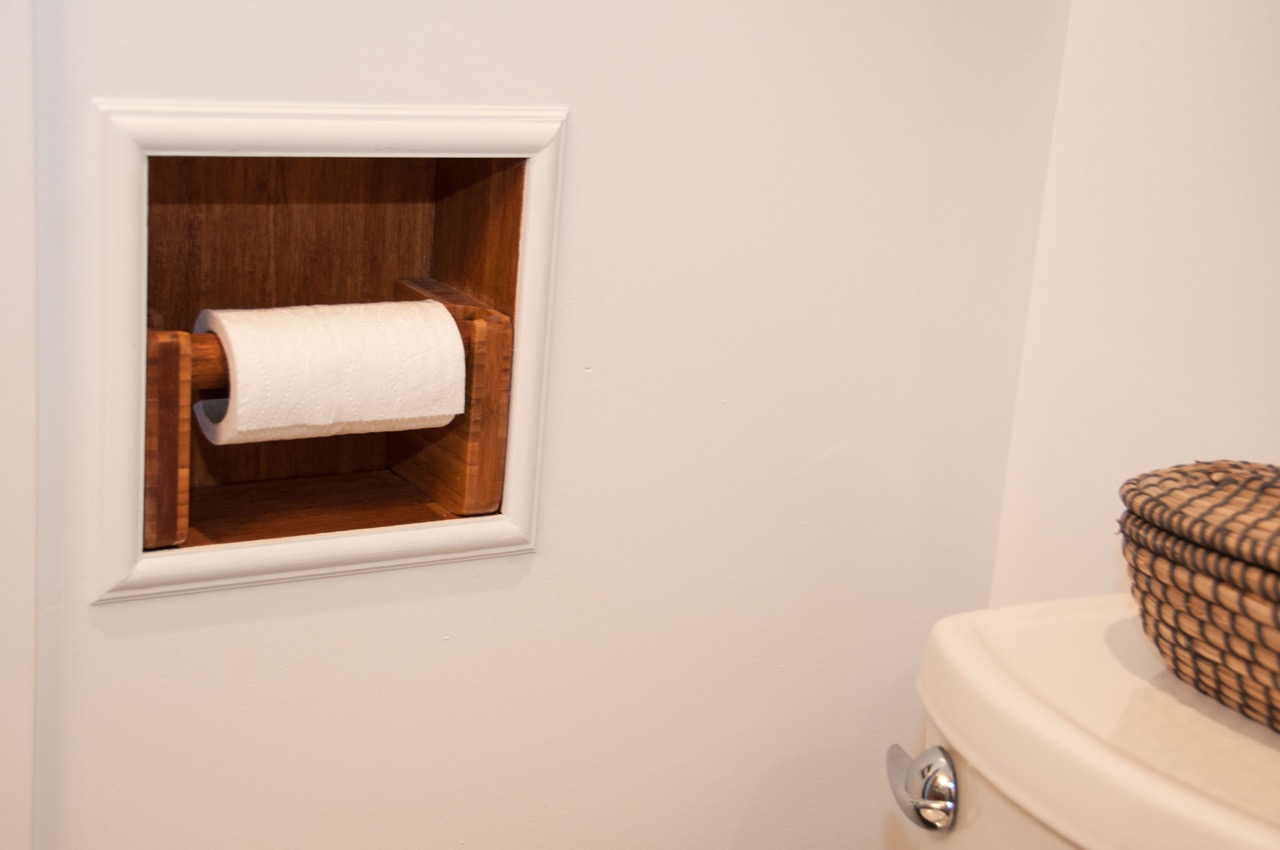
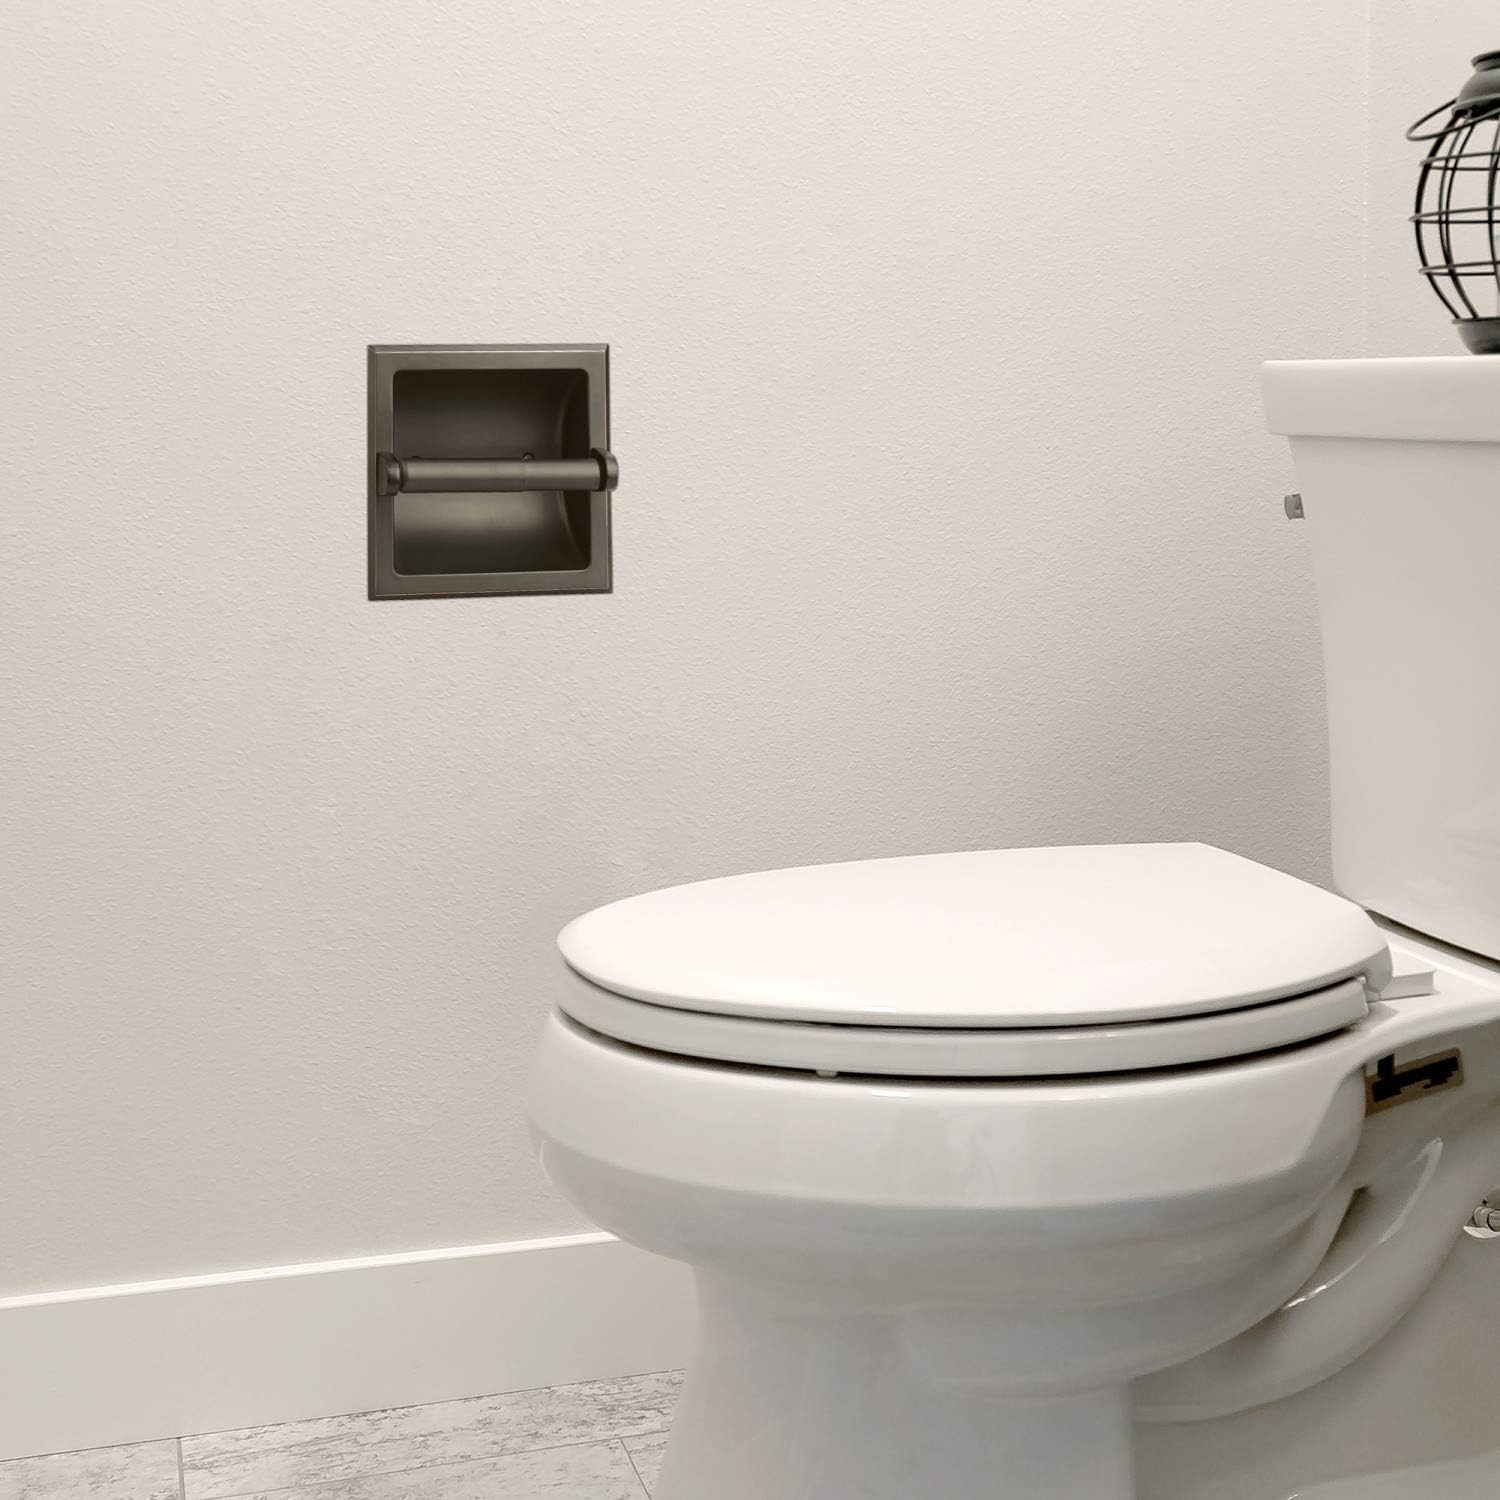
Welcome to our guide on how to install a recessed toilet paper holder! A recessed toilet paper holder is a practical and stylish solution for keeping your bathroom organized and clutter-free. Unlike traditional wall-mounted holders, a recessed holder is installed directly into the wall, creating a seamless and streamlined look. If you’re tired of dealing with loose toilet paper rolls or unsightly holders, then this guide is for you.
In this article, we will walk you through the step-by-step process of installing a recessed toilet paper holder. We will provide detailed instructions and tips to ensure a successful installation, even if you have limited experience with DIY projects. So, let’s get started and bring a touch of elegance to your bathroom!
Before we dive into the installation process, it’s important to gather the necessary tools and materials. This will ensure that you have everything you need on hand, saving you time and frustration during the installation. Here’s a list of the required tools:
- Measuring tape
- Pencil
- Level
- Drill
- Drill bits
- Screwdriver
- Stud finder
- Drywall saw
- Putty knife
- Spackle or joint compound
- Sandpaper
- Paint or wallpaper (if necessary)
Once you have gathered these tools, you’re ready to move on to the next step: determining the location of the recessed toilet paper holder. Stay tuned for step-by-step instructions on how to find the perfect spot for your new holder!
Key Takeaways:
- Upgrade your bathroom with a sleek and organized look by installing a recessed toilet paper holder. Follow the step-by-step guide for a practical and stylish solution, even with limited DIY experience.
- Ensure a successful installation by gathering the necessary tools and materials, determining the ideal location, and carefully preparing the wall. Enjoy the convenience and elegance of your newly installed recessed toilet paper holder.
Step 1: Gather the Required Tools and Materials
Before you begin the installation process, it’s essential to gather all the necessary tools and materials. Having these items on hand will make the installation more efficient and ensure that you have everything you need. Here’s a list of the tools and materials you will need:
- Measuring tape: This will help you accurately measure the space where you plan to install the recessed toilet paper holder.
- Pencil: You’ll need a pencil to mark the location for installation on the wall.
- Level: A level will ensure that the holder is installed straight and level.
- Drill: You’ll need a drill to make holes in the wall for the mounting screws.
- Drill bits: Depending on the type of wall you have, you may need different drill bits to create the necessary holes.
- Screwdriver: A screwdriver will be used to secure the mounting bracket and attach the recessed toilet paper holder.
- Stud finder: If you plan to mount the holder on a wall stud, a stud finder will help you locate the studs.
- Drywall saw: If you don’t have a wall stud to anchor the mounting bracket, you may need a drywall saw to cut a hole in the wall for the recessed holder.
- Putty knife: You’ll need a putty knife to apply spackle or joint compound to fill any holes or gaps in the wall.
- Spackle or joint compound: This is used to fill holes and achieve a smooth, seamless finish on the wall.
- Sandpaper: Sandpaper will help you smooth out any rough areas on the wall after applying spackle or joint compound.
- Paint or wallpaper (if necessary): If the wall needs to be painted or wallpapered after installation, have the necessary supplies ready.
Gather these tools and materials before you begin the installation process to ensure a smooth and efficient experience. Once you have everything you need, you’re ready to move on to the next step: determining the location for the recessed toilet paper holder. Stay tuned for step-by-step instructions on finding the perfect spot for your new holder!
Step 2: Determine the Location
Once you have gathered all the required tools and materials, it’s time to determine the location for your recessed toilet paper holder. Choosing the right spot is crucial to ensure easy access and a visually pleasing installation. Here’s how you can determine the ideal location:
- Consider ergonomics: Start by thinking about the convenience and functionality of the toilet paper holder. It should be within easy reach from the toilet without hindering movement in the bathroom. Generally, the holder is installed about 26 inches from the floor and within 8-12 inches of the toilet bowl’s side.
- Account for stud placement: If possible, try to install the holder on a wall stud for added stability. Use a stud finder to locate the studs in the wall. Mark the location of the studs with a pencil. If there are no studs in the desired location, you may need to use toggle bolts or anchors to secure the mounting bracket.
- Avoid plumbing and electrical lines: Take note of any plumbing or electrical lines running behind the wall. You don’t want to accidentally drill into a pipe or wire. Use caution and consult a professional if you’re unsure about the location of these utilities.
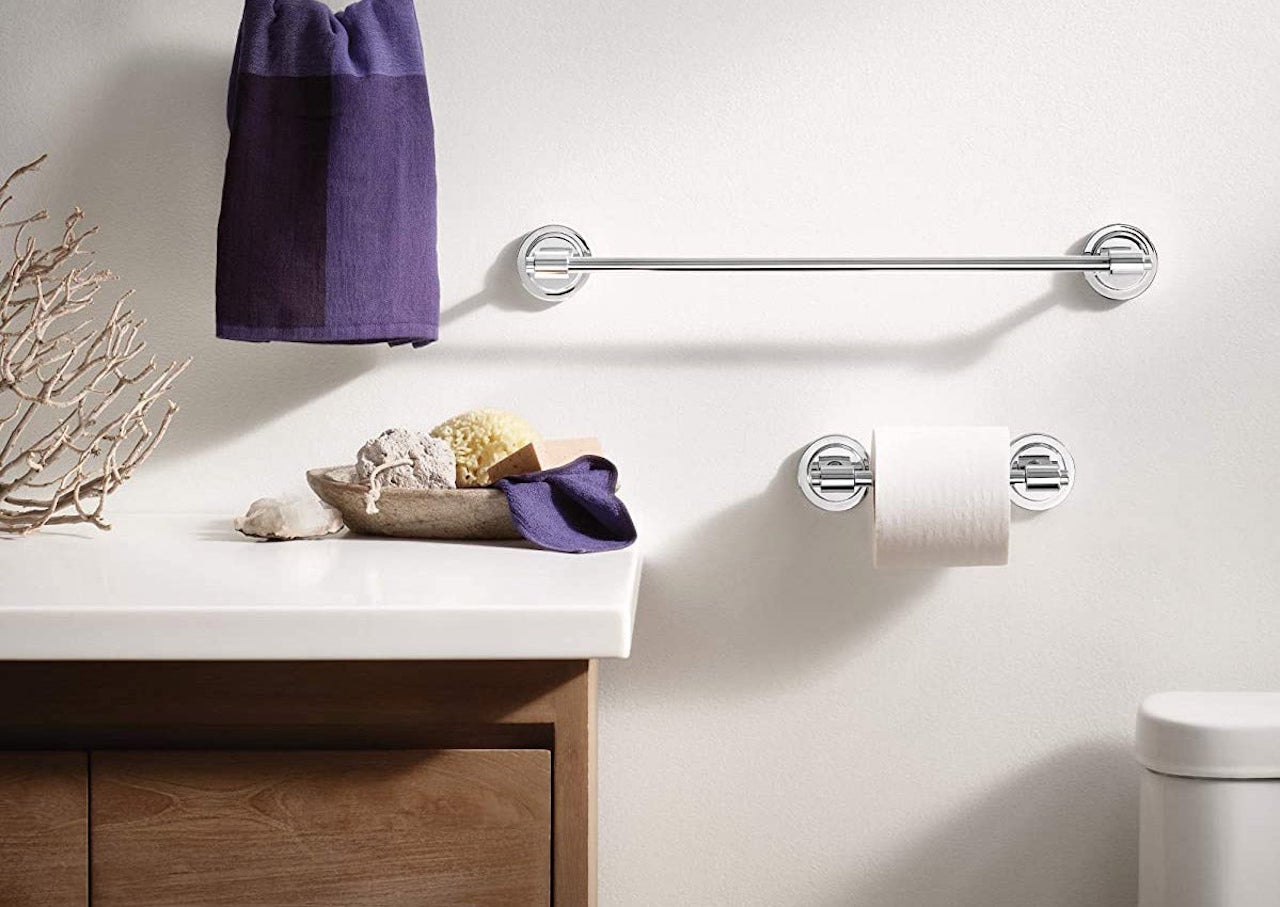
- Consider aesthetics: Think about the overall aesthetic of your bathroom and how the recessed toilet paper holder will fit into the design. It should complement the existing fixtures and decor. Consider the height and position in relation to other elements, such as towel bars or shelves.
- Check for obstructions: Make sure there are no obstructions, such as tile, baseboards, or furniture, that would prevent the recessed holder from fitting properly. Measure the available space and compare it to the dimensions of the holder to ensure compatibility.
Once you have taken all these factors into account, mark the location for installation using a pencil. Double-check your measurements and ensure that everything aligns with your preferences. With the location determined, you’re ready to move on to the next step: marking the installation spot on the wall. Stay tuned for detailed instructions on marking the location for your recessed toilet paper holder!
Step 3: Mark the Location for Installation
Now that you have determined the ideal location for your recessed toilet paper holder, it’s time to mark the spot on the wall for installation. Properly marking the location ensures that the holder will be positioned accurately and securely. Follow these steps to mark the installation spot:
- Measure and mark the height: Start by measuring the desired height for the toilet paper holder. Use a measuring tape or ruler to mark the height on the wall with a pencil. Remember to consider the height of the average toilet user and ensure the holder is at a comfortable height.
- Measure and mark the center line: Use a measuring tape or ruler to find the centerline of the wall. Mark this point with a pencil. This will serve as a reference for positioning the mounting bracket.
- Align with studs or use anchors: If you have determined that there are wall studs in the desired location, position the centerline directly over one of the studs. If there are no studs or you prefer to use anchors, make sure the centerline is clear of any obstructions and align it with your preferred location.
- Account for holder dimensions: Check the dimensions of your recessed toilet paper holder and its mounting bracket. Ensure that there is enough clearance on either side of the centerline to accommodate the width of the holder.
- Double-check the markings: Before proceeding to the next step, double-check your measurements and markings. Use a level to ensure that the height and centerline are straight and level. Make any adjustments if needed.
By carefully marking the installation spot, you will have a clear reference point for the next steps of the installation process. When you are satisfied with the positioning, you can move on to preparing the wall for installation. Stay tuned for step-by-step instructions on preparing the wall for your recessed toilet paper holder!
Step 4: Prepare the Wall for Installation
Now that you have marked the location for your recessed toilet paper holder, it’s time to prepare the wall for installation. Properly preparing the wall ensures a secure and stable installation. Follow these steps to prepare the wall:
- Clear the area: Start by removing any obstacles or obstructions in the immediate vicinity of the marked installation spot. This includes objects like towel racks, toilet paper holders, or wall decorations that may interfere with the installation process.
- Check for wall studs: If you marked a location that aligns with a wall stud, verify the presence and position of the stud using a stud finder. Mark the edges of the stud with a pencil. This will serve as a guide for mounting the bracket later on.
- Create an access hole (optional): If there is no wall stud in the desired location or if you are using an existing hole, you may need to create an access hole in the wall. Use a drywall saw to carefully cut out a small section of the wall within the marked area. This will allow you to access the space behind the wall for easier installation.
- Inspect the wall condition: Examine the wall to ensure it is in good condition for installation. Take note of any cracks, holes, or uneven surfaces. If necessary, repair any damage using spackle or joint compound. Use a putty knife to fill any gaps or holes, and then smooth the surface with sandpaper once the compound is dry.
- Paint or wallpaper (if necessary): If you plan to paint or wallpaper the wall after the installation, this is the time to do it. Apply paint or wallpaper to the wall, taking care not to cover the marked spot for the holder installation. Allow the paint or wallpaper to dry completely before proceeding to the next step.
With the wall properly prepared, you’re one step closer to having your new recessed toilet paper holder installed. The next step is to install the mounting bracket, which will provide the foundation for the holder. Stay tuned for step-by-step instructions on installing the mounting bracket!
When installing a recessed toilet paper holder, make sure to measure the space carefully and use a stud finder to locate a suitable spot for installation. Use a template to mark the area, then carefully cut the hole and secure the holder in place.
Read more: How To Remove Recessed Toilet Paper Holder
Step 5: Install the Mounting Bracket
Now that the wall is prepared, it’s time to install the mounting bracket for your recessed toilet paper holder. The mounting bracket serves as the foundation and support for the holder itself. Follow these steps to install the mounting bracket:
- Align the bracket: Position the mounting bracket over the marked installation spot on the wall. If you have marked the location of a wall stud, make sure the bracket aligns with the edges of the stud. Use a level to ensure that the bracket is straight and level.
- Mark the screw holes: With the bracket in place, use a pencil to mark the locations of the screw holes on the wall. Remove the bracket and set it aside.
- Drill pilot holes: Using a drill and an appropriate drill bit, carefully drill pilot holes at the marked locations. The pilot holes should be slightly smaller than the screws you will be using to mount the bracket.
- Attach the bracket: Position the mounting bracket back over the pilot holes and align it with the screw holes. Use a screwdriver or a drill with the appropriate screwdriver bit to secure the bracket to the wall. Tighten the screws securely, but be careful not to over-tighten and damage the wall.
Once the mounting bracket is securely in place, you have completed the crucial step of providing the foundation for your recessed toilet paper holder. The next step is to attach the holder to the mounted bracket. Stay tuned for step-by-step instructions on how to attach the recessed toilet paper holder!
Step 6: Attach the Recessed Toilet Paper Holder
Now that the mounting bracket is securely installed, it’s time to attach the recessed toilet paper holder. This step will bring your installation one step closer to completion. Follow these steps to attach the holder:
- Take the holder out of its packaging: Carefully remove the recessed toilet paper holder from its packaging, ensuring not to damage any parts or components. Familiarize yourself with the different pieces that make up the holder.
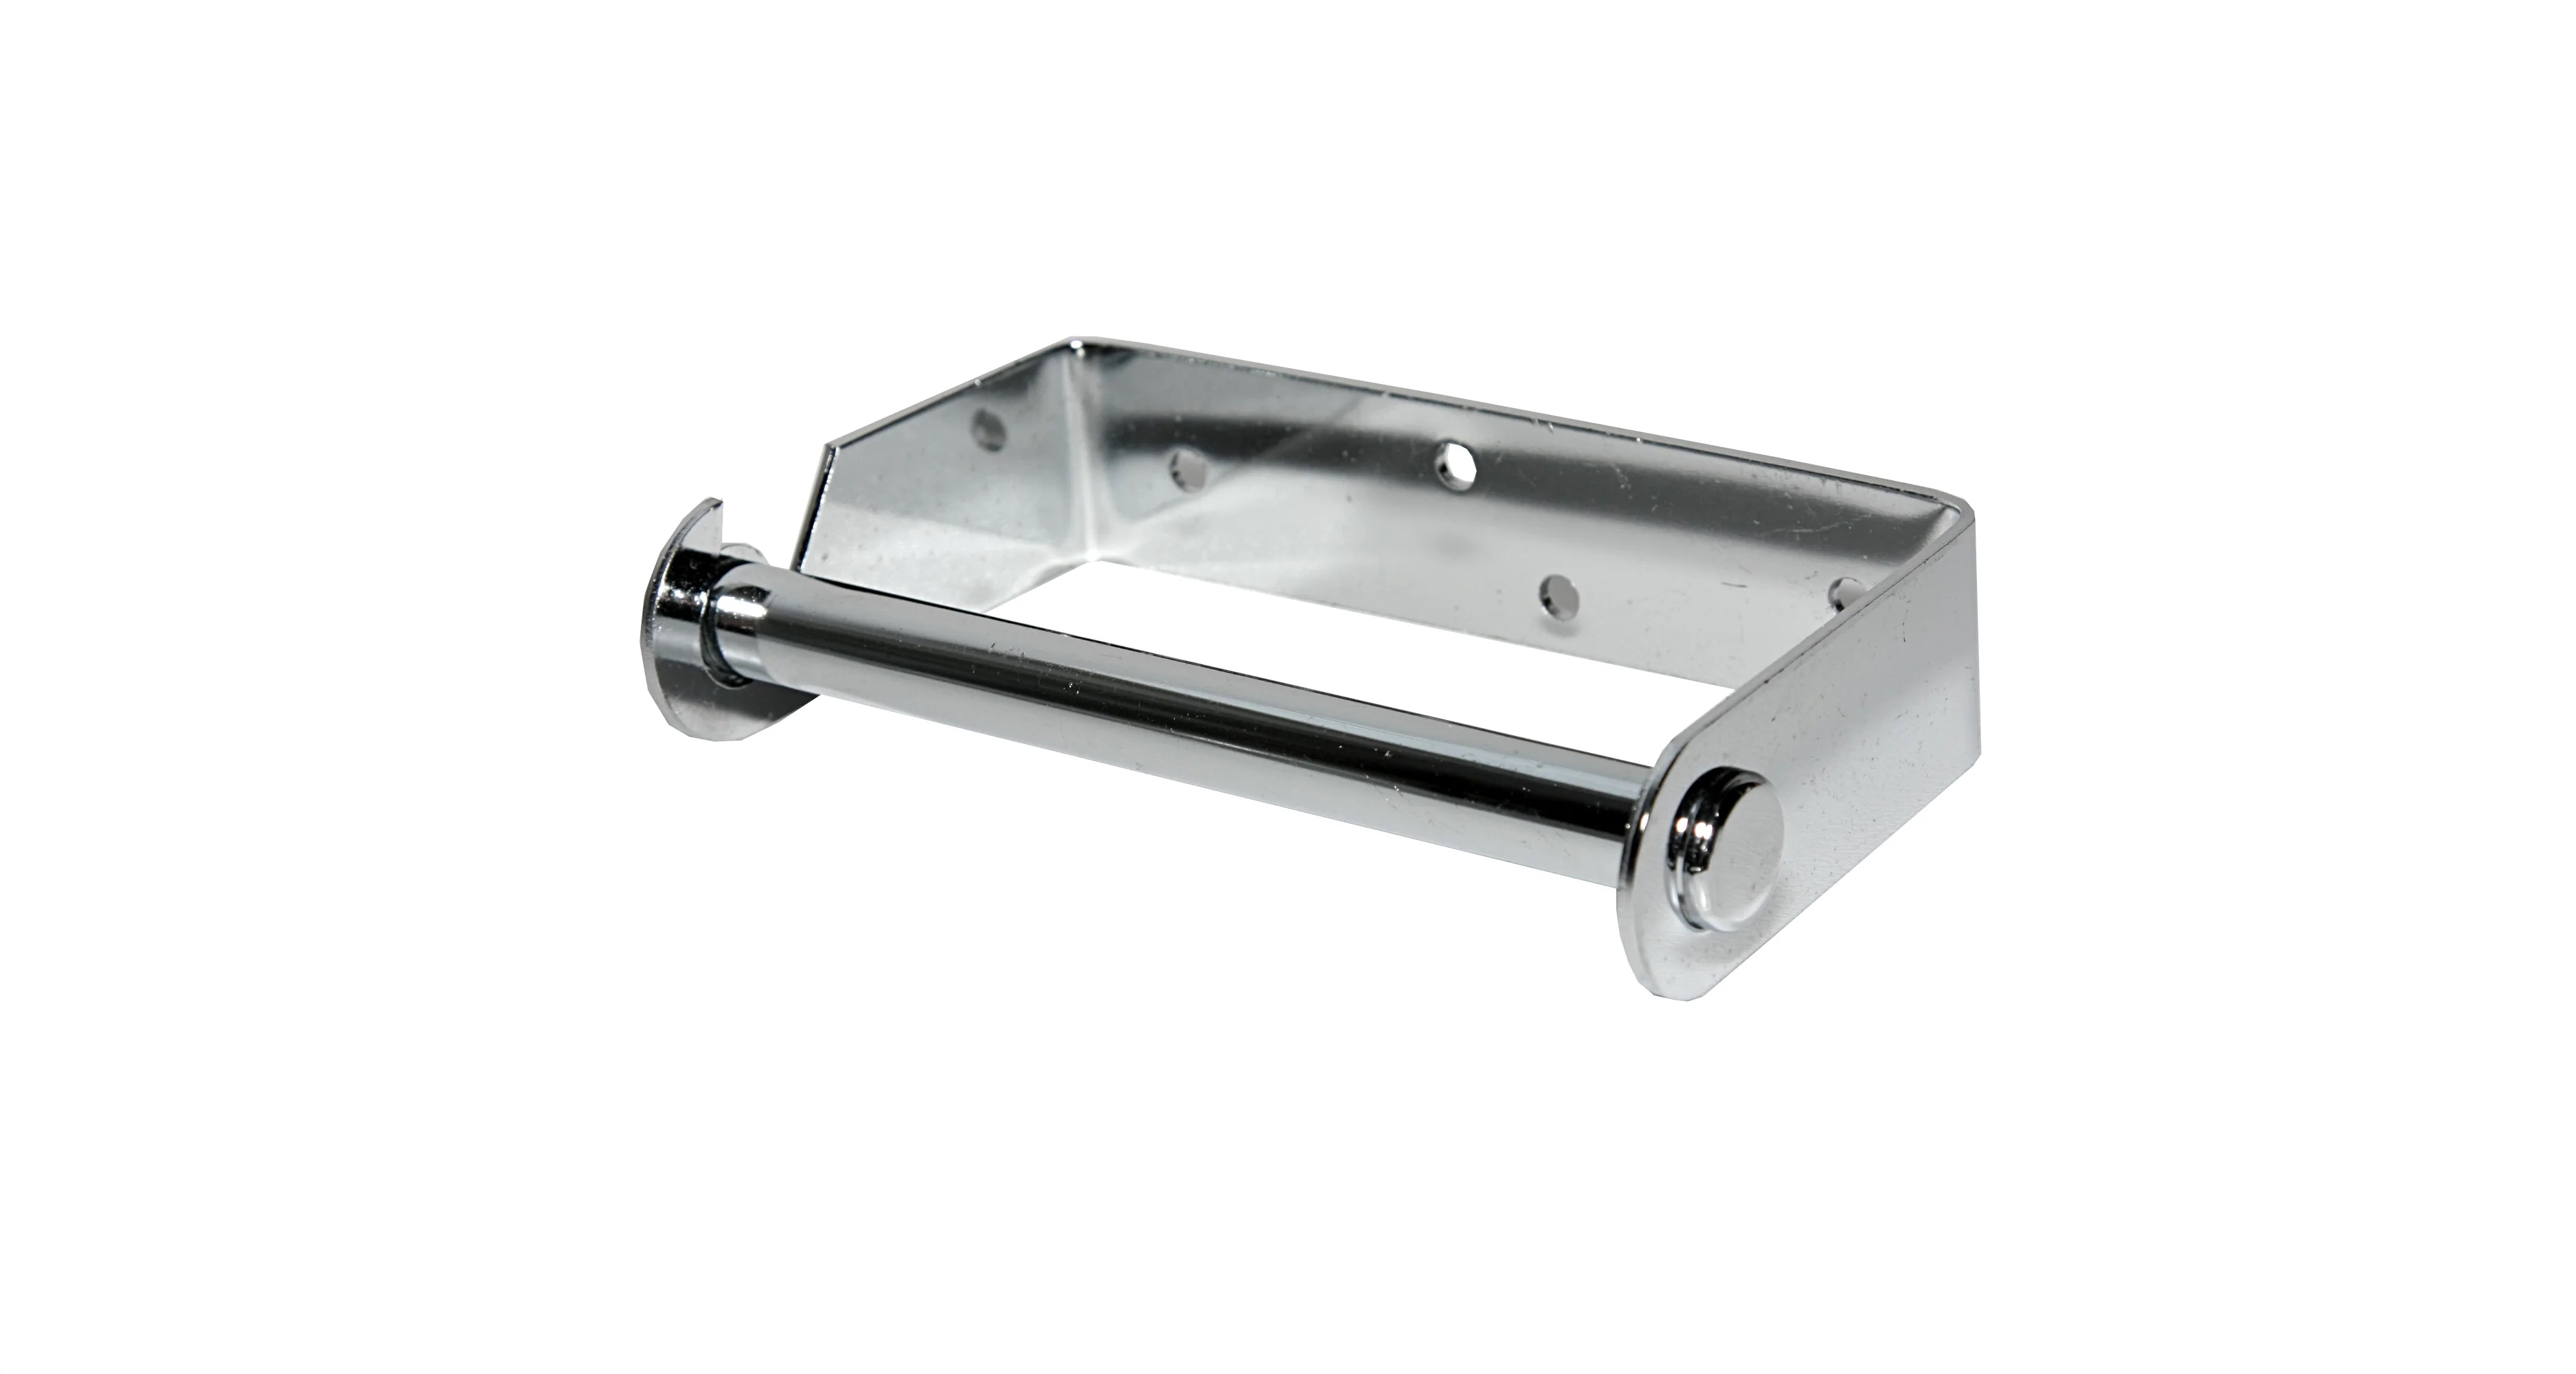
- Slide the holder onto the mounting bracket: Align the holes or slots on the back of the holder with the corresponding screws or tabs on the mounting bracket. Gently slide the holder onto the bracket until it is securely in place. Check that it is properly aligned and level.
- Tighten the screws or clips: Once the holder is in position on the mounting bracket, use a screwdriver or follow the manufacturer’s instructions to tighten the screws or clips. Ensure that they are snug, but be careful not to over-tighten and risk damaging the holder or bracket.
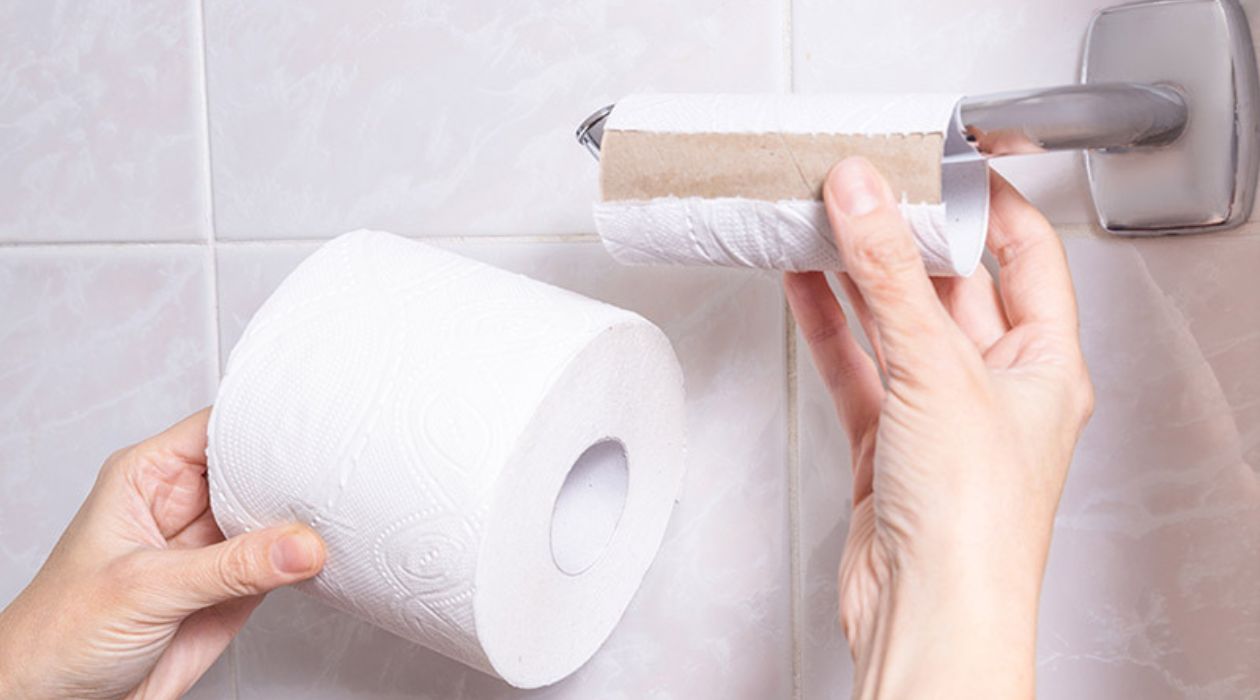
- Test the holder: With the holder securely attached, test its functionality by inserting a toilet paper roll. Roll the paper to ensure smooth movement and that it stays in place without excessive play. Make any adjustments if necessary.
Attaching the recessed toilet paper holder to the mounting bracket is a crucial step in the installation process. Once the holder is securely in place and functioning properly, you’re almost done. The final step is to test and adjust the holder to ensure optimal performance. Let’s move on to the next step!
Step 7: Test and Adjust the Holder
Now that you have successfully attached the recessed toilet paper holder, it’s time to test its functionality and make any necessary adjustments for optimal performance. Follow these steps to test and adjust the holder:
- Insert a toilet paper roll: Place a toilet paper roll onto the holder to test its functionality. Roll the paper to ensure smooth movement and that it stays in place without excessive play or slippage.
- Check for stability: Give the holder a gentle tug to check its stability. It should feel secure and sturdy, without any wobbling or loosening. If you notice any instability, double-check that the mounting bracket and screws are securely fastened.
- Make adjustments if needed: If the holder is not level or properly aligned, loosen the screws or clips and make necessary adjustments. Use a level to ensure that the holder is straight and aligned with other bathroom fixtures.
- Retighten screws or clips: Once you’ve made the necessary adjustments, retighten the screws or clips to secure the holder in its desired position. Check again for stability and functionality.
Testing and adjusting the recessed toilet paper holder ensures that it is functioning properly and meets your expectations. It’s important to have a holder that is both secure and convenient to use. With the holder successfully tested and adjusted, you’re almost done with the installation process. The final step is to finish up and clean the area. Let’s proceed to the next step!
Step 8: Finish and Clean up
Congratulations! You’re in the final stretch of installing your recessed toilet paper holder. In this step, we will focus on finishing the installation and cleaning up the work area. Follow these steps to complete the process:
- Inspect the installation: Take a moment to inspect the entire installation and ensure that everything is secure and aligned as desired. Check for any loose screws or clips and tighten them if necessary.
- Fill any gaps or holes: If there are any gaps or holes around the mounting bracket or access hole, use spackle or joint compound to fill them. Use a putty knife to apply the compound and smooth it out. Allow it to dry completely.
- Sand and smoothen the wall: Once the spackle or joint compound is dry, use sandpaper to smooth out any rough patches. Gently sand the filled areas until they blend seamlessly with the surrounding wall surface.
- Touch up the paint or wallpaper (if necessary): If you painted or wallpapered the wall after preparing it, use touch-up paint or wallpaper to ensure a seamless finish. Apply the appropriate paint or wallpaper adhesive and blend it with the existing surface.
- Clean up the work area: Dispose of any packaging materials, unused tools, and debris created during the installation process. Use a vacuum or broom to clean up the area around the installation site. Wipe down the holder and surrounding surfaces to remove any fingerprints or dust.
- Enjoy your newly installed recessed toilet paper holder: Step back and admire your handiwork! You’ve successfully installed a recessed toilet paper holder that not only adds functionality but also enhances the aesthetics of your bathroom.
Finishing up and cleaning the work area is an important final step in any installation project. By ensuring that everything is in order and the area is tidy, you can fully appreciate the results of your hard work. Congratulations on a job well done!
With the installation complete, you can now enjoy the convenience and sleek look of your newly installed recessed toilet paper holder. We hope this step-by-step guide has been helpful, and that you find satisfaction in your bathroom upgrade. Happy organizing!
Conclusion
Congratulations on successfully installing your recessed toilet paper holder! By following the step-by-step guide provided in this article, you have transformed your bathroom into a more organized and stylish space. The recessed design of the toilet paper holder not only eliminates clutter but also adds a touch of elegance to the room.
We started by gathering the necessary tools and materials to ensure a smooth installation process. Then, we determined the ideal location for the holder, taking into consideration ergonomics, stud placement, and aesthetics. With the location marked, we prepared the wall by clearing the area, checking for wall studs, inspecting the wall condition, and addressing any necessary repairs or painting.
Next, we moved on to installing the mounting bracket, the foundation for the recessed holder. Once the bracket was securely in place, we attached the toilet paper holder, ensuring proper alignment and stability. After testing the functionality of the holder and making any necessary adjustments, we finished up the installation by filling gaps, smoothing the wall surface, and cleaning the work area.
Now, you can enjoy the benefits of your newly installed recessed toilet paper holder. The holder is not only practical and functional but also adds a touch of sophistication to your bathroom. Say goodbye to loose toilet paper rolls and unsightly holders!
We hope that this guide has been informative and helpful in guiding you through the installation process. Remember, always pay attention to safety precautions and consult professionals if you encounter any difficulties or uncertainties during the installation.
Thank you for choosing our guide as your go-to resource for installing a recessed toilet paper holder. We wish you many years of convenience and enjoyment with your newly upgraded bathroom!
Frequently Asked Questions about How To Install Recessed Toilet Paper Holder
Was this page helpful?
At Storables.com, we guarantee accurate and reliable information. Our content, validated by Expert Board Contributors, is crafted following stringent Editorial Policies. We're committed to providing you with well-researched, expert-backed insights for all your informational needs.

0 thoughts on “How To Install Recessed Toilet Paper Holder”