Articles
How To Seal Chimney Pipe
Modified: August 28, 2024
Learn how to seal your chimney pipe with these helpful articles. Ensure a secure and leak-free installation for your home.
(Many of the links in this article redirect to a specific reviewed product. Your purchase of these products through affiliate links helps to generate commission for Storables.com, at no extra cost. Learn more)
Introduction
When it comes to chimney maintenance, sealing the chimney pipe is an important task that should not be overlooked. Proper sealing ensures that no harmful gases or smoke leak into your home, while also preventing water damage and improving energy efficiency. In this article, we will guide you through the process of sealing your chimney pipe, step by step.
Before you begin, it is important to note that sealing a chimney pipe should only be done after cleaning and inspecting the chimney thoroughly. Any debris or cracks should be addressed prior to sealing to ensure optimal performance and safety.
Now, let’s dive into the steps you need to follow in order to effectively seal your chimney pipe.
Key Takeaways:
- Properly sealing your chimney pipe is crucial for preventing harmful gases, water damage, and improving energy efficiency. Follow the steps outlined to ensure a safe and efficient chimney system.
- Regular inspection and maintenance of the sealed chimney pipe are essential for long-term effectiveness. Address any issues promptly to protect your home and maintain optimal chimney function.
Read more: How To Seal Off A Chimney
Step 1: Gather the necessary materials
Before you can start sealing your chimney pipe, you will need to gather a few essential materials. Here is a list of what you will need:
- Chimney sealant: Choose a high-quality sealant that is specifically designed for chimney use. Look for a product that can withstand high temperatures and is resistant to weathering and cracking.
- Brush or sponge: You will need a brush or sponge to clean the chimney pipe thoroughly before applying the sealant. Make sure the brush or sponge is suitable for use with the type of chimney material you have.
- Cloth or towel: Have a cloth or towel on hand to wipe off any excess sealant and to clean up any messes as you work.
- Protective gear: It is important to protect yourself during the sealing process. Wear safety goggles to protect your eyes from any debris, and use gloves to keep your hands clean and protected.
- Ladder or scaffolding: Depending on the height of your chimney, you may need a ladder or scaffolding to reach the chimney pipe. Ensure that whatever you use is stable and secure.
Once you have gathered all the necessary materials, you are ready to move on to the next step: preparing the chimney pipe.
Step 2: Prepare the chimney pipe
Before applying the sealant, it is crucial to prepare the chimney pipe adequately. Follow these steps to ensure the best results:
- Observe safety precautions: Ensure that you have taken all necessary safety precautions, such as using protective gear and setting up a stable platform to access the chimney pipe.
- Clean the chimney pipe: Use a brush or sponge to thoroughly clean the chimney pipe. Remove any soot, debris, or creosote buildup. This step is crucial to ensure proper adhesion of the sealant.
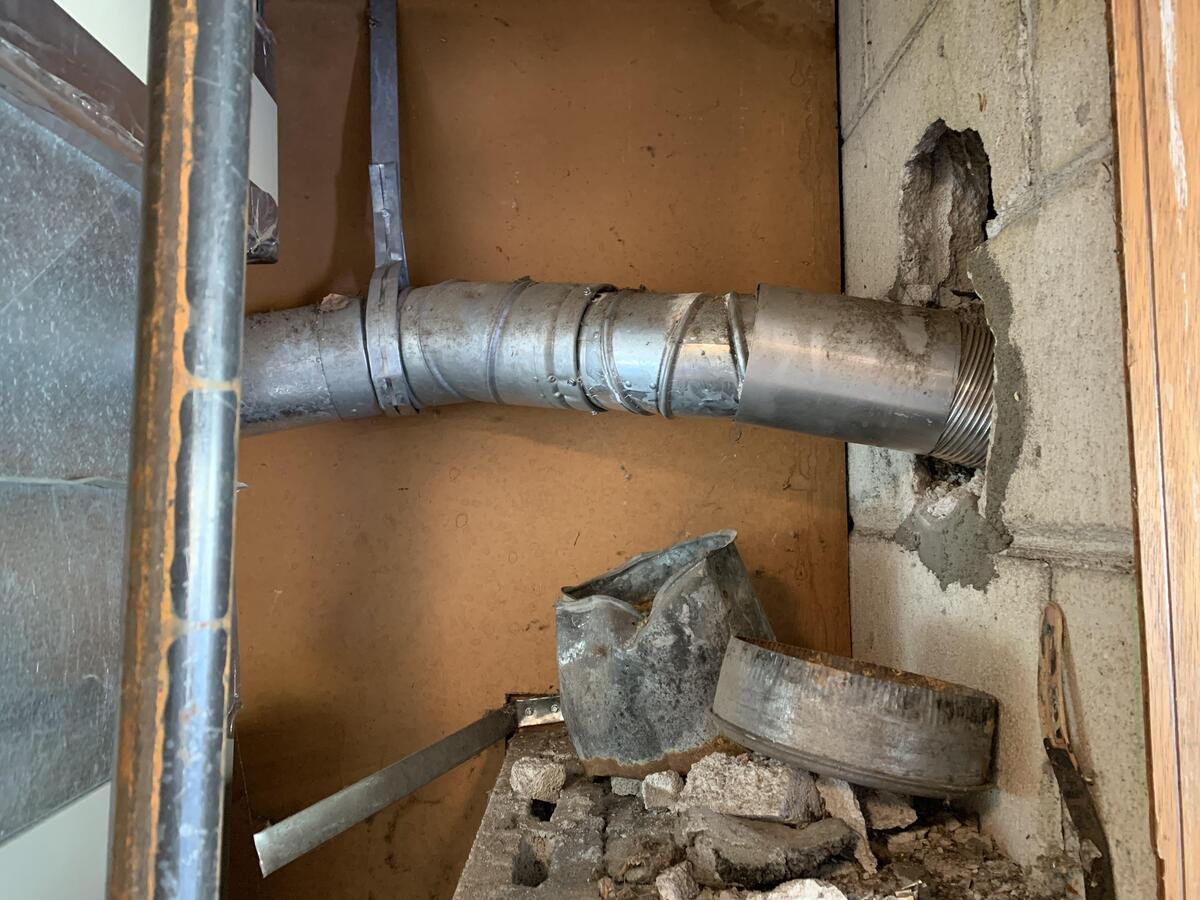
- Inspect for damage: Take the time to carefully inspect the chimney pipe for any signs of damage, such as cracks, gaps, or loose connections. If you identify any issues, address them before proceeding with the sealing process.
- Remove rust or corrosion: If you notice any rust or corrosion on the chimney pipe, use a stiff wire brush or sandpaper to remove it. This will create a smooth surface for the sealant to adhere to.
- Ensure dryness: Make sure the chimney pipe is completely dry before applying the sealant. Moisture can interfere with the sealing process and compromise the effectiveness of the seal.
By properly preparing the chimney pipe, you will create an optimal surface for the sealant and ensure a long-lasting and effective seal. Once you have completed these steps, you are ready to move on to the next step: applying the sealant.
Step 3: Apply the sealant
Now that you have prepared the chimney pipe, it’s time to apply the sealant. Follow these steps to ensure a proper seal:
- Choose the right sealant: Select a high-quality chimney sealant that is designed to withstand high temperatures and is suitable for the type of chimney material you have. Read the manufacturer’s instructions for proper application and drying times.
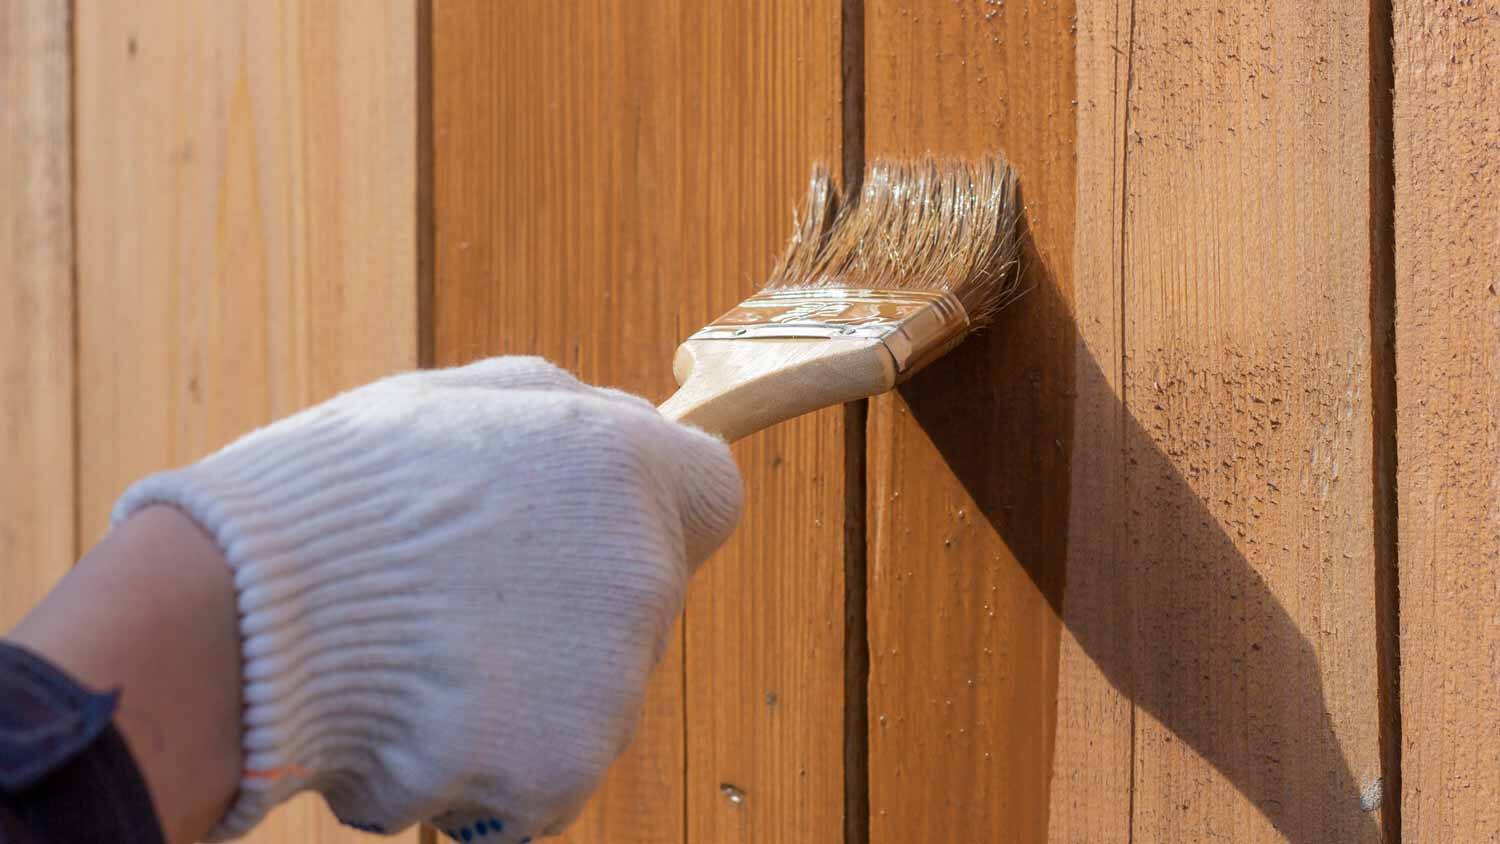
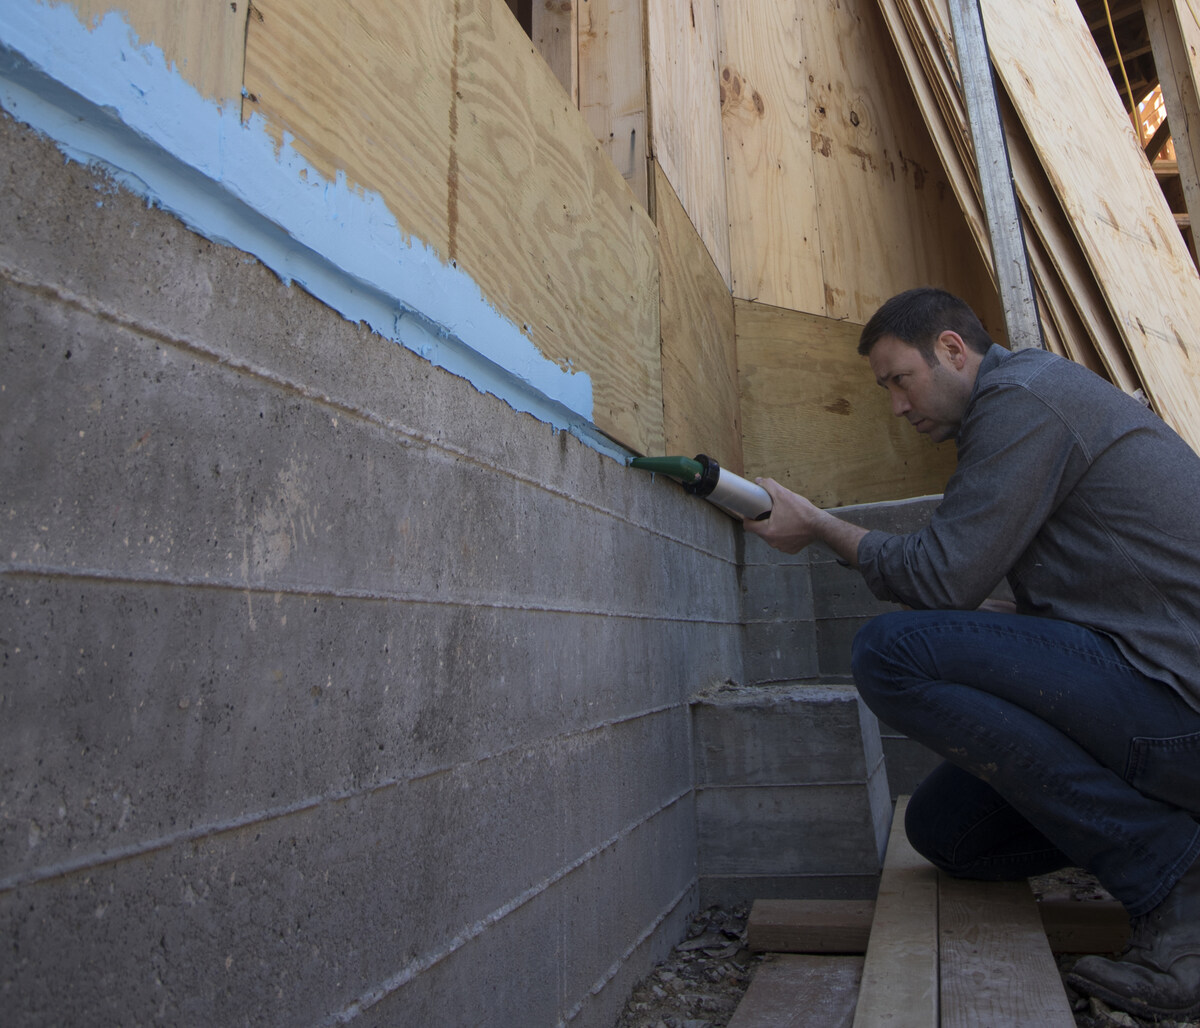
- Start at the base: Begin applying the sealant at the base of the chimney pipe and work your way up. Use a caulk gun or a brush to apply a thin, even layer of sealant to the exterior surface of the pipe.
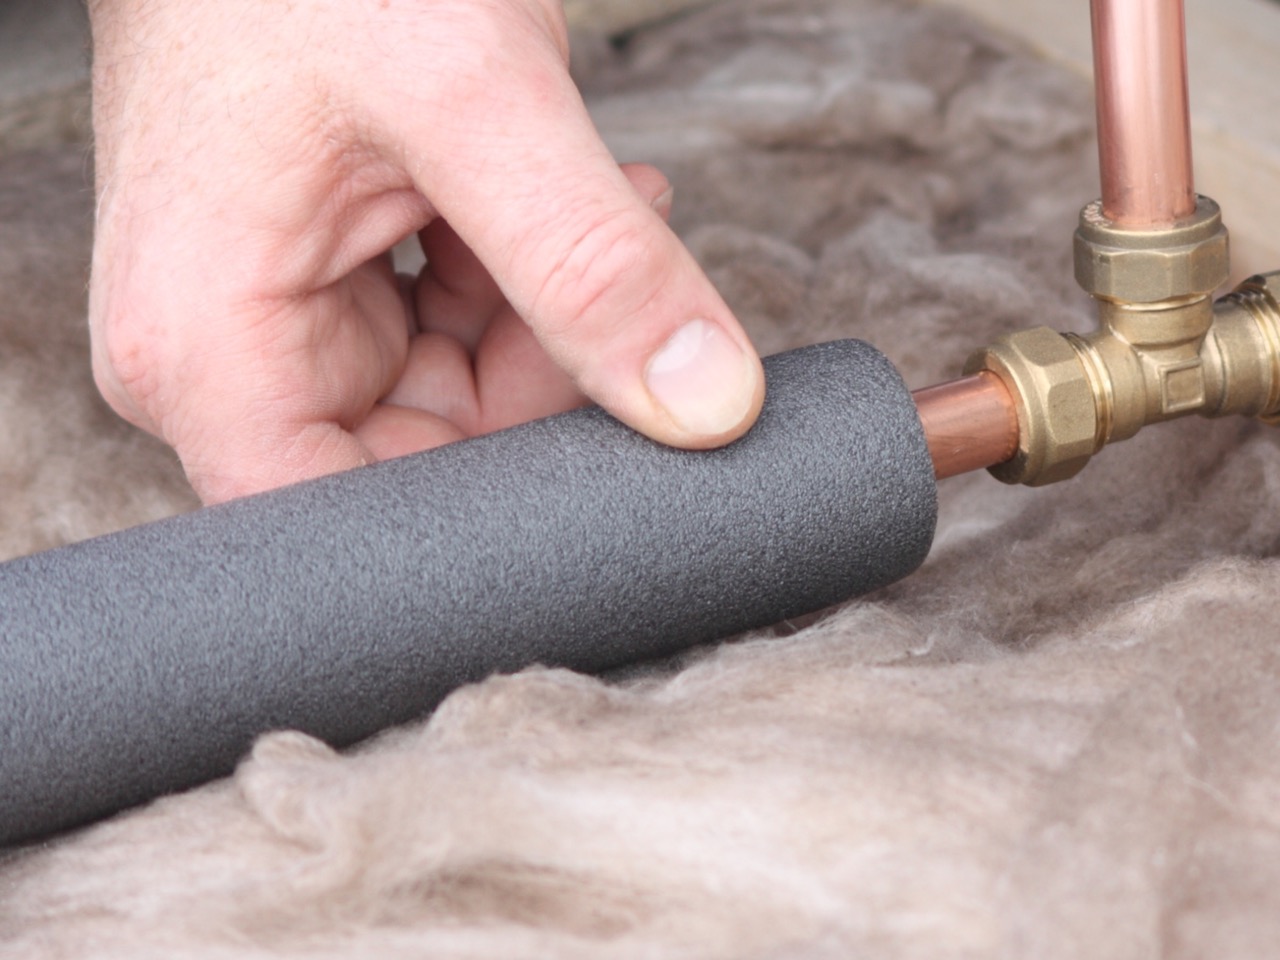
- Apply to joints and seams: Pay special attention to the joints and seams of the chimney pipe. Apply extra sealant to these areas to ensure a watertight and airtight seal.
- Smooth out the sealant: After applying the sealant, use a gloved finger or a putty knife to smooth out the surface. This will help to ensure a neat and even finish. Remove any excess sealant that may have dripped or pooled.
- Allow proper drying time: Follow the manufacturer’s instructions for the recommended drying time. Avoid touching or disturbing the sealant until it has fully cured. This will ensure that it sets properly and provides a durable seal.
By applying the sealant correctly, you will create a protective barrier that prevents leaks, improves energy efficiency, and prolongs the lifespan of your chimney pipe. Once the sealant has dried, you can move on to the next step: securing the chimney pipe.
When sealing chimney pipe, use high-temperature silicone sealant to create a tight and durable seal. Make sure to clean the surfaces thoroughly before applying the sealant for best results.
Step 4: Secure the chimney pipe
After applying the sealant and allowing it to dry, the next step is to secure the chimney pipe in place. This step is crucial to ensure stability and prevent any movement that could compromise the seal. Follow these steps to properly secure the chimney pipe:
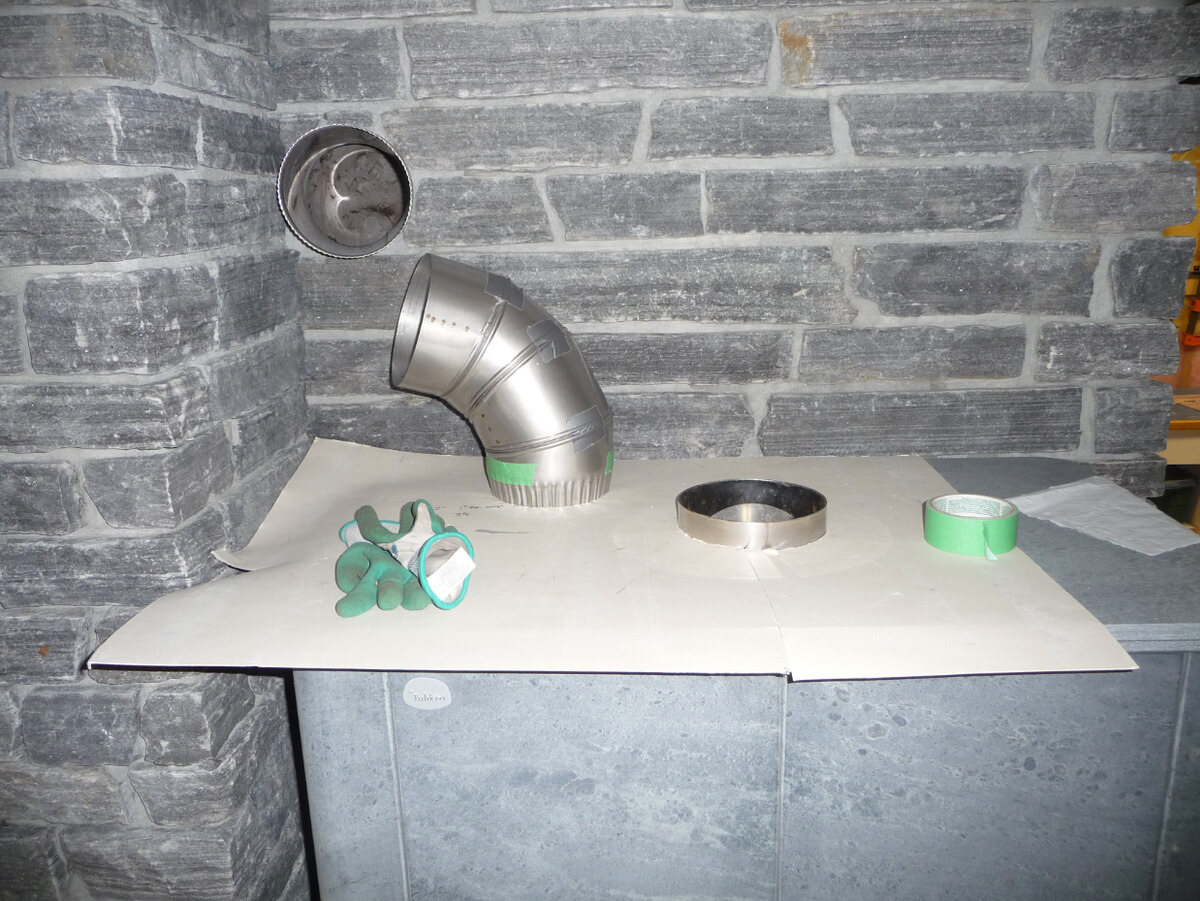
- Inspect mounting brackets or supports: Check the existing mounting brackets or supports to ensure they are in good condition and securely attached to the chimney. If any brackets are damaged or loose, replace them before proceeding.
- Align the chimney pipe: Carefully align the chimney pipe and ensure that it is level and straight. Any misalignment can lead to stress on the sealant or chimney structure, so take your time to ensure it is properly aligned.
- Tighten mounting brackets: Using the appropriate tools, tighten the mounting brackets or supports to securely hold the chimney pipe in place. Be careful not to overtighten and damage the pipe or brackets.
- Check for movement: After securing the pipe, gently test for any movement or shifts. A properly secured chimney pipe should not move or shift. If you notice any movement, make the necessary adjustments to ensure a stable installation.
By securely fixing the chimney pipe, you ensure that the sealant remains intact and that your chimney functions optimally. Once you have thoroughly inspected and secured the pipe, it’s time to move on to the final step: inspecting and testing the seal.
Read more: How Hot Does Chimney Pipe Get
Step 5: Inspect and test the seal
After completing the sealing and securing process, it’s important to inspect and test the seal to ensure its effectiveness. Here are the steps to follow:
- Visually inspect the seal: Take a close look at the sealant applied to the chimney pipe. Look for any cracks, gaps, or signs of damage. If you notice any issues, you may need to reapply the sealant to ensure a proper seal.
- Check for air leaks: Light a stick of incense or a candle, and carefully hold it near the joints and seams of the chimney pipe. Observe if any smoke or air is drawn toward or emitted from the sealant. If you notice any air leaks, additional sealant may be needed to address those areas.
- Inspect for water leaks: Monitor the sealant after rain or heavy water exposure. Check for any signs of water leakage, such as water stains or dampness. If you notice any water intrusion, additional sealant may be necessary to create a watertight seal.
- Monitor performance: Keep an eye on your chimney’s performance over time. Pay attention to any unusual smells, smoky odors, or drafts that may indicate a compromised seal. Regularly inspect and maintain the chimney to ensure its optimal function.
Regular inspections and maintenance are key to ensuring the long-term effectiveness of the seal. Address any issues promptly to protect your home from leaks, minimize energy loss, and maintain a safe and efficient chimney system.
With the completion of these steps, you have successfully sealed your chimney pipe. Remember to periodically check the seal to ensure its integrity and make any necessary repairs as needed. By properly sealing your chimney pipe, you are safeguarding your home and ensuring the efficient operation of your chimney system.
Conclusion
Properly sealing your chimney pipe is an important step in maintaining a safe, efficient, and functional chimney system. By following the steps outlined in this article, you can effectively seal your chimney pipe and prevent any potential issues such as leaks, drafts, and energy loss.
Start by gathering the necessary materials, including a high-quality chimney sealant, a brush or sponge for cleaning, and protective gear. Thoroughly clean the chimney pipe and inspect it for any damage or rust before applying the sealant.
Next, apply the sealant in a thin, even layer, ensuring to cover the joints and seams well. Smooth out the sealant and allow it to dry completely according to the manufacturer’s instructions. Once the sealant is dry, secure the chimney pipe in place using proper mounting brackets or supports.
After securing the pipe, inspect the seal and test for any air or water leaks. Address any issues promptly by reapplying sealant as needed. Regularly monitor the performance of your chimney system to ensure its optimal function and address any maintenance needs.
By taking the time to properly seal your chimney pipe, you can enjoy a safer, more energy-efficient, and longer-lasting chimney system. Remember to consult professional chimney services if you are unsure or need assistance in the sealing process for your specific chimney setup.
With careful attention and proper maintenance, you can rest assured knowing that your chimney pipe is sealed, protecting your home and enhancing the functionality of your fireplace or heating system.
Now that you've learned how to seal your chimney pipe, why stop there? Keeping your home safe and efficient doesn't end with installation. Dive into our guide on maintaining your gas fireplace to prevent hazards and ensure smooth operation all year round. Also, don't miss our essential insights on assessing chimney safety; knowing this can provide peace of mind and prevent potential disasters. Equip yourself with these vital tips to take care of your home effectively.
Frequently Asked Questions about How To Seal Chimney Pipe
Was this page helpful?
At Storables.com, we guarantee accurate and reliable information. Our content, validated by Expert Board Contributors, is crafted following stringent Editorial Policies. We're committed to providing you with well-researched, expert-backed insights for all your informational needs.


0 thoughts on “How To Seal Chimney Pipe”