Articles
How To Paint Gutters And Soffits
Modified: August 22, 2024
Learn how to paint your gutters and soffits with our step-by-step articles. Improve the look of your home and protect it from damage.
(Many of the links in this article redirect to a specific reviewed product. Your purchase of these products through affiliate links helps to generate commission for Storables.com, at no extra cost. Learn more)
Introduction
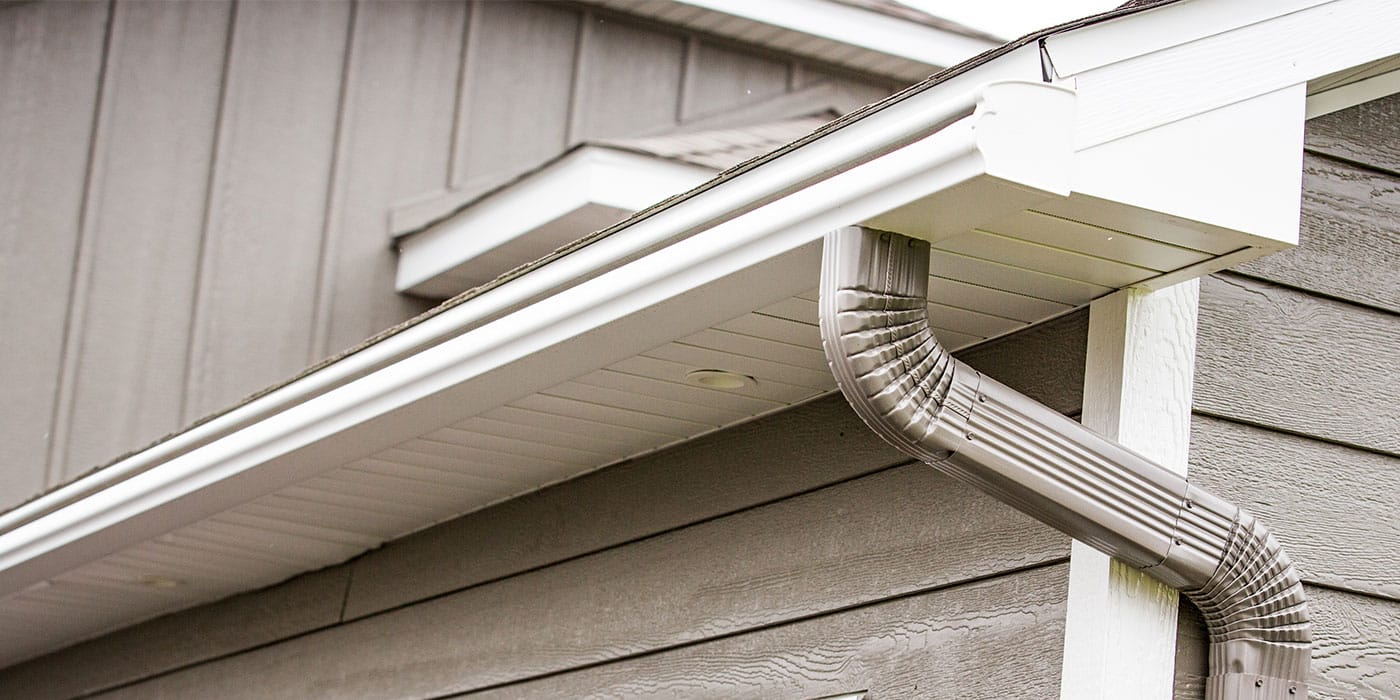
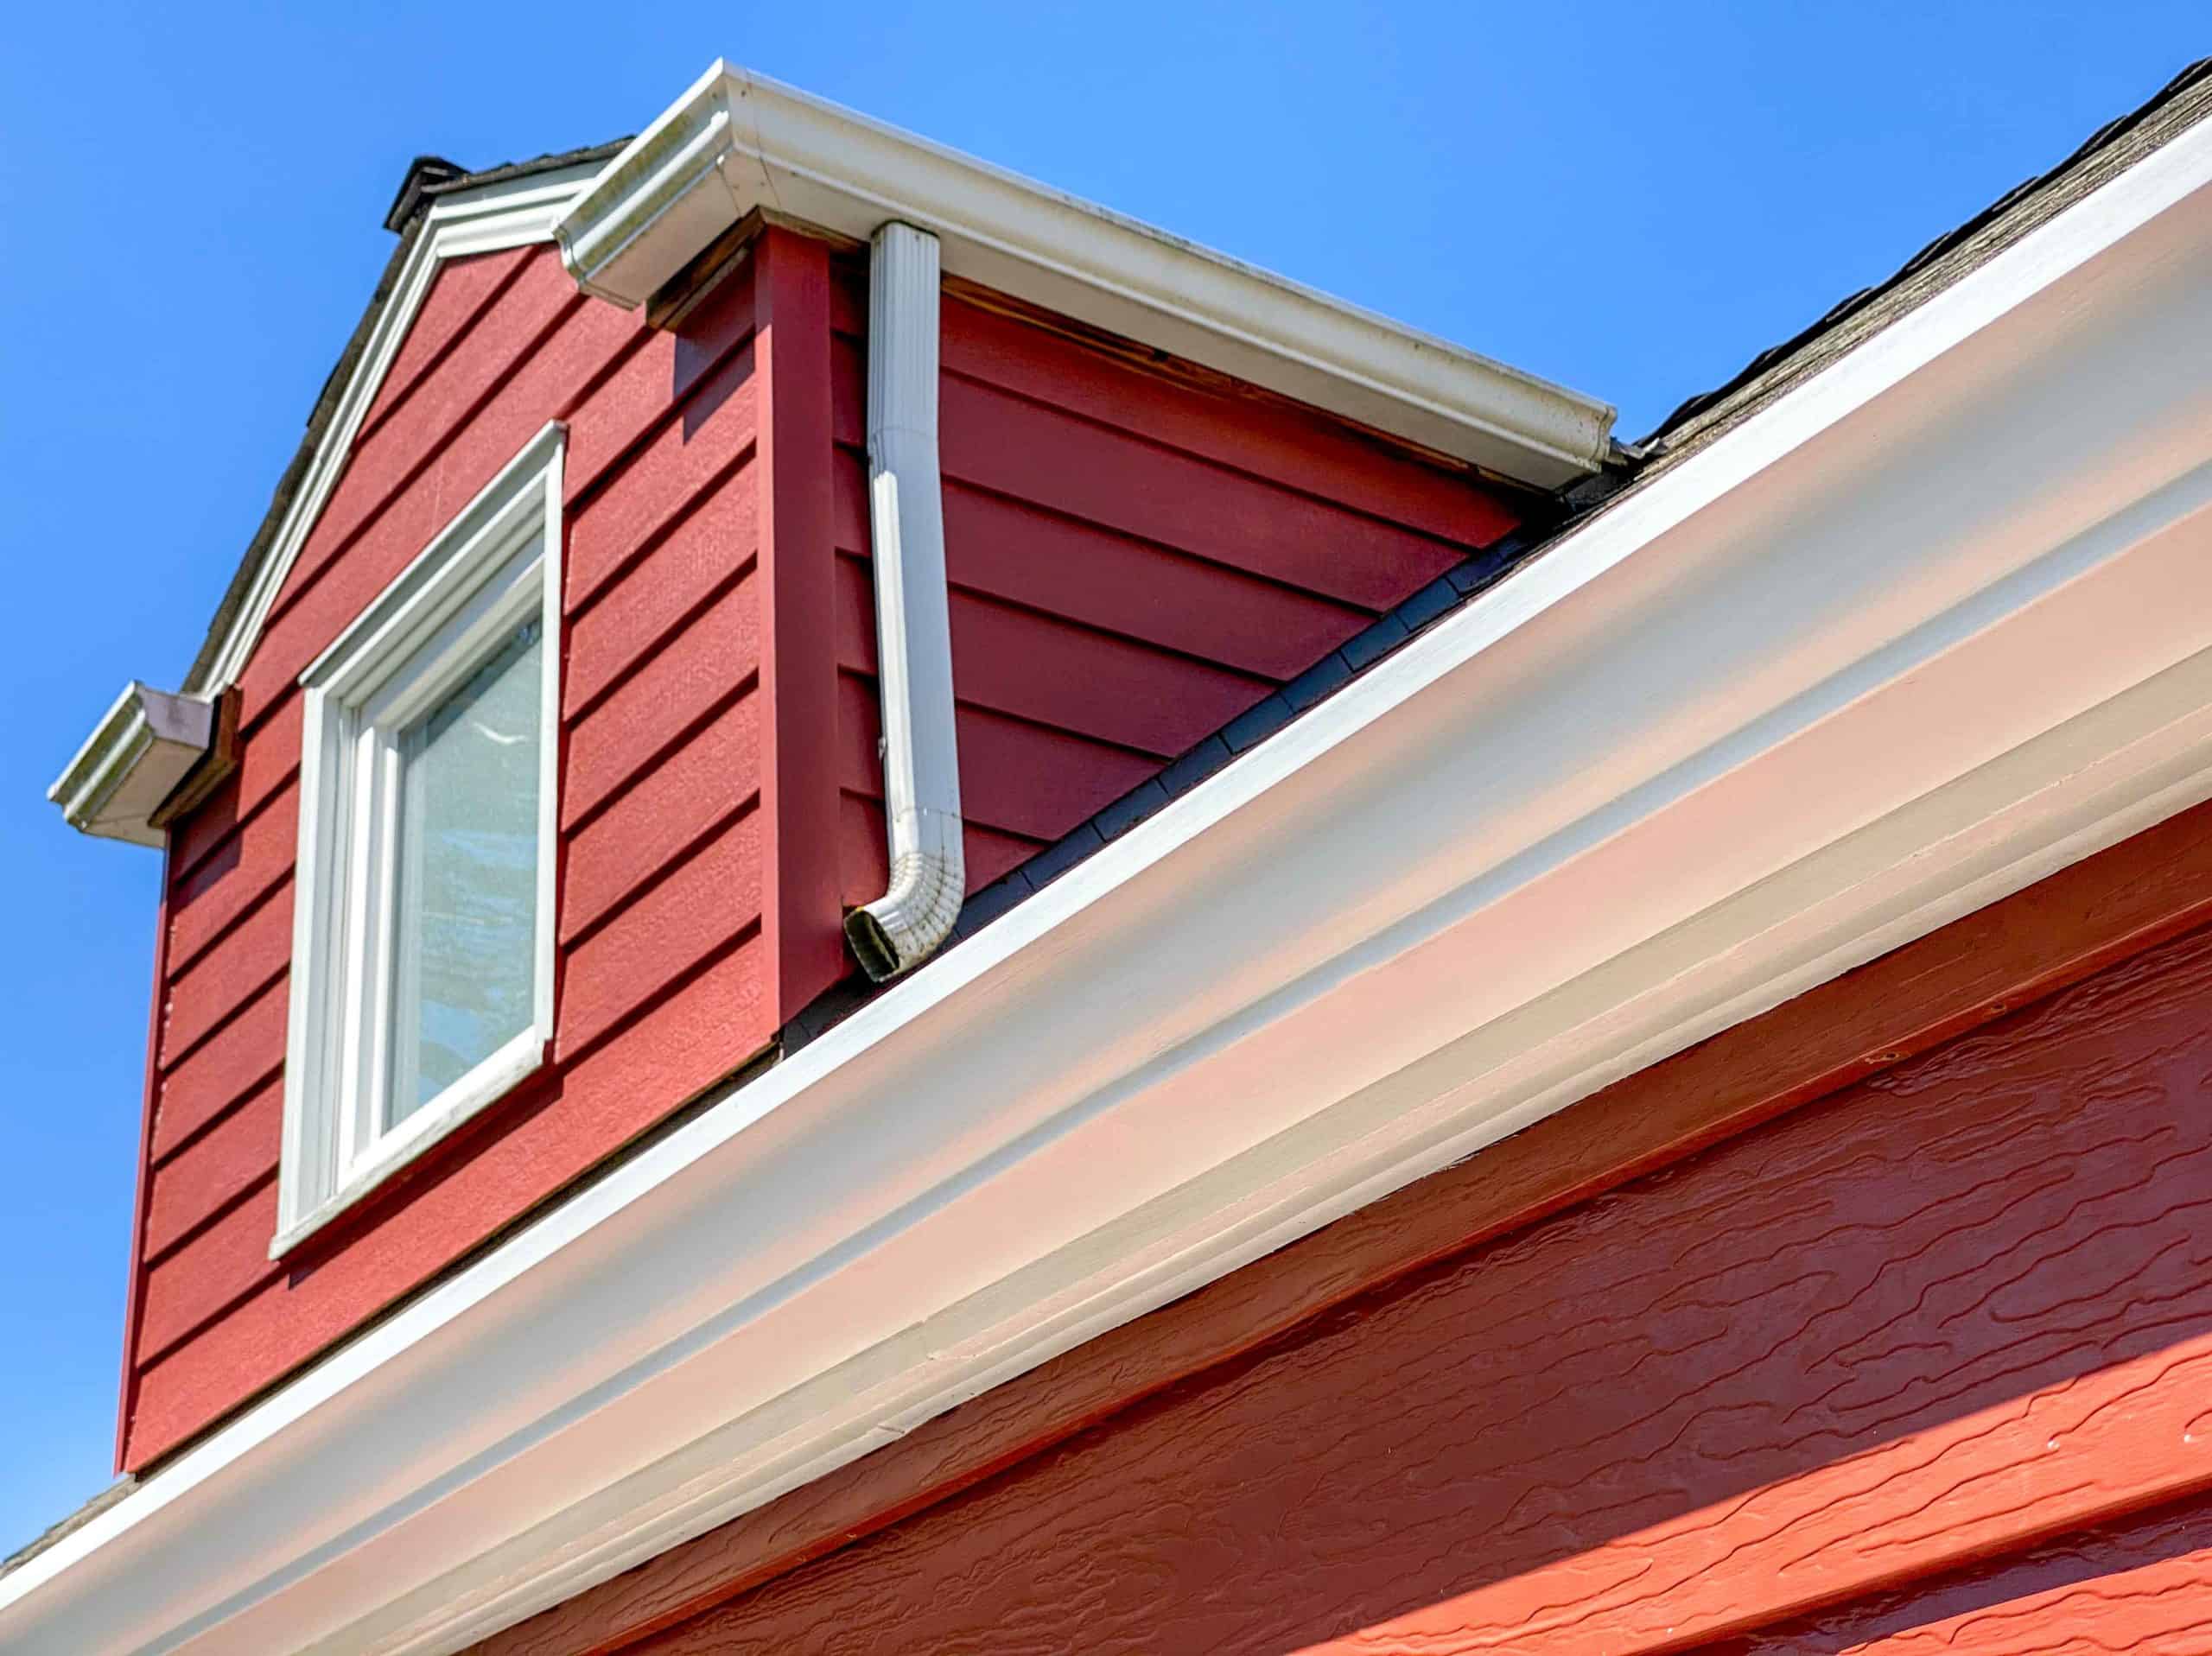
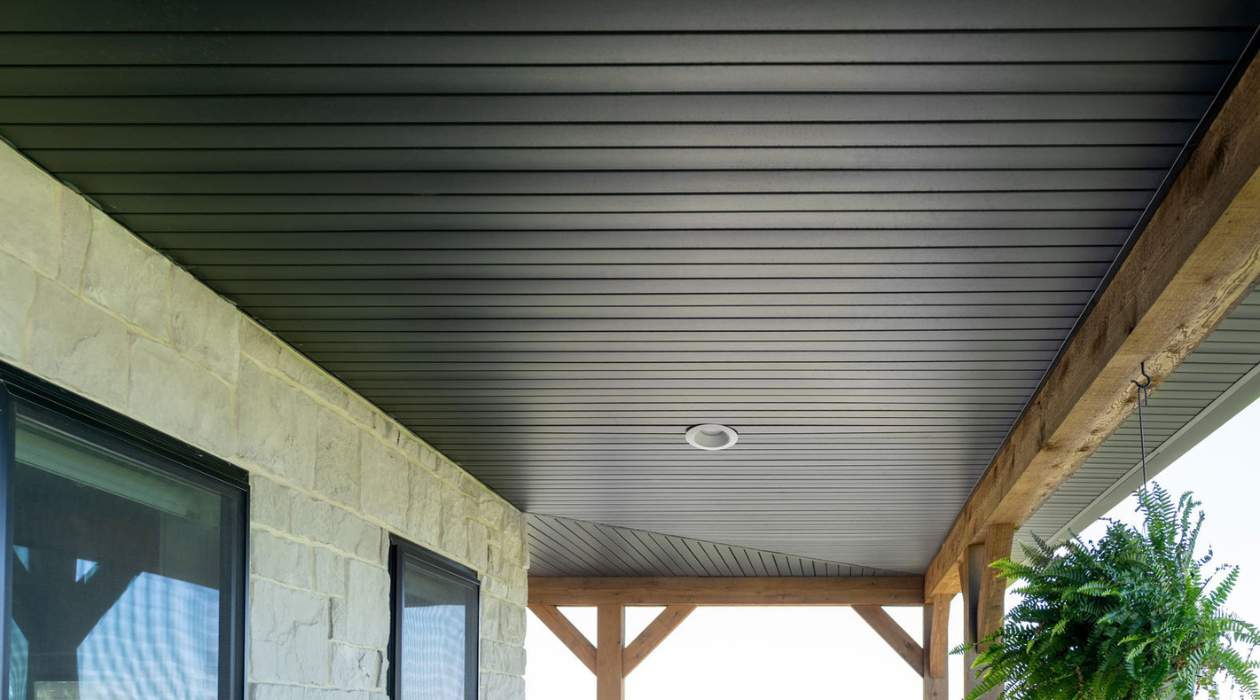
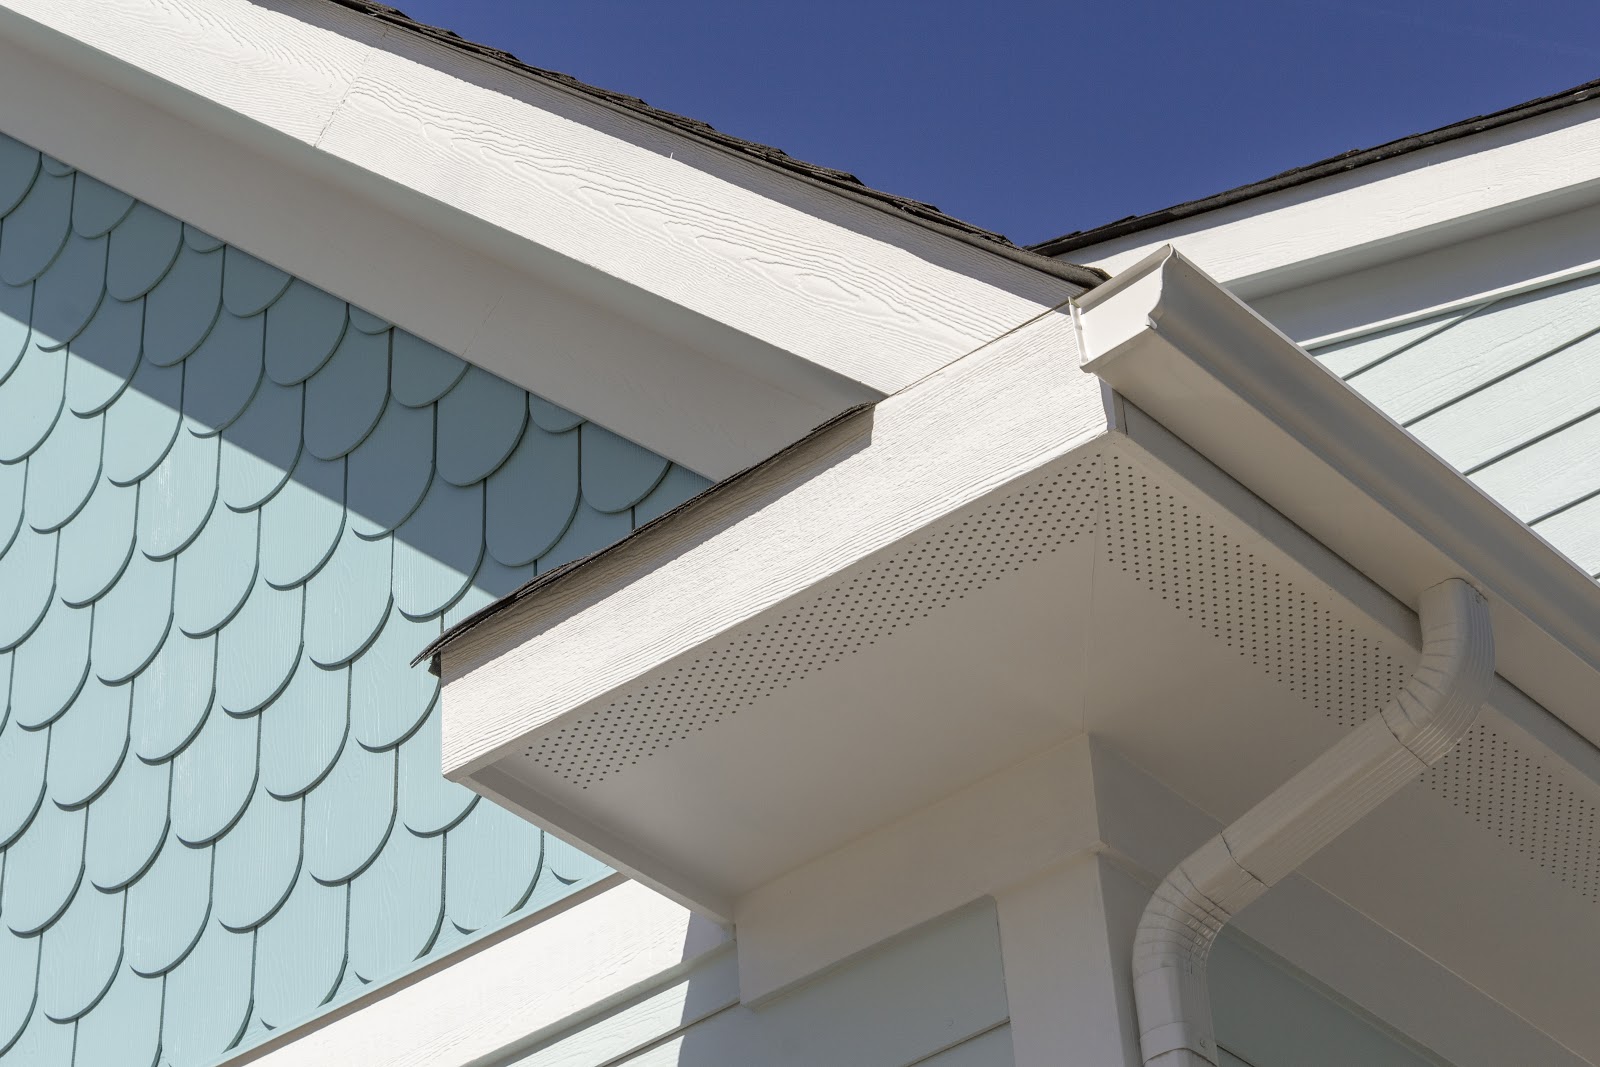
Gutters and soffits play an important role in protecting your home from water damage. Over time, these exterior elements can become worn or faded, impacting the overall curb appeal of your property. Fortunately, with a little time and effort, you can breathe new life into your gutters and soffits by giving them a fresh coat of paint.
In this article, we will guide you through the process of painting gutters and soffits, from preparation to the finishing touches. Whether you’re a seasoned DIY enthusiast or a beginner with little experience, you’ll learn the steps and techniques necessary to achieve a professional-looking result.
Before you dive in, it’s important to note that proper preparation and paint selection are critical for a successful outcome. Taking the time to clean and repair the surfaces, choosing the right paint and tools, and following the correct procedure will ensure that your painted gutters and soffits stand the test of time.
So, if you’re ready to give your home’s exterior a makeover, grab your paintbrushes and let’s get started on transforming your gutters and soffits!
Key Takeaways:
- Transform your home’s exterior by painting gutters and soffits. Proper preparation, paint selection, and technique are key to achieving a professional finish that enhances curb appeal and protects your property.
- From cleaning and repairing to choosing the right paint and tools, painting gutters and soffits is a rewarding DIY project that allows you to express creativity and improve your home’s overall appearance.
Read more: What To Use To Clean Gutters And Soffits
Preparing the Gutters and Soffits
Before you begin painting your gutters and soffits, it’s crucial to properly prepare the surfaces. This involves cleaning the areas, repairing any damage, and sanding the surfaces to ensure a smooth and even finish.
The first step is to clean the gutters and soffits thoroughly. Remove any debris, leaves, or dirt using a stiff brush or a high-pressure washer. Pay close attention to corners and crevices where buildup may occur. This step is essential as it ensures that the paint adheres properly to the surface and prevents any unwanted blemishes on the final result.
Next, inspect the gutters and soffits for any signs of damage, such as cracks, holes, or peeling paint. Repairing these issues before painting is crucial to prevent further deterioration and achieve a professional finish. Use a suitable filler or putty to fill in any cracks or holes, then smooth it out with a putty knife. Allow the filler to dry according to the manufacturer’s instructions before proceeding.
After addressing any repairs, it’s time to prepare the surfaces for painting. Lightly sand the gutters and soffits using fine-grit sandpaper to create a slightly rough texture. This helps the paint adhere better and ensures a long-lasting finish. Be sure to sand in the direction of the grain or texture to avoid any visible scratches.
Once you have cleaned, repaired, and sanded the surfaces, it’s important to remove any dust or debris that may have accumulated. Use a clean cloth or a tack cloth to wipe down the gutters and soffits, ensuring that they are free from any loose particles that could mar the paint finish.
By properly preparing the gutters and soffits, you lay the foundation for a successful and durable paint job. Taking the time to clean, repair, and sand the surfaces will significantly improve the appearance and longevity of your painted gutters and soffits.
Choosing the Right Paint and Tools
When it comes to painting gutters and soffits, selecting the appropriate paint type and gathering the necessary tools are crucial steps. The right paint and tools will ensure a smooth application, even coverage, and a long-lasting finish.
First and foremost, consider the type of paint that is suitable for outdoor use. Look for a high-quality exterior paint that is specifically designed for surfaces exposed to the elements. These paints are formulated to withstand UV rays, moisture, and temperature fluctuations, ensuring that your gutters and soffits maintain their beauty and protection over time. Oil-based or latex paint with a satin or semi-gloss finish is often recommended for optimal durability and ease of cleaning.
Next, gather the necessary tools for the painting task. Here’s a list of essential tools you’ll need:
- A sturdy ladder or scaffolding to safely reach the gutters and soffits
- A paintbrush or a paint roller, depending on your preference and the size of the area being painted
- A paint tray or a bucket to hold the paint while you work
- Painter’s tape to protect adjacent surfaces and create clean lines
- Drop cloths or plastic sheets to cover the ground and prevent paint drips
- A paint scraper or a wire brush to remove any loose or peeling paint before painting
- A stirring stick to thoroughly mix the paint before application
- Disposable gloves and safety goggles to protect your hands and eyes
Additionally, ensure that you have a well-ventilated workspace to prevent the inhalation of paint fumes. If you’re working on a large-scale project or have limited experience with painting, consider investing in an extension pole for your paint roller to reach high areas without straining yourself.
By selecting the appropriate paint type and gathering the necessary tools, you set yourself up for a successful and efficient painting process. These choices will not only simplify your work but also ensure that your gutters and soffits are coated with a paint that can withstand the elements and maintain its vibrant appearance.
Priming the Gutters and Soffits
Before applying the final coat of paint to your gutters and soffits, it’s important to apply a coat of primer. Primer helps create a smooth and even surface for the paint to adhere to, enhances the durability of the paint job, and improves the overall finish.
Start by ensuring that the gutters and soffits are clean and dry. This will allow the primer to adhere properly and provide an even base for the paint. Using a paintbrush or a paint roller, apply a thin and even coat of primer to all the surfaces you intend to paint. Make sure to cover all exposed areas, including corners and edges.
When selecting a primer, opt for a product specifically designed for exterior surfaces. Look for a primer that is compatible with the type of paint you’ll be using and offers good adhesion to various materials, such as metal, wood, or vinyl. Refer to the manufacturer’s instructions for recommended drying times and application techniques.
As you apply the primer, pay attention to coverage and ensure that the surface is evenly coated. Work in small sections to maintain a wet edge and prevent the primer from drying too quickly. If necessary, use a brush to touch up any missed spots or hard-to-reach areas.
Once you’ve applied the primer, allow it to fully dry according to the manufacturer’s instructions. This typically takes several hours, but it’s best to check the label for specific drying times. Avoid rushing the drying process, as it may interfere with the paint’s adherence and lead to an uneven finish.
Priming your gutters and soffits before painting is an essential step that promotes better adhesion, durability, and overall paint performance. By taking the time to apply a coat of primer and allowing it to dry thoroughly, you’ll set the stage for a professional-looking paint job that stands the test of time.
When painting gutters and soffits, make sure to clean and prime the surfaces before applying the paint. This will help the paint adhere better and last longer.
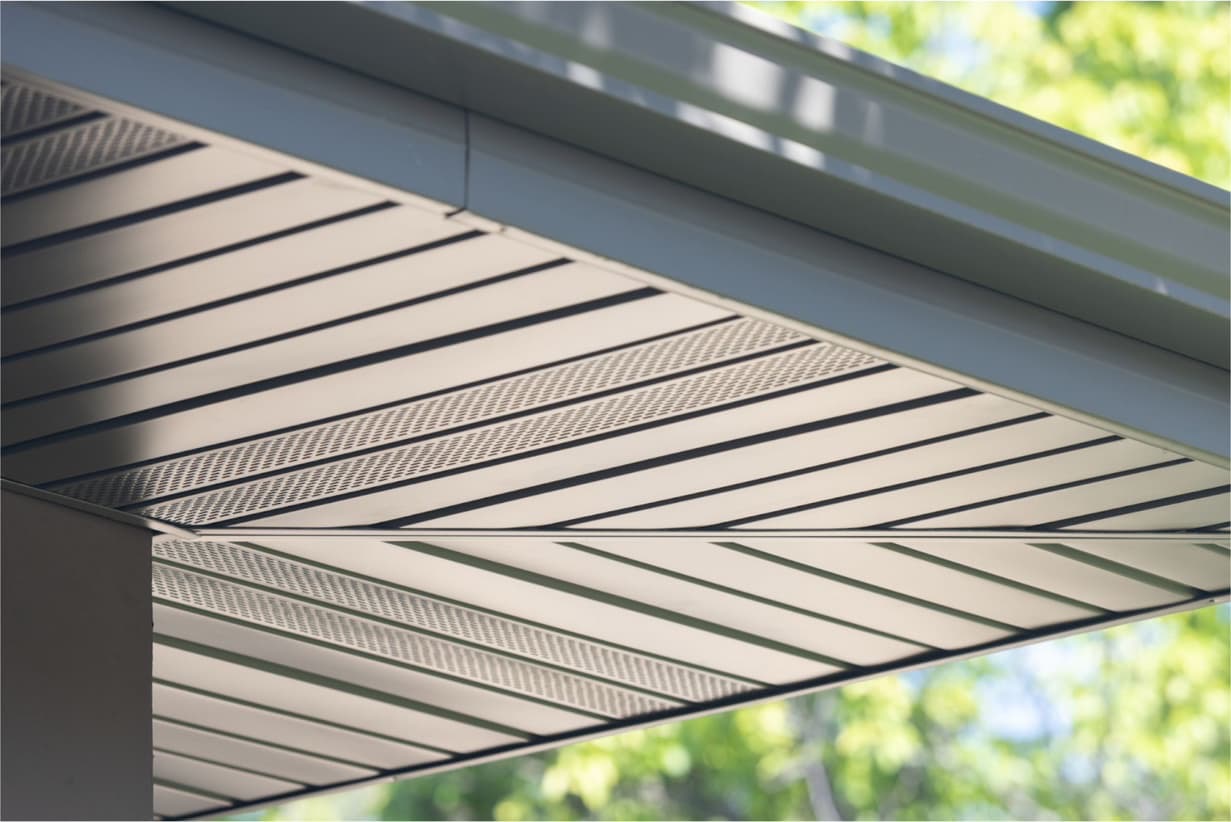
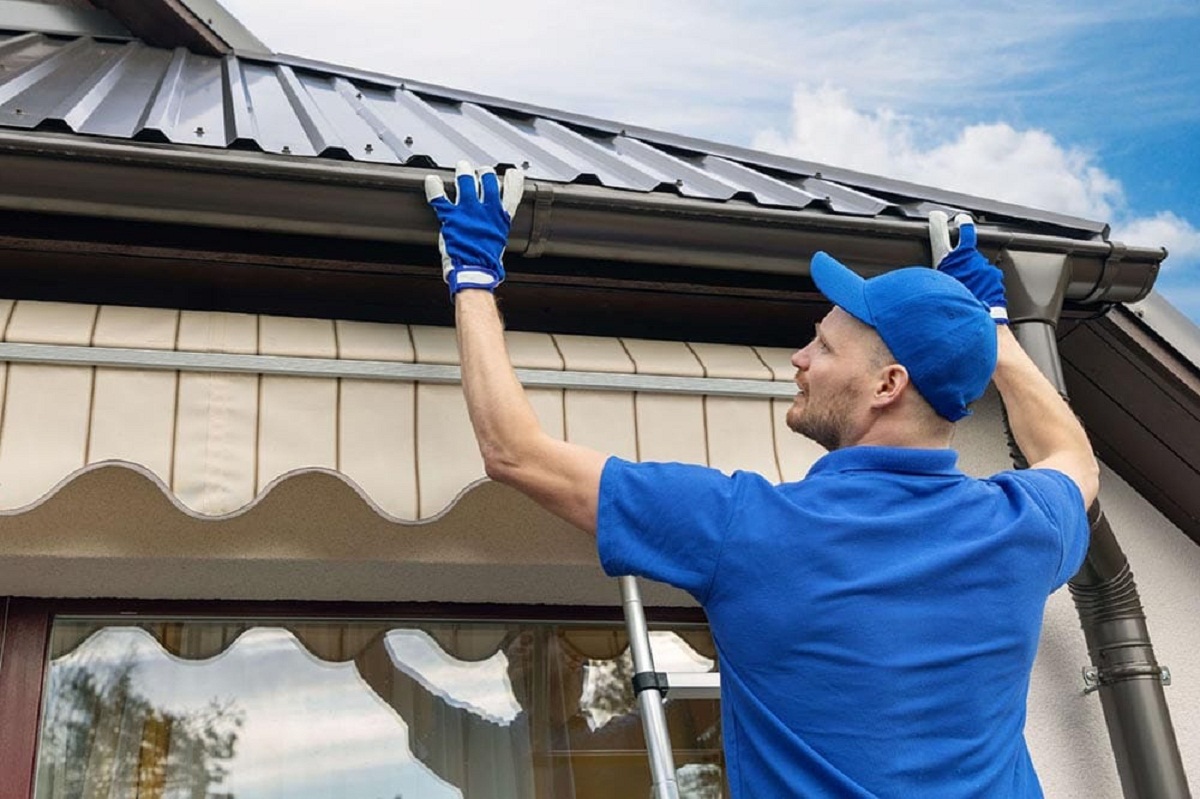
Painting the Gutters and Soffits
Now that you’ve prepared the gutters and soffits, chosen the right paint and tools, and applied a coat of primer, it’s time to start painting. By using the correct painting technique and applying multiple coats if necessary, you’ll achieve a flawless and long-lasting finish.
When it comes to the painting technique, start by stirring the paint thoroughly to ensure an even consistency. If using a paintbrush, dip it into the paint and remove any excess by tapping it against the side of the paint tray. Start at one end of the gutter or soffit and apply the paint in long, smooth strokes, following the direction of the surface. Use consistent pressure to achieve an even coverage.
If you prefer using a paint roller, select a roller sleeve suitable for the surface texture. Dip the roller into the paint tray and roll it back and forth to evenly distribute the paint. Begin painting in a corner or edge of the gutter or soffit, using a sweeping motion to apply the paint in overlapping sections. Remember to keep a wet edge to avoid visible seams or streaks.
Pay attention to any intricate details or hard-to-reach areas, such as corners, crevices, or downspouts. Use a smaller brush or a foam applicator to ensure these areas are properly coated. Take your time and be meticulous in your application to achieve a professional result.
Once you’ve completed the first coat of paint, assess the coverage and allow it to dry according to the paint manufacturer’s instructions. Depending on the paint and desired finish, you may need to apply additional coats for optimal color saturation and durability. Apply subsequent coats in the same manner as the first, allowing each coat to dry completely before proceeding.
Remember to maintain a clean and orderly workspace throughout the painting process. Check for any runs, drips, or smudges and address them promptly. If necessary, lightly sand any imperfections between coats to ensure a smooth surface.
By using the correct painting technique and applying multiple coats as needed, you’ll achieve a professional and uniform finish on your gutters and soffits. Take your time, be patient, and enjoy the rewarding experience of transforming your home’s exterior.
Read more: What Paint To Use On Aluminum Gutters
Finishing Touches
As you near the completion of your gutter and soffit painting project, there are a few essential finishing touches to consider. These include removing any painter’s tape and thoroughly inspecting the painted surfaces to ensure a polished and flawless result.
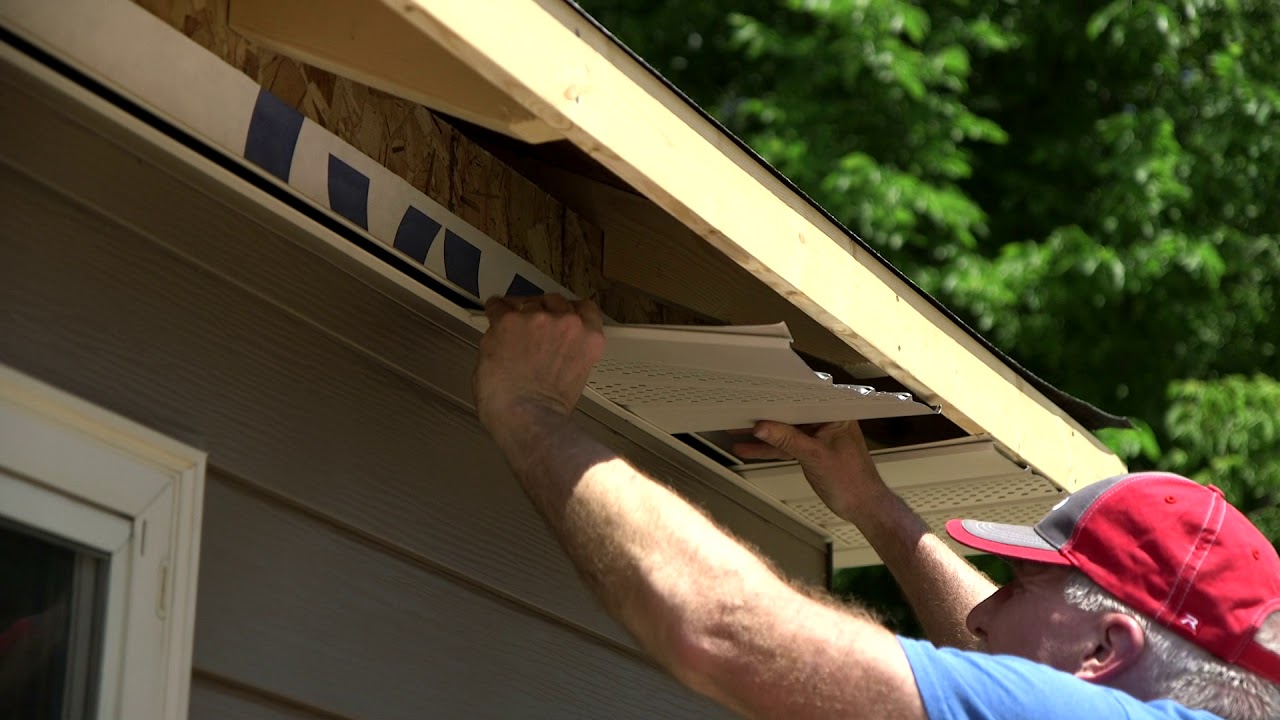
Begin by carefully removing any painter’s tape that was used to protect adjacent surfaces, such as windows, trim, or siding. Slowly peel the tape back at a 45-degree angle to avoid any paint from peeling off. Take your time and be gentle to prevent any accidental damage to the fresh paint. Dispose of the tape properly.
Once the tape is removed, it’s time to inspect the painted surfaces. Take a close look at the gutters and soffits from various angles to ensure that the paint has been applied evenly and smoothly. Look out for any drips, runs, or areas that may require touch-ups.
If you notice any imperfections, address them promptly. Use a small brush or a foam applicator to touch up any missed spots or correct any mistakes. Be sure to use the same paint color and finish for a seamless blend. Allow the touch-up paint to dry completely before finalizing your inspection.
Take a step back and assess the overall appearance of your gutters and soffits. Check for any visible brush marks or uneven coverage. If necessary, lightly sand any rough or uneven areas and apply an additional coat of paint to achieve a smooth and uniform finish.
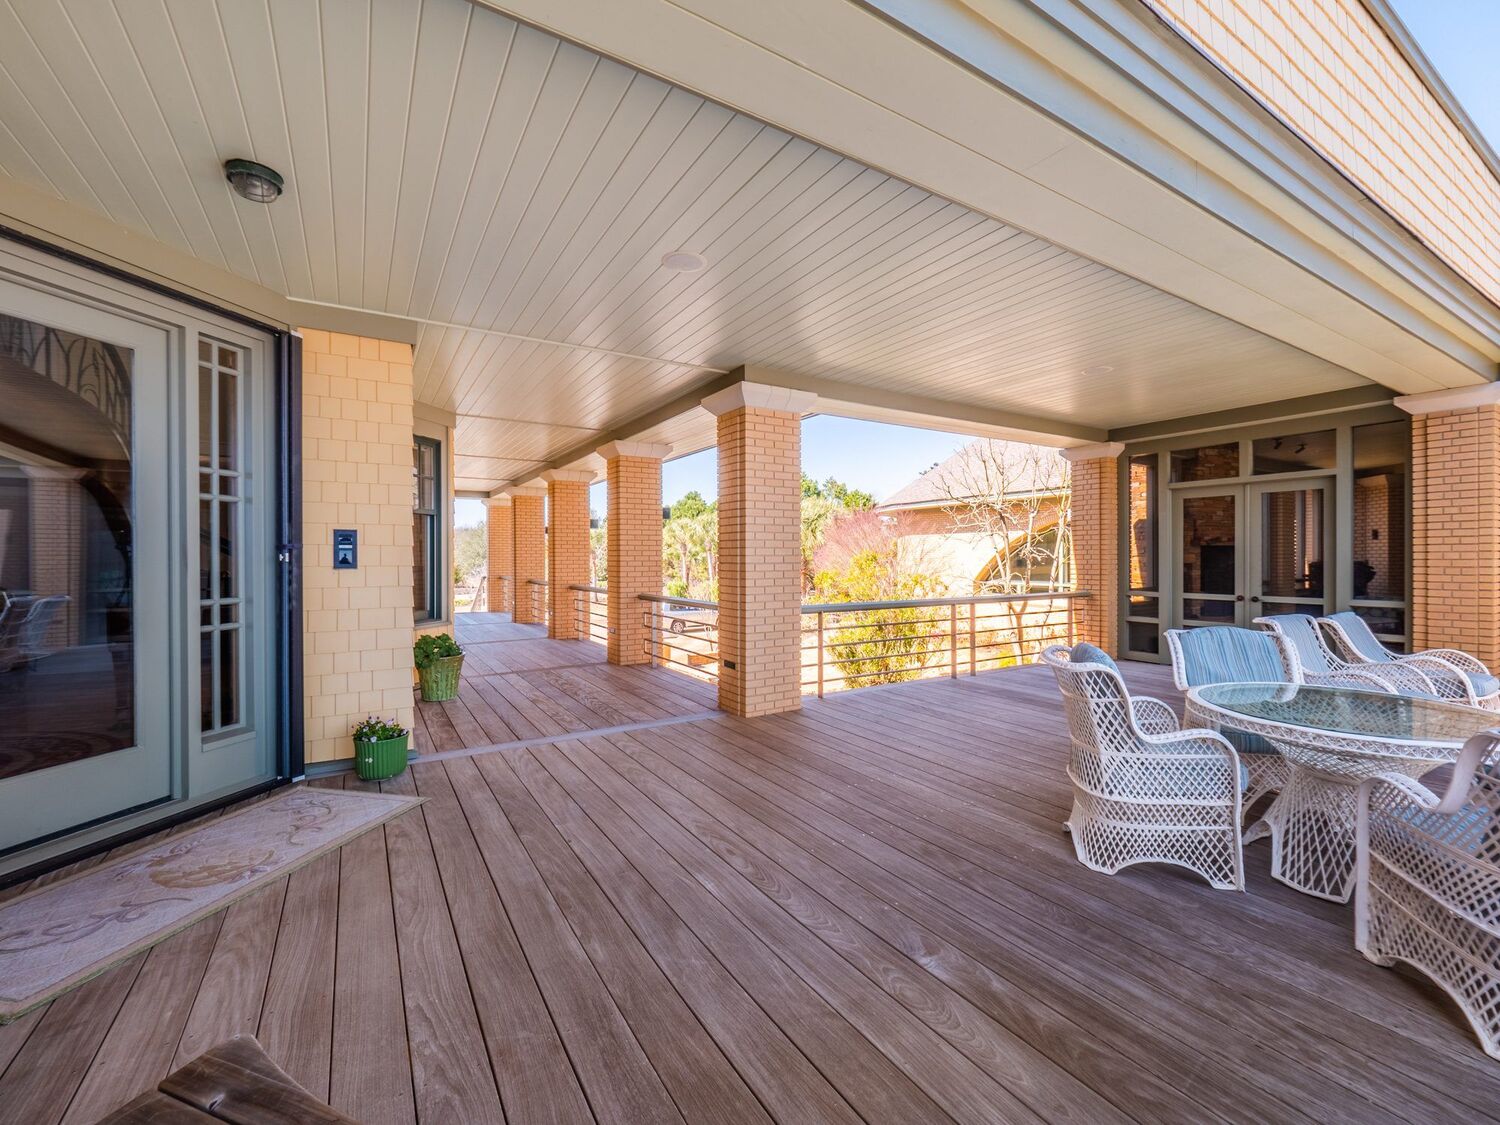
Finally, stand back and admire your hard work. Take pride in the transformation of your home’s exterior and appreciate the enhanced curb appeal that freshly painted gutters and soffits provide.
By removing the painter’s tape and thoroughly inspecting the painted surfaces, you ensure that your painting project is complete and meets your standards of excellence. These finishing touches will leave your gutters and soffits looking beautiful and protected for years to come.
Conclusion
Painting your gutters and soffits is a rewarding project that can breathe new life into the exterior of your home. By following the proper steps and techniques, you can achieve a professional-looking finish that enhances curb appeal and protects your property from the elements.
Start by thoroughly preparing the gutters and soffits, cleaning away debris, making necessary repairs, and sanding the surfaces. This initial step sets the stage for a smooth and long-lasting paint application.
Choosing the right paint and gathering the necessary tools are vital for a successful project. Select an exterior paint designed for outdoor surfaces and gather the tools needed, including brushes, rollers, trays, and safety equipment. This will ensure that you have everything on hand to complete the job efficiently.
Priming the gutters and soffits is an essential step that improves adhesion and durability. Apply a coat of primer, allowing it to dry thoroughly before moving on to the painting process.
When it comes time to paint, use the correct technique, whether it’s with a brush or roller, and apply multiple coats as necessary. Take your time, be mindful of details and hard-to-reach spots, and aim for an even and uniform finish.
Finishing touches include removing any painter’s tape and inspecting the painted surfaces for any touch-ups. Take pride in your work, address any imperfections, and ensure that the final result is polished and flawless.
Painting your gutters and soffits is a labor of love that can significantly enhance the aesthetic appeal and durability of your home. It’s a project that allows you to express your creativity and improve the overall exterior appearance.
So, grab your paintbrushes, put on your safety gear, and embark on the journey of painting your gutters and soffits. Take your time, enjoy the process, and admire the beautiful transformation of your home’s exterior.
Your freshly painted gutters and soffits will not only protect your home, but also leave a lasting impression on all who pass by.
Frequently Asked Questions about How To Paint Gutters And Soffits
Was this page helpful?
At Storables.com, we guarantee accurate and reliable information. Our content, validated by Expert Board Contributors, is crafted following stringent Editorial Policies. We're committed to providing you with well-researched, expert-backed insights for all your informational needs.


0 thoughts on “How To Paint Gutters And Soffits”