Articles
How To Paint Porcelain Sink
Modified: October 29, 2024
Discover the best articles on how to paint a porcelain sink and transform your bathroom with a fresh new look. Step-by-step guides and expert tips await!
(Many of the links in this article redirect to a specific reviewed product. Your purchase of these products through affiliate links helps to generate commission for Storables.com, at no extra cost. Learn more)
Introduction
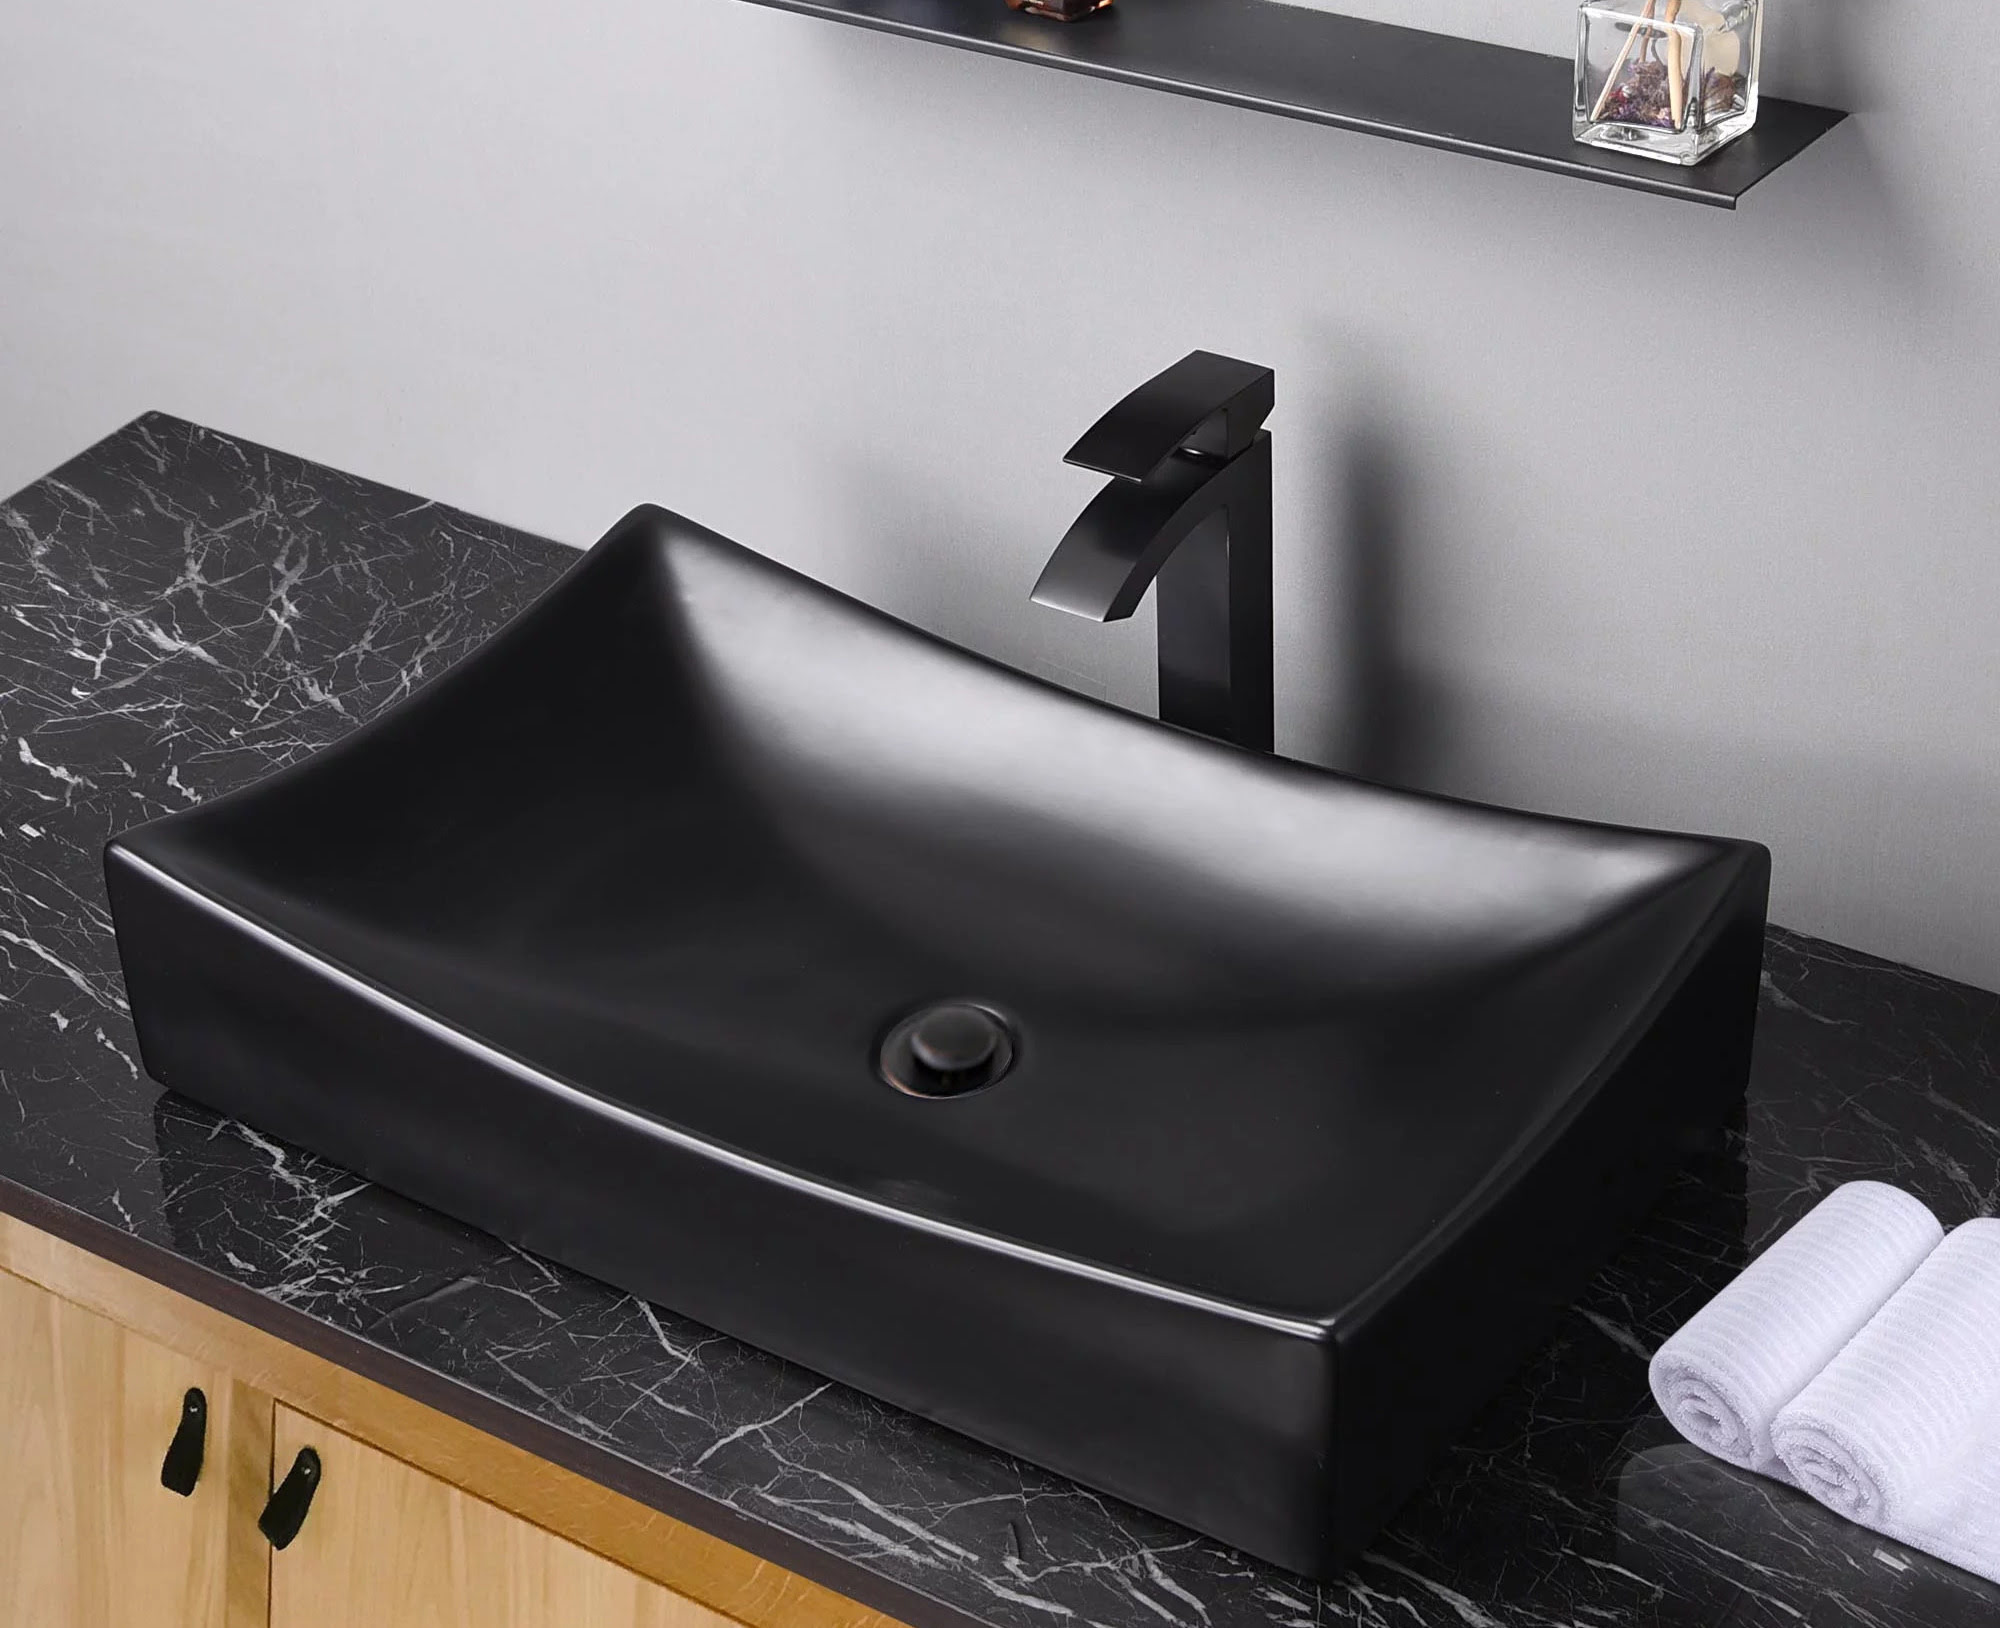
Welcome to the world of DIY home improvement! If you’re looking to add a personal touch to your bathroom or kitchen, painting your porcelain sink can be a great way to rejuvenate the space. Instead of replacing a dated or worn-out sink, a fresh coat of paint can give it a whole new look without breaking the bank.
Painting a porcelain sink may seem like a daunting task, but with the right materials and a little bit of patience, you can achieve professional-looking results. In this article, we’ll guide you through the step-by-step process of painting a porcelain sink, from preparation to finishing touches.
Before we dive into the nitty-gritty details, let’s talk about the materials you’ll need. Having all the necessary supplies on hand will ensure a smooth and successful painting project.
Key Takeaways:
- Transform your outdated porcelain sink into a stunning focal point with the right materials, meticulous preparation, and a touch of creativity. Enjoy a cost-effective and personalized upgrade for your bathroom or kitchen.
- Preserve the beauty and longevity of your painted porcelain sink with gentle care, mindful maintenance, and adherence to safety precautions. Embrace the satisfaction of a DIY project well done and revel in the compliments from family and friends.
Read more: How To Refinish A Porcelain Sink
Materials Needed
Before you get started, gather the following materials:
- Porcelain paint primer
- Porcelain sink paint
- Fine-grit sandpaper
- Painter’s tape
- Drop cloth or newspaper
- Paintbrushes (including a small detail brush)
- Lacquer-based clear sealer
- Soap and water
- Lint-free cloth
Make sure to choose high-quality paint and primer specifically designed for porcelain surfaces. These products are formulated to adhere to the slick surface of the sink and provide long-lasting durability.
Additionally, ensure you have a well-ventilated workspace and wear protective gear, such as gloves and goggles, to ensure your safety throughout the process. Now that you’ve gathered your materials, it’s time to prepare your sink for painting.
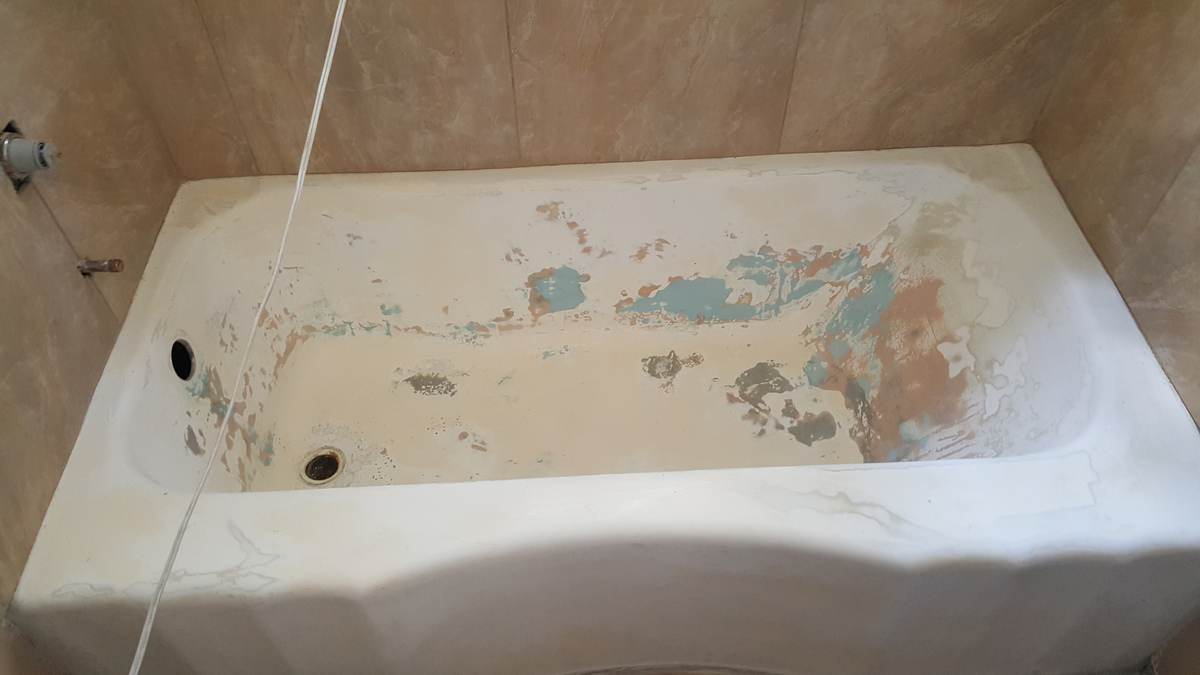
Preparing the Sink
Proper preparation is key to achieving a smooth and flawless painted finish on your porcelain sink. Follow these steps to prepare the sink:
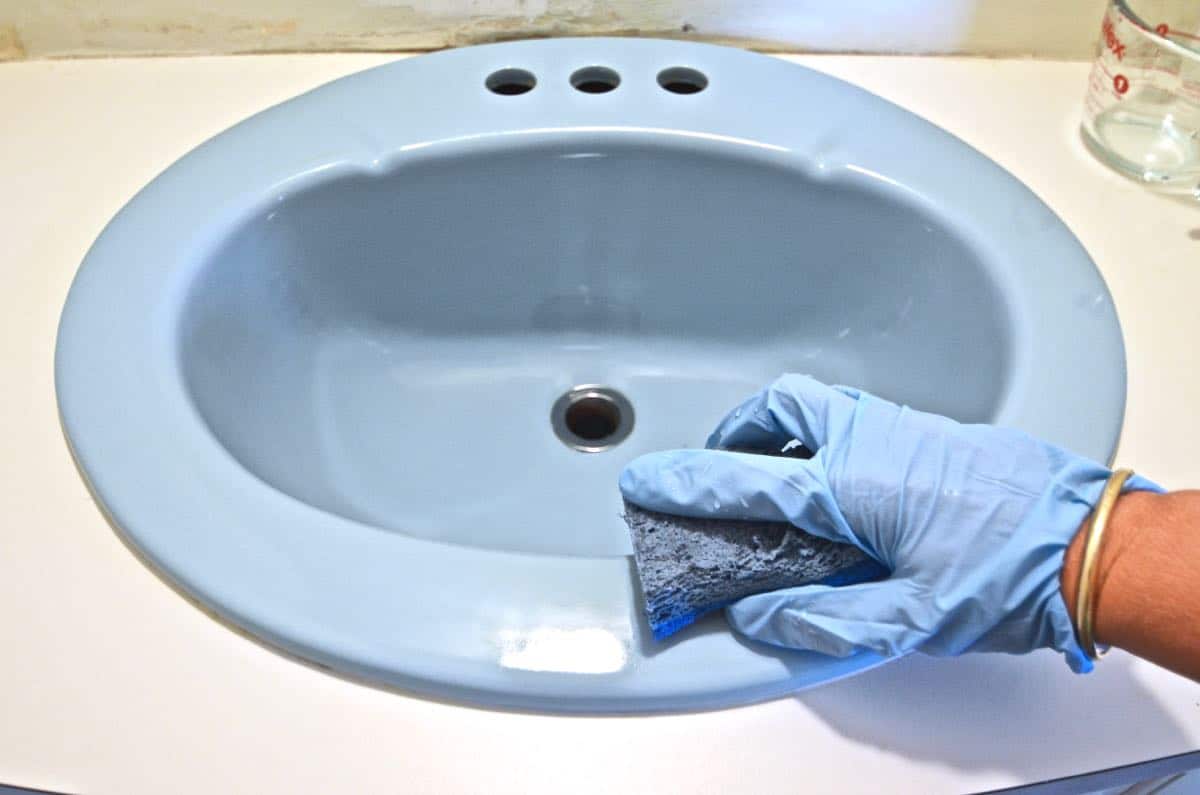
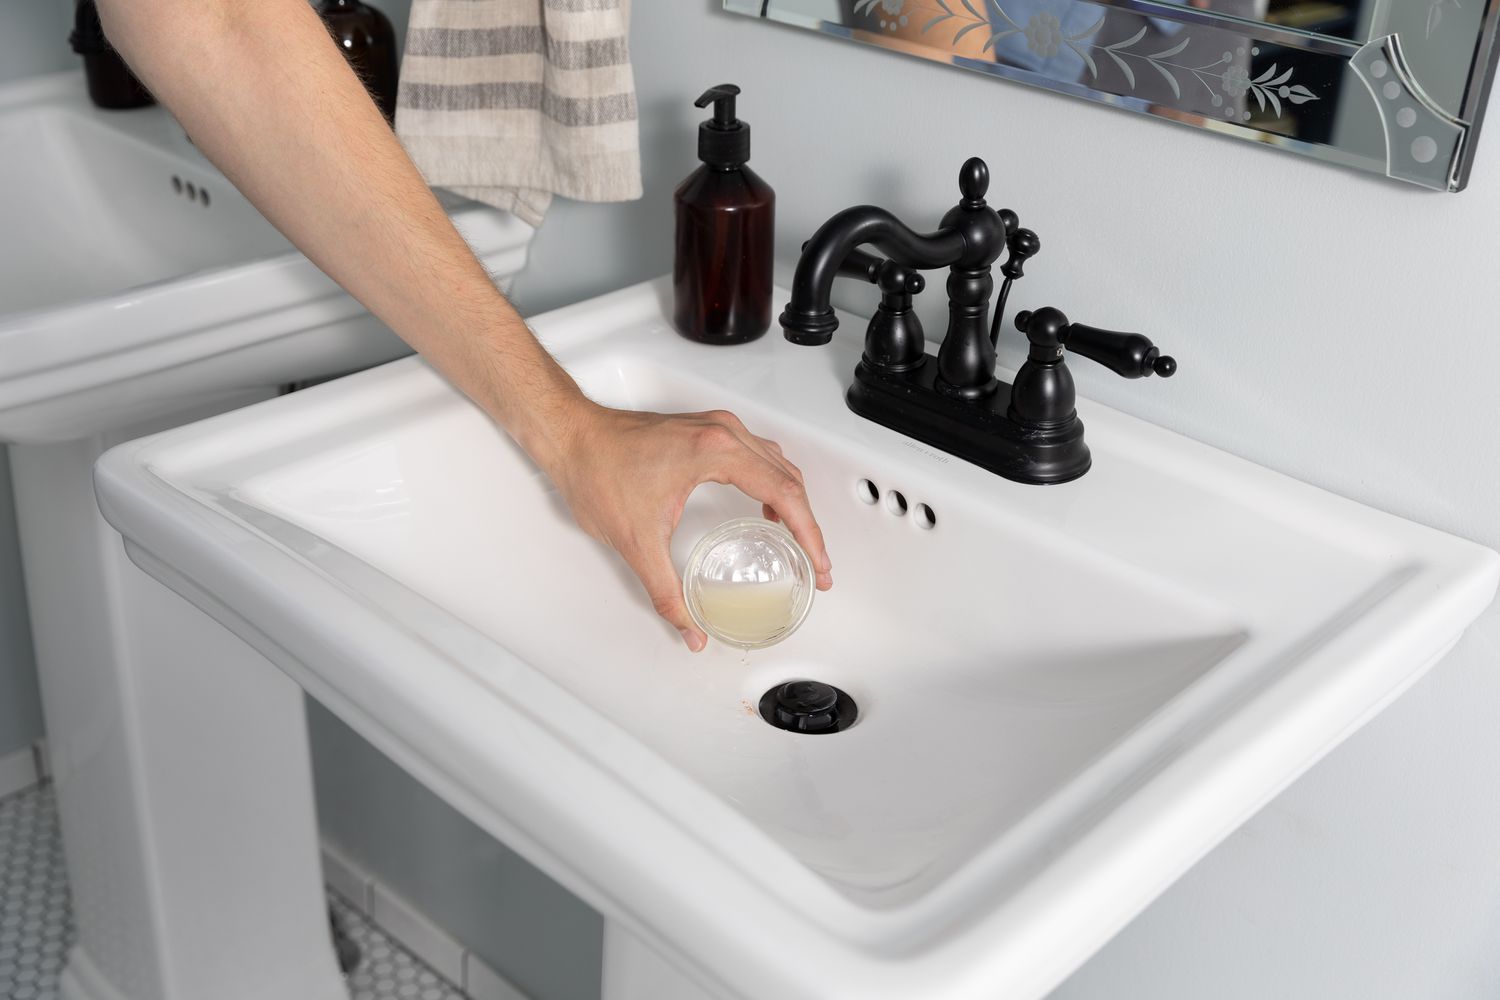
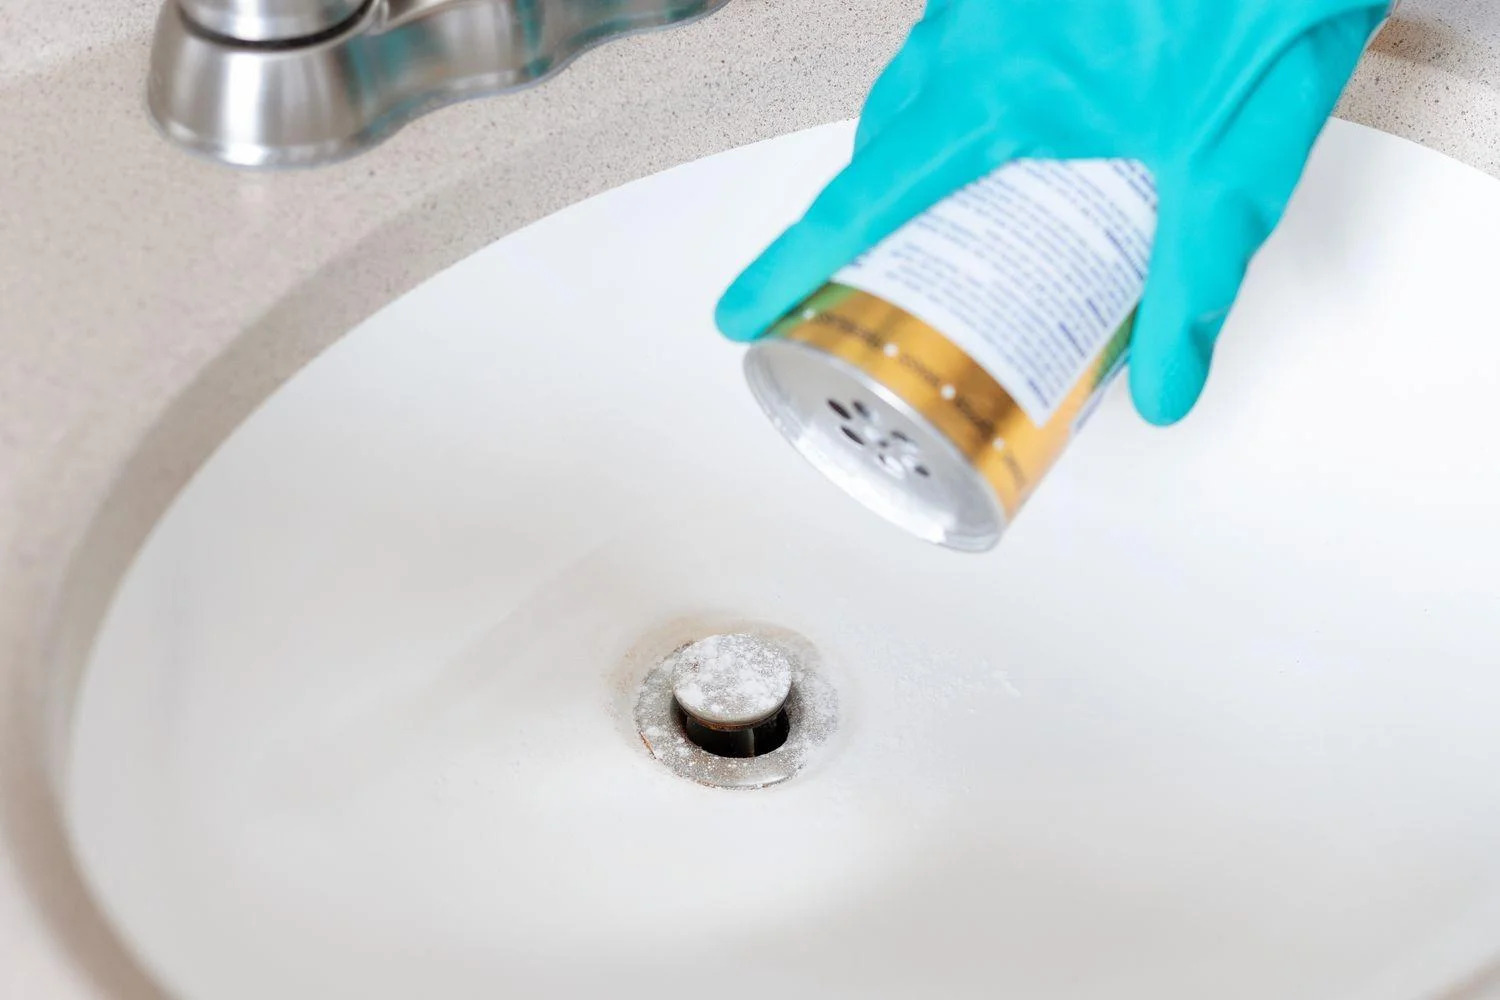
- Clean the sink: Start by thoroughly cleaning the sink with soap and water to remove any dirt, grime, or grease. Rinse it well and dry it completely with a lint-free cloth.
- Sand the surface: Use fine-grit sandpaper to lightly sand the entire surface of the sink. This will create a rough texture that helps the paint adhere better. Be gentle and avoid applying too much pressure to prevent scratching the porcelain.
- Mask off areas: Protect the surrounding areas of the sink, such as countertops and faucets, by applying painter’s tape. This will prevent accidental paint splatters or drips on unwanted surfaces.
- Cover the drain: If you don’t plan on painting the rim or drain of the sink, cover them with tape or plastic wrap to avoid getting paint on them.
Once you’ve completed these steps, you’re ready to apply the primer to the sink.
Applying Primer
The primer is a crucial step in the painting process as it helps the paint adhere to the surface of the porcelain sink. Follow these steps to apply the primer:
- Read the instructions: Before applying the primer, carefully read the instructions provided by the manufacturer. Different products may have specific recommendations for application and drying time.
- Stir the primer: Use a stir stick to thoroughly mix the primer before application. This ensures that the product is well-blended and ready to be used.
- Apply the primer: Use a paintbrush to apply an even coat of primer to the entire surface of the sink. Work in small sections and make sure to cover all areas. Apply the primer in thin layers to prevent drips or uneven coverage.
- Allow drying time: Follow the instructions on the primer to determine the drying time. It is important to allow the primer to fully dry before moving on to the next step. This usually takes a few hours, but it may vary depending on the product.
- Inspect for any imperfections: Once the primer has dried, inspect the sink for any imperfections or areas that may need touch-ups. If necessary, lightly sand those areas with fine-grit sandpaper and apply another coat of primer.
When the primer is dry and you’re satisfied with the surface, you’re ready to move on to the exciting part – painting the sink!
Painting the Sink
Now comes the fun part – painting your porcelain sink! Follow these steps to ensure a smooth and successful painting process:
- Prepare the paint: Stir the porcelain sink paint well to ensure it’s thoroughly mixed. Pay attention to the instructions provided by the manufacturer for any specific preparation guidelines.
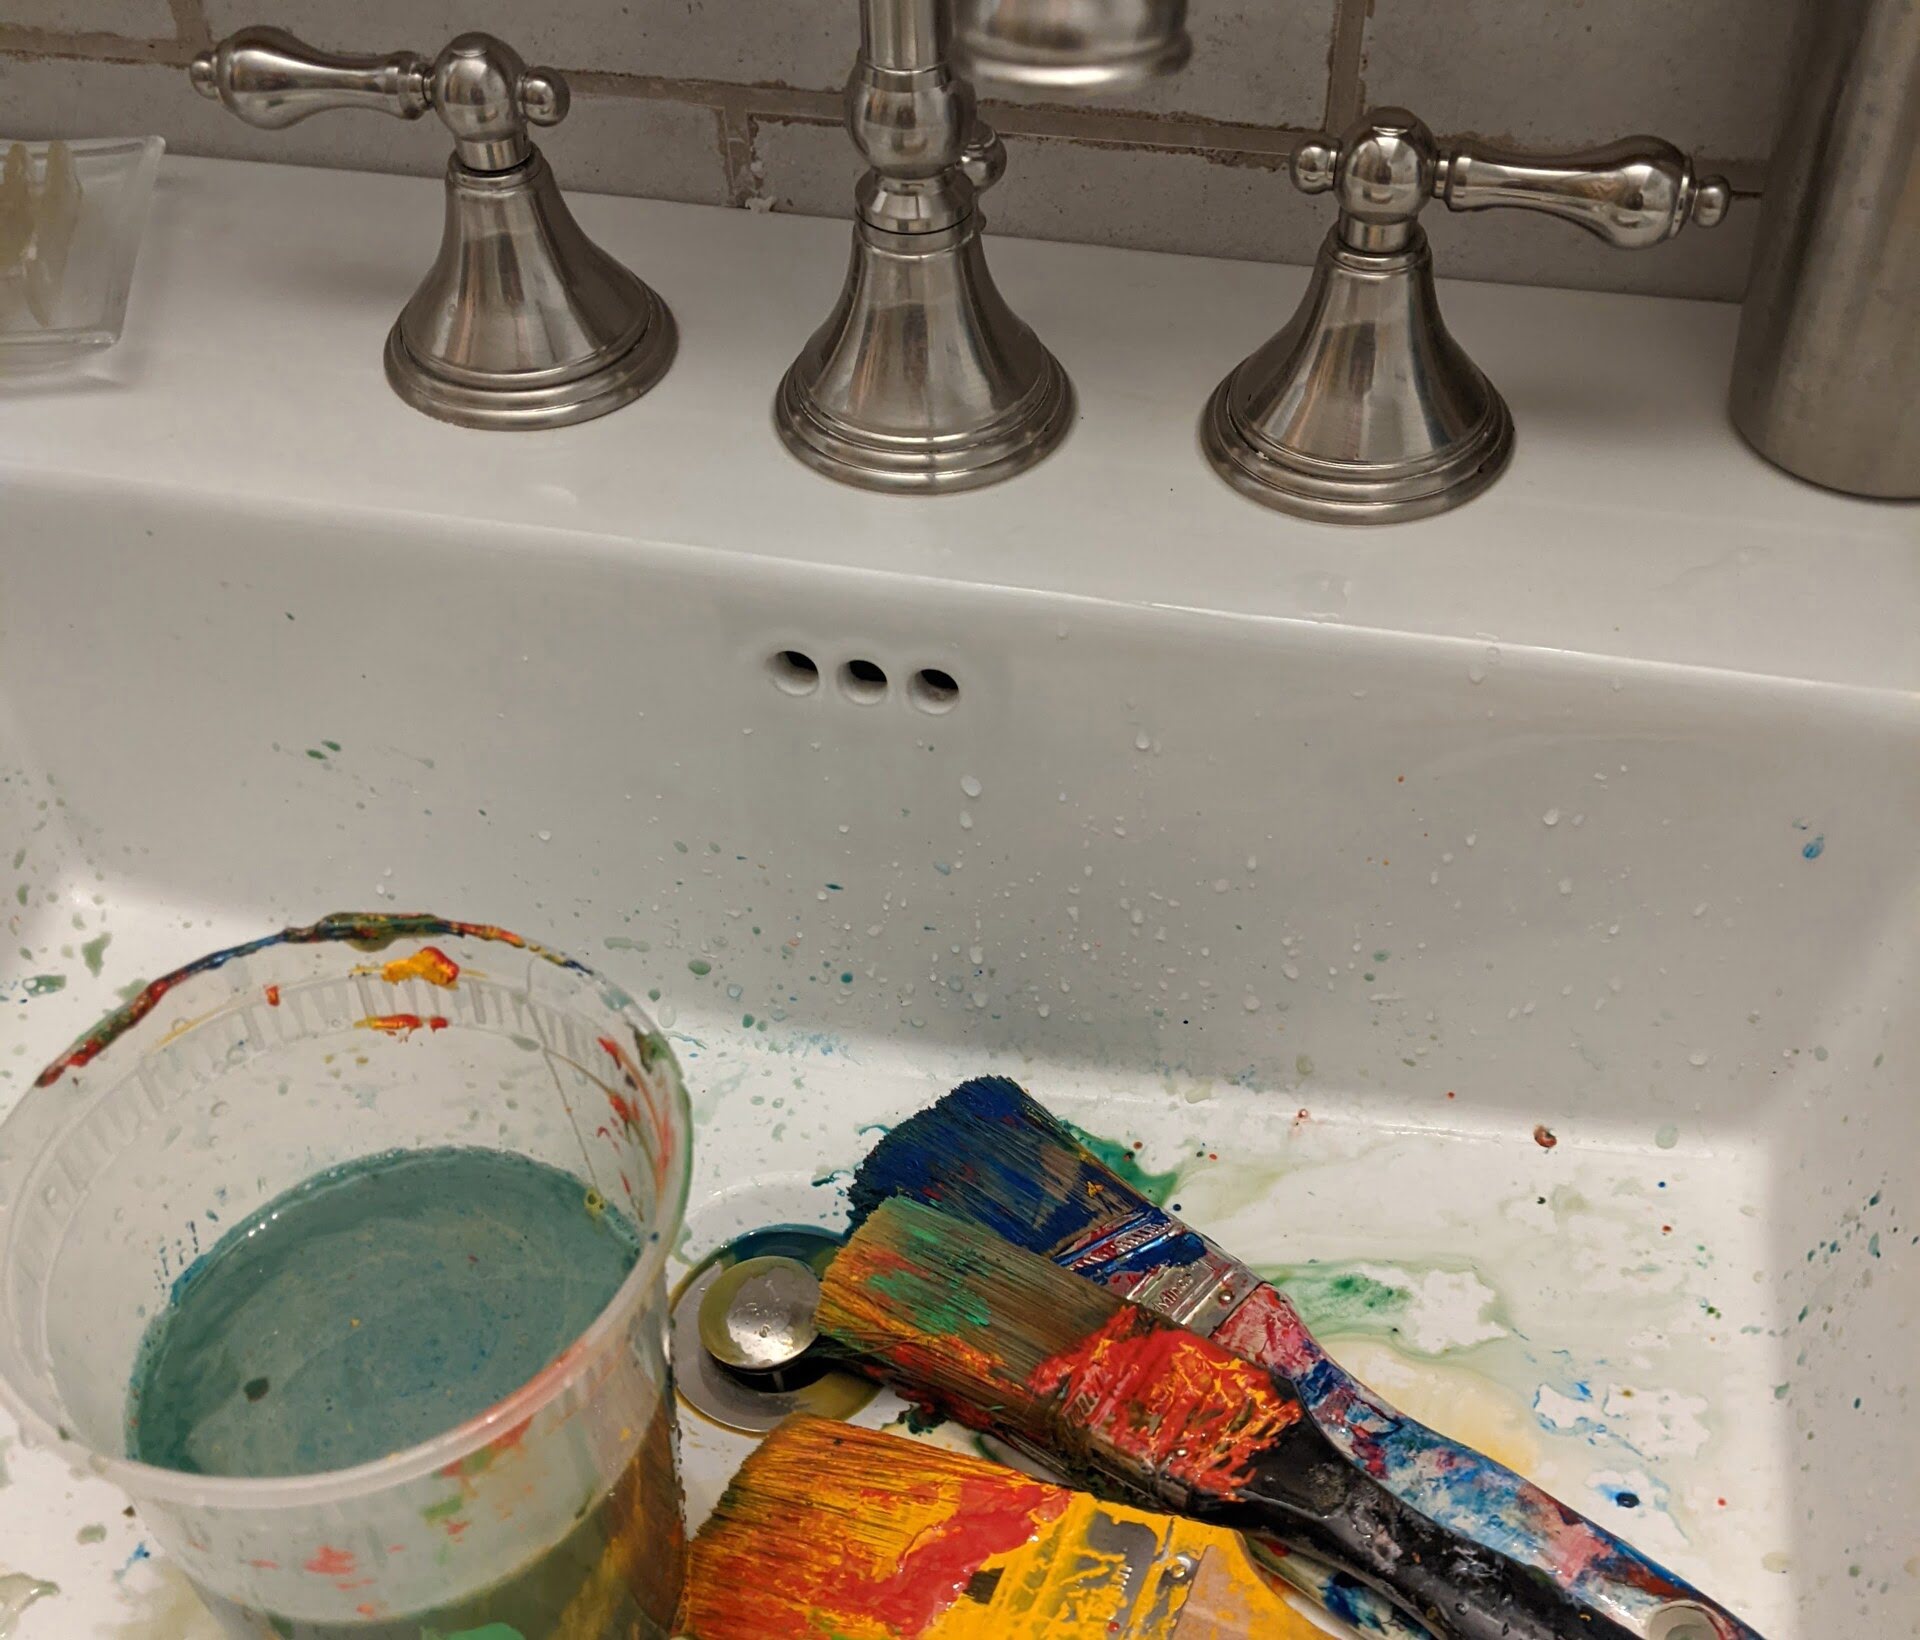
- Start painting: Use a clean paintbrush to apply the paint to the surface of the sink. Begin with the edges and corners, working your way towards the center. Apply the paint in thin, even coats, allowing each layer to dry before adding the next one. This will help prevent drips and ensure a smooth finish.
- Use a small detail brush: For intricate or hard-to-reach areas, use a small detail brush. This will allow you to paint with more precision and ensure that all areas of the sink are properly covered.
- Allow drying time: Follow the instructions provided by the manufacturer for the drying time of the paint. It’s important to be patient and allow each coat to fully dry before applying the next. This will help prevent smudging or smearing of the paint.
- Repeat the process if necessary: Depending on the desired color and coverage, you may need to apply multiple coats of paint. If so, repeat the previous steps, allowing sufficient drying time between each coat. Make sure to inspect the sink after each coat to ensure even coverage.
Once you’ve achieved the desired color and finish, it’s time to move on to the next step: curing and sealing the paint.
When painting a porcelain sink, be sure to thoroughly clean and dry the surface before applying a high-quality, enamel-based paint specifically designed for use on porcelain. This will ensure a durable and long-lasting finish.
Read more: How To Fix Porcelain Sink Scratches
Curing and Sealing the Paint
After you’ve successfully painted your porcelain sink, it’s important to properly cure and seal the paint to ensure its longevity and durability. Follow these steps to complete the process:
- Curing time: Allow the paint to cure for the recommended amount of time specified by the manufacturer. This is typically around 24 to 48 hours. During this time, avoid using the sink or placing any heavy objects on the surface to prevent damage to the freshly painted finish.
- Apply the clear sealer: Once the paint has fully cured, it’s time to apply a clear sealer. This step helps protect the painted surface from stains, scratches, and water damage. Choose a high-quality, lacquer-based clear sealer that is compatible with the paint used.
- Follow application instructions: Read and follow the instructions provided by the manufacturer for applying the clear sealer. Use a clean paintbrush or a foam brush to apply an even coat of sealer to the entire surface of the sink. Allow the sealer to dry according to the instructions before moving onto the next step.
- Apply additional coats if needed: Depending on the sealer product and your desired level of protection, you may need to apply multiple coats of clear sealer. Make sure to allow sufficient drying time between each coat, and follow the manufacturer’s instructions for the recommended number of coats.
- Final drying and curing: After applying the final coat of clear sealer, allow the sink to dry and cure according to the instructions provided. This will ensure that the sealer properly sets and provides maximum protection for your painted porcelain sink.
Once the sealer is dry and cured, your painted porcelain sink is ready to be used and enjoyed. However, it’s essential to take proper care of the painted surface to maintain its beauty and longevity.
Caring for a Painted Porcelain Sink
To keep your painted porcelain sink looking its best and maintain its longevity, it’s important to follow these care and maintenance tips:
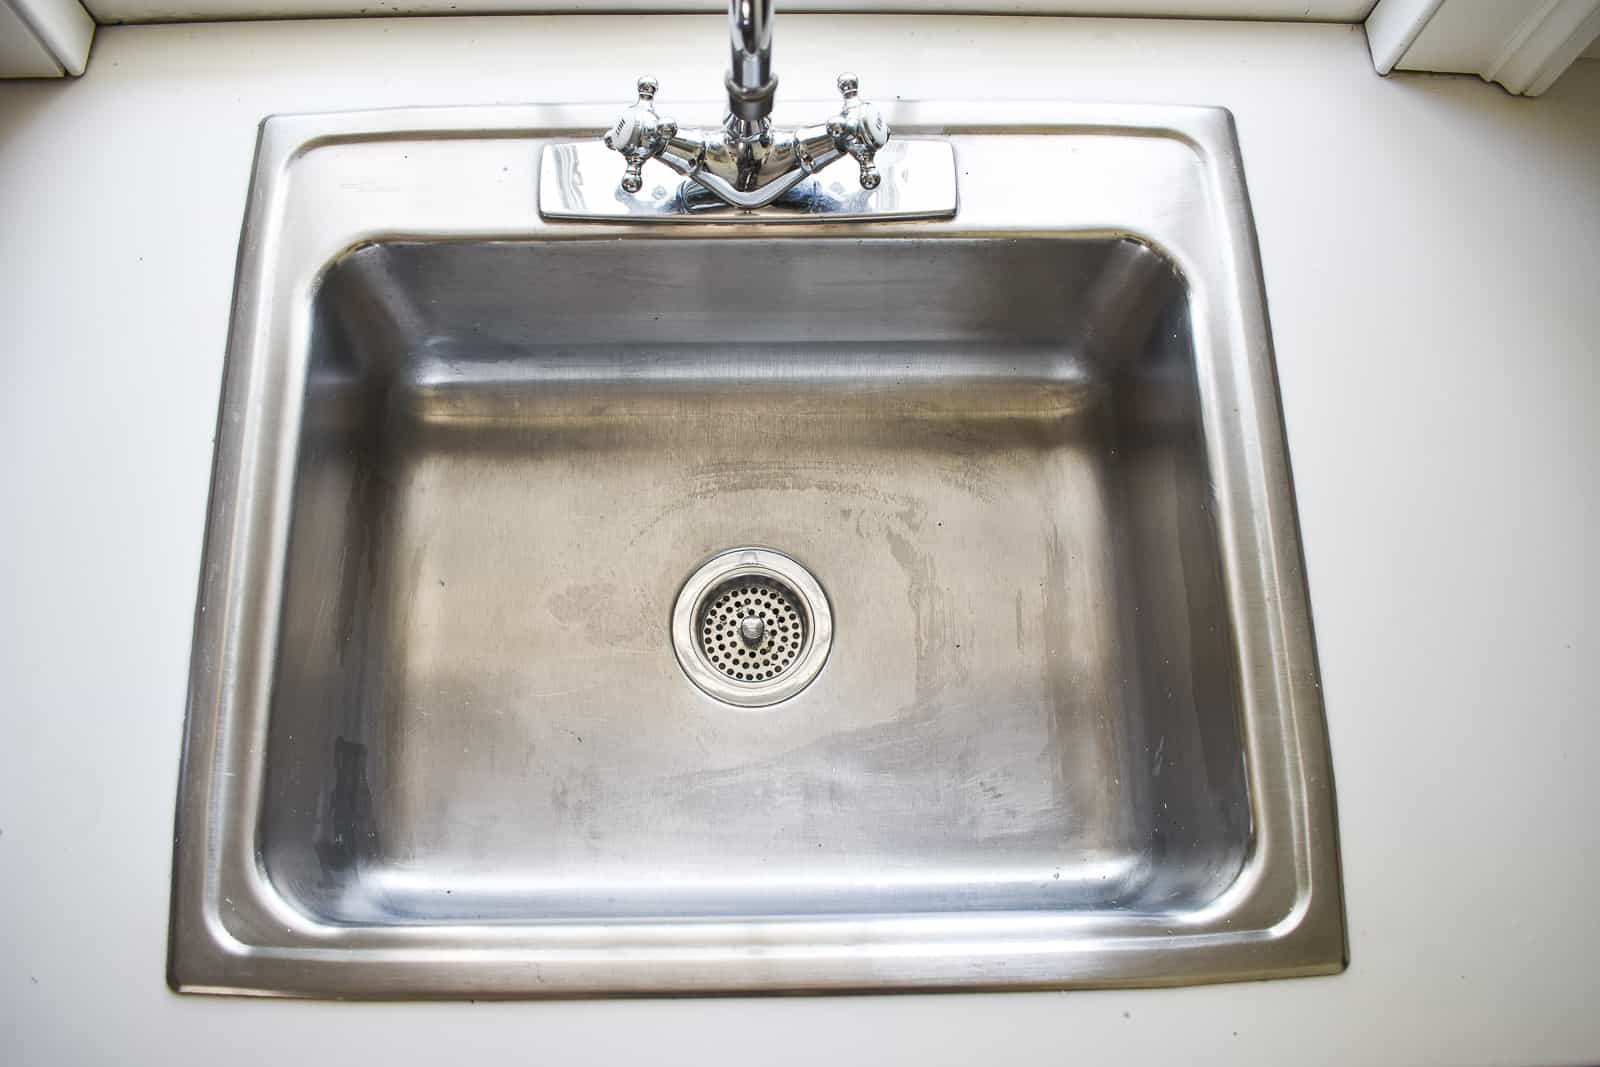
- Gentle cleaning: Clean the sink regularly with a non-abrasive, mild soap and water solution. Avoid using harsh chemicals, abrasive sponges, or scrub brushes, as they can damage the painted surface.
- Avoid harsh cleaners: Steer clear of abrasive cleaners, bleach, ammonia, or any acidic substances that may damage or fade the paint. Stick to gentle, non-abrasive cleaning solutions to preserve the beauty of the painted surface.
- Use soft cloths or sponges: When cleaning the sink, use soft cloths or non-abrasive sponges to avoid scratching the paint. Microfiber cloths or soft-bristle brushes can also be used for gentle cleaning.
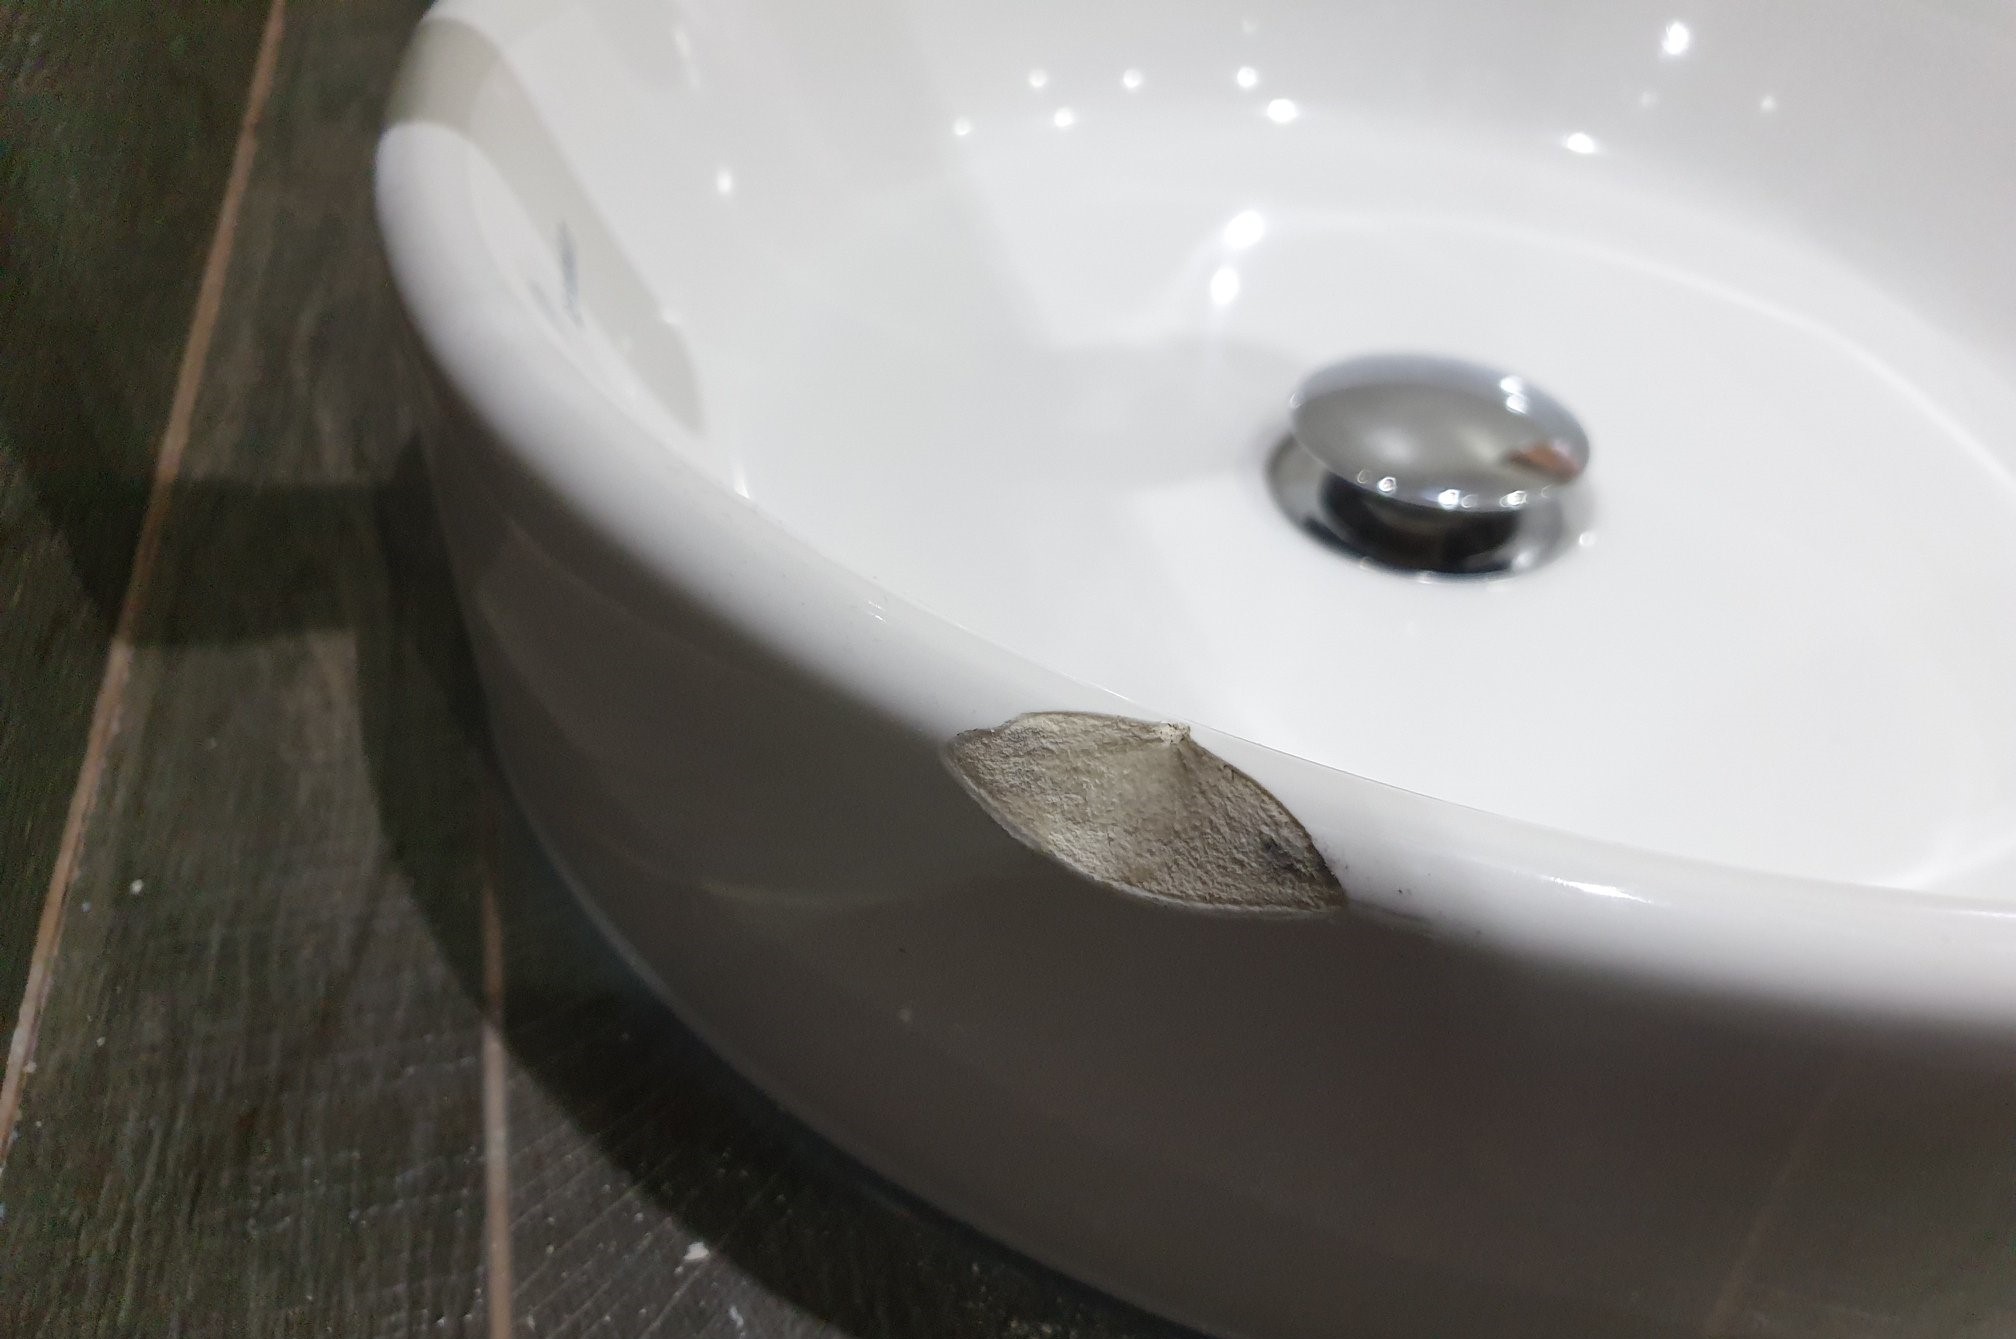
- Avoid impact or sharp objects: Prevent chipping or scratching the painted surface by avoiding heavy impacts or sharp objects. Be cautious when placing or handling heavy pots, pans, or utensils in the sink to prevent potential damage.
- Wipe up spills: Promptly wipe up any spills or stains to prevent them from setting into the paint. This will help maintain the appearance of the painted surface and prevent staining.
- Be mindful of hot items: Avoid placing hot pots, pans, or dishes directly onto the painted surface. Use trivets or heat-resistant pads to protect the paint from heat damage.
- Regular maintenance: Inspect the sink periodically for any signs of wear or damage. If you notice any chips or scratches, touch them up with paint to prevent further deterioration.
By following these care instructions, you can preserve the beauty and longevity of your painted porcelain sink for years to come.
Tips and Warnings
As you embark on your journey of painting a porcelain sink, keep these tips and warnings in mind to ensure a successful and safe painting experience:
- Choose the right paint: Use high-quality, porcelain-specific paint and primer to ensure optimal adhesion and durability.
- Proper ventilation: Work in a well-ventilated area or use fans and open windows to ensure proper air circulation and prevent inhalation of fumes.
- Protective gear: Wear gloves, goggles, and a mask to protect your skin, eyes, and lungs from paint and chemical exposure.
- Patience is key: Allow each layer of primer, paint, and sealer to thoroughly dry before moving on to the next step. Rushing can lead to poor adhesion and a less durable finish.
- Avoid excessive water exposure: While the painted sink is durable, avoid prolonged exposure to standing water or harsh cleaning agents to prevent potential damage to the paint.
- Test in inconspicuous area: Before starting the project, test the paint and primer in a small, hidden area of the sink to ensure compatibility and desired results.
- Practice proper maintenance: Regularly clean and maintain the painted surface using gentle cleaning methods and avoid abrasive materials that could scratch or damage the paint.
- Consider professional help: If you’re uncertain about the process or don’t have the necessary skills, it may be best to consult a professional or hire a painter with experience in painting porcelain surfaces.
- Follow local regulations: Dispose of paint and related materials according to local regulations to avoid environmental harm.
By following these tips and adhering to safety precautions, you’ll be well-equipped to tackle your porcelain sink painting project with confidence.
Conclusion
Congratulations on completing your journey of painting a porcelain sink! With the right materials, proper preparation, and a little bit of patience, you have transformed your sink into a beautiful and refreshed focal point in your bathroom or kitchen.
Remember, painting a porcelain sink requires attention to detail and careful execution. By following the step-by-step process outlined in this article and incorporating the tips and precautions provided, you can achieve professional-looking results.
Not only does painting a porcelain sink offer a cost-effective alternative to replacing it, but it also allows you to personalize and update your space according to your style and preferences. Whether you’ve opted for a bold and dramatic color or a subtle and sophisticated hue, your painted porcelain sink will be a unique reflection of your creative touch.
However, it’s important to remember to properly care for and maintain your painted porcelain sink. By following the recommended cleaning methods, being cautious with hot items, and addressing any chips or scratches promptly, you can enjoy the beauty and longevity of your painted sink for years to come.
As with any home improvement project, make sure to exercise caution, read and follow the instructions provided by the product manufacturers, and, if needed, seek professional assistance. Your safety and the longevity of your painted sink should always be a top priority.
So, go ahead and enjoy your newly painted porcelain sink! Admire the transformation, revel in the sense of accomplishment, and bask in the compliments you’ll surely receive from family and friends. Happy painting!
Just finished revamping your porcelain sink and feeling inspired to tackle more projects around your home? Don't stop now! Our guide on DIY home improvement offers accessible, practical advice for those ready to transform their living space further. Whether you're looking to update a room or overhaul your entire house, you'll find invaluable tips that suit any skill level. Get your tools ready – more adventures in upgrading your home await!
Frequently Asked Questions about How To Paint Porcelain Sink
Was this page helpful?
At Storables.com, we guarantee accurate and reliable information. Our content, validated by Expert Board Contributors, is crafted following stringent Editorial Policies. We're committed to providing you with well-researched, expert-backed insights for all your informational needs.


0 thoughts on “How To Paint Porcelain Sink”