Home>Furniture & Design>Bathroom Accessories>How To Repair A Chip In A Porcelain Bathtub
Bathroom Accessories
How To Repair A Chip In A Porcelain Bathtub
Modified: March 2, 2024
Learn how to easily repair a chip in your porcelain bathtub with our step-by-step guide. Keep your bathroom accessories looking new and flawless.
(Many of the links in this article redirect to a specific reviewed product. Your purchase of these products through affiliate links helps to generate commission for Storables.com, at no extra cost. Learn more)
Introduction
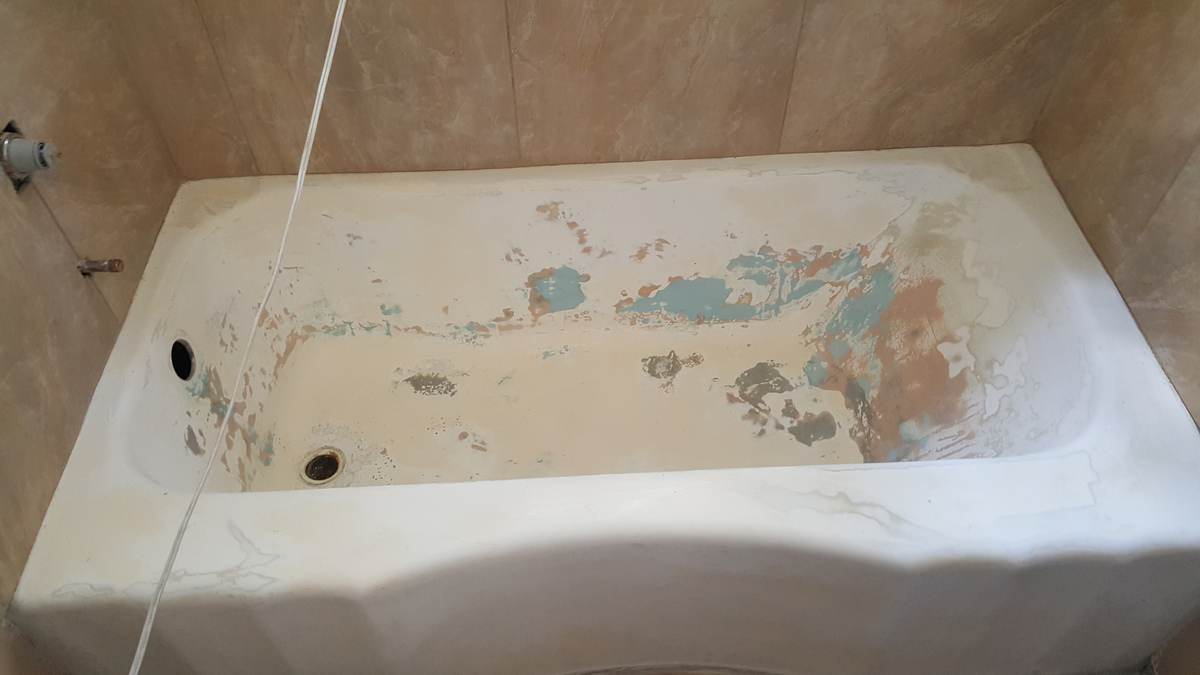
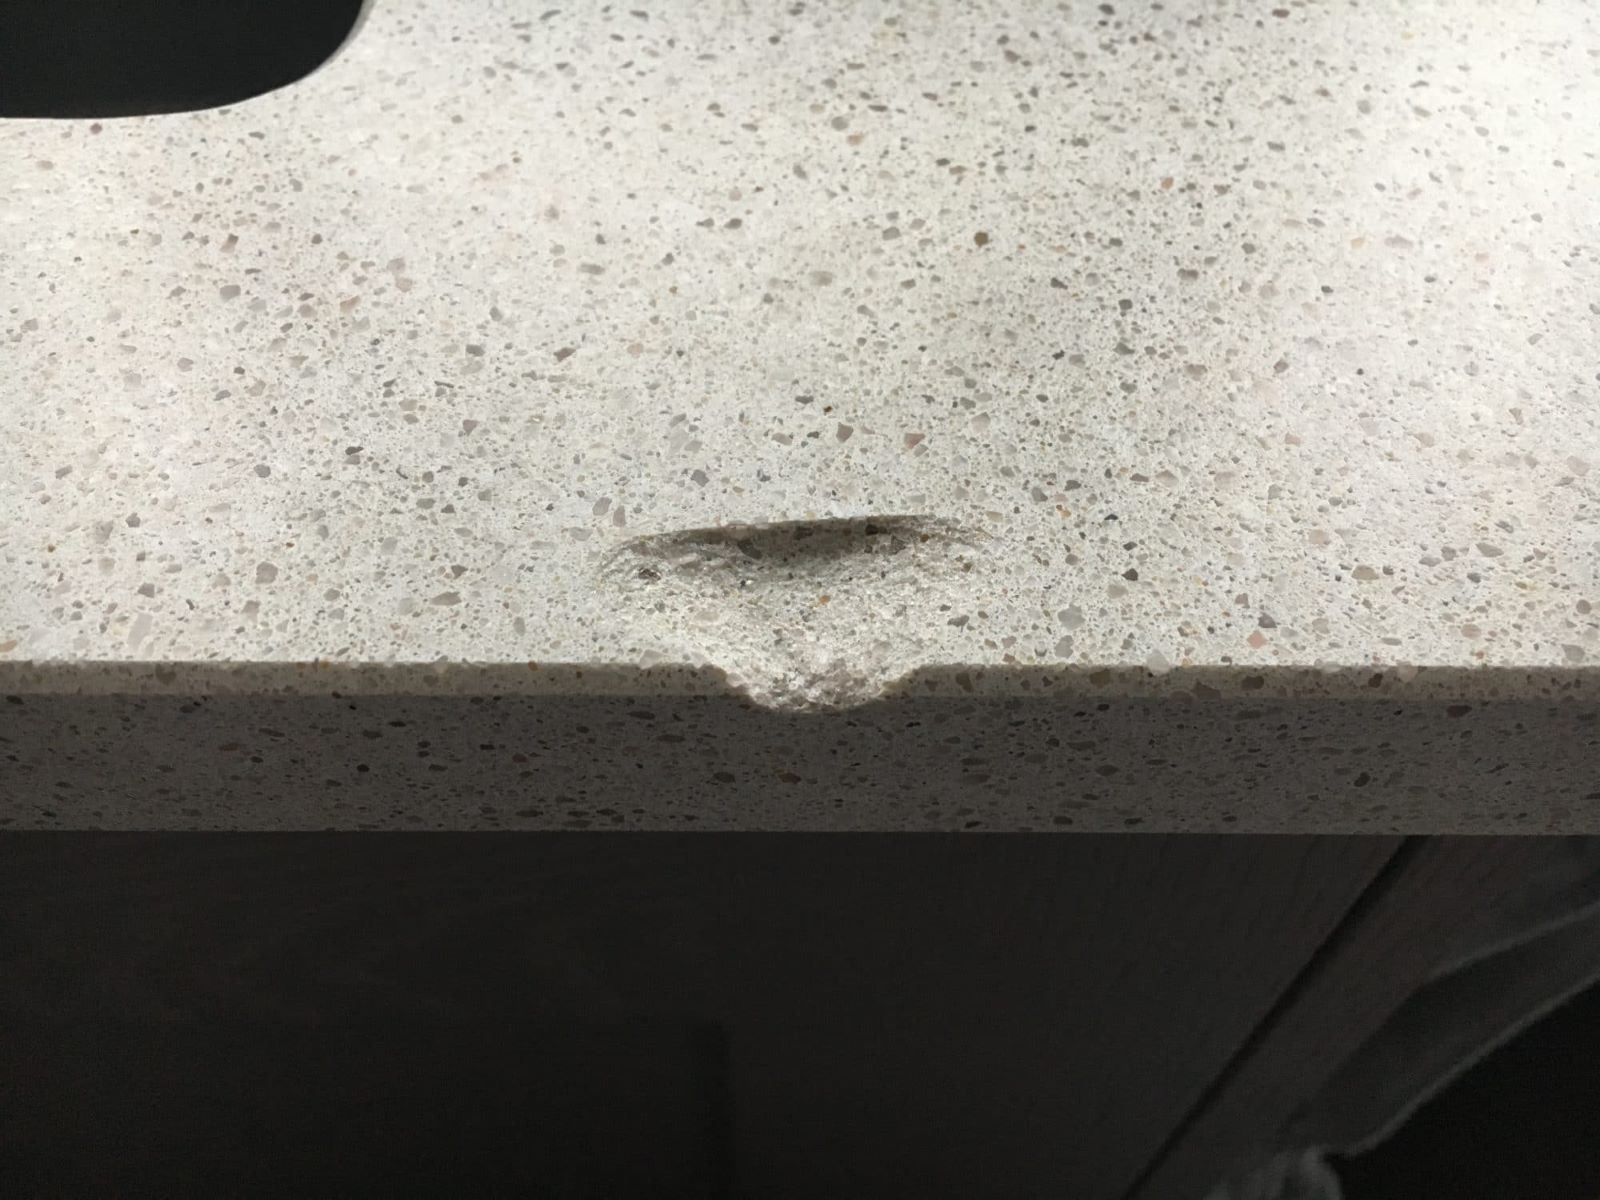
A chip in a porcelain bathtub can be a frustrating sight, disrupting the smooth surface and potentially leading to further damage if left unaddressed. However, the good news is that repairing a chip in a porcelain bathtub is a manageable task that can be accomplished with the right materials and a bit of know-how. By following a few simple steps, you can restore the pristine appearance of your bathtub and prevent the chip from developing into a larger problem.
In this comprehensive guide, we will walk you through the process of repairing a chip in a porcelain bathtub, providing detailed instructions and valuable tips to ensure a successful outcome. Whether you're a seasoned DIY enthusiast or a novice in home repairs, this step-by-step tutorial will equip you with the knowledge and confidence to tackle this common issue effectively.
By the end of this guide, you will have the skills to seamlessly repair the chip in your porcelain bathtub, leaving it looking as good as new. So, gather your materials and let's dive into the rewarding process of restoring your bathtub to its former glory.
Key Takeaways:
- Easily repair a chipped porcelain bathtub by cleaning the area, applying filler, and sanding for a seamless finish. Gather materials and follow step-by-step instructions for a successful DIY project.
- Achieve a professional-looking repair by applying finish to the filled area, seamlessly blending it with the bathtub surface. Follow instructions carefully for a durable and polished outcome.
Read more: How To Repair A Chipped Porcelain Sink
Materials Needed
Repairing a chip in a porcelain bathtub requires a few essential materials to ensure a successful outcome. Before embarking on this task, it's crucial to gather the following items to facilitate a seamless repair process:
-
Porcelain Repair Kit: This kit typically includes epoxy or filler specifically designed for repairing porcelain surfaces. It's essential to choose a high-quality repair kit that matches the color of your bathtub to achieve a seamless finish.
-
Safety Equipment: Prioritize safety by wearing protective gear such as gloves and safety goggles to shield your skin and eyes from any potential hazards during the repair process.
-
Cleaning Supplies: To prepare the chipped area for repair, you'll need mild soap, water, and a clean cloth to thoroughly clean the surface and remove any debris or residue.
-
Sandpaper: Select fine-grit sandpaper to smooth the repaired area and blend it with the surrounding surface. This will ensure a uniform and polished finish once the repair is complete.
-
Masking Tape: Use masking tape to create a boundary around the chipped area, preventing the filler from spreading onto unaffected parts of the bathtub and ensuring a precise application.
-
Putty Knife or Spatula: A putty knife or spatula is essential for applying the filler or epoxy to the chipped area with precision and control, facilitating a neat and professional-looking repair.
-
Finish: Depending on the type of repair kit used, you may need a finish or sealant to apply over the filled area to enhance durability and seamlessly blend the repaired section with the rest of the bathtub.
-
Ventilation: Ensure proper ventilation in the repair area to disperse any fumes from the repair materials, promoting a safe and comfortable working environment.
By gathering these materials, you'll be well-equipped to embark on the process of repairing the chip in your porcelain bathtub with confidence and precision. With the right tools at your disposal, you can effectively restore the flawless appearance of your bathtub and prevent the chip from causing further damage.
Step 1: Clean the Area
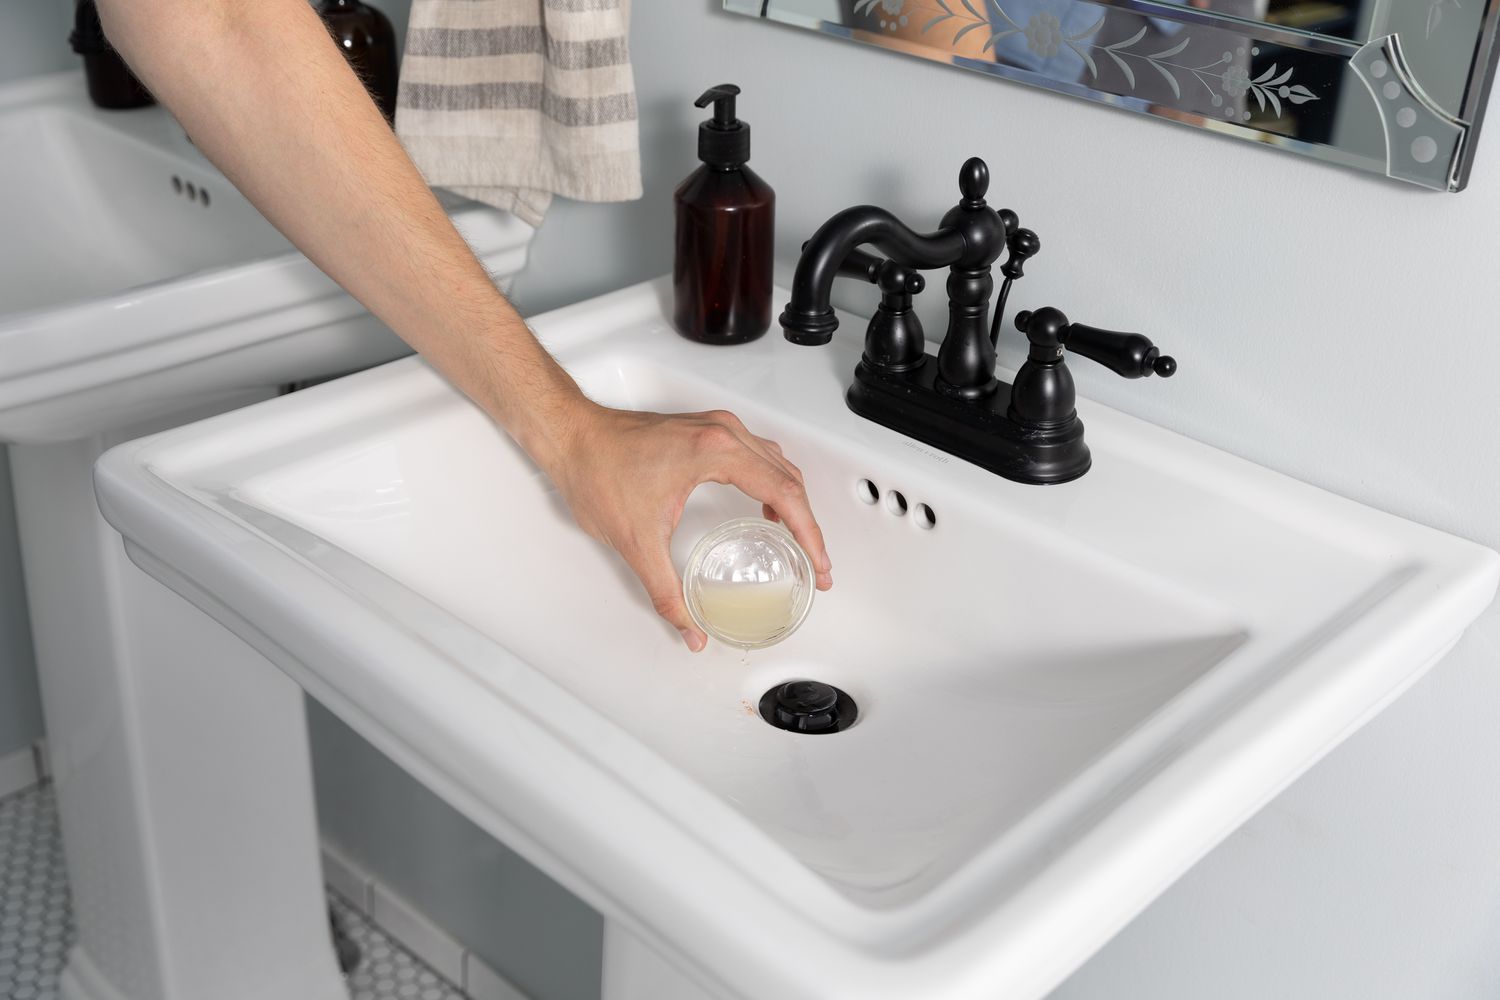
Before initiating the repair process, it is crucial to thoroughly clean the chipped area of the porcelain bathtub. This step is essential to ensure proper adhesion of the filler or epoxy and to remove any dirt, grime, or residue that could compromise the repair's effectiveness.
To begin, gather mild soap, water, and a clean cloth. Mix the mild soap with water to create a gentle cleaning solution. Dip the cloth into the soapy water and carefully wipe the chipped area, ensuring that all surfaces are thoroughly cleaned. Pay close attention to removing any debris, soap scum, or mineral deposits that may have accumulated in the chipped section.
Once the area is cleaned, rinse it with clean water to remove any remaining soap residue. It is important to allow the area to dry completely before proceeding to the next step. This will ensure that the filler or epoxy adheres properly to the porcelain surface, promoting a durable and long-lasting repair.
In addition to cleaning the chipped area, it is advisable to use masking tape to create a boundary around the chip. This will prevent the filler from spreading onto unaffected parts of the bathtub during the application process, allowing for a precise and controlled repair.
By meticulously cleaning the chipped area and creating a defined boundary with masking tape, you are laying the groundwork for a successful repair. This attention to detail will contribute to a seamless and professional-looking outcome, ensuring that the repaired section blends harmoniously with the rest of the bathtub's surface.
With the area cleaned and prepared, you are now ready to move on to the next step in the repair process, setting the stage for the application of the filler or epoxy to restore the flawless appearance of your porcelain bathtub.
Step 2: Prepare the Filler
Once the chipped area of the porcelain bathtub is thoroughly cleaned and the boundary is defined with masking tape, the next crucial step is to prepare the filler for application. The filler, typically included in a porcelain repair kit, plays a pivotal role in restoring the damaged section to its original smooth and flawless state.
To begin the preparation process, carefully read the instructions provided with the porcelain repair kit. Different kits may have specific guidelines for preparing the filler, and it is essential to follow these instructions meticulously to achieve the best results. Additionally, ensure that the filler color matches the shade of your bathtub to seamlessly blend with the surrounding surface.
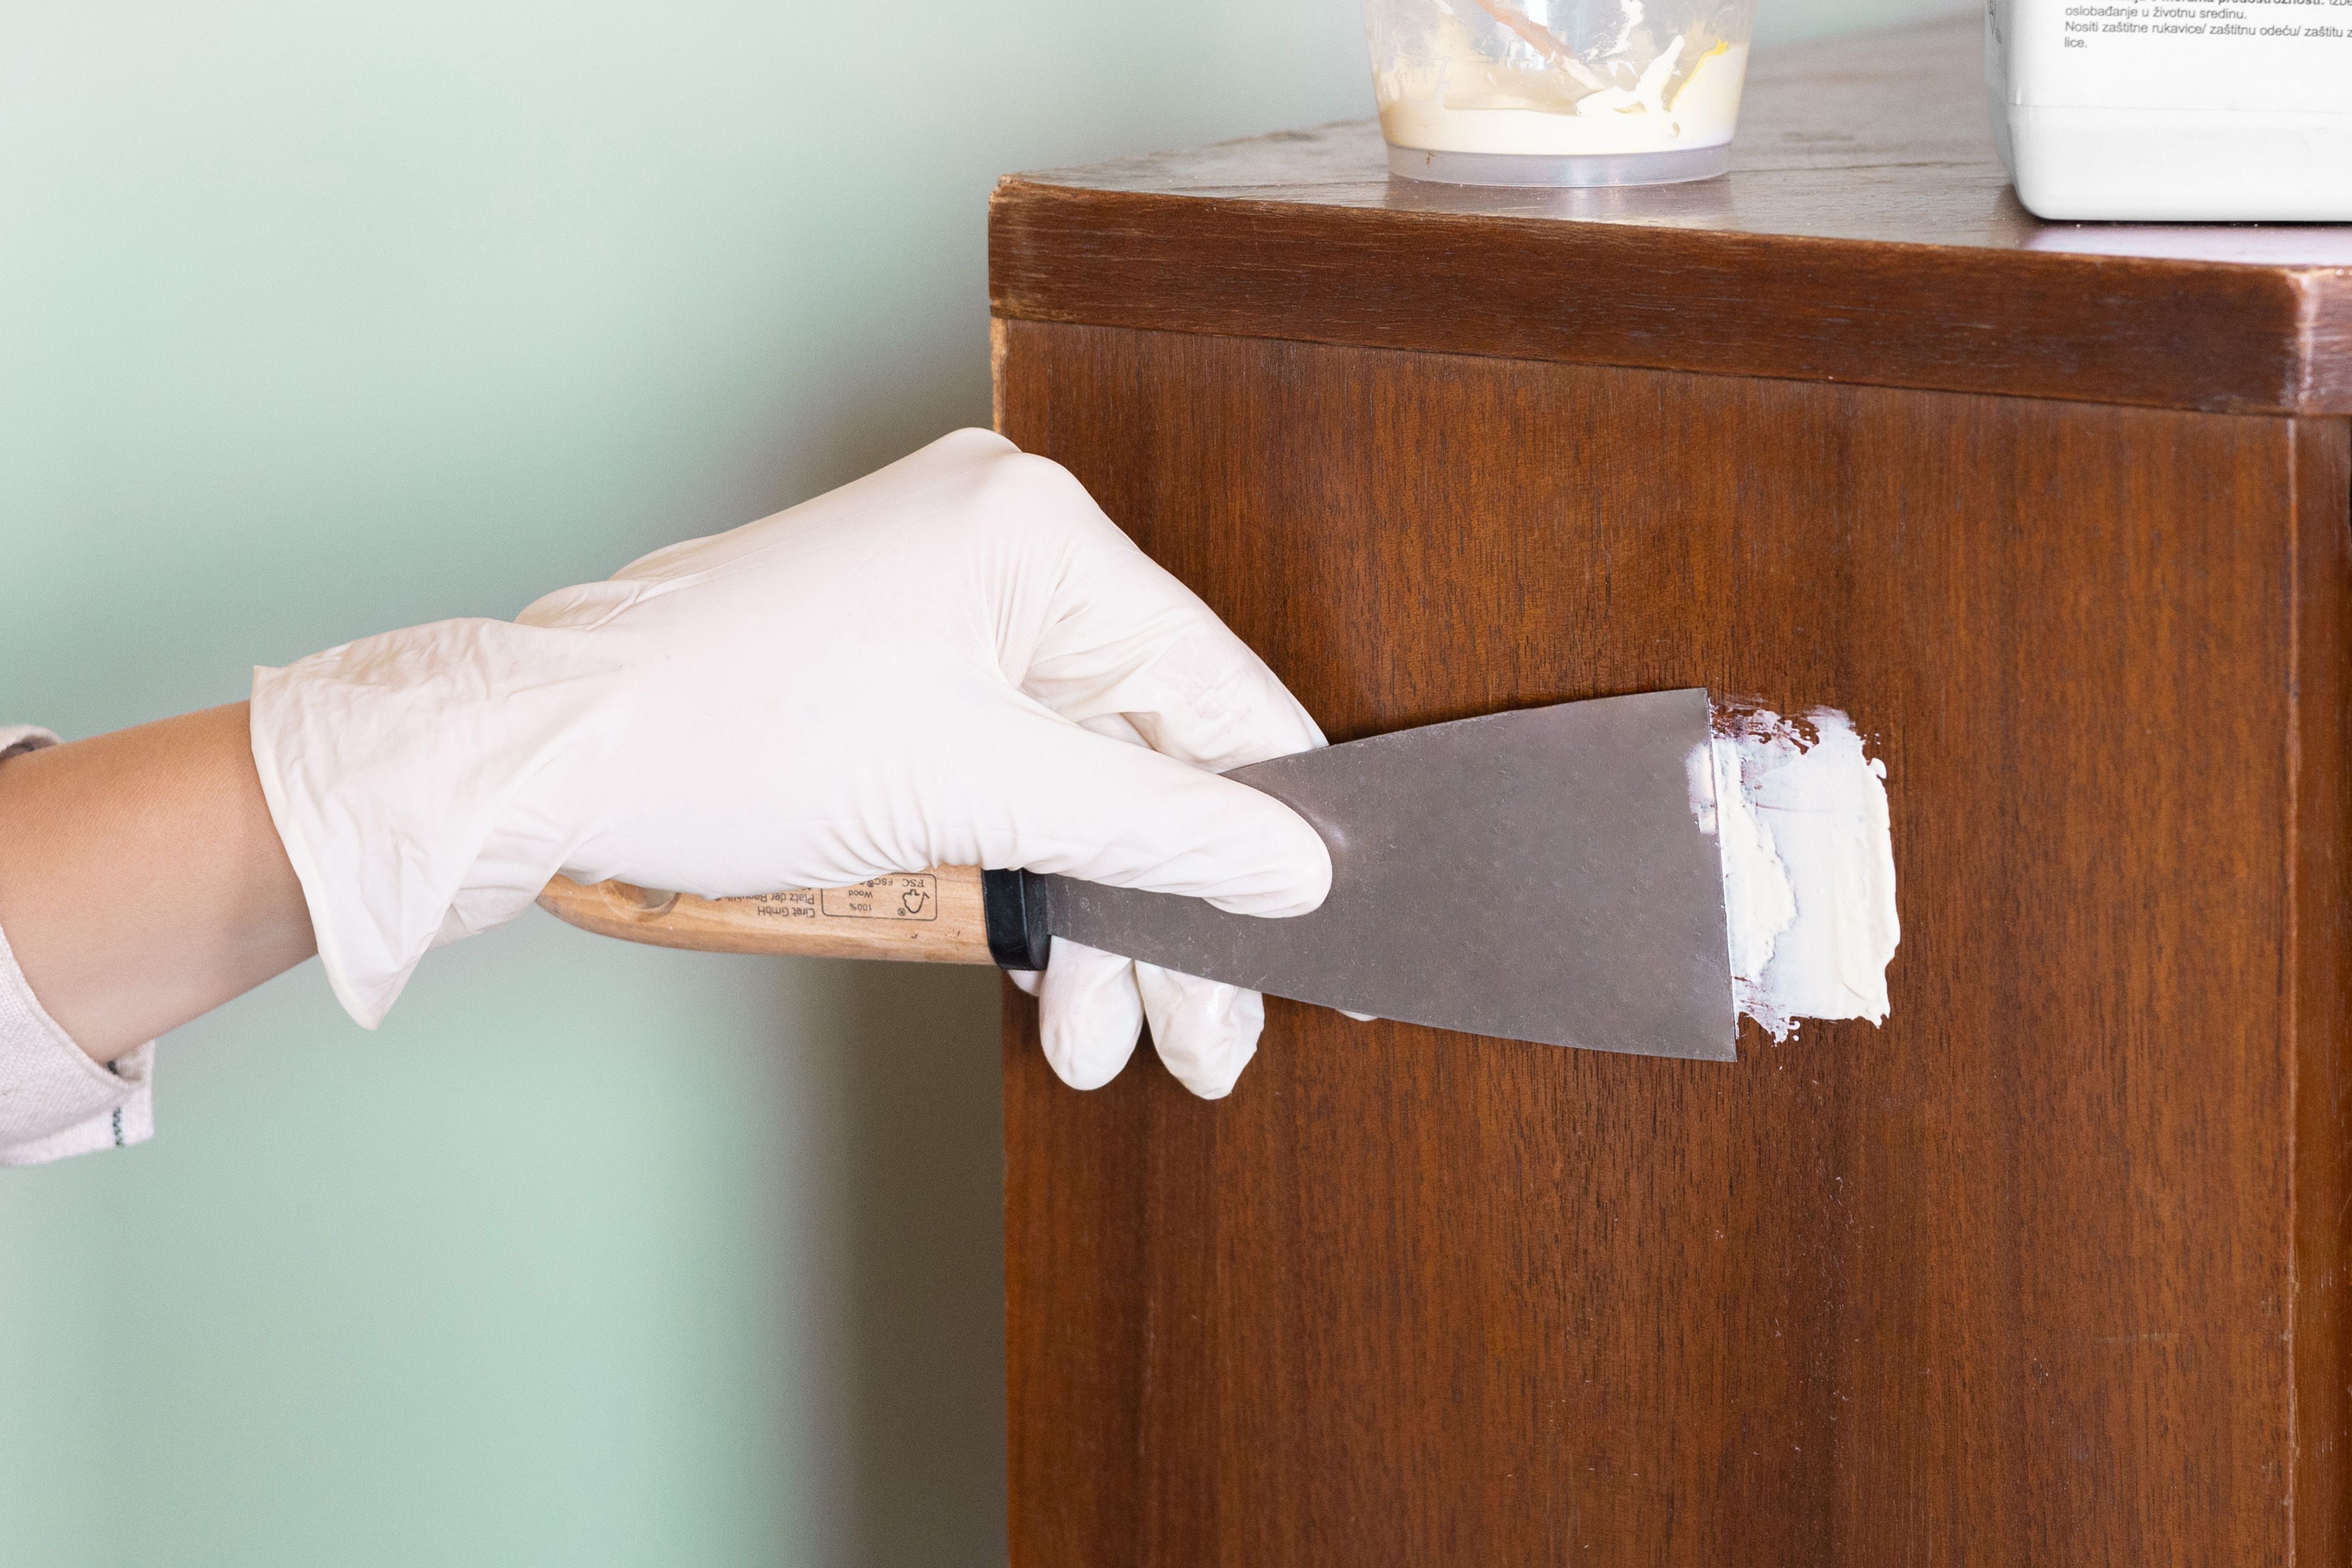
Before opening the filler or epoxy, it is important to shake or stir the contents as per the manufacturer's recommendations. This ensures that the components are thoroughly mixed, promoting optimal performance and a consistent finish. Once the filler is properly mixed, use a putty knife or spatula to scoop a small amount of the filler onto a clean, disposable surface, such as a piece of cardboard or plastic.
When working with the filler, it is crucial to apply it in thin layers, gradually building up the repaired area to achieve a smooth and even surface. Start by applying a small amount of filler to the chipped area, using the putty knife or spatula to spread it evenly across the damaged section. Take care to fill the chip completely while maintaining a level surface with the surrounding bathtub area.
As you apply the filler, ensure that it extends slightly above the surface of the bathtub to account for sanding and smoothing in the subsequent steps. This slight overfilling will allow for the removal of excess filler during the finishing process, resulting in a seamless and polished repair.
Throughout the filler application, maintain precision and attention to detail, aiming for a uniform and level surface that seamlessly integrates with the rest of the bathtub. By meticulously preparing and applying the filler, you are laying the foundation for a successful repair that will restore the pristine appearance of your porcelain bathtub.
With the filler expertly applied, the next steps will focus on refining the repaired area, ensuring a seamless blend with the surrounding surface. As you progress through the repair process, the careful preparation and application of the filler will contribute to a professional-looking outcome that revitalizes your bathtub and prevents further damage.
Use a porcelain repair kit to fill in the chip, following the instructions carefully. Sand the area smooth and apply a porcelain touch-up glaze for a seamless finish.
Step 3: Apply the Filler
With the chipped area of the porcelain bathtub thoroughly cleaned and the boundary defined with masking tape, the next critical step is to apply the filler to initiate the restoration process. The filler, a key component of the porcelain repair kit, is designed to seamlessly blend with the bathtub's surface, effectively concealing the chip and restoring the smooth, flawless appearance.
Before proceeding with the application, it is essential to carefully read and understand the instructions provided with the porcelain repair kit. Each kit may have specific guidelines for applying the filler, and adhering to these instructions diligently is crucial for achieving optimal results. Additionally, ensure that the color of the filler matches the shade of your bathtub to ensure a seamless integration with the surrounding surface.
To begin the application process, it is advisable to shake or stir the filler as per the manufacturer's recommendations to ensure thorough mixing of the components. This step is vital in promoting the filler's optimal performance and achieving a consistent finish. Once the filler is properly mixed, use a putty knife or spatula to scoop a small amount of the filler onto a clean, disposable surface, such as a piece of cardboard or plastic.
When applying the filler, it is important to work in thin layers, gradually building up the repaired area to achieve a smooth and even surface. Start by applying a small amount of filler to the chipped area, using the putty knife or spatula to spread it evenly across the damaged section. Carefully fill the chip completely while maintaining a level surface with the surrounding bathtub area.
As the filler is applied, ensure that it extends slightly above the surface of the bathtub to account for sanding and smoothing in the subsequent steps. This slight overfilling will allow for the removal of excess filler during the finishing process, resulting in a seamless and polished repair.
Throughout the filler application, precision and attention to detail are paramount, aiming for a uniform and level surface that seamlessly integrates with the rest of the bathtub. By meticulously applying the filler, you are laying the foundation for a successful repair that will restore the pristine appearance of your porcelain bathtub.
With the filler expertly applied, the next steps will focus on refining the repaired area, ensuring a seamless blend with the surrounding surface. As you progress through the repair process, the careful application of the filler will contribute to a professional-looking outcome that revitalizes your bathtub and prevents further damage.
Read more: Why Is My Bathtub Chipping
Step 4: Sand and Smooth
After the filler has been meticulously applied to the chipped area of the porcelain bathtub, the next crucial step involves sanding and smoothing the repaired section to achieve a seamless and polished finish. This step is essential for blending the filled area with the surrounding surface, ensuring that the repair is virtually indistinguishable from the original bathtub finish.
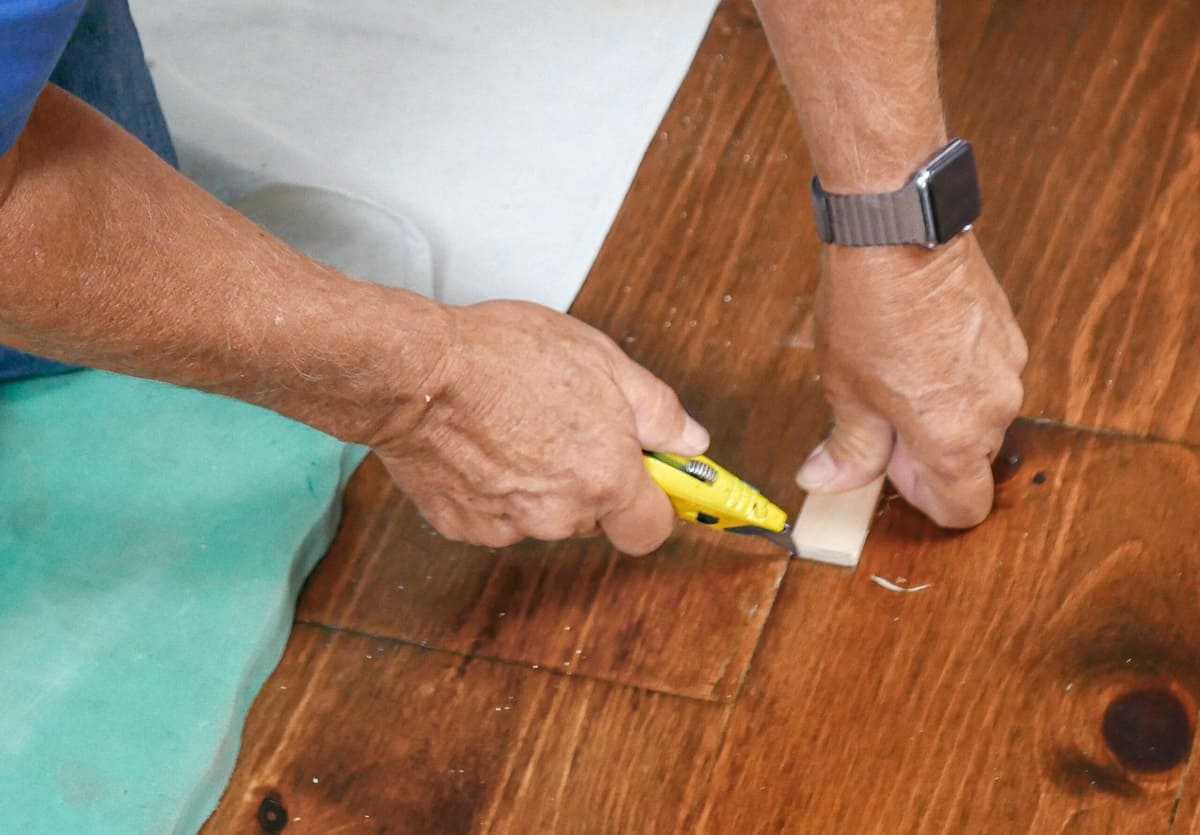
To begin the sanding process, it is recommended to use fine-grit sandpaper, typically in the range of 400 to 600 grit, to gently sand the filled area. The goal is to carefully smooth the surface of the filler, gradually leveling it with the surrounding bathtub surface. When sanding, it is important to maintain a light and even pressure, ensuring that the filled area is seamlessly integrated with the rest of the bathtub.
As you sand the repaired section, periodically check the surface to assess the progress and ensure that the filler is being smoothed effectively. It is advisable to use a gentle circular motion while sanding, evenly distributing the pressure to achieve a uniform and polished finish. Additionally, be mindful of the surrounding bathtub surface to prevent over-sanding and maintain a consistent level across the entire area.
Throughout the sanding process, it is essential to maintain precision and attention to detail, aiming for a smooth and level surface that seamlessly blends with the rest of the bathtub. As the filler is gradually smoothed and leveled, the chipped area will begin to seamlessly integrate with the surrounding porcelain surface, resulting in a professional-looking repair.
Once the filled area has been effectively smoothed and leveled, wipe the surface with a clean, damp cloth to remove any sanding residue and evaluate the repair. This step allows you to assess the smoothness and uniformity of the repaired section, ensuring that it seamlessly blends with the rest of the bathtub.
If necessary, repeat the sanding process to achieve the desired level of smoothness and integration. By carefully refining the filled area through sanding, you are laying the groundwork for a flawless and professional-looking repair that revitalizes your porcelain bathtub.
With the sanding and smoothing process completed, the repaired section will seamlessly blend with the surrounding surface, restoring the pristine appearance of your bathtub. This meticulous attention to detail ensures that the chip is effectively concealed, leaving your bathtub looking as good as new.
Step 5: Apply the Finish
With the chipped area of the porcelain bathtub meticulously repaired, the final step involves applying the finish to enhance the durability and visual cohesion of the restored section. The finish, often included in a porcelain repair kit, serves as the concluding touch that seamlessly blends the repaired area with the rest of the bathtub's surface, ensuring a professional and long-lasting outcome.
Before applying the finish, it is essential to ensure that the repaired section is clean and free of any sanding residue. Wipe the area with a clean, damp cloth to remove any lingering particles and ensure a pristine surface for the application of the finish. This step sets the stage for a seamless integration of the finish with the filled area, promoting a uniform and polished appearance.
When applying the finish, carefully follow the instructions provided with the porcelain repair kit to ensure proper application and optimal results. The finish is typically designed to complement the filler, seamlessly blending with the bathtub's surface and providing an additional layer of protection for the repaired section.
Using a clean brush or applicator provided in the repair kit, carefully apply the finish to the repaired area, ensuring even coverage and a smooth application. Take care to extend the finish slightly beyond the filled area, blending it with the surrounding surface to create a seamless transition. This meticulous application ensures that the repaired section harmoniously integrates with the rest of the bathtub, achieving a flawless and professional-looking result.
Once the finish is applied, allow it to dry according to the manufacturer's recommendations. This drying period is crucial for the finish to set and bond effectively with the repaired area, enhancing its durability and resilience. During this time, ensure that the repair area is protected from dust or debris to maintain the integrity of the finish as it sets.
After the finish has dried, carefully inspect the repaired section to ensure that it seamlessly blends with the surrounding bathtub surface. The finish should contribute to a uniform and polished appearance, effectively concealing the previous chip and revitalizing the bathtub's overall aesthetic.
With the finish successfully applied and dried, the repair process is complete, leaving your porcelain bathtub looking as good as new. The meticulous application of the finish ensures that the repaired section seamlessly integrates with the rest of the surface, achieving a professional and long-lasting outcome.
Frequently Asked Questions about How To Repair A Chip In A Porcelain Bathtub
Was this page helpful?
At Storables.com, we guarantee accurate and reliable information. Our content, validated by Expert Board Contributors, is crafted following stringent Editorial Policies. We're committed to providing you with well-researched, expert-backed insights for all your informational needs.


0 thoughts on “How To Repair A Chip In A Porcelain Bathtub”