Articles
How To Fix Cracks In Porcelain Sink
Modified: August 17, 2024
Learn how to fix cracks in a porcelain sink with these helpful articles. Find step-by-step instructions and expert tips to restore your sink to its original condition.
(Many of the links in this article redirect to a specific reviewed product. Your purchase of these products through affiliate links helps to generate commission for Storables.com, at no extra cost. Learn more)
Introduction
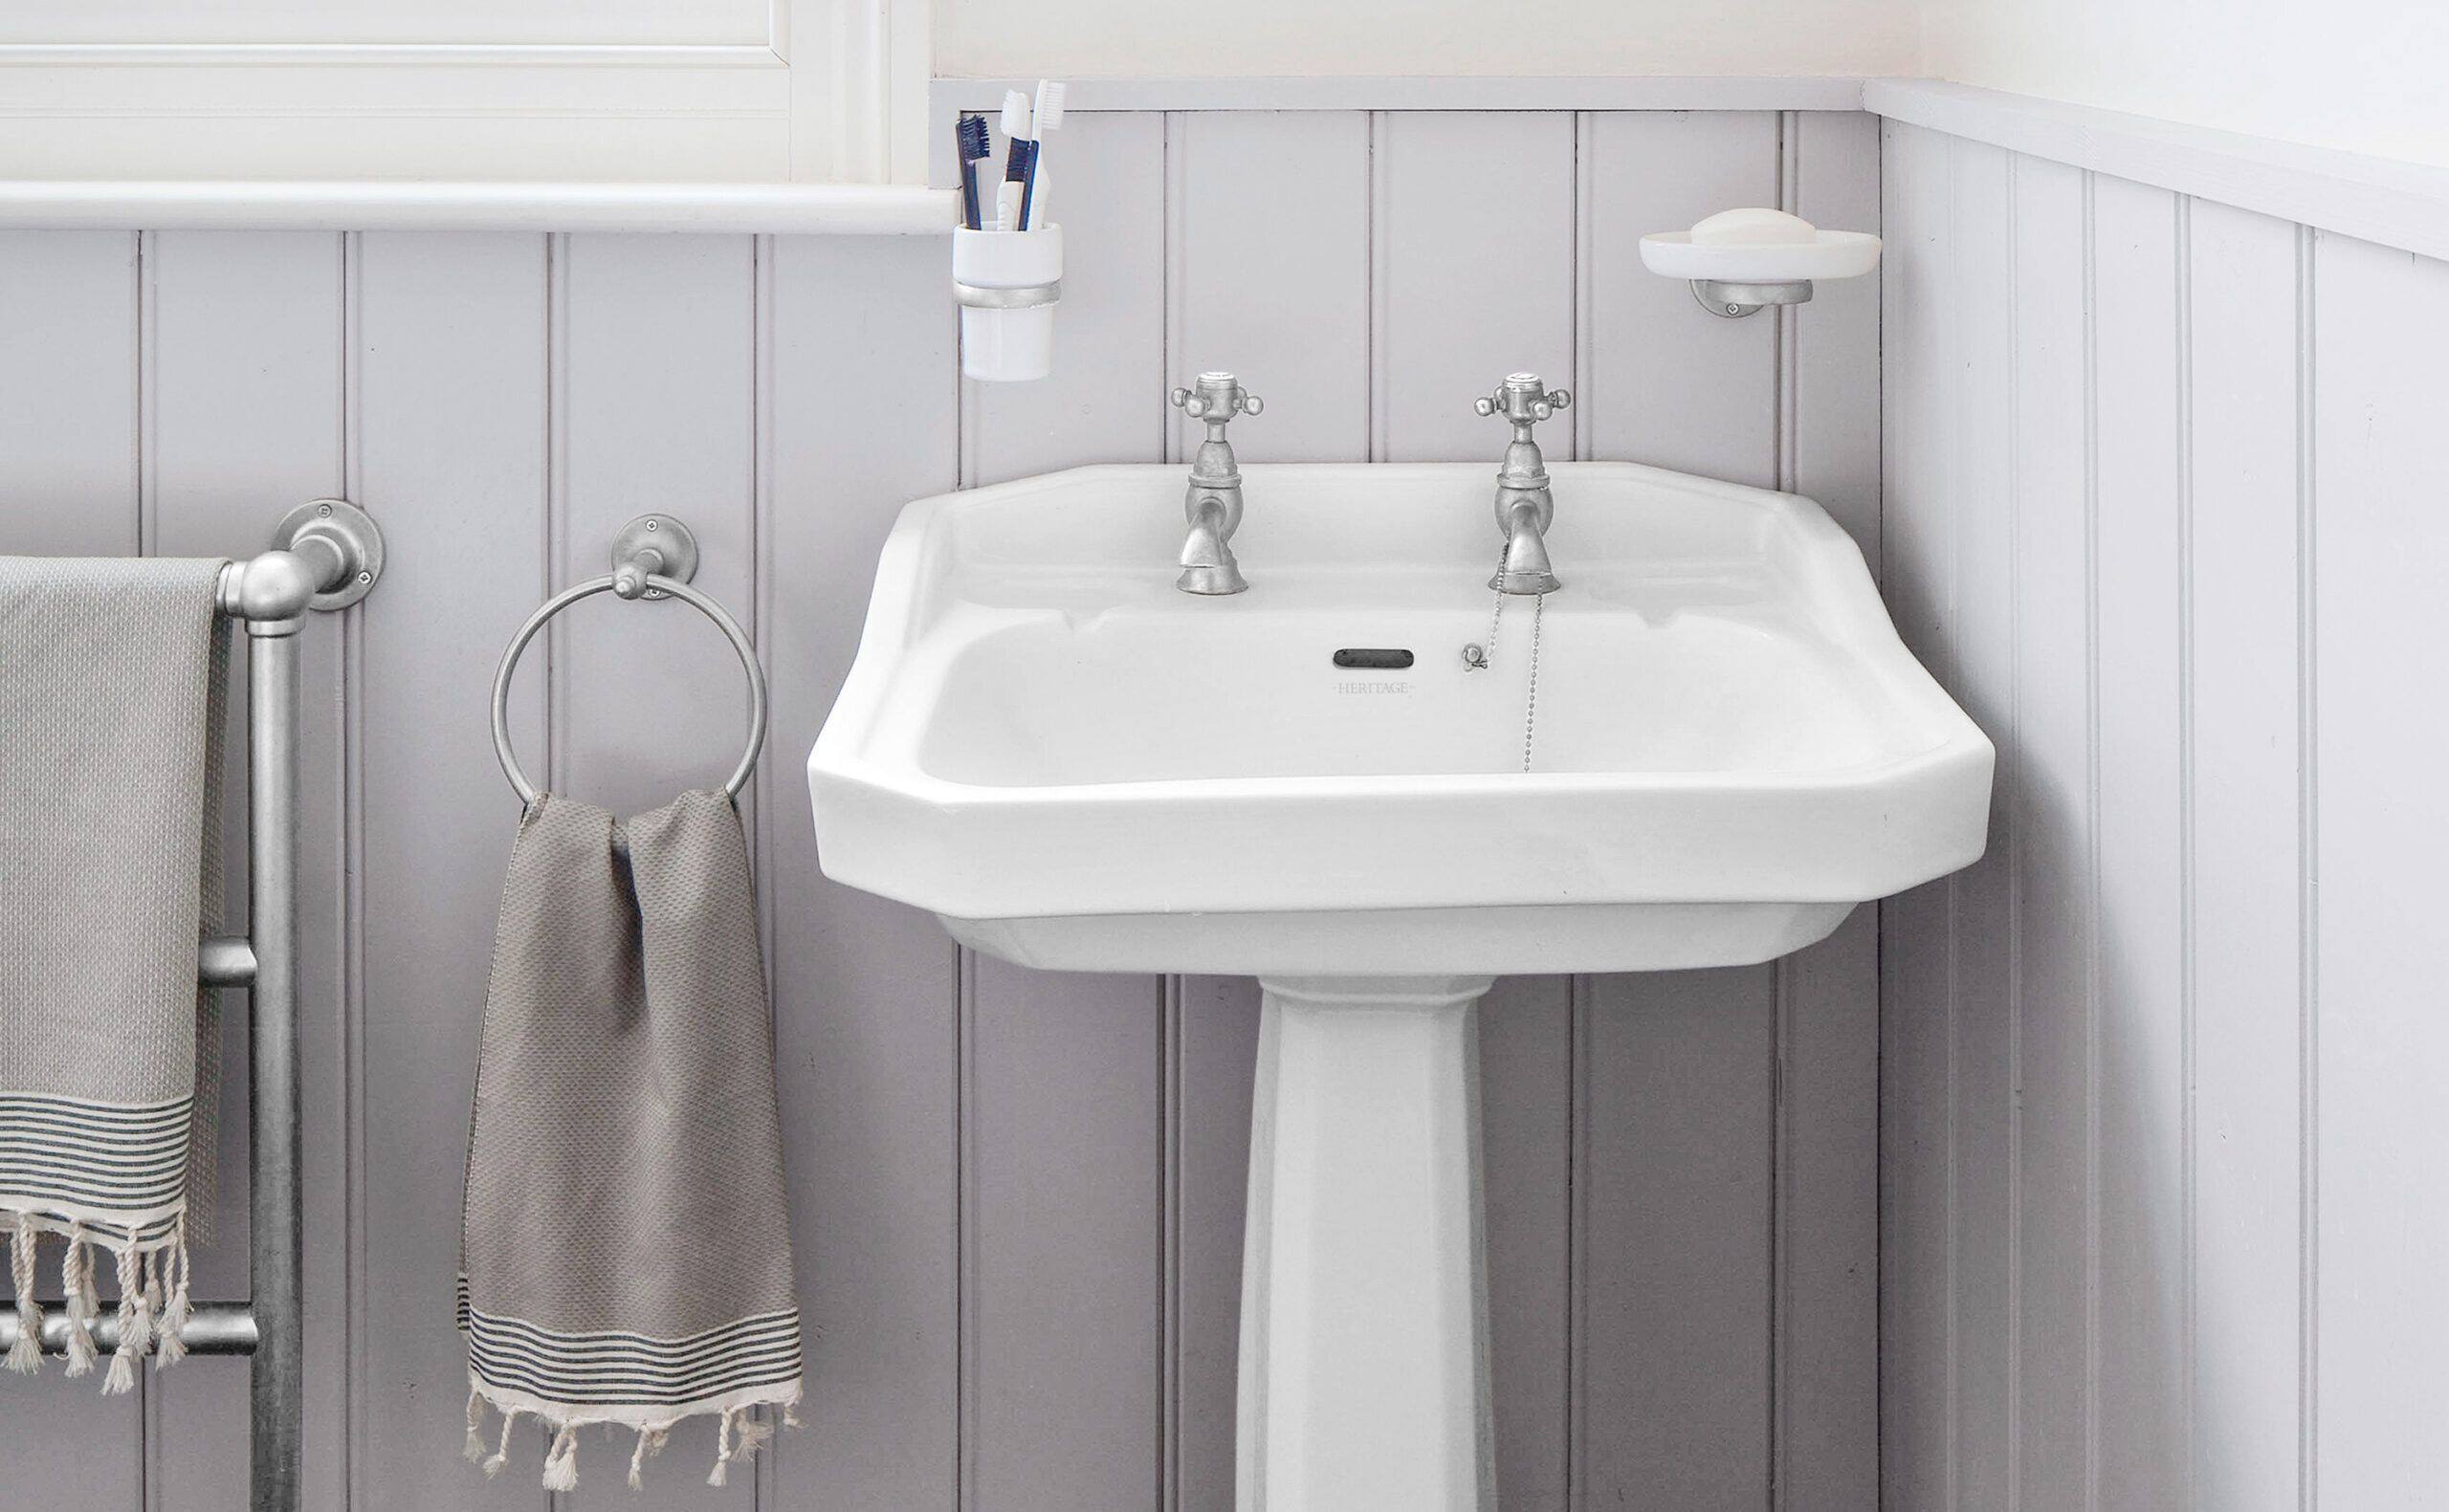
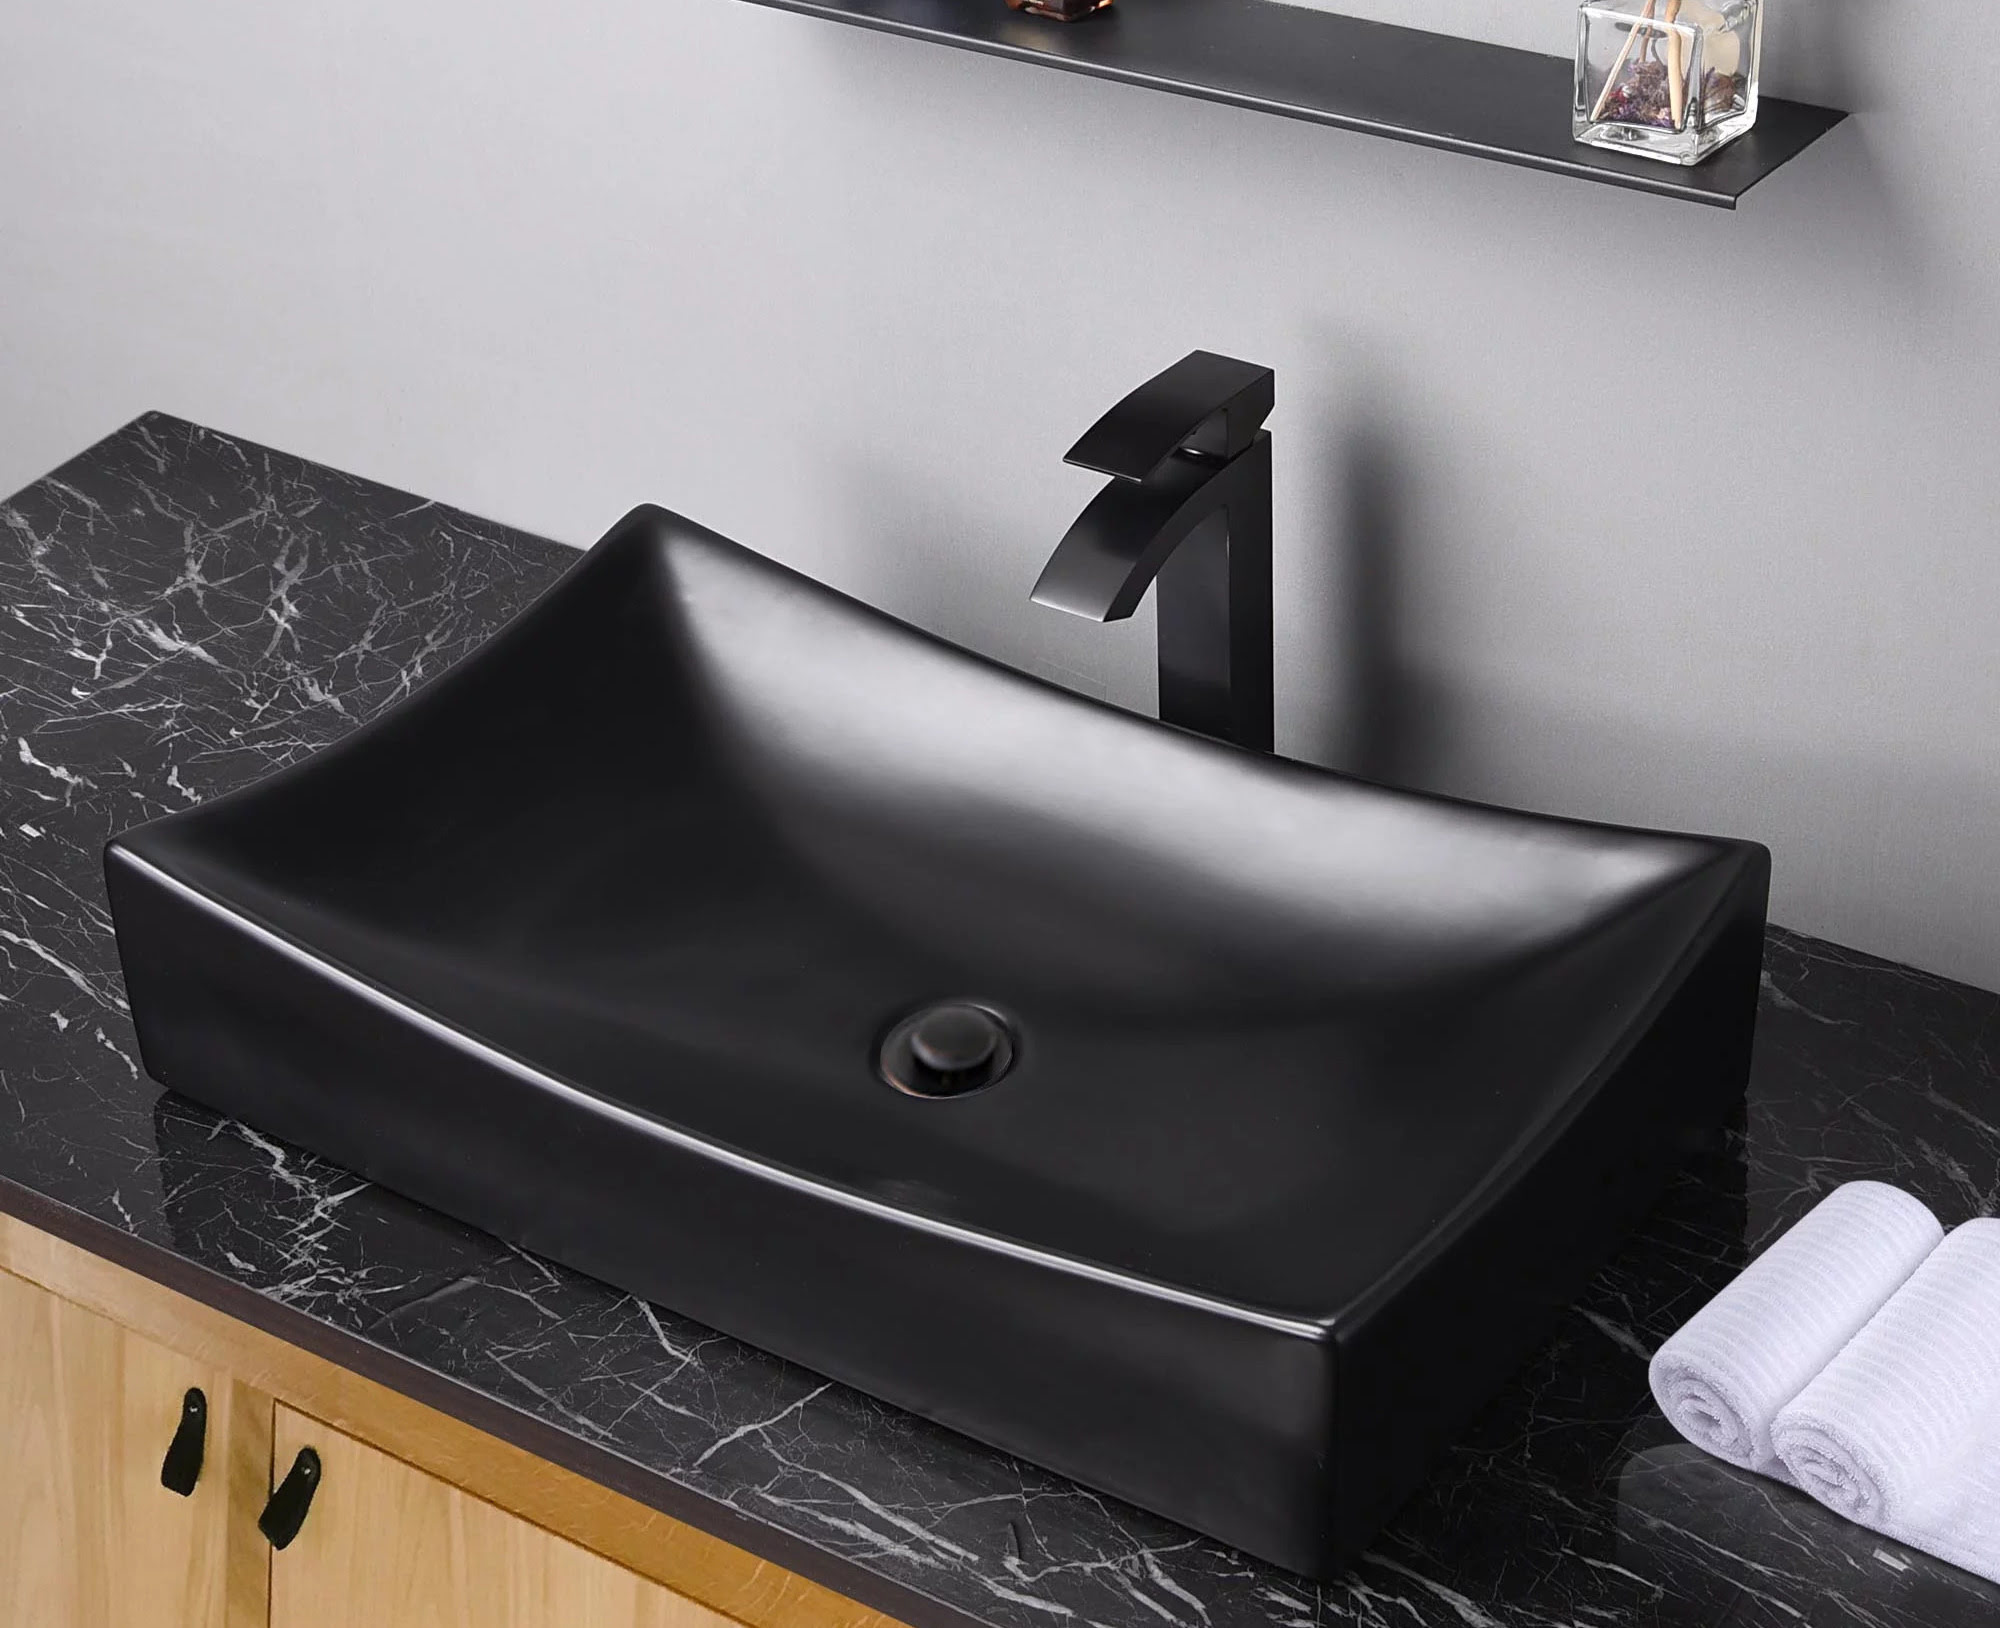
Porcelain sinks are a popular choice in many households due to their durability and aesthetic appeal. They can withstand daily use and maintain their glossy finish for years. However, over time, tiny cracks can start to appear, compromising the sink’s functionality and appearance. These cracks can be caused by various factors, such as impact from dropped objects, thermal shock, or even improper installation.
Having a cracked porcelain sink can be frustrating, but the good news is that you can fix it yourself with the right tools and materials. This article will guide you through the step-by-step process of repairing cracks in your porcelain sink, helping you restore its functionality and beauty.
Key Takeaways:
- Prevent future cracks in your porcelain sink by using trivets for hot items, avoiding abrasive cleaners, and ensuring proper installation. Regular maintenance and care can significantly extend the lifespan of your sink.
- Repairing cracks in a porcelain sink is a manageable DIY task. Assess, clean, apply filler, sand, and finish to restore the sink’s functionality and appearance. Remember to follow manufacturer’s instructions and take preventive measures for long-term sink maintenance.
Read more: How To Fix Cracked Sink
Causes of cracks in porcelain sinks
Before diving into the repair process, it’s important to understand the causes of cracks in porcelain sinks. By identifying the root cause, you can take preventative measures to minimize the chances of future cracks. Here are the common causes of cracks in porcelain sinks:
- Impact: Dropping heavy objects or accidentally hitting the sink with a sharp object can cause cracks.
- Thermal shock: Extreme changes in temperature, such as pouring hot water directly on a cold sink, can lead to thermal expansion and contraction, resulting in cracks.
- Improper installation: If the sink was not installed correctly or is not adequately supported, it can lead to stress and eventual cracking.
- Age and wear: Over time, the constant use and exposure to harsh chemicals can weaken the porcelain, making it more susceptible to cracks.
Tools and materials needed
Before you start repairing the cracks, gather the necessary tools and materials:
- Safety goggles and gloves
- Low-grit sandpaper or sanding block
- Porcelain filler or epoxy
- Putty knife or scraper
- Disposable mixing container and stirring stick
- Sanding sponge or high-grit sandpaper
- Primer (if required)
- Porcelain touch-up paint
- Clear sealant or top coat (optional)
Once you have gathered all the necessary tools and materials, you’re ready to start the repair process. Follow the step-by-step guide below to fix the cracks in your porcelain sink.
Key Takeaways:
- Prevent future cracks in your porcelain sink by using trivets for hot items, avoiding abrasive cleaners, and ensuring proper installation. Regular maintenance and care can significantly extend the lifespan of your sink.
- Repairing cracks in a porcelain sink is a manageable DIY task. Assess, clean, apply filler, sand, and finish to restore the sink’s functionality and appearance. Remember to follow manufacturer’s instructions and take preventive measures for long-term sink maintenance.
Read more: How To Fix Cracked Sink
Causes of cracks in porcelain sinks
Porcelain sinks are known for their durability, but over time, cracks can develop for various reasons. Understanding the causes of these cracks can help you prevent them in the future. Here are the common causes of cracks in porcelain sinks:
- Impact: Dropping heavy objects or accidentally hitting the sink with a sharp object can cause cracks in the porcelain. Even a small impact can weaken the structure of the sink, leading to cracks that can worsen over time.
- Thermal shock: Extreme changes in temperature can cause thermal expansion and contraction, which can result in cracks. For example, pouring boiling water directly into a cold porcelain sink can cause sudden and drastic temperature changes, leading to cracks.
- Improper installation: If the sink is not installed properly or lacks adequate support, it can lead to stress on the porcelain surface. Over time, this stress can cause cracks to develop. It’s essential to ensure that the sink is installed correctly and securely.
- Age and wear: As porcelain sinks age, they can become more prone to cracks. Regular use, exposure to harsh chemicals, and the natural wear and tear can weaken the porcelain, making it more susceptible to cracking. It’s essential to take proper care of your sink and avoid using abrasive cleaners that can damage the surface.
- Structural issues: Sometimes, the underlying structure of the sink can contribute to cracks in the porcelain. If there are any structural issues or defects, such as uneven or weak support, it can put stress on the sink and lead to cracks.
By understanding these common causes, you can take proactive measures to prevent cracks in your porcelain sink. Avoid dropping heavy objects, use trivets or mats to protect the sink from extreme temperature changes, and ensure proper installation and support. Regular maintenance, such as keeping the sink clean and avoiding abrasive cleaners, can also help prolong its lifespan and reduce the risk of cracks.
However, if you already have cracks in your porcelain sink, don’t worry. You can still repair them and restore the sink’s functionality and appearance. In the next section, we will guide you through the step-by-step process of fixing cracks in a porcelain sink.
Tools and materials needed
Before you start repairing the cracks in your porcelain sink, it’s important to gather the necessary tools and materials. Having these items on hand will ensure a smooth and successful repair process. Here’s a list of the tools and materials you’ll need:
- Safety goggles and gloves: It’s essential to protect your eyes and hands during the repair process. Safety goggles will shield your eyes from any debris or chemicals, while gloves will protect your hands from potential injury and keep them clean.
- Low-grit sandpaper or sanding block: You’ll need sandpaper or a sanding block with a low grit, such as 80 or 120, to prepare the surface of the crack for filling. This will help create a rough texture that allows the filler or epoxy to adhere better.
- Porcelain filler or epoxy: A porcelain filler or epoxy is the main material used to repair cracks in a porcelain sink. This filler is specially designed for porcelain surfaces and provides a strong bond. Make sure to choose a color that matches your sink for a seamless repair.
- Putty knife or scraper: A putty knife or scraper will be used to apply the filler or epoxy into the cracks. It helps spread the material evenly and remove any excess for a smooth finish.
- Disposable mixing container and stirring stick: If you’re using an epoxy or filler that requires mixing, you’ll need a disposable container to mix the components. A stirring stick or spatula will help you mix the material thoroughly.
- Sanding sponge or high-grit sandpaper: After the filler or epoxy has dried, you’ll need a sanding sponge or high-grit sandpaper to sand down the repaired area. This will ensure the surface is smooth and level with the rest of the sink.
- Primer (if required): Some fillers or epoxies may require a primer before application. Check the instructions provided with the filler to determine if a primer is necessary. If it is, make sure to have it on hand.
- Porcelain touch-up paint: To ensure that the repaired area blends in seamlessly with the rest of the sink, you may need to use porcelain touch-up paint. This paint matches the color of the sink and helps to conceal the repaired area.
- Clear sealant or top coat (optional): If you want to give your repaired sink extra protection and shine, you can apply a clear sealant or top coat. This will help protect the repaired area and enhance the overall appearance of the sink.
By gathering these tools and materials before you begin the repair process, you’ll have everything you need to fix the cracks in your porcelain sink. The step-by-step guide in the next section will walk you through the repair process in detail.
Read more: How To Fix Porcelain Sink Scratches
Step-by-step guide to fixing cracks in porcelain sink
Repairing cracks in a porcelain sink may seem like a daunting task, but with the right tools and guidance, it can be easily accomplished. Follow this step-by-step guide to fix the cracks in your porcelain sink and restore its functionality and appearance:
- Assessing the crack: Begin by examining the crack in your porcelain sink. Determine its size, location, and severity. This assessment will help you decide on the appropriate repair method and materials.
- Cleaning the area: Thoroughly clean the cracked area and its surroundings. Use a mild detergent and a soft cloth to remove any dirt, grease, or debris. Ensure that the area is completely dry before proceeding.
- Applying the filler: If the crack is small and narrow, you can use a porcelain filler to fix it. Follow the manufacturer’s instructions to prepare the filler mixture. Apply the filler to the crack using a putty knife or scraper. Fill the crack completely and smooth out the surface. Remove any excess filler using the edge of the putty knife.
- Sanding and smoothing the surface: Once the filler has dried, use a sanding sponge or high-grit sandpaper to smooth down the repaired area. Start with a gentle touch and gradually increase pressure until the surface is level and smooth. Be careful not to sand too aggressively, as it can damage the surrounding porcelain.
- Applying the finish: If the crack is larger or more visible, you may need to use an epoxy instead of a filler. Follow the manufacturer’s instructions to prepare the epoxy. Apply the epoxy to the crack, ensuring it completely fills the space. Use a putty knife or scraper to level the surface. Remove any excess epoxy using the edge of the putty knife.
- Sanding and smoothing the surface (epoxy repair): Once the epoxy has cured, use a sanding sponge or high-grit sandpaper to sand down the repaired area. Smooth the surface until it is level with the rest of the sink. Pay attention to blending the edges of the repair with the surrounding porcelain for a seamless finish.
- Applying touch-up paint: If necessary, use porcelain touch-up paint that matches your sink’s color. Apply a thin layer of paint over the repaired area. Allow it to dry completely before proceeding.
- Applying a clear sealant or top coat (optional): To provide extra protection and enhance the appearance of your sink, you can apply a clear sealant or top coat. Follow the manufacturer’s instructions and ensure that the sealant is compatible with porcelain surfaces. Apply a thin, even layer over the repaired area and let it dry completely.
Following these steps will help you successfully repair the cracks in your porcelain sink. Remember to follow the manufacturer’s instructions for the specific filler or epoxy you are using and take your time to achieve a smooth and seamless finish. With a little patience and effort, you can restore your sink to its former glory and enjoy its functionality for years to come.
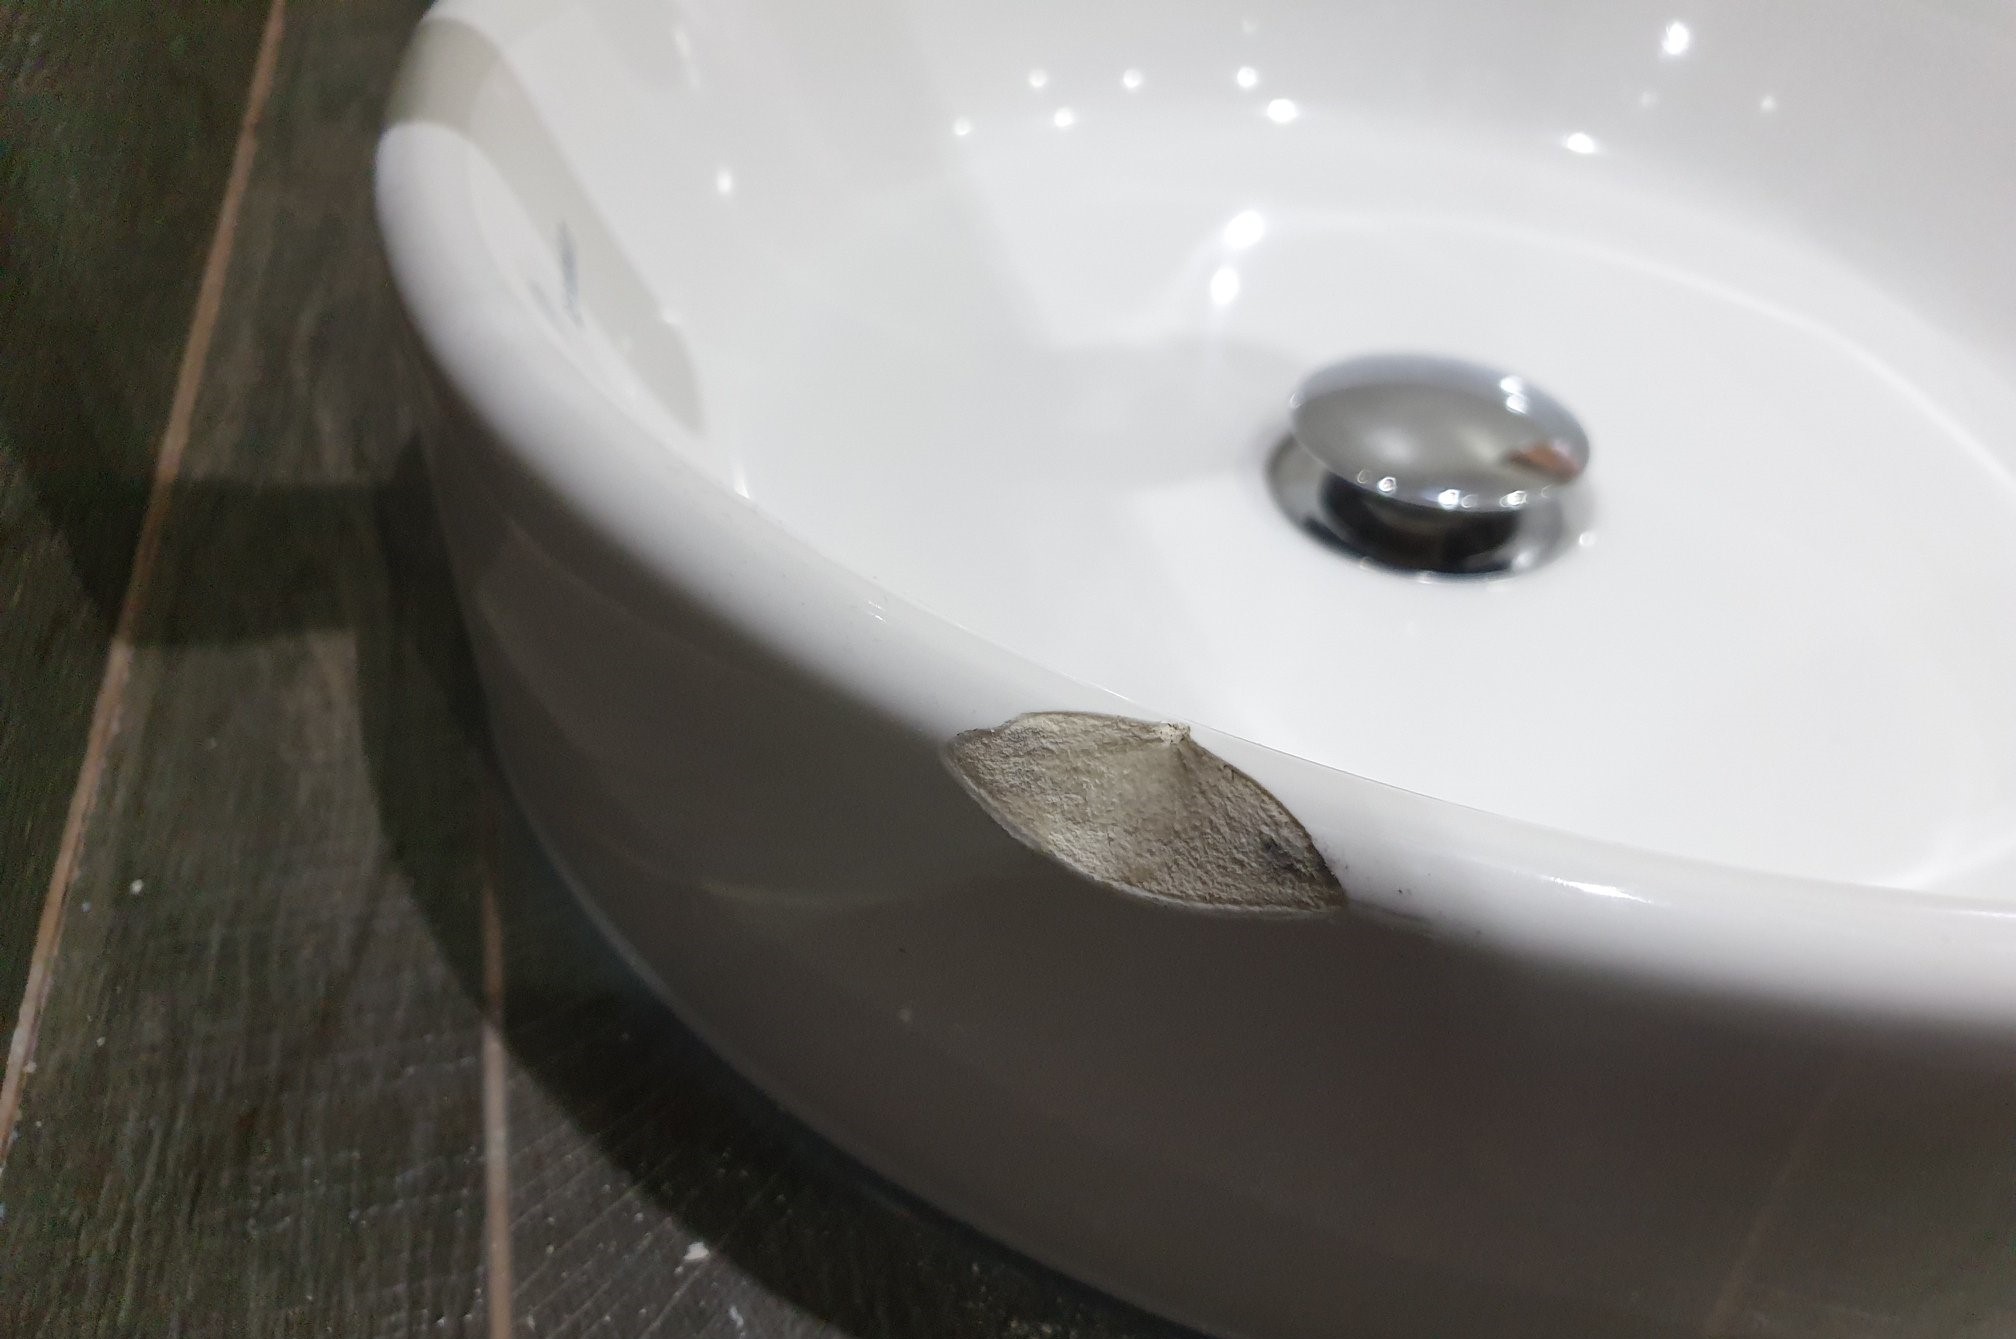
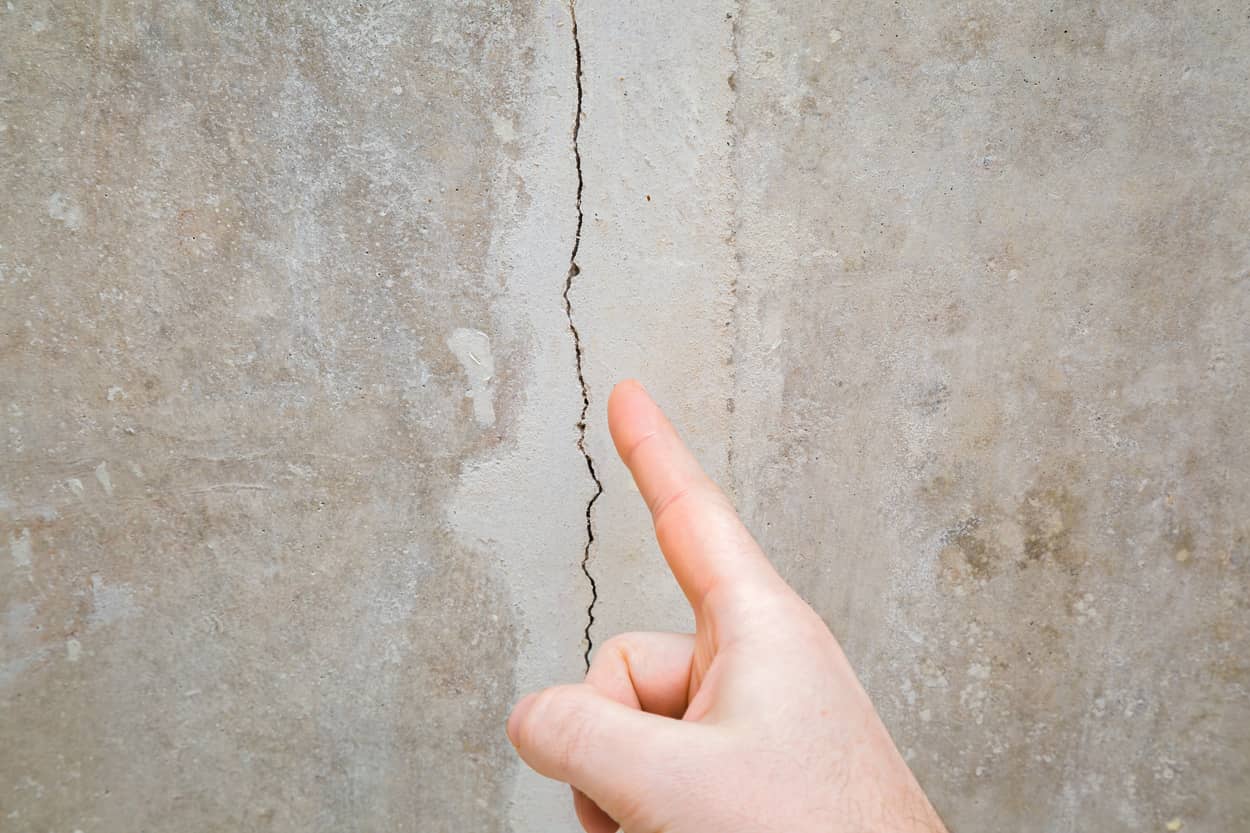
Assessing the crack
Before you begin the repair process, you should carefully assess the crack in your porcelain sink. This step is important to determine the size, location, and severity of the crack, as well as to identify any underlying issues that may have contributed to its development.
Take the following steps to assess the crack in your porcelain sink:
- Examine the crack: Inspect the crack closely to determine its size and shape. Note whether it is a hairline crack, a larger crack, or a series of smaller cracks. Pay attention to any visible damage around or adjacent to the crack.
- Measure the crack: Use a ruler or measuring tape to measure the length and width of the crack. This will give you an idea of the extent of the damage and help you determine the appropriate repair method and materials.
- Assess the location: Consider the location of the crack in the sink. Is it near the drain, faucet, or edges? The location may affect the repair process, as well as the visibility of the repair once it’s completed.
- Check for underlying issues: Examine the area around the crack for any signs of underlying issues. Look for signs of structural damage, improper installation, or other factors that may have contributed to the development of the crack. Identifying these issues will help you address them during the repair process.
- Determine the severity: Assess the severity of the crack based on its depth and width. A shallow and narrow crack may be easier to repair compared to a deep and wide one. The severity of the crack will also influence the choice of repair materials and techniques.
By thoroughly assessing the crack, you will be better equipped to plan and execute the repair process effectively. Keep in mind that larger or more severe cracks may require professional assistance or even replacement of the sink. However, smaller cracks can often be successfully repaired using DIY methods.
Remember to document the details of the crack, including measurements and photos, for reference during the repair process. This will help you make informed decisions and ensure a more accurate repair.
Now that you have assessed the crack in your porcelain sink, it’s time to move on to the next step: cleaning the area to prepare it for repair.
Use a porcelain repair kit to fix cracks in a porcelain sink. Clean the area, apply the filler, and smooth it out. Let it dry and then sand it down for a seamless finish.
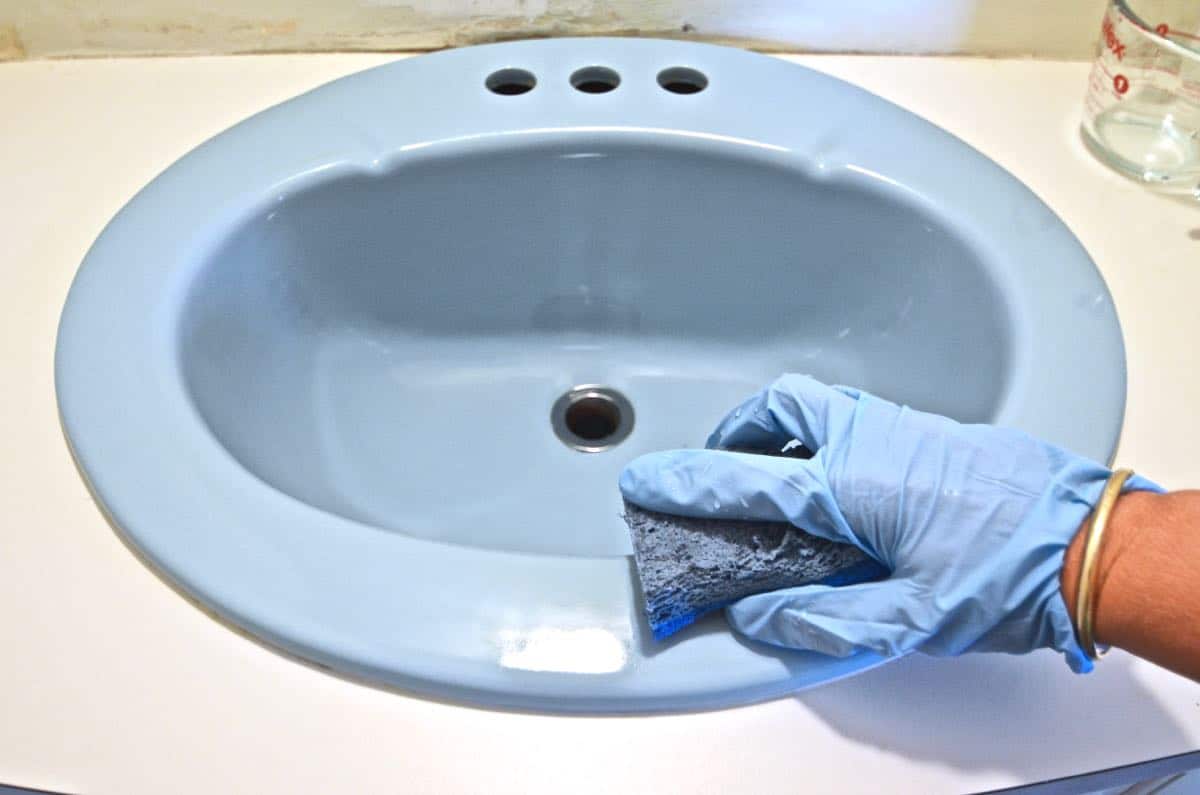
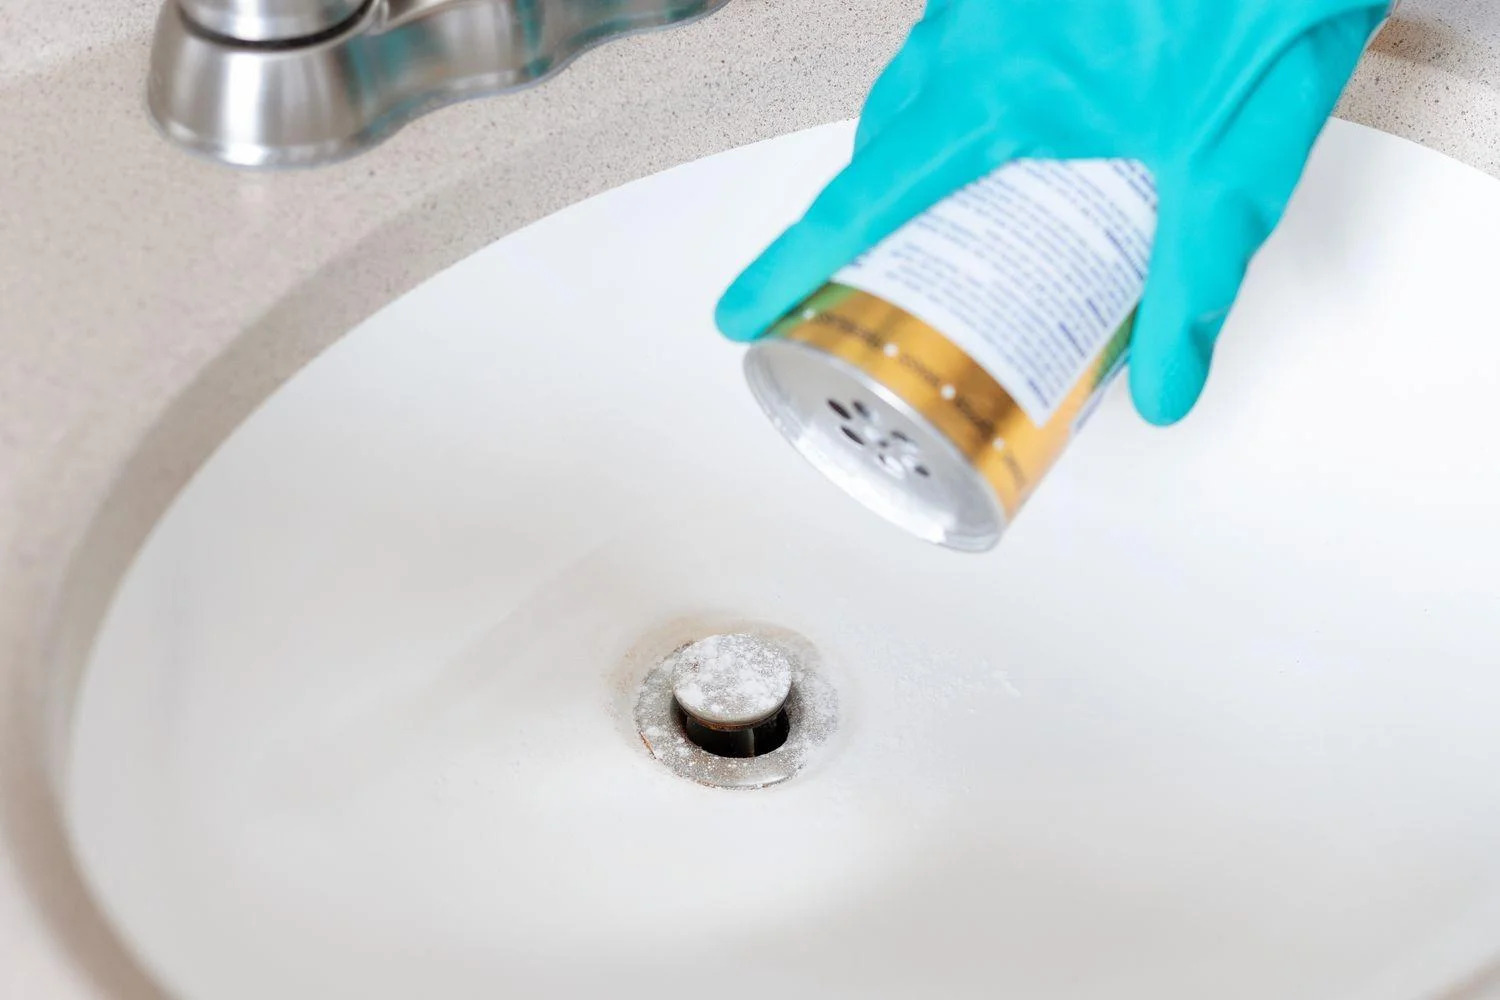
Cleaning the area
After assessing the crack in your porcelain sink, the next step in the repair process is to clean the area thoroughly. Cleaning the area ensures optimal adhesion of the repair materials and helps remove any dirt, grease, or debris that may interfere with the repair.
Follow these steps to clean the area around the crack in your porcelain sink:
- Gather your cleaning supplies: Before you begin, gather the necessary cleaning supplies. You will need a mild detergent or dish soap, warm water, and a soft cloth or sponge. Avoid using abrasive cleaners or scrub brushes, as they can damage the porcelain surface.
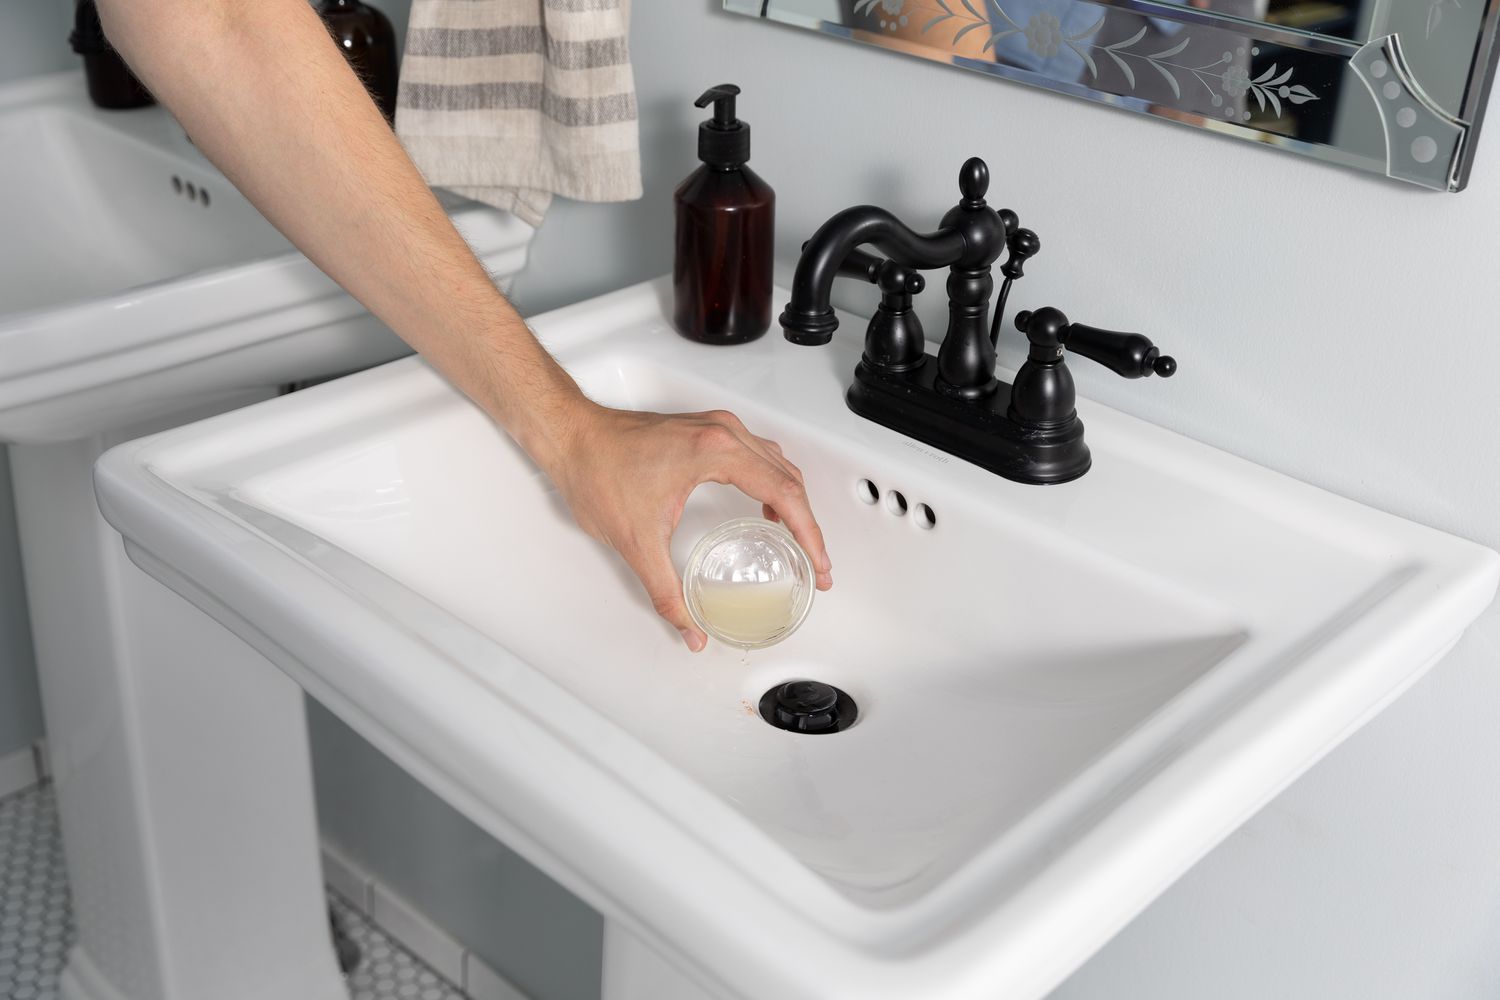
- Prepare the cleaning solution: Fill a bucket or sink with warm water and add a small amount of mild detergent or dish soap. Mix the solution until it creates a soapy mixture.
- Dip the cloth or sponge: Dip the cloth or sponge into the soapy mixture and wring out any excess water. You want the cloth or sponge to be damp but not dripping wet.
- Wipe down the area: Gently wipe down the cracked area and its surroundings with the damp cloth or sponge. Focus on removing any dirt, grease, or residue that may have accumulated on the surface. Use light pressure and small circular motions to clean the area thoroughly.
- Rinse with clean water: Rinse the cloth or sponge with clean water and use it to rinse off any soapy residue from the cleaned area. Make sure to remove all traces of soap to ensure a clean surface for the repair.
- Dry the area: Use a clean and dry cloth to pat the area dry. Ensure that the surface is completely dry before proceeding with the repair. Moisture can affect the adhesion of the repair materials.
By cleaning the area around the crack, you are preparing it for the repair process. Removing dirt, grease, and debris will help the repair materials adhere better and ensure a more successful and long-lasting repair.
Once the area is clean and dry, you can move on to the next step: applying the filler or epoxy to fix the crack in your porcelain sink.
Applying the filler
Now that you have assessed the crack and cleaned the area, it’s time to proceed with applying the filler to repair the crack in your porcelain sink. The filler will help fill in the crack and create a strong seal, restoring the integrity and appearance of the sink.
- Gather your materials: Before you begin applying the filler, make sure you have all the necessary materials ready. This includes the porcelain filler or epoxy, a putty knife or scraper, and any other tools specified by the manufacturer.
- Prepare the filler: If you are using a porcelain filler, follow the manufacturer’s instructions to prepare the filler mixture. Some fillers may require mixing components together, while others may come premixed. Ensure that the filler is thoroughly mixed and of the right consistency.
- Apply the filler to the crack: Use a putty knife or scraper to apply the filler to the crack in your porcelain sink. Start at one end of the crack and work your way along its length. Press the filler into the crack, ensuring that it completely fills the space. Use the edge of the putty knife to remove any excess filler.
- Smooth the filler: After applying the filler, use the putty knife or scraper to smooth the surface. Gently glide the edge of the tool over the filled crack to create a level surface. Pay attention to seamlessly blending the filler with the surrounding porcelain for a more natural appearance.
- Allow the filler to dry: Follow the manufacturer’s instructions regarding the drying time for the filler. Typically, you will need to allow the filler to dry for a specific period. Avoid using the sink or disturbing the repaired area during this time.
It’s important to note that if the crack is larger or more visible, you may need to use an epoxy instead of a filler. In that case, follow the manufacturer’s instructions to prepare and apply the epoxy. The process may differ slightly, but the key principle remains the same—filling and smoothing the crack to create a seamless repair.
Once the filler is dry, you can move on to the next step: sanding and smoothing the surface to achieve a seamless finish.
Read more: How To Refinish A Porcelain Sink
Sanding and smoothing the surface
After applying the filler or epoxy to the crack in your porcelain sink and allowing it to dry, the next step is to sand and smooth the surface. This will help create a seamless finish and ensure that the repaired area blends in with the rest of the sink.
- Gather your materials: Before you begin sanding and smoothing the surface, gather the necessary materials. You will need a sanding sponge or high-grit sandpaper, water, and a clean cloth or sponge.
- Lightly dampen the sanding sponge or sandpaper: Lightly dampen the sanding sponge or sandpaper with water. This will prevent excessive dust and help the tool glide smoothly over the repaired area.
- Sand the repaired area: Gently sand the repaired area using the damp sanding sponge or sandpaper. Use light pressure and small circular motions to ensure an even and smooth finish. Pay attention to blending the edges of the repair with the surrounding porcelain for a seamless appearance.
- Check the surface: Periodically stop sanding to wipe away any residue and inspect the surface. Make sure that the repaired area feels smooth and level with the rest of the sink. Continue sanding as necessary to achieve the desired result.
- Rinse and dry the area: Once you are satisfied with the smoothness of the repaired area, rinse it with clean water. Use a clean cloth or sponge to remove any sanding residue. Ensure that the area is completely dry before proceeding.
By sanding and smoothing the surface, you are refining the repair and creating a seamless finish. This step is crucial for achieving a professional-looking result. Take your time and be patient during the sanding process to ensure the best possible outcome.
After sanding and smoothing the surface, you can proceed to the next step: applying the finish to enhance the appearance and protection of the repaired area.
Applying the finish
Once you have completed the sanding and smoothing process for the repaired area in your porcelain sink, the final step is to apply a finish to enhance its appearance and provide added protection. The finish will help blend the repaired area with the rest of the sink and ensure its longevity.
- Gather your materials: Before you begin applying the finish, gather the necessary materials. This may include porcelain touch-up paint, clear sealant, a small brush or applicator, and a clean cloth.
- Apply touch-up paint (if necessary): If your sink’s crack repair requires touch-up paint to match the color, carefully apply it to the repaired area using a small brush or applicator. Follow the manufacturer’s instructions for precise application.
- Allow the touch-up paint to dry: Give the touch-up paint enough time to dry completely before moving on to the next step. Refer to the instructions provided by the manufacturer for the recommended drying time.
- Apply clear sealant (optional): If you want to provide an extra layer of protection and enhance the appearance of the repaired area, consider applying a clear sealant. Make sure the sealant is suitable for porcelain surfaces and carefully follow the instructions for application.
- Allow the finish to dry: After applying the touch-up paint and/or clear sealant, allow sufficient drying time. This will ensure that the finish settles and provides the desired level of protection.
- Inspect and clean: Once the finish is completely dry, inspect the repaired area for any imperfections. Use a clean cloth to wipe away any residue or dust, leaving the final repair looking smooth and seamless.
Applying the finish is the final step in fixing the cracks in your porcelain sink. It not only improves the appearance of the repaired area but also adds a layer of protection, prolonging the lifespan of the repair.
Remember to follow the instructions provided by the manufacturer for each specific finish material you are using. This will ensure the best results and help maintain the integrity of your porcelain sink for years to come.
With the repair process complete, you can now enjoy your refurbished porcelain sink, knowing that the cracks have been effectively addressed. However, it’s important to keep in mind some preventive measures to minimize the chances of future cracks.
Tips for preventing future cracks
While repairing cracks in your porcelain sink is an effective solution, prevention is always better than cure. Here are some essential tips to help you prevent future cracks in your porcelain sink:
- Avoid dropping heavy objects: Be cautious when handling heavy items near your sink. Dropping heavy objects can cause significant impact and result in cracks. Use a protective mat or cushioned surface when washing or handling heavy items.
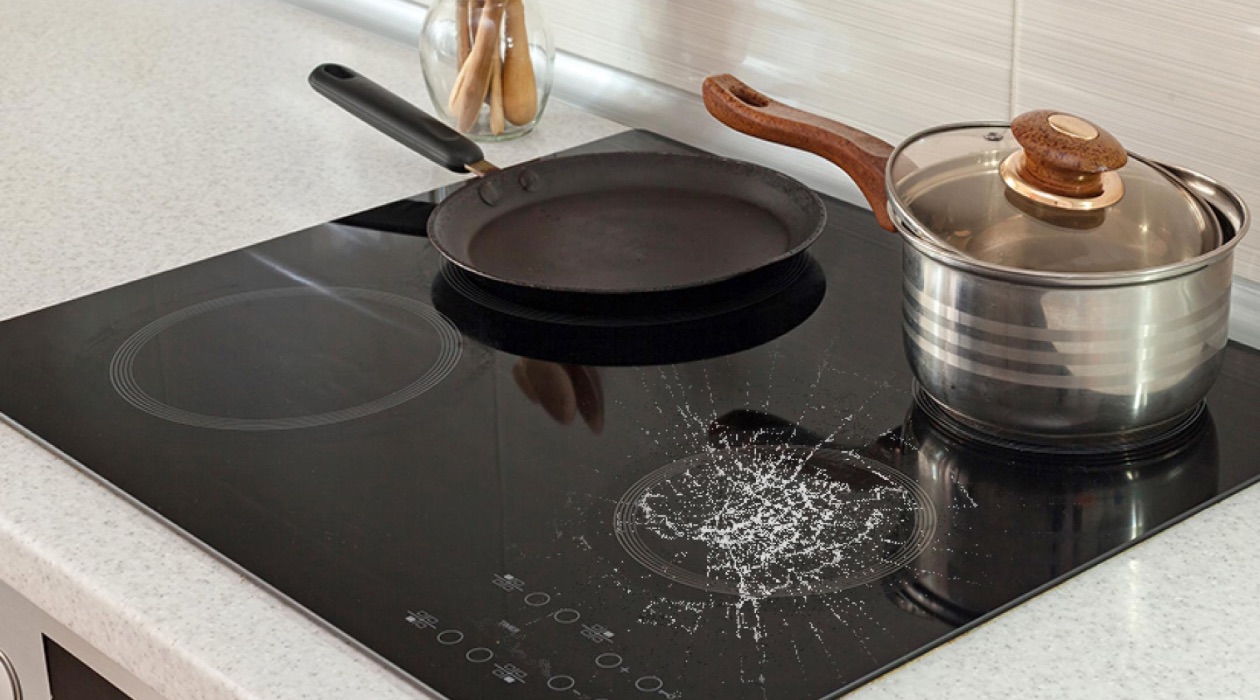
- Use trivets or mats for hot items: Place trivets or heat-resistant mats under hot pots, pans, or dishes before placing them in the sink. This will protect the sink from sudden temperature changes and thermal shock, which can lead to cracks.
- Install a sink guard: Consider using a sink guard or grid to provide extra protection. These accessories can help distribute the weight of items and reduce the risk of cracks caused by impact or improper handling.
- Avoid using abrasive cleaners: Harsh and abrasive cleaners can damage the porcelain surface of your sink over time. Instead, use mild, non-abrasive cleaners and soft sponges or cloths to clean the sink regularly.
- Be mindful of extreme temperature changes: Avoid pouring boiling water directly into a cold sink or using hot water to rinse off cold items. Extreme temperature changes can cause thermal shock and potentially lead to cracks in the porcelain. Allow the sink to gradually adjust to temperature changes.
- Maintain proper support and installation: Ensure that your sink is properly installed and adequately supported. A sink that is not securely attached or lacks proper support can experience undue stress, increasing the chances of cracks. If you notice any signs of instability or movement, consider contacting a professional for assistance.
- Regularly inspect and maintain: Periodically inspect your sink for any signs of damage or wear. Address any minor issues promptly before they escalate into more significant problems. Regular cleaning and maintenance will help prolong the life of your porcelain sink.
By following these preventive measures and practicing proper care and maintenance, you can significantly reduce the risk of future cracks in your porcelain sink. Remember, even with the best precautions, accidents can happen. In the event of a crack, now you are equipped with the knowledge to repair it effectively.
With proper care and attention, your porcelain sink will continue to serve you well and maintain its beauty for years to come.
Conclusion
Fixing cracks in a porcelain sink is a manageable task that can be accomplished with the right tools, materials, and guidance. By following the step-by-step process outlined in this article, you can successfully repair cracks in your sink and restore its functionality and appearance.
First, assess the crack in your sink to determine its size, location, and severity. This will help you plan and execute the appropriate repair method. Clean the area around the crack thoroughly, removing any dirt, grease, or debris that may interfere with the repair process.
Next, apply the appropriate filler or epoxy to the crack, ensuring that it fills the space completely. Smooth the surface using a putty knife or scraper, and allow the filler to dry according to the manufacturer’s instructions.
After the filler has dried, sand and smooth the repaired area using a sanding sponge or high-grit sandpaper. This step will create a seamless finish and ensure that the repaired area blends in with the rest of the sink.
Finally, apply a finish to enhance the appearance and protection of the repaired area. This may include using touch-up paint to match the color of your sink or applying a clear sealant for added durability. Once the finish has dried, inspect the repair and ensure it looks seamless and clean.
To prevent future cracks, be mindful of dropping heavy objects, use trivets or mats for hot items, and avoid using abrasive cleaners. Maintain proper support and installation for your sink and regularly inspect it for any signs of damage or wear.
By following these tips and taking preventive measures, you can prolong the life of your porcelain sink and minimize the chances of future cracks.
Remember that while repairing cracks in a porcelain sink is a DIY solution, some cracks may require professional assistance or even sink replacement. When in doubt, consult a professional for guidance.
With proper care and attention, your repaired porcelain sink will continue to serve you well, providing a beautiful and functional centerpiece in your kitchen or bathroom for years to come.
Frequently Asked Questions about How To Fix Cracks In Porcelain Sink
Was this page helpful?
At Storables.com, we guarantee accurate and reliable information. Our content, validated by Expert Board Contributors, is crafted following stringent Editorial Policies. We're committed to providing you with well-researched, expert-backed insights for all your informational needs.


0 thoughts on “How To Fix Cracks In Porcelain Sink”