Home>Gardening & Outdoor>Outdoor Structures>How To Install An Awning On Vinyl Siding

Outdoor Structures
How To Install An Awning On Vinyl Siding
Modified: February 18, 2024
Learn how to properly install an awning on vinyl siding with our step-by-step guide. Enhance your outdoor space with our expert tips and techniques.
(Many of the links in this article redirect to a specific reviewed product. Your purchase of these products through affiliate links helps to generate commission for Storables.com, at no extra cost. Learn more)
Introduction
Are you looking to enhance the functionality and aesthetic appeal of your outdoor living space? Installing an awning on your vinyl siding can provide numerous benefits, including shade from the sun, protection from the elements, and an attractive addition to your home's exterior. Whether you envision creating a cozy outdoor retreat or expanding your entertainment area, a well-installed awning can significantly elevate the comfort and versatility of your outdoor space.
In this comprehensive guide, we will walk you through the process of installing an awning on vinyl siding. From gathering the necessary materials and tools to executing the installation with precision, each step is crucial to ensure a secure and visually appealing outcome. By following these instructions, you can embark on this DIY project with confidence, knowing that you are taking the necessary measures to achieve a professional and long-lasting result.
So, roll up your sleeves, gather your tools, and let's dive into the step-by-step process of installing an awning on vinyl siding. Whether you're a seasoned DIY enthusiast or a newcomer to home improvement projects, this guide will equip you with the knowledge and skills needed to transform your outdoor space into a more functional and inviting environment. Let's get started!
Key Takeaways:
- Installing an awning on vinyl siding can enhance outdoor living spaces by providing shade, protection, and visual appeal. With careful measurements and secure installation, DIY enthusiasts can create a cozy and functional retreat.
- After installing an awning, it’s important to test its functionality and make adjustments as needed. Regular maintenance and personalization with outdoor furniture and lighting can further elevate the outdoor living experience.
Read more: How To Install Awning On Vinyl Siding
Step 1: Gather Materials and Tools
Before embarking on the installation process, it’s essential to gather all the necessary materials and tools to ensure a smooth and efficient workflow. Here’s a comprehensive list of items you will need:
Materials:
- Awning kit (including the awning, mounting brackets, and hardware)
- Measuring tape
- Pencil or marker
- Screw anchors
- Screws
- Silicone caulk
Tools:
- Drill with appropriate drill bits
- Level
- Screwdriver
- Ladder
- Adjustable wrench
- Protective eyewear
Ensure that you have all the materials and tools readily available before you begin the installation. This proactive approach will help you avoid unnecessary delays and interruptions during the process. Additionally, it’s advisable to carefully review the manufacturer’s instructions included with the awning kit to familiarize yourself with any specific requirements or recommendations.
By gathering the materials and tools in advance, you can approach the installation with confidence, knowing that you are well-prepared to tackle each step efficiently and effectively. With everything in place, you’re ready to move on to the next phase: measuring and marking the installation area.
Step 2: Measure and Mark the Installation Area
Precision is key when it comes to installing an awning on vinyl siding. Before drilling any holes or securing mounting brackets, it’s crucial to accurately measure and mark the installation area. Follow these steps to ensure that your awning is positioned correctly and functions as intended:
Read more: How To Install Vinyl Siding Vertically
1. Select the Installation Location:
Begin by identifying the ideal location for your awning. Consider factors such as sun exposure, desired shade coverage, and overall aesthetic appeal. Once you’ve chosen the installation spot, ensure that there are no obstructions or obstacles that could interfere with the awning’s extension and retraction.
2. Measure the Width:
Using a measuring tape, carefully determine the width of the installation area. It’s essential to measure accurately to ensure that the awning will fit seamlessly within the designated space. Mark the outer edges of the awning’s intended placement with a pencil or marker.
3. Determine the Height:
Next, measure the height from the ground to the desired mounting position for the awning. This measurement will help you determine the appropriate placement of the mounting brackets and ensure that the awning provides adequate coverage and clearance.
4. Use a Level:
To guarantee that the awning will be installed evenly and securely, use a level to confirm that the installation area is perfectly horizontal. This step is crucial for preventing any issues with the awning’s functionality and appearance once it’s in place.
5. Mark the Drill Holes:
With the measurements and level confirmation in place, mark the locations for the drill holes where the mounting brackets will be attached. Double-check the markings to ensure accuracy before proceeding to the next step.
By meticulously measuring and marking the installation area, you are laying the groundwork for a successful and visually pleasing awning installation. The next step will involve installing the mounting brackets to support the awning securely.
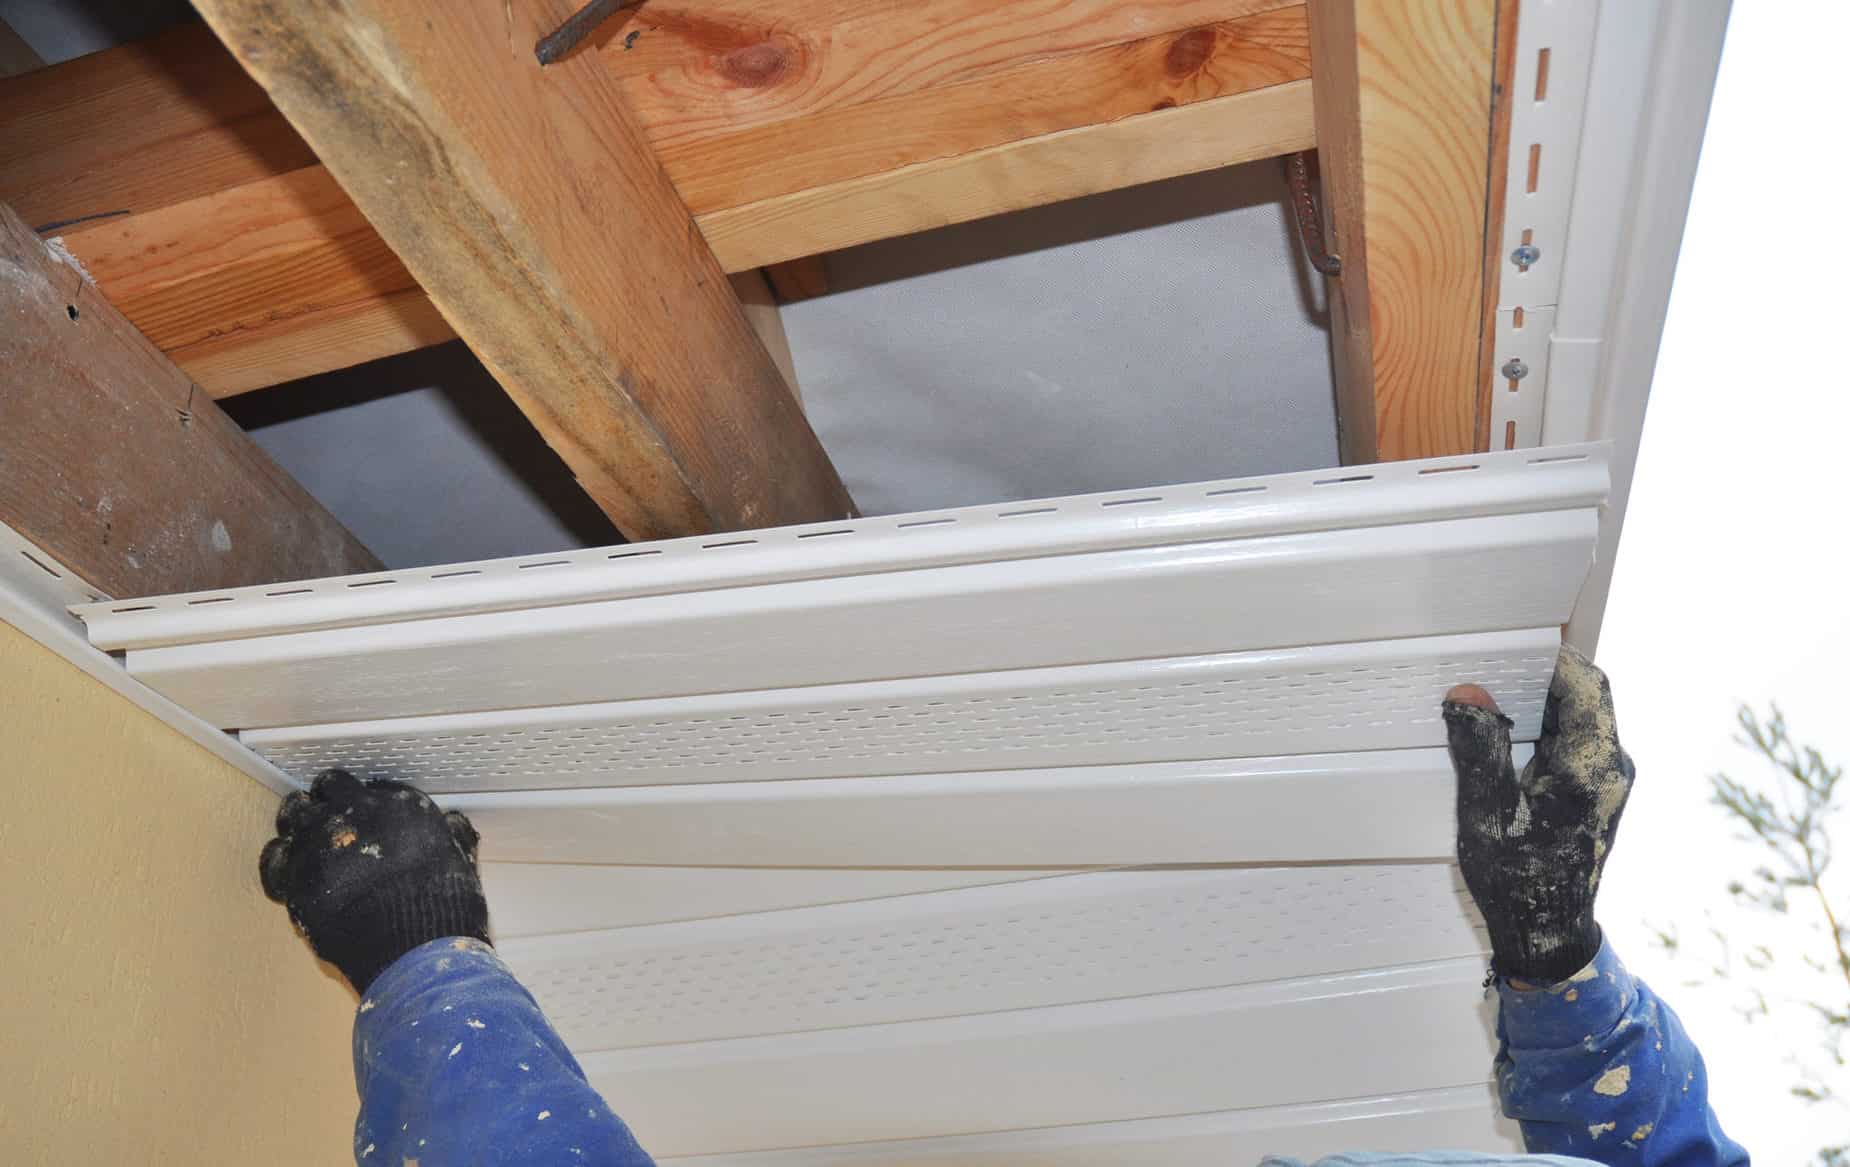
Step 3: Install Mounting Brackets
With the installation area measured and marked, it’s time to proceed with installing the mounting brackets that will support the awning. Properly securing the mounting brackets is crucial for ensuring the stability and longevity of the awning. Follow these steps to install the mounting brackets with precision:
1. Position the Brackets:
Align the mounting brackets with the marked drill hole locations on the vinyl siding. Ensure that the brackets are level and evenly positioned to provide balanced support for the awning. Once in position, use a pencil or marker to mark the screw hole locations on the siding through the bracket screw holes.
2. Pre-Drill Holes:
Using an appropriate drill bit, carefully pre-drill holes into the marked locations on the vinyl siding. Take care to select a drill bit size that matches the specifications provided by the awning manufacturer for the mounting screws.
3. Attach the Brackets:
Secure the mounting brackets to the vinyl siding using the designated screws and a screwdriver. Ensure that the brackets are firmly attached and that the screws are driven in flush with the surface of the brackets. This step is critical for providing a stable foundation for the awning.
4. Apply Silicone Caulk:
To prevent water infiltration behind the vinyl siding, apply a thin bead of silicone caulk around the perimeter of each bracket where it meets the siding. This additional measure helps to weatherproof the installation area and protect against moisture-related issues.
5. Verify Stability:
Once the mounting brackets are securely installed, gently test their stability by applying slight pressure. The brackets should remain firmly in place without any wobbling or movement. This verification step is essential for ensuring the integrity of the installation.
By meticulously following these steps, you can install the mounting brackets with confidence, knowing that they will provide reliable support for the awning. With the brackets in place, you’re ready to proceed to the next phase: attaching the awning to the mounting brackets.
Step 4: Attach Awning to Mounting Brackets
With the mounting brackets securely installed, it’s time to proceed with attaching the awning to the brackets. This step requires attention to detail to ensure that the awning is properly aligned and securely fastened. Follow these steps to complete the attachment of the awning to the mounting brackets:
Read more: How To Install Vinyl Siding Over Brick
1. Lift the Awning Into Position:
Enlist the assistance of a partner, if possible, to help lift the awning and position it onto the installed mounting brackets. Take care to align the awning with the brackets and ensure that it rests evenly and securely in place.
2. Secure the Awning to the Brackets:
Using the provided hardware, such as bolts or screws, fasten the awning to the mounting brackets according to the manufacturer’s instructions. It’s essential to follow the recommended fastening procedure to guarantee a secure and stable attachment.
3. Verify Alignment:
Once the awning is attached to the mounting brackets, verify that it is aligned correctly and level. Adjust the positioning if necessary to ensure that the awning extends and retracts smoothly without any obstructions or misalignment.
4. Test the Retraction Mechanism:
Operate the awning’s retraction mechanism to confirm that it functions as intended. Ensure that the awning extends and retracts smoothly without any binding or resistance. This step is crucial for verifying the proper installation of the awning onto the mounting brackets.
Read more: How To Install Outside Light On Vinyl Siding
5. Inspect the Attachment Points:
Thoroughly inspect the attachment points between the awning and the mounting brackets. Verify that all fasteners are tightened securely and that there are no signs of instability or misalignment. Attention to detail during this inspection ensures the long-term reliability of the installation.
By carefully following these steps, you can confidently attach the awning to the mounting brackets, knowing that it is securely positioned and ready for use. With the awning successfully attached, the next step involves testing the functionality of the installation to ensure its effectiveness.
Step 5: Test the Awning
After completing the installation of the awning on your vinyl siding, it’s crucial to thoroughly test its functionality to ensure that it operates smoothly and provides the desired shade and protection. Follow these steps to test the awning and make any necessary adjustments:
1. Extend and Retract the Awning:
Operate the awning’s extension and retraction mechanism to test its functionality. Ensure that the awning extends fully and retracts smoothly without any resistance or uneven movement. Pay attention to any unusual sounds or movements that may indicate potential issues.
2. Evaluate Shade Coverage:
While the awning is extended, assess the shade coverage it provides in the designated outdoor area. Verify that the awning effectively shields the space from direct sunlight, offering a comfortable and shaded environment for relaxation and outdoor activities.
3. Check for Clearance and Obstructions:
Confirm that the extended awning has sufficient clearance from surrounding structures, such as windows, doors, and railings. Additionally, ensure that there are no obstructions that impede the awning’s full extension or pose a risk of damage to the awning or surrounding elements.
4. Assess Stability in Various Conditions:
Test the stability of the awning by gently applying pressure to different points while it is extended. Verify that the awning remains securely in place and does not exhibit excessive movement or sway. This assessment is crucial for confirming the structural integrity of the installation.
5. Make Adjustments as Needed:
If any issues or concerns arise during the testing phase, carefully assess the situation and make the necessary adjustments. This may involve realigning the awning, tightening fasteners, or addressing any operational irregularities to ensure optimal performance.
By diligently testing the awning and addressing any potential issues, you can ensure that the installation is completed to the highest standards. With the awning successfully tested and adjusted as needed, you can look forward to enjoying the enhanced comfort and versatility it brings to your outdoor living space.
Conclusion
Congratulations on successfully completing the installation of an awning on your vinyl siding! By following the comprehensive steps outlined in this guide, you have taken a significant step toward enhancing the functionality and visual appeal of your outdoor living space. The addition of an awning not only provides shade and protection from the elements but also contributes to the overall charm and usability of your home’s exterior.
As you reflect on the installation process, it’s essential to recognize the meticulous attention to detail and precision required at each stage. From gathering the necessary materials and tools to measuring, marking, and securing the awning, your commitment to a thorough and methodical approach has resulted in a professional and reliable installation.
With the awning now in place, you can look forward to enjoying the numerous benefits it offers, including:
- Extended outdoor living space for relaxation and entertainment
- Shade and protection from the sun’s rays
- Enhanced curb appeal and visual interest for your home
- Opportunities for creating a more inviting and functional outdoor environment
As you bask in the comfort and convenience of your newly installed awning, it’s important to conduct periodic inspections and maintenance to ensure its continued performance and longevity. Regularly check the mounting brackets, fasteners, and the awning’s operational mechanisms to address any potential issues promptly.
Furthermore, don’t hesitate to personalize your outdoor space with additional elements such as outdoor furniture, lighting, and decorative accents to complement the awning and create a welcoming ambiance for outdoor gatherings and relaxation.
By taking the initiative to install an awning on your vinyl siding, you have demonstrated a commitment to enhancing your home and creating a more enjoyable outdoor living experience. Whether you’re savoring a peaceful afternoon in the shade or hosting gatherings with friends and family, the awning serves as a valuable addition to your home’s exterior.
Thank you for embarking on this home improvement journey with us. We hope that the insights and guidance provided in this guide have empowered you to tackle the installation process with confidence and achieve a successful outcome. Here’s to many delightful moments spent under the shelter of your new awning, creating cherished memories in your revitalized outdoor oasis.
Frequently Asked Questions about How To Install An Awning On Vinyl Siding
Was this page helpful?
At Storables.com, we guarantee accurate and reliable information. Our content, validated by Expert Board Contributors, is crafted following stringent Editorial Policies. We're committed to providing you with well-researched, expert-backed insights for all your informational needs.

0 thoughts on “How To Install An Awning On Vinyl Siding”