
Articles
How To Paint Wood Garage Door
Modified: September 1, 2024
Learn how to paint your wood garage door effortlessly with our helpful articles. Achieve a professional finish and enhance the curb appeal of your home.
(Many of the links in this article redirect to a specific reviewed product. Your purchase of these products through affiliate links helps to generate commission for Storables.com, at no extra cost. Learn more)
Introduction
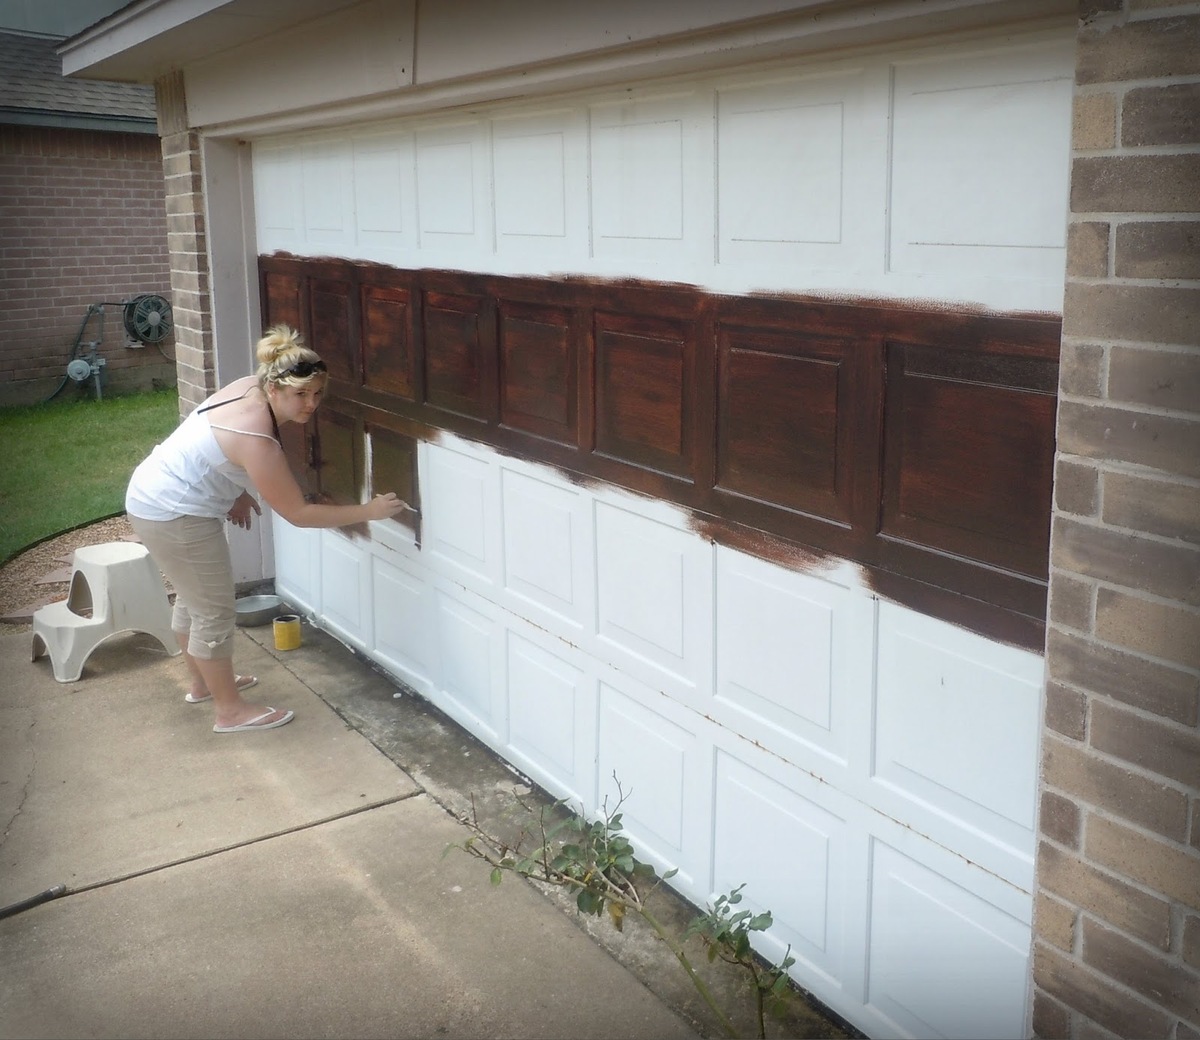
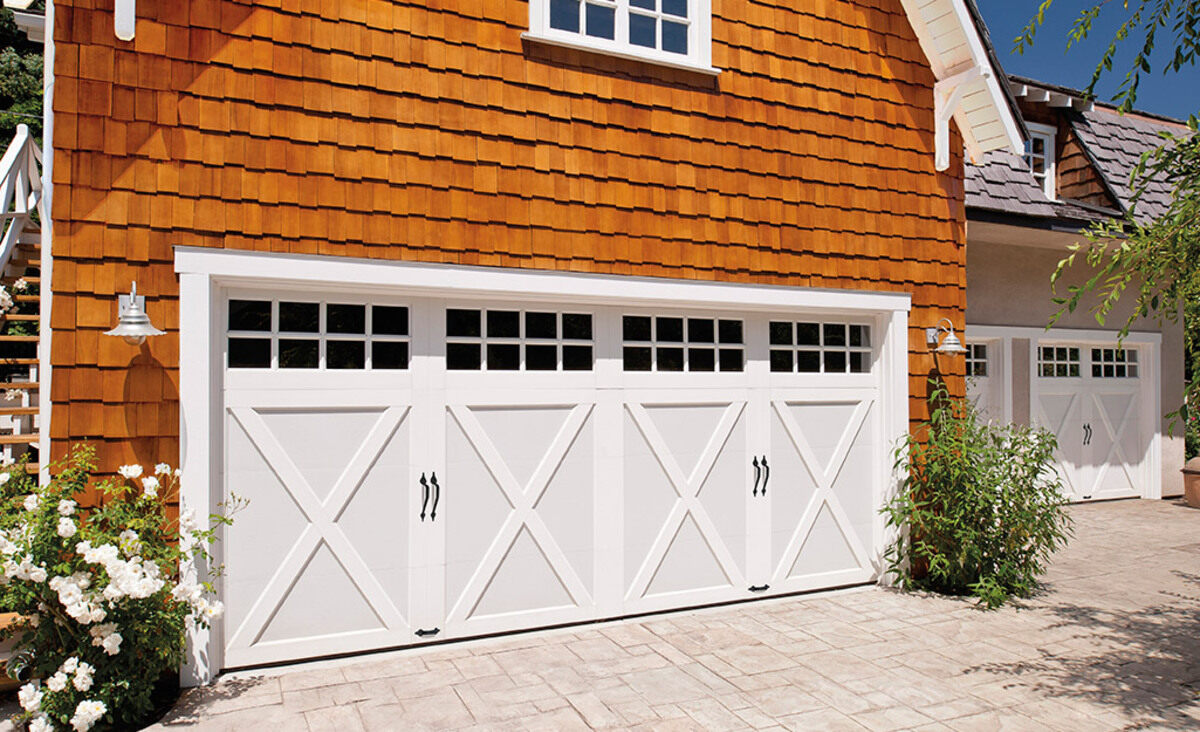
When it comes to enhancing the curb appeal of your home, painting your wood garage door can make a world of difference. A fresh coat of paint can revitalize the appearance of your garage and transform it into a focal point that complements your home’s exterior. Whether you’re looking to update the color or protect the wood from the elements, painting your garage door is a project that can easily be tackled with the right materials and a little bit of know-how.
In this article, we will guide you through the step-by-step process of painting your wood garage door to achieve a beautiful and long-lasting finish. From gathering the necessary materials to putting on the final touches, we’ll cover everything you need to know to ensure a successful painting project.
Before you begin, it’s important to note that the specific steps and techniques may vary depending on the condition of your garage door and the type of paint you choose. However, the overall process remains the same. So, let’s roll up our sleeves and get started on transforming your wood garage door into a stunning feature of your home!
Key Takeaways:
- Transform your home’s exterior by painting your wood garage door. Follow the step-by-step guide for a professional, long-lasting finish that enhances curb appeal.
- Proper preparation, including cleaning, sanding, and priming, is essential for achieving a flawless and vibrant paint job on your wood garage door.
Read more: How Much To Paint Garage Door
Step 1: Gather Materials and Prepare the Area
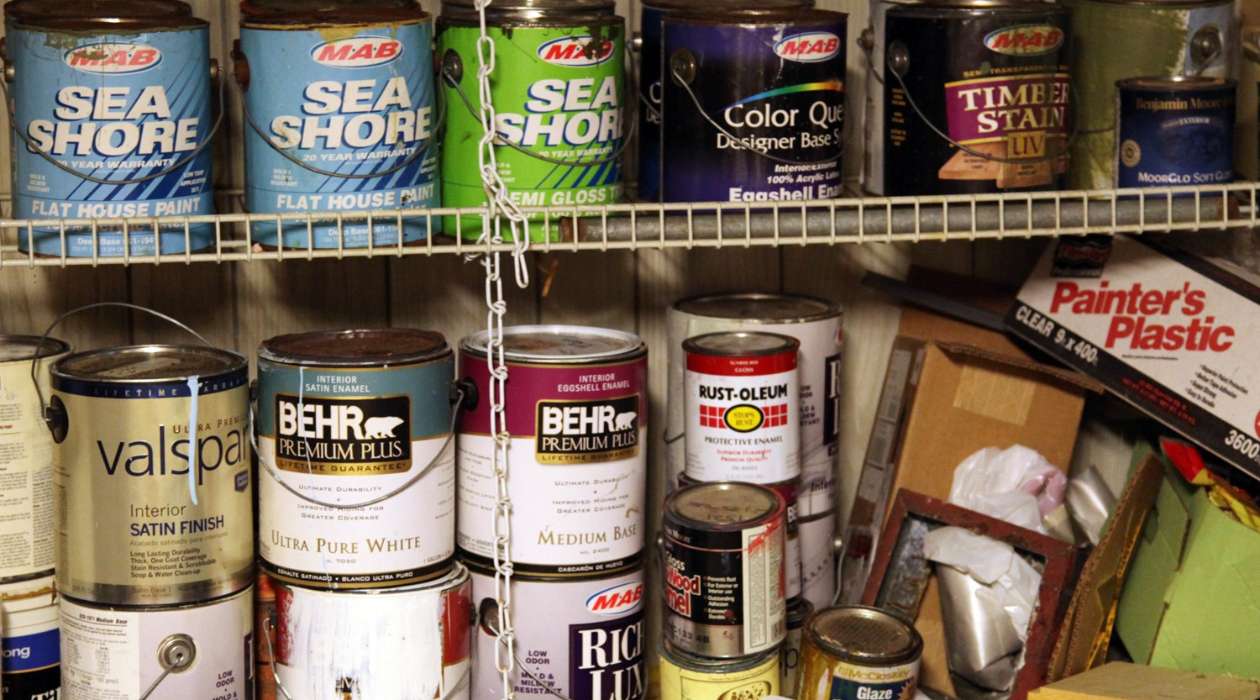
Before you dive in, it’s essential to gather all the necessary materials to ensure a smooth painting process. Here’s a list of items you’ll need:
- Paintbrushes or paint rollers
- Sandpaper or a sanding block
- Painter’s tape
- Drop cloths or plastic sheets
- Wood cleaner or mild detergent
- Bucket of water
- Primer
- Exterior paint
- Paint tray
- Paint stir sticks
- Paint can opener
- Screwdriver or drill
Once you have gathered your materials, it’s time to prepare the area:
- Start by removing any objects or obstacles near the garage door. This includes vehicles, bikes, or any other items that could get in the way during the painting process.
- Next, protect the surrounding areas by covering them with drop cloths or plastic sheets. This will prevent any accidental paint splatters from landing on the driveway, walls, or plants.
- Use painter’s tape to cover any hardware, windows, or other areas that you want to keep paint-free. Take your time to ensure that the tape is securely in place and that no areas are left exposed.
- Inspect the surface of the garage door for any damages, such as cracks or peeling paint. If necessary, use sandpaper or a sanding block to smooth out any imperfections.
- If the garage door has any existing paint or varnish, it’s important to remove it before applying a new coat. You can use a paint stripper or sandpaper to strip away the old finish. Follow the manufacturer’s instructions to ensure safe and effective paint removal.
Once you have completed these preparatory steps, you are ready to move on to the next stage: cleaning and sanding the garage door.
Step 2: Clean and Sand the Garage Door
Before applying any paint or primer, it’s important to thoroughly clean and sand the surface of the garage door. This will ensure proper adhesion and a smooth finish. Follow these steps to clean and sand your garage door:
- Mix a solution of water and mild detergent or use a specialized wood cleaner. Dip a sponge or soft cloth into the solution and gently scrub the entire surface of the door. Pay attention to any areas with dirt, grime, or grease buildup.
- Rinse the garage door with clean water to remove any leftover soap or cleaner. Make sure to remove all traces of residue to prevent it from affecting the paint’s adhesion.
- Allow the garage door to dry completely before proceeding to the next step. This may take a few hours, depending on the weather and humidity levels.
- Once the door is dry, inspect it for any rough or uneven areas. Use sandpaper or a sanding block to smooth out these imperfections. Start with a coarse-grit sandpaper to remove any flaking paint, and then switch to a finer grit for a smoother finish.
- When sanding, be sure to follow the grain of the wood and work in a consistent motion. Avoid applying excessive pressure, as this can create gouges or scratches on the surface.
- After sanding, wipe away any dust or debris with a clean cloth or tack cloth. This will ensure a clean surface for the primer and paint.
By properly cleaning and sanding the garage door, you are creating an optimal surface for the paint to adhere to. This will result in a more durable and professional-looking finish. Once you have completed this step, it’s time to move on to applying the primer.
Step 3: Apply Primer
Priming the garage door is a crucial step that helps to create a smooth and even base for the paint. The primer acts as a barrier, ensuring better adhesion and improved durability of the final paint coat. Follow these steps to apply primer to your garage door:
- Before you start, ensure that the garage door is clean and dry from the previous step.
- Using a paintbrush or paint roller, apply a coat of primer to the entire surface of the garage door. Choose a high-quality exterior primer that is specifically formulated for wood surfaces.
- Start by working on the panels first, applying the primer in smooth, even strokes. Follow the grain of the wood for a more consistent finish.
- If your garage door has horizontal crossbars, paint those next, and then move on to the vertical sections and trim.
- Pay special attention to any areas that have been repaired or sanded down, as these spots may require an extra coat of primer for better coverage.
- Allow the first coat of primer to dry completely following the manufacturer’s instructions. This typically takes around 2-4 hours, but it’s always best to consult the product label for accurate drying times.
- After the first coat is dry, inspect the garage door for any imperfections or spots that may require additional touch-ups or filling.
- If necessary, apply a second coat of primer using the same techniques as before. This will ensure a solid and well-prepared surface for the final paint application.
- Allow the second coat of primer to dry completely before proceeding to the next step. It’s crucial to give the primer enough time to cure fully to achieve optimal results.
By applying a primer, you are setting the stage for a professional and long-lasting paint job. The primer provides a protective layer, enhances the color of the paint, and improves its adherence to the surface. Next, let’s move on to choosing the right paint color and applying it to your garage door.
Step 4: Choose and Apply Paint Color
Choosing the right paint color for your garage door can have a significant impact on the overall aesthetic of your home. Take into consideration the existing color scheme, architectural style, and personal preferences. Once you have decided on a color, follow these steps to apply it to your garage door:
- Start by stirring the paint thoroughly with a paint stir stick. This will ensure that the color pigments are evenly mixed.
- Pour a sufficient amount of paint into a paint tray, making sure not to fill it up completely. This will make it easier to load the brush or roller evenly with paint.
- Using a paintbrush or roller, apply a thin and even coat of paint to the garage door, starting with the panels and then moving on to the horizontal and vertical sections.
- Work in small sections to ensure that the paint is applied smoothly and without streaks or drips. Be mindful of any overlapping areas to maintain a consistent color.
- If you’re using a brush, use long, even strokes in the direction of the wood grain for a more polished finish. If you’re using a roller, roll in one direction to minimize texture variation.
- Continue the painting process until the entire garage door is covered, including any trim or crossbars. Take breaks as needed to prevent fatigue and ensure steady application.
- Allow the first coat of paint to dry completely before deciding if additional coats are necessary. Some colors may require multiple coats for full coverage.
- If a second coat is needed, repeat the previous steps once the first coat is dry. Apply the second coat in the same manner as the first, ensuring even coverage and a consistent color.
- Once the final coat of paint is applied, inspect the garage door for any missed spots or imperfections. Touch up any areas as needed, making sure the color is uniform.
Choosing and applying the right paint color can breathe new life into your garage door and add personality to your home’s exterior. Take your time during this step to achieve a flawless and vibrant finish. After applying the paint, allow it to dry before moving on to the next stage.
Before painting a wood garage door, make sure to clean and sand the surface to remove any dirt, debris, and old paint. This will help the new paint adhere better and result in a smoother finish.
Read more: How To Paint Metal Garage Door
Step 5: Apply a Second Coat (if needed)
Applying a second coat of paint to your garage door can provide added durability and enhance the color’s richness. While some paint colors may provide sufficient coverage with one coat, others may require an additional layer for a more uniform finish. Follow these steps to determine if a second coat is necessary and how to apply it:
- Allow the first coat of paint to dry completely. Refer to the paint manufacturer’s instructions for the recommended drying time.
- Inspect the garage door carefully under different lighting conditions to identify any areas that may require additional coverage.
- If you notice any uneven patches, color variations, or spots where the underlying surface is still visible, it’s a good indication that a second coat is needed.
- Prepare the paint and the paint tools as before, ensuring that the paint is well-stirred and ready for application.
- Follow the same painting techniques used in the previous step, applying the second coat in thin and even layers.
- Pay close attention to the areas that require additional coverage, using smooth and overlapping strokes to blend the paint seamlessly.
- Allow the second coat of paint to dry according to the paint manufacturer’s instructions. This may require a similar amount of time as the first coat.
- Once the final coat is dry, inspect the garage door for any touch-ups or adjustments that may be needed. Use a small brush or roller to address any missed spots or areas that require extra attention.
Applying a second coat of paint, if necessary, will ensure a more even and consistent color appearance on your garage door. It’s important to be patient and allow sufficient drying time between coats to achieve the best results. With the second coat applied and dry, it’s time to move on to the next step: allowing the paint to fully dry.
Step 6: Allow the Paint to Dry
After applying the final coat of paint to your garage door, it’s crucial to allow the paint to dry completely. Proper drying time ensures that the paint cures and hardens, leading to a durable and long-lasting finish. Follow these guidelines to allow the paint on your garage door to dry effectively:
- Refer to the paint manufacturer’s instructions to determine the recommended drying time for the specific type of paint you used. This information is typically available on the paint can or the manufacturer’s website.
- Keep in mind that drying times may vary depending on factors such as temperature, humidity, and ventilation in the area where the garage door is located.
- Avoid touching or leaning anything against the garage door during the drying process to prevent smudging or damaging the paint.
- Keep pets, children, and other potential sources of damage away from the freshly painted surface until it has fully dried.
- Allow ample ventilation in the area to help facilitate the drying process. Open windows or use fans to promote air circulation.
- Remember that oil-based paints typically take longer to dry compared to water-based paints, so be patient and allow sufficient time for the paint to fully cure.
- Perform a gentle touch test in an inconspicuous area of the garage door to determine if the paint is dry. If it feels tacky or leaves residue on your finger, it’s an indication that it’s not yet fully dry.
- Once the paint has completely dried and cured, you can proceed to the next step without worrying about smudging or damaging the finish.
Allowing the paint to dry thoroughly is essential for achieving a beautiful, professional-looking result. Rushing this step can lead to premature damage or imperfections in the painted surface. Once you are confident that the paint is fully dry, you can move on to reattaching any hardware that was removed during the painting process.
Step 7: Reattach the Hardware
After the paint on your garage door has dried and cured, it’s time to reattach the hardware that was removed during the painting process. Reinstalling the hardware properly will ensure that your garage door functions smoothly and looks complete. Follow these steps to reattach the hardware:
- Gather all the hardware that was removed, including handles, hinges, locks, and any other accessories.
- Inspect each piece of hardware to ensure that it is clean and in good condition. If any pieces are damaged or worn, consider replacing them before reattaching.
- Refer to any documentation or notes you made during the removal process to guide you in properly aligning and positioning each piece of hardware.
- Use a screwdriver or drill to securely fasten each piece of hardware back onto the garage door. Make sure to tighten the screws or bolts firmly, but be cautious not to overtighten and damage the wood or hardware.
- Double-check that all the hardware is aligned correctly and that the garage door operates smoothly without any obstructions or binding.
- If necessary, adjust the position of the hardware slightly to ensure proper alignment and functionality.
- Take a step back and visually inspect the garage door to ensure that the hardware is evenly spaced and aligned symmetrically.
- Once all the hardware is securely attached and properly aligned, gently test the garage door to ensure it opens and closes smoothly without any issues.
Reattaching the hardware completes the transformation of your freshly painted garage door. Ensure that the hardware is securely fastened and properly aligned, as this will contribute to the overall functionality and appearance of your garage door. With the hardware back in place, it’s time to move on to the final step: cleaning up and adding those finishing touches.
Step 8: Clean Up and Final Touches
As you near the completion of your wood garage door painting project, it’s important to properly clean up the work area and add those final touches to showcase your hard work. Follow these steps to wrap up the project:
- Remove any drop cloths or plastic sheets that were used to protect the surrounding areas during the painting process.
- Dispose of any used paint cans, brushes, rollers, or other tools in accordance with local regulations.
- Thoroughly clean your paint brushes and rollers using soap and warm water. If using oil-based paint, use a solvent recommended by the paint manufacturer.
- Allow the cleaned brushes and rollers to dry completely before storing them for future use.
- Inspect the painted garage door for any areas that may require touch-ups or small adjustments.
- Use a small brush or roller to address any imperfections, making sure the paint color matches seamlessly with the rest of the door.
- Stand back and admire your freshly painted wood garage door, taking note of the improvement it has made to your home’s curb appeal.
- Consider adding some final touches, such as decorative hardware, house numbers, or outdoor lighting, to further enhance the overall appearance of your garage door and home exterior.
- Take photographs of your newly painted garage door to showcase your accomplishment and share it with friends, family, or on social media.
Cleaning up the work area and adding those final touches will give your wood garage door painting project a polished and professional look. By paying attention to these details, you ensure that your hard work is showcased in the best possible way. With the project completed, you can now enjoy the beauty and renewed vibrancy of your freshly painted wood garage door for years to come!
Congratulations on successfully painting your wood garage door!
Read more: What Paint To Use For Garage Door
Conclusion
Painting your wood garage door is a rewarding and impactful project that can transform the look of your home’s exterior. By following the step-by-step process outlined in this article, you can achieve a professional and long-lasting finish that enhances the curb appeal of your property.
From gathering materials and preparing the area to choosing the right paint color and applying multiple coats, each step plays a crucial role in ensuring a successful outcome. Taking the time to clean and sand the garage door, apply primer, and allow proper drying time are essential for achieving a smooth and durable finish.
Remember, the key to a successful garage door painting project is not just about achieving a visually appealing outcome, but also taking care to properly maintain the wood surface. Regular cleaning and periodic touch-ups can extend the lifespan of your garage door’s paint job and keep it looking fresh for years to come.
So, roll up your sleeves, gather your materials, and get ready to breathe new life into your wood garage door. With a little effort and attention to detail, you can create a stunning focal point that adds value and beauty to your home.
Now it’s time to grab your paintbrush and embark on this exciting journey of transforming your wood garage door into a true masterpiece!
Frequently Asked Questions about How To Paint Wood Garage Door
Was this page helpful?
At Storables.com, we guarantee accurate and reliable information. Our content, validated by Expert Board Contributors, is crafted following stringent Editorial Policies. We're committed to providing you with well-researched, expert-backed insights for all your informational needs.





0 thoughts on “How To Paint Wood Garage Door”