Articles
How To Place A Toilet Paper Holder In Tile
Modified: August 27, 2024
Discover the best method to place a toilet paper holder in tile. Read our insightful articles and learn how to install it securely for a hassle-free experience.
(Many of the links in this article redirect to a specific reviewed product. Your purchase of these products through affiliate links helps to generate commission for Storables.com, at no extra cost. Learn more)
Introduction
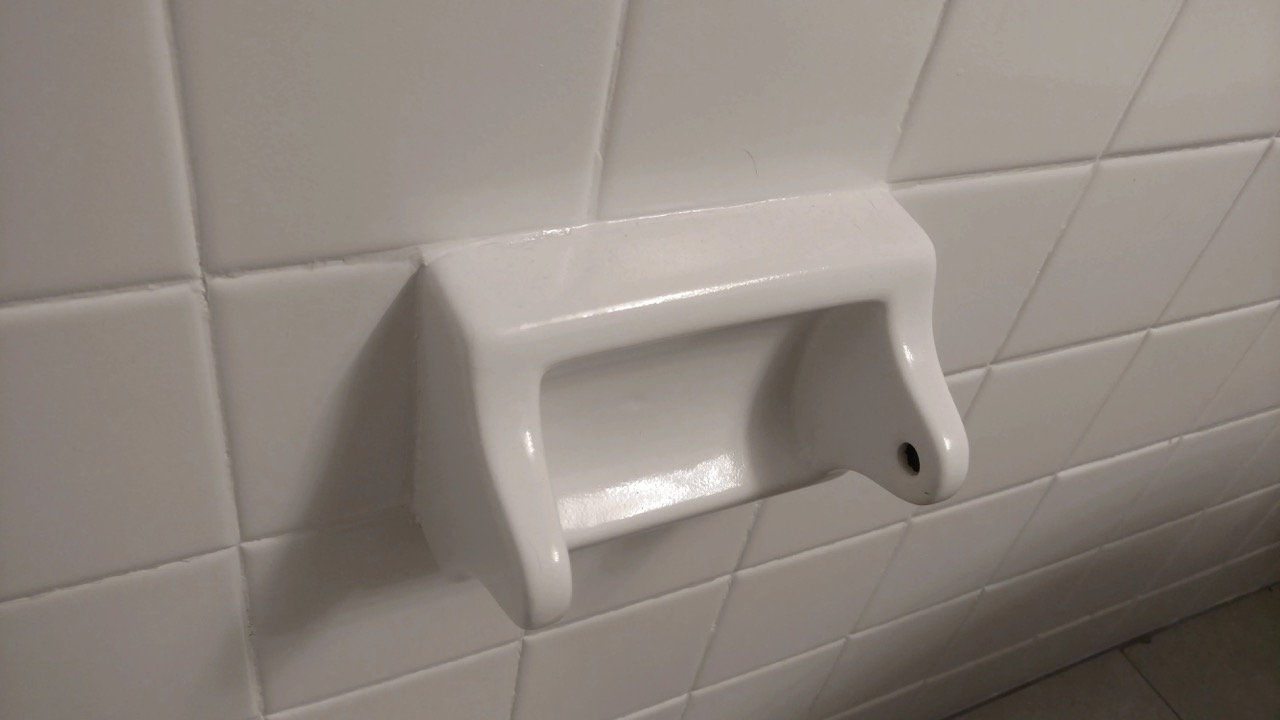
When it comes to bathroom fixtures, one of the essentials is a toilet paper holder. Not only does it keep the toilet paper conveniently within reach, but it also adds a touch of style and organization to the bathroom space. If you have recently installed or renovated your bathroom with tile walls, you might be wondering about the best way to place a toilet paper holder without damaging the tile. Properly installing a toilet paper holder in tile requires a few steps to ensure a secure and long-lasting installation.
In this article, we will guide you through the process of determining the placement, marking the holes, drilling into the tile, anchoring the holder, and mounting the holder. By following these steps, you can confidently install a toilet paper holder in your tile bathroom walls while keeping your tiles intact.
To carry out this installation, you will need a few tools and materials. These include:
- Drill machine
- Ceramic or glass drill bit
- Masking tape
- Level
- Pencil or marker
- Wall anchors
- Screwdriver
- Toilet paper holder and screws
Now that you have gathered all the necessary tools, let’s jump into the step-by-step process of installing a toilet paper holder in tile.
Key Takeaways:
- Securely install a toilet paper holder in tile by carefully selecting the location, marking the holes, drilling with precision, anchoring for stability, and mounting with attention to detail. Enjoy convenience and organization in your bathroom space.
- Gather the necessary tools and materials, follow step-by-step instructions, and infuse creativity and personal style to confidently install a toilet paper holder in your tile bathroom walls. Achieve a professional and stylish installation while keeping your tiles intact.
Read more: Where To Place Toilet Paper Holder On Vanity
Determining the Placement
The first step in installing a toilet paper holder in tile is determining the ideal placement. Consider the height and accessibility when deciding where to install the holder. A general rule of thumb is to place it within easy reach of the toilet seat, typically around 26 inches from the floor. This ensures convenience while sitting on the toilet.
Additionally, consider the position of other fixtures in the bathroom. You’ll want to provide enough space between the toilet paper holder and any nearby towel bars, shelves, or cabinets to prevent overcrowding. A spacing of around 15-18 inches is usually sufficient.
Another factor to consider is the location of the wall studs behind the tile. Ideally, you should anchor the toilet paper holder into a wall stud for maximum stability. Use a stud finder or gently tap on the wall to locate the studs. If the studs are not in the desired location, you will need to use wall anchors for support.
Once you have determined the placement, outline the area with masking tape. This will help you visualize where the holder will be installed and allow for precise marking of the holes.
By taking the time to carefully consider the placement, you can ensure that your toilet paper holder is positioned conveniently and aesthetically in your tile bathroom walls.
Tools and Materials Needed
Before you begin the installation process, it’s important to gather all the necessary tools and materials. Here’s a list of what you’ll need:
- Drill machine: A drill machine with variable speed settings will be required for drilling into the tile. Ensure that it is equipped with a hammer or impact function for effective drilling.
- Ceramic or glass drill bit: Use a specialized ceramic or glass drill bit specifically designed for drilling into tile. These drill bits have a carbide tip that can handle the hardness of the tile material.
- Masking tape: Masking tape is essential for marking the holes on the tile. It helps prevent the drill bit from slipping or scratching the tile surface and provides precise drilling guidelines.
- Level: A level will ensure that the toilet paper holder is installed straight and aligned with the tile. It’s important to achieve a level installation for both functionality and visual appeal.
- Pencil or marker: Use a pencil or marker to mark the location of the holes on the masking tape. This will serve as your reference point during the drilling process.
- Wall anchors: Wall anchors are necessary if you’re not able to anchor the holder directly into a wall stud. Choose anchors that are suitable for tile installation, such as spiral or toggle anchors, to provide stability and support.
- Screwdriver: Depending on the type of screws included with your toilet paper holder, you’ll need a screwdriver to secure the holder to the wall anchors or wall studs.
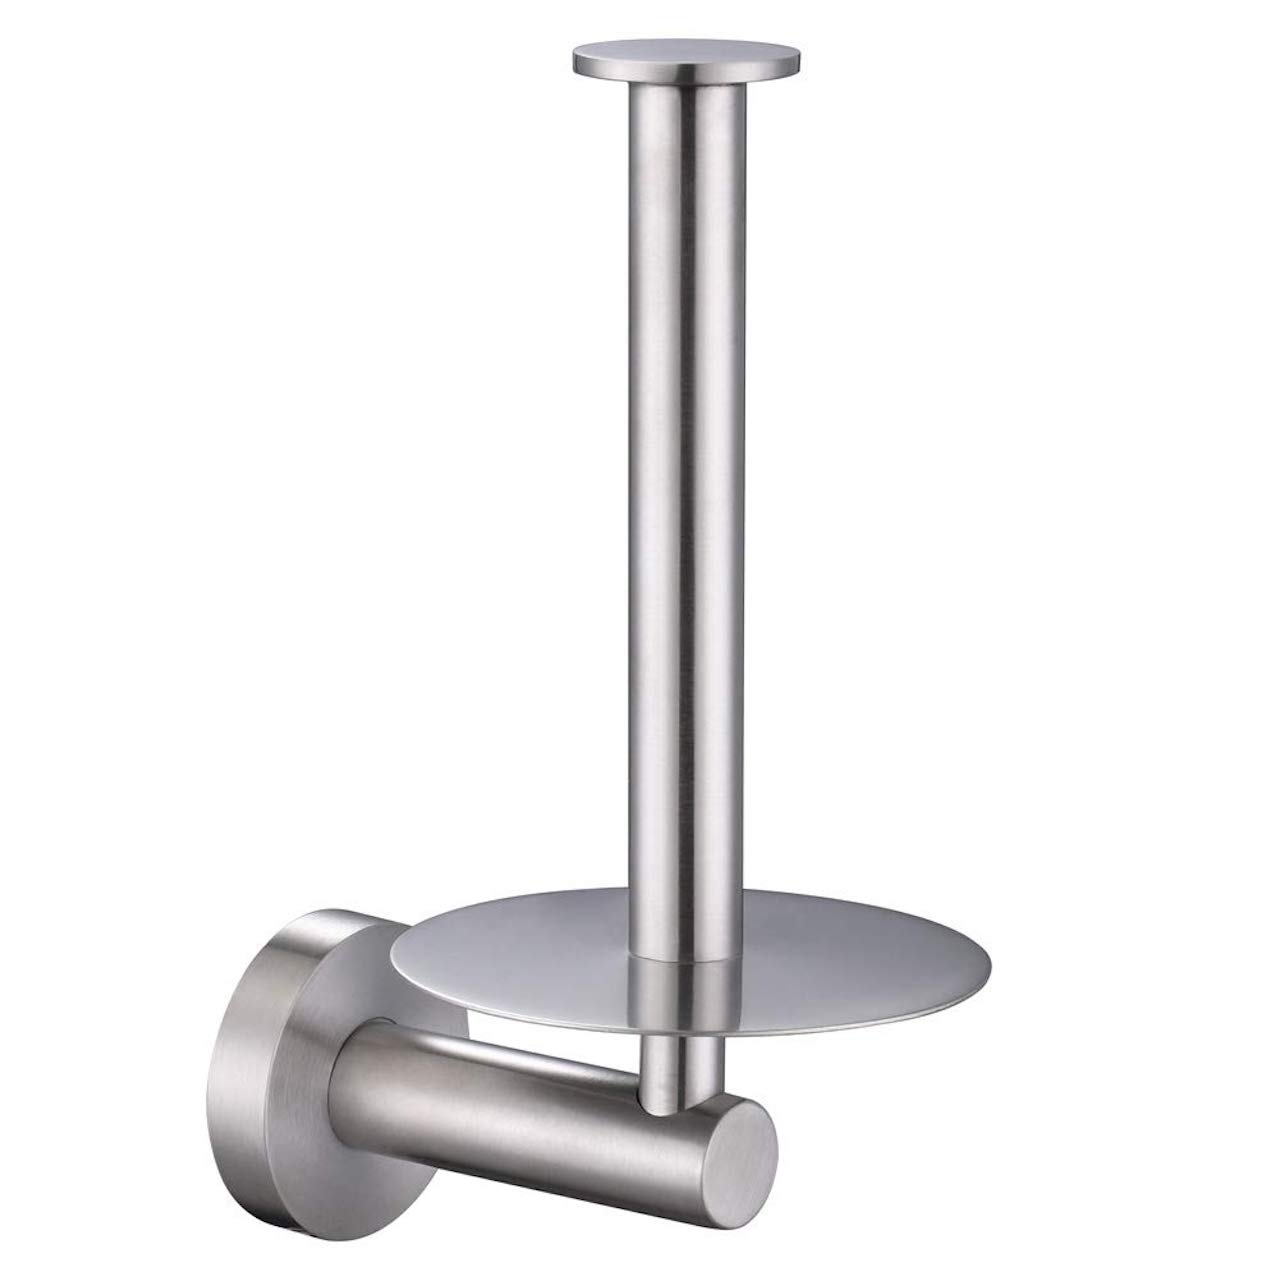
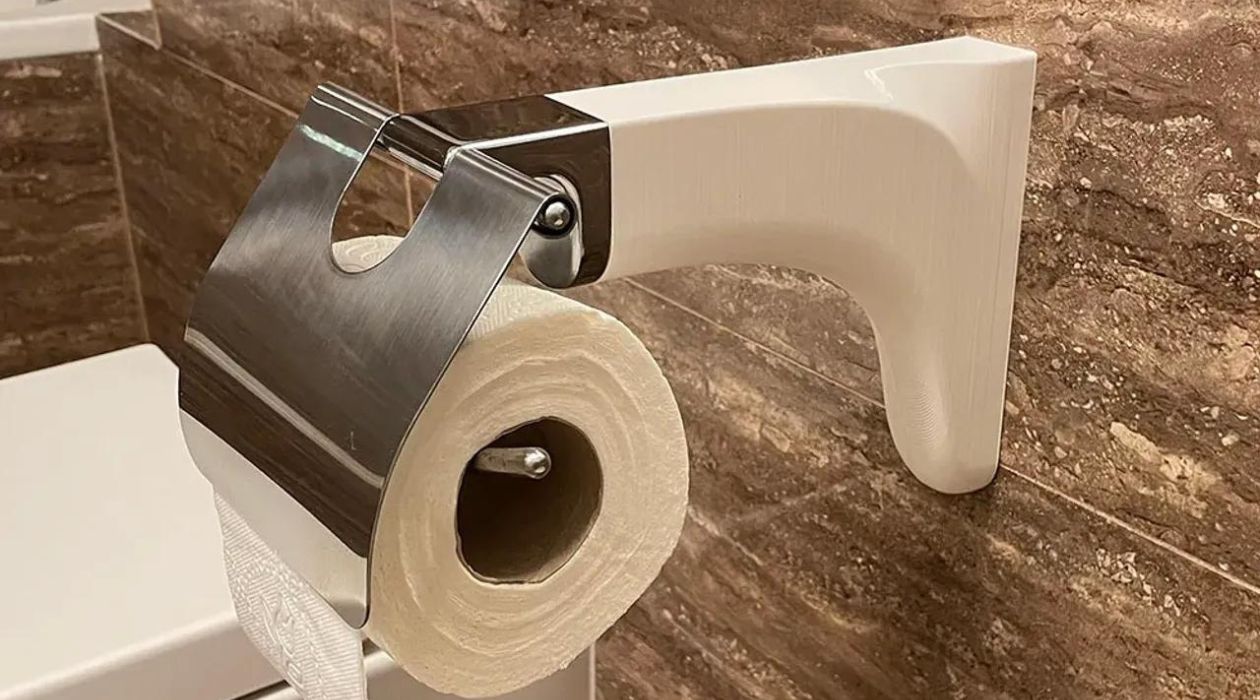
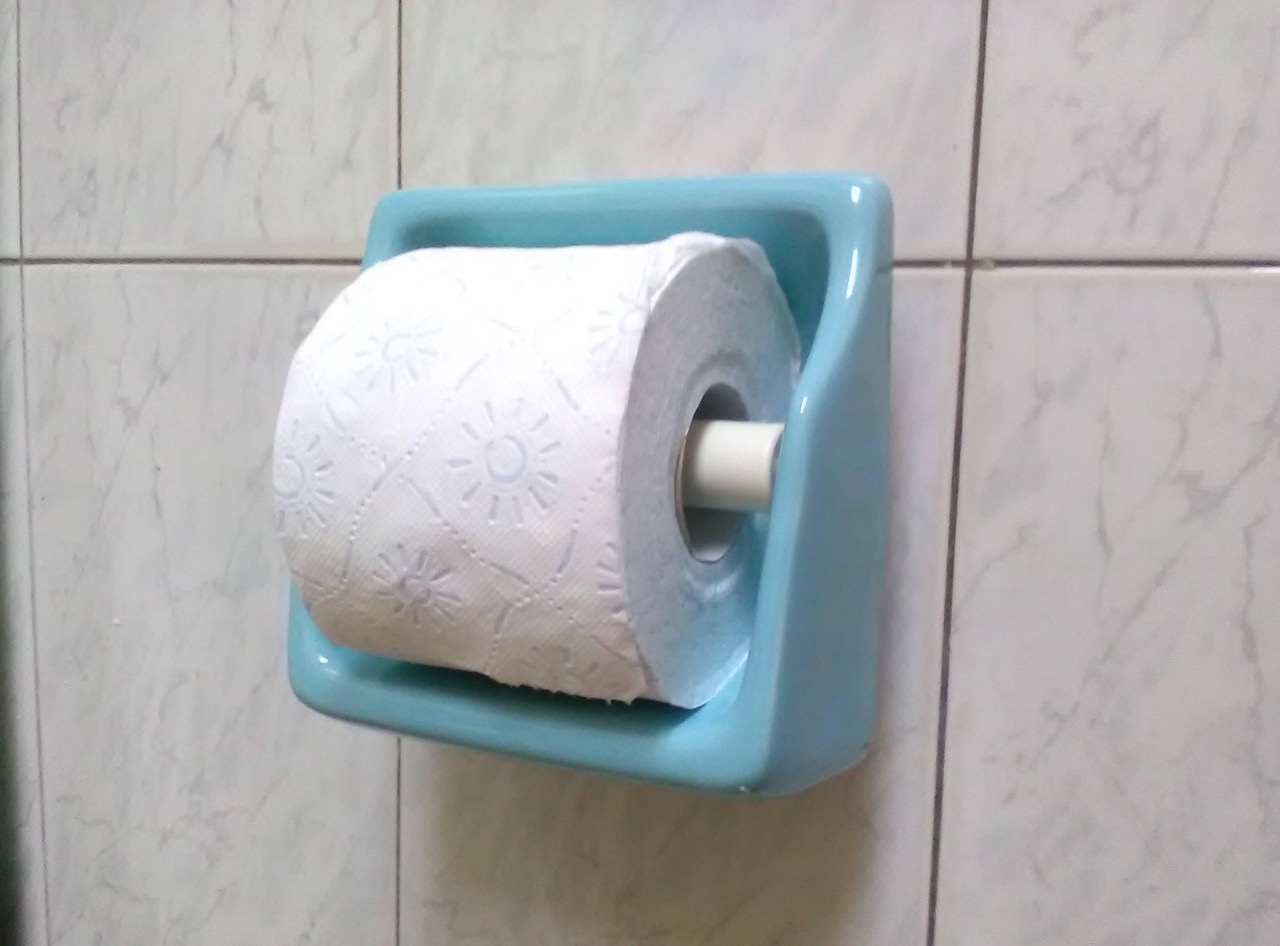
- Toilet paper holder and screws: Purchase a high-quality toilet paper holder that matches your bathroom décor. Ensure that it comes with the necessary screws or hardware for installation.
Having all the tools and materials ready before you start the installation will make the process much smoother and more efficient. It’s always best to be fully prepared to avoid any unnecessary interruptions during the installation.
Step 1: Selecting the Location
When installing a toilet paper holder in tile, selecting the right location is crucial for both functionality and aesthetics. Here’s how to choose the best spot:
- Consider the height: The height of the toilet paper holder is an important factor to consider. Generally, it is recommended to install the holder at a height of about 26 inches from the floor. This ensures that it is within easy reach while seated on the toilet.
- Think about reachability: Ensure that the toilet paper holder is easily accessible from the toilet seat. It should be within arm’s reach so that you can conveniently grab the toilet paper without any strain or awkward stretching.
- Avoid overcrowding: Take into account the placement of other bathroom fixtures, such as towel bars, shelves, or cabinets. Leave enough space between these items and the toilet paper holder to prevent overcrowding and ensure a clean and organized look.
- Find wall studs: If possible, try to install the toilet paper holder into a wall stud for added stability. Use a stud finder to locate the studs behind the tile. If the studs are not in the desired location, you will need to use wall anchors for support.
- Align with tile grout lines: For a visually pleasing installation, align the toilet paper holder with the tile grout lines. This creates a seamless look and ensures that the holder is integrated smoothly into the overall tile design.
- Consider the roll orientation: Decide whether you want the toilet paper to hang over the front or behind the roll. This is a matter of personal preference, so choose the orientation that is most convenient for you.
Once you have considered these factors, take a moment to visualize the desired location and ensure that it meets your requirements. You can use masking tape to mark the spot on the tile for reference. This will help you maintain accuracy when drilling and installing the holder in the next steps.
By carefully selecting the location, you can ensure that your toilet paper holder is conveniently placed, visually appealing, and enhances the functionality of your bathroom.
Step 2: Marking the Holes
Once you have chosen the ideal location for your toilet paper holder, the next step is to mark the holes on the tile surface. This step is crucial for ensuring precise drilling and a secure installation. Here’s how to mark the holes:
- Prepare the masking tape: Cut a piece of masking tape that is long enough to cover the area where the holder will be installed. Make sure the tape is wide enough to provide a clear marking surface.
- Clean the tile: Before applying the masking tape, clean the tile surface thoroughly. Use a mild detergent and water to remove any dirt, debris, or residue. This will ensure that the tape adheres properly to the tile.
- Place the masking tape: Carefully apply the masking tape to the tile, covering the intended location of the toilet paper holder. Ensure that the edges of the tape are straight and aligned with the tile grout lines for a neat appearance.
- Align with level: Use a level to ensure that the masking tape is straight and level. This will help you maintain the proper alignment when marking the holes.
- Mark the hole locations: With the masking tape in place, use a pencil or marker to mark the hole locations through the holes in the holder or the mounting bracket. Make sure to mark the center of each hole accurately.
Take your time to ensure that the markings are precise and aligned with the desired location. Double-check the measurements and alignment before proceeding to the next step.
Marking the holes accurately will make it easier to drill into the tile without damaging its surface. It also ensures that the toilet paper holder will be securely attached to the wall, providing stability for everyday use.
When placing a toilet paper holder in tile, use a drill with a carbide-tipped masonry bit to make pilot holes. Then, use plastic anchors and screws to secure the holder to the tile.
Read more: How To Screw On Toilet Paper Holder
Step 3: Drilling into the Tile
With the hole locations marked on the masking tape, it’s time to drill into the tile. This step requires precision and care to avoid damaging the tile surface. Here’s how to drill into the tile:
- Prepare the drill and drill bit: Attach the appropriate ceramic or glass drill bit to your drill machine. It’s important to use a drill bit specifically designed for drilling into tile to ensure clean and accurate holes.
- Secure the tile: Place a small piece of painter’s tape over the marked hole locations to help prevent the drill bit from slipping on the smooth tile surface. This provides extra grip and stability during the drilling process.
- Start drilling: Position the drill bit over the first marked hole and apply steady pressure. Start the drill at a slow speed to create a small pilot hole. This helps prevent the drill bit from slipping and provides a guide for drilling.
- Drill at an angle: When drilling into tile, it’s best to drill at a slight angle instead of drilling straight in. This helps to minimize the risk of cracking the tile. Once the pilot hole is established, you can gradually drill in a perpendicular direction.
- Use water or lubricant: If you’re drilling through hard or dense tile, it can generate a lot of heat. To prevent overheating and potential damage to the drill bit or tile, you can periodically apply water or lubricant to cool down the drill bit.
- Repeat for remaining holes: Repeat the drilling process for each marked hole. Take your time and be patient to ensure precise and controlled drilling. Remember to apply water or lubricant as needed to maintain the drill bit’s performance.
Drilling into tile can be a slow and delicate process, so it’s important to maintain a steady hand and apply consistent pressure. Take breaks if needed to avoid overheating the drill bit or tile. Patience and careful execution will result in clean and accurate holes.
Once all the holes are drilled, remove the masking tape and clean any debris or dust from the tile surface. You’re now ready to move on to the next step: anchoring the holder in the tile.
Step 4: Anchoring the Holder
Now that the holes are drilled into the tile, it’s time to anchor the toilet paper holder securely. Depending on whether you have wall studs behind the tile or not, there are different methods of anchoring the holder. Here’s how to anchor the holder:
- For wall studs: If you have wall studs located behind the tile at the desired location, it is best to anchor the toilet paper holder directly into the studs for maximum stability. Line up the mounting holes of the holder with the drilled holes in the tile and drive screws into the wall studs using a screwdriver. Make sure the screws are tightened securely but not over-tightened, as this can damage the tile or cause stripping.
- For no wall studs: If there are no wall studs behind the tile at the chosen location, you will need to use wall anchors for support. Choose wall anchors that are suitable for tile installation, such as spiral or toggle anchors. Insert the anchors into the drilled holes in the tile, ensuring they are flush with the surface.
- Secure the holder: Align the mounting holes of the holder with the anchors and drive screws through the holes, tightening them with a screwdriver until the holder is securely attached to the wall. Be careful not to overtighten, as it can cause damage to the tile or break the anchors.
Having the toilet paper holder anchored properly ensures that it will withstand the weight of the toilet paper roll and daily use without coming loose from the wall. Whether you’re using wall studs or wall anchors, it’s important to follow the manufacturer’s instructions for the specific type of holder you’re installing.
Take a moment to assess the stability of the holder once it is anchored. Gently tug on the holder to ensure that it is firmly attached to the wall. If it feels secure, you can proceed to the final step: mounting the toilet paper holder.
Step 5: Mounting the Holder
With the toilet paper holder securely anchored to the wall, the final step is to mount the holder and make it ready for use. Here’s how to mount the holder:
- Prepare the holder: Before mounting the holder, remove any protective covers or packaging materials that may be covering the surface. Check that all the necessary hardware, such as screws or brackets, are included and ready for use.
- Align the holder: Position the holder in line with the mounting holes on the wall. Make sure the holder is level and aligned with the tile grout lines for aesthetic appeal.
- Attach the holder: Using a screwdriver, insert the screws or mounting brackets through the holes in the holder and into the drilled holes in the tile. Gradually tighten the screws, ensuring that they are secure without overtightening.
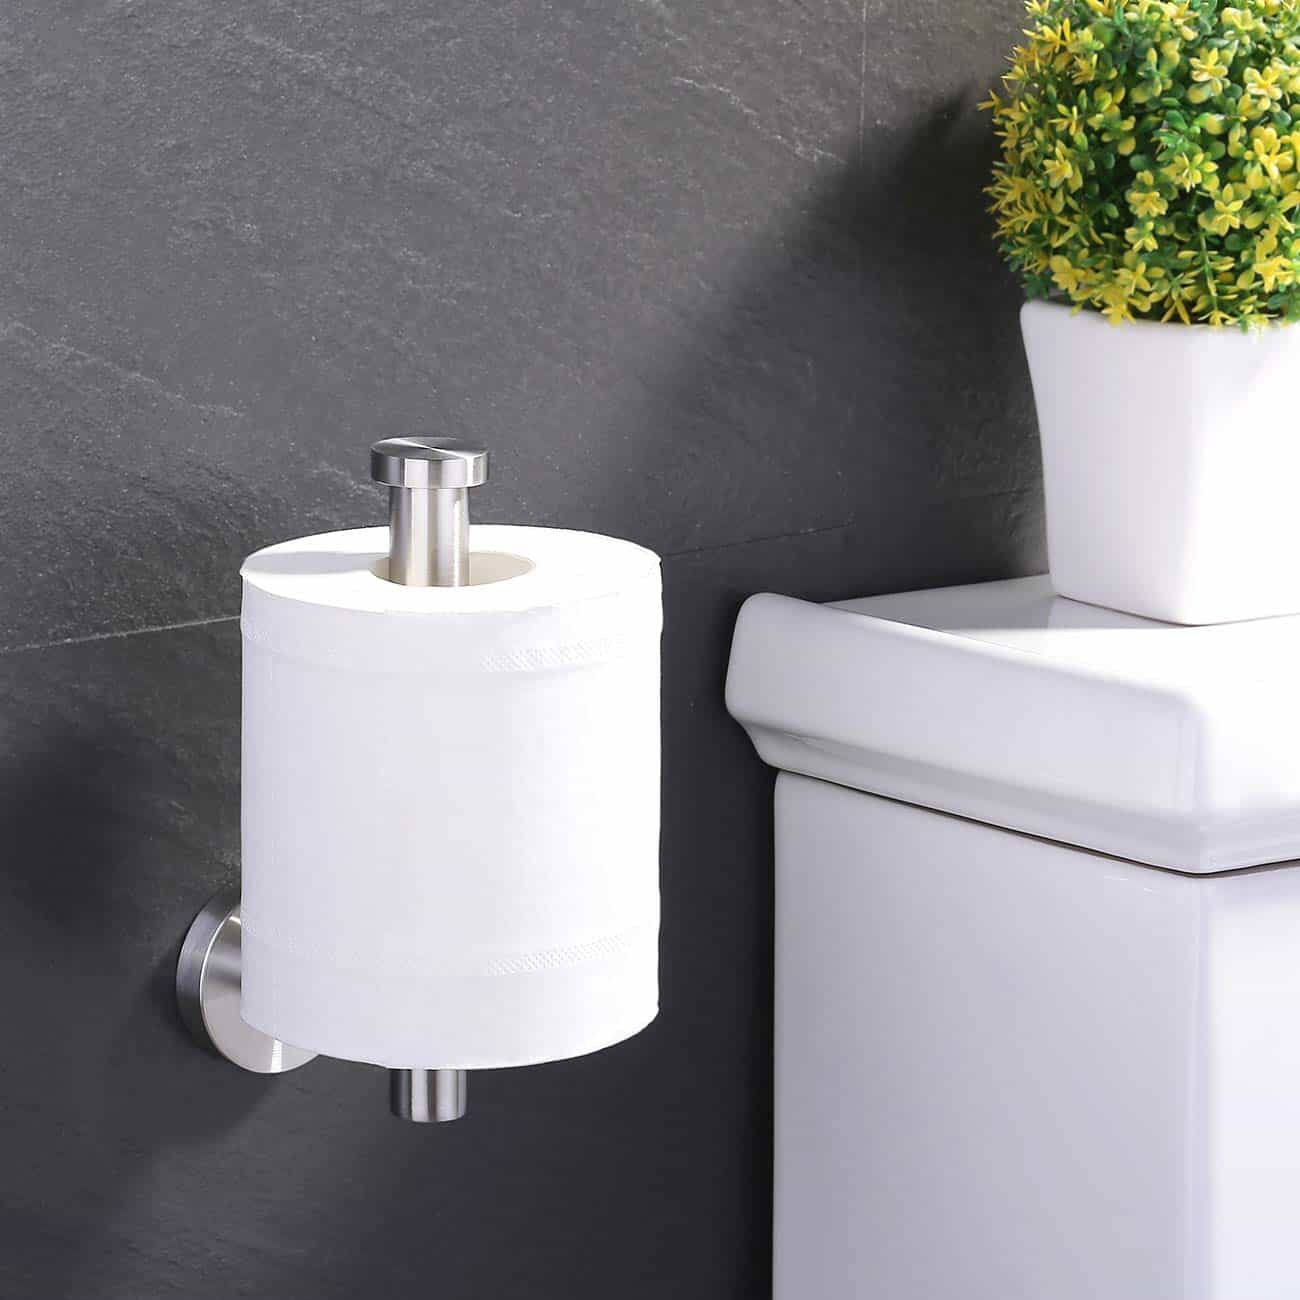
- Test the functionality: Once the holder is securely mounted, test its functionality by placing a toilet paper roll onto the holder. Ensure that it rolls smoothly and that the holder can support the weight of the roll without coming loose.
- Make final adjustments: If necessary, make any final adjustments to the position or alignment of the holder. Loosen the screws slightly if needed, reposition the holder, and then retighten the screws. This will ensure that the holder is perfectly positioned and aligned with the tile.
After mounting the holder, take a step back and visually inspect the installation. Ensure that the holder is straight, aligned with the tile, and aesthetically pleasing. Check for any gaps or unevenness in the mounting. If everything looks satisfactory, your toilet paper holder is now ready for use.
Remember to periodically check the screws of the holder to ensure they remain tight over time. Loose screws can cause the holder to wobble or become dislodged from the wall. Regular maintenance will help maintain the stability and longevity of the installation.
Congratulations! You have successfully installed a toilet paper holder in your tile bathroom walls. Now, you can enjoy the convenience and organizational benefits it brings to your daily bathroom routine.
Conclusion
Installing a toilet paper holder in tile walls can seem like a daunting task, but by following the step-by-step instructions outlined in this article, you can achieve a secure and professional installation while keeping your tiles intact. Properly placing and anchoring the holder ensures functionality and adds a stylish touch to your bathroom.
Remember to carefully select the location of the holder, considering factors like height, reachability, and avoidance of overcrowding. Take the time to mark the holes accurately using masking tape and align them with the tile grout lines for a precise installation.
Drilling into the tile requires patience and attention to detail. Use the appropriate drill bit, apply steady pressure, and drill at a slight angle to avoid cracking the tile. Anchoring the holder, whether into wall studs or using wall anchors, provides stability and ensures a long-lasting installation.
Finally, mounting the holder and making any necessary adjustments will complete the process. Test the functionality of the holder with a toilet paper roll to ensure smooth rolling and proper support.
By following these steps and infusing your installation with creativity and personal style, you can confidently install a toilet paper holder in your tile bathroom walls. Enjoy the convenience and organization it brings to your daily bathroom routine, all while enhancing the visual appeal of your space.
Now, armed with the knowledge and guidance provided in this article, you can successfully install a toilet paper holder in your tile bathroom walls. Happy DIY-ing!
Frequently Asked Questions about How To Place A Toilet Paper Holder In Tile
Was this page helpful?
At Storables.com, we guarantee accurate and reliable information. Our content, validated by Expert Board Contributors, is crafted following stringent Editorial Policies. We're committed to providing you with well-researched, expert-backed insights for all your informational needs.


0 thoughts on “How To Place A Toilet Paper Holder In Tile”