Articles
How To Install A Gravel Walkway
Modified: April 22, 2024
Learn how to install a durable and low-maintenance gravel walkway with our informative articles. Explore step-by-step guides and expert advice to create a beautiful pathway for your outdoor space.
(Many of the links in this article redirect to a specific reviewed product. Your purchase of these products through affiliate links helps to generate commission for Storables.com, at no extra cost. Learn more)
Introduction
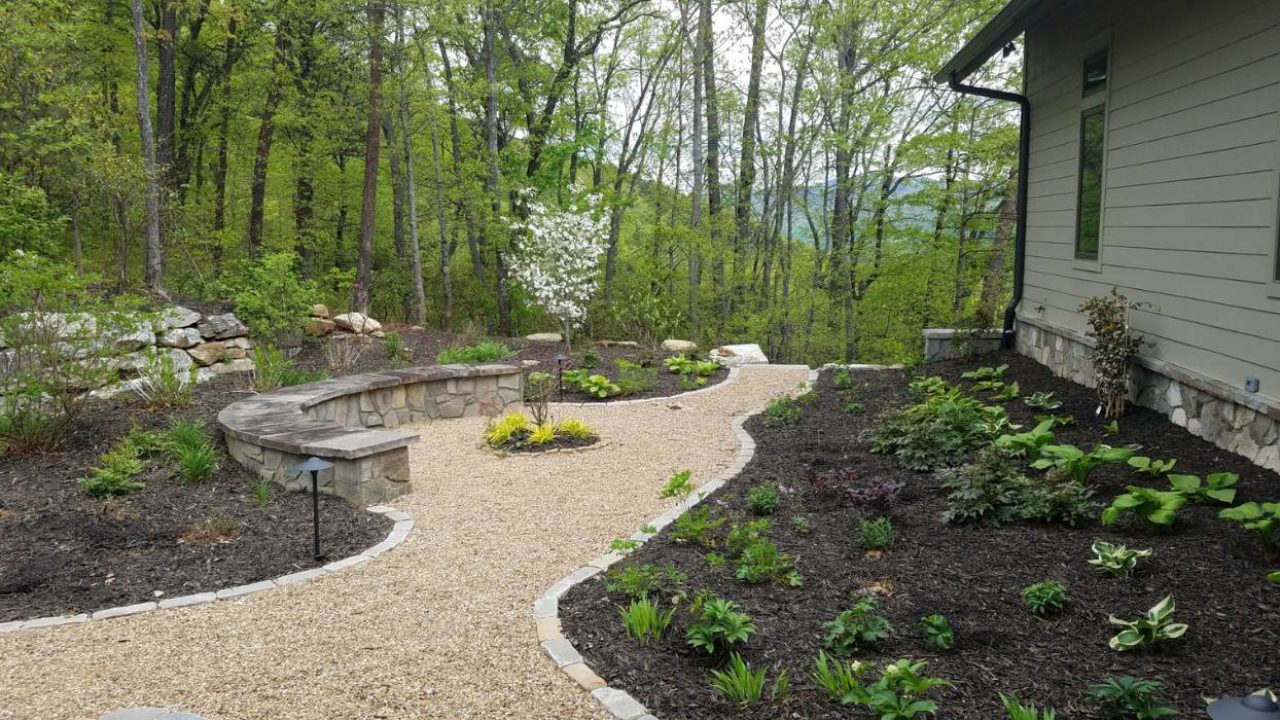
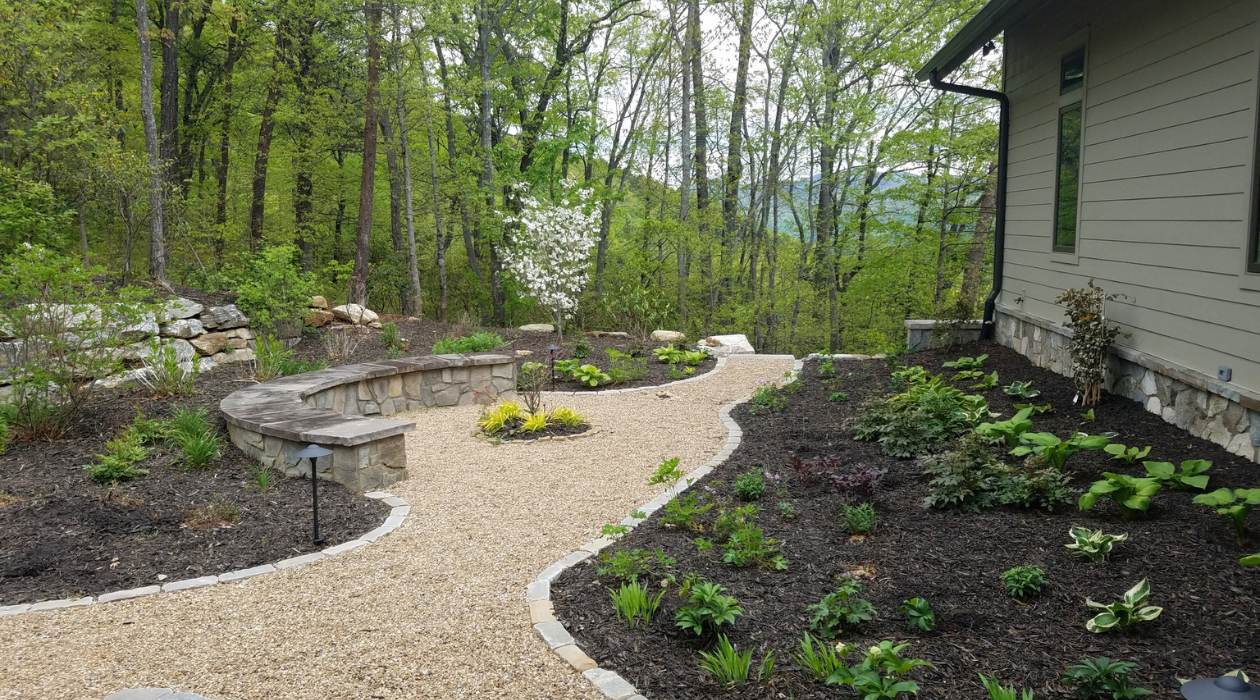
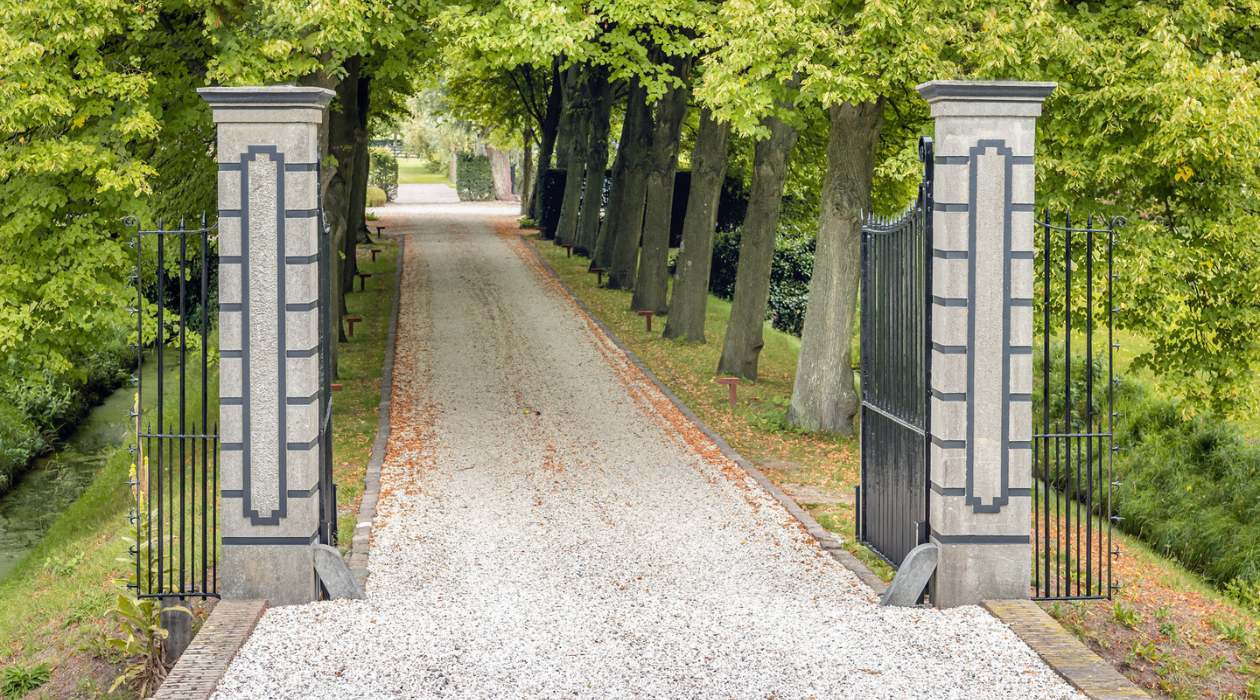
When it comes to creating a practical and visually appealing walkway, gravel is a fantastic choice. Whether you want to enhance the charm of your garden, provide a functional pathway to your front door, or create a designated area for strolling in your backyard, installing a gravel walkway can be a great DIY project.
In this article, we will guide you through the step-by-step process of installing a gravel walkway. From choosing the right location to adding the finishing touches, we’ll cover every detail to ensure that your walkway turns out beautifully and stands the test of time.
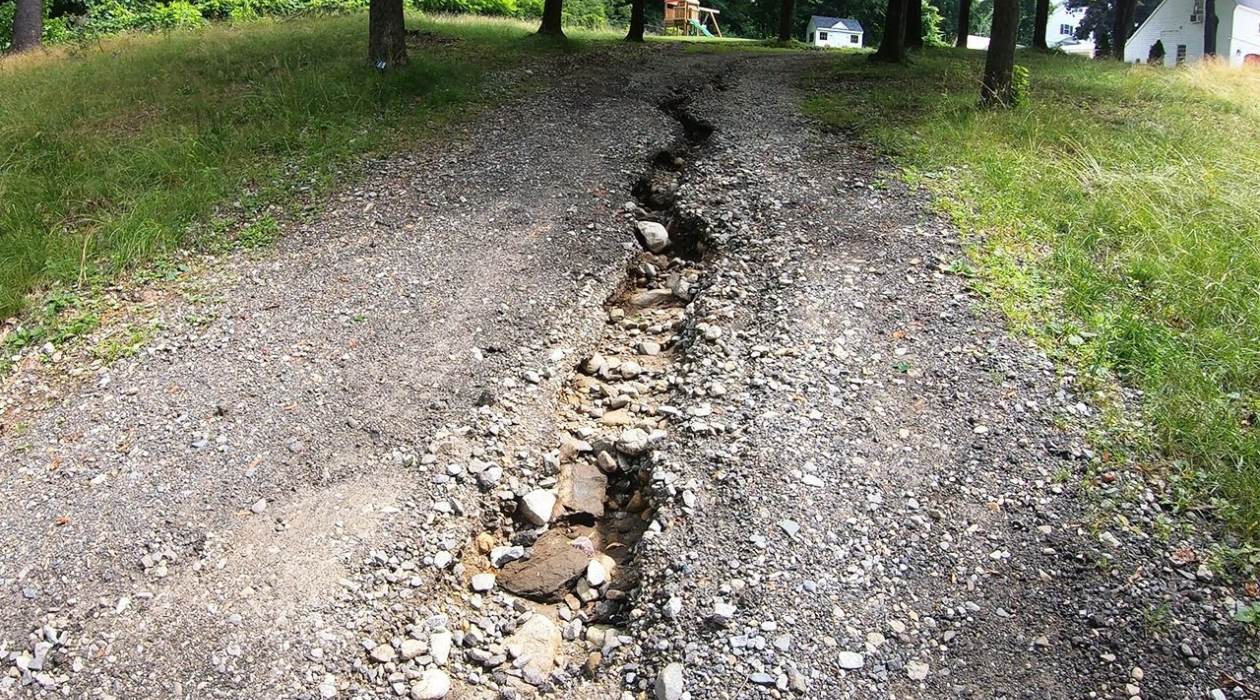
Before we dive into the steps, let’s take a moment to understand why gravel is an excellent choice for walkways. Gravel not only provides a natural and rustic look, but it also offers a range of other benefits. It is a permeable material, allowing rainwater to drain through it instead of pooling on the surface. This can help prevent flooding and erosion, making gravel pathways a practical solution for areas with heavy rainfall. Additionally, gravel is a versatile material that can be easily shaped and maintained.
Now that we’ve explored the advantages of gravel walkways, let’s move on to the first step: choosing the perfect location for your walkway.
Key Takeaways:
- Create a visually appealing and functional gravel walkway by carefully choosing the location, gathering the right materials, and following step-by-step installation instructions. Enjoy the natural elegance and convenience of a DIY gravel walkway in your outdoor space.
- Ensure the longevity of your gravel walkway by adding finishing touches such as weed barriers, stepping stones, and lighting. Regular maintenance and periodic gravel refresh will keep your walkway looking beautiful and functional for years to come.
Read more: What Size Gravel For Walkway
Step 1: Choosing the location
Before you start installing a gravel walkway, it’s important to carefully select the location where it will be placed. Consider factors such as the purpose of the walkway, the layout of your outdoor space, and the overall aesthetics you want to achieve. Here are some key points to keep in mind:
- Functionality: Think about the purpose of your walkway. Will it be used as a main entrance to your home? Will it provide a pathway through your garden? Understanding its function will help you determine the best placement.
- Accessibility: Ensure that the walkway is easily accessible and convenient for anyone who will be using it. Consider the most frequently traveled routes and any obstacles you may need to navigate around, such as trees or existing structures.
- Overall layout: Visualize how the walkway will fit into the overall layout of your outdoor space. Take into account existing features, such as flower beds or hardscape elements, and ensure that the walkway flows seamlessly with the surrounding environment.
- Aesthetics: Consider the style and theme of your outdoor space. Choose a location that complements the overall design and enhances the visual appeal. Whether you prefer a formal or informal look, the location you choose can greatly contribute to the overall ambiance.
Once you have considered these factors, take some time to walk around your outdoor space and evaluate different areas. Look for a location that meets your functional needs, is easily accessible, and harmonizes with the overall aesthetic. Consider taking measurements as well, so you have an idea of the length and width of the walkway you’ll need.
Once you have chosen the location, you’re ready to move on to the next step: gathering the necessary materials and tools.
Step 2: Gathering materials and tools
Before you can start installing your gravel walkway, you’ll need to gather all the necessary materials and tools. Here’s a comprehensive list of what you’ll need:
- Gravel: Choose a type of gravel that suits your desired aesthetic and functional needs. Common options include pea gravel, crushed stone, or decomposed granite.
- Landscape fabric: This will help prevent weeds from growing through the gravel and keep it in place.
- Plastic edging: This will provide a barrier to keep the gravel in place and prevent it from spreading beyond the boundaries of the walkway.
- Shovel or spade: For digging and shaping the pathway.
- Tape measure: To measure and mark the boundaries of the walkway.
- Rake: For leveling the gravel and ensuring a smooth surface.
- Wheelbarrow or buckets: To transport and distribute the gravel.
- Tamper or plate compactor: For compacting the base and the gravel layers.
- Gloves and safety glasses: To protect your hands and eyes during the installation process.
Once you have gathered all the necessary materials and tools, you’ll be ready to move on to the next step: preparing the area for your gravel walkway.
Step 3: Preparing the area
Preparing the area where your gravel walkway will be installed is an essential step to ensure its longevity and stability. Follow these steps to properly prepare the area:
- Clear the area: Start by removing any existing vegetation, rocks, or debris from the designated pathway. Use a shovel or spade to dig out any grass or plants.
- Level the ground: Use a rake or garden hoe to level the ground, removing any bumps or uneven areas. The goal is to create a smooth and even surface for the walkway.
- Address drainage: Assess the drainage in the area. If there are areas prone to pooling or water runoff, consider making necessary adjustments to redirect the water or improve drainage before proceeding with the installation.
- Consider slopes: If your walkway will be installed on a slope, take extra measures to ensure proper stability and prevent erosion. This may include adding retaining walls or other forms of support.
- Check for utilities: Before you start digging, make sure to check for any underground utilities such as electric wires, gas lines, or water pipes. Contact the appropriate professionals to mark the locations of these utilities to avoid any accidents.
By properly preparing the area, you will create a solid foundation for your gravel walkway. This will help prevent sinking, shifting, or unevenness over time. Once the area is cleared and leveled, you can move on to the next step: marking the boundaries of the walkway.
Step 4: Marking the walkway boundaries
Before you start digging the pathway for your gravel walkway, it’s important to clearly mark the boundaries. Marking the boundaries will help you visualize the path and ensure that the walkway is the desired width and length. Follow these steps to mark the walkway:
- Measure and plan: Use a tape measure to determine the desired width and length of the walkway. Take into consideration the functional needs and the overall aesthetics you want to achieve. Mark these measurements with stakes or spray paint.
- Straight lines: Ensure that the lines are straight and parallel. Use a string or chalk line to create a straight guideline between the stakes. This will serve as a reference point as you excavate and lay the gravel.
- Curved edges: If you prefer curved edges for your walkway, use a garden hose or flexible landscape edging to create the desired shape. Adjust and tweak the hose or edging until you achieve the desired curves. Use stakes or rocks to hold the shape in place.
- Double-check the layout: Step back and double-check the layout of the walkway before proceeding. Make any necessary adjustments to ensure that the path is visually appealing and suits your needs.
By marking the boundaries of your gravel walkway, you will have a clear guide to follow as you move on to the next steps. It will help you maintain a consistent width and layout throughout the installation process. Once the boundaries are marked, you’re ready to dig the pathway. This will be covered in the next step.
Read more: How To Install Gravel Landscaping
Step 5: Digging the pathway
With the boundaries of your gravel walkway clearly marked, it’s time to start digging the pathway. This step will create the space where your gravel will be placed. Follow these steps to dig the pathway:
- Start at one end: Begin digging at one end of the marked pathway. Use a shovel or spade to remove the top layer of soil and dig down to a depth of about 4-6 inches. Adjust the depth as needed based on the desired thickness of your gravel layer.
- Work in sections: Divide the walkway into manageable sections and dig each section at a time. This will make the process easier and allow for better control over the excavation.
- Smooth the bottom: Once the section is dug out, use the back of the shovel or a rake to smooth the bottom of the pathway. This will ensure a flat and even surface for the next steps.
- Check the depth: Regularly measure the depth of the pathway as you dig to ensure consistency. Adjust the depth if needed to maintain a uniform level throughout.
- Remove excess soil: As you dig, place the excess soil in a wheelbarrow or a designated area. This will make it easier to clean up later and maintain a neat work area.
- Continue digging: Repeat the process for each section of the walkway until you have excavated the entire path.
By carefully digging the pathway, you will create a space for the gravel to be placed. Take your time with this step to ensure the walkway has the desired depth and shape. Once the digging is complete, you can proceed to the next step: installing landscape fabric.
Step 6: Installing landscape fabric
Installing landscape fabric is an important step in the construction of your gravel walkway. The fabric acts as a barrier, preventing weeds from growing through the gravel and helping to maintain a clean and well-maintained pathway. Follow these steps to install the landscape fabric:
- Cut the fabric: Measure the length and width of the pathway and cut the landscape fabric accordingly. Leave a few inches of excess fabric on all sides to ensure full coverage.
- Place the fabric: Lay the fabric flat on the excavated pathway. Make sure it covers the entire area and extends beyond the boundaries of the walkway.
- Overlap the seams: If you have multiple pieces of fabric, overlap the seams by at least 6 inches. This will prevent any gaps where weeds could potentially grow through.
- Secure the fabric: Use landscape fabric pins or staples to secure the fabric in place. Space the pins or staples approximately every 12-18 inches along the edges and throughout the fabric to keep it firmly in place.
- Trim excess fabric: Once the fabric is secured, use scissors or a utility knife to trim any excess fabric that extends beyond the boundaries of the walkway.
Installing landscape fabric is a crucial step in preventing weed growth and maintaining the integrity of your gravel walkway. The fabric will help create a barrier between the soil and the gravel, ensuring a long-lasting and low-maintenance walkway. With the landscape fabric in place, you can proceed to the next step: adding a base layer of gravel.
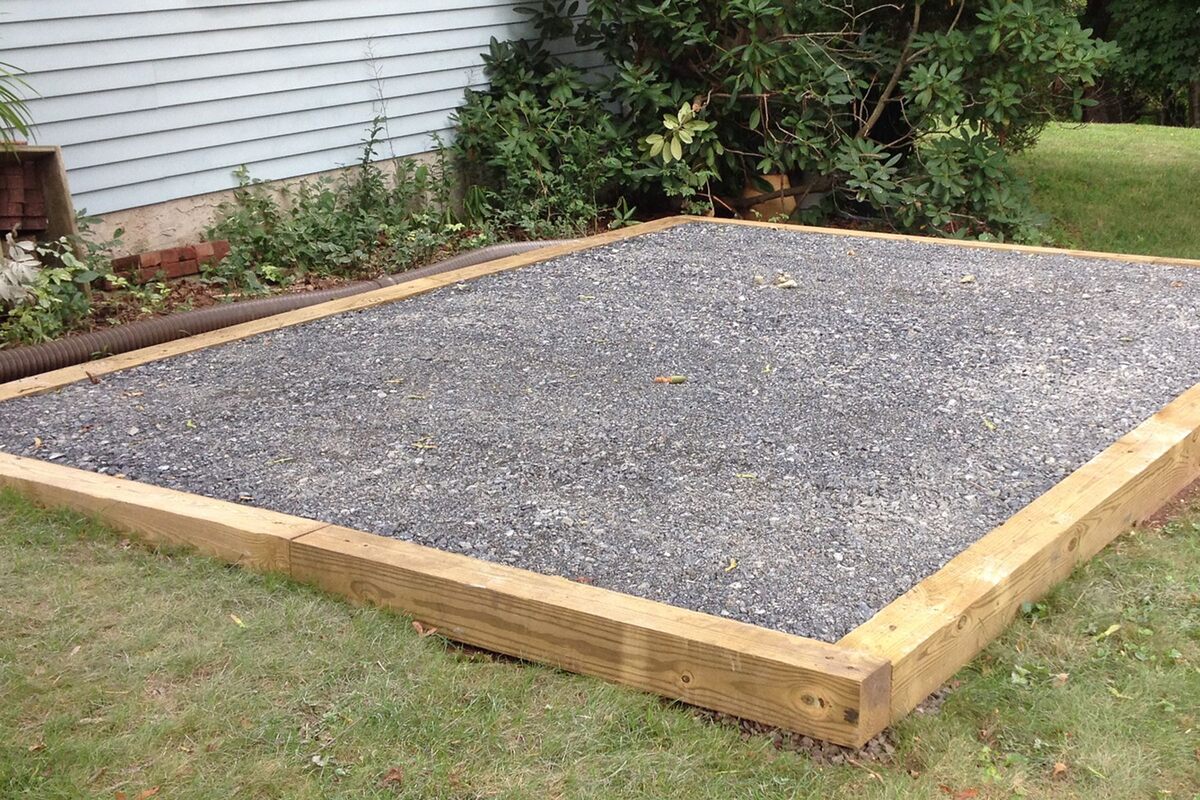
Step 7: Adding a base layer of gravel
Adding a base layer of gravel is an essential step in creating a sturdy foundation for your gravel walkway. This layer provides stability, improves drainage, and helps to prevent the walkway from shifting or sinking over time. Here’s how to add a base layer of gravel:
- Calculate the quantity: Determine the amount of gravel needed for the base layer. Measure the length, width, and desired thickness of the walkway, and calculate the volume of gravel required. Consider a depth of 2-3 inches for the base layer.
- Spread the gravel: Using a rake or shovel, evenly spread the gravel over the landscape fabric. Start at one end of the walkway and work your way towards the other end. Make sure the gravel is distributed in an even layer, filling the entire pathway.
- Smooth and level: Use the back of the rake or a flat board to smooth and level the gravel layer. Ensure that there are no large bumps or uneven areas. This will provide a solid and even surface for the next steps.
- Compact the gravel: Use a tamper or plate compactor to compact the base layer of gravel. This will increase its stability and help to prevent shifting or settling. Follow the manufacturer’s instructions for proper compaction technique.
- Check the thickness: Measure the thickness of the base layer using a tape measure. Ensure it meets the desired thickness, typically 2-3 inches. If needed, add more gravel and compact again until the desired thickness is achieved.
Adding a base layer of gravel provides a solid foundation for your walkway. It helps to distribute weight evenly, improves drainage, and enhances the overall strength and stability of the pathway. With the base layer complete, you can move on to the next step: compacting the base.
Before installing a gravel walkway, make sure to properly prepare the area by removing any existing vegetation, leveling the ground, and installing landscape fabric to prevent weed growth.
Step 8: Compact the base
After adding the base layer of gravel, it’s important to properly compact it to ensure a stable and long-lasting gravel walkway. Compacting the base layer helps to eliminate air pockets, increase its density, and create a solid foundation. Follow these steps to effectively compact the base:
- Choose the right compactor: Depending on the size of your project, choose a tamper or a plate compactor that is suitable for compacting the base layer of gravel.
- Start from one end: Begin compacting the base layer at one end of the walkway. Move the compactor in a back-and-forth motion, overlapping each pass to ensure even compaction.
- Work in sections: Divide the walkway into manageable sections and compact each section separately. This will help you maintain control and achieve consistent compaction throughout the pathway.
- Apply even pressure: Apply even pressure on the compactor as you move across the base layer. This will help to achieve uniform compaction and a solid base.
- Paying attention to edges: Pay special attention to compacting the edges of the walkway, as they tend to be more vulnerable to shifting and sinking. Ensure the edges are compacted thoroughly for added stability.
- Check for firmness: Periodically stop and step on the compacted base to check for firmness. It should feel solid and not give under your weight. If needed, continue compacting until the desired level of firmness is achieved.
Properly compacting the base layer is crucial in ensuring the stability and longevity of your gravel walkway. This step helps to prevent settling, shifting, and the formation of uneven surfaces. Once the base is compacted, you can proceed to the next step: installing plastic edging.
Read more: How To Install A Gravel Patio
Step 9: Installing plastic edging
Installing plastic edging is an important step in creating defined boundaries for your gravel walkway. The edging not only enhances the aesthetic appeal but also helps to keep the gravel in place and prevent it from spreading beyond the walkway. Here’s how to install plastic edging:
- Measure and cut: Measure the length of the walkway where the plastic edging will be installed. Cut the plastic edging to the appropriate size using a saw or utility knife.
- Prepare the soil: Use a shovel to create a narrow trench along the edges of the walkway, where the plastic edging will be placed. The trench should be deep enough to accommodate the height of the edging.
- Place the edging: Fit the plastic edging into the trench, ensuring that it is level and straight. Push it down into the soil to secure it in place. If needed, use a rubber mallet to gently tap the edging to ensure a snug fit.
- Connect multiple sections: If your walkway requires multiple sections of plastic edging, overlap the ends and connect them using the provided connectors or stakes. This will create a seamless and continuous boundary for the walkway.
- Backfill the trench: Fill the trench with soil, packing it firmly around the edging. This will help to stabilize and anchor the plastic edging.
- Compact the soil: Use a tamper or simply walk along the edging to compact the soil and ensure the plastic edging is securely in place.
Installing plastic edging is an effective way to keep your gravel walkway well-defined and prevent the gravel from spreading. It gives a polished and finished look to the pathway while providing a functional barrier. With the plastic edging installed, you can move on to the next step of the installation process: adding a layer of landscaping fabric.
Step 10: Adding a layer of landscaping fabric
Adding a layer of landscaping fabric is a crucial step in building a long-lasting and low-maintenance gravel walkway. This fabric acts as an additional barrier, preventing weed growth and helping to maintain the overall integrity of the pathway. Follow these steps to add a layer of landscaping fabric:
- Cut the fabric: Measure the length and width of the walkway and cut the landscaping fabric accordingly. Make sure it covers the entire pathway with a few extra inches on each side to ensure full coverage.
- Place the fabric: Lay the landscaping fabric flat on top of the compacted base layer and plastic edging. Ensure it covers the entire pathway and extends beyond the boundaries of the walkway.
- Overlap the seams: If you have multiple pieces of fabric, overlap the seams by at least 6 inches. This will provide a continuous barrier and prevent any weed growth between the fabric pieces.
- Secure the fabric: Use landscape fabric pins or staples to secure the fabric in place. Space the pins or staples approximately every 12-18 inches along the edges and throughout the fabric to keep it firmly in place.
- Trim excess fabric: Once the fabric is secured, use scissors or a utility knife to trim any excess fabric that extends beyond the boundaries of the walkway. This will give the pathway a clean and neat appearance.
Adding a layer of landscaping fabric helps to prevent weed growth and maintain a tidy and well-maintained gravel walkway. It acts as an extra barrier against invasive plants and ensures that the pathway remains clean and weed-free. With the landscaping fabric in place, you’re ready to move on to the next step: spreading and leveling the gravel.
Step 11: Spreading and leveling the gravel
Spreading and leveling the gravel is a crucial step in creating a smooth and visually appealing gravel walkway. Properly spreading and leveling the gravel ensures an even surface, enhances the aesthetic appeal, and provides a comfortable walking experience. Follow these steps to spread and level the gravel:
- Choose the right gravel: Select the type of gravel that suits your desired aesthetic and functional needs. Common options include pea gravel, crushed stone, or decomposed granite. Consider the color, size, and texture of the gravel for the desired effect.
- Start at one end: Begin spreading the gravel at one end of the walkway. Use a shovel or a garden rake to distribute the gravel evenly along the pathway.
- Work in sections: Divide the walkway into manageable sections and spread the gravel in one section at a time. This will ensure more control and allow for better distribution.
- Use a rake: Use a garden rake to spread and level the gravel. Rake the gravel back and forth, ensuring a even distribution and a consistent layer of gravel throughout the pathway.
- Check for evenness: Regularly walk and inspect the gravel walkway to check for any uneven spots or low areas. Add or remove gravel as needed to achieve a level and smooth surface.
- Avoid excessive depth: Be cautious not to spread the gravel too thickly, as this can make the walking surface uneven and less comfortable. Aim for a layer of about 2-3 inches for a balanced and stable walkway.
Spreading and leveling the gravel properly is essential in creating a visually appealing and functional walkway. Take your time with this step to ensure the gravel is evenly distributed and provides a smooth surface for walking. Once the gravel is spread and leveled, you can move on to the next step: compacting the gravel.
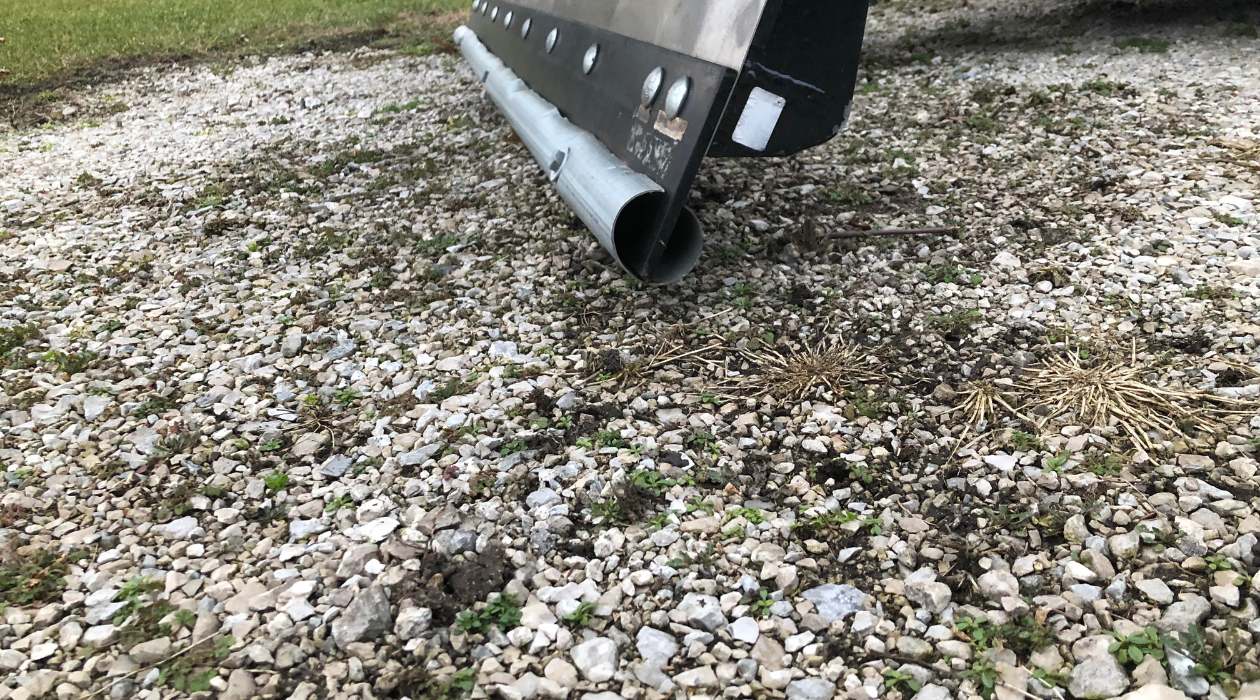
Step 12: Compact the gravel
Compacting the gravel is an essential step to ensure that your gravel walkway is stable, durable, and resistant to shifting. Properly compacting the gravel helps to increase its density, reduces settling, and improves the overall longevity of the pathway. Follow these steps to compact the gravel:
- Choose the right compactor: Select a plate compactor or hand tamper that is suitable for compacting gravel. Consider the size and density of the gravel and choose a compactor with enough power to effectively compact the material.
- Start at one end: Begin compacting the gravel at one end of the walkway. Move the compactor in a back-and-forth motion, overlapping each pass to ensure even compaction.
- Work in sections: Divide the walkway into small sections and compact each section separately. This will ensure uniform compaction and prevent any missed areas.
- Apply even pressure: Apply even pressure on the compactor as you move across the gravel. This will help to achieve consistent compaction and create a solid and stable surface for walking.
- Paying attention to edges and corners: Focus on compacting the edges and corners of the walkway as they are more susceptible to movement and erosion. Spend extra time in these areas to ensure proper compaction.
- Check for firmness: Periodically stop and walk on the compacted gravel to check for firmness. The gravel should feel solid and not give under your weight. If needed, go over the area again with the compactor until the desired level of firmness is achieved.
Properly compacting the gravel is crucial in creating a stable and long-lasting walkway. It helps to prevent settling, shifting, and the formation of uneven surfaces. With the gravel compacted, you’re nearly finished with the installation process. There’s only one more step left: adding the finishing touches.
Read more: How To Install A Walkway With Pavers
Step 13: Finishing touches
Adding the finishing touches to your gravel walkway will elevate its appearance and ensure that it blends seamlessly into your outdoor space. These final touches will also help to improve the functionality and longevity of the walkway. Here are some key finishing touches to consider:
- Trim excess fabric: If any landscape fabric is still visible along the edges of the walkway, trim it carefully with scissors or a utility knife. This will give the pathway a clean and polished look.
- Install weed barrier: Consider adding a layer of granular weed barrier or organic mulch on top of the gravel. This extra layer will further deter weed growth and help to maintain a tidy appearance.
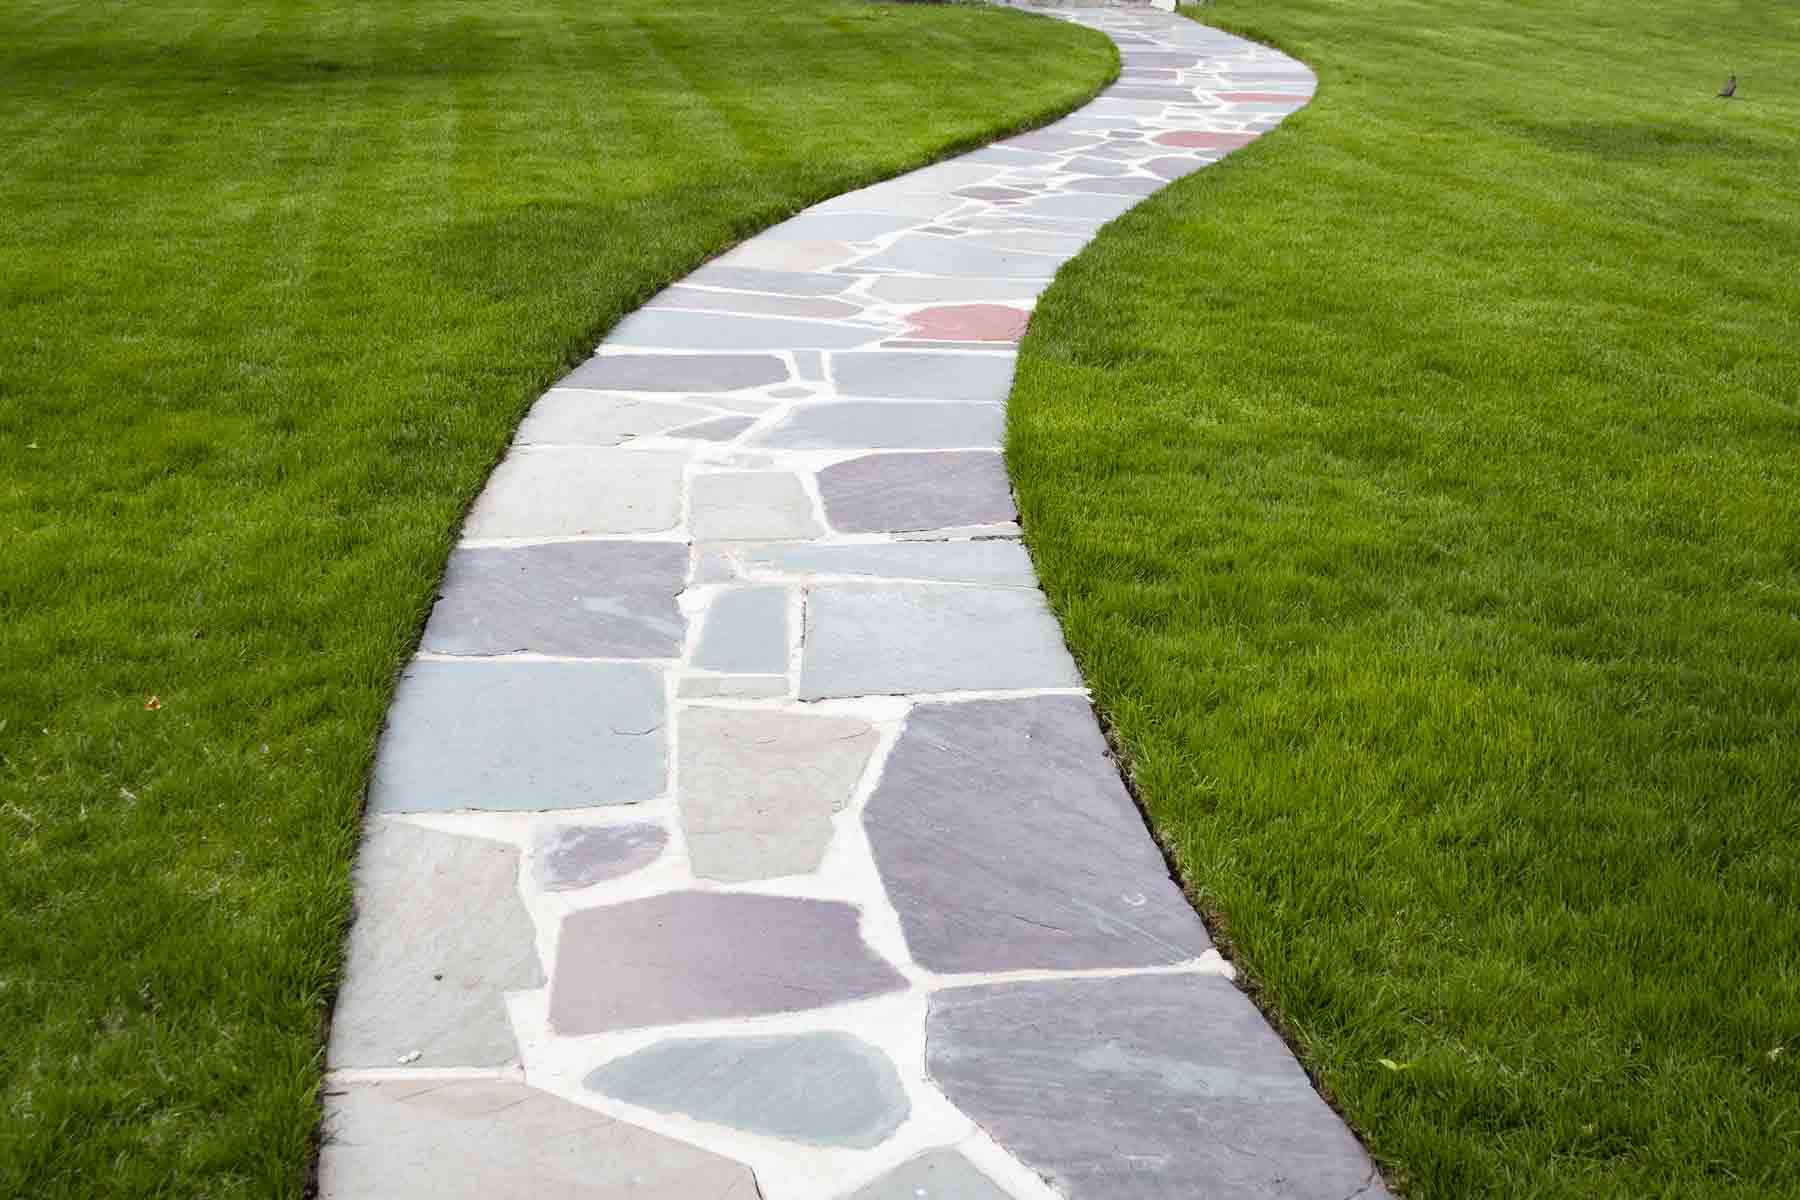
- Add stepping stones: For larger walkways, you may choose to incorporate stepping stones or pavers at strategic intervals. This not only adds visual interest but provides a practical focal point and helps to break up the expanse of gravel.
- Consider lighting: If you want to create an ambient atmosphere or ensure visibility during nighttime, consider adding low-voltage landscape lighting along the sides of the walkway. This not only enhances safety but also adds a touch of elegance.
- Maintain the walkway: Regularly inspect and maintain your gravel walkway. Remove any debris, leaves, or weeds that may accumulate on the surface. Also, periodically add a new layer of gravel to refresh the appearance and keep the path level.
By paying attention to the finishing touches, you can ensure that your gravel walkway is both aesthetically pleasing and functional. These details will make a significant difference in the overall appearance and enjoyment of your pathway. With the finishing touches complete, your gravel walkway is ready to be enjoyed for years to come.
Conclusion
Congratulations! You have successfully completed the installation of your gravel walkway. By following the step-by-step process outlined in this guide, you have created a visually appealing, functional, and durable pathway. Whether it’s a pathway through your garden, an entrance to your home, or a peaceful stroll in your backyard, your gravel walkway will add charm and convenience to your outdoor space.
Throughout the installation process, you have learned the importance of choosing the right location, gathering the necessary materials and tools, preparing the area, and marking the boundaries. You have also gained insights into digging the pathway, installing landscape fabric and plastic edging, adding layers of gravel, compacting the base and the gravel layers, and finally, the finishing touches.
Remember to periodically inspect and maintain your gravel walkway to ensure its longevity. Regularly remove debris, leaves, and weeds that may accumulate on the surface, and consider adding a new layer of gravel over time to refresh the appearance and maintain the pathway’s level.
A gravel walkway not only provides a natural and rustic aesthetic but also offers numerous benefits such as permeability, easy maintenance, and versatility. Your installed walkway will allow rainwater to drain efficiently and minimize the risk of flooding or erosion.
Enjoy the beauty and functionality of your newly installed gravel walkway. Whether you’re taking a leisurely stroll, welcoming guests to your home, or simply admiring the craftsmanship, your walkway will serve as a wonderful addition to your outdoor space. Embrace the natural elegance of a gravel walkway and bask in the satisfaction of completing this DIY project.
Frequently Asked Questions about How To Install A Gravel Walkway
Was this page helpful?
At Storables.com, we guarantee accurate and reliable information. Our content, validated by Expert Board Contributors, is crafted following stringent Editorial Policies. We're committed to providing you with well-researched, expert-backed insights for all your informational needs.
0 thoughts on “How To Install A Gravel Walkway”