Articles
How To Program A Dimmer Switch
Modified: January 6, 2024
Learn how to program a dimmer switch with our comprehensive articles. Find step-by-step instructions and expert tips to easily adjust lighting in your home.
(Many of the links in this article redirect to a specific reviewed product. Your purchase of these products through affiliate links helps to generate commission for Storables.com, at no extra cost. Learn more)
Introduction
Welcome to our comprehensive guide on how to program a dimmer switch. Dimmer switches are widely used to control the brightness of lighting fixtures, offering flexibility and ambiance to any room. Whether you’re looking to create a cozy atmosphere or save energy, knowing how to program a dimmer switch is essential.
In this article, we will provide you with a step-by-step guide on programming various types of dimmer switches. Additionally, we will explore common issues that may arise during the installation process and offer troubleshooting tips to help you overcome them.
Before we dive into the programming instructions, let’s first gain a better understanding of what dimmer switches are and how they work.
Key Takeaways:
- Understanding the different types of dimmer switches and their compatibility with various bulbs is crucial for a successful installation. Always prioritize safety and follow manufacturer’s instructions for the best results.
- When programming a dimmer switch, thorough preparation, proper wiring connections, and troubleshooting knowledge are essential. Enjoy the benefits of customizable lighting levels and energy efficiency in your space!
Read more: What Is A Dimmer Switch
Understanding Dimmer Switches
A dimmer switch is an electrical device that allows you to control the intensity of a light bulb. Unlike traditional on/off switches, dimmer switches provide adjustable brightness levels, giving you the ability to customize the lighting in your space.
Dimmer switches work by regulating the flow of electricity to the light source. They utilize a process called pulse width modulation (PWM) or phase-cut dimming, which rapidly turns the electricity on and off to reduce the amount of light emitted. This technique is achieved by adjusting the voltage and altering the waveform, resulting in a smooth and consistent dimming effect.
There are several benefits to using dimmer switches. Firstly, they provide flexibility in setting the ambiance of a room. Whether you want bright lighting for tasks such as reading or cooking, or a softer and more relaxing glow for a romantic dinner or movie night, dimmer switches allow you to easily adjust the brightness to suit your needs.
Secondly, dimmer switches can help save energy and reduce electricity costs. By dimming the lights, you can decrease the amount of power consumed, resulting in lower energy bills. Additionally, dimming the lights can extend the lifespan of your light bulbs, as lower intensity levels put less strain on the filaments.
Lastly, dimmer switches offer convenience. With a dimmer switch, you can quickly and easily adjust the lighting levels without the need for additional lamps or fixtures. They also provide a smooth transition when turning the lights on or off, eliminating the harsh and sudden changes that can strain the eyes.
Now that you have a better understanding of how dimmer switches work and their benefits, let’s explore the different types of dimmer switches available on the market.
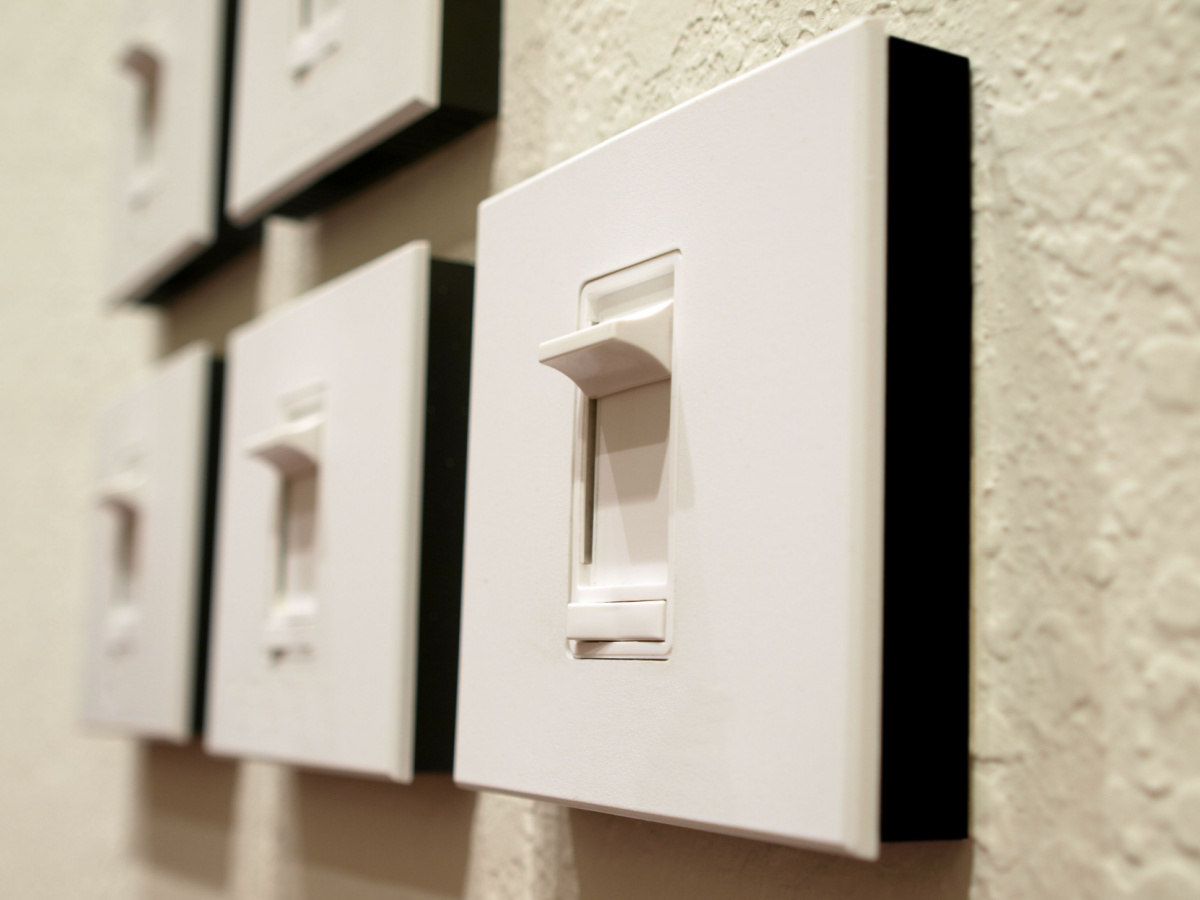
Types of Dimmer Switches
Dimmer switches come in various types, each designed to accommodate different lighting fixtures and electrical systems. Understanding the different types will help you choose the right dimmer switch for your specific needs.
1. Incandescent Dimmer Switches: These dimmer switches are specifically designed for use with incandescent bulbs. They operate by regulating the amount of current flowing to the bulb, resulting in a smooth and adjustable dimming effect.
2. LED Dimmer Switches: LED bulbs have gained popularity due to their energy efficiency and long lifespan. LED dimmer switches are designed to work specifically with LED bulbs, allowing for precise dimming control without flickering or buzzing.
3. CFL Dimmer Switches: Compact fluorescent lamps (CFLs) are another energy-efficient lighting option. CFL dimmer switches are designed to work with CFL bulbs, providing smooth and consistent dimming without flickering or compromising the lifespan of the bulbs.
4. Universal Dimmer Switches: As the name suggests, universal dimmer switches are designed to work with a wide range of lighting fixtures, including incandescent, LED, and CFL bulbs. These switches offer versatility and flexibility, making them suitable for various applications.
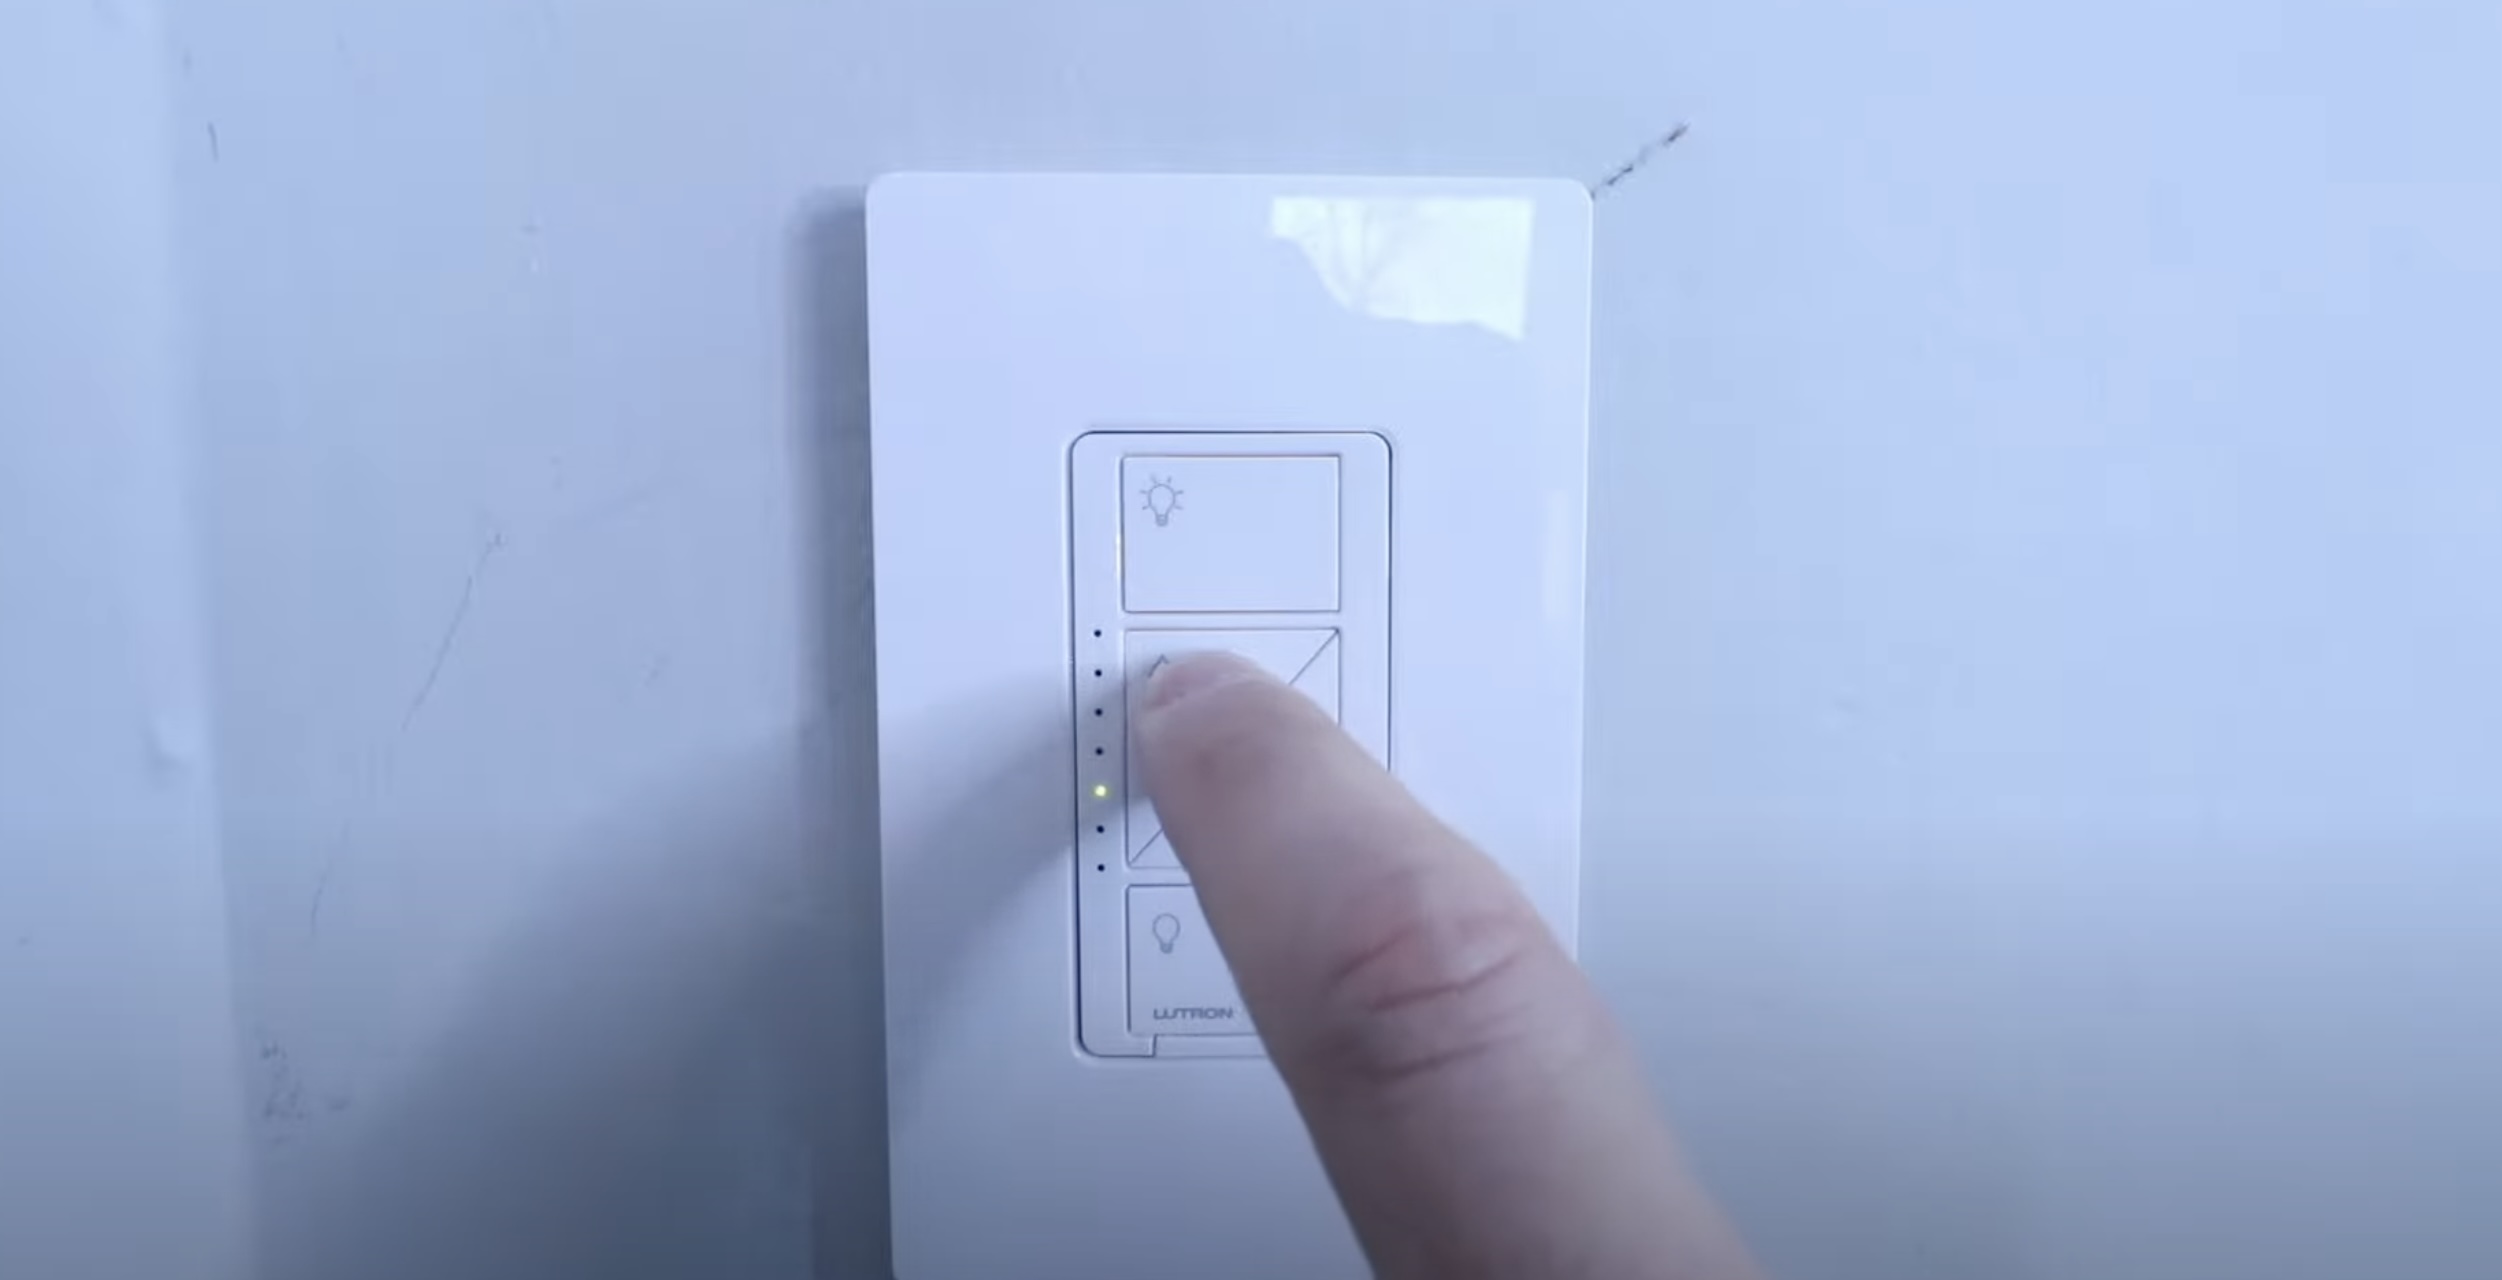
5. Smart Dimmer Switches: With advancements in technology, smart dimmer switches have become increasingly popular. These switches can be connected to your home’s Wi-Fi network and controlled remotely using a smartphone app or voice commands through a virtual assistant. Smart dimmer switches often come with additional features such as scheduling, scene settings, and integration with other smart home devices.
It’s important to note that not all dimmer switches are compatible with every type of bulb. It’s essential to check the manufacturer’s specifications and ensure that the dimmer switch you choose is suitable for the specific type of bulb you intend to use.
Now that you are familiar with the different types of dimmer switches, let’s move on to the next step: preparing for installation.
Preparing for Installation
Before you begin installing a dimmer switch, it’s crucial to take the necessary precautions and gather the tools and materials you’ll need. Proper preparation will ensure a smooth and successful installation process. Here’s a step-by-step guide on preparing for the installation:
- Turn off the Power: Before working with electrical wires, always make sure the power is turned off at the circuit breaker. This will prevent any accidental electrocution or damage to the switch.
- Gather the Tools: Make sure you have the necessary tools on hand, including a screwdriver (flathead or Phillips, depending on the screws), wire cutters/strippers, a voltage tester, and electrical tape. Using the correct tools will make the installation process easier and safer.
- Check the Compatibility: Verify that the dimmer switch you have is compatible with the specific type of lighting fixture you’ll be working with. Refer to the switch’s packaging or manufacturer’s instructions for this information.
- Inspect the Wiring: Take a close look at the existing electrical wiring and ensure that it’s in good condition. Look for any frayed or damaged wires that may need to be replaced or repaired before proceeding.
- Choose the Right Bulb: Depending on the type of dimmer switch you’re installing, it may require specific types of light bulbs. Refer to the manufacturer’s instructions to determine the compatible bulb types, and ensure that you have the appropriate bulbs on hand.
- Read the Instructions: Before starting the installation, carefully read the instructions provided with the dimmer switch. Familiarize yourself with the steps and any specific guidelines or recommendations from the manufacturer.
- Plan the Wiring Connections: Take note of the existing wiring connections and how they relate to the new dimmer switch. Plan the proper wire connections and make sure you understand which wires connect to specific terminals on the switch.
By following these preparation steps, you’ll be ready to tackle the installation process with confidence. Once you have everything in place, you can proceed to the step-by-step guide on programming a dimmer switch, which we will cover in the next section.
When programming a dimmer switch, make sure to follow the manufacturer’s instructions carefully to ensure proper installation and functionality. Always turn off the power before working on the switch to avoid electrical hazards.
Step-by-Step Guide to Programming a Dimmer Switch
Programming a dimmer switch may vary slightly depending on the specific model and manufacturer. However, the following step-by-step guide will provide you with a general overview of the process. Remember to refer to the manufacturer’s instructions for any specific guidelines or requirements. Let’s get started:
- Ensure the Power is Off: Before you begin, double-check that the power is turned off at the circuit breaker. This is crucial for your safety and to avoid any electrical issues during the installation process.
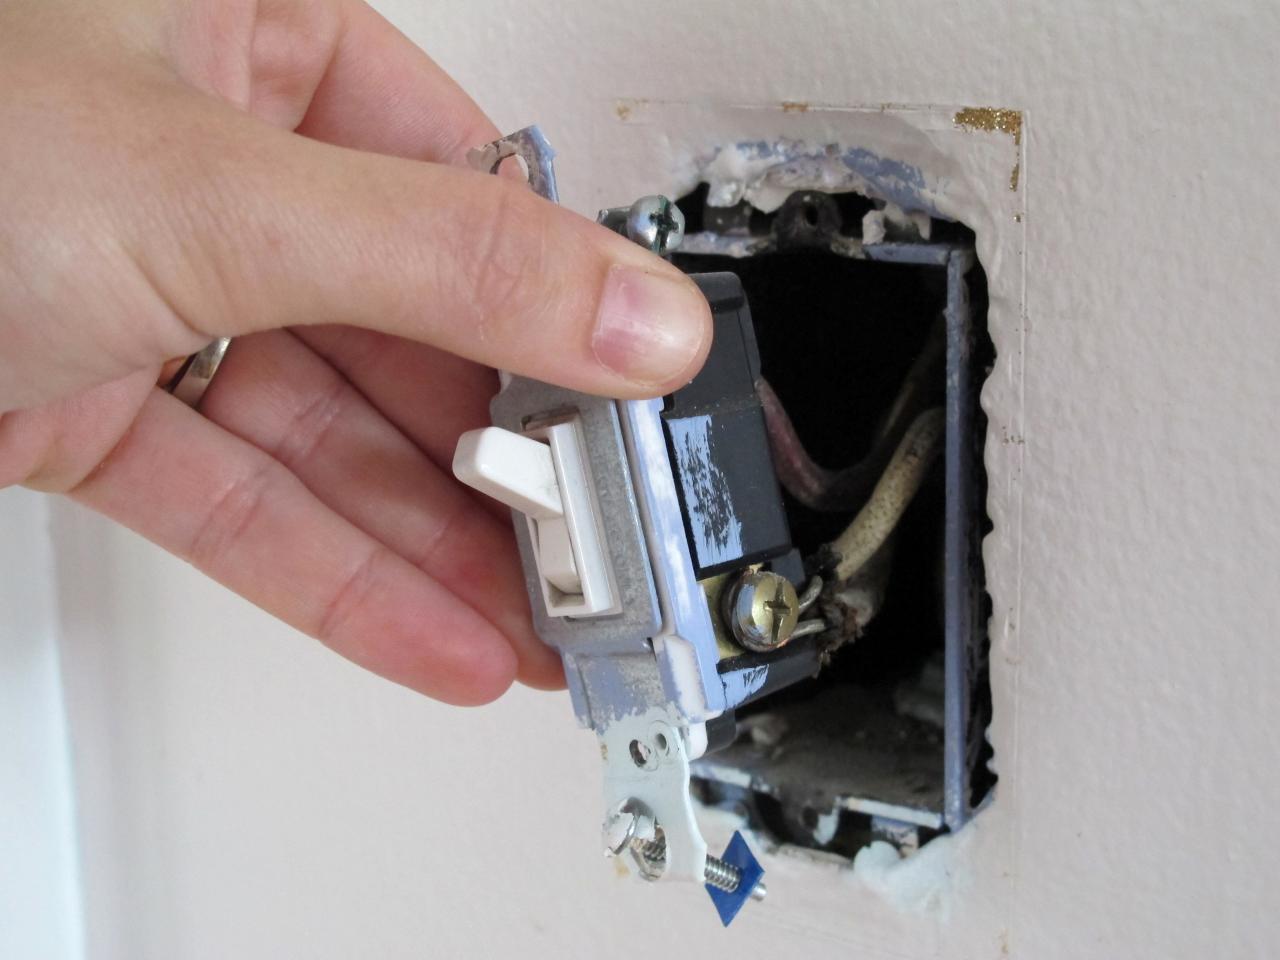
- Remove the Old Switch: Use a screwdriver to remove the screws holding the old switch in place. Carefully pull the switch out from the wall box, exposing the wiring behind it.
- Disconnect the Wiring: Gently disconnect the wires connected to the old switch. Typically, you’ll find a black (hot) wire, a white (neutral) wire, and a bare copper (ground) wire. Use wire cutters or strippers to remove any excess insulation if necessary.
- Connect the Dimmer Switch: Take the new dimmer switch and connect the wires to their respective terminals. Usually, you’ll connect the black wire to the black terminal, the white wire to the white terminal, and the bare copper wire to the green or copper terminal. Follow the manufacturer’s instructions for any specific wiring requirements.
- Secure the Dimmer Switch: Carefully tuck the wires back into the wall box and securely mount the dimmer switch using the provided screws. Make sure it is aligned properly and sits flush against the wall. Avoid overtightening the screws to prevent damaging the switch or the wall box.
- Restore Power and Test: Once the dimmer switch is securely installed, restore power by turning on the circuit breaker. Test the switch by turning it on and off to ensure it’s functioning correctly. Also, try adjusting the brightness levels to see the dimming effect.
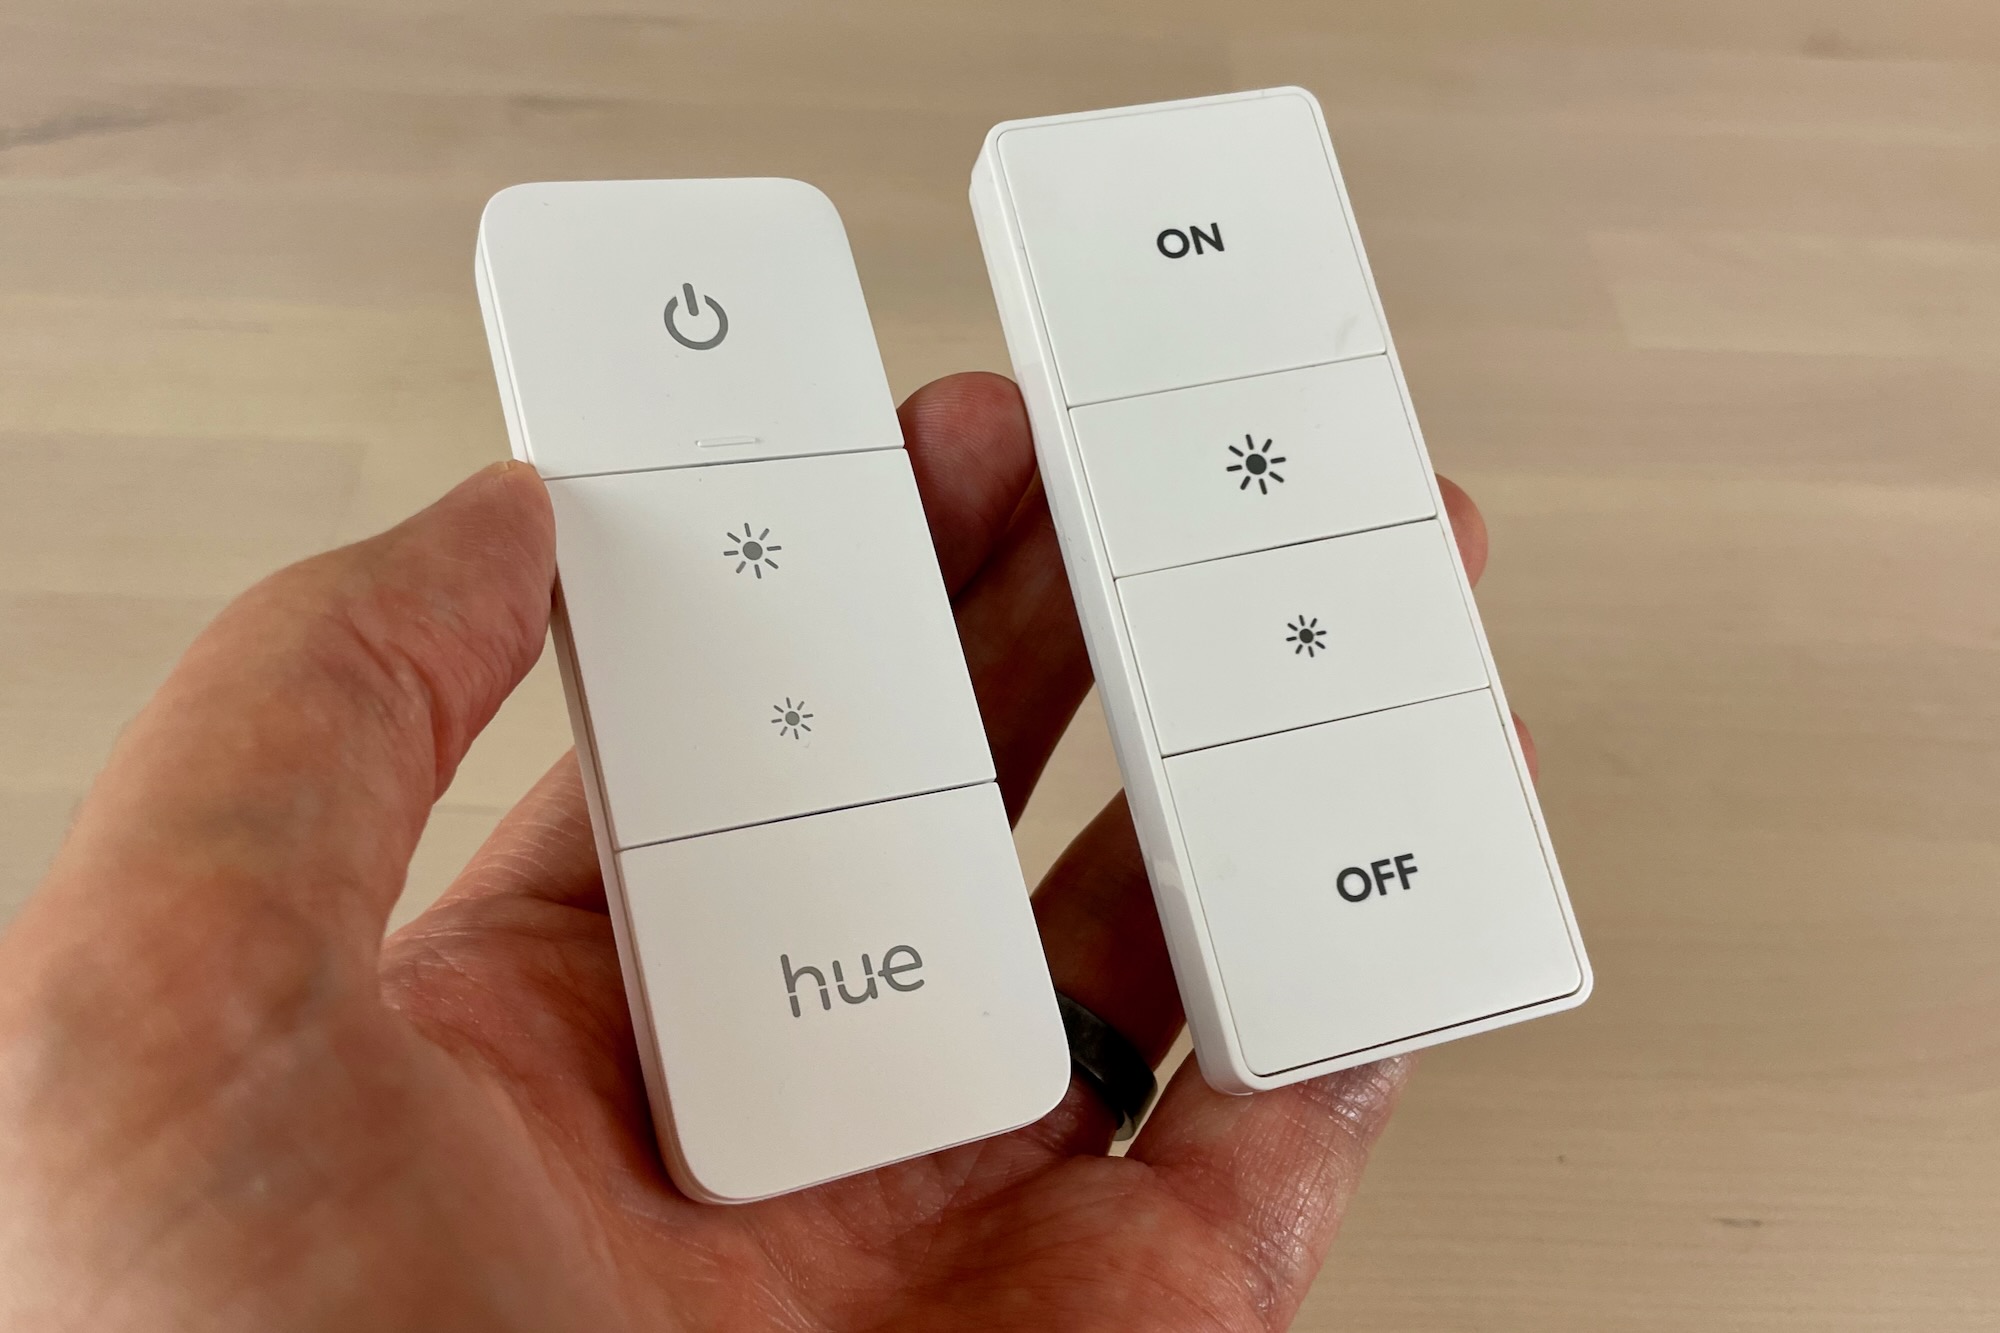
- Follow Specific Programming Instructions (if applicable): Some dimmer switches may require additional programming steps for advanced features such as preset scenes, timers, or remote control settings. Follow the specific instructions provided by the manufacturer to set up these features.
- Finalize and Seal: Once you’re satisfied with the functionality of the dimmer switch, use electrical tape or wire nuts to secure the wire connections inside the wall box. This will provide additional safety and prevent any accidental disconnections.
Following these steps will help you successfully program a dimmer switch. Remember to always prioritize safety and consult the manufacturer’s instructions for any specific guidelines or troubleshooting tips.
In the next section, we’ll discuss common issues that may arise during the installation process and provide troubleshooting solutions to help you overcome them.
Troubleshooting Common Issues
While installing and programming a dimmer switch is a relatively straightforward process, there may still be some common issues that can arise. Here are a few troubleshooting tips to help you overcome these problems:
- Flickering Lights: If you experience flickering lights after installing a dimmer switch, it could be due to incompatible bulbs. Ensure that you are using the correct type of bulbs recommended by the dimmer switch manufacturer. If the problem persists, consider replacing the bulbs with ones that are specifically designed for dimming.
- Buzzing or Humming Sounds: Buzzing or humming noises coming from the lights can be caused by incompatible dimmer switches or bulbs. Check the compatibility between the switch and the bulbs. Additionally, some dimmer switches have adjustable settings to reduce noise. Consult the manufacturer’s instructions to adjust the settings accordingly.
- Inconsistent Dimming: If you notice inconsistent dimming levels or sudden jumps in brightness, it may be due to incompatible bulbs or a faulty dimmer switch. Verify that the bulbs are dimmable and compatible with the dimmer switch. If everything is compatible and the issue persists, consider replacing the dimmer switch.
- Overheating or Warm Dimmer Switch: Dimmer switches can get warm during operation, but if it becomes excessively hot or you notice a burning smell, it could indicate a wiring issue or an overload. Double-check that the wiring connections are secure and that the total wattage of the connected bulbs does not exceed the dimmer switch’s capacity. If the problem persists, consult a qualified electrician.
- No Power or Lights Not Turning On: If the lights do not turn on after installing the dimmer switch, ensure that the power is turned on at the circuit breaker. Check the wiring connections to ensure they are secure and properly connected to the dimmer switch. If the problem persists, consult a professional electrician to troubleshoot the issue.
- Incompatibility with Existing Switches or Wiring: In some cases, the wiring or existing switches in your home may not be compatible with the dimmer switch you are trying to install. It is essential to verify compatibility before proceeding with the installation. If compatibility issues arise, consider consulting a professional electrician for assistance.
Remember, safety should always be the top priority when troubleshooting or dealing with electrical installations. If you are unsure or uncomfortable with any troubleshooting steps, it is best to seek assistance from a qualified electrician.
Now that you have troubleshooting tips to address common issues, let’s conclude our guide on programming a dimmer switch.
Conclusion
Congratulations! You have reached the end of our comprehensive guide on how to program a dimmer switch. We’ve covered the basics of dimmer switches, the different types available, and provided you with a step-by-step guide for installation and programming. Additionally, we’ve offered troubleshooting tips to help you overcome common issues that may arise during the process.
By understanding how dimmer switches work and following the proper installation and programming steps, you can enjoy the benefits of customizable lighting levels and energy efficiency in your home or office.
Remember to carefully read and follow the manufacturer’s instructions specific to your dimmer switch model for the best results. Prioritize safety at all times, ensuring that the power is turned off during installation and seeking professional assistance if you have any doubts or concerns.
We hope that this guide has provided you with the knowledge and confidence to successfully program a dimmer switch. Whether you’re looking to create a cozy atmosphere or save energy, dimmer switches can enhance your lighting experience and bring a touch of elegance to any space.
Thank you for reading, and happy dimming!
Frequently Asked Questions about How To Program A Dimmer Switch
Was this page helpful?
At Storables.com, we guarantee accurate and reliable information. Our content, validated by Expert Board Contributors, is crafted following stringent Editorial Policies. We're committed to providing you with well-researched, expert-backed insights for all your informational needs.

0 thoughts on “How To Program A Dimmer Switch”