Articles
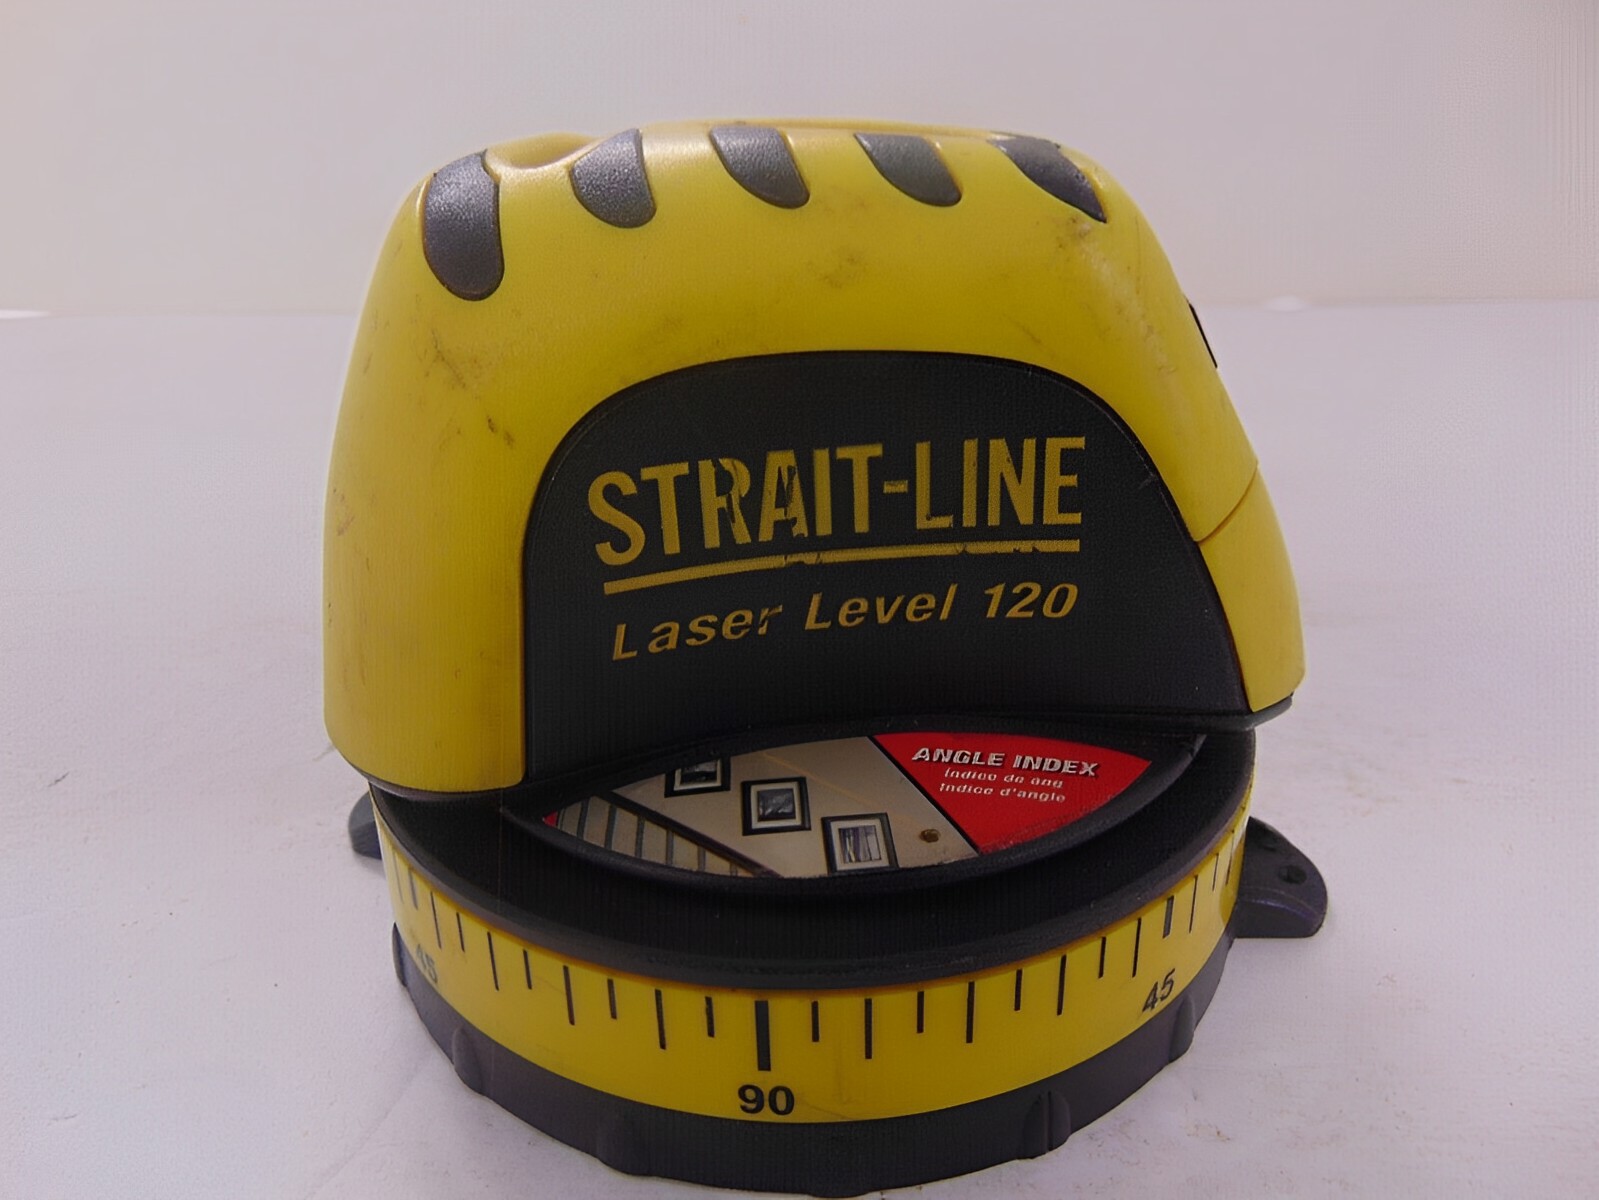
How To Repair A Strait-Line Laser Level
Modified: September 1, 2024
Learn how to repair a Straitline laser level with our informative articles. Expert tips and step-by-step instructions to fix your laser level.
(Many of the links in this article redirect to a specific reviewed product. Your purchase of these products through affiliate links helps to generate commission for Storables.com, at no extra cost. Learn more)
Introduction
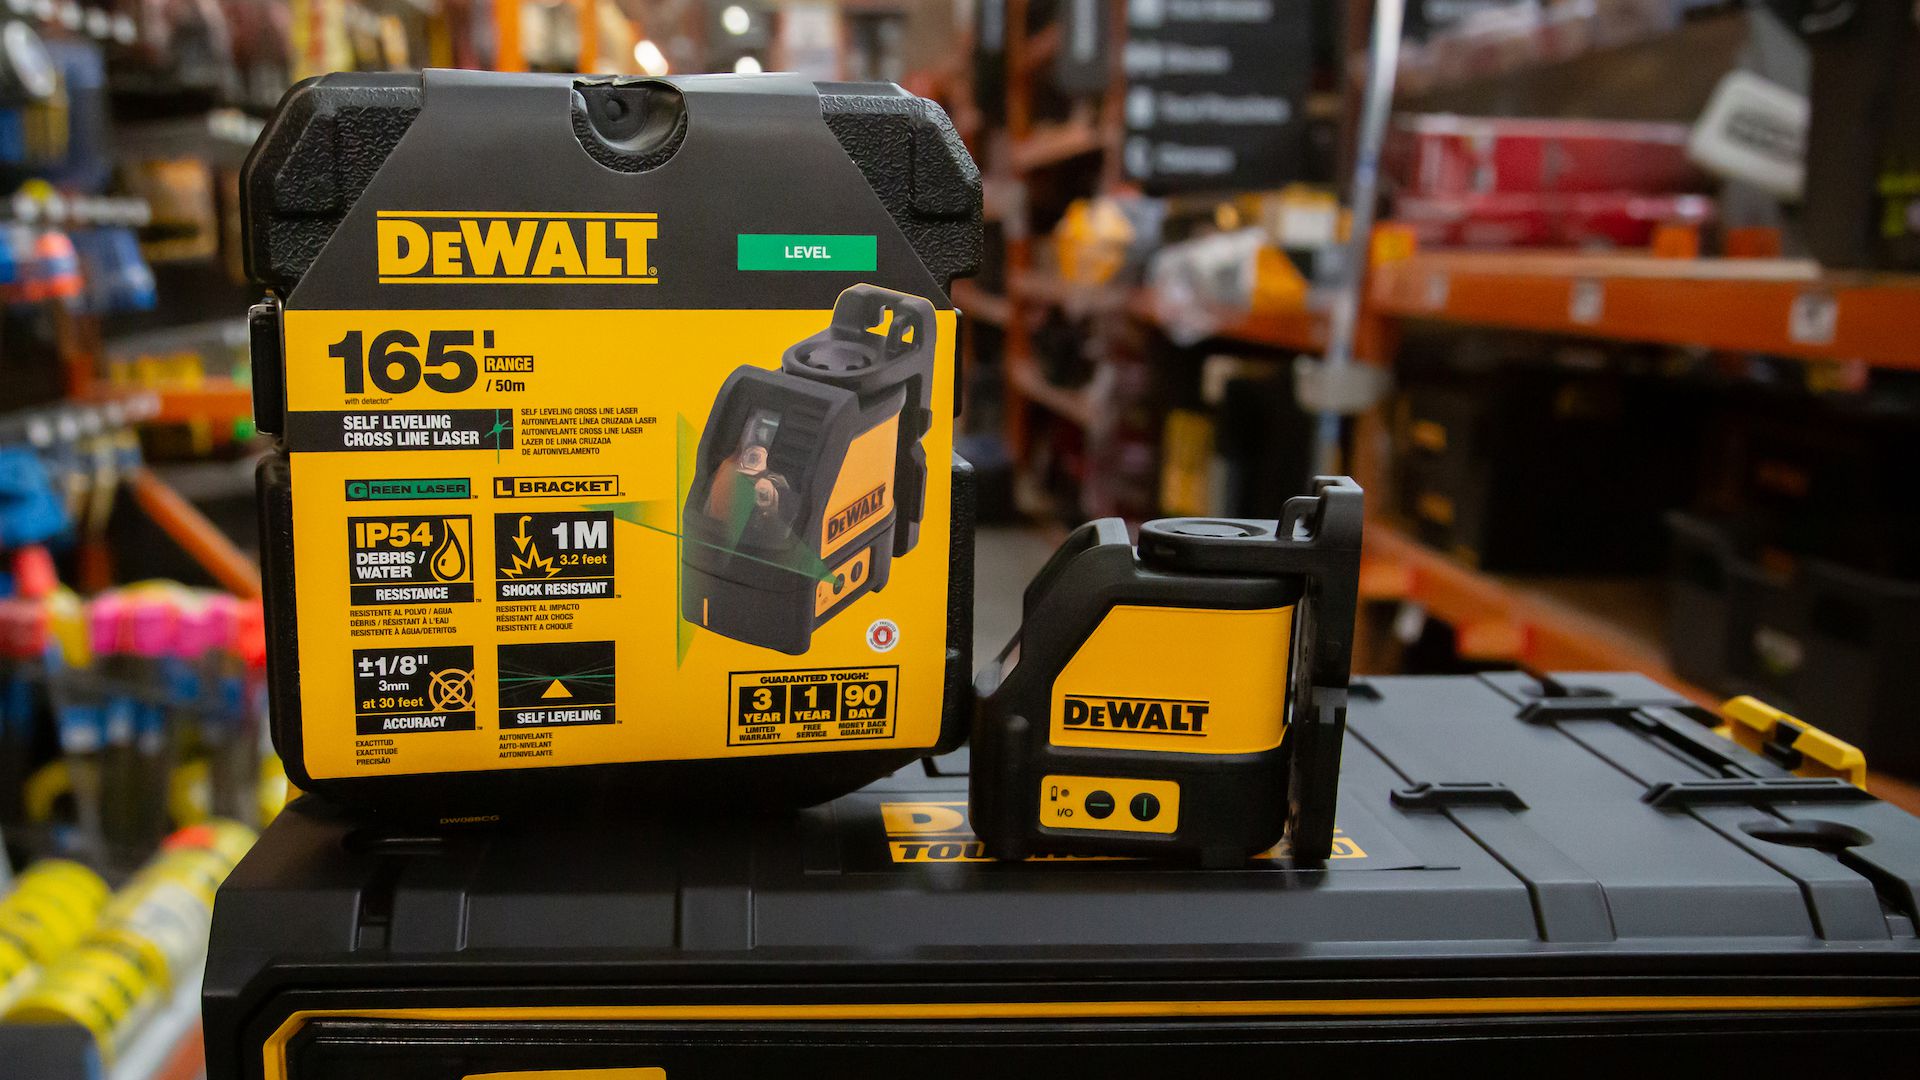
A straitline laser level is a useful tool that helps to ensure accurate and precise leveling in various construction and DIY projects. However, like any other tool, a laser level can sometimes encounter issues or become damaged, hindering its functionality. In such cases, it is important to know how to repair a straitline laser level to restore its performance and avoid the need for costly replacements.
In this article, we will guide you through the process of repairing a straitline laser level, step by step. We will cover the necessary tools and materials you will need, as well as provide detailed instructions on how to identify and fix common issues that may arise.
Repairing your laser level not only saves you money, but it also ensures that you can continue to rely on this essential tool for accurate measurements and precision work. So, let’s dive into the repair process and get your straitline laser level back up and running!
Key Takeaways:
- Repairing a straitline laser level is a cost-effective way to ensure accurate measurements and precision work, saving time and money while extending the tool’s lifespan.
- Thoroughly testing the laser level after repair provides confidence in its functionality, allowing for reliable use in future construction and DIY projects.
Read more: How To Use A Strait-Line Laser Level 120
Tools and Materials Needed
Before you begin the repair process, gather the following tools and materials to ensure a smooth and efficient repair:
- Screwdriver Set: A set of screwdrivers with various sizes and types will be needed to remove screws and access internal components.
- Replacement Parts: Depending on the specific issue with your laser level, you may need to purchase replacement parts such as batteries, laser diodes, or circuit boards.
- Tweezers: A pair of tweezers will come in handy for handling small and delicate parts during the repair.
- Cleaning Solution: You may need a cleaning solution, such as isopropyl alcohol, to clean any dirty or corroded parts.
- Cotton Swabs: Cotton swabs are useful for applying cleaning solution and removing dirt or debris from hard-to-reach areas.
- Multimeter: A multimeter is a handy tool for troubleshooting electrical issues and testing the functionality of various components.
- Replacement Laser Lens: If the laser lens is scratched or damaged, you may need to purchase a compatible replacement.
- Protective Equipment: It’s always a good idea to wear protective gloves and safety glasses when working with small parts and potentially hazardous materials.
By having these tools and materials ready, you’ll be well-prepared to tackle any repairs necessary on your straitline laser level.
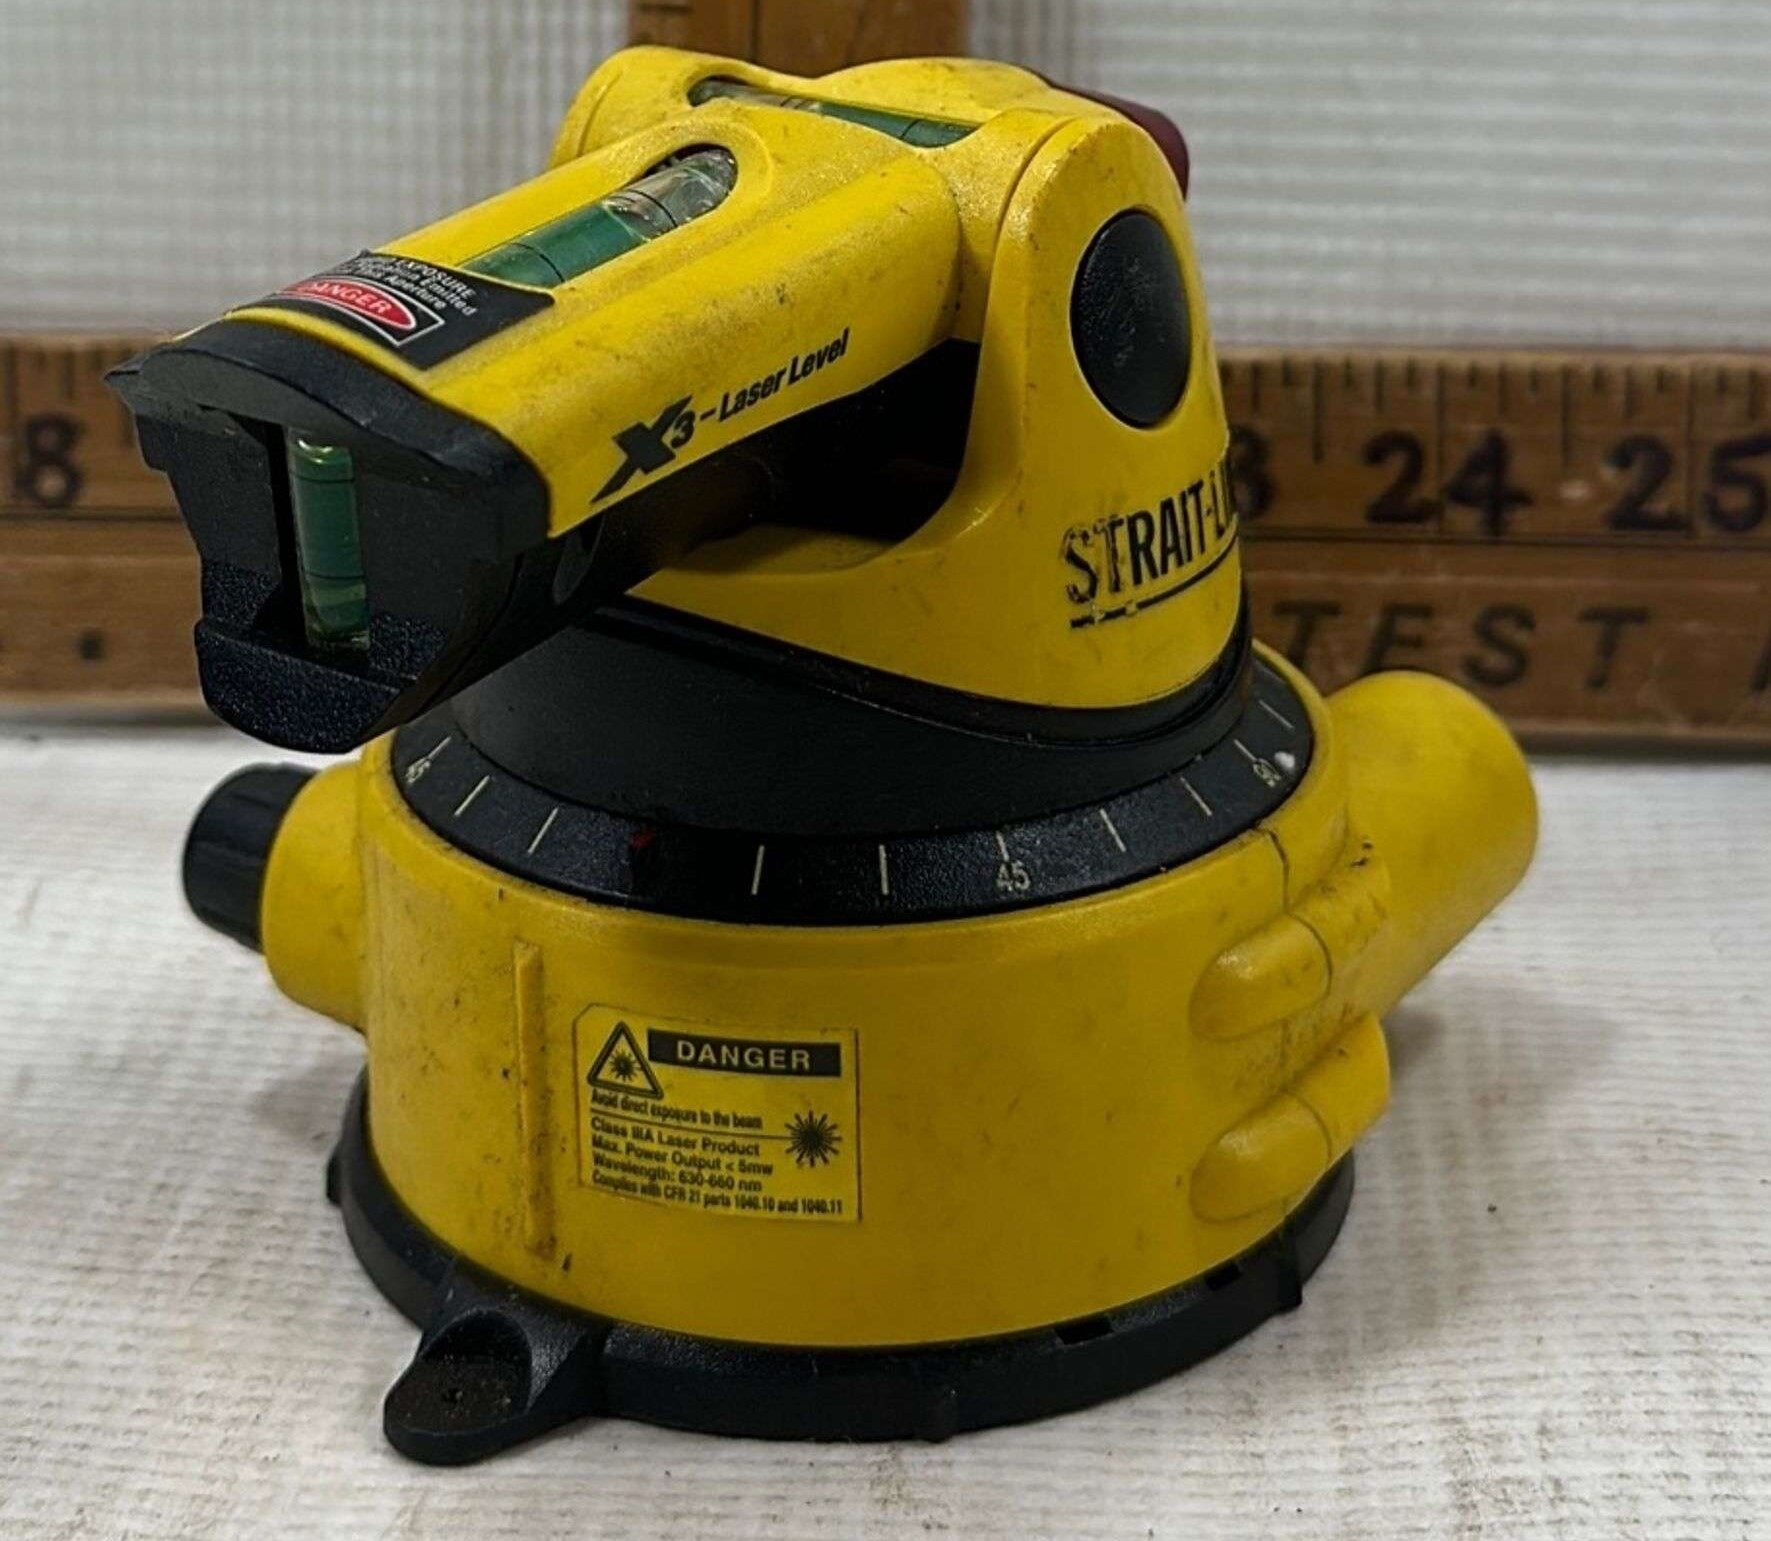
Step 1: Check for any Visible Damage
Before diving into the repair process, it’s essential to thoroughly inspect your straitline laser level for any visible damage. This step will help you identify any obvious issues that may be affecting the functionality of the tool. Here’s what you should do:
- Start by examining the exterior of the laser level. Look for any cracks, dents, or signs of physical damage that could impact its performance.
- Check the battery compartment and ensure that there are no corrosion or loose connections. Clean the contacts if needed, using a cotton swab dipped in cleaning solution.
- Inspect the laser lens for any scratches or damage. A scratched lens can disrupt the laser beam and affect the accuracy of the level. If the lens is damaged, it may need to be replaced.
- Examine the buttons and switches for any signs of wear or malfunction. Test each button to ensure they are working properly.
- Check the screen or display for any dead pixels or abnormalities. A faulty screen can make it difficult to read measurements or navigate through menu options.
If you notice any visible damage during this inspection, it’s important to address it before proceeding with further repairs. Depending on the severity of the damage, you may need to replace certain components or seek professional assistance. However, if there are no visible issues, you can move on to the next step of the repair process.
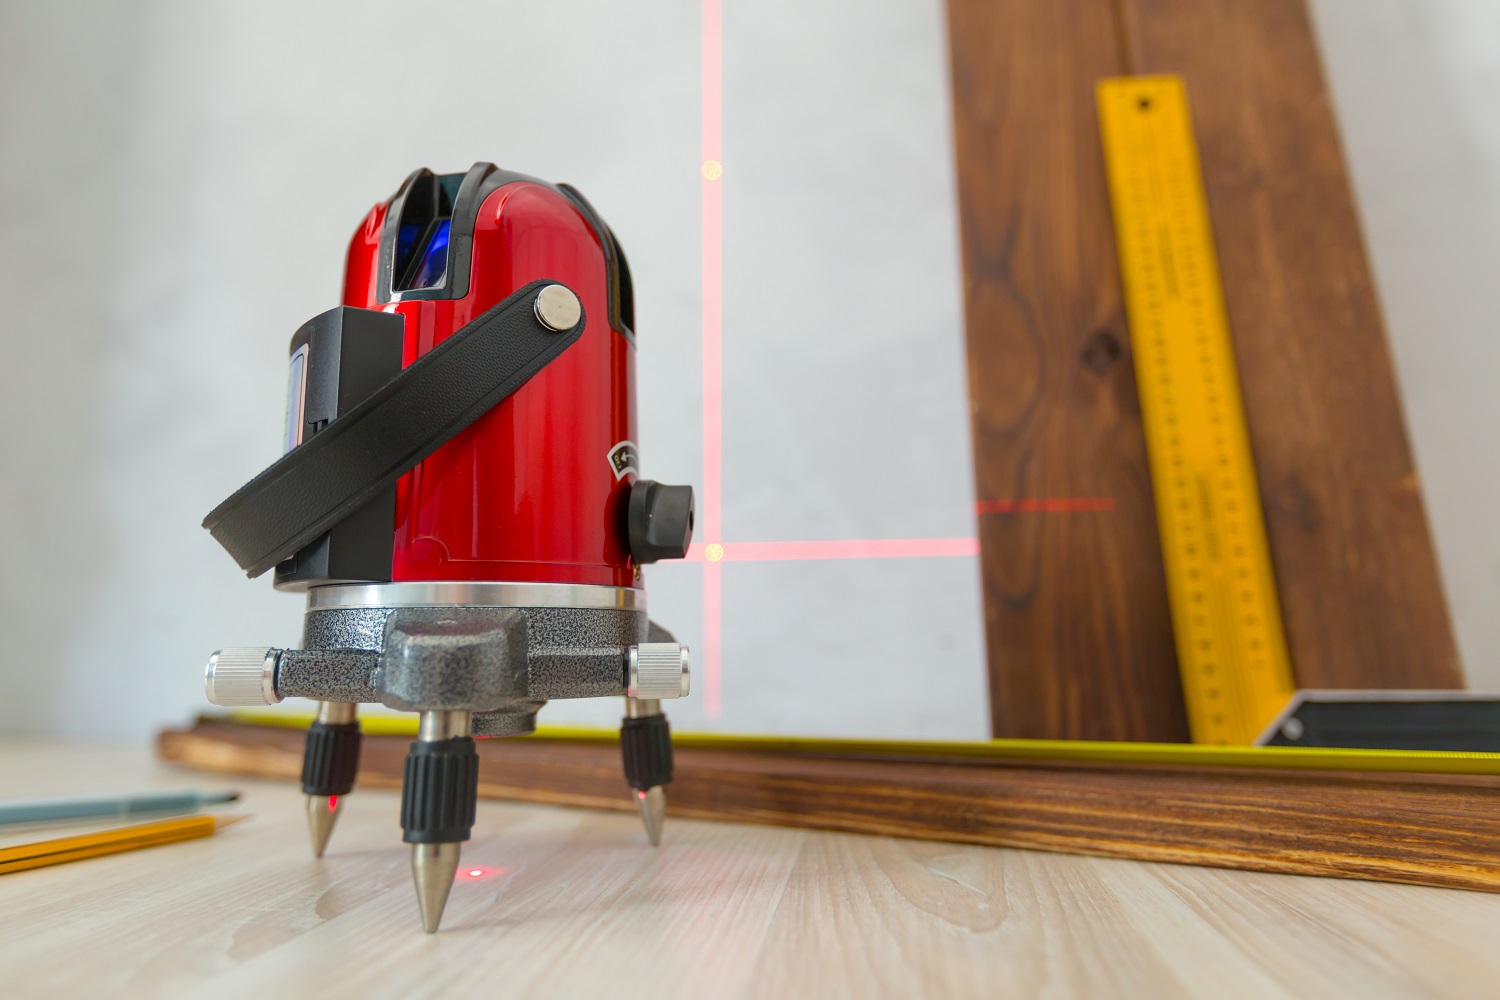
Step 2: Calibrate the Level
Calibrating your straitline laser level is crucial to ensure accurate and precise measurements. Over time, the level may lose its calibration due to various factors such as temperature changes, rough handling, or internal component issues. Here’s how you can calibrate your laser level:
- Start by setting up the laser level on a stable and level surface. Make sure it is positioned in a way that allows the laser beam to project across the desired area.
- Find a known reference point, such as a horizontal or vertical surface, and mark it clearly.
- Turn on the laser level and allow it to stabilize for a few moments.
- Rotate the laser level horizontally and vertically, ensuring that the laser beam aligns with the reference point you marked.
- Make adjustments to the leveling screws or knobs on the laser level to fine-tune the alignment of the laser beam. Use a bubble level or a precise measuring tool to help you achieve accurate alignment.
- Continue rotating and adjusting the laser level until the beam consistently aligns with the reference point at all positions.
- Once you are satisfied with the alignment, lock the leveling screws or knobs in place to prevent any unintentional changes in calibration.
- Perform a final test by projecting the laser beam onto different surfaces to verify that it remains level and aligned.
Calibrating your straitline laser level regularly, especially before important projects, will help ensure reliable and accurate measurements. Keep in mind that specific calibration procedures may vary depending on the model and manufacturer, so refer to the user manual for detailed instructions if available.
When repairing a Straitline laser level, start by checking the batteries and cleaning the lens. If the issue persists, contact the manufacturer for further assistance.
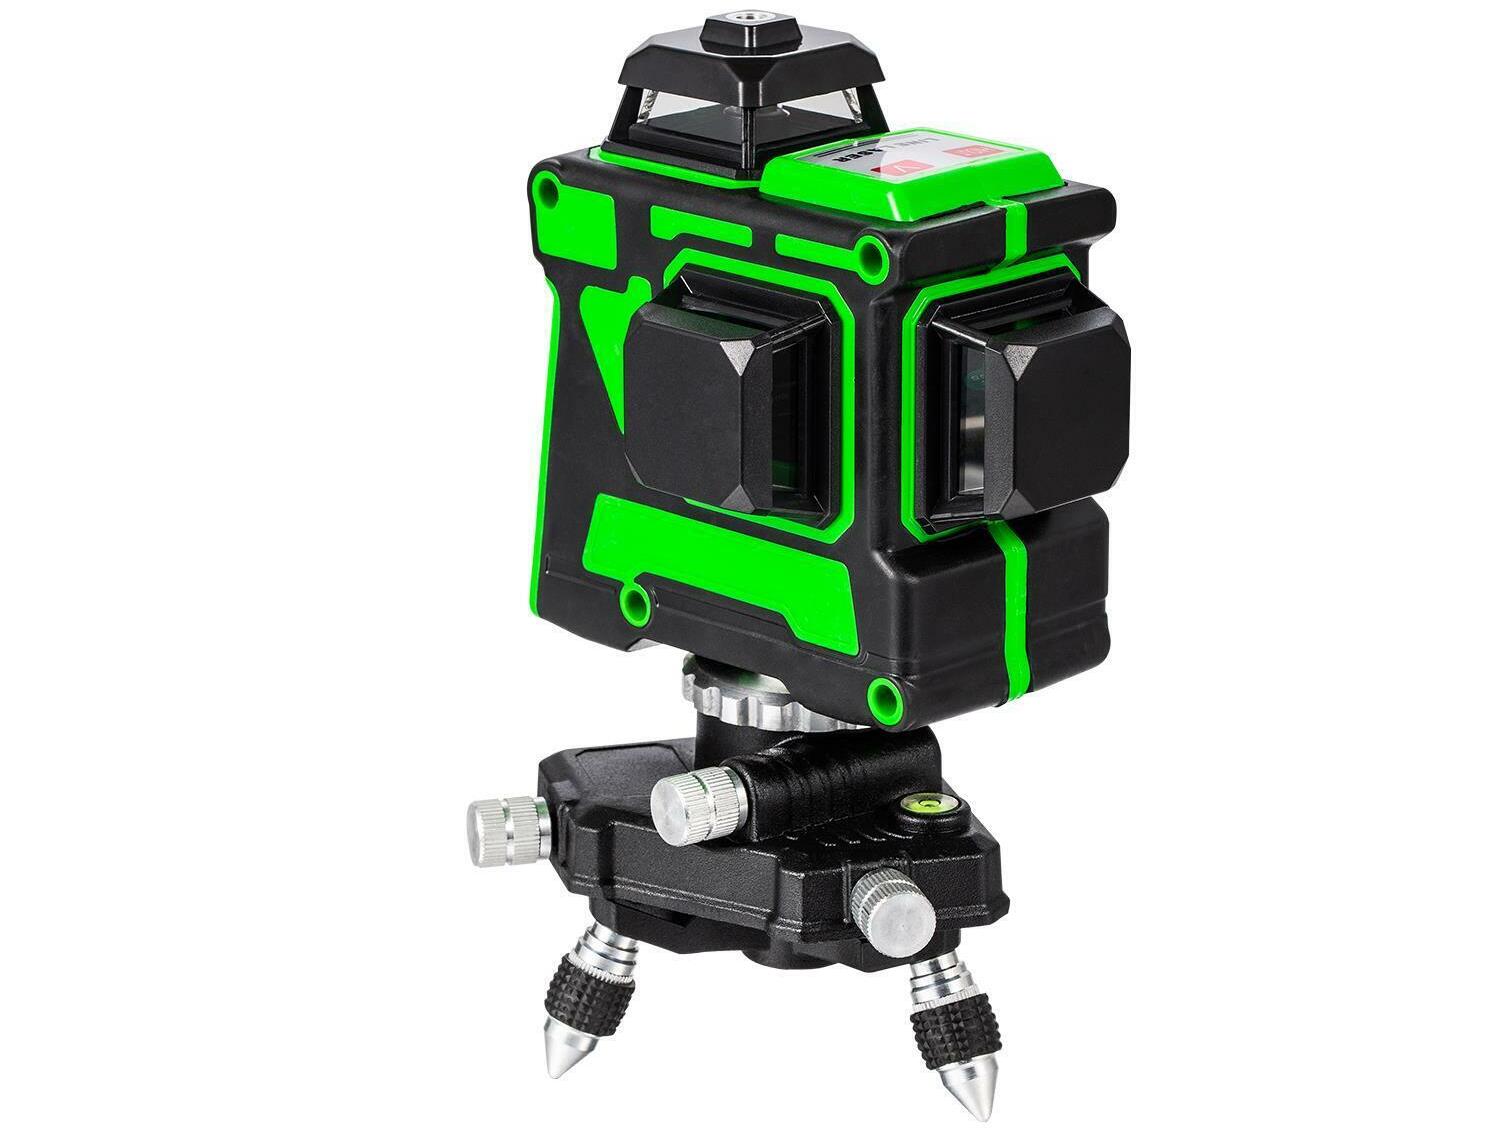
Step 3: Replace or Repair Damaged Components
If you have identified specific components in your straitline laser level that are causing issues, such as a faulty switch or a damaged laser lens, it may be necessary to replace or repair them. Here’s what you can do:
- Refer to the user manual or manufacturer’s instructions to identify the specific components that need to be replaced or repaired.
- If you need to replace a component, such as a switch or a laser lens, order the correct replacement part from the manufacturer or an authorized dealer.
- Once you have the replacement part, ensure that you have the necessary tools to disassemble your laser level. Use a screwdriver set to carefully remove any screws or fasteners holding the unit together.
- Gently remove the damaged component and replace it with the new one. Follow any specific instructions provided by the manufacturer, such as soldering or properly aligning the component.
- Inspect the internal wiring and connectors for any loose or damaged connections. If necessary, use a multimeter to test the continuity or voltage of the electrical pathways.
- If any wires or connectors are damaged, carefully repair or replace them. Take proper safety precautions when working with electrical components.
- Clean any dirty or corroded components with a cotton swab dipped in cleaning solution. Ensure that all parts are dry before reassembling the laser level.
- Once all the necessary repairs and replacements have been made, carefully reassemble the laser level, making sure all screws and fasteners are securely tightened.
Throughout this process, it’s important to handle the components with care and follow the manufacturer’s instructions. If you’re unsure about any repair or replacement procedures, it may be best to seek professional assistance or contact the manufacturer for guidance.
Read also: 12 Best Strait-Line Laser Level for 2025
Step 4: Test the Level After Repair
After completing the necessary repairs and replacements, it’s crucial to test your straitline laser level to ensure that it is functioning properly. Testing will help you verify that the repairs were successful and that the level is providing accurate and reliable measurements. Here’s how you can test your laser level:
- Set up the laser level on a stable surface in a location where it can project the laser beam across a large, flat area.
- Turn on the laser level and allow it to stabilize for a few moments.
- Check the alignment of the laser beam by projecting it onto a vertical or horizontal surface. Ensure that the projected line is level and straight.
- Test the laser level at different distances to observe if the laser beam remains consistent and does not distort or deviate.
- Rotate the laser level horizontally and vertically to confirm that the laser beam maintains its level projection in all positions.
- Measure the distance between the laser level and a target point using a measuring tape or a ruler. Compare the measured distance to the distance indicated by the laser level’s measurement capabilities.
- If your laser level has additional features, such as slope or angle measurements, ensure that these functions are functioning as expected.
- If the laser level passes all the tests and provides accurate measurements, then the repair process can be considered successful.
Should you encounter any issues or notice inconsistencies during the testing phase, double-check the repairs you made and ensure that all components are properly installed and aligned. If the problems persist, it may be necessary to seek professional assistance or contact the manufacturer for further troubleshooting.
By thoroughly testing your straitline laser level after repair, you can have confidence in its functionality and rely on it for your future construction or DIY projects.
Conclusion
Repairing a straitline laser level can save you both time and money, allowing you to continue using this essential tool with accuracy and precision. By following the step-by-step process outlined in this article, you can troubleshoot and fix common issues that may arise with your laser level.
Remember to begin the repair process by checking for any visible damage and assessing the condition of the level. Then, calibrate the level to ensure accurate measurements. If you encounter any damaged components, consider replacing or repairing them with the appropriate tools and materials. Finally, after completing the repairs, thoroughly test the laser level to ensure it is functioning as expected.
Throughout the repair process, it’s important to handle the components with care and follow any specific instructions provided by the manufacturer. If you are unsure about any step or encounter difficulties, don’t hesitate to seek professional assistance or contact the manufacturer for guidance.
Maintaining and repairing your straitline laser level will extend its lifespan and ensure its reliability for future projects. By investing the time and effort to repair and maintain this valuable tool, you can continue to achieve precise and accurate measurements in your construction or DIY endeavors.
So, don’t let a damaged laser level slow you down. Take the necessary steps to repair it and get back to work with confidence!
Frequently Asked Questions about How To Repair A Strait-Line Laser Level
Was this page helpful?
At Storables.com, we guarantee accurate and reliable information. Our content, validated by Expert Board Contributors, is crafted following stringent Editorial Policies. We're committed to providing you with well-researched, expert-backed insights for all your informational needs.


0 thoughts on “How To Repair A Strait-Line Laser Level”