Articles
How Do I Use The Strait Line Laser Level
Modified: May 6, 2024
Learn how to effectively use the Strait Line laser level with our informative articles. Discover expert tips and tricks for precise leveling.
(Many of the links in this article redirect to a specific reviewed product. Your purchase of these products through affiliate links helps to generate commission for Storables.com, at no extra cost. Learn more)
Introduction
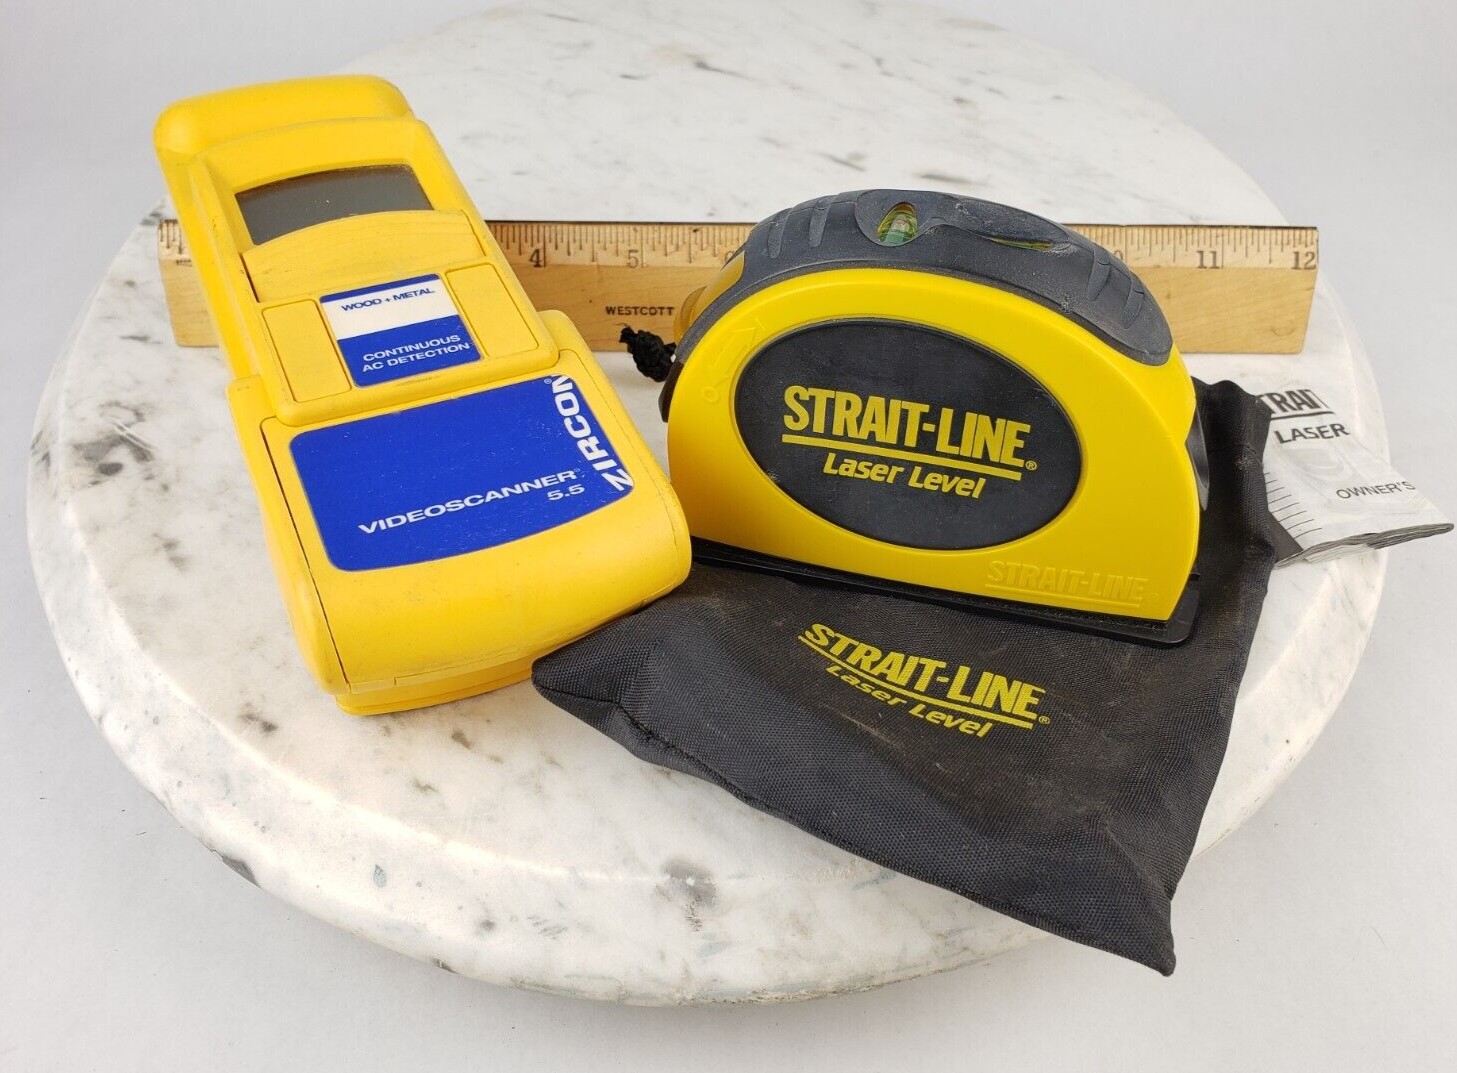
The Strait Line Laser Level is a versatile tool that provides precise and accurate leveling for a variety of projects. Whether you’re a professional contractor or a DIY enthusiast, this laser level can help you achieve straight and level lines with ease. From hanging pictures to installing shelves, the Strait Line Laser Level can be your go-to tool for ensuring accuracy in your projects.
But how do you use the Strait Line Laser Level effectively? In this article, we will guide you through the process of using this handy tool step by step. We will explain the different components and features of the Strait Line Laser Level, walk you through the setup and adjustments, and provide tips for using it in various applications. By the end of this article, you’ll have the knowledge and confidence to use the Strait Line Laser Level to its fullest potential.
So, let’s dive in and discover how this remarkable tool can simplify your leveling tasks and make your projects look professional.
Key Takeaways:
- Simplify your leveling tasks with the versatile Strait Line Laser Level, equipped with self-leveling capabilities and user-friendly features for professional results in various applications.
- Maximize the effectiveness of the Strait Line Laser Level by following proper maintenance and storage practices, ensuring longevity and continued accuracy for your leveling projects.
Read more: How To Use Strait-Line Laser Level 60
Understanding the Strait Line Laser Level
Before we delve into how to use the Strait Line Laser Level, let’s first understand what it is and how it works. The Strait Line Laser Level is a self-leveling tool that projects a straight laser beam onto a surface, creating a visual reference for leveling and alignment.
One of the key advantages of the Strait Line Laser Level is its ability to provide both horizontal and vertical leveling capabilities. This means it can be used for a wide range of applications, such as installing tiles, framing walls, hanging cabinets, and more. The laser level’s accuracy and precision make it a reliable tool for achieving professional-looking results.
Another important feature of the Strait Line Laser Level is its self-leveling capability. It is equipped with an internal pendulum system that automatically adjusts the laser beam to ensure it remains level. This eliminates the need for manual adjustments, saving you time and effort during your projects.
The Strait Line Laser Level is also designed with user-friendliness in mind. It typically comes with a simple interface and intuitive controls, making it easy for both professionals and beginners to operate. Additionally, it often includes a range of helpful features like a bubble vial for manual leveling and a locking mechanism for secure transportation.
Now that we have a basic understanding of the Strait Line Laser Level, let’s explore its components and features in more detail to help you become familiar with this powerful leveling tool.
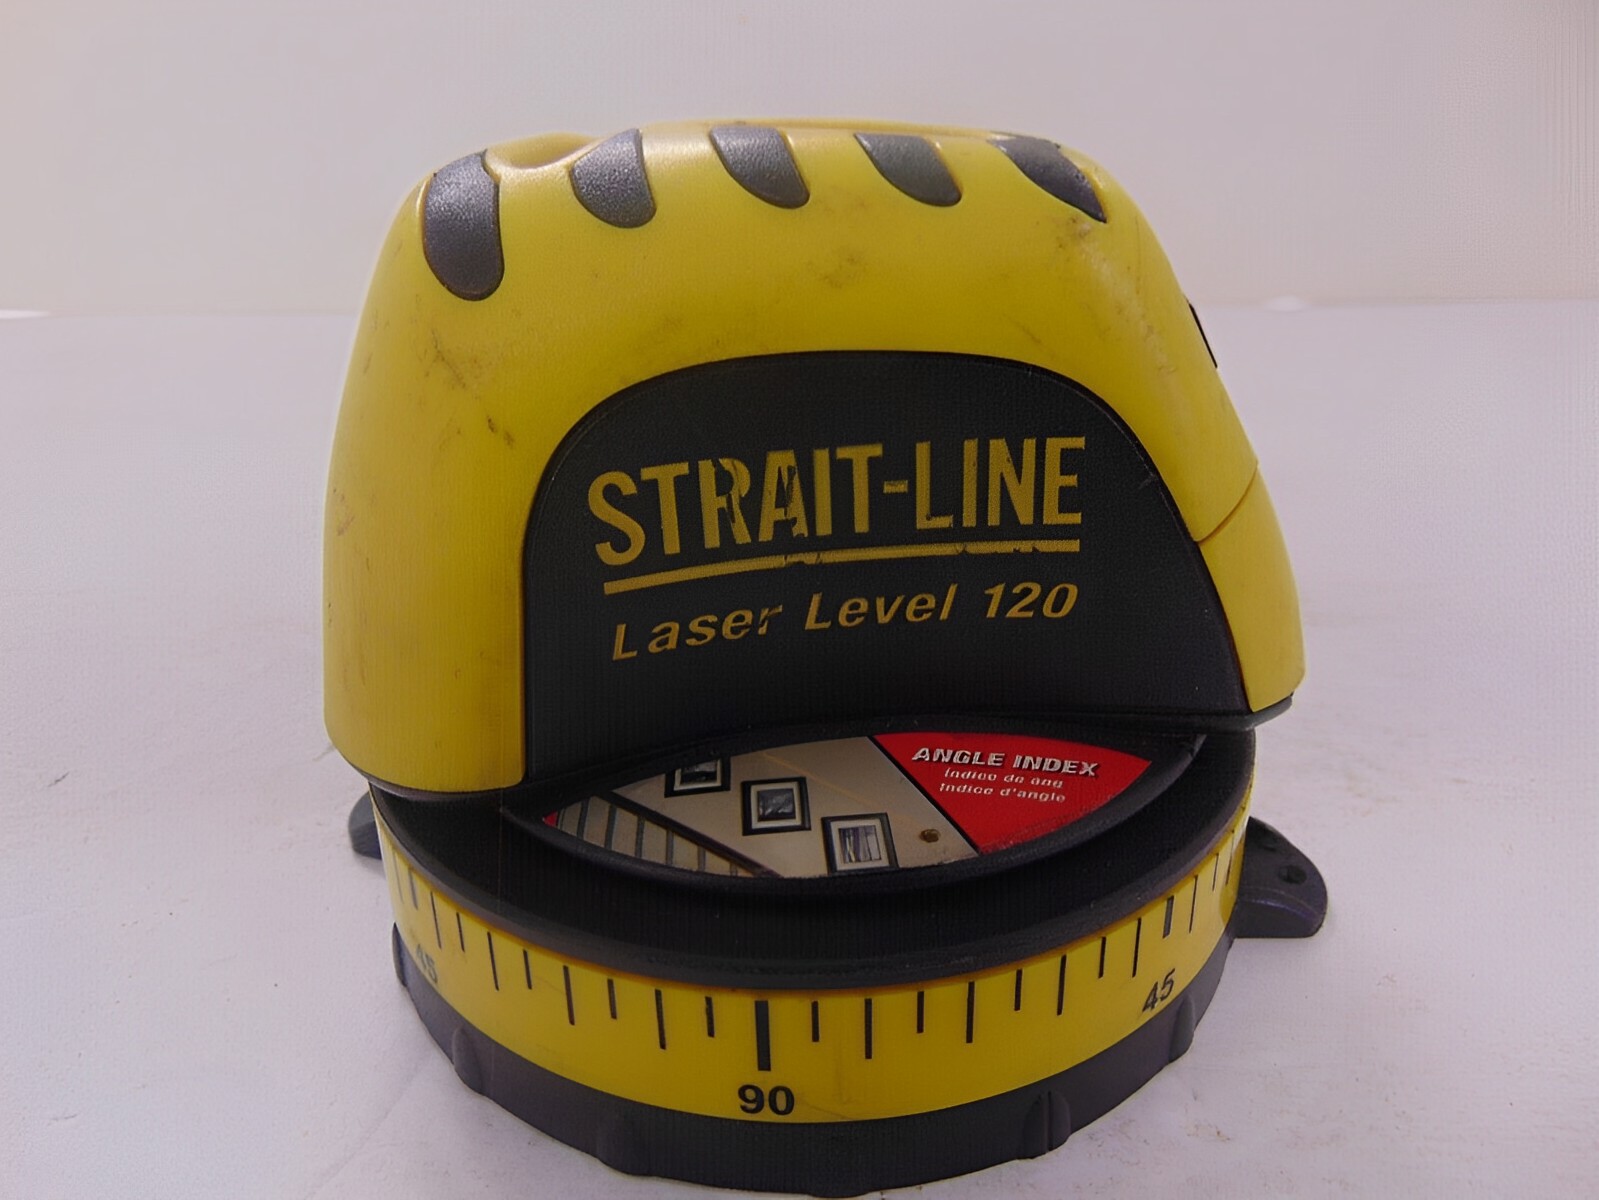
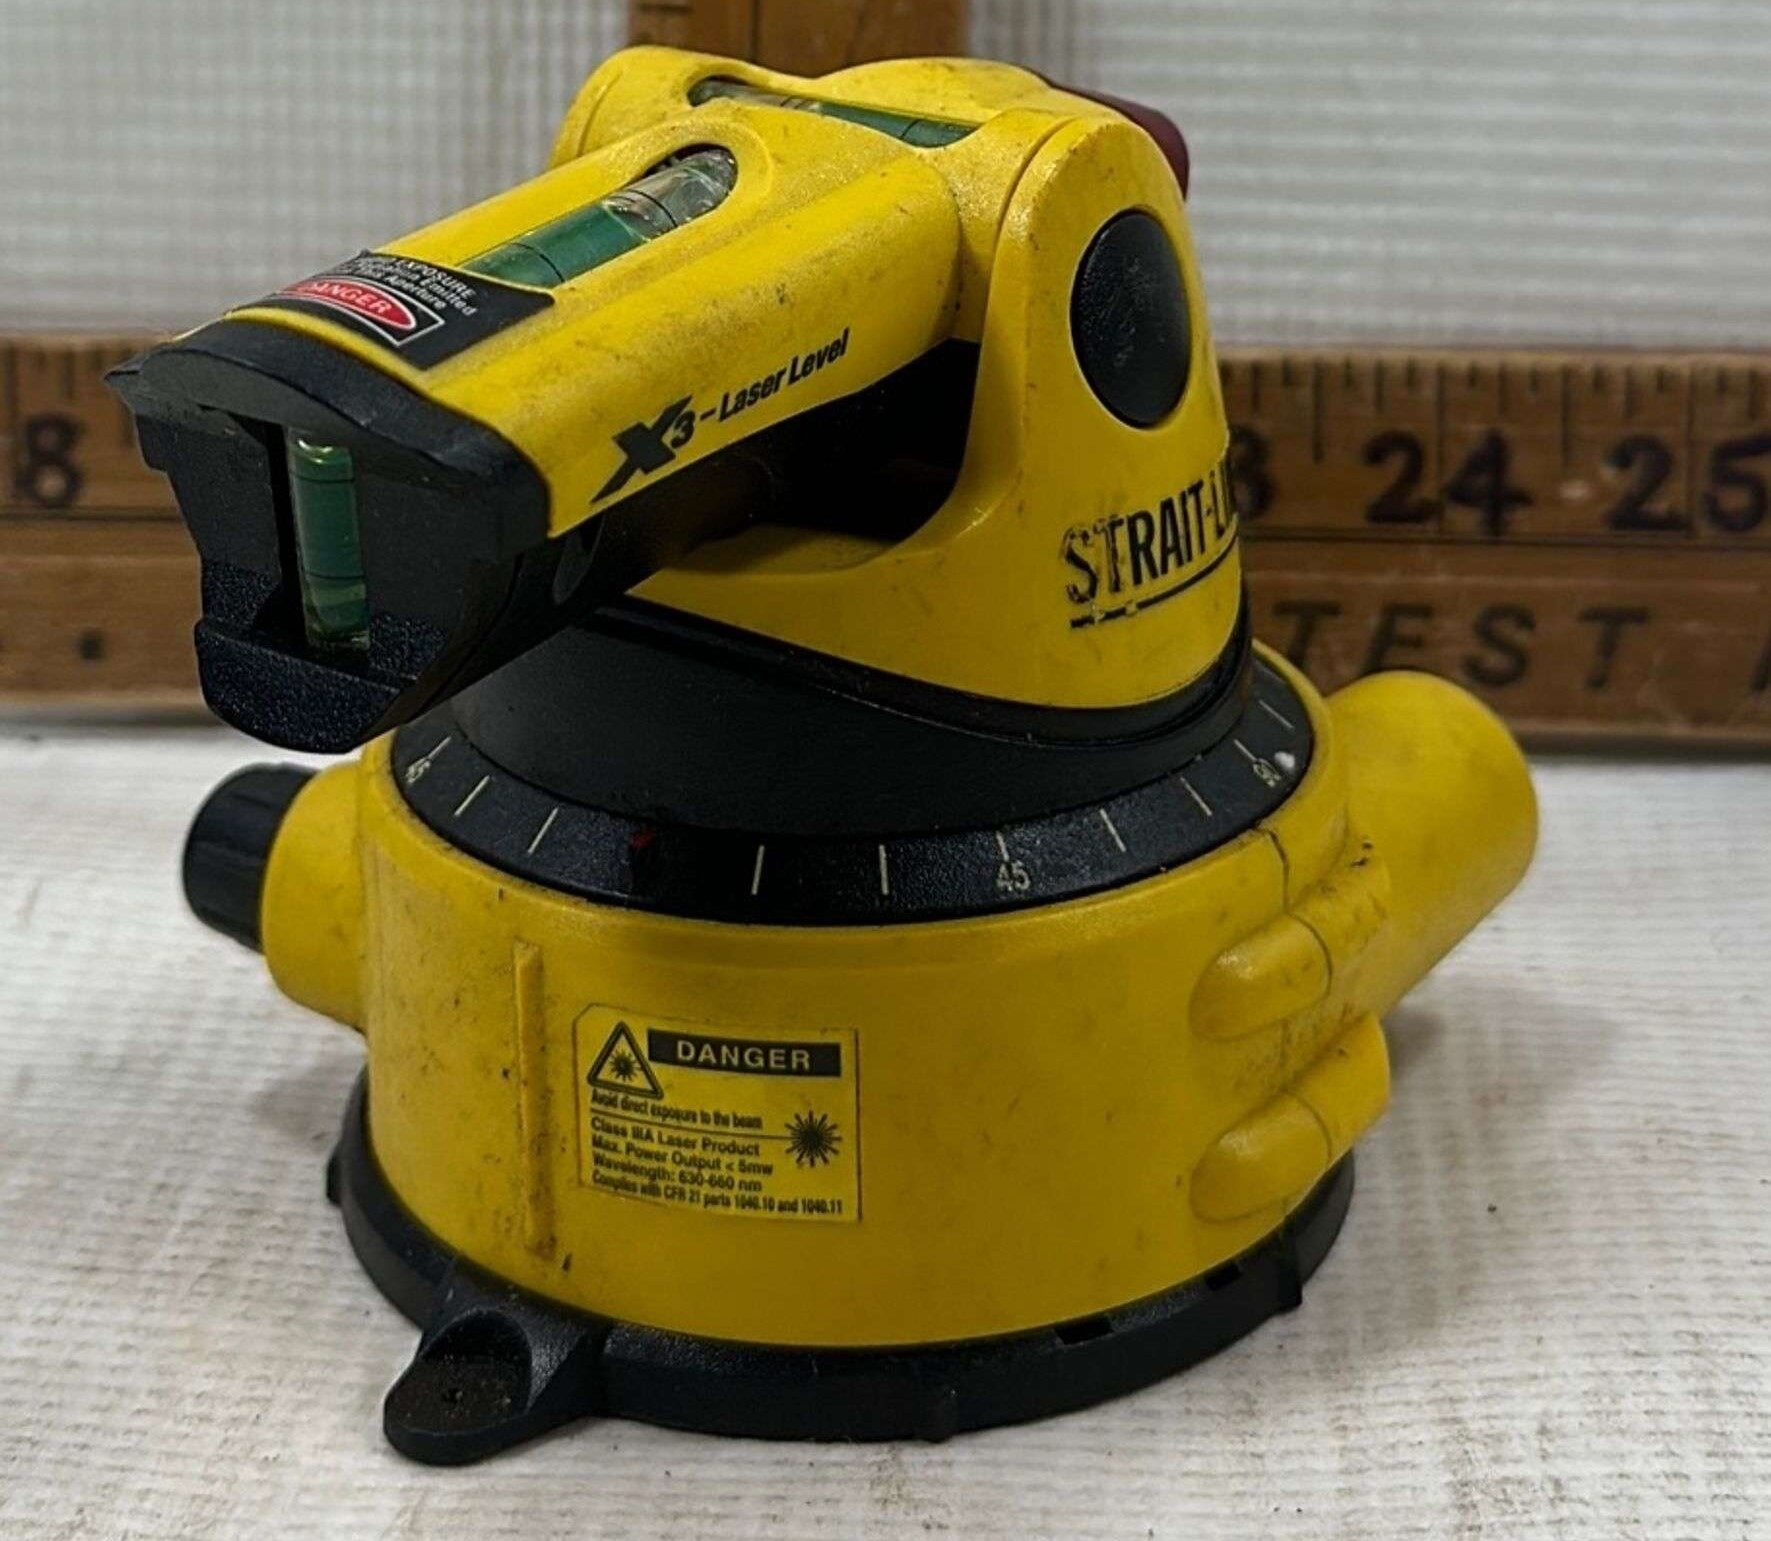
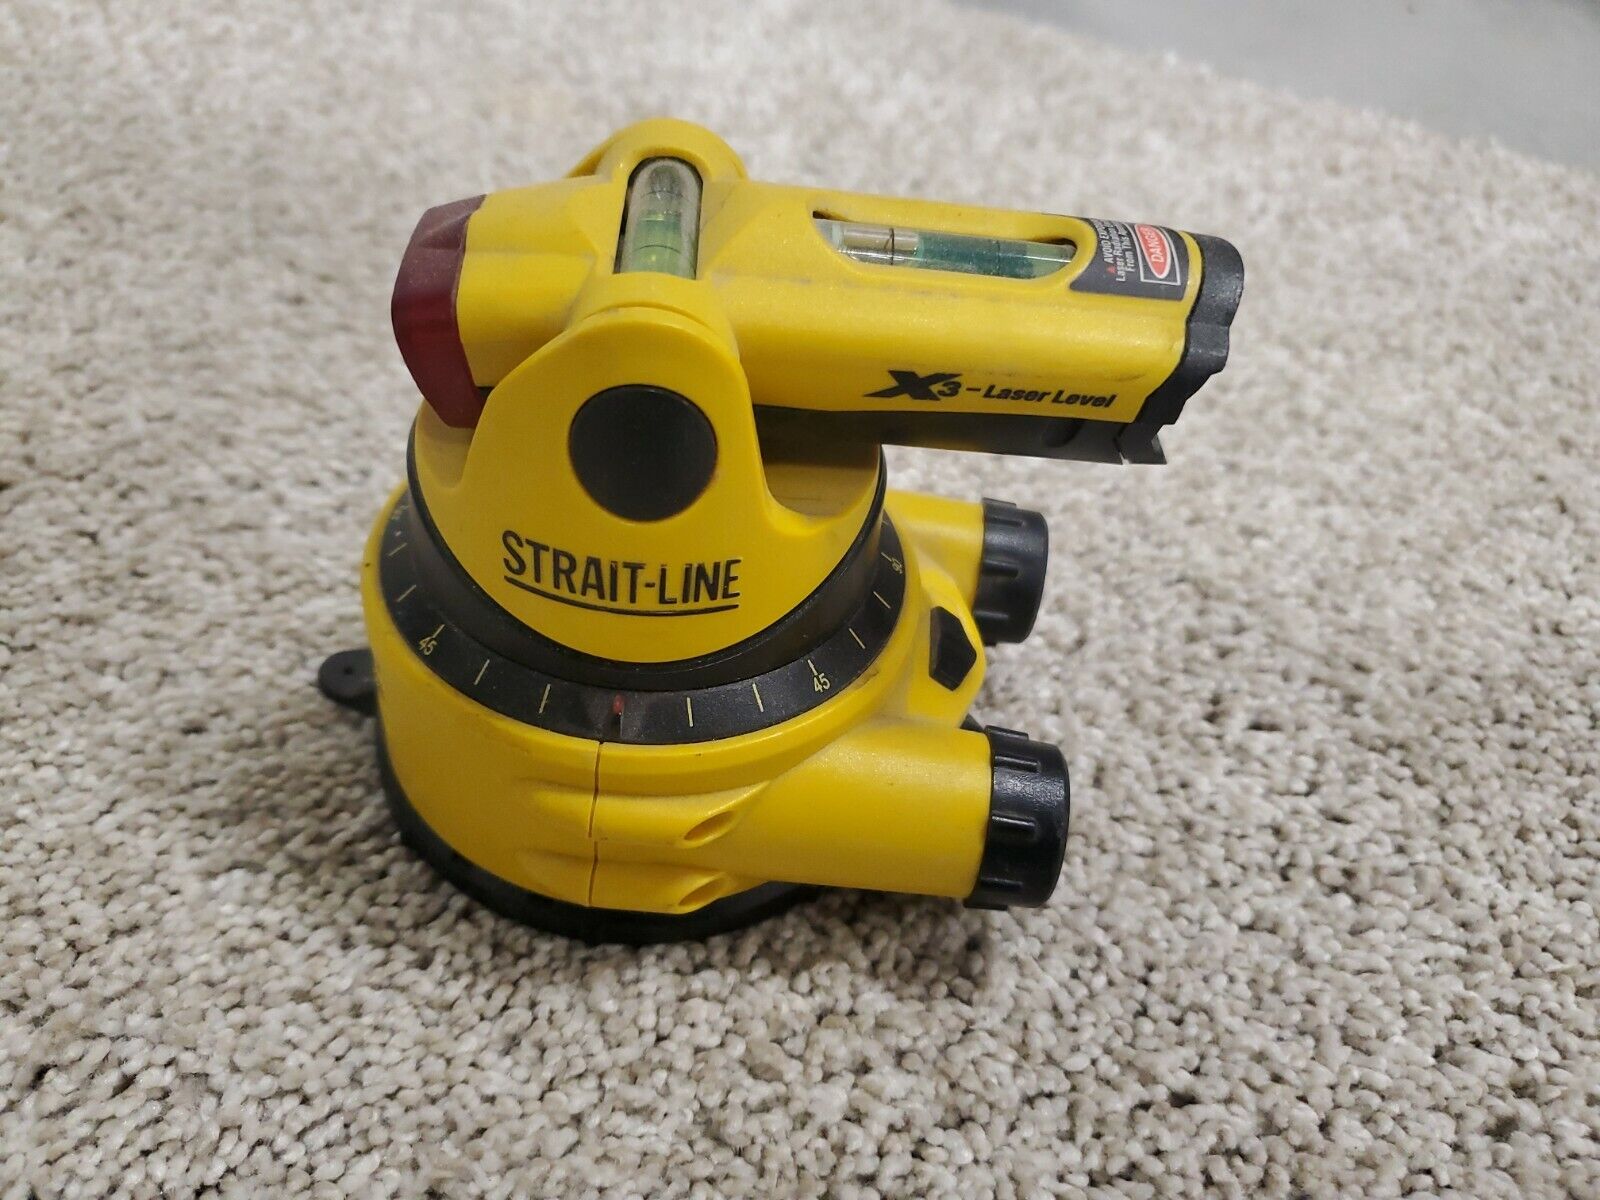
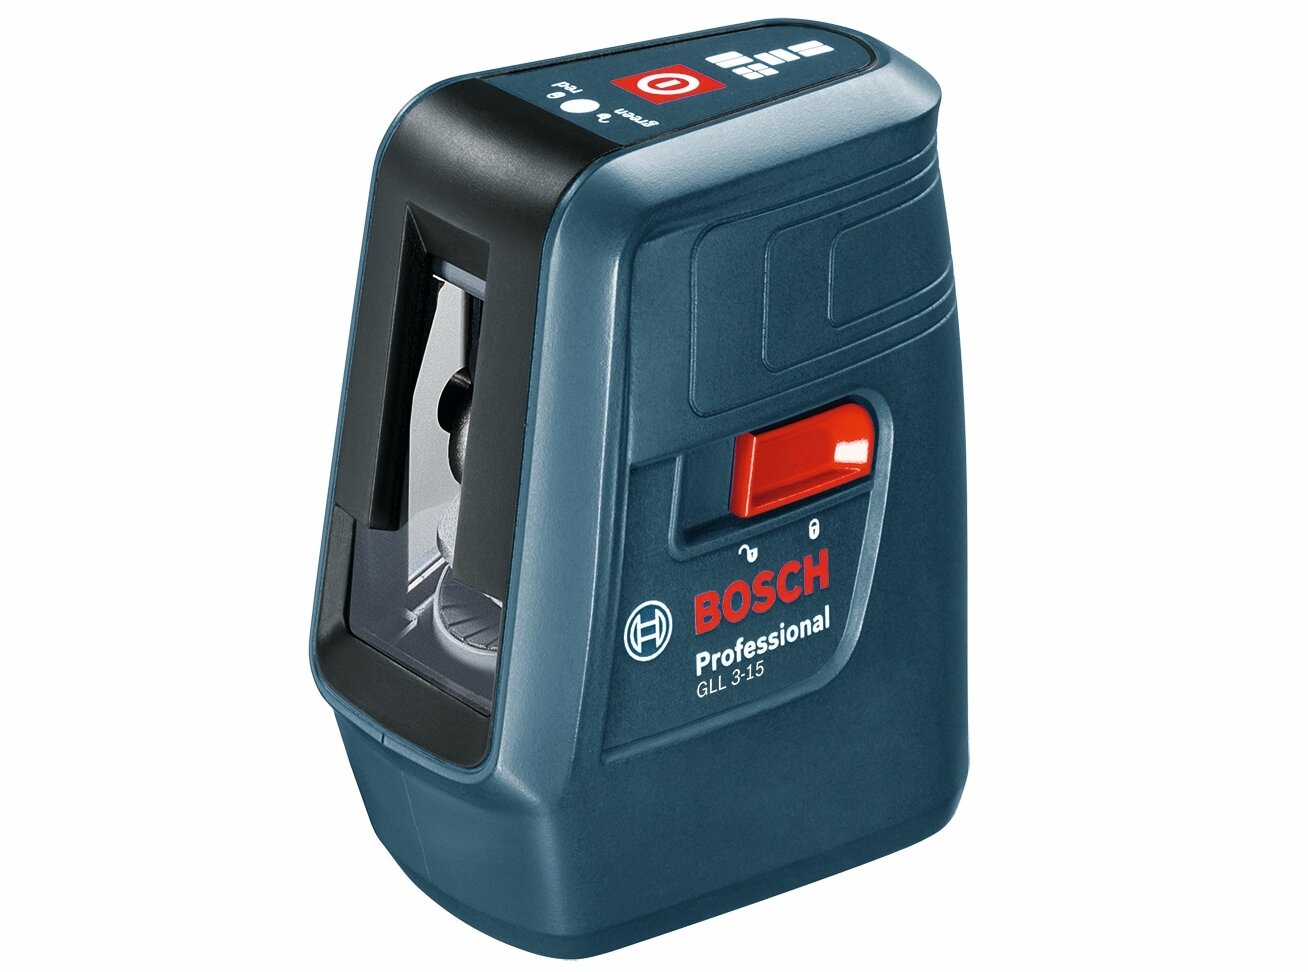
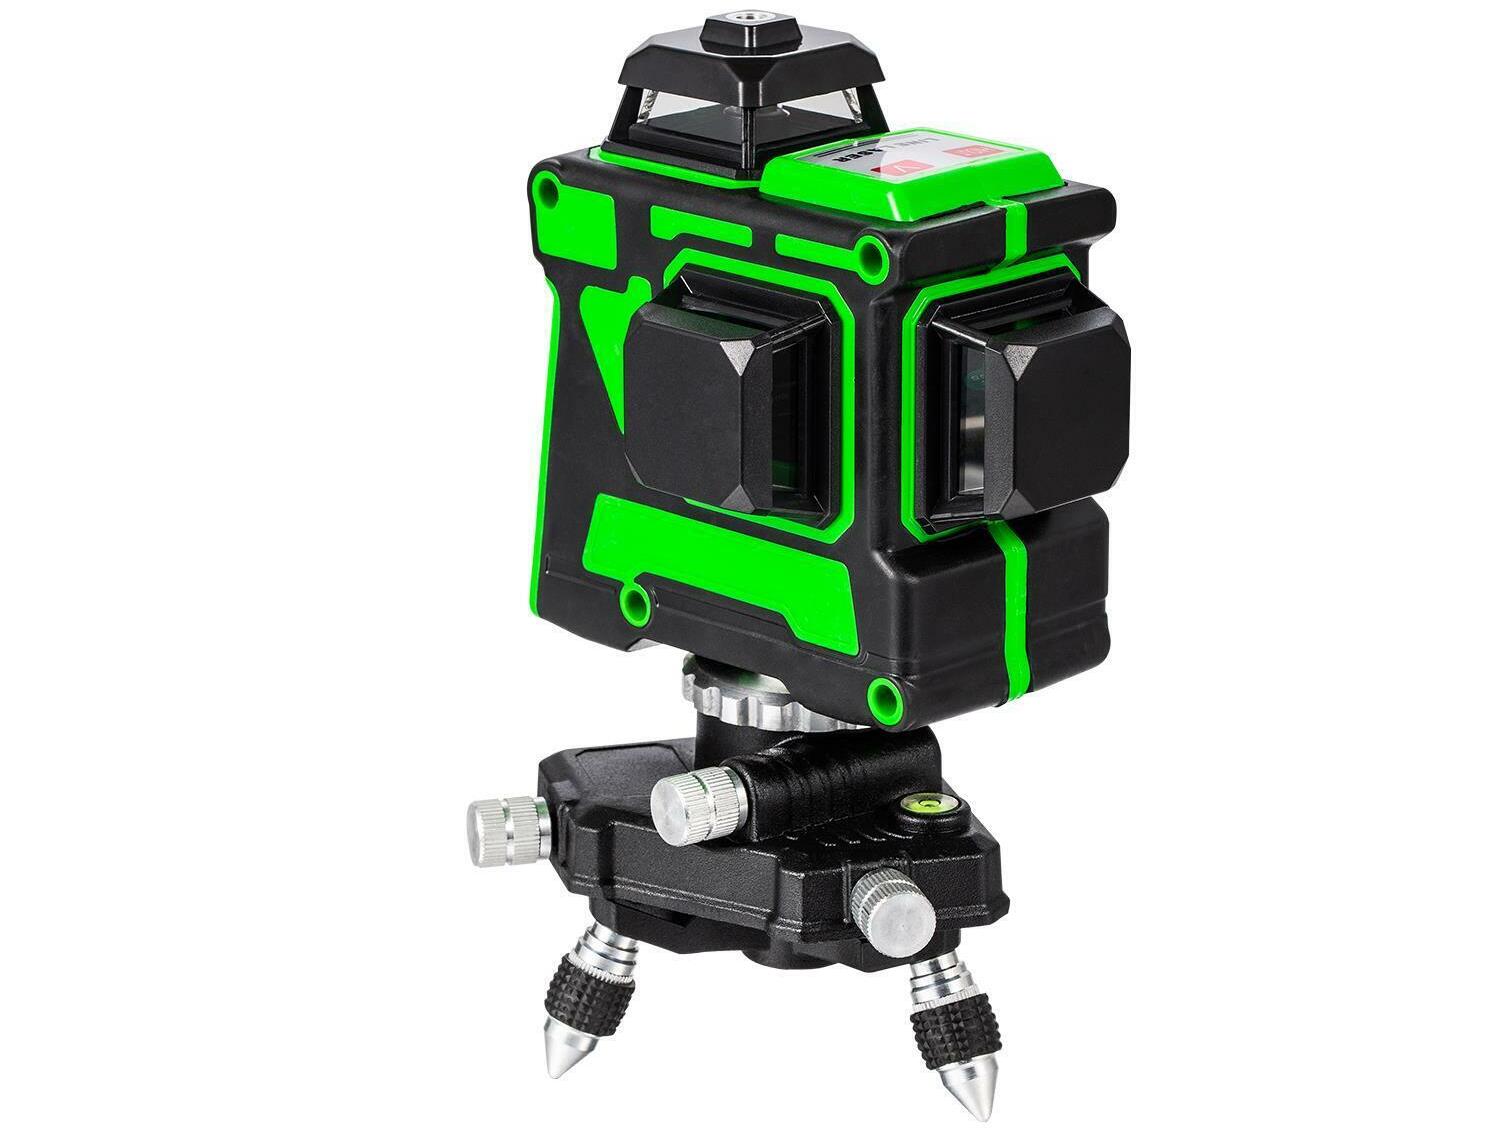
Components and Features of the Strait Line Laser Level
The Strait Line Laser Level is a well-designed tool that offers several components and features to enhance your leveling experience. Let’s take a closer look at the key elements that make up this versatile tool:
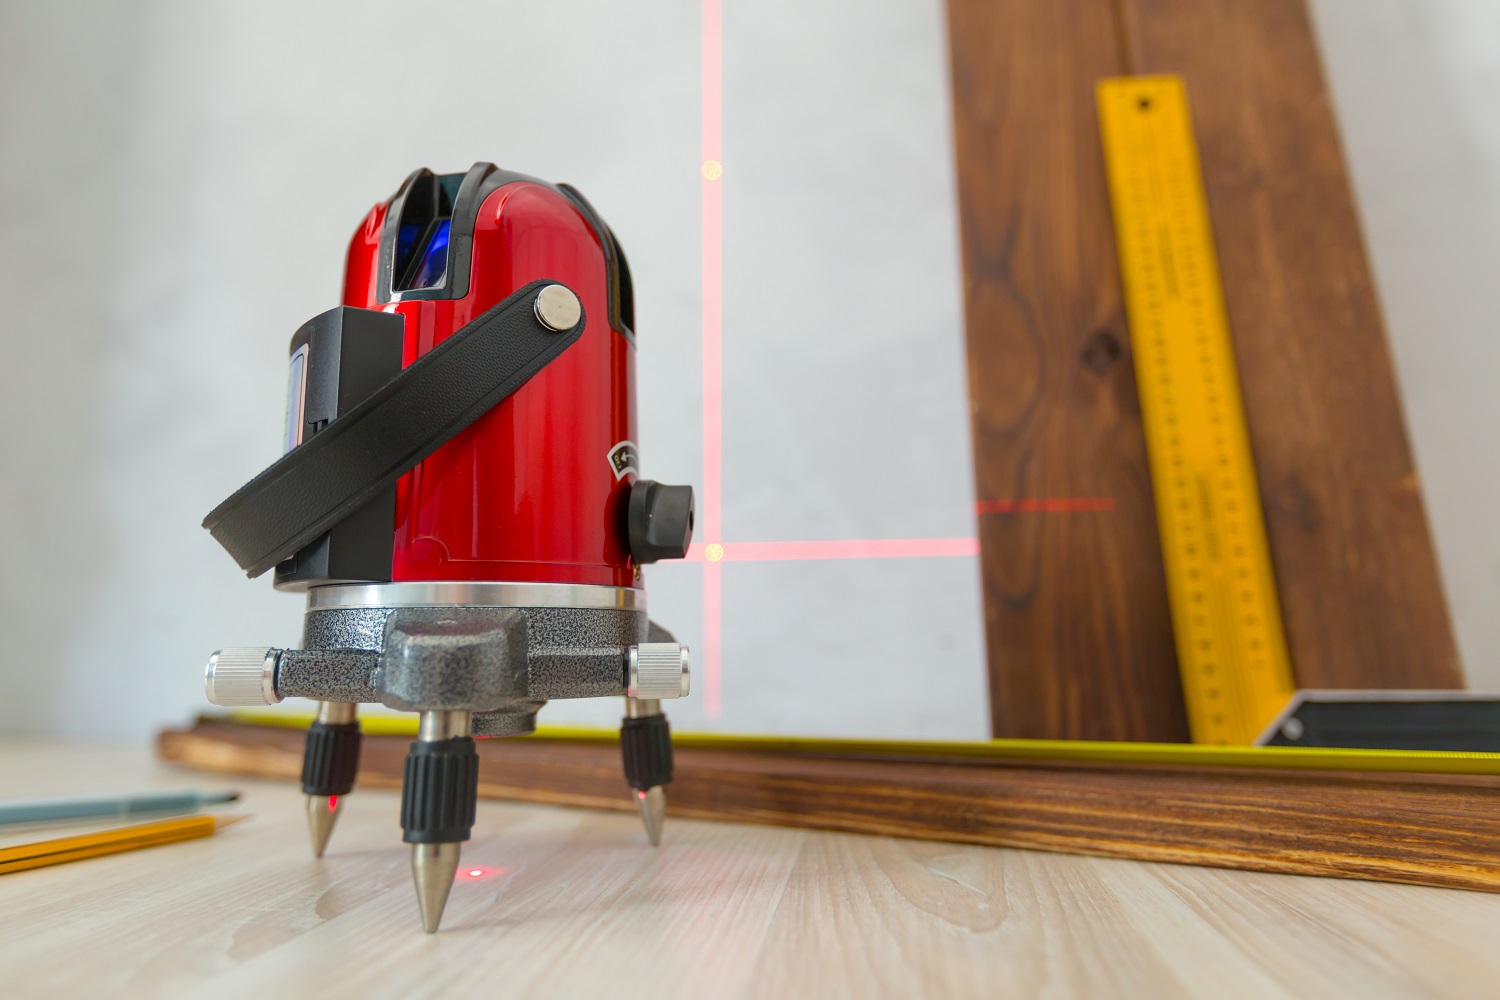
1. Laser Module: The laser module is the heart of the Strait Line Laser Level. It emits a highly visible laser beam that provides a reference point for leveling and alignment. The laser module is typically housed in a durable casing to ensure protection during use.
2. Pendulum System: The pendulum system is responsible for the self-leveling feature of the Strait Line Laser Level. It utilizes a suspended pendulum that automatically adjusts the laser beam to maintain a level position. This ensures that the laser line remains straight and eliminates the need for manual adjustments.
3. Bubble Vials: Many Strait Line Laser Levels come with additional bubble vials for manual leveling. These are small, liquid-filled tubes with a bubble inside. By adjusting the leveling screws, you can align the bubble within the vial to achieve a perfectly level position. This is useful when working on surfaces that are uneven or when the self-leveling feature is turned off.
4. Mounting Options: The Strait Line Laser Level offers versatile mounting options to suit different applications. It may come with a built-in tripod mount or a magnetic base, allowing you to attach it securely to various surfaces. Additionally, some models come with a clamp or bracket to easily mount the laser level on walls or other vertical structures.
5. Laser Beam Control: The Strait Line Laser Level provides controls to adjust the laser beam according to your needs. You can typically toggle between different modes, such as a solid line or a pulse mode for improved visibility in bright conditions. Some laser levels also offer the flexibility to switch between horizontal and vertical lines.
6. Battery Power: The Strait Line Laser Level is powered by batteries, usually AA or AAA. It’s essential to ensure that you have a fresh set of batteries before starting your project to guarantee uninterrupted operation. Some models may also come with a battery level indicator to help you monitor the power status.
7. Protective Case: To keep your Strait Line Laser Level safe during transportation and storage, it often comes with a protective case. This case is designed to provide a snug fit and protect the delicate components from any potential damage.
Overall, the components and features of the Strait Line Laser Level are designed to make your leveling tasks easier, faster, and more accurate. Understanding these elements will help you utilize the tool effectively and get the best results in your projects.
Preparing the Level for Use
Before you can start using the Strait Line Laser Level, it’s important to properly prepare it for use. This involves a few simple steps to ensure that the level is in optimal condition and ready to provide accurate leveling projections. Let’s go through the preparation process:
1. Check the Batteries: The first step is to check the batteries in the Strait Line Laser Level. Make sure you have fresh batteries installed to ensure uninterrupted operation. If the batteries are low or depleted, replace them with new ones before starting your project. This will ensure that the level has enough power to produce a clear and visible laser beam.
2. Inspect the Level: Carefully inspect the Strait Line Laser Level for any visible damage or signs of wear. Check for cracks, scratches, or loose components. If you notice any issues, it’s best to address them before using the level to ensure accurate readings. If the level is damaged beyond repair, it may be necessary to replace it for optimal performance.
3. Clean the Level: Clean the laser module and the level’s casing using a soft, lint-free cloth. This will remove any dust, debris, or fingerprints that can obstruct the laser beam or affect the accuracy of the readings. Avoid using harsh chemicals or abrasive materials as they can damage the level’s surface. A clean laser module will ensure a clear and crisp laser projection.
4. Calibrate if Necessary: Depending on the model of your Strait Line Laser Level, you may need to perform a calibration process. Calibration ensures that the laser beam is accurately aligned with the level’s reference point. Refer to the user manual of your specific level for instructions on how to perform the calibration process. Following this step will guarantee precise and reliable results.
5. Test the Level: Before beginning your project, it is advisable to conduct a quick test to ensure that the level is functioning properly. Start by placing the level on a stable surface, turn it on, and observe the laser beam projection. Ensure that the beam is bright, clear, and projected in a straight line. If you notice any issues with the projection, check the batteries, clean the level, or recalibrate as necessary.
By following these simple preparation steps, you can ensure that your Strait Line Laser Level is ready to deliver accurate and reliable leveling readings. Proper preparation will save you time and frustration during your projects, allowing you to focus on achieving precise and professional results.
Setting up the Strait Line Laser Level
Setting up the Strait Line Laser Level is a crucial step to ensure accurate and reliable leveling projections. Proper setup is essential for achieving precise results in your projects. Let’s walk through the process of setting up the laser level:
1. Select an Ideal Location: Start by choosing the location where you want to position the Strait Line Laser Level. Consider the nature of your project and the type of surface you will be working on. Find a stable and flat surface that allows for proper positioning of the level. Ensure that the surface is free from any obstructions that could interfere with the laser beam.
2. Secure the Level: Depending on the model of the Strait Line Laser Level, you may have different options for securing it in place. If your level comes with a built-in tripod mount, attach it securely to a tripod and position the tripod on the chosen surface. If your laser level has a magnetic base, ensure that the surface you’re working on is magnetic-friendly for proper attachment.
3. Level the Laser: To ensure accurate leveling projections, it’s important to position the Strait Line Laser Level in a leveled position. Activate the self-leveling feature of the laser level, and the internal pendulum system will automatically adjust to achieve a level position. If your laser level doesn’t have a self-leveling feature, you can use the built-in bubble vials or manual leveling screws to achieve a level position.
4. Fine-Tune the Position: Once the laser level is leveled, you may need to fine-tune its position to align it with your desired reference point. Use the adjustment knobs or controls to rotate or tilt the level to achieve the desired alignment. Take your time to make precise adjustments to ensure that the laser projection is in line with your intended target.
5. Check the Projection: After setting up the Strait Line Laser Level, it’s essential to verify the laser projection to ensure its accuracy. Turn on the laser level and observe the projected beam. Verify that it appears as a straight line and that it aligns with your intended reference point. If necessary, make further adjustments to achieve the desired position and projection.
6. Lock the Position: Once you’re satisfied with the positioning and alignment of the Strait Line Laser Level, it’s recommended to lock it in place. This ensures that the level remains immobile during your project and maintains its accuracy. If your level has a locking mechanism, engage it to secure the level in its current position.
By following these steps, you can properly set up the Strait Line Laser Level for accurate leveling projections. Taking the time to set up the level correctly will ensure precise results and make your projects more efficient and professional.
Read more: How To Use A Strait-Line Laser Level 120
Adjusting the Laser Level
Adjusting the laser level is an important step to fine-tune the projection and align it precisely for your specific project. Depending on the nature of your task and the desired outcome, you may need to make adjustments to achieve the most accurate leveling results. Let’s explore the different ways to adjust the Strait Line Laser Level:
1. Adjusting the Line Position: The Strait Line Laser Level typically provides controls to adjust the position of the laser line. You can move the line horizontally or vertically to align it precisely with your desired reference point. Use the adjustment knobs or controls provided on the laser level to make these fine-tune adjustments. Take your time to ensure that the laser line is precisely aligned and meets your project requirements.
2. Changing the Line Orientation: In some cases, you may need to change the orientation of the laser line projection. The Strait Line Laser Level often offers the flexibility to switch between horizontal and vertical lines. You can toggle the line orientation according to your project needs using the controls provided. This capability allows you to adapt the laser level for different applications, whether it’s aligning objects horizontally or vertically.
3. Adjusting the Laser Brightness: Depending on the working environment or lighting conditions, you may need to adjust the brightness of the laser beam. Some Strait Line Laser Levels offer different brightness settings, allowing you to select the most suitable option for optimal visibility. If you’re working in bright conditions, you may want to switch to a higher brightness setting to ensure that the laser line is clearly visible. Conversely, in dim environments, a lower brightness setting may be more suitable.
4. Fine-Tuning with Manual Leveling: In situations where the self-leveling feature of the laser level is not available or not suitable, you can use the manual leveling option. The Strait Line Laser Level often comes equipped with bubble vials or manual leveling screws for this purpose. By observing the bubble position in the vials or adjusting the screws, you can manually level the laser for accurate projections. This allows you to compensate for uneven surfaces or situations where self-leveling is not possible.
5. Verifying the Accuracy: Once you’ve made your adjustments, it is crucial to verify the accuracy of the laser level. Double-check the alignment of the laser line with your reference point or target surface. Use a measuring tape or a straightedge to confirm that the laser line is straight and properly aligned. Making slight adjustments as needed to achieve the desired accuracy will ensure precise results in your projects.
Remember, the process of adjusting the Strait Line Laser Level may vary slightly between models. It’s important to refer to the user manual provided with your specific laser level for detailed instructions on how to make adjustments. Additionally, always take the time to carefully inspect and verify the accuracy of the laser level before starting any project to ensure reliable and professional results.
When using a Strait Line laser level, make sure to set it on a stable surface and adjust the level bubble to ensure accuracy. Also, mark the reference line with a pencil for easy visibility.
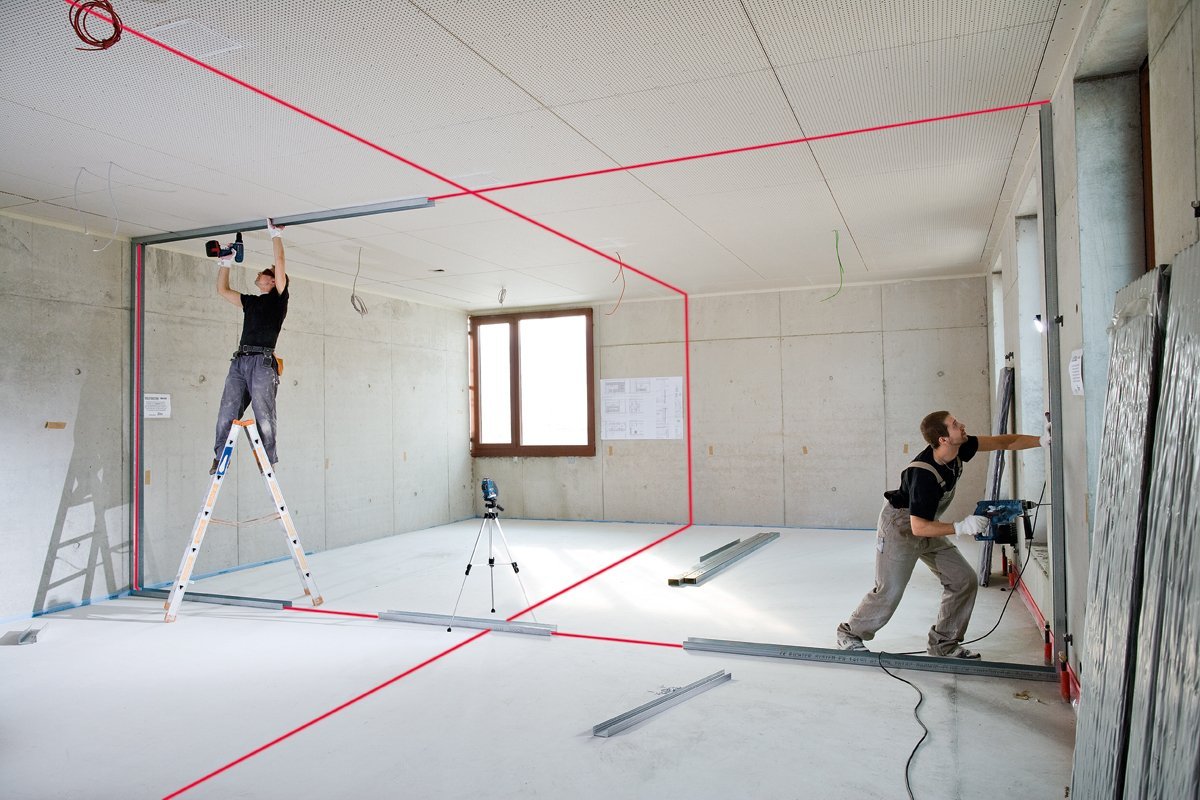
Using the Strait Line Laser Level for Horizontal Applications
The Strait Line Laser Level is a valuable tool for a wide range of applications, including horizontal leveling tasks. Whether you’re installing cabinets, aligning shelves, or hanging picture frames, the laser level can help you achieve precise horizontal alignments. Here’s how to use the Strait Line Laser Level for horizontal applications:
1. Set Up the Laser Level: Begin by setting up the Strait Line Laser Level according to the previous instructions. Make sure it is securely positioned on a stable surface and leveled using the self-leveling feature or the bubble vials.
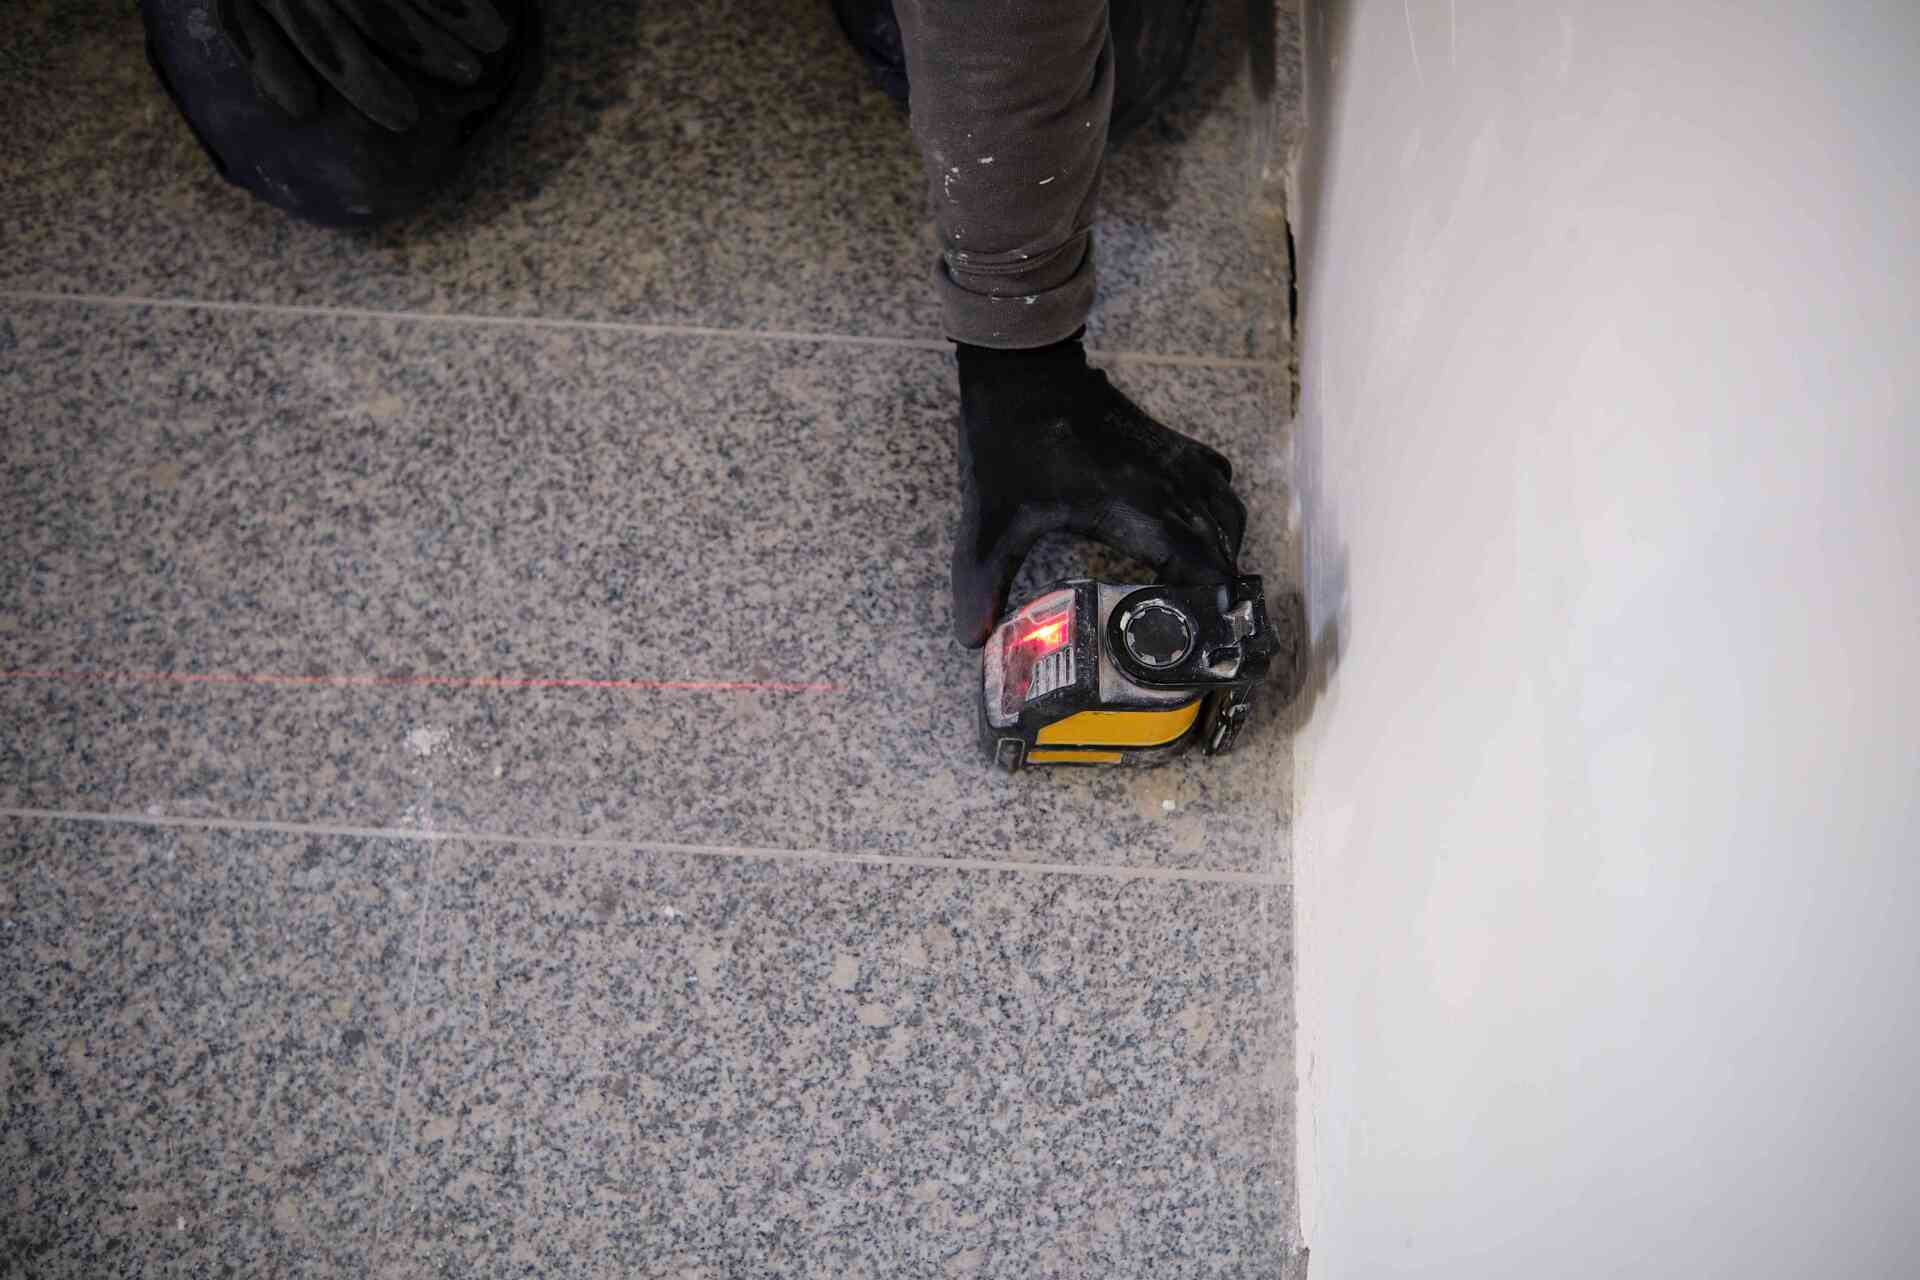
2. Determine the Reference Line: Decide where you want the horizontal reference line to be projected. This will depend on your specific project requirements. For example, if you are installing cabinets, you may want the laser line to represent the top edge of the cabinets. Mark this reference line on the wall or surface using a pencil or a removable marker.
3. Activate the Laser: Turn on the Strait Line Laser Level and activate the horizontal laser projection. The level will project a laser line along the determined reference line on the wall or surface. Ensure that the laser line is aligned with the marked reference line.
4. Adjust the Laser Position: Use the adjustment knobs or controls on the laser level to fine-tune the position of the laser line. Make small adjustments as needed to align the laser line precisely with the reference line. Take your time to ensure accurate alignment for professional-looking results.
5. Verify Alignment and Levelness: Use a measuring tape, a straightedge, or a bubble level to verify the alignment and levelness of the laser line. Check multiple points along the reference line to ensure that the line is straight and level. Make any necessary adjustments to achieve the desired levelness and alignment.
6. Proceed with the Project: Once you have verified the alignment and levelness of the laser line, you can proceed with your project. Use the laser line as a guide for installing cabinets, aligning shelves, or hanging picture frames. The laser line provides a clear and accurate reference point to ensure that everything is level and aligned correctly.
7. Repeat as Needed: Depending on the scope of your project, you may need to repeat the above steps for multiple horizontal reference lines. Take the time to carefully set up and adjust the laser level for each line to achieve the desired results throughout your project.
Using the Strait Line Laser Level for horizontal applications simplifies the process of aligning objects and ensures a professional finish. By following these steps, you can take advantage of the laser level’s precision and accuracy to achieve straight and level horizontal alignments in your projects.
Using the Strait Line Laser Level for Vertical Applications
The versatility of the Strait Line Laser Level extends beyond horizontal applications. It is also highly effective for vertical leveling tasks, allowing you to align objects such as walls, tiles, and artwork with precision. Here’s a step-by-step guide on how to use the Strait Line Laser Level for vertical applications:
1. Set Up the Laser Level: Begin by setting up the Strait Line Laser Level as instructed previously. Ensure that it is securely positioned on a stable surface and leveled using the self-leveling feature or the bubble vials.
2. Determine the Reference Line: Decide where you want the vertical reference line to be projected. This will depend on the specific vertical alignment you want to achieve. For example, if you are installing tiles, you may want the laser line to represent the vertical edge of the tiles. Mark this reference line on the wall or surface using a pencil or a removable marker.
3. Activate the Laser: Turn on the Strait Line Laser Level and activate the vertical laser projection. The level will project a laser line along the determined reference line on the wall or surface. Ensure that the laser line is aligned with the marked reference line.
4. Adjust the Laser Position: Use the adjustment knobs or controls on the laser level to fine-tune the position of the laser line. Make small adjustments as needed to align the laser line precisely with the reference line. Take your time to ensure accurate alignment for a professional and straight vertical line.
5. Verify Alignment and Plumness: Use a measuring tape, a straightedge, or a bubble level to verify the alignment and plumness of the laser line. Check multiple points along the reference line to ensure that the line is straight and aligned vertically. Make any necessary adjustments to achieve the desired alignment and plumness.
6. Proceed with the Project: Once you have verified the alignment and plumness of the laser line, you can proceed with your project. Use the laser line as a guide for installing walls, aligning tiles, or hanging artwork. The laser line provides a clear and accurate reference point to ensure that everything is vertically aligned and straight.
7. Repeat as Needed: Depending on the scope of your project, you may need to repeat the above steps for multiple vertical reference lines. Take the time to carefully set up and adjust the laser level for each line to achieve the desired results throughout your project.
By utilizing the Strait Line Laser Level for vertical applications, you can streamline the process of aligning and leveling vertical components. This tool’s accuracy and projection capabilities make it an invaluable asset in achieving precise vertical alignments and ensuring that your projects have a polished and professional appearance.
Additional Tips for Using the Strait Line Laser Level
While using the Strait Line Laser Level, consider the following tips to enhance your experience and achieve optimal results:
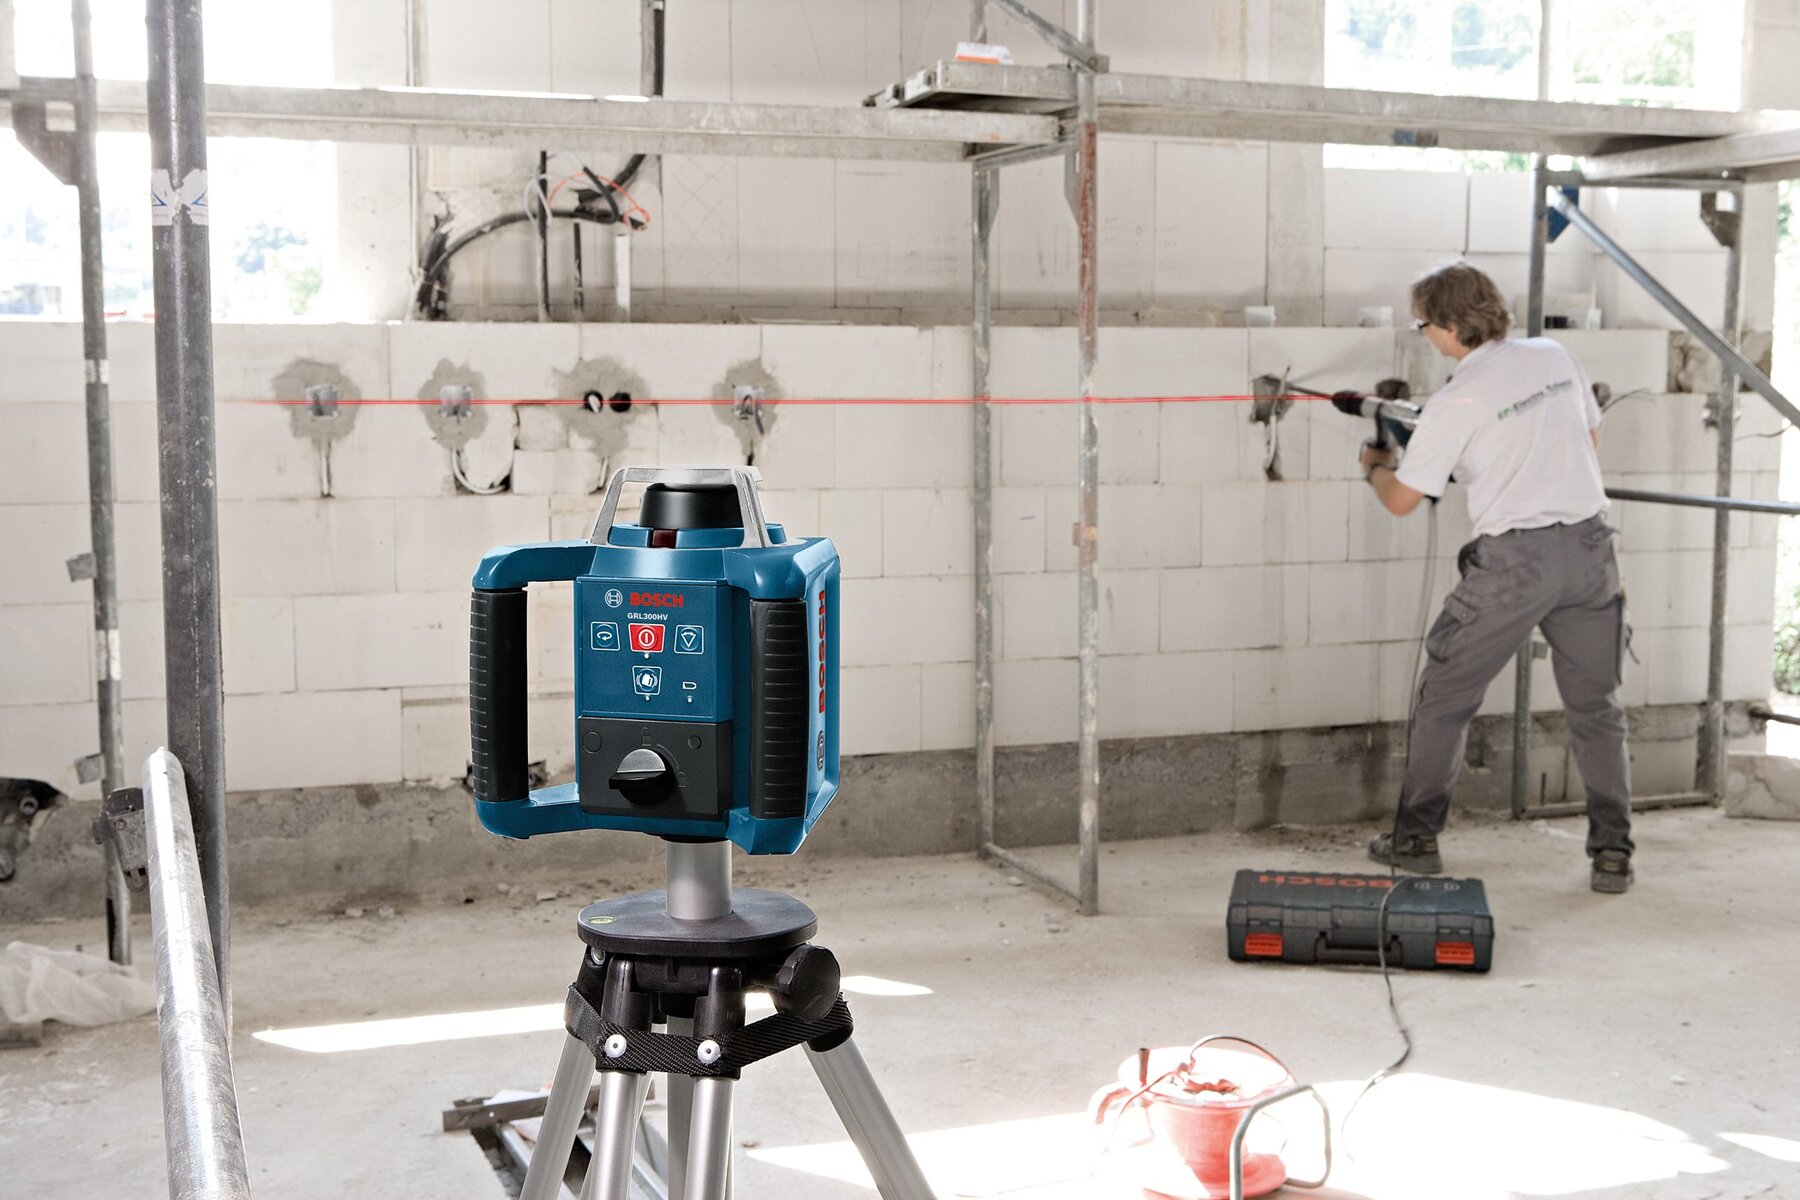
1. Use a Laser Detector: In certain situations where there is poor visibility or the laser line is difficult to see, consider using a laser detector. A laser detector can pick up the laser beam’s signal and provide a visual or audible indication when it is detected. This can be especially useful when working outdoors or in brightly lit environments.
2. Secure the Leveling Surface: To ensure accurate leveling, make sure that the surface where you place the Strait Line Laser Level is stable and secure. Any movement or instability can affect the leveling readings and compromise the accuracy of the projections. Use a tripod, a mounting bracket, or other secure options provided by the laser level to stabilize the surface.
3. Consider a Laser Target Plate: If you’re working on a highly reflective or uneven surface where it’s challenging to see the laser line, a laser target plate can be helpful. A target plate is a reflective surface that you can position on the surface where you want to project the laser line. The laser beam will reflect off the plate, making it easier for you to observe the line’s position and alignment.
4. Take Safety Precautions: Laser levels emit a concentrated beam of light, which can be harmful to the eyes if directly exposed. Always exercise caution when working with the Strait Line Laser Level. Avoid looking directly into the laser beam and ensure that others in the vicinity are also aware of the laser’s presence. If necessary, wear protective eyewear to safeguard your eyes from the laser’s intensity.
5. Plan and Measure Twice: Before starting any project, take the time to plan and measure your desired levels or alignments accurately. This will help you determine the reference points and guide the positioning of the Strait Line Laser Level. Remember the old adage: “Measure twice, cut once.” This principle applies to leveling as well, ensuring that you achieve precise results the first time.
6. Follow Manufacturer’s Instructions: Each model of the Strait Line Laser Level may have specific instructions and recommended usage guidelines. Make sure to read and follow the manufacturer’s instructions provided with your specific laser level. This will help you understand the features, limitations, and proper usage techniques to get the best performance out of your tool.
By incorporating these additional tips, you can maximize the effectiveness of the Strait Line Laser Level and make your leveling tasks more efficient and accurate. Always prioritize safety and precision to achieve the desired results in your projects.
Read more: How To Use A Strait-Line Laser Level 64001
Maintenance and Storage of the Strait Line Laser Level
To ensure the longevity and optimal performance of your Strait Line Laser Level, it’s important to follow proper maintenance and storage practices. Regular maintenance will keep the tool in excellent condition, while proper storage will protect it from damage. Here are some guidelines to follow:
1. Clean the Laser Level: After each use, take the time to clean the laser level to remove any dust, debris, or residue that may have accumulated. Use a soft, lint-free cloth or a brush to gently wipe the laser module and casing. Avoid using harsh chemicals or abrasive materials, as they can damage the surface. Keeping the laser level clean will help maintain the visibility and accuracy of the laser projection.
2. Check the Batteries: Regularly inspect the batteries in your Strait Line Laser Level. Ensure that they are functioning well and have sufficient power for accurate operation. Replace the batteries as needed to prevent any interruptions during your projects. It’s also a good idea to remove the batteries when storing the laser level for an extended period to prevent corrosion.
3. Protect the Laser Level: When not in use, store the Strait Line Laser Level in its original case or a protective storage container. This will shield it from dust, moisture, and potential impacts that could damage sensitive components. Additionally, store the laser level in a cool and dry environment to avoid exposure to extreme temperatures or high humidity, which can negatively affect its performance.
4. Avoid Excessive Impact or Vibration: The Strait Line Laser Level contains delicate internal components that can be damaged by excessive impact or vibration. Handle the tool with care and avoid dropping it or subjecting it to rough treatment. Excessive impact or vibration can misalign the laser beams or affect the internal calibration.
5. Calibrate and Service Regularly: Periodically check the calibration of your Strait Line Laser Level to ensure accurate leveling projections. Refer to the manufacturer’s guidelines for the recommended calibration intervals. If you notice any significant discrepancies or issues with the level’s performance, consider taking it to a professional service center for calibration or repair.
6. Store Accessories Properly: If your Strait Line Laser Level comes with additional accessories such as a tripod or mounting brackets, store them appropriately when not in use. Keep them in a designated compartment of the original case or a separate container to prevent loss or damage.
Following these maintenance and storage practices will help prolong the lifespan of your Strait Line Laser Level and ensure its continued accuracy and reliability. By taking care of the tool, you can rely on it for many projects to come and achieve precise leveling results for a professional finish.
Conclusion
The Strait Line Laser Level is an indispensable tool for achieving precise and professional-level results in your leveling tasks. Whether you’re a professional contractor or a DIY enthusiast, this tool can simplify the process of aligning and leveling objects, making your projects more efficient and accurate.
Throughout this article, we have explored how to use the Strait Line Laser Level effectively. We started by understanding its functionality, components, and features. We then discussed the importance of preparing the level for use and setting it up correctly to ensure accurate leveling projections. We also explained how to adjust the laser level for fine-tuning and presented specific instructions for using it in both horizontal and vertical applications.
Additionally, we provided valuable tips to enhance your experience with the Strait Line Laser Level, such as using laser detectors, securing the leveling surface, considering laser target plates, and taking safety precautions. We also emphasized the necessity of proper maintenance and storage practices to preserve the level’s longevity and performance.
By following the guidelines outlined in this article, you can harness the power and precision of the Strait Line Laser Level to achieve straight and level lines with ease. Your projects will benefit from the accuracy and professionalism that this tool brings to the table, resulting in high-quality outcomes that are sure to impress.
Remember to always consult the manufacturer’s instructions provided with your specific laser level, as different models may have variations in usage and features. Prioritize safety, accuracy, and attention to detail throughout your projects to ensure the best results.
Now that you have a comprehensive understanding of how to use the Strait Line Laser Level, it’s time to put your knowledge into action. So go ahead, level with confidence, and take your projects to new heights with the help of the Strait Line Laser Level.
Now that you've mastered using your Strait Line laser level, why not tackle some DIY projects yourself? Our next guide delves into the perks of engaging in these personal projects. From crafting unique home decor to building functional garden structures, DIY endeavors allow creativity to flourish. Not only do you save money, but you also gain skills that last a lifetime. Ready to start your own project? Our article on DIY projects is just the resource you need.
Frequently Asked Questions about How Do I Use The Strait Line Laser Level
Was this page helpful?
At Storables.com, we guarantee accurate and reliable information. Our content, validated by Expert Board Contributors, is crafted following stringent Editorial Policies. We're committed to providing you with well-researched, expert-backed insights for all your informational needs.

0 thoughts on “How Do I Use The Strait Line Laser Level”