Articles
How To Use Cross Line Laser Level
Modified: October 29, 2024
Learn how to effectively use a cross-line laser level in this informative article. Find helpful tips and techniques for improved accuracy and precision.
(Many of the links in this article redirect to a specific reviewed product. Your purchase of these products through affiliate links helps to generate commission for Storables.com, at no extra cost. Learn more)
Introduction
Welcome to the world of construction, renovations, and DIY projects. Whether you’re a professional builder or a passionate DIY enthusiast, having the right tools is essential to ensure accuracy and efficiency in your work. One such tool that has revolutionized the way we measure and level surfaces is the cross line laser level.
A cross line laser level is a versatile tool that projects two perpendicular laser lines (horizontal and vertical) onto surfaces, allowing for precise alignment and leveling. In this article, we will explore the benefits of using a cross line laser level, safety precautions to consider, and step-by-step instructions on how to use this tool effectively.
By the end of this article, you will have a clear understanding of how to make the most out of your cross line laser level, ensuring that your projects are completed with accuracy and professionalism.
Key Takeaways:
- Using a cross line laser level enhances accuracy, saves time, increases productivity, and reduces errors. Its versatility, ease of use, and safety features make it a valuable tool for professionals and DIY enthusiasts.
- Proper setup, alignment, and maintenance are crucial for achieving accurate measurements and prolonging the lifespan of a cross line laser level. Following safety precautions and utilizing additional features can optimize its functionality.
Read also: 13 Best Cross Line Laser Level for 2025
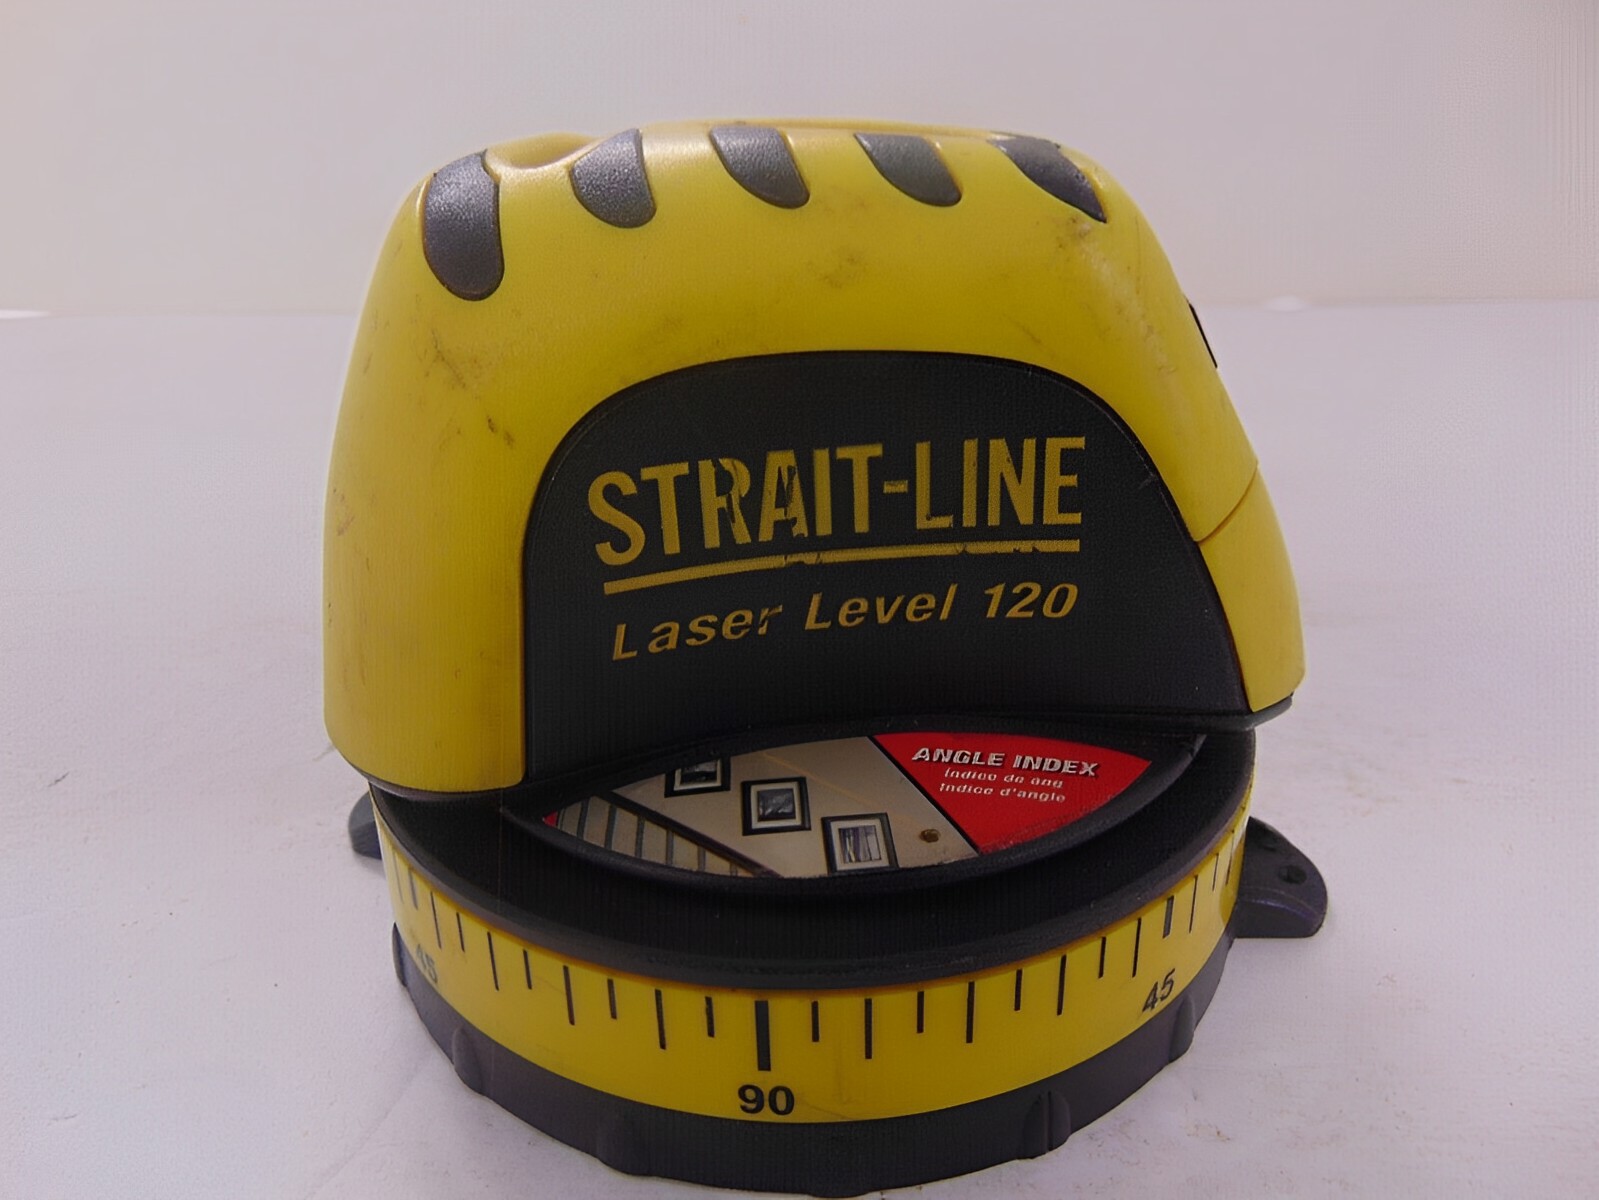
What is a Cross Line Laser Level?
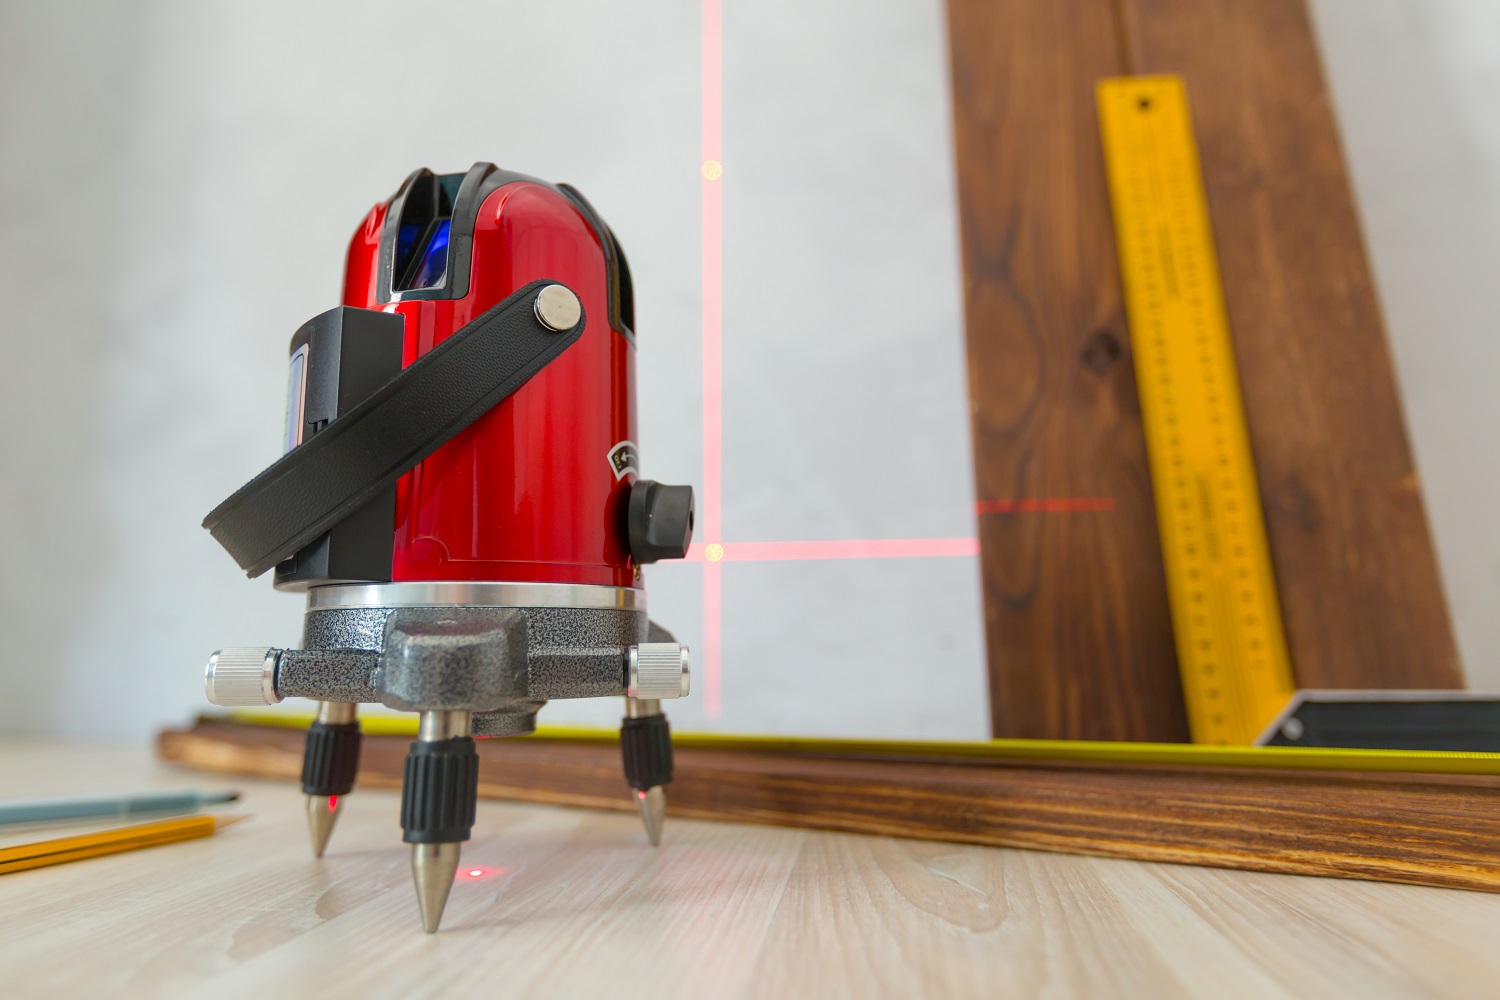
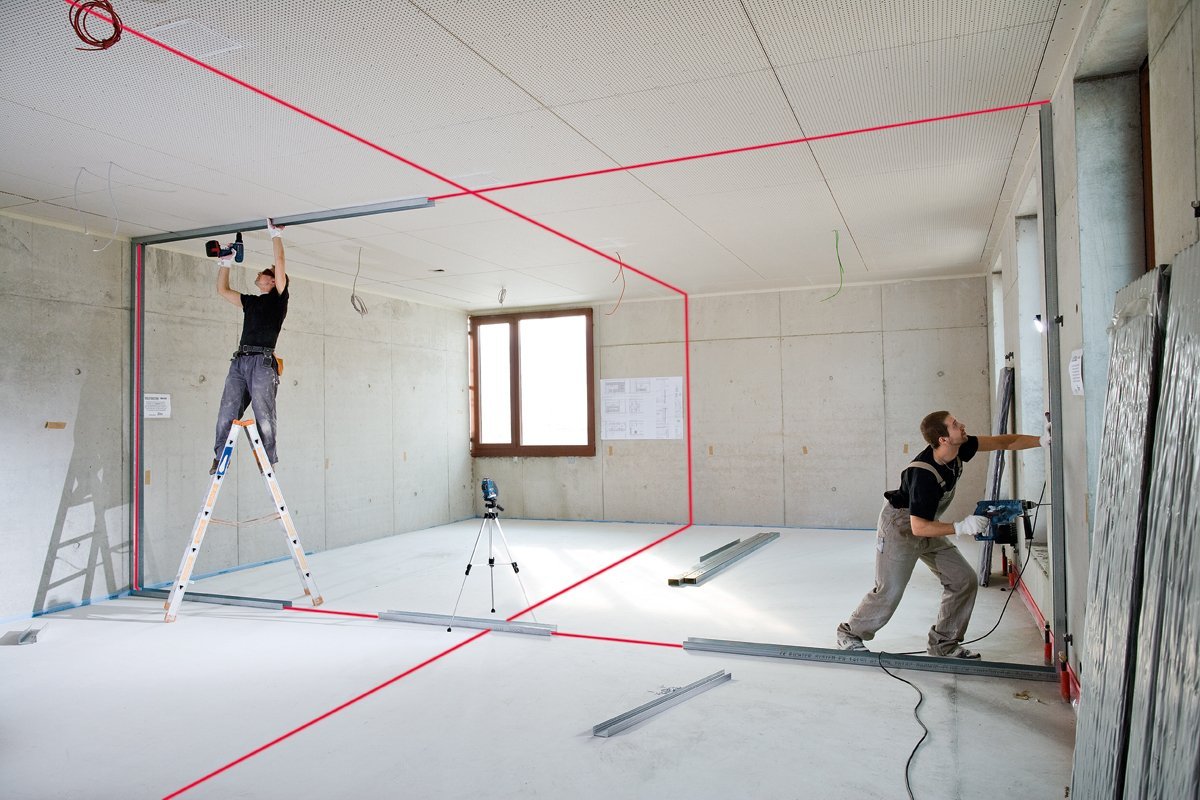
A cross line laser level is a precise leveling tool that emits two intersecting laser beams, one horizontal and one vertical. These laser lines create a cross pattern on surfaces such as walls, floors, and ceilings. The device is typically mounted on a tripod or attached to a surface using a magnetic or clamp system.
Unlike traditional bubble levels or manual leveling methods, a cross line laser level allows for quick and accurate leveling over larger distances. It is especially useful when it comes to tasks such as installing tiles, hanging shelves, mounting cabinets, aligning frames, and more. The laser lines projected by the tool act as visual guides, ensuring that your work is perfectly level and aligned.
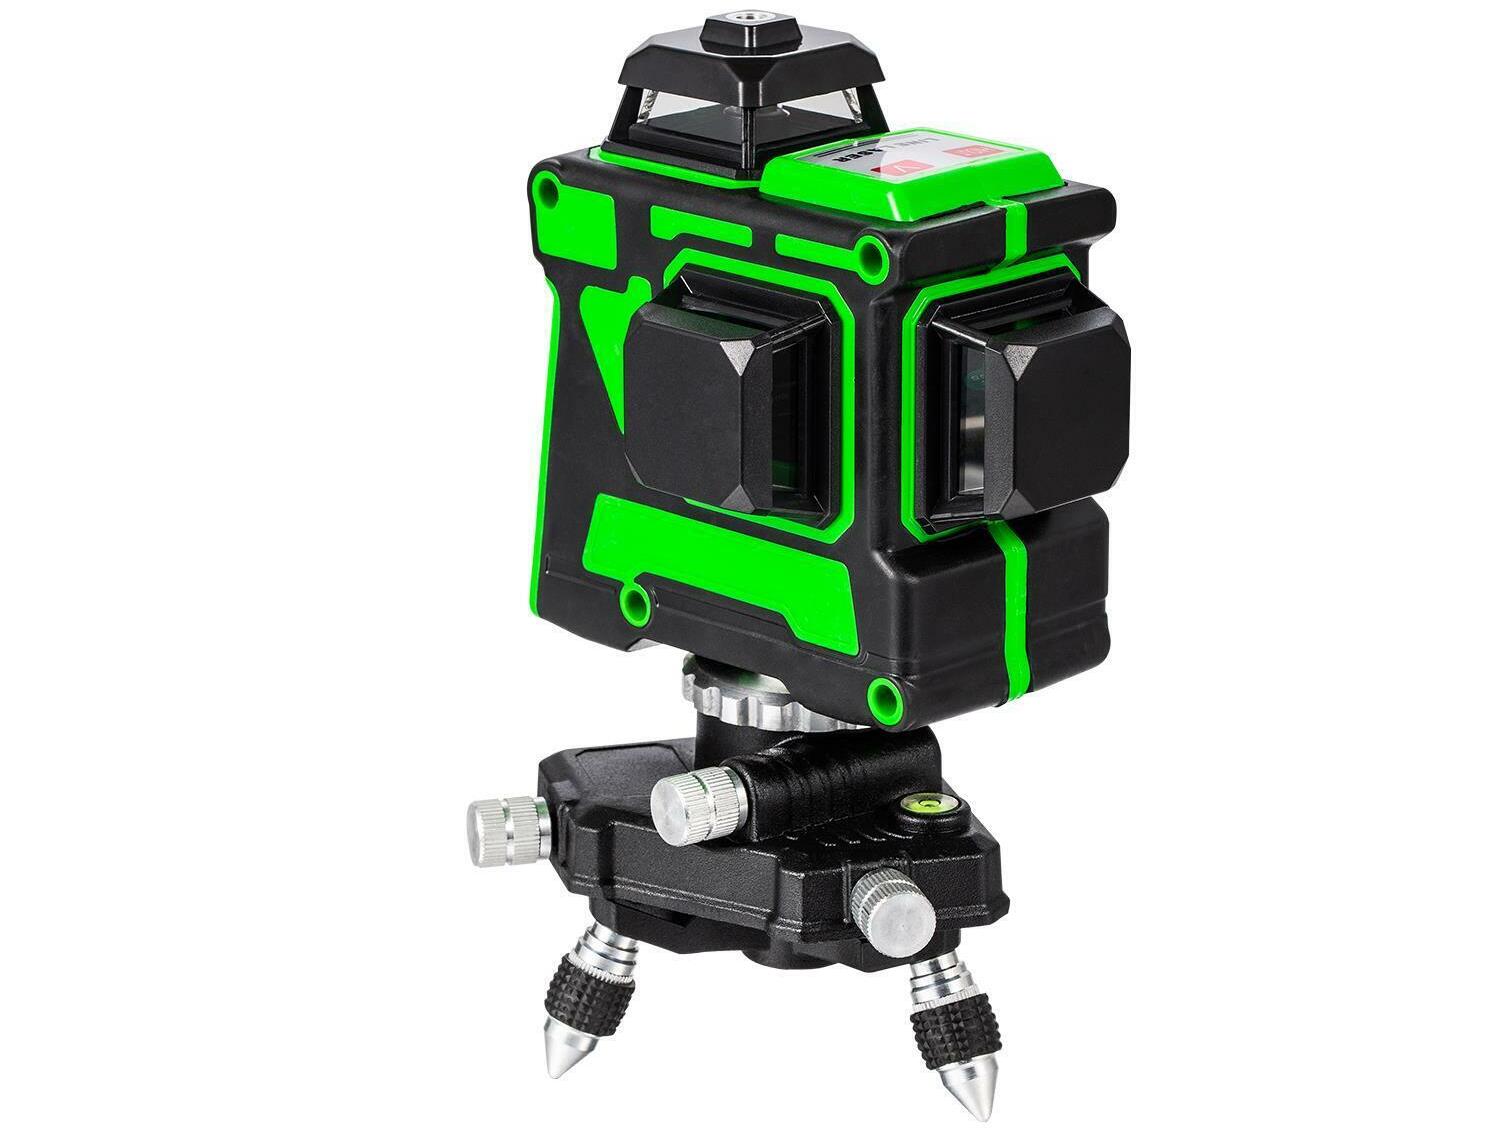
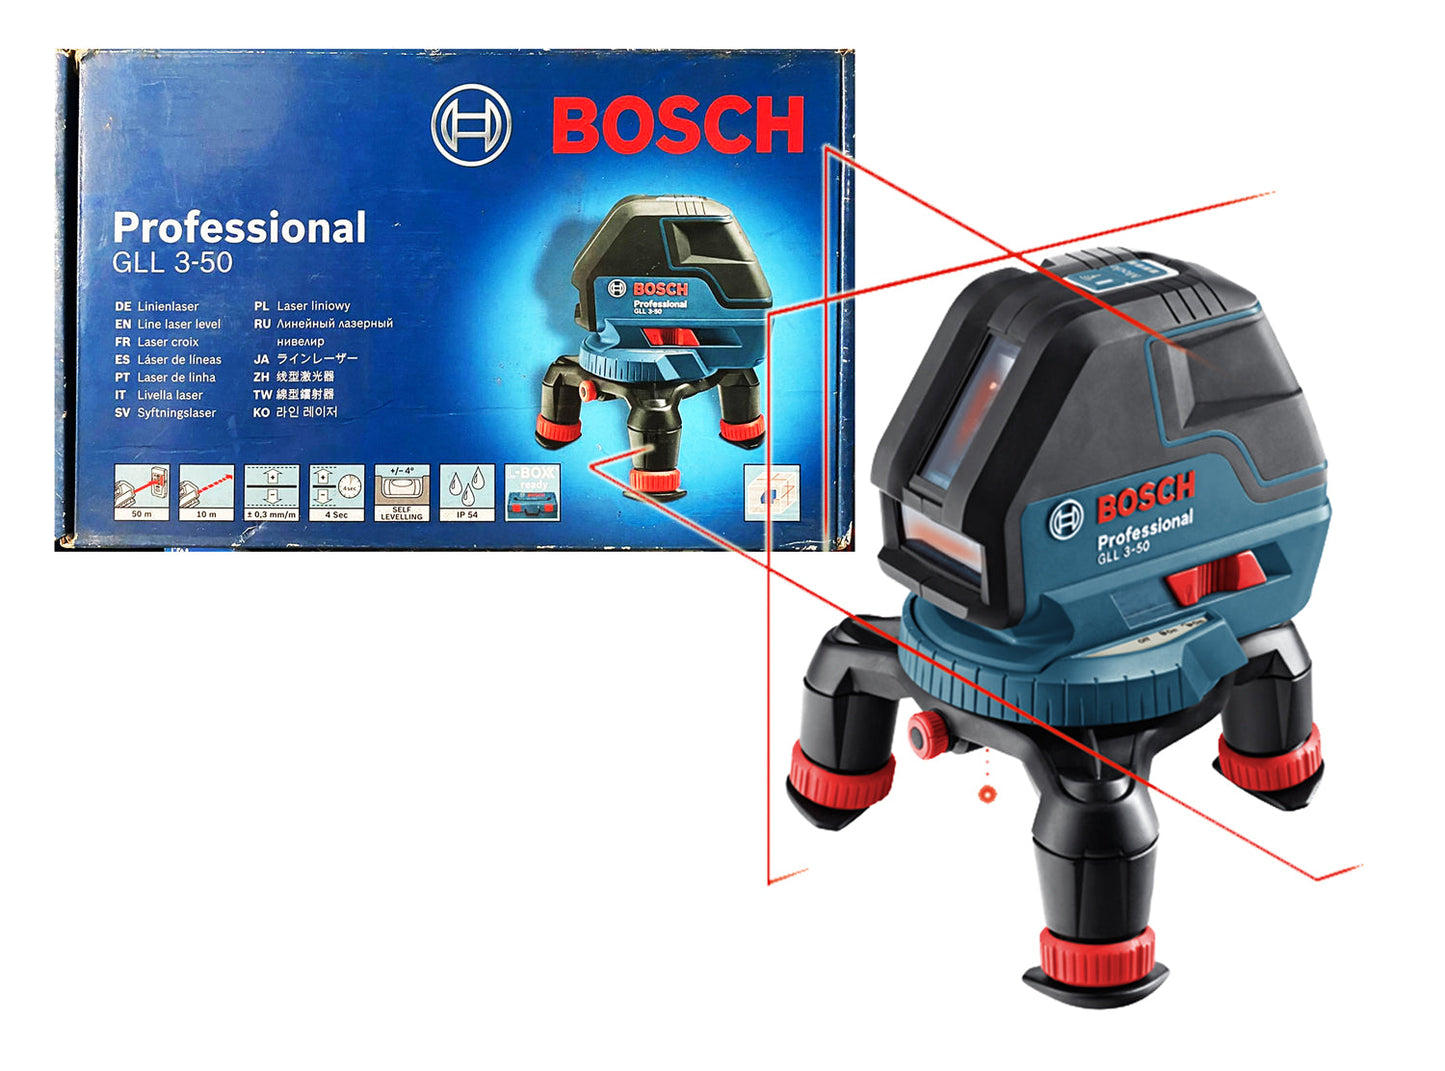
Cross line laser levels are available in a wide range of models, designed to cater to different needs and budgets. Some only project manual-leveling lines, while others offer additional features such as self-leveling capabilities, multiple laser line colors, pulse mode for outdoor use, and more advanced measuring functions.
These tools are powered by batteries, which can usually last for several hours of continuous use. They also feature adjustable brightness settings, allowing you to work in different lighting conditions.
Overall, a cross line laser level is an invaluable asset in various industries, including construction, interior design, woodworking, and even in everyday household tasks. Its ease of use and accuracy make it an indispensable tool for ensuring professional and precise results.
Benefits of Using a Cross Line Laser Level
Using a cross line laser level offers numerous benefits that make it a must-have tool for both professionals and DIY enthusiasts. Here are some of the advantages:
1. Enhanced Accuracy: Cross line laser levels provide precise and accurate leveling. The projected laser lines eliminate guesswork and ensure that surfaces are perfectly level and aligned. This is especially important when working on tasks that require a high level of precision, such as installing tiles or cabinets.
2. Time Saving: Manual leveling methods can be time-consuming and often result in less-than-perfect alignments. A cross line laser level simplifies the leveling process, allowing you to complete projects faster and with greater efficiency. The laser lines provide immediate visual feedback, allowing for quick adjustments and minimizing the need for rework.
3. Versatility: Cross line laser levels are versatile tools that can be used for a wide range of applications. They are suitable for both indoor and outdoor use and can be used on various surfaces, including walls, floors, ceilings, and even outdoors for tasks like landscaping or setting fence posts.
4. Increased Productivity: By eliminating the need for tedious manual measurements and leveling, a cross line laser level helps increase productivity. You can focus your energy and attention on other aspects of the project, knowing that the leveling is taken care of.
5. Reduced Errors: With a cross line laser level, the chances of making errors in measurements and alignments are significantly reduced. This reduces the risk of costly mistakes and ensures that your work meets professional standards.
6. Ease of Use: Cross line laser levels are designed to be user-friendly, even for beginners. Most models offer self-leveling capabilities, eliminating the need for manual adjustments. The intuitive controls and clear laser lines make it easy to operate and achieve accurate results.
7. Improved Safety: Using a cross line laser level reduces the risk of accidents and injuries that can occur from uneven surfaces. By ensuring that everything is level, you create a safer working environment for yourself and others.
8. Cost-Effective: While the initial investment in a cross line laser level may seem significant, the long-term cost benefits outweigh the upfront expense. By avoiding rework and achieving precise results, you save both time and money in the long run.
Overall, a cross line laser level offers a range of benefits that enhance the quality, efficiency, and professionalism of your projects. Whether you’re a professional or a DIY enthusiast, this tool is a worthwhile addition to your toolkit.
Safety Precautions
While using a cross line laser level is generally safe, it is important to follow certain precautions to ensure your safety and the safety of those around you. Here are some important safety guidelines to keep in mind:
1. Eye Protection: Always wear appropriate eye protection, such as safety glasses, when operating a cross line laser level. The laser beams emitted by the tool can be harmful to your eyes if directly exposed for an extended period. Take precautions to avoid looking directly into the laser beams or pointing them towards anyone’s face.
2. Adequate Lighting: Ensure that you have adequate lighting in the work area. This will make it easier to see the laser lines and avoid any accidents or errors. Avoid using the cross line laser level in bright sunlight, as it may diminish the visibility of the laser lines.
3. Secure Positioning: Make sure the cross line laser level is securely mounted or positioned on a stable surface. This will prevent any accidental movement or falling of the tool during use, reducing the risk of injuries or damage to the tool.
4. Power Source: If your cross line laser level is battery-powered, ensure that the batteries are fully charged or replaced before use. Weak batteries may cause the laser lines to be dim or inconsistent, leading to inaccurate measurements.
5. Avoid Wet or Slippery Surfaces: Do not use the cross line laser level on wet or slippery surfaces, as this may cause instability or accidents. If working outdoors, ensure that the ground is dry and stable before setting up the tool.
6. Keep Children and Pets Away: Ensure that children and pets are kept at a safe distance from the work area when using the cross line laser level. They may accidentally look into the laser beams or disrupt the positioning of the tool, leading to potential hazards.
7. Follow Manufacturer Instructions: Read and understand the user manual provided by the manufacturer before using the cross line laser level. Familiarize yourself with all the functions and features of the tool, as well as any specific safety instructions or limitations.
8. Store Properly: After use, store the cross line laser level in a secure and dry place. This will protect it from dust, moisture, and potential damage. Keep it out of reach of children and ensure that it is stored away from extreme temperatures.
By following these safety precautions, you can ensure a safe and effective experience when using a cross line laser level. Remember, your safety should always be a top priority when working with any tools or equipment.
Step 1: Familiarizing Yourself with the Cross Line Laser Level
Before using a cross line laser level, it is important to familiarize yourself with its components and features. This will help you operate the tool effectively and ensure accurate results. Here are the key steps to familiarize yourself with the cross line laser level:
1. Read the User Manual: Start by reading the user manual provided by the manufacturer. Pay attention to the specific instructions, safety guidelines, and features of your particular model. This will help you understand the tool’s functionality and operation.
2. Identify the Laser Output: Locate the laser output on the cross line laser level. This is where the laser lines will be projected from. It is usually marked with a symbol or arrow on the tool.
3. Understand the Controls: Pay attention to the control buttons or knobs on the cross line laser level. These controls allow you to adjust the laser lines, change modes, or activate additional features. Take note of their functions and how they operate.
4. Learn about Self-Leveling Capability: If your cross line laser level has a self-leveling feature, familiarize yourself with how it works. These models automatically level the laser lines, ensuring accuracy and ease of use. Understand any limitations or conditions for proper self-leveling operation.
5. Check the Battery Compartment: If the cross line laser level is battery-operated, locate the battery compartment and ensure it is empty or has a fully charged battery. Take note of the battery type required and how to properly insert or replace the batteries.
6. Test the Laser Lines: With the cross line laser level on a stable surface, press the appropriate button or switch to activate the laser lines. Observe if the lines are projected clearly and brightly. If the lines are dim or difficult to see, adjust the brightness settings, or replace the batteries if needed.
7. Explore Additional Features: Some cross line laser levels come with additional features such as pulse mode, slope adjustment, or different laser line colors. Familiarize yourself with these features and understand how to activate and utilize them if applicable to your model.
8. Practice Handling and Positioning: Take the time to handle and position the cross line laser level on different surfaces and angles. Practice adjusting the height and orientation of the tool to achieve the desired laser line projections.
By following these steps and familiarizing yourself with the cross line laser level, you will gain confidence in operating the tool effectively. This understanding will set the foundation for accurate and precise measurements in your projects.
Step 2: Setting Up the Cross Line Laser Level
Setting up the cross line laser level correctly is crucial for obtaining accurate measurements and alignments. Follow these steps to ensure a proper setup:
1. Choose a Level Surface: Find a stable and level surface to set up the cross line laser level. This can be a table, tripod, or any other flat surface. Ensure that the surface is sturdy enough to support the weight of the tool.
2. Mount the Cross Line Laser Level: Attach the cross line laser level to a tripod or use the provided mounting bracket for secure positioning. Ensure that the tool is tightly secured to prevent any movement during use.
3. Adjust the Height: If using a tripod, adjust the height to match your working level. This will allow you to position the cross line laser level at the desired height for the laser lines to project accurately onto surfaces.
4. Position the Cross Line Laser Level: Place the cross line laser level in the desired location, ensuring that it is aligned with the area you want to work on. Pay attention to the projected laser lines and ensure they are pointing in the right direction.
5. Level the Tool: If your cross line laser level does not have a self-leveling feature, use a built-in bubble level or manual leveling screws to ensure that the tool is perfectly level. Make small adjustments until the bubble is centered or the leveling indicators indicate levelness.
6. Adjust the Projection Angle: Most cross line laser levels allow you to adjust the angle of projection. Use the control buttons or knobs to position the laser lines vertically, horizontally, or at a specific angle depending on your project requirements.
7. Fine-Tune the Positioning: Use the micro-adjustment features if available to fine-tune the positioning of the laser lines. This will help achieve precise alignments and measurements for your specific task.
8. Test the Laser Lines: Once the cross line laser level is set up, test the laser lines by projecting them onto a nearby surface. Ensure that the lines are straight, clearly visible, and aligned as desired.
By following these steps, you will have successfully set up the cross line laser level for accurate measurements and alignments. Remember to double-check the positioning and leveling before proceeding with your project to ensure optimum results.
When using a cross line laser level, always ensure that the device is placed on a stable surface and that the laser lines are aligned with the markings you want to reference. This will help you achieve accurate and precise measurements.
Step 3: Aligning the Horizontal Line
Aligning the horizontal line of the cross line laser level is essential for achieving accurate measurements and ensuring levelness. Follow these steps to align the horizontal line properly:
1. Activate the Horizontal Line: Ensure that the cross line laser level is turned on and that the horizontal line is activated. Consult the user manual of your specific model to understand how to activate and control the horizontal line.
2. Position the Laser Level: Place the cross line laser level in the desired location on a stable surface or tripod. Make sure it is positioned at the desired height and aligned with the area you want to work on.
3. Adjust the Position: Use the micro-adjustment features, if available, to fine-tune the positioning of the cross line laser level. This will help you align the horizontal line precisely where you need it.
4. Check Levelness: Use a bubble level or the built-in leveling indicators in the cross line laser level to ensure that the tool is perfectly level. Make small adjustments to the positioning or height until the bubble is centered or the leveling indicators indicate levelness.
5. Align with Reference Points: Identify reference points on the surfaces you want to align. This can be the edges of a wall, a tile, or any other feature that you want to make level. Position the horizontal line of the cross line laser level to align with these reference points.
6. Make Adjustments: If the horizontal line is not aligning with the reference points, adjust the positioning of the cross line laser level accordingly. Use the control buttons or knobs to fine-tune its position until the line aligns with the desired points.
7. Test the Alignment: Once you think the horizontal line is aligned, use a straight edge or another leveling tool to confirm its accuracy. Place the straight edge against the laser line and check if it aligns perfectly. Make any necessary adjustments until you achieve the desired levelness.
8. Verify Multiple Points: To ensure consistent levelness across a larger surface, verify the alignment at multiple points along the horizontal line. Check for any deviations and adjust the position of the cross line laser level as needed to maintain a precise horizontal line.
By following these steps, you will successfully align the horizontal line of the cross line laser level, providing you with accurate measurements and ensuring levelness in your projects. Remember to double-check the alignment periodically during your work for optimal results.
Step 4: Aligning the Vertical Line
Aligning the vertical line of the cross line laser level is crucial for achieving precise measurements and ensuring plumbness. Follow these steps to align the vertical line accurately:
1. Activate the Vertical Line: Ensure that the cross line laser level is turned on and that the vertical line is activated. Refer to the user manual of your specific model to understand how to activate and control the vertical line.
2. Position the Laser Level: Place the cross line laser level in the desired location on a stable surface or tripod. Ensure that it is aligned with the area where you want to work and that the horizontal line is also properly aligned.
3. Adjust the Position: Use the micro-adjustment features, if available, to fine-tune the positioning of the cross line laser level. This will help you align the vertical line precisely where you need it.
4. Check Plumbness: Use a level or plumb bob to check the verticality of the surfaces you want to align. Position the tool and adjust its position until the bubble is centered or the plumb bob hangs directly aligned with the laser line.
5. Align with Reference Points: Identify reference points on the surfaces you want to align vertically. These can be corners, vertical edges, or any other features that should be perfectly plumb. Position the vertical line of the cross line laser level to align with these reference points.
6. Make Adjustments: If the vertical line is not aligning with the reference points, adjust the positioning of the cross line laser level accordingly. Use the control buttons or knobs to fine-tune its position until the line aligns precisely with the desired points.
7. Test the Alignment: Once you believe the vertical line is aligned, use a straight edge or another leveling tool to confirm its accuracy. Place the straight edge against the laser line and check if it aligns perfectly vertically. Make any necessary adjustments until you achieve the desired plumbness.
8. Verify Multiple Points: To ensure consistent vertical alignment across a larger surface, verify the alignment at multiple points along the vertical line. Check for any deviations and adjust the position of the cross line laser level if needed to maintain precise plumbness.
By following these steps, you will successfully align the vertical line of the cross line laser level, providing you with accurate measurements and ensuring plumbness in your projects. Remember to periodically recheck the alignment during your work to ensure optimal results.
Step 5: Additional Features and Adjustments
In addition to the basic horizontal and vertical lines, many cross line laser levels offer additional features and adjustments that can enhance your project’s accuracy and efficiency. Here are some common features and adjustments you may find in your cross line laser level:
1. Pulse Mode: Some models have a pulse mode that allows the laser lines to be easily visible in bright outdoor conditions or over longer distances. Activate pulse mode when working outdoors or when using a laser detector.
2. Line Locking: Line locking is a useful feature that allows you to fix the position of the laser lines. This is particularly helpful if you need to replicate an alignment or work in an area where the tool may get accidentally bumped.
3. Dual Axis Leveling: Certain cross line laser levels provide the option for dual-axis leveling, meaning you can adjust the horizontal and vertical lines independently. This is beneficial when working on surfaces or projects that require different alignments.
4. Slope Mode: Some advanced models have a slope mode that enables you to project a sloped laser line at a specified angle. This feature is useful for tasks such as installing handrails, staircases, or ramps.
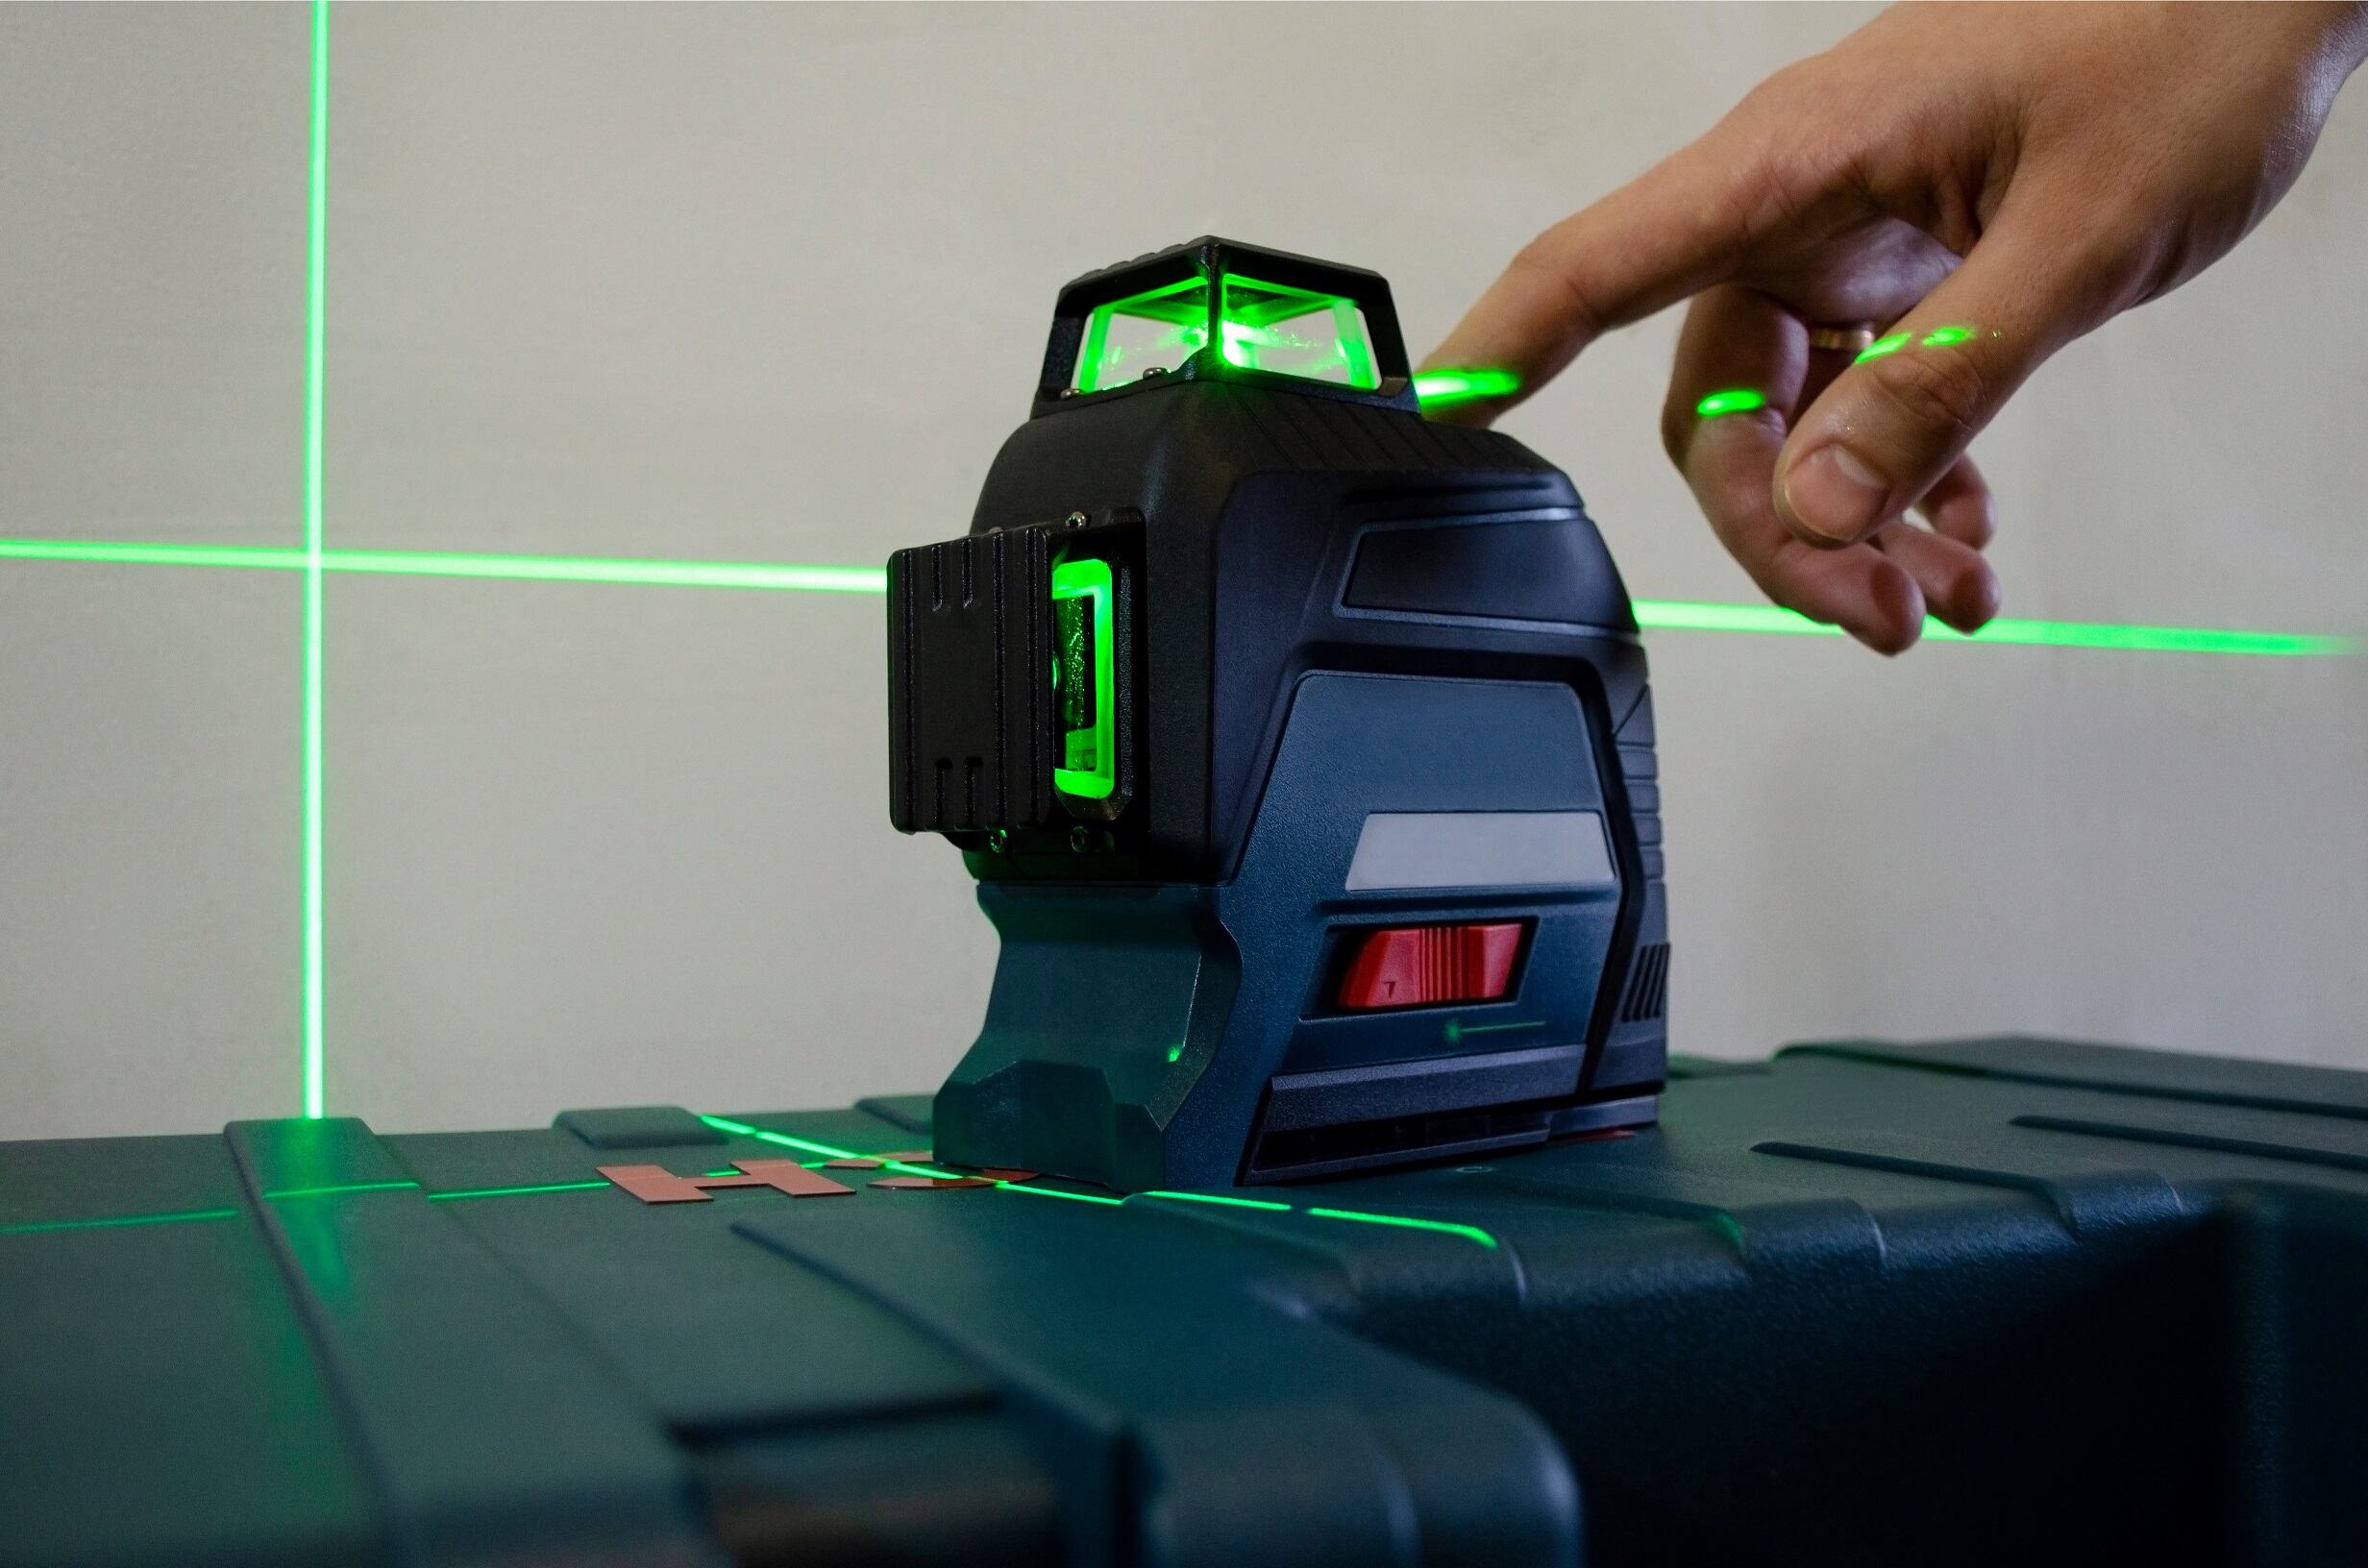
5. Multiple Laser Colors: Cross line laser levels with multiple laser colors, such as green and red, provide increased visibility and clarity in different lighting conditions. Green lasers are generally more visible to the human eye compared to red lasers.
6. Remote Control: Certain models offer a remote control feature that allows you to adjust the laser lines, change modes, or lock the lines from a distance. This can be convenient when you need to make adjustments without having to approach the tool directly.
7. Measuring Functions: Some cross line laser levels come with additional measuring functions, such as calculating square footage or estimating angles. Familiarize yourself with these functions and refer to the user manual to understand how to utilize them effectively.
8. Calibration: It is essential to regularly calibrate your cross line laser level to ensure accurate and reliable measurements. Follow the manufacturer’s recommendations for calibration intervals and procedures to maintain the tool’s precision.
By exploring these additional features and adjustments, you can further optimize your cross line laser level’s functionality and tailor it to your specific project requirements. Utilize the features that best suit your needs and refer to the user manual for detailed instructions on operating these enhancements.
Step 6: Tips for Accurate Measurements
Accurate measurements are crucial when using a cross line laser level to ensure precise alignment and levelness. Here are some helpful tips to achieve accurate measurements:
1. Use a Stable Surface: Ensure that the surface on which you place the cross line laser level is stable and does not wobble. Even slight movements can affect the accuracy of the laser lines. Consider using a tripod or a sturdy mounting bracket for added stability.
2. Avoid Vibrations: Minimize vibrations in the work area as they can cause the laser lines to appear shaky or distorted. Keep any heavy machinery or equipment away from the immediate vicinity of the cross line laser level.
3. Account for Distance: Remember that the accuracy of the laser lines may vary with distance. The farther the projected lines, the more the deviations may occur. Take this into consideration and adjust the measurements accordingly, especially for larger projects.
4. Align with Target Points: When aligning surfaces, focus on aligning the laser lines with specific target points or reference marks. This will help you achieve precise results rather than relying solely on visual alignment.
5. Measure Multiple Times: To ensure accuracy, measure multiple times and cross-reference the results. This will help detect any inconsistencies and allow you to make necessary adjustments before finalizing your measurements.
6. Verify with Other Tools: Use other measuring tools, such as a tape measure or a ruler, alongside the cross line laser level to confirm the accuracy of your measurements. This will provide an extra layer of assurance for critical measurements.
7. Consider Environmental Factors: Be aware of any environmental factors that may affect the accuracy of the laser lines. Bright sunlight, dust, or reflective surfaces can interfere with the visibility and alignment of the lines. Make the necessary adjustments or take appropriate precautions to mitigate these factors.
8. Regularly Check Calibration: Periodically check the calibration of your cross line laser level to ensure its accuracy. If you notice any inconsistencies or deviations, recalibrate the tool as per the manufacturer’s instructions.
By following these tips, you can achieve accurate measurements and ensure precise alignment and levelness in your projects. Take your time, double-check your measurements, and make necessary adjustments to achieve the best possible results with your cross line laser level.
Step 7: Maintenance and Storage
Maintaining and properly storing your cross line laser level is essential for keeping it in optimal condition and prolonging its lifespan. Here are some key maintenance and storage tips to follow:
1. Clean the Tool: Regularly clean the exterior of the cross line laser level using a soft cloth or brush. Remove any dust, debris, or residue that may accumulate on the tool. Avoid using harsh chemicals or abrasive materials that could damage the surface of the tool.
2. Protect the Laser Output: Keep the laser output clean and undamaged. Any dirt or smudges on the output lens can interfere with the laser lines’ visibility and accuracy. Use a lint-free cloth to gently clean the lens if necessary.
3. Avoid Extreme Temperatures: Store the cross line laser level in a location where it is protected from extreme temperatures. Excessive heat or cold can affect the performance and battery life of the tool. Additionally, avoid exposing the tool to direct sunlight for extended periods.
4. Handle with Care: Handle the cross line laser level with care to prevent accidental damage. Avoid dropping the tool or subjecting it to impact. Additionally, do not dismantle or modify the tool unless you are a trained professional.
5. Battery Maintenance: If your cross line laser level is battery-powered, carefully follow the manufacturer’s instructions for handling and maintaining the batteries. Ensure that they are properly inserted and have sufficient charge before each use. Replace the batteries as needed.
6. Store in a Protective Case: When not in use, store the cross line laser level in a sturdy and protective case. This will shield it from dust, moisture, and potential damage. Make sure the case is specifically designed for the tool and provides adequate cushioning.
7. Keep Away from Moisture: Avoid exposing the cross line laser level to excessive moisture or water. Moisture can damage the internal components of the tool and affect its performance. Store the tool in a dry location and do not use it in wet or rainy conditions unless it is designed for such use.
8. Regular Calibration: It is important to periodically calibrate the cross line laser level to ensure accurate measurements. Follow the manufacturer’s recommendations for calibration intervals and consult the user manual for proper calibration procedures.
By following these maintenance and storage tips, you can ensure that your cross line laser level remains in excellent working condition and provides accurate results throughout its lifespan. Proper care and storage will contribute to the longevity and reliability of the tool for future projects.
Conclusion
Using a cross line laser level can greatly enhance the accuracy, efficiency, and professionalism of your construction, renovation, and DIY projects. By following the steps outlined in this article, you can effectively utilize this versatile tool to achieve precise measurements, level surfaces, and align objects with ease.
We began by understanding what a cross line laser level is and its benefits. We explored how this tool projects horizontal and vertical laser lines to ensure accurate leveling and alignment. We also discussed the safety precautions to follow when working with a cross line laser level, highlighting the importance of eye protection, stable positioning, and proper storage.
As we moved through the step-by-step guide, we covered essential tasks such as familiarizing yourself with the tool, setting it up properly, aligning the horizontal and vertical lines, utilizing additional features, and ensuring accurate measurements. We highlighted the significance of stability, reference points, multiple measurements, and environmental factors in achieving precise results.
To maintain the longevity and reliability of your cross line laser level, we provided tips for regular maintenance and proper storage. Cleaning the tool, protecting the laser output, avoiding extreme temperatures, handling with care, and storing in a protective case were emphasized as key practices to keep the tool in optimal condition.
In conclusion, a cross line laser level is an invaluable tool for professionals and DIY enthusiasts alike. Its ability to provide accurate measurements, level surfaces, and align objects greatly enhances the quality and efficiency of various projects. By following the steps and recommendations outlined in this article, you can make the most out of your cross line laser level and confidently tackle any project with precision and ease.
Frequently Asked Questions about How To Use Cross Line Laser Level
Was this page helpful?
At Storables.com, we guarantee accurate and reliable information. Our content, validated by Expert Board Contributors, is crafted following stringent Editorial Policies. We're committed to providing you with well-researched, expert-backed insights for all your informational needs.


0 thoughts on “How To Use Cross Line Laser Level”