
Articles
How To Use Strait-Line Laser Level 60
Modified: March 1, 2024
Learn how to effectively utilize the Strait-Line Laser Level 60 with our comprehensive articles. Discover expert tips and tricks for precise leveling.
(Many of the links in this article redirect to a specific reviewed product. Your purchase of these products through affiliate links helps to generate commission for Storables.com, at no extra cost. Learn more)
Introduction
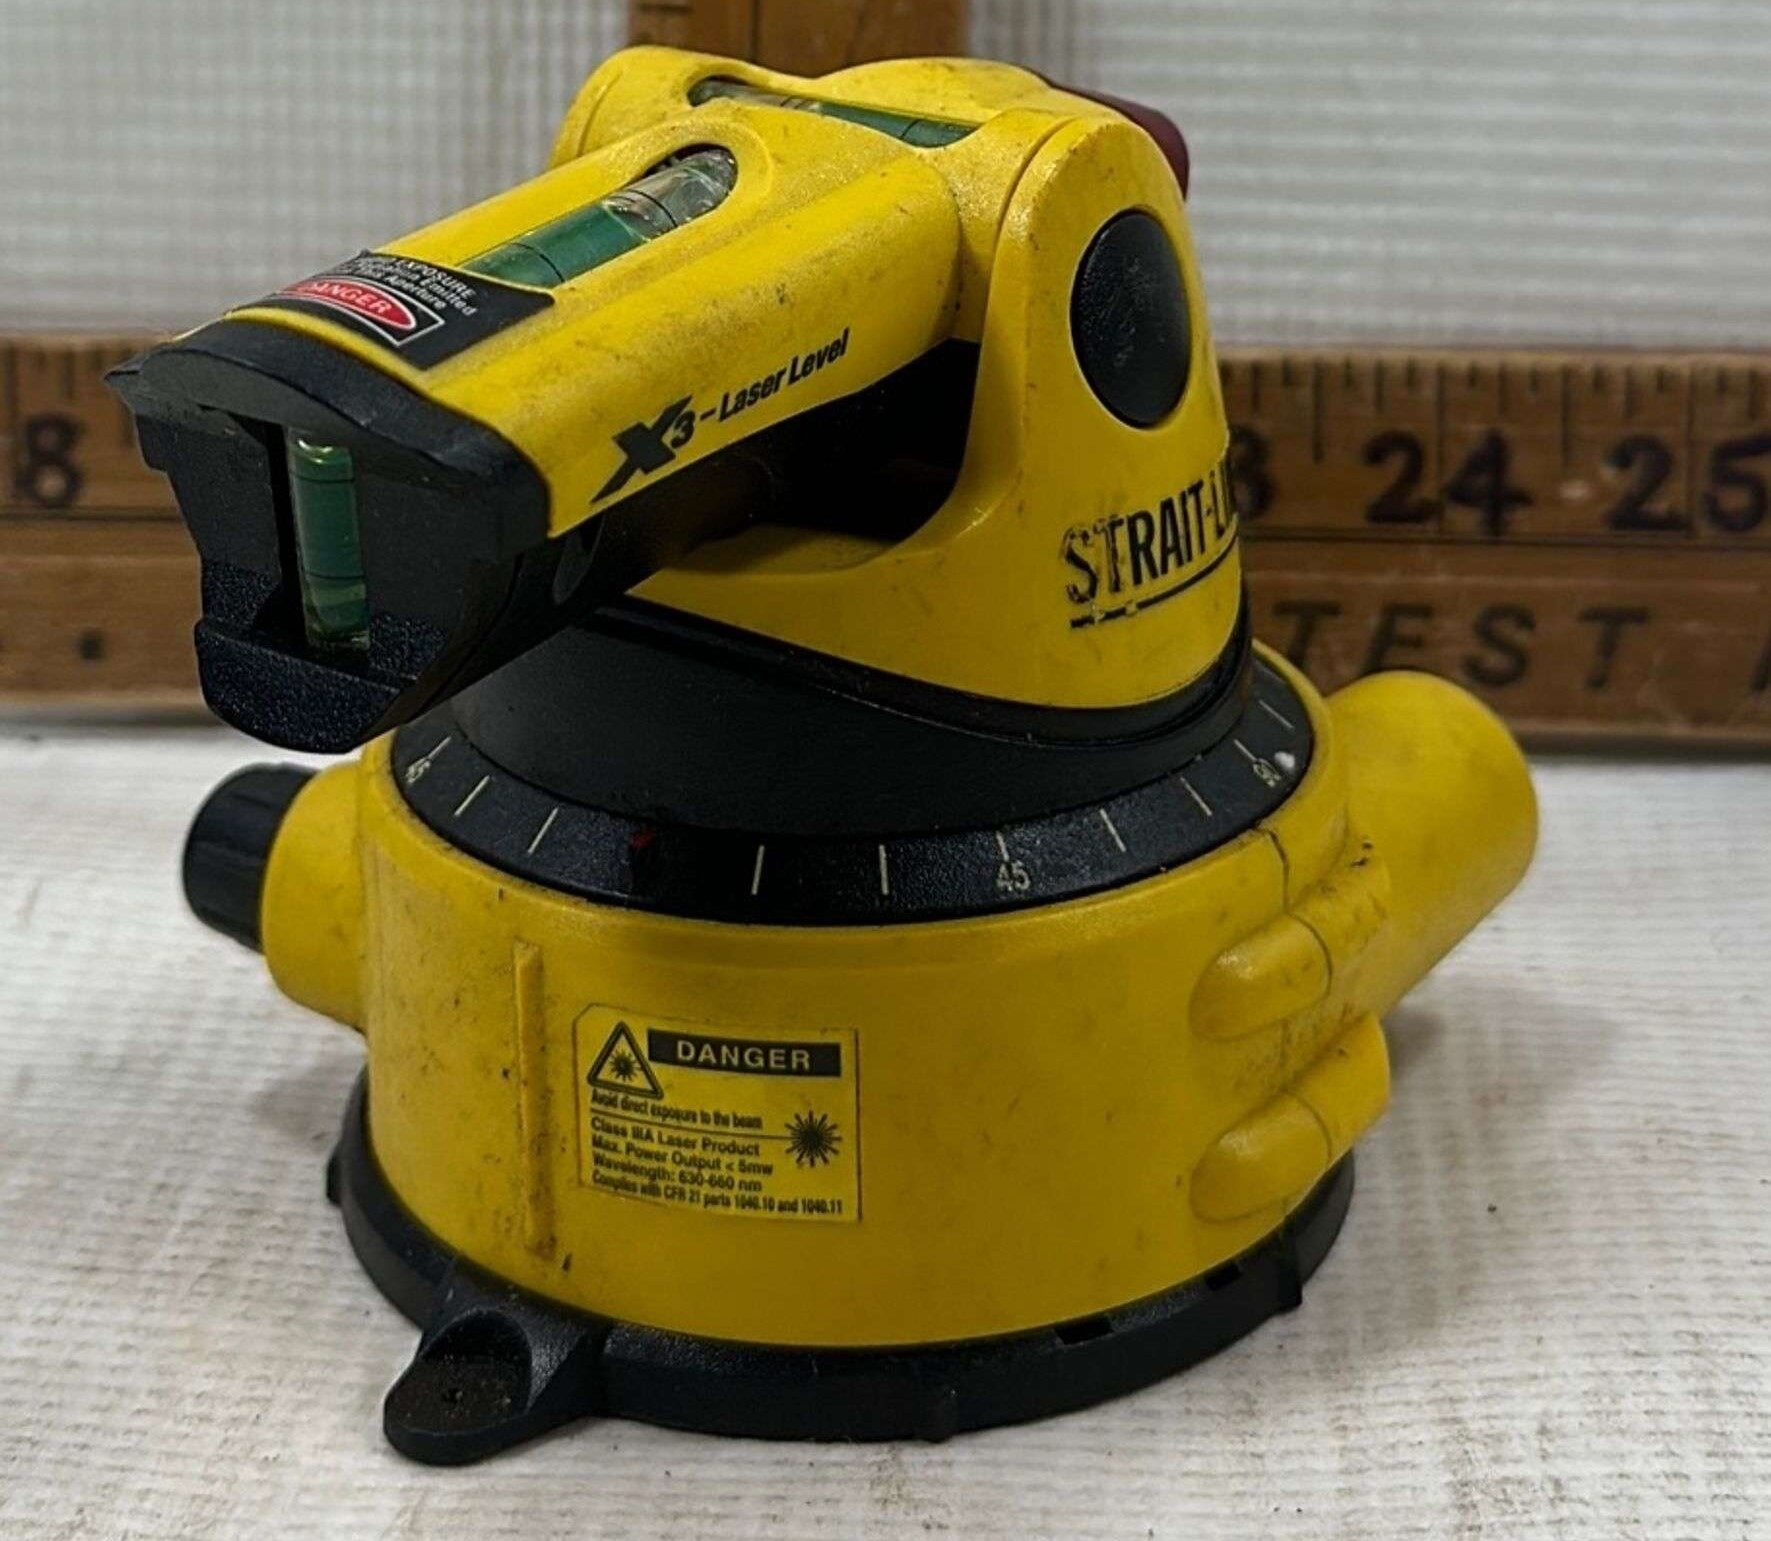
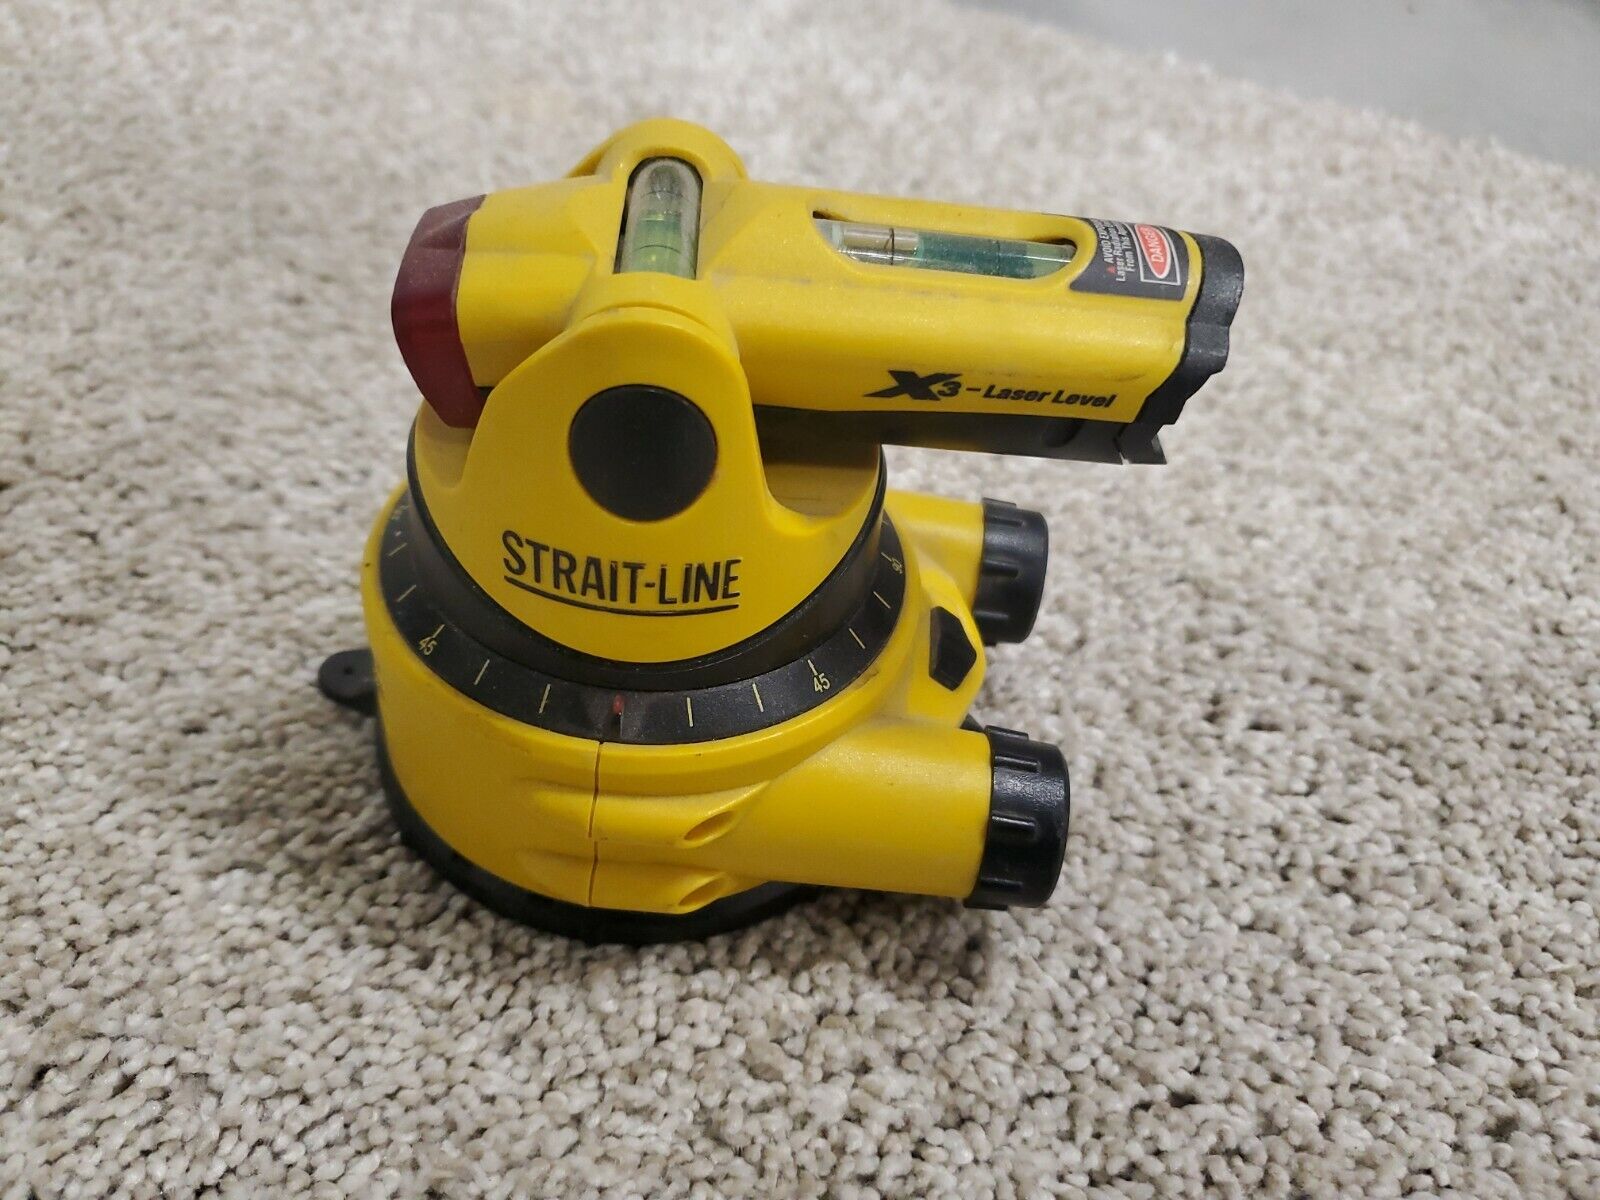
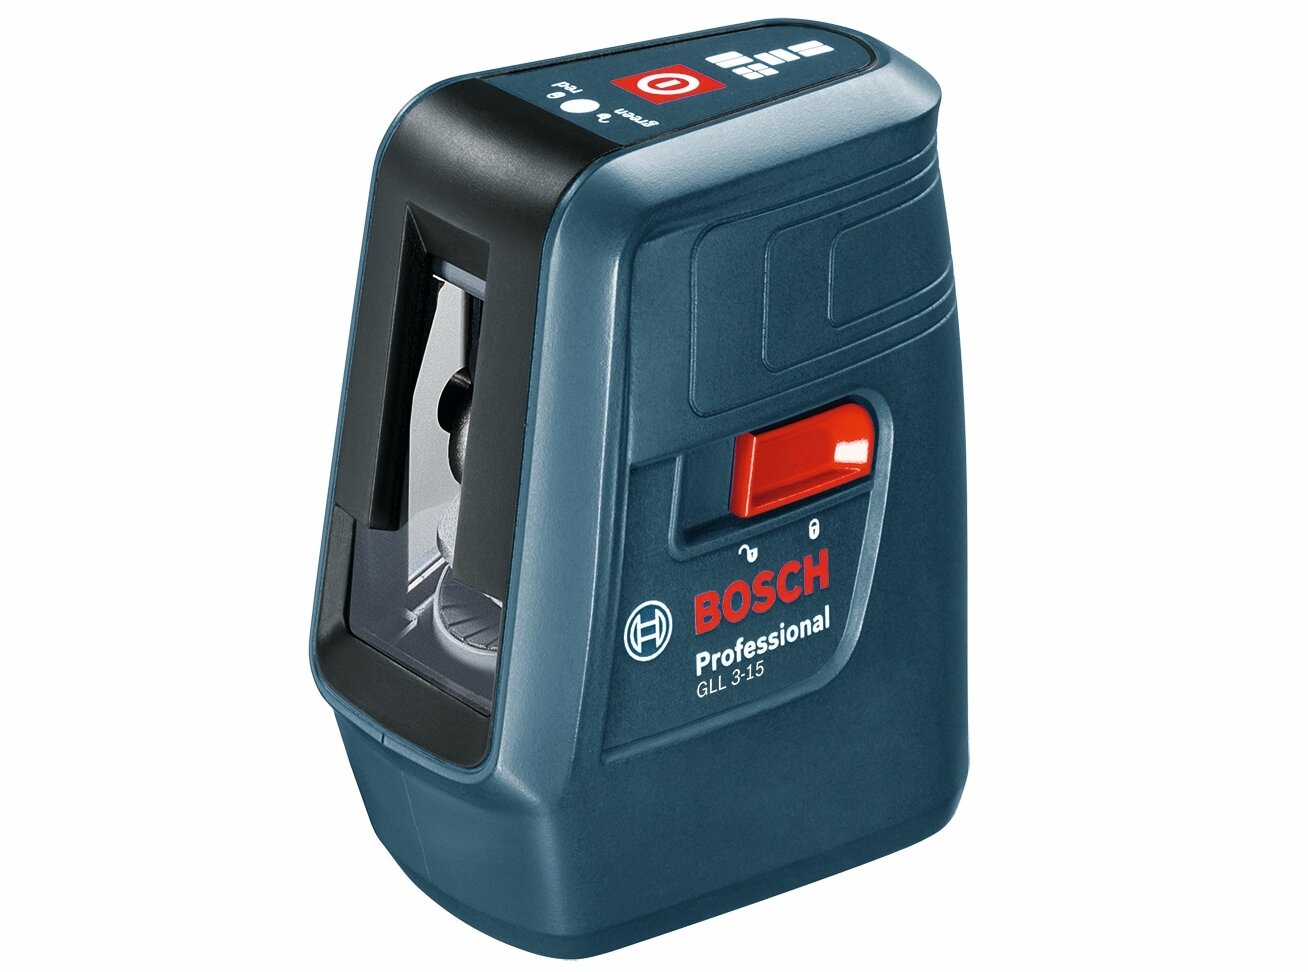
Welcome to the world of precision and accuracy with the Strait-Line Laser Level 60. Whether you’re a professional contractor or a DIY enthusiast, this laser level is an essential tool for any project that requires precise measurements and alignment. With its advanced features and user-friendly design, the Strait-Line Laser Level 60 will help you achieve perfectly straight lines and level surfaces effortlessly.
In this article, we will guide you through the process of using the Strait-Line Laser Level 60, from the unboxing to troubleshooting common issues. We will cover the safety precautions you need to take, the basic steps to set up and calibrate the laser level, and how to effectively use it in various applications.
But before we dive into the details, let’s take a moment to understand the importance of using a laser level in your projects. Whether you’re hanging frames on a wall, installing cabinets, or laying tiles, having accurate and level lines is crucial for achieving professional-looking results. Traditional methods of leveling, such as using a bubble level or a string line, can be time-consuming and prone to human error. That’s where laser levels come in – they save you time, improve accuracy, and make your projects hassle-free.
The Strait-Line Laser Level 60 offers a range of features that make it a standout in the market. Its compact and lightweight design allows for easy handling and portability. The laser projection is bright and clearly visible, even in well-lit environments, thanks to its high-powered diode. The level comes with both vertical and horizontal leveling capabilities, providing versatile applications for various projects.
Whether you’re a seasoned professional or a beginner, using the Strait-Line Laser Level 60 is a breeze. Its intuitive interface and user-friendly controls make it easy to set up and adjust the laser projection to your desired position. With its precise calibration and leveling accuracy, you can trust that your measurements will be spot on.
In the following sections, we will provide you with step-by-step instructions on using the Strait-Line Laser Level 60 for different tasks. From aligning vertical and horizontal lines to creating angles, we’ll cover it all. We’ll also guide you through the process of troubleshooting common issues you may encounter and offer tips on proper maintenance and storage.
Now that you have a general understanding of what the Strait-Line Laser Level 60 has to offer, let’s move on to the safety precautions you should follow before starting your project.
Key Takeaways:
- The Strait-Line Laser Level 60 is a versatile and user-friendly tool that simplifies tasks like hanging pictures, installing shelves, and aligning surfaces. Its advanced features and safety precautions make it an invaluable asset for both professionals and DIY enthusiasts.
- Proper maintenance, regular calibration checks, and following safety guidelines are essential for maximizing the longevity and accuracy of the Strait-Line Laser Level 60. By prioritizing safety and adhering to maintenance practices, users can ensure precise measurements and professional results in their projects.
Read more: How To Use A Strait-Line Laser Level 64001
Safety Precautions
Before using the Strait-Line Laser Level 60, it’s essential to prioritize safety to ensure a smooth and accident-free experience. Here are some precautions you should keep in mind:
- Read the User Manual: Familiarize yourself with the laser level’s operation and safety instructions by carefully reading the user manual provided by the manufacturer.
- Protective Gear: Wear appropriate personal protective equipment (PPE), such as safety glasses and gloves, to safeguard yourself from potential hazards.
- Secure the Area: Clear your work area of any tripping hazards or clutter to prevent accidents while using the laser level.
- Avoid Direct Eye Exposure: Never look directly into the laser beam, as it can cause eye damage. Use caution and keep others away from the laser projection area.
- Power Off When Not in Use: Always turn off the laser level when not in use or during transportation to prevent accidental activation.
- Use on Stable Surfaces: Ensure that the surface on which you mount the laser level is stable and secure to prevent any movement or vibrations during operation.
- Keep Away from Children: Store the laser level in a safe place out of reach of children. This will minimize the risk of accidental operation or damage.
- Avoid Exposure to Water and Extreme Temperatures: Protect the laser level from water, extreme heat, and cold. Exposure to these elements can damage the internal components and affect its performance.
- Use in Proper Lighting Conditions: For maximum visibility, use the laser level in appropriate lighting conditions. Avoid using it in bright sunlight or extremely dim environments.
- Inspect Before Each Use: Prior to every use, inspect the laser level for any visible damage or loose parts. Do not use if you notice any abnormalities.
Following these safety precautions will help ensure a safe and smooth experience while using the Strait-Line Laser Level 60. Now that we’ve covered the safety guidelines, let’s move on to unboxing the laser level and checking its contents.
Unboxing and Checking Contents
When you receive your Strait-Line Laser Level 60, it’s important to go through the unboxing process carefully to ensure that all the necessary components are included. Follow these steps to unbox and check the contents:
- Open the package: Carefully open the packaging box of the Strait-Line Laser Level 60, ensuring not to damage any of the contents.
- Inspect the laser level: Take a close look at the laser level itself. Check for any visible damage or scratches on the body and the lens.
- Check the accessories: The Strait-Line Laser Level 60 typically comes with several accessories. These may include a mounting bracket, batteries, user manual, and any additional tools or attachments specific to your model.
- Verify the presence of user manual: Locate the user manual provided with the laser level. This manual contains important information about the operation, safety precautions, and troubleshooting steps specific to your model.
- Ensure the presence of batteries: Check if the required batteries are included in the package. If batteries are not included, purchase the appropriate ones before proceeding.
- Inspect the mounting bracket: Examine the mounting bracket for any damage or missing parts. The mounting bracket is essential for securely attaching the laser level to a tripod or mounting surface.
- Organize the contents: Once you have checked all the components, arrange them in an organized manner for easy access during the setup and calibration process.
If you find any missing or damaged components, contact the manufacturer or seller immediately to resolve the issue. It is important to have all the necessary components in order to use the Strait-Line Laser Level 60 effectively.
Now that you have unboxed and verified the contents of the package, you are ready to mount and set up your laser level. In the next section, we will guide you through the process of mounting the laser level securely for accurate measurements.
Mounting the Laser Level
Properly mounting the Strait-Line Laser Level 60 is crucial for achieving accurate and consistent measurements. Follow these steps to mount the laser level securely:
- Select a suitable mounting surface: Choose a stable and level surface for mounting the laser level. This can be a tripod, a wall bracket, or any other appropriate mounting surface.
- Attach the mounting bracket: If your laser level comes with a mounting bracket, securely attach it to the laser level. Align the holes on the bracket with the corresponding slots on the laser level and tighten the screws or locking mechanism.
- Position the laser level: Position the laser level on the mounting surface. Ensure that the laser projection is facing the desired direction and that the laser level is aligned with the surface you want to level or align.
- Secure the laser level: Use the provided screws or locking mechanism to secure the laser level to the mounting surface. Tighten them firmly but avoid over-tightening, as it may damage the laser level or the mounting surface.
- Adjust the tilt angle: If your laser level allows for tilting, adjust the tilt angle according to your needs. This is particularly useful when working on slopes or inclined surfaces.
- Verify stability: Gently nudge the laser level to ensure it is securely mounted and doesn’t wobble or move. If it is not stable, readjust the mounting or tighten the screws further.
Remember to carefully follow the manufacturer’s instructions for attaching the mounting bracket and securing the laser level. Each model may have specific guidelines that you should adhere to.
Once the laser level is securely mounted, you’re ready to level it and begin using it for your projects. In the next section, we will cover the steps to level the laser and ensure accurate measurements.
Leveling the Laser
Before you start using the Strait-Line Laser Level 60, it’s important to ensure that the laser beam is perfectly level. Follow these steps to level the laser:
- Power on the laser level: Turn on the laser level using the designated power button or switch. The laser beam should be projected onto the surface.
- Adjust the leveling knobs: Most laser levels, including the Strait-Line Laser Level 60, are equipped with leveling knobs or buttons. These allow you to adjust the position of the laser beam.
- Locate the leveling indicators: Look for the bubble vials or digital leveling indicators on the laser level. These indicators will help you determine whether the laser beam is level.
- Make coarse adjustments: Using the leveling knobs or buttons, adjust the laser beam’s position until it appears close to level. Use the leveling indicators to guide you.
- Fine-tune the leveling: Once the laser beam is close to level, make finer adjustments using the leveling knobs. Check the leveling indicators regularly to achieve precise leveling.
- Verify the levelness: Use a secondary leveling tool, such as a bubble level or a plumb line, to verify the accuracy of the laser beam’s levelness.
- Repeat if necessary: If the laser beam is not perfectly level, repeat the adjustment process until you achieve the desired levelness.
It’s important to take your time and be patient while leveling the laser. Accuracy is key to ensure precise measurements and alignment in your projects.
Once the laser beam is level, you’re ready to use the Strait-Line Laser Level 60 for a variety of applications. In the next section, we will explore how to effectively use the laser level to achieve perfectly straight and aligned lines.
Read more: How To Use A Strait-Line Laser Level 120
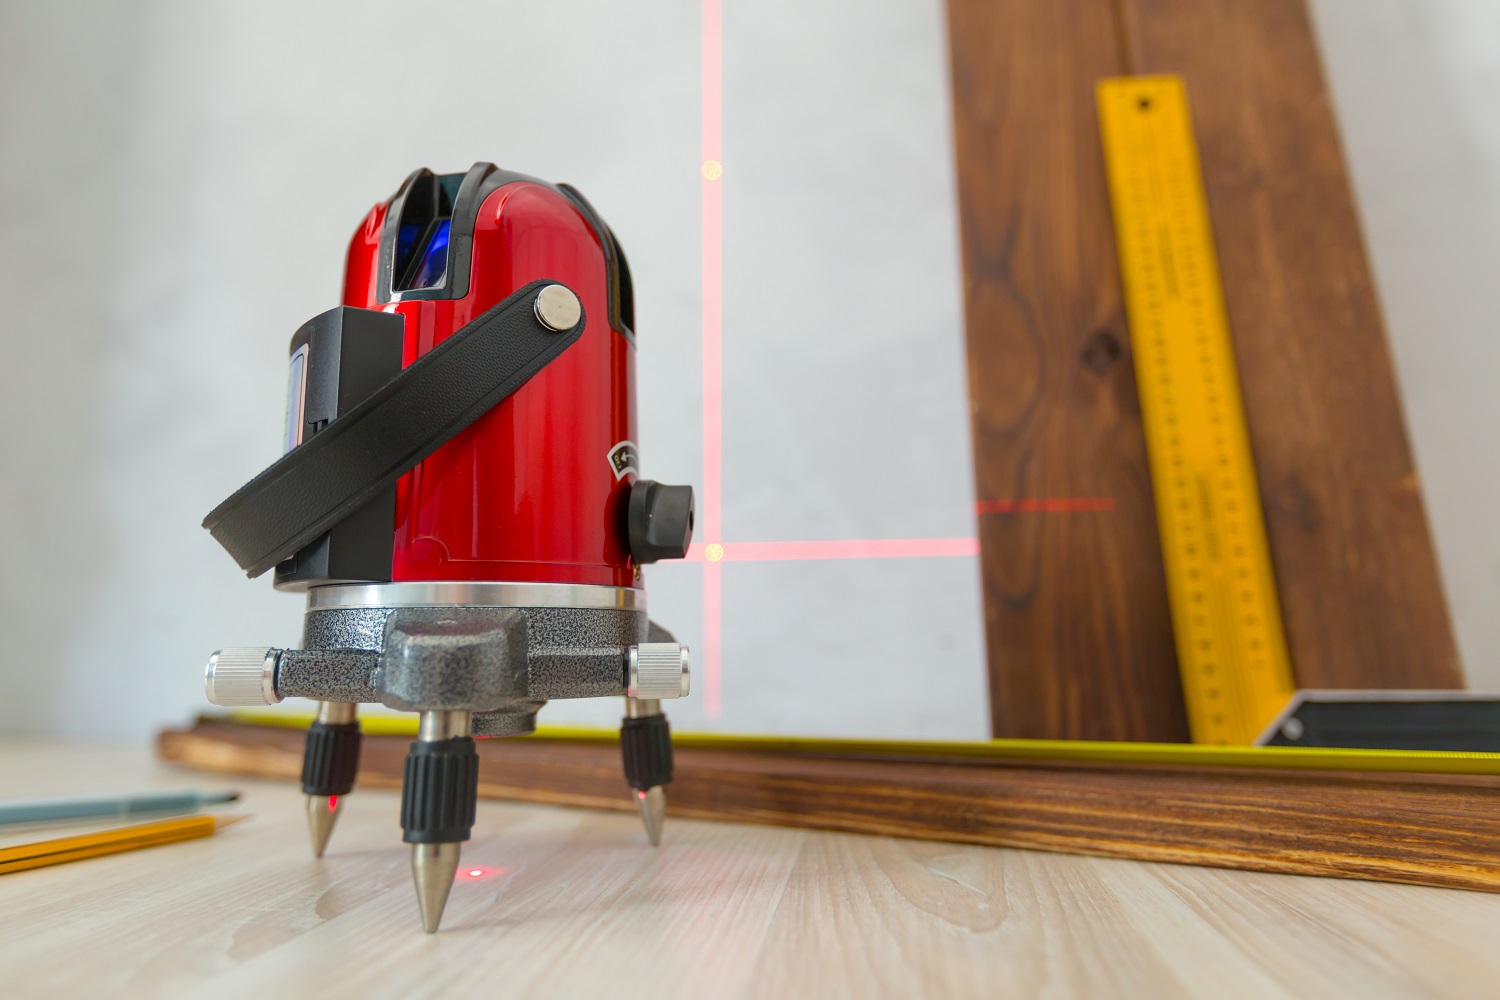
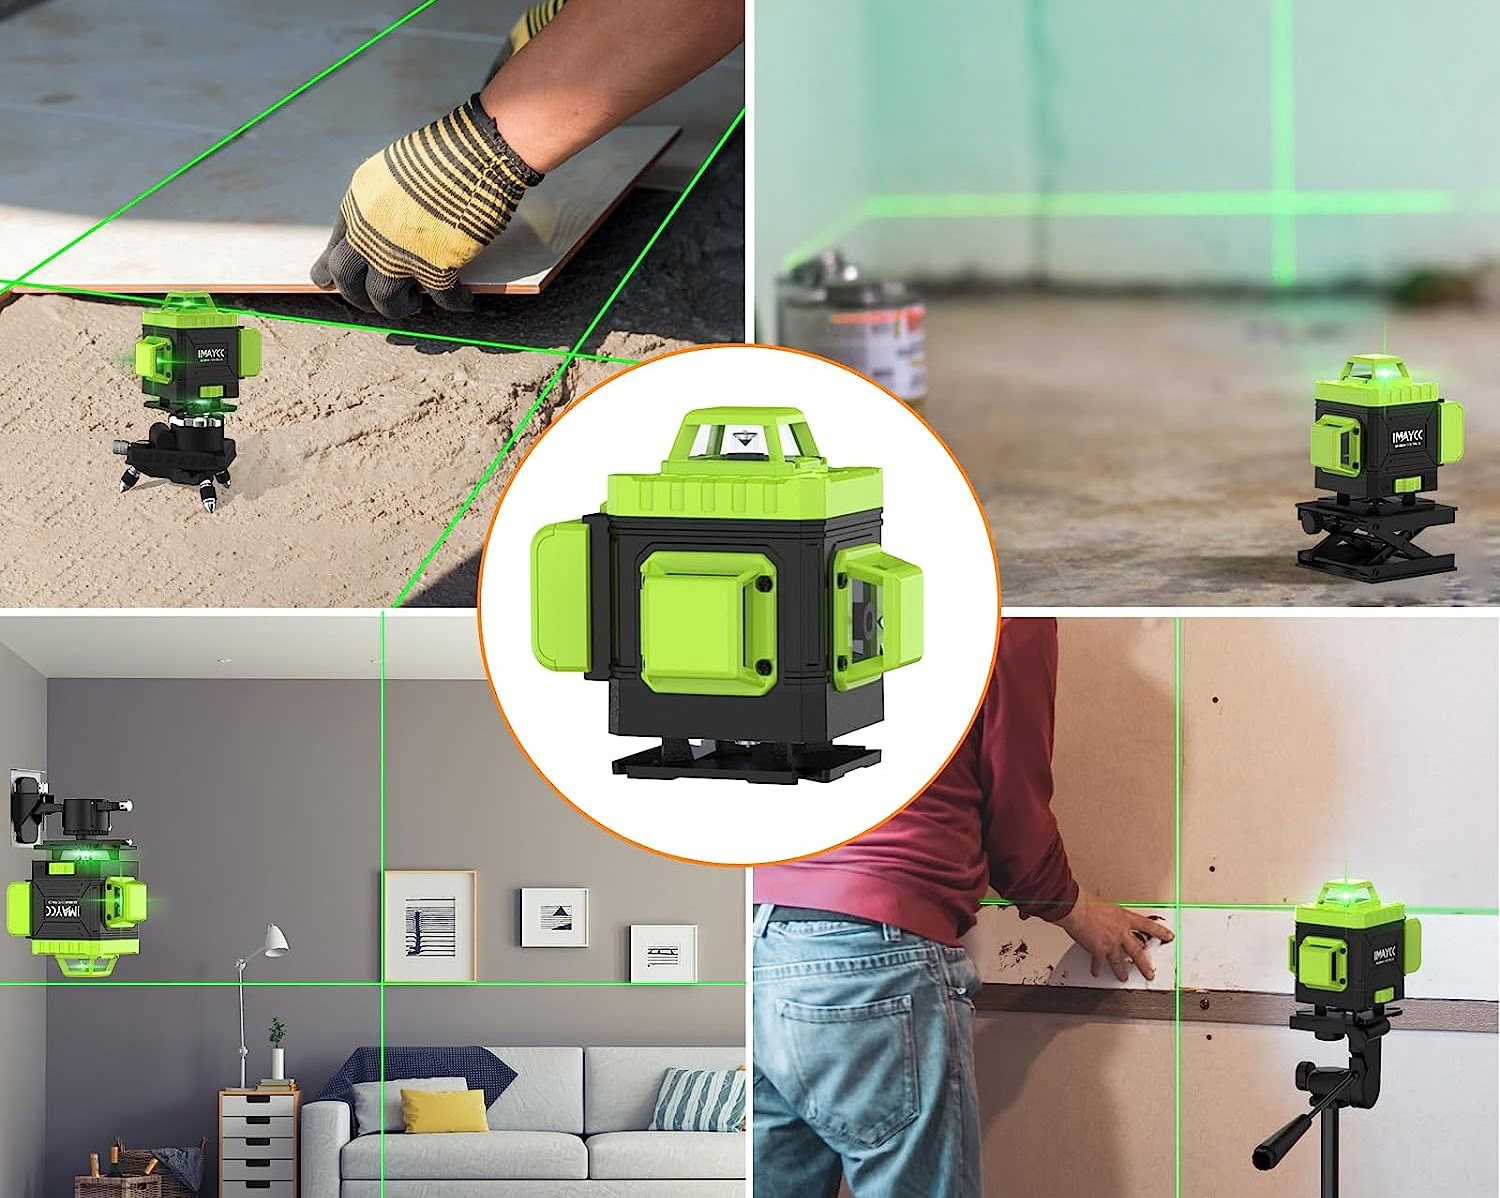
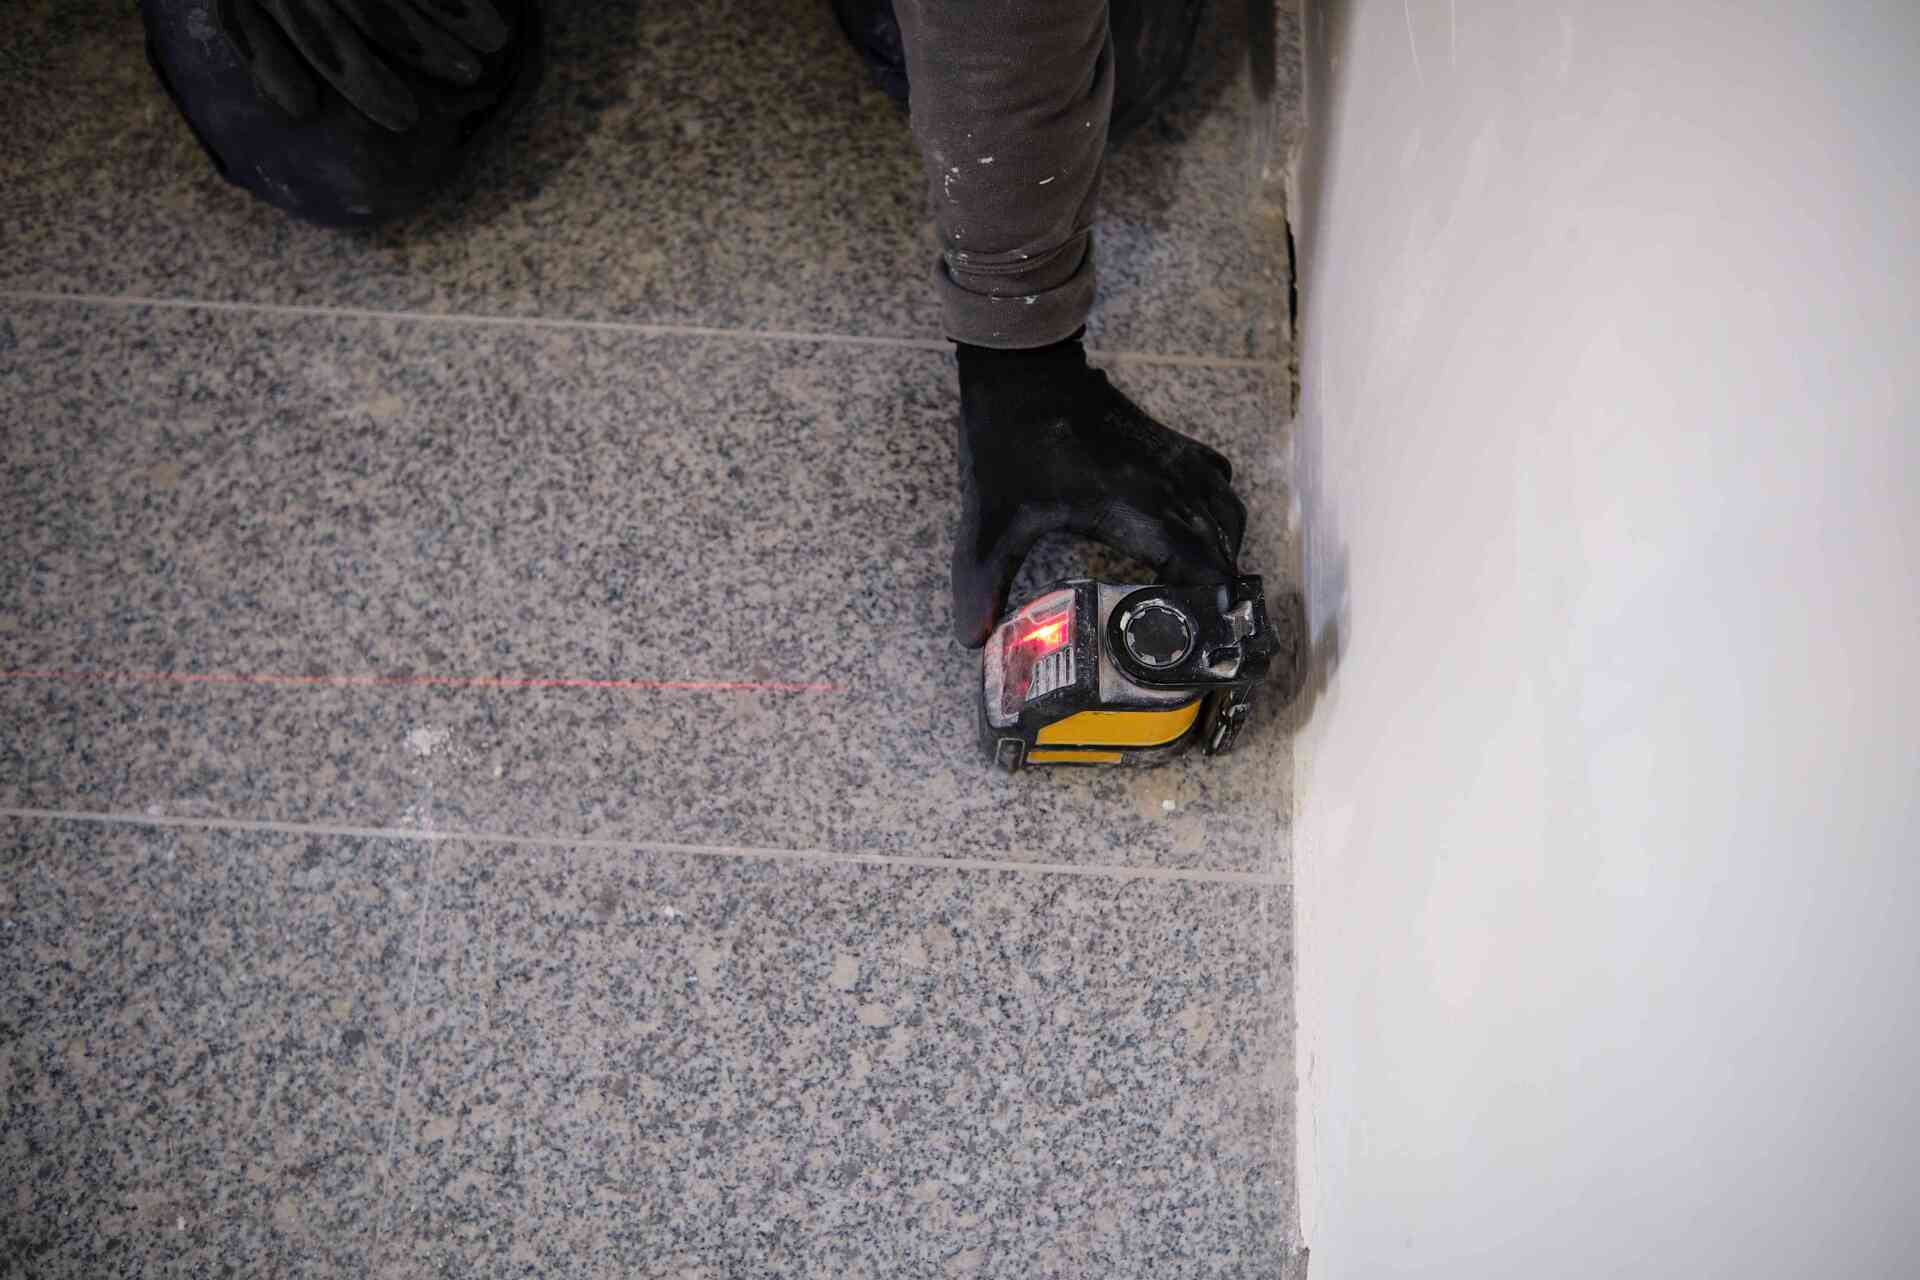
Using the Laser Level
The Strait-Line Laser Level 60 is a versatile tool that can be used for a wide range of applications, from hanging pictures to installing shelves. Here are the basic steps to effectively use the laser level:
- Position the laser level: Place the laser level at a suitable distance from the surface you want to work on. Ensure that it is securely mounted and leveled.
- Power on the laser level: Turn on the laser level using the designated power button or switch. The laser beam will project onto the surface, creating a reference line.
- Align the laser beam: Adjust the position of the laser level or use the leveling knobs to align the laser beam with the desired reference point on the surface. This will determine the straight line or level you want to achieve.
- Mark the reference line: Once you have aligned the laser beam, use a pencil or marker to mark the reference line on the surface. This will serve as a guide for your project.
- Repeat for multiple lines: If you need to create multiple straight lines or levels, reposition the laser level and repeat the alignment and marking process.
- Use a measuring tape: To ensure accurate positioning of objects or fixtures, use a measuring tape to measure the distance between the reference line and the desired location. This will help you achieve precise alignment.
- Adjust the laser visibility: Depending on the lighting conditions and visibility requirements, you can adjust the laser beam’s brightness or opacity using the controls provided on the laser level.
- Take safety precautions: Keep in mind the safety precautions we discussed earlier, such as wearing protective gear and not looking directly into the laser beam.
By following these steps, you can effectively utilize the Strait-Line Laser Level 60 to create straight lines, level surfaces, and align objects with precision. Remember to always double-check your measurements and make adjustments as necessary.
The Strait-Line Laser Level 60 also offers additional features, such as the ability to create angles and calibrate the laser level. In the next sections, we will explore these features in more detail.
Adjusting Laser Visibility
The Strait-Line Laser Level 60 allows you to adjust the visibility of the laser beam to suit different lighting conditions and project requirements. Here’s how you can adjust the laser visibility:
- Locate the laser visibility controls: Look for the controls or buttons on the laser level that allow you to adjust the laser beam’s brightness or opacity.
- Brighten the laser beam: If you’re working in a well-lit environment or need a brighter laser beam, increase the brightness setting using the controls. This will make the laser beam more visible and easier to work with.
- Dim the laser beam: In situations where the ambient lighting is low or you require a less visible laser beam, decrease the brightness setting. This will make the laser beam fainter, reducing its visibility.
- Test different settings: Depending on the specific conditions of your project, experiment with different visibility settings to find the one that works best for you. This may require some trial and error to achieve the desired visibility.
- Consider using a target card: If you’re having trouble seeing the laser beam on certain surfaces or in bright environments, you can use a target card. These cards have a reflective surface that helps enhance the visibility of the laser beam.
Adjusting the laser visibility is important to ensure that you can clearly see the laser beam and align it with precision. By finding the optimal visibility setting, you can work more efficiently and accurately with the Strait-Line Laser Level 60.
Next, let’s explore how to lock the laser level and maintain accurate alignment while working on your projects.
Locking the Laser Level
Locking the Strait-Line Laser Level 60 in position is essential to maintain accurate alignment and prevent any movement or shifting during your project. Here is how you can lock the laser level:
- Ensure the laser level is leveled: Before locking the laser level, make sure it is properly leveled using the leveling indicators and adjustment knobs.
- Stabilize the mounting surface: If you’re using a tripod or any other mounting surface, ensure it is stable and secure. Tighten any screws or locking mechanisms to prevent any movement.
- Engage the lock: The Strait-Line Laser Level 60 may have a lock feature that allows you to fix the laser level in its current position. Look for a lock switch or button on the laser level and engage it to secure the laser level.
- Verify stability: Gently nudge or shake the laser level to ensure it is firmly locked in place and doesn’t move. If you notice any movement, readjust the lock or mounting to ensure stability.
Locking the laser level is crucial to prevent accidental movement or changes in alignment while you work. It ensures a consistent and accurate reference line throughout your project.
Remember to disengage the lock when you need to reposition or adjust the laser level. Locking the laser level is particularly important when you need to work on projects that require extended periods of use or involve vibrations and potential disruptions.
Now that you know how to lock the laser level in place, let’s move on to aligning vertical lines using the Strait-Line Laser Level 60.
When using a Strait-Line Laser Level 60, make sure to carefully position the level on a stable surface and adjust the laser to the desired height. Double-check the accuracy of the laser by measuring from multiple points before marking your surface.
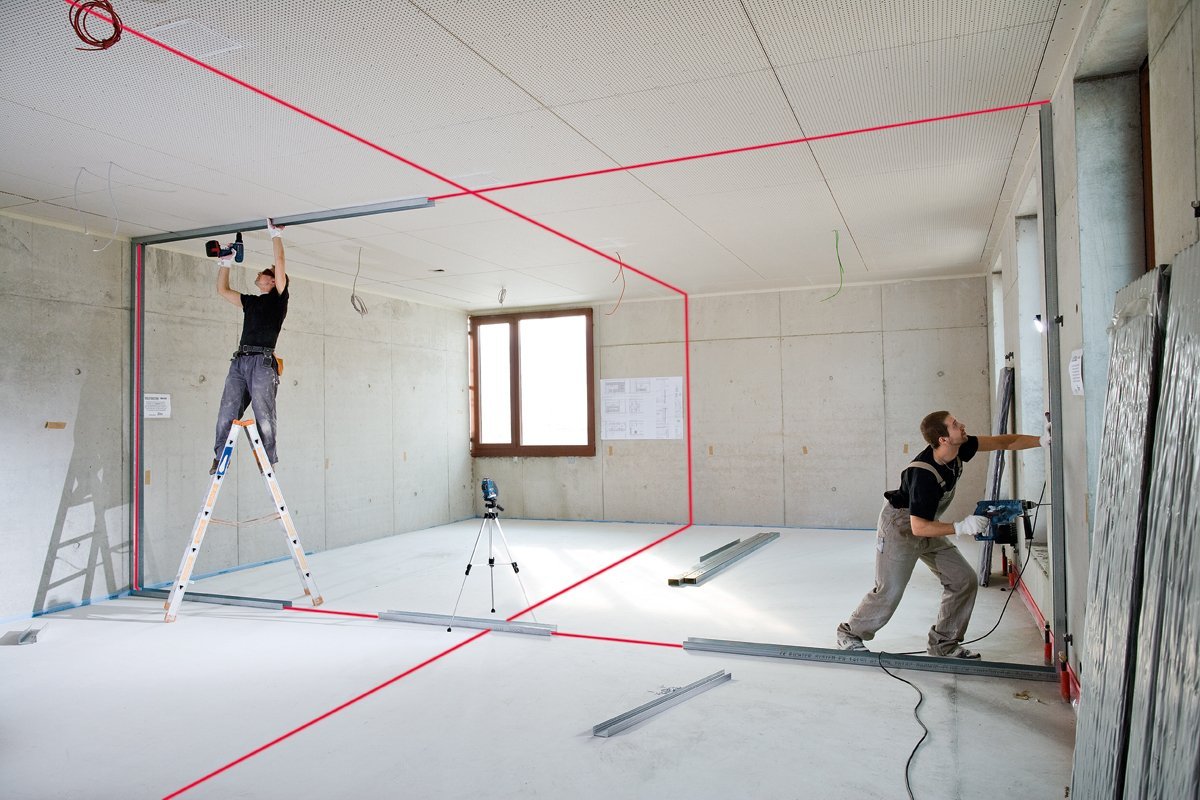
Aligning Vertical Lines
The Strait-Line Laser Level 60 makes aligning vertical lines a breeze. Whether you’re hanging shelves, installing wallpaper, or leveling cabinets, here are the steps to align vertical lines with precision:
- Position the laser level: Mount the laser level at a suitable distance from the wall or surface where you want to create the vertical line. Ensure that it is securely mounted and leveled.
- Power on the laser level: Turn on the laser level using the designated power button or switch. The laser beam will project onto the wall, serving as the reference for your vertical line.
- Align the laser beam vertically: Adjust the position of the laser level or use the leveling knobs to align the laser beam in a vertical direction. This can be done by visually aligning the laser beam with a plumb line or by using a level tool.
- Mark the reference line: Once the laser beam is aligned vertically, use a pencil or marker to mark the reference line on the wall. This will serve as your guide for hanging objects or aligning surfaces.
- Repeat for multiple vertical lines: If you need to create multiple vertical lines, reposition the laser level and repeat the alignment and marking process for each line.
- Measure and adjust as necessary: Use a measuring tape or level tool to measure the distance between the reference line and the desired locations for objects or surfaces. Make adjustments as needed to ensure accurate alignment.
Aligning vertical lines with the Strait-Line Laser Level 60 ensures that your projects are level, visually appealing, and professionally finished. Take your time to ensure precise alignment, as even slight deviations can be noticeable.
Next, let’s explore how to align horizontal lines using the laser level for various applications.
Read more: How Do I Use The Strait Line Laser Level
Aligning Horizontal Lines
The Strait-Line Laser Level 60 allows you to effortlessly align horizontal lines for tasks like installing tiles, hanging paintings, or aligning countertops. Follow these steps to align horizontal lines accurately:
- Position the laser level: Mount the laser level at an appropriate height or distance from the surface where you want to create the horizontal line. Ensure it is securely mounted and leveled.
- Power on the laser level: Switch on the laser level using the designated power button or switch. The laser beam will project onto the surface, serving as a horizontal reference line.
- Align the laser beam horizontally: Adjust the laser level’s position or use the leveling knobs to align the laser beam horizontally. You can visually align the laser beam by comparing it with a level tool or by using a digital leveling indicator if available.
- Mark the reference line: Once the laser beam is aligned horizontally, use a pencil or marker to mark the reference line on the surface. This ensures precise placement or alignment of objects or surfaces.
- Repeat for multiple horizontal lines: If you need to create multiple horizontal lines, reposition the laser level and repeat the alignment and marking process for each line.
- Measure and adjust as necessary: Use a measuring tape or level tool to verify the distance between the reference line and the desired locations. This will help you achieve accurate alignment and ensure a professional finish.
Aligning horizontal lines with the Strait-Line Laser Level 60 simplifies your projects and ensures that surfaces and objects are level and aesthetically pleasing. Pay attention to detail and make adjustments as necessary to achieve precise alignment.
Now that you know how to align both vertical and horizontal lines, let’s move on to exploring how to create angles using the Strait-Line Laser Level 60.
Creating Angles with the Laser Level
The Strait-Line Laser Level 60 not only helps you align straight lines, but it also allows you to create accurate angles for projects that require precise measurements and alignment. Here’s how you can create angles using the laser level:
- Position the laser level: Mount the laser level at the desired location, ensuring that it is securely mounted and leveled.
- Power on the laser level: Switch on the laser level using the designated power button or switch. The laser beam will project onto the surface, serving as a reference line.
- Align the laser beam: Adjust the position of the laser level or use the leveling knobs to align the laser beam in the desired direction. This will set the angle for your project.
- Mark the reference lines: Once the laser beam is aligned, use a pencil or marker to mark the reference lines on the surface. These lines will indicate the specific angle you want to create.
- Measure the angles: Use a protractor or angle measuring tool to verify the accuracy of the created angle. Adjust the laser level if necessary to achieve the desired measurement.
- Repeat for multiple angles: If your project requires multiple angles, reposition the laser level and repeat the alignment and marking process for each angle.
Creating angles with the Strait-Line Laser Level 60 ensures that your projects are precise and meet your desired specifications. Take your time to align the laser beam accurately and measure the angles to achieve the desired outcome.
Now that you know how to create angles, let’s explore the process of calibrating the laser level to maintain its accuracy.
Calibrating the Laser Level
Calibrating the Strait-Line Laser Level 60 is crucial to ensure its accuracy and maintain precise alignment. Here’s how you can calibrate the laser level:
- Prepare a level surface: Find a flat and stable surface where you can place the laser level.
- Position the laser level: Place the laser level on the prepared surface, ensuring that it is level using a bubble level or digital leveling indicator.
- Power on the laser level: Switch on the laser level using the designated power button or switch. Allow it to stabilize and project the laser beam.
- Adjust the calibration settings: Locate the calibration controls or buttons on the laser level. Follow the manufacturer’s instructions to access and adjust the calibration settings.
- Calibrate the laser level: Use the calibration controls to fine-tune and adjust the laser level’s alignment and accuracy. Refer to the user manual for specific calibration instructions for your model.
- Verify the calibration: Once you have made the necessary calibration adjustments, recheck the levelness of the laser beam and compare it with a reference line or level tool to ensure accurate alignment.
- Repeat if necessary: If the calibration is not accurate, repeat the calibration process, making precise adjustments until the laser level is properly calibrated.
Regularly calibrating your laser level will help maintain its accuracy over time. It is recommended to calibrate the laser level before starting any important project or after any significant changes or impacts that may affect its alignment.
Keep in mind that the calibration process may vary depending on the model and manufacturer of your laser level. Always refer to the user manual for specific instructions and guidelines to ensure proper calibration.
Now that you know how to calibrate the laser level, let’s move on to troubleshooting common issues that you may encounter while using the Strait-Line Laser Level 60.
Troubleshooting
While the Strait-Line Laser Level 60 is a reliable tool, you may encounter some common issues during its use. Here are some troubleshooting steps to help you address these issues:
- Weak laser beam: If the laser beam appears weak or dim, check the battery level or replace the batteries if necessary. Ensure that the batteries are inserted correctly and that the contacts are clean.
- Inaccurate alignment: If you notice that the laser beam is not aligning correctly or is off by a significant margin, check that the laser level is securely mounted and leveled. Additionally, double-check the calibration and adjust if needed.
- Interference with the laser beam: If something is obstructing the laser beam or if it is being reflected by a glossy or mirrored surface, reposition the laser level or adjust the angle to avoid these obstacles. Use a target card or reflective surface to enhance visibility if needed.
- Unstable mounting: If the laser level is not stable or wobbles during operation, check the mounting surface for stability. Readjust the mounting or tighten the screws to ensure a secure and stable connection.
- Battery drain: If you notice unusually rapid battery drain, ensure that the laser level is turned off when not in use. If the issue persists, replace the batteries with high-quality ones and consider contacting the manufacturer for further assistance.
- Malfunctioning controls: If the controls or buttons on the laser level are not functioning as expected, make sure they are not obstructed by dirt or debris. Clean the controls gently and try again. If the issue persists, contact the manufacturer for support.
If you encounter any other issues that are not covered here, refer to the user manual or contact the manufacturer’s customer support for specialized assistance and guidance.
Now that we’ve covered troubleshooting, let’s move on to discussing the importance of maintenance and proper storage of the laser level.
Read more: How To Repair A Strait-Line Laser Level
Maintenance and Storage
Maintaining and properly storing your Strait-Line Laser Level 60 is essential to prolong its lifespan and ensure optimal performance. Here are some maintenance tips and storage guidelines:
- Regular cleaning: Clean the laser level with a soft cloth after each use to remove dust, dirt, and debris. Avoid using harsh chemicals or abrasive materials that could damage the laser level’s surfaces.
- Protect the lens: The lens of the laser level is delicate and can easily get scratched. Use the provided lens cap or cover to protect it during storage or transport.
- Store in a protective case: When not in use, keep the laser level in a protective case or pouch to safeguard it from potential damage or impacts. This will also help keep all the components and accessories organized.
- Avoid extreme conditions: Store the laser level in a dry and temperate environment, away from excessive heat, direct sunlight, and moisture. Extreme conditions can negatively affect the internal components and accuracy of the laser level.
- Remove batteries: If you’re not planning to use the laser level for an extended period, remove the batteries to prevent corrosion and damage. Store the batteries separately in a cool and dry place.
- Regular calibration checks: Periodically check and calibrate the laser level to maintain its accuracy. Follow the manufacturer’s recommended calibration schedule or consult the user manual for guidance.
- Handle with care: When using and handling the laser level, be gentle and avoid dropping or subjecting it to impact. These actions can damage the internal components and affect its functionality.
- Professional maintenance: If you notice any significant issues or if the laser level requires repair or servicing, contact the manufacturer or an authorized service center for professional maintenance and repair.
By following these maintenance and storage guidelines, you can ensure that your Strait-Line Laser Level 60 remains in excellent condition and delivers accurate results for years to come.
Now that we’ve covered maintenance and storage, let’s conclude our article.
Conclusion
The Strait-Line Laser Level 60 is a powerful and versatile tool that helps you achieve precise measurements, accurate alignment, and professional results in your projects. With its user-friendly design and advanced features, it simplifies tasks like hanging pictures, installing shelves, aligning surfaces, and creating angles.
In this article, we explored the various aspects of using the Strait-Line Laser Level 60, starting from the unboxing and checking of contents to mounting the laser level securely. We discussed the importance of safety precautions, leveling the laser, and adjusting the visibility of the laser beam. We also covered aligning vertical and horizontal lines, creating angles, calibrating the laser level, troubleshooting common issues, and maintaining and storing the tool properly.
Remember to prioritize safety when using the laser level and always read and follow the user manual provided by the manufacturer. Take your time to level the laser properly, align the laser beam accurately, and make precise adjustments as needed. Regular maintenance and calibration checks will ensure the longevity and accuracy of your laser level.
Whether you’re a professional contractor or a DIY enthusiast, the Strait-Line Laser Level 60 is an invaluable tool that will save you time, improve accuracy, and enhance the overall quality of your projects. So, equip yourself with this reliable tool and experience the ease and precision it brings to your work.
As you embark on your next project, may the Strait-Line Laser Level 60 be your trusted companion, guiding you towards perfectly straight lines and level surfaces. Happy leveling!
Frequently Asked Questions about How To Use Strait-Line Laser Level 60
Was this page helpful?
At Storables.com, we guarantee accurate and reliable information. Our content, validated by Expert Board Contributors, is crafted following stringent Editorial Policies. We're committed to providing you with well-researched, expert-backed insights for all your informational needs.


0 thoughts on “How To Use Strait-Line Laser Level 60”